1948 - 1956 F1, F100 & Larger F-Series Trucks Discuss the Fat Fendered and Classic Ford Trucks

Family 56 rebuild thread.

Thread Tools
 
Search this Thread
 
  #61  
Old 07-05-2017, 09:27 PM
bjmayberry2's Avatar
bjmayberry2
bjmayberry2 is offline
Lead Driver
Thread Starter
Join Date: Dec 2012
Location: Wentzville, MO
Posts: 8,445
Received 565 Likes on 367 Posts
Went to install the bed rails. Got my pad kit out and it has 4 thick rubbers and 4 thin. What goes where? Also found out that I boxed over one of the mounting holes.

Edit just found the thin pads go on the ends thicker ones go in the middle.
 
  #62  
Old 08-02-2017, 05:06 PM
bjmayberry2's Avatar
bjmayberry2
bjmayberry2 is offline
Lead Driver
Thread Starter
Join Date: Dec 2012
Location: Wentzville, MO
Posts: 8,445
Received 565 Likes on 367 Posts
Was looking through my thread and realized the bodyshop has had my cab for 7 months.

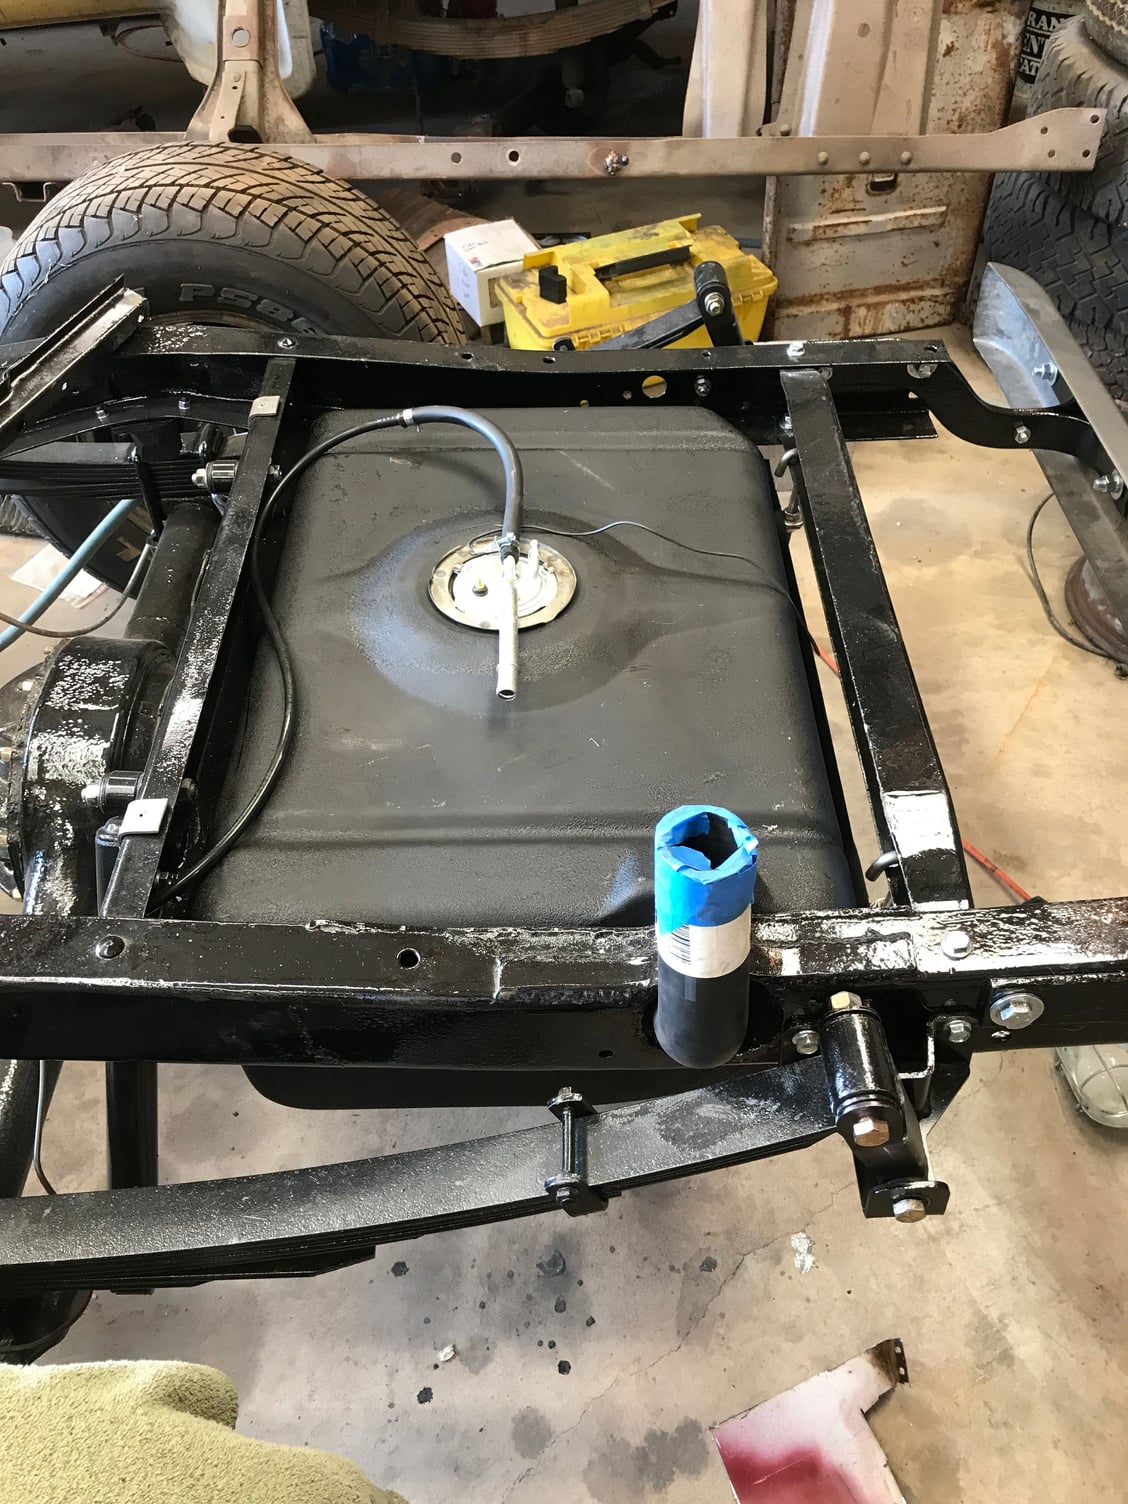
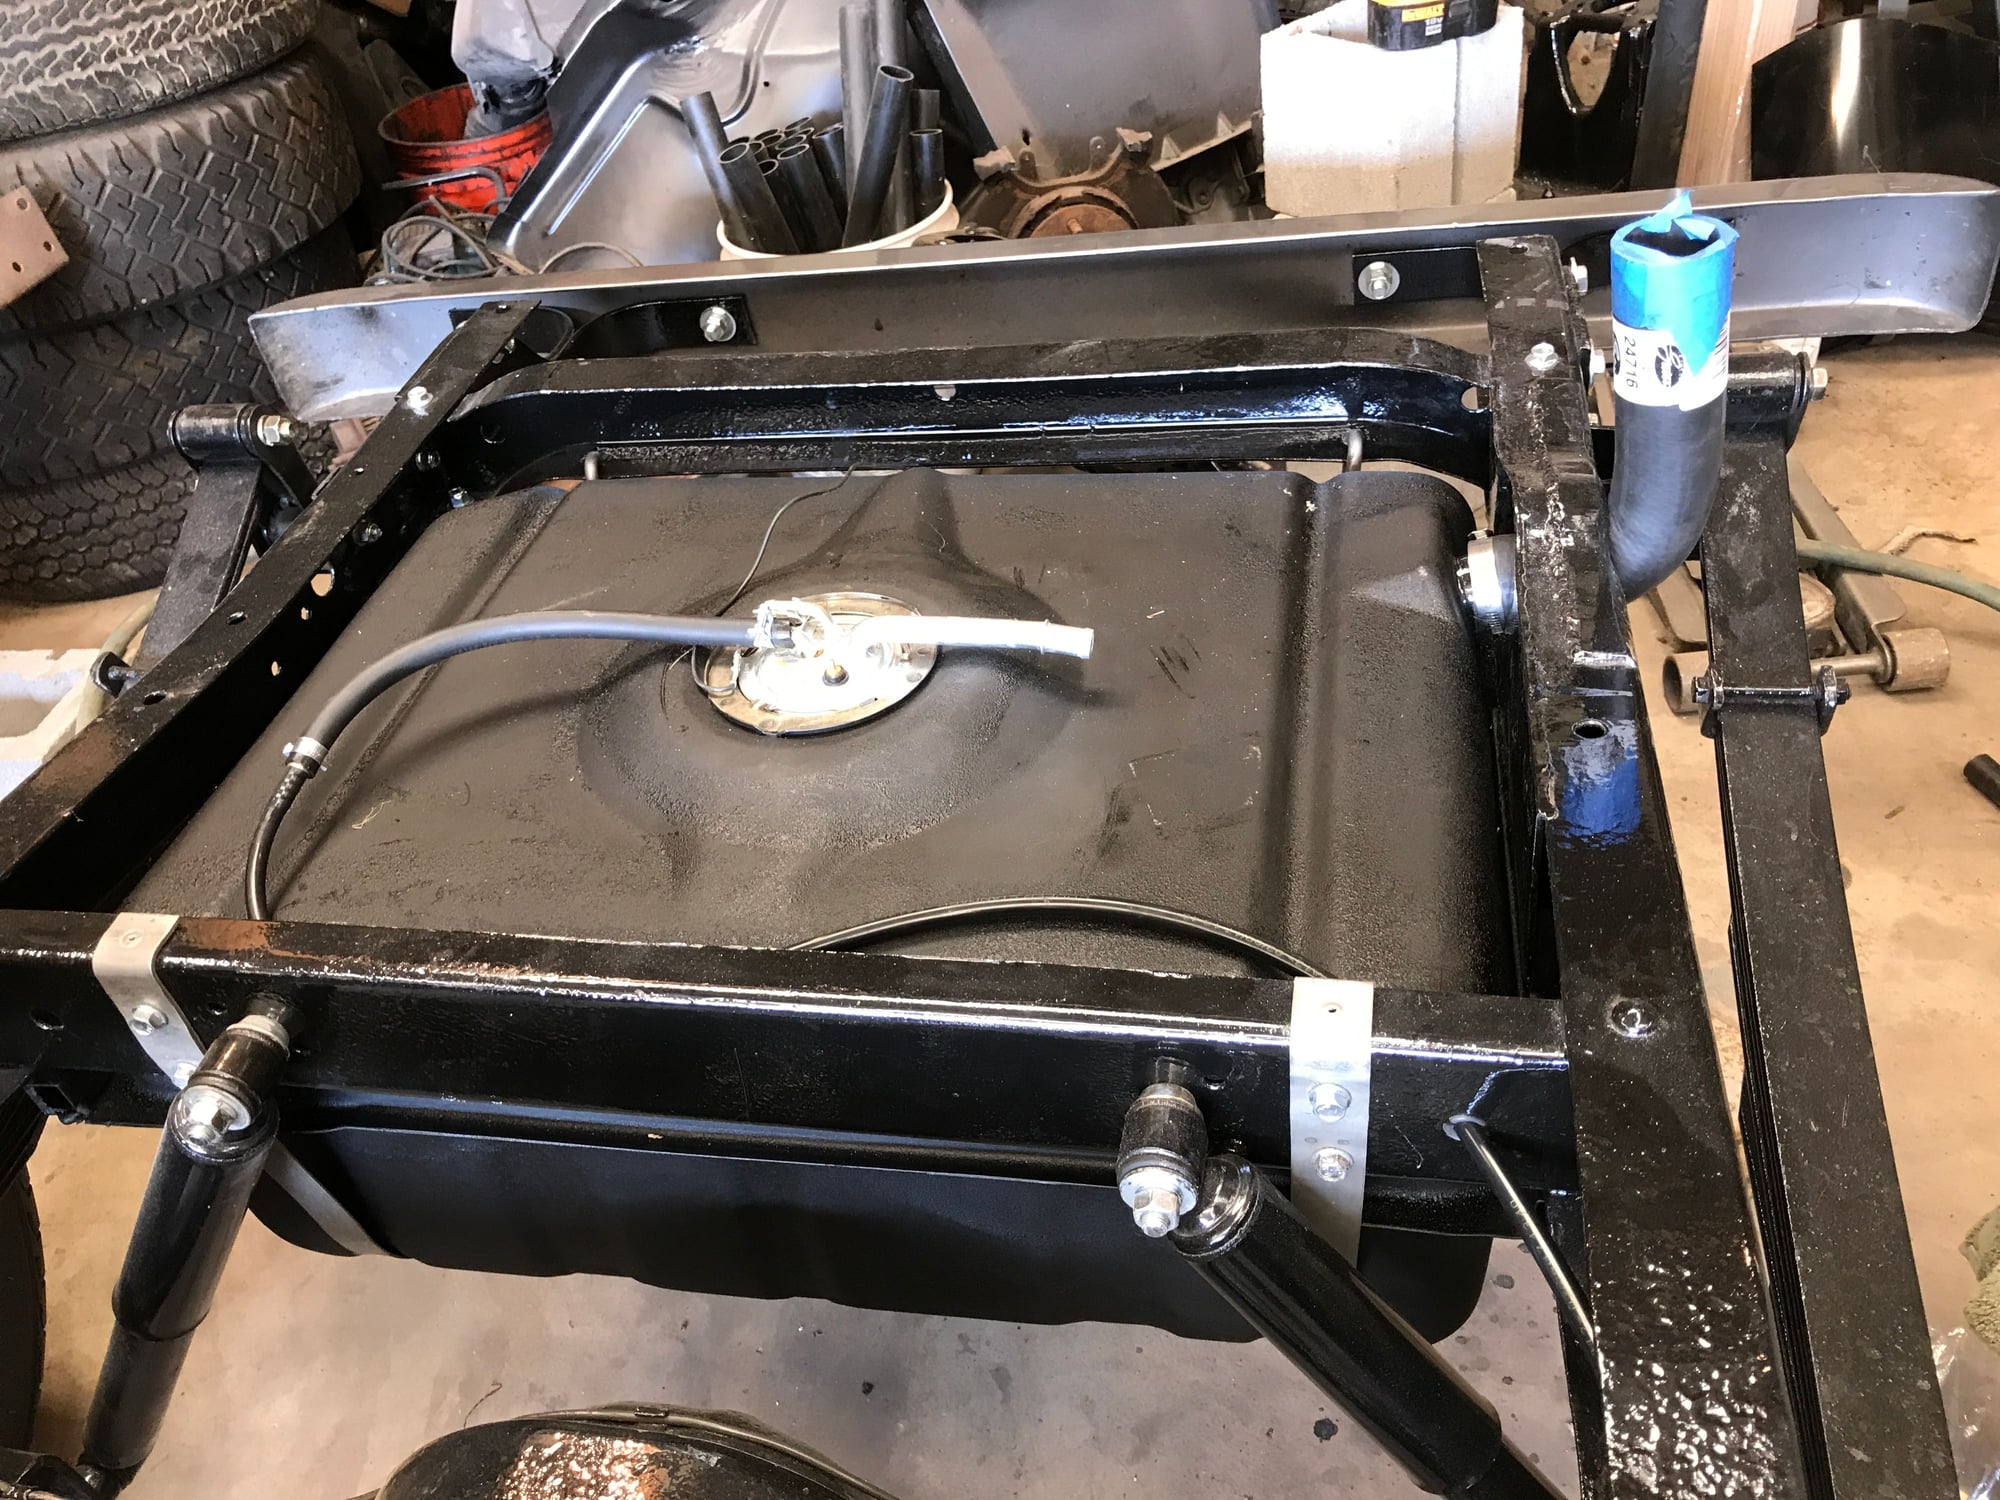
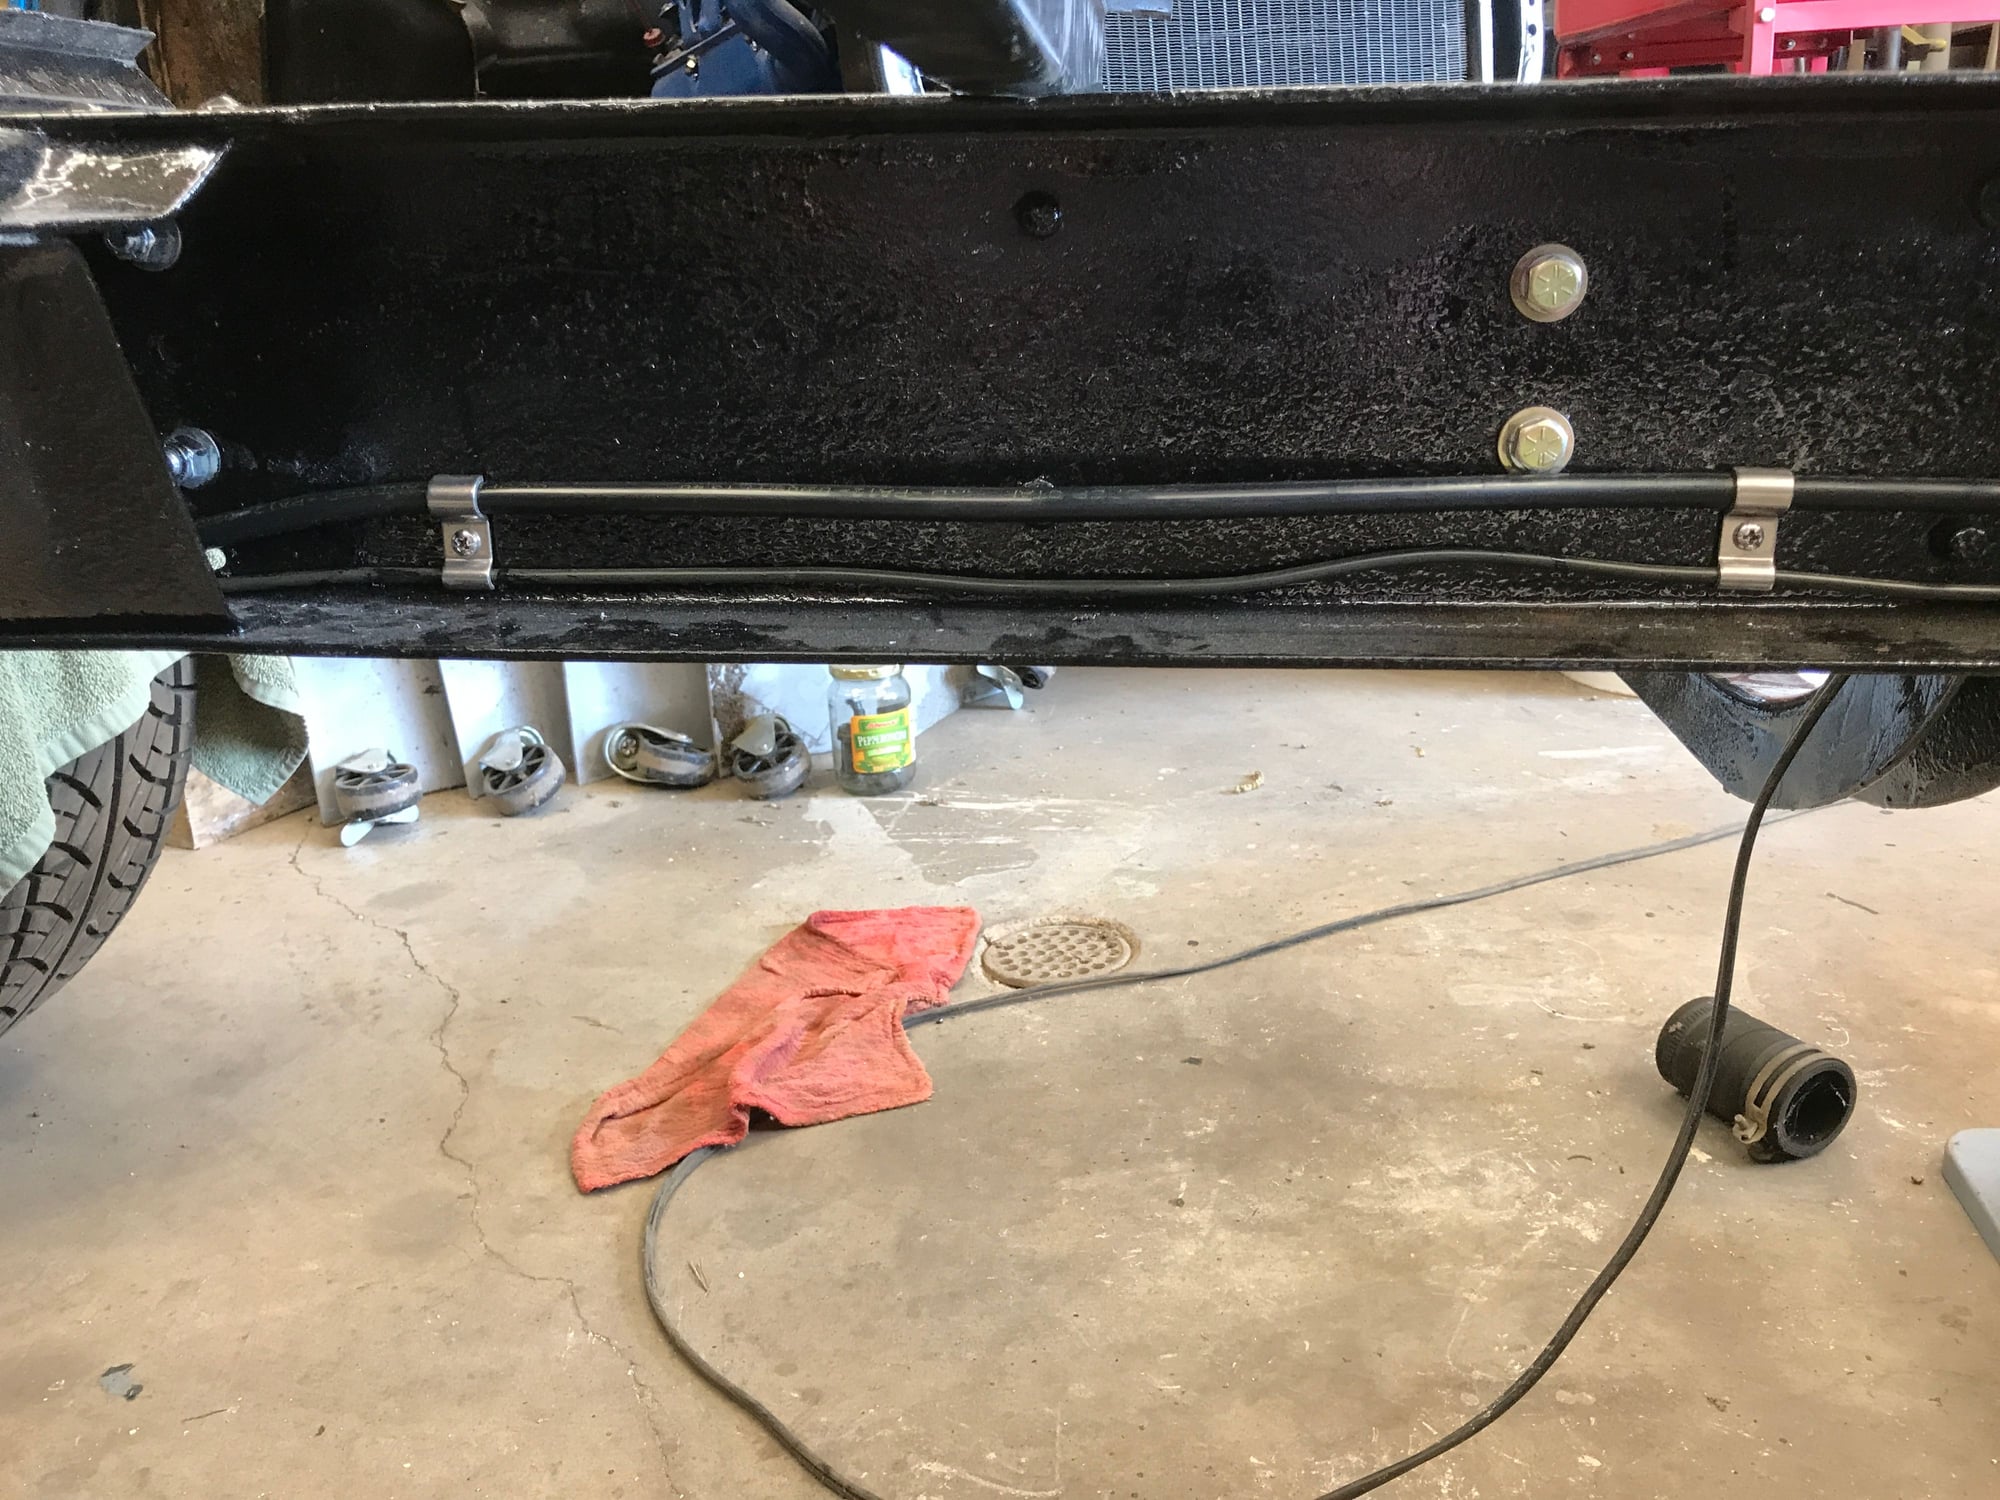
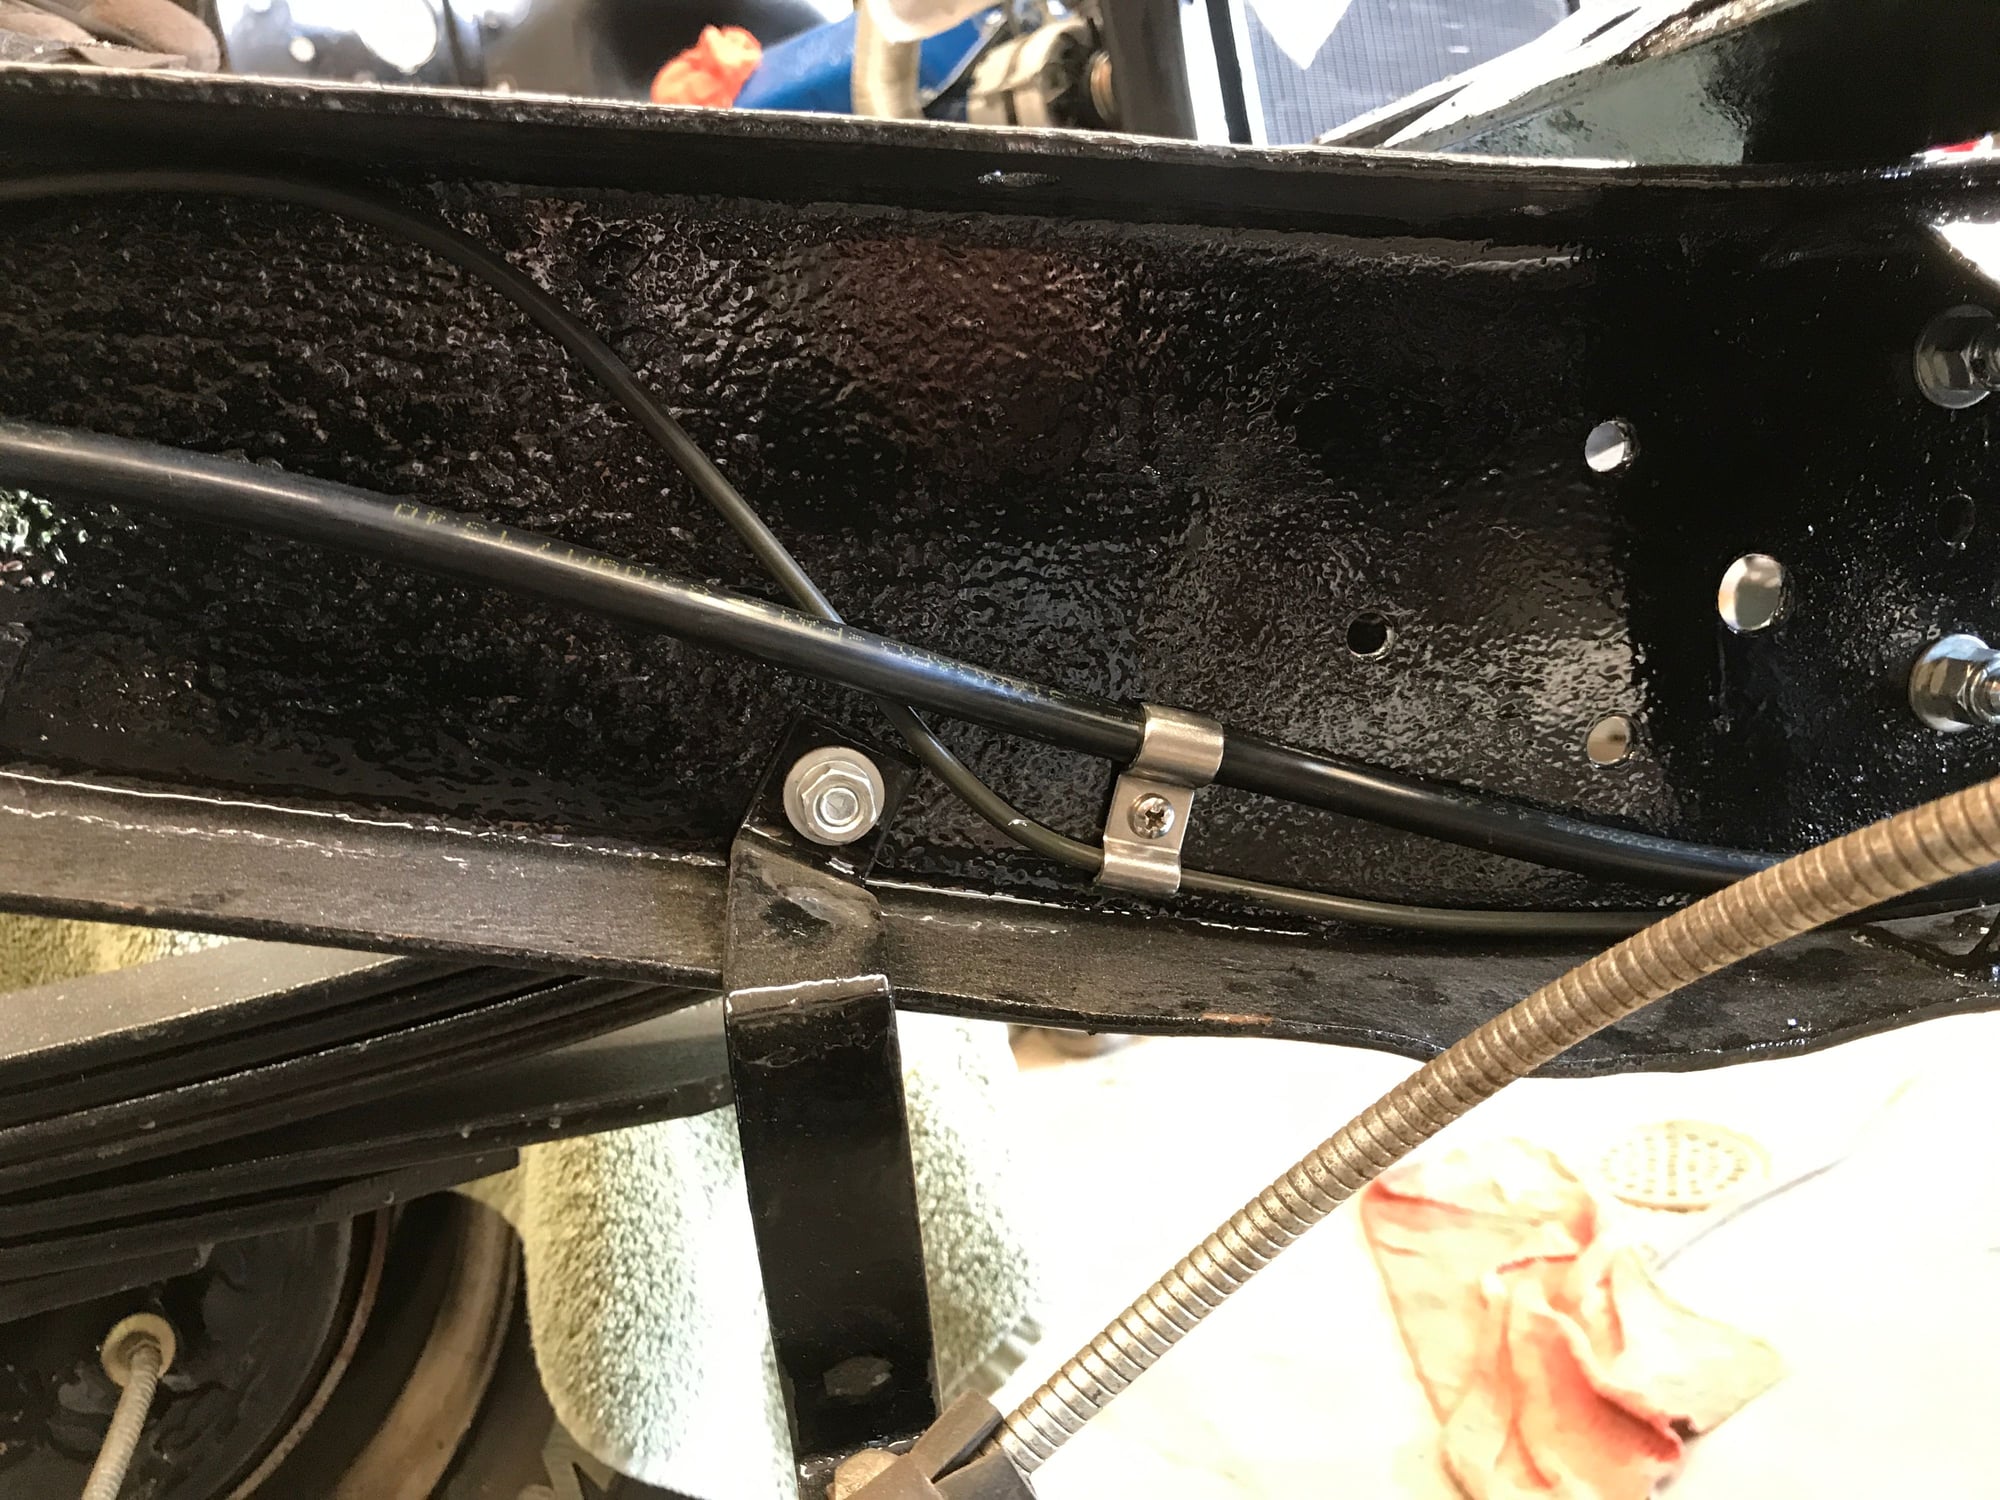
I have mounted the fuel tank and plumbed the line to the fuel pump. I ran a nylon line and clamped it next to the brake line. Forgot to take pictures but will snap some next time I'm out at the shop.
 
  #63  
Old 08-02-2017, 07:00 PM
56panelford's Avatar
56panelford
56panelford is offline
FTE Legend
Join Date: Oct 2005
Location: northwestern Ontario
Posts: 263,775
Received 4,246 Likes on 2,719 Posts
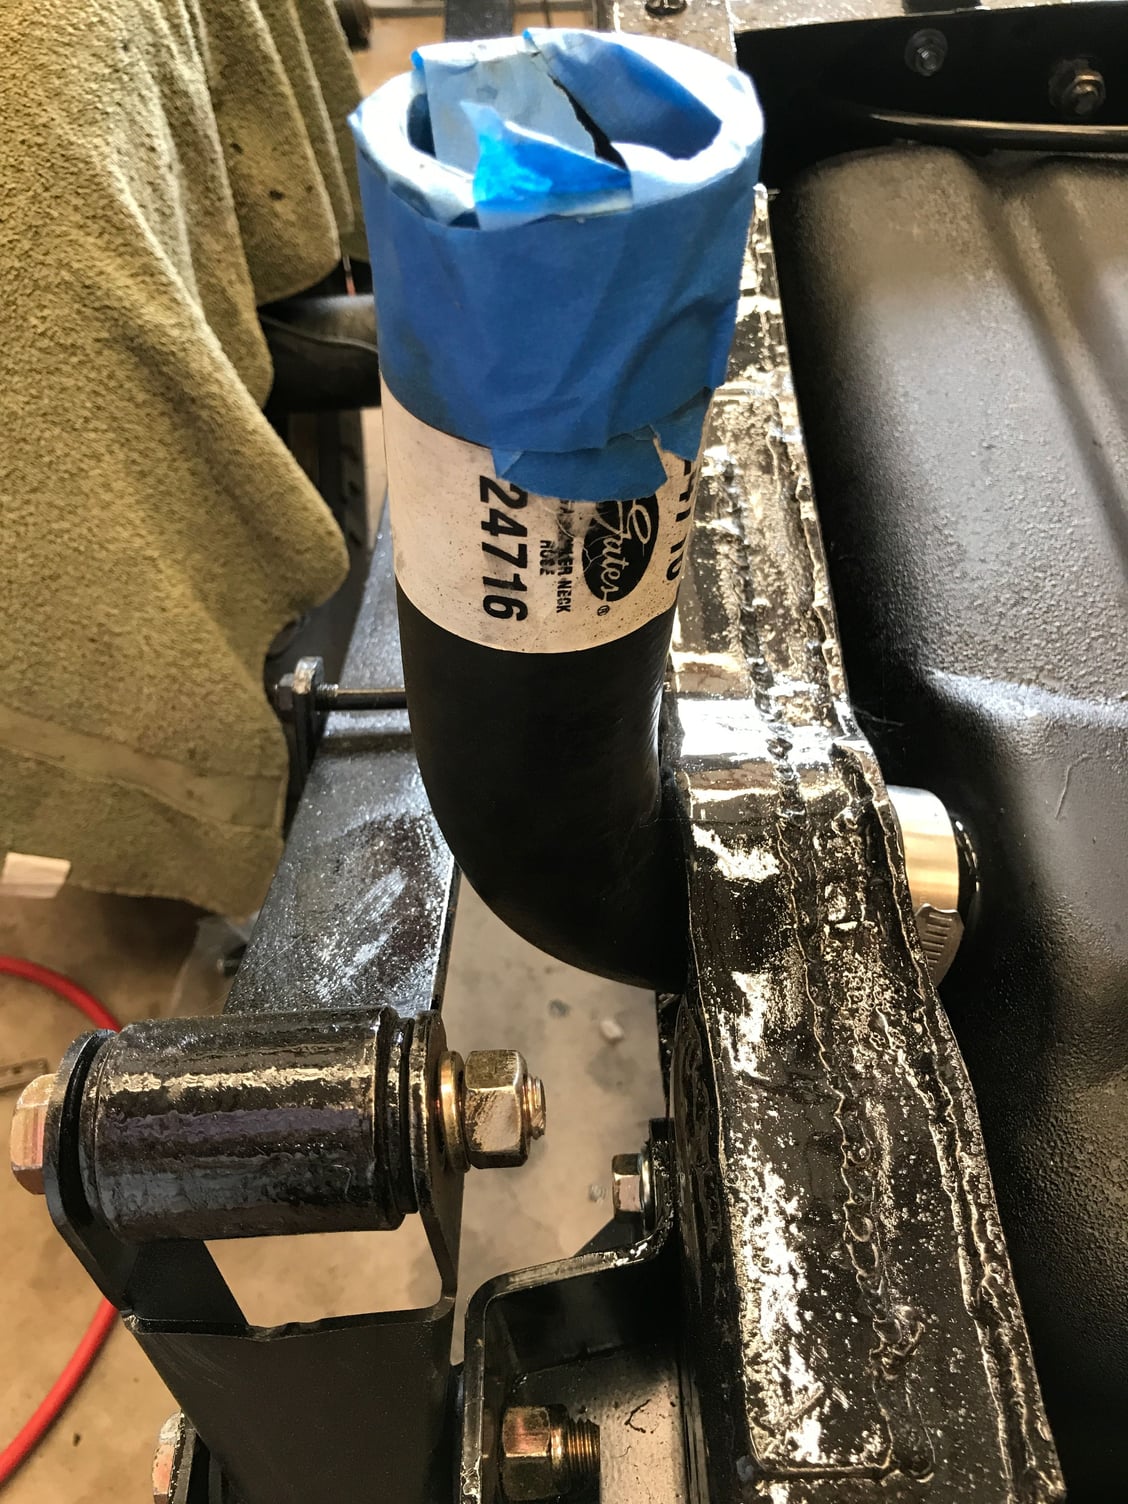
I'm interested in how the filler neck is going to clear your leaf springs..??
 
  #64  
Old 08-02-2017, 09:33 PM
bjmayberry2's Avatar
bjmayberry2
bjmayberry2 is offline
Lead Driver
Thread Starter
Join Date: Dec 2012
Location: Wentzville, MO
Posts: 8,445
Received 565 Likes on 367 Posts
The rubber neck barely clears but I think I may go to a muffler shop and have one bent to get a little more clearance. I saw this tank used on several projects but I think I'd do something else if I could do it over.
 
  #65  
Old 08-03-2017, 12:19 PM
bjmayberry2's Avatar
bjmayberry2
bjmayberry2 is offline
Lead Driver
Thread Starter
Join Date: Dec 2012
Location: Wentzville, MO
Posts: 8,445
Received 565 Likes on 367 Posts
Here's some installed pictures. I agree John looks too close for the rubber hose. Guess I'll be heading to the muffler shop.


Side veiw


Close up


Front to rear veiw


Brake & Fuel lines


Brake & Fuel lines 2
 
  #66  
Old 08-03-2017, 12:22 PM
bjmayberry2's Avatar
bjmayberry2
bjmayberry2 is offline
Lead Driver
Thread Starter
Join Date: Dec 2012
Location: Wentzville, MO
Posts: 8,445
Received 565 Likes on 367 Posts
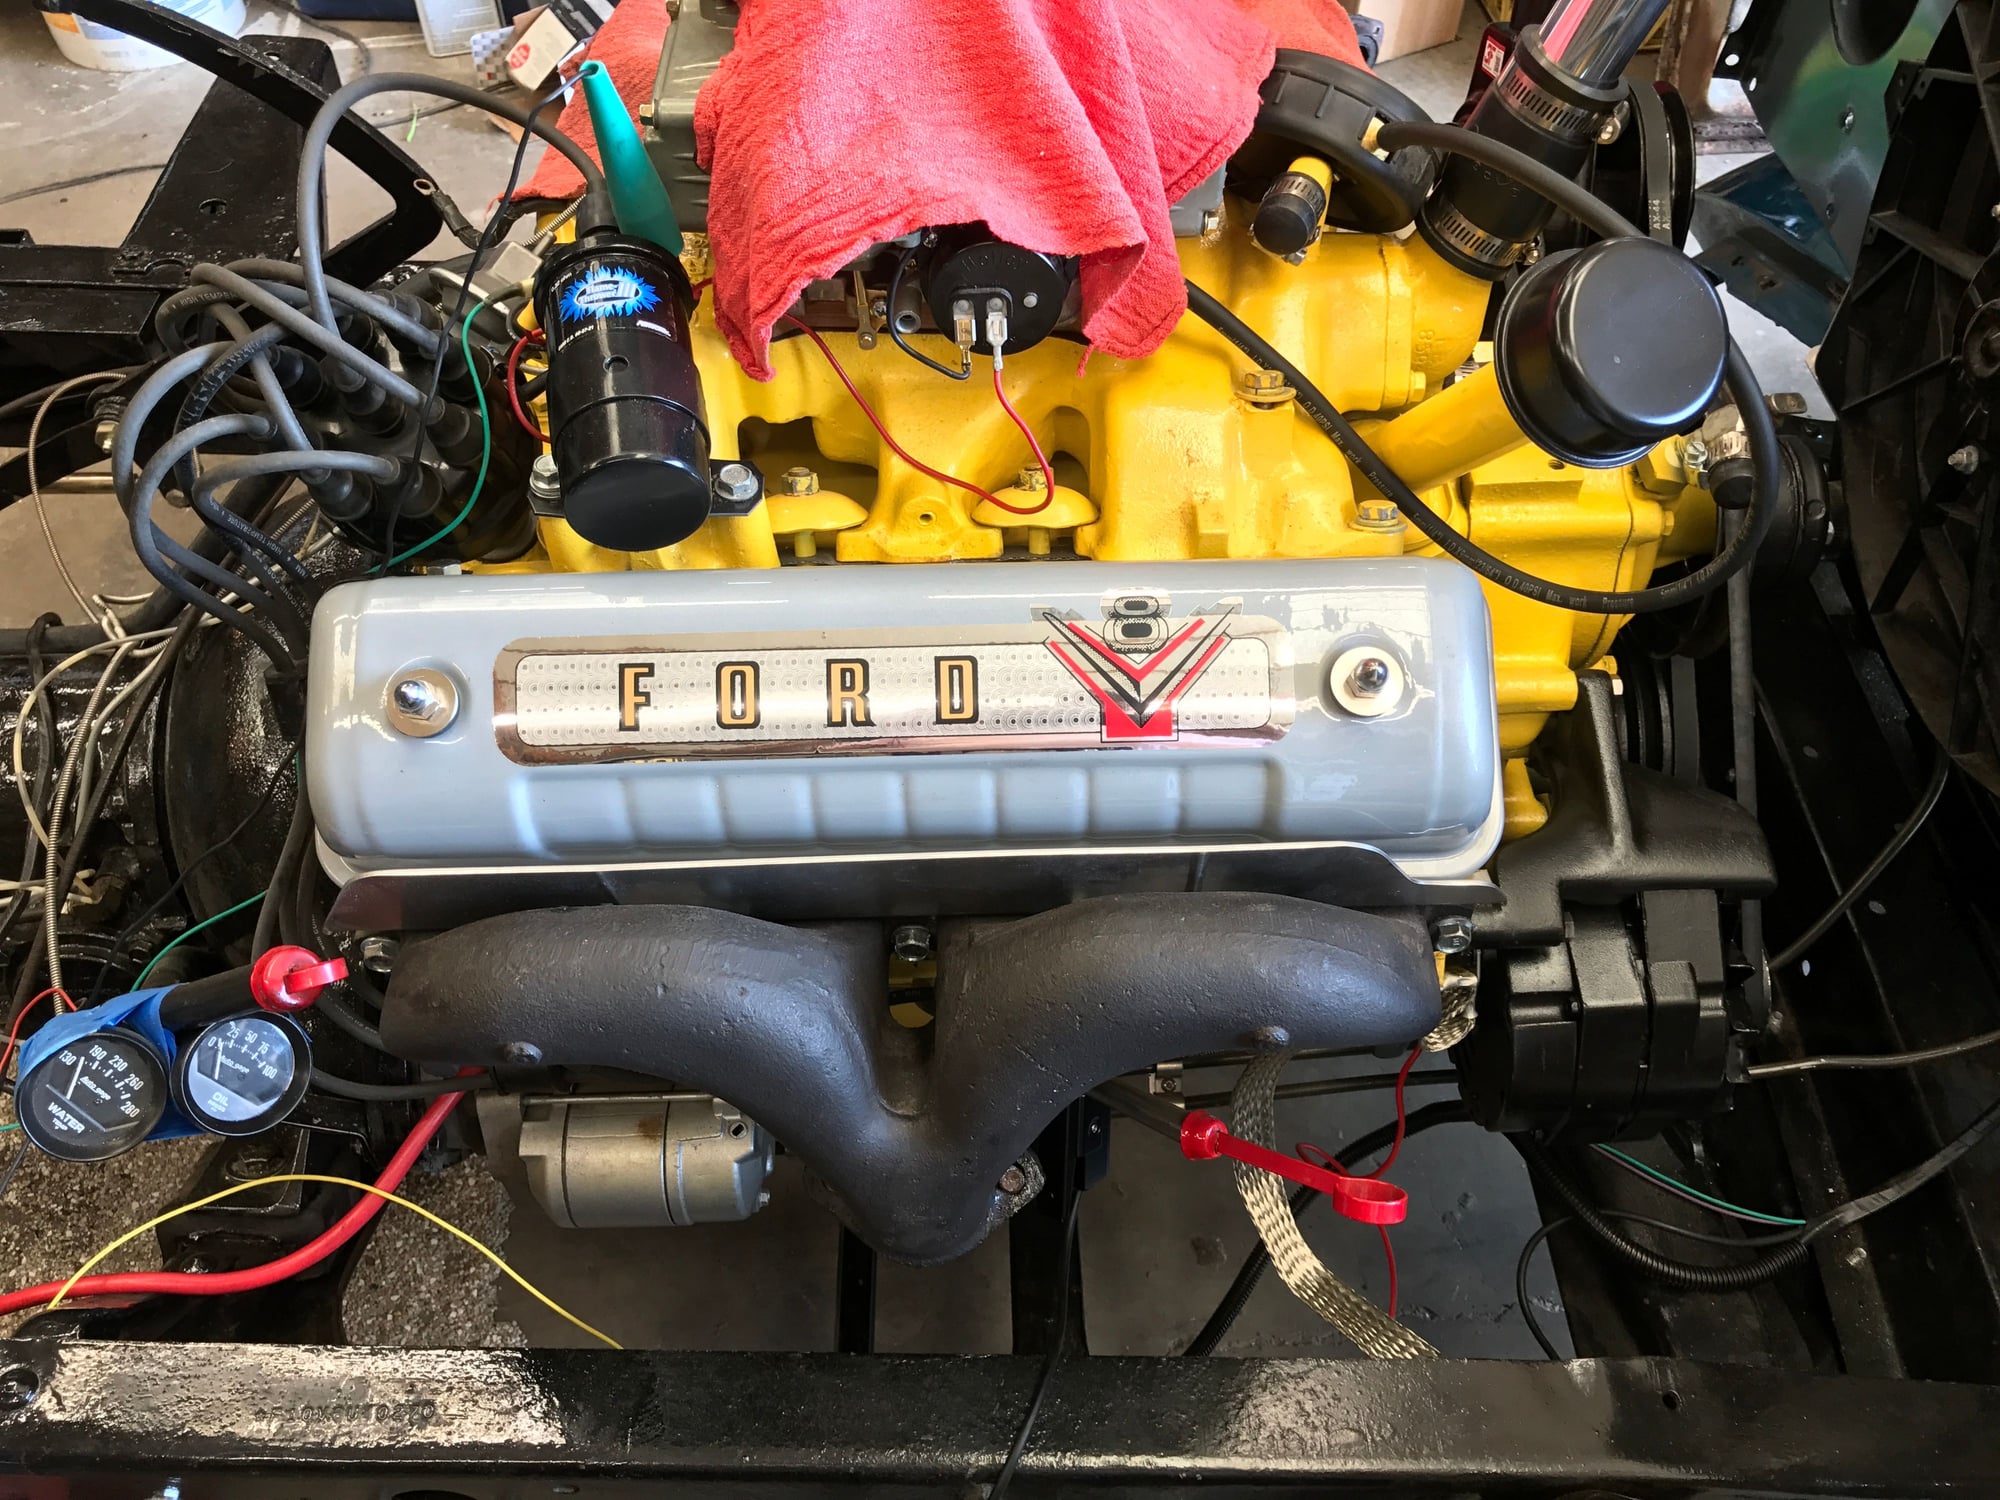
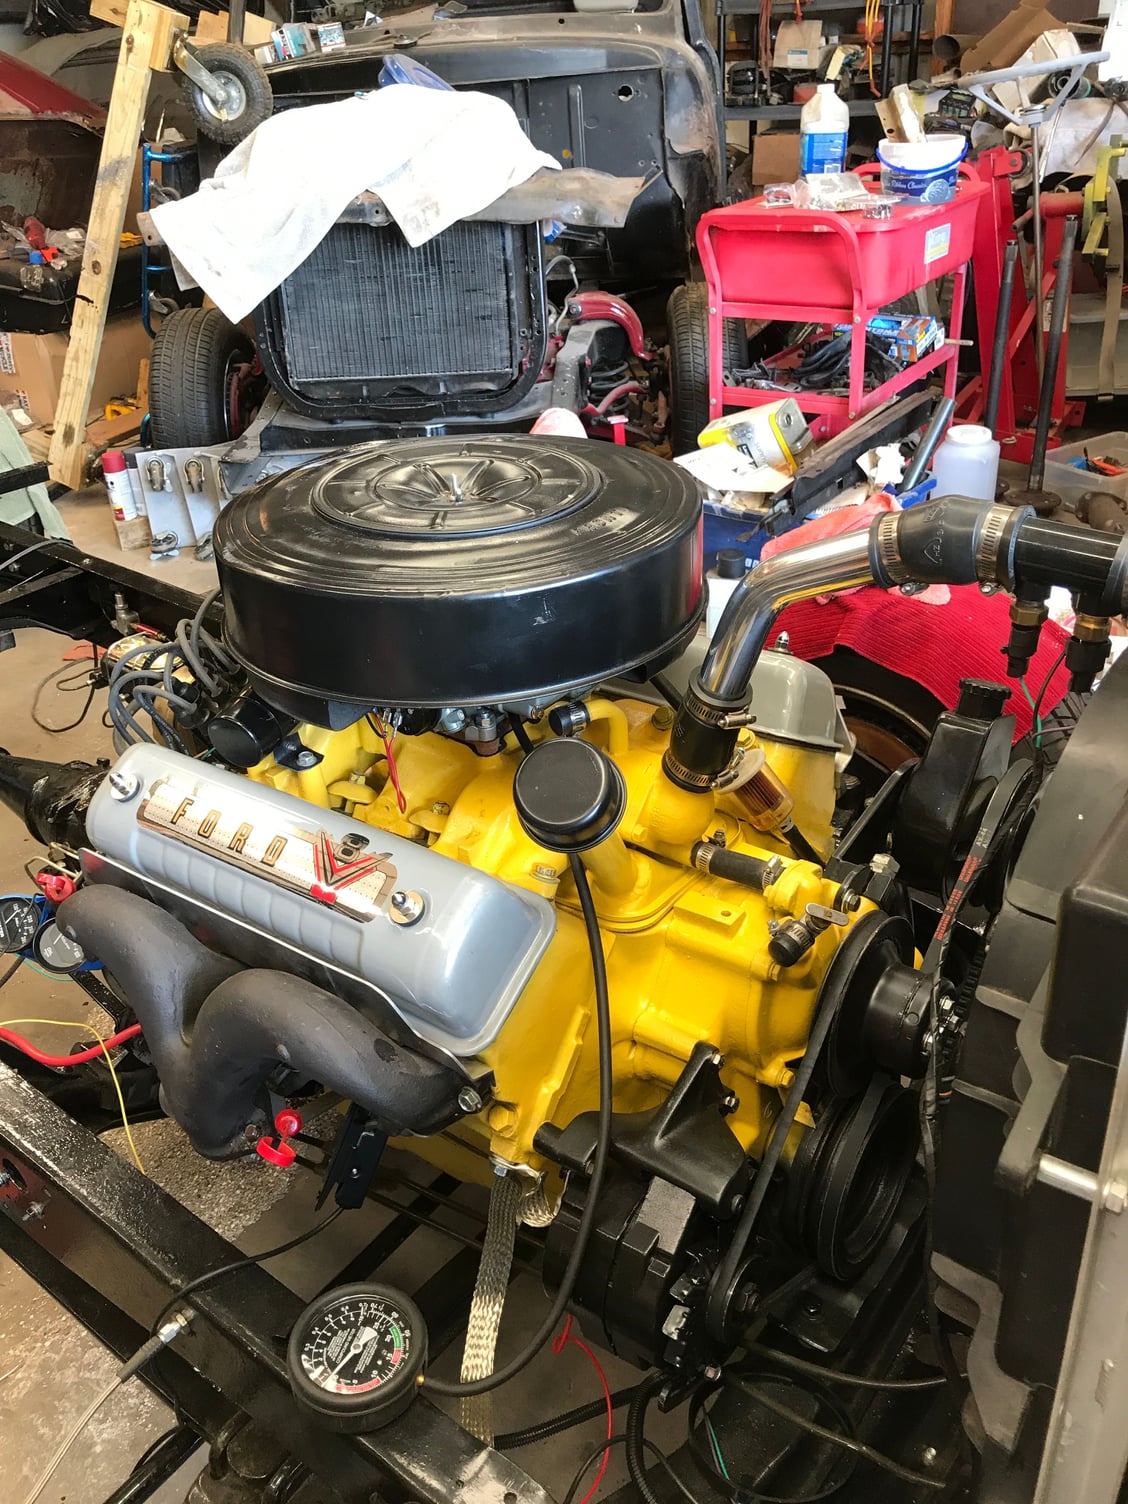
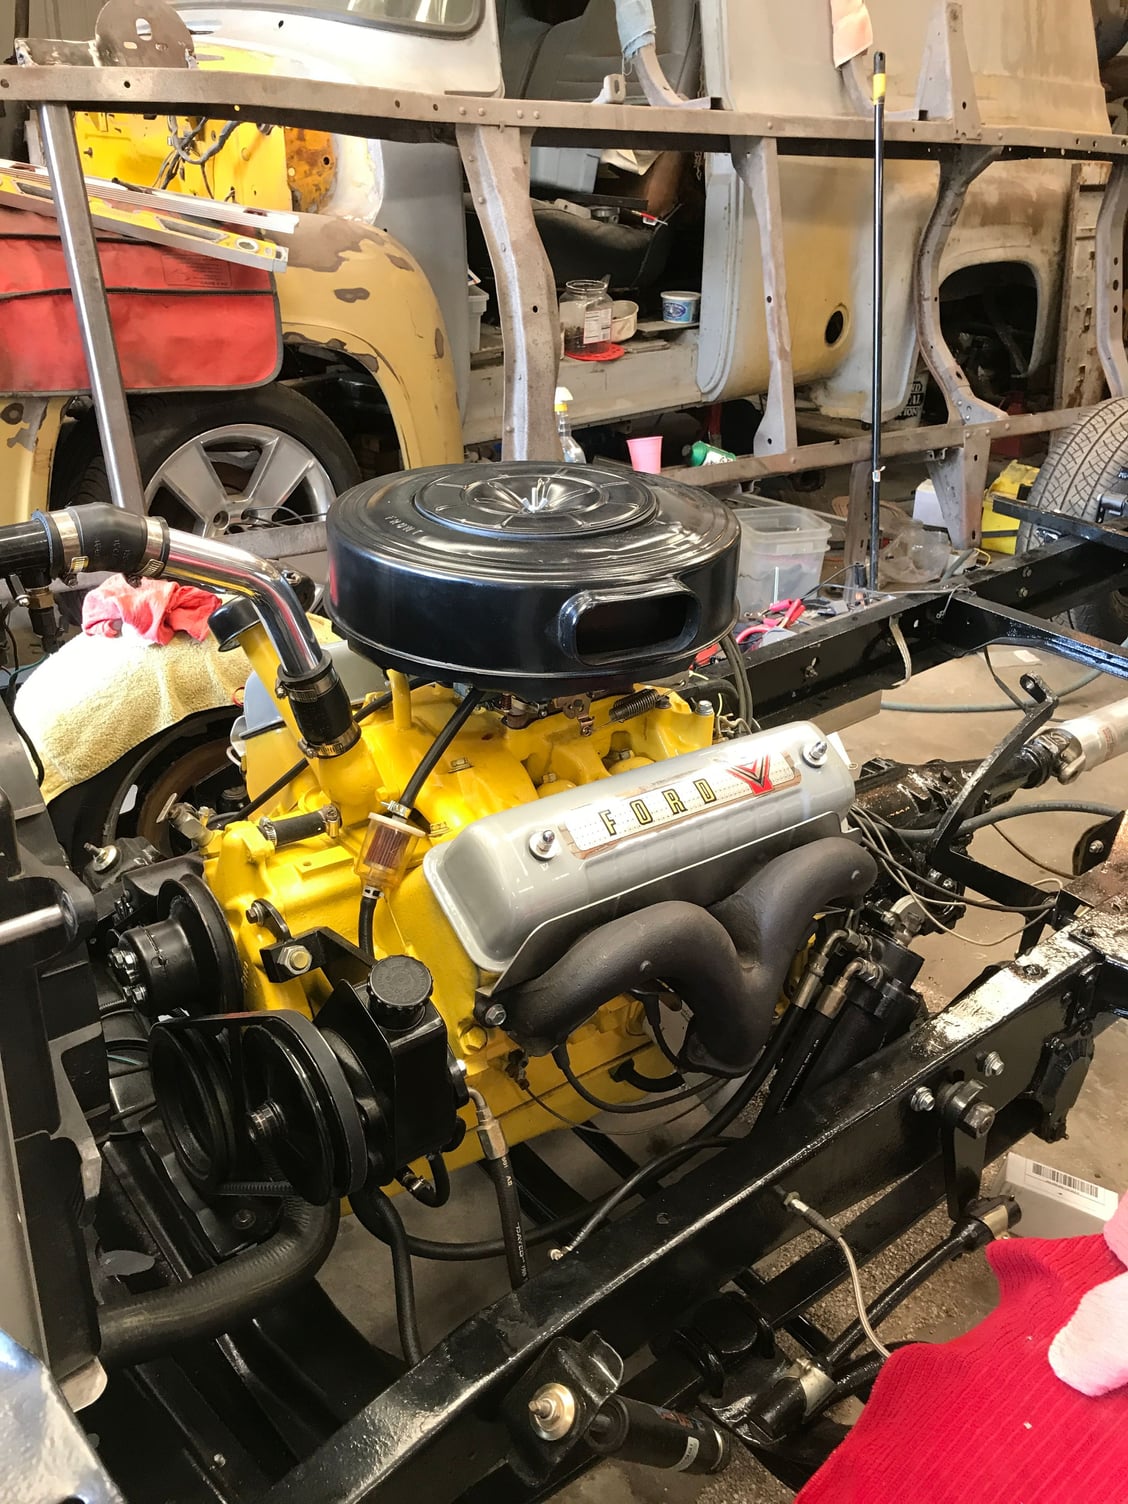
On another note. Just had to show off a little bling.


  #67  
Old 08-04-2017, 07:16 AM
Silver54's Avatar
Silver54
Silver54 is offline
More Turbo
Join Date: Aug 2014
Location: Chatham Ontario
Posts: 672
Received 2 Likes on 2 Posts
Looking good BJ!
 
  #68  
Old 10-06-2017, 08:59 AM
bjmayberry2's Avatar
bjmayberry2
bjmayberry2 is offline
Lead Driver
Thread Starter
Join Date: Dec 2012
Location: Wentzville, MO
Posts: 8,445
Received 565 Likes on 367 Posts
Two more months and still no cab progress.
I was planning on going to the Super Nationals and buying a complete bed but family issues sorta put that in the "no can do" column. I took the Mono springs off the front and put the stock springs back on. I just wasn't happy with how low the frontend was. Now I've gotta find standard front Shocks. I had Monroes on it before but the number on the shock is no longer listed. Guess I'll look into Gabriels.
 
  #69  
Old 10-29-2017, 11:54 AM
bjmayberry2's Avatar
bjmayberry2
bjmayberry2 is offline
Lead Driver
Thread Starter
Join Date: Dec 2012
Location: Wentzville, MO
Posts: 8,445
Received 565 Likes on 367 Posts
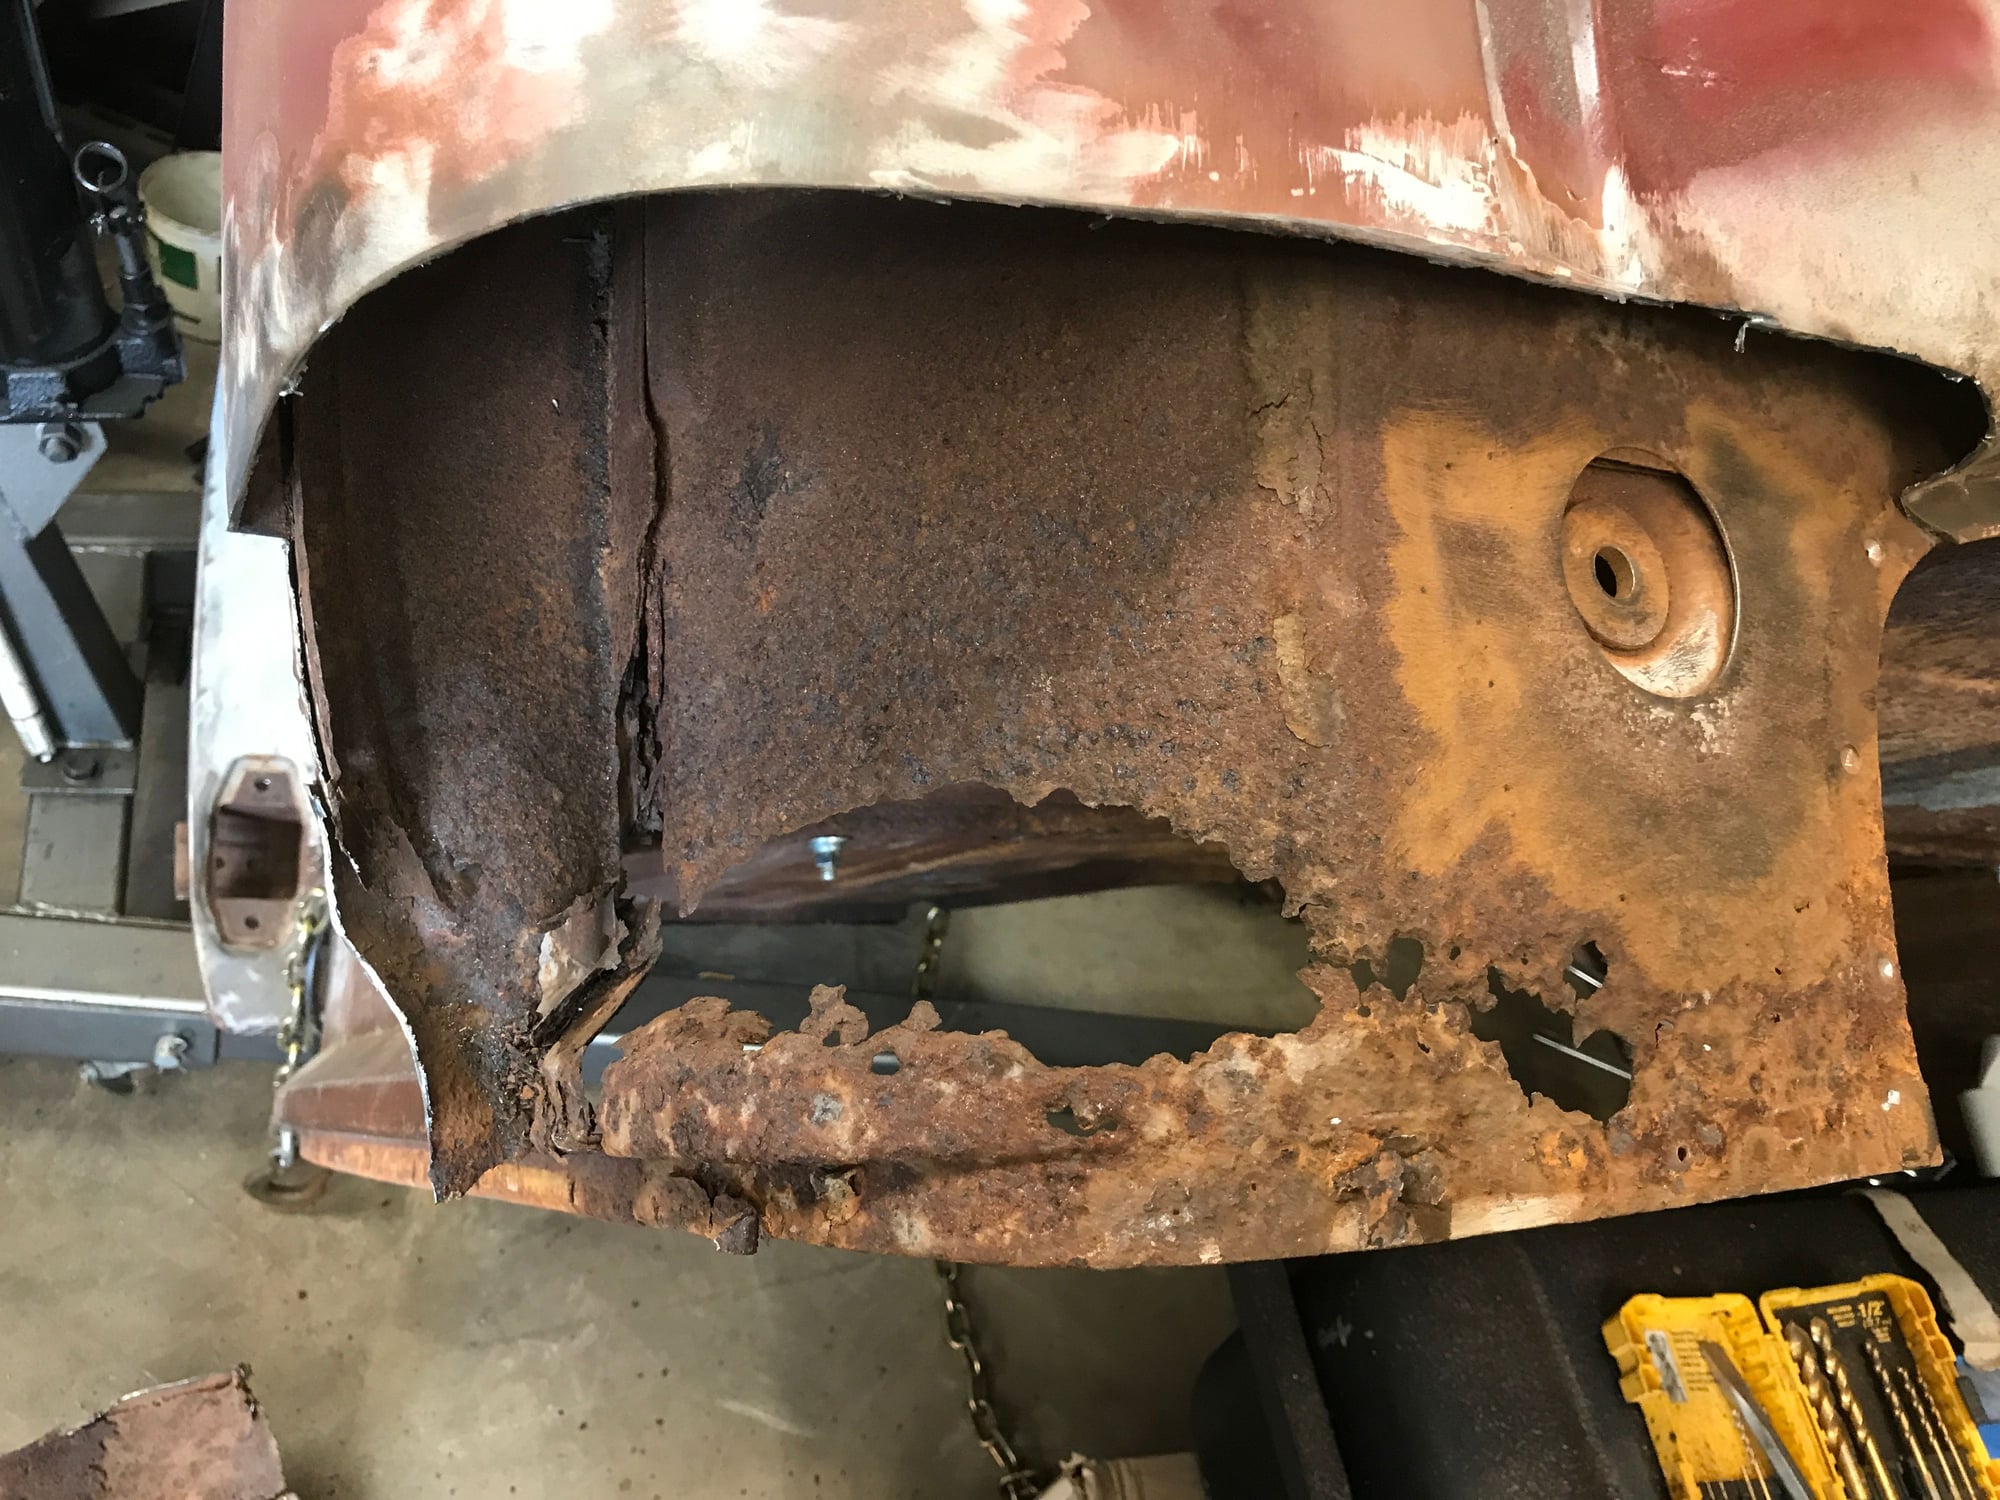
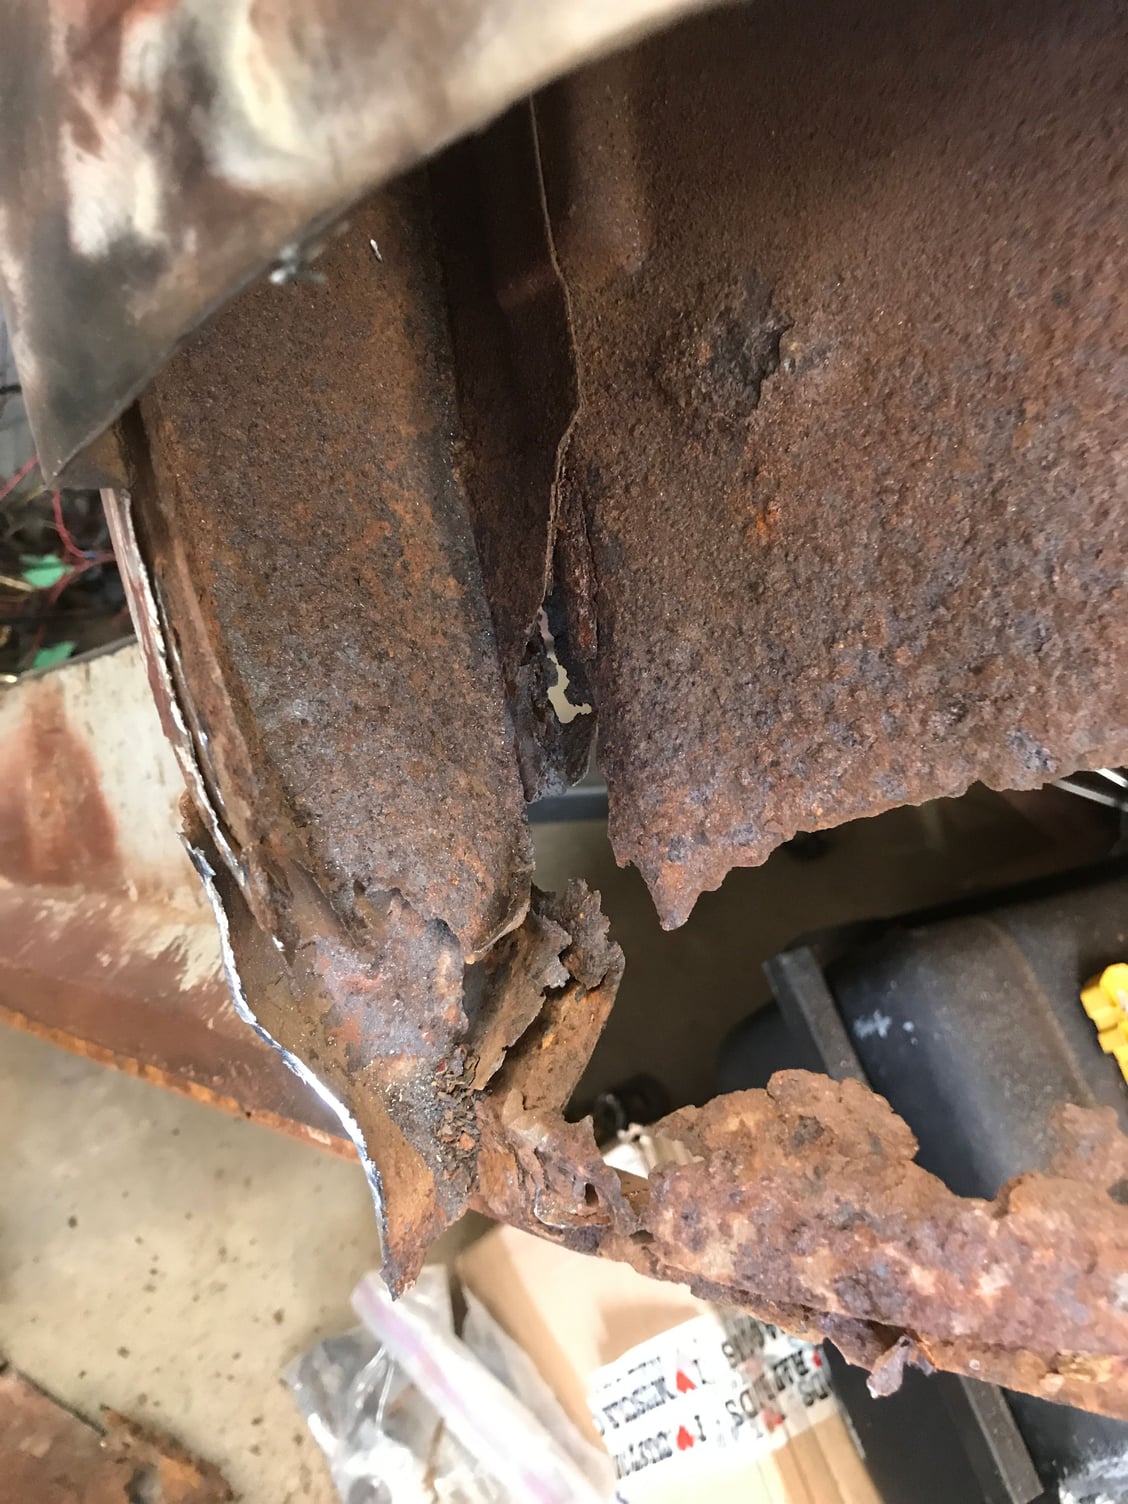
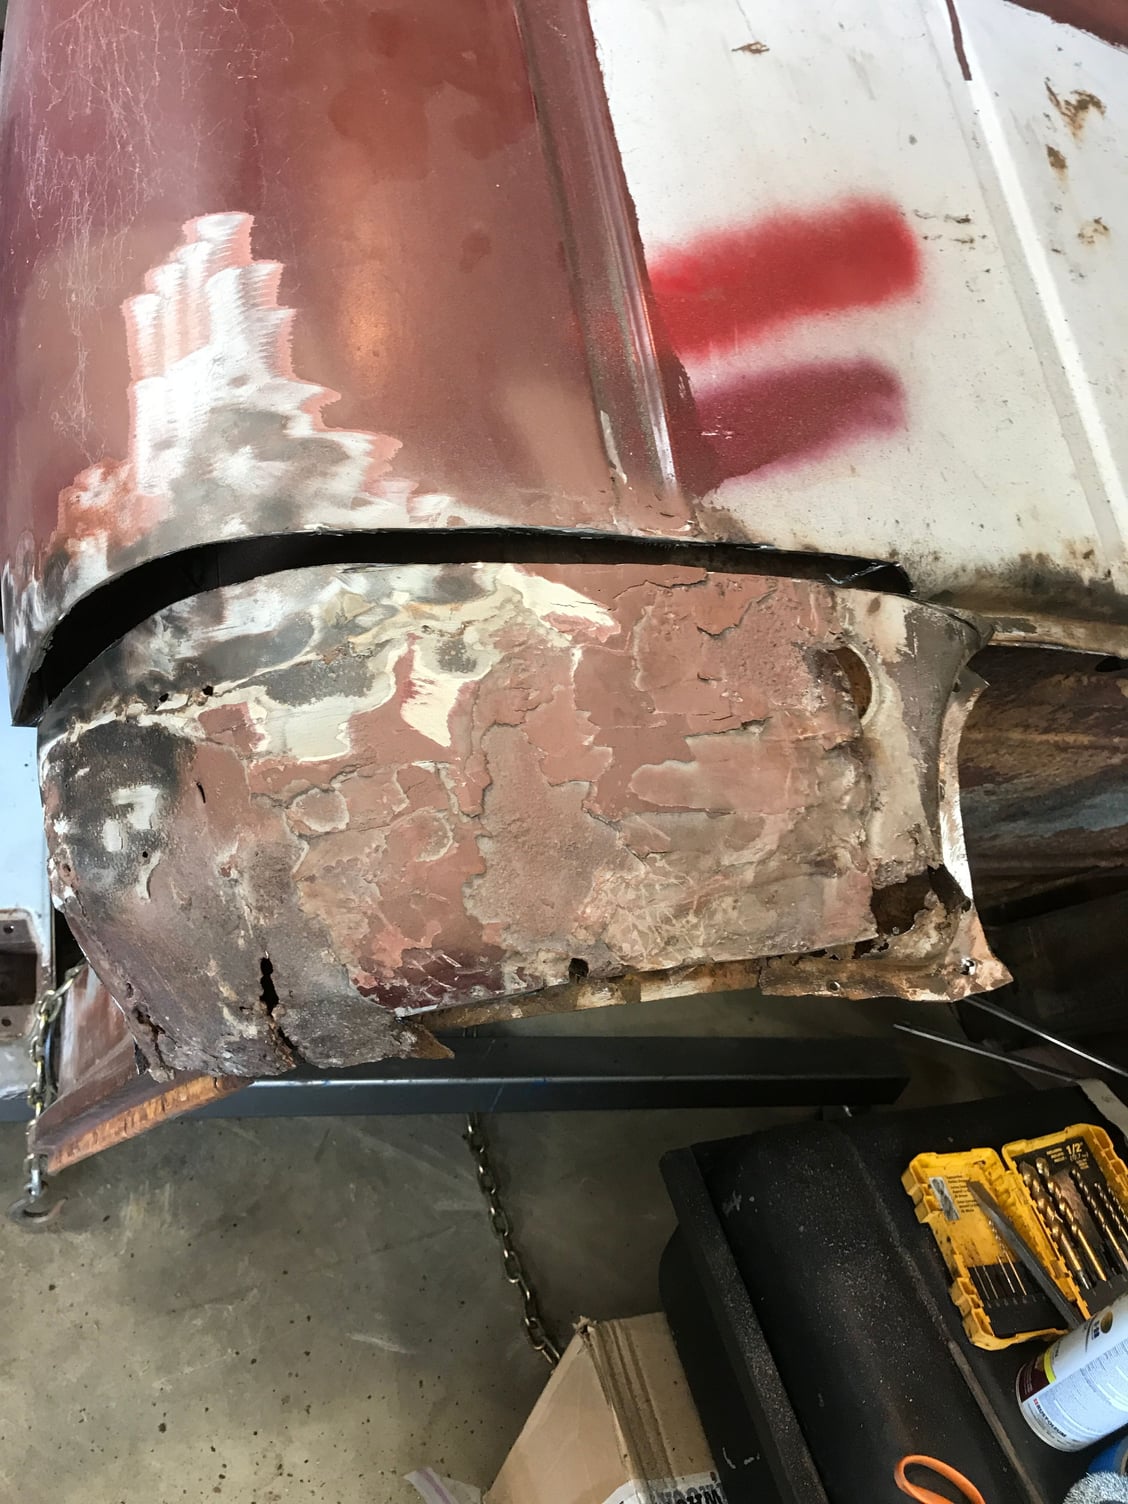
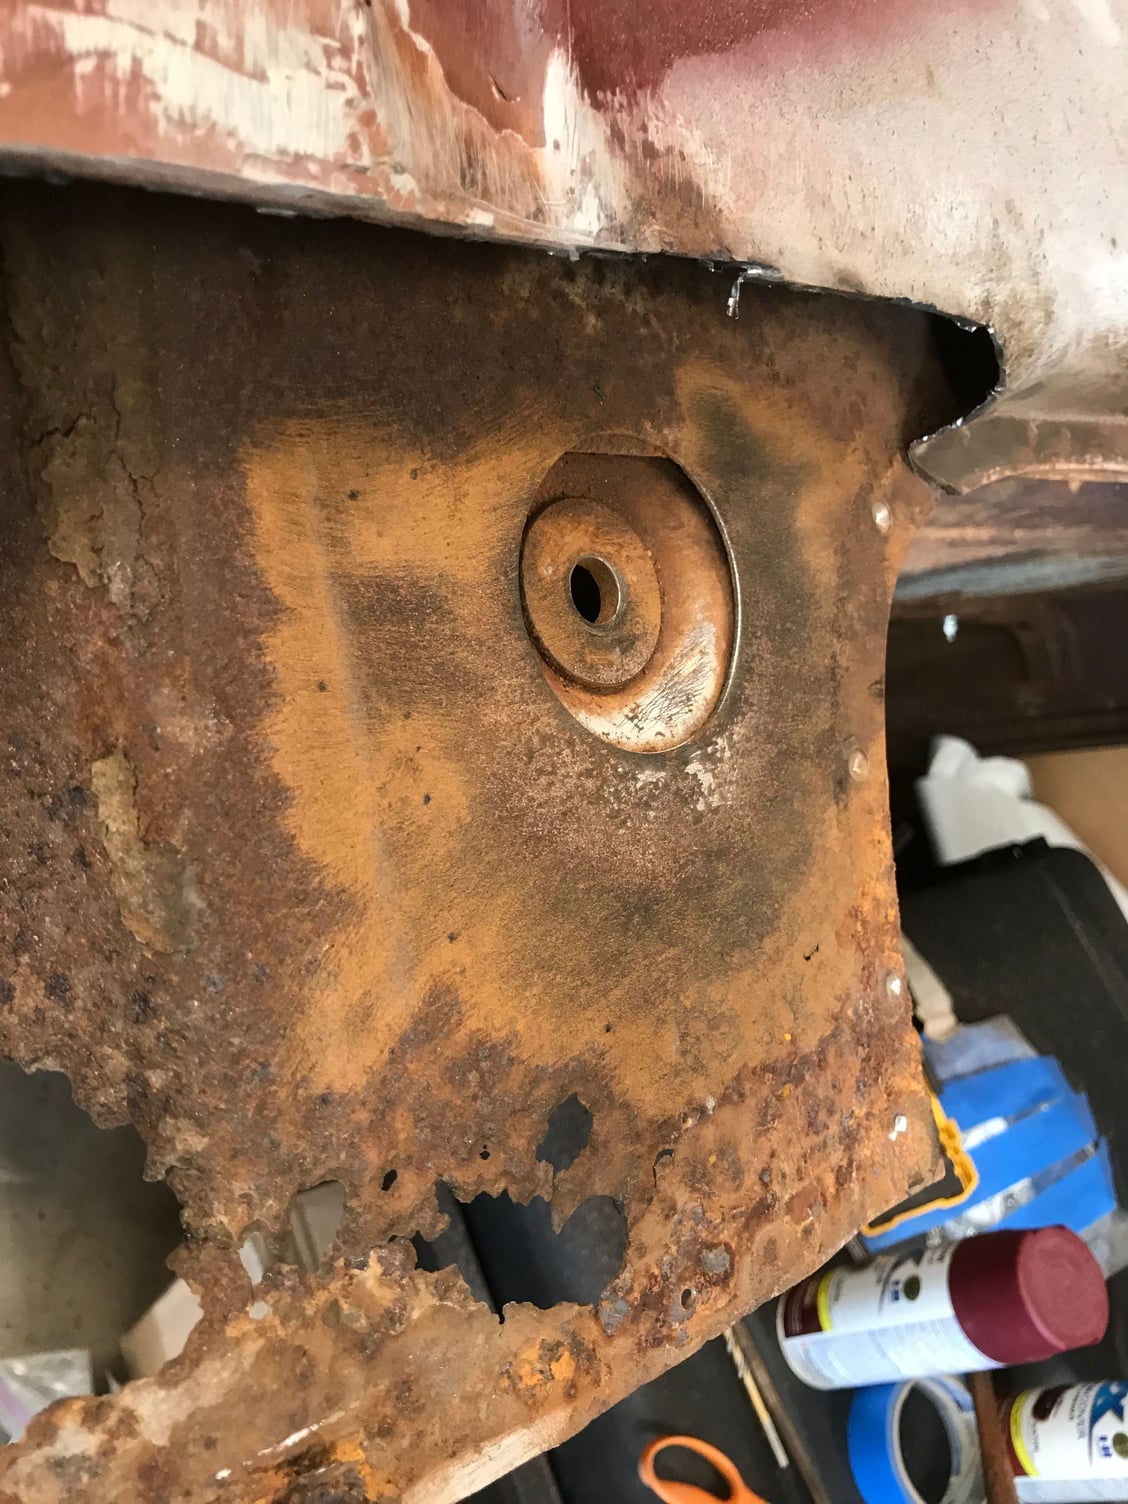
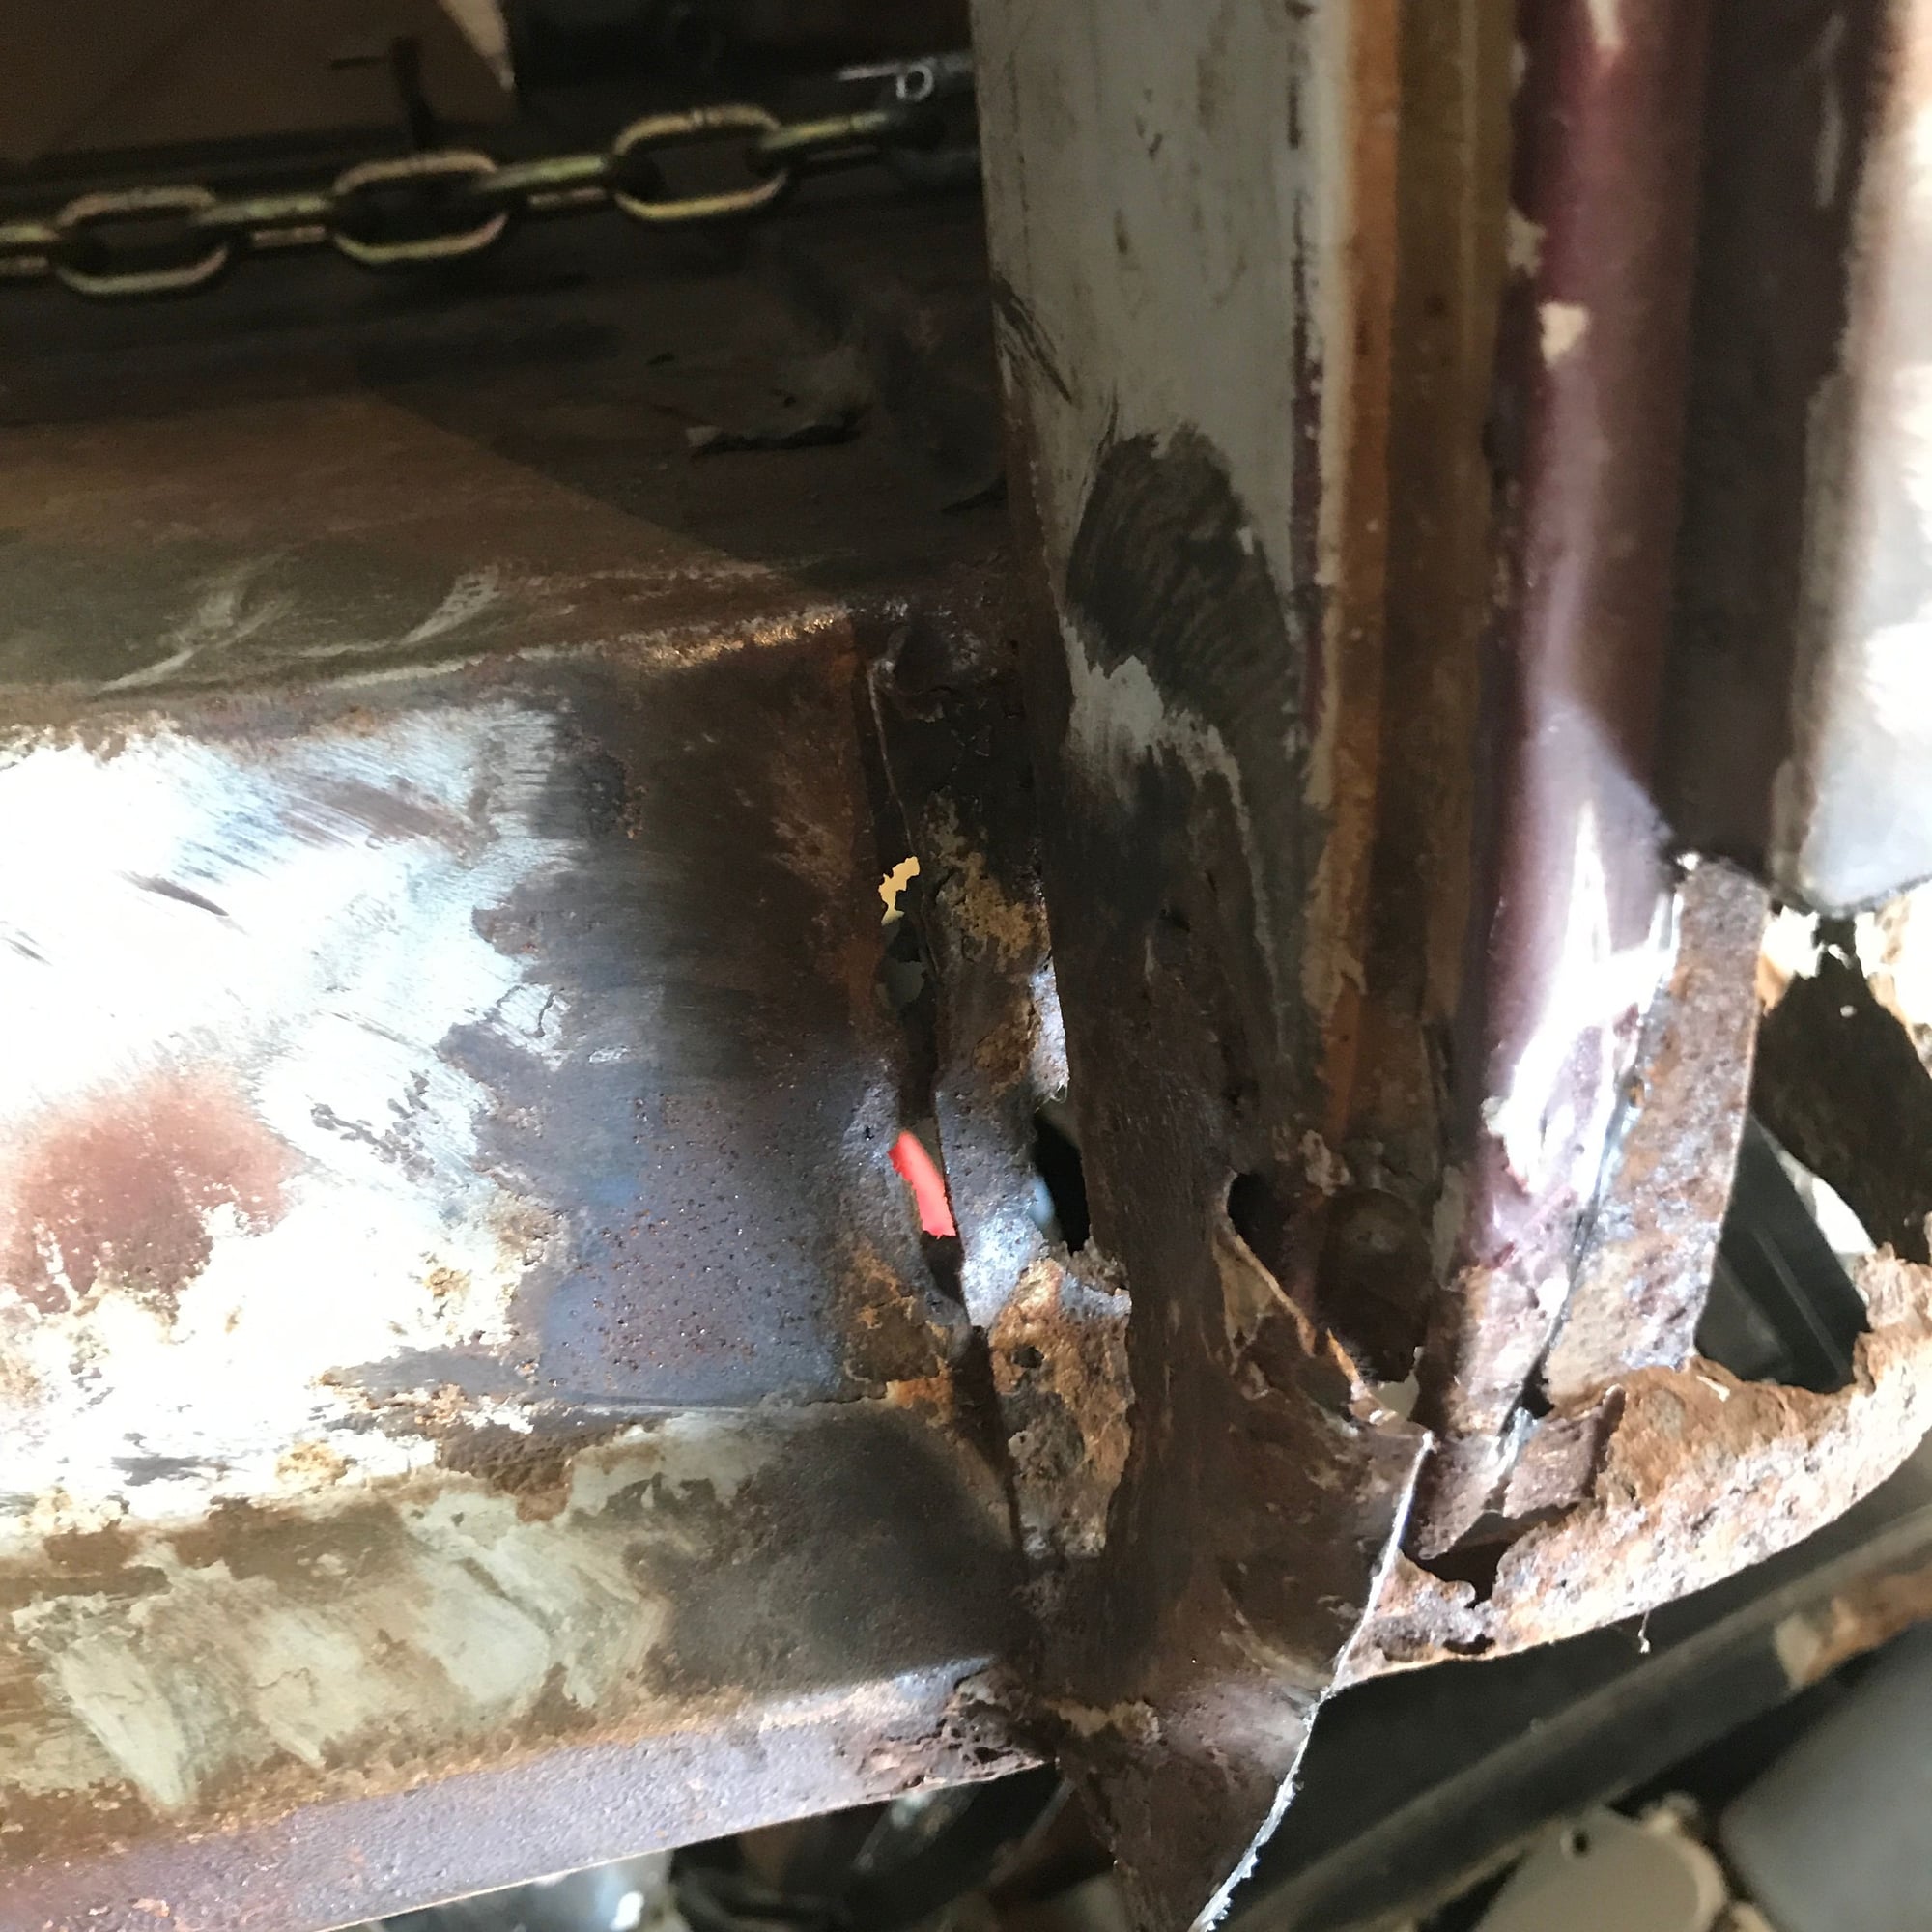
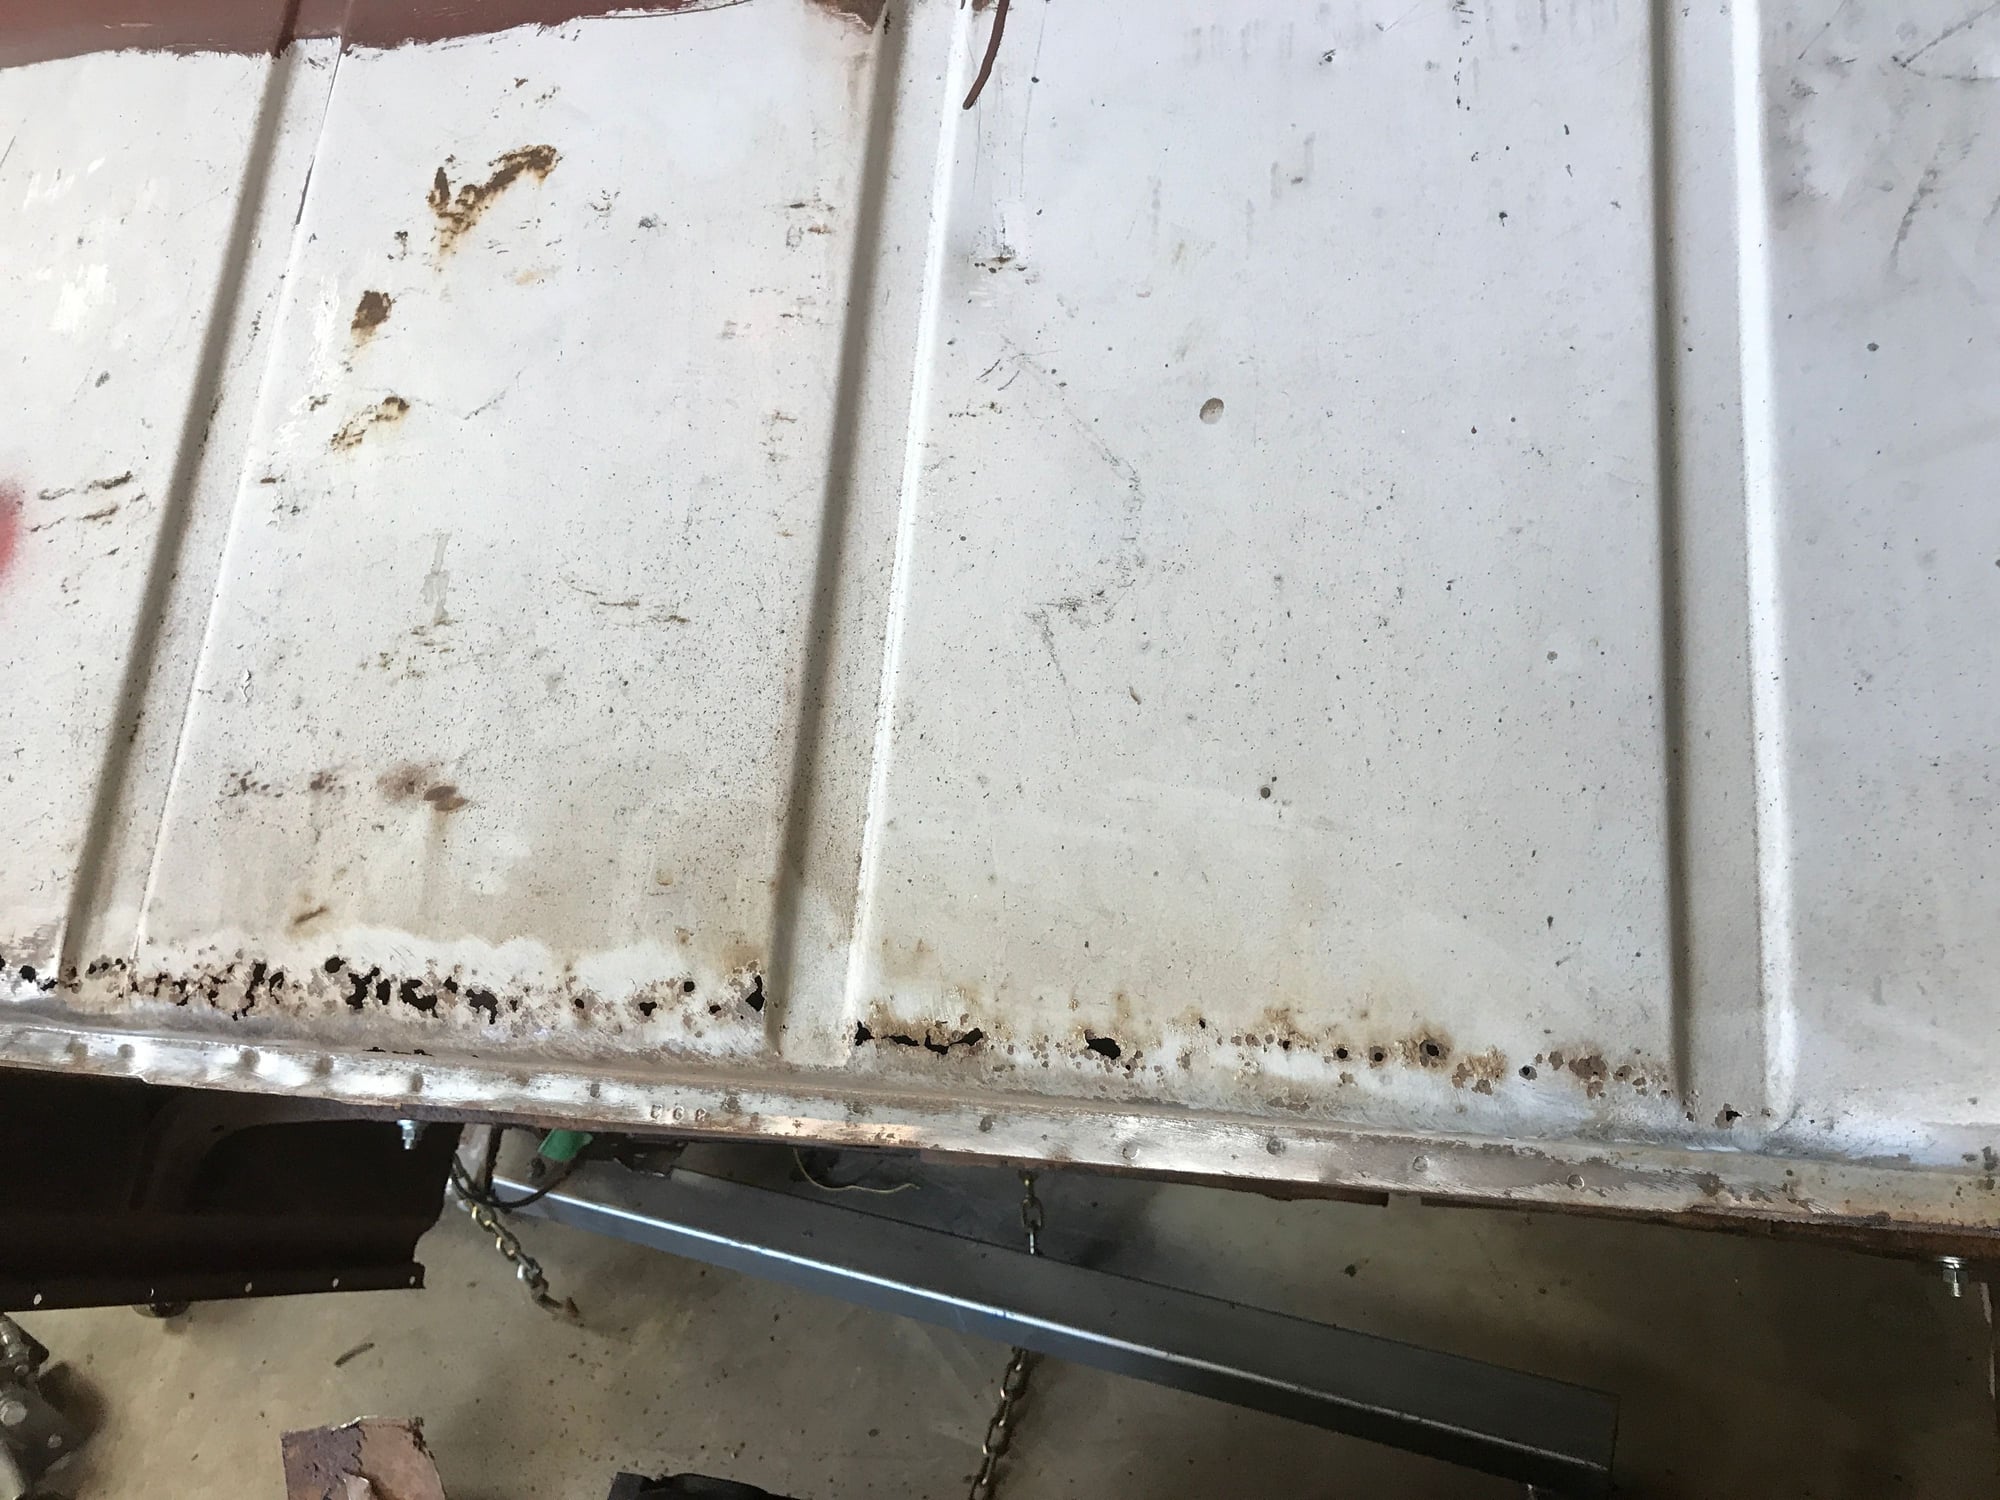
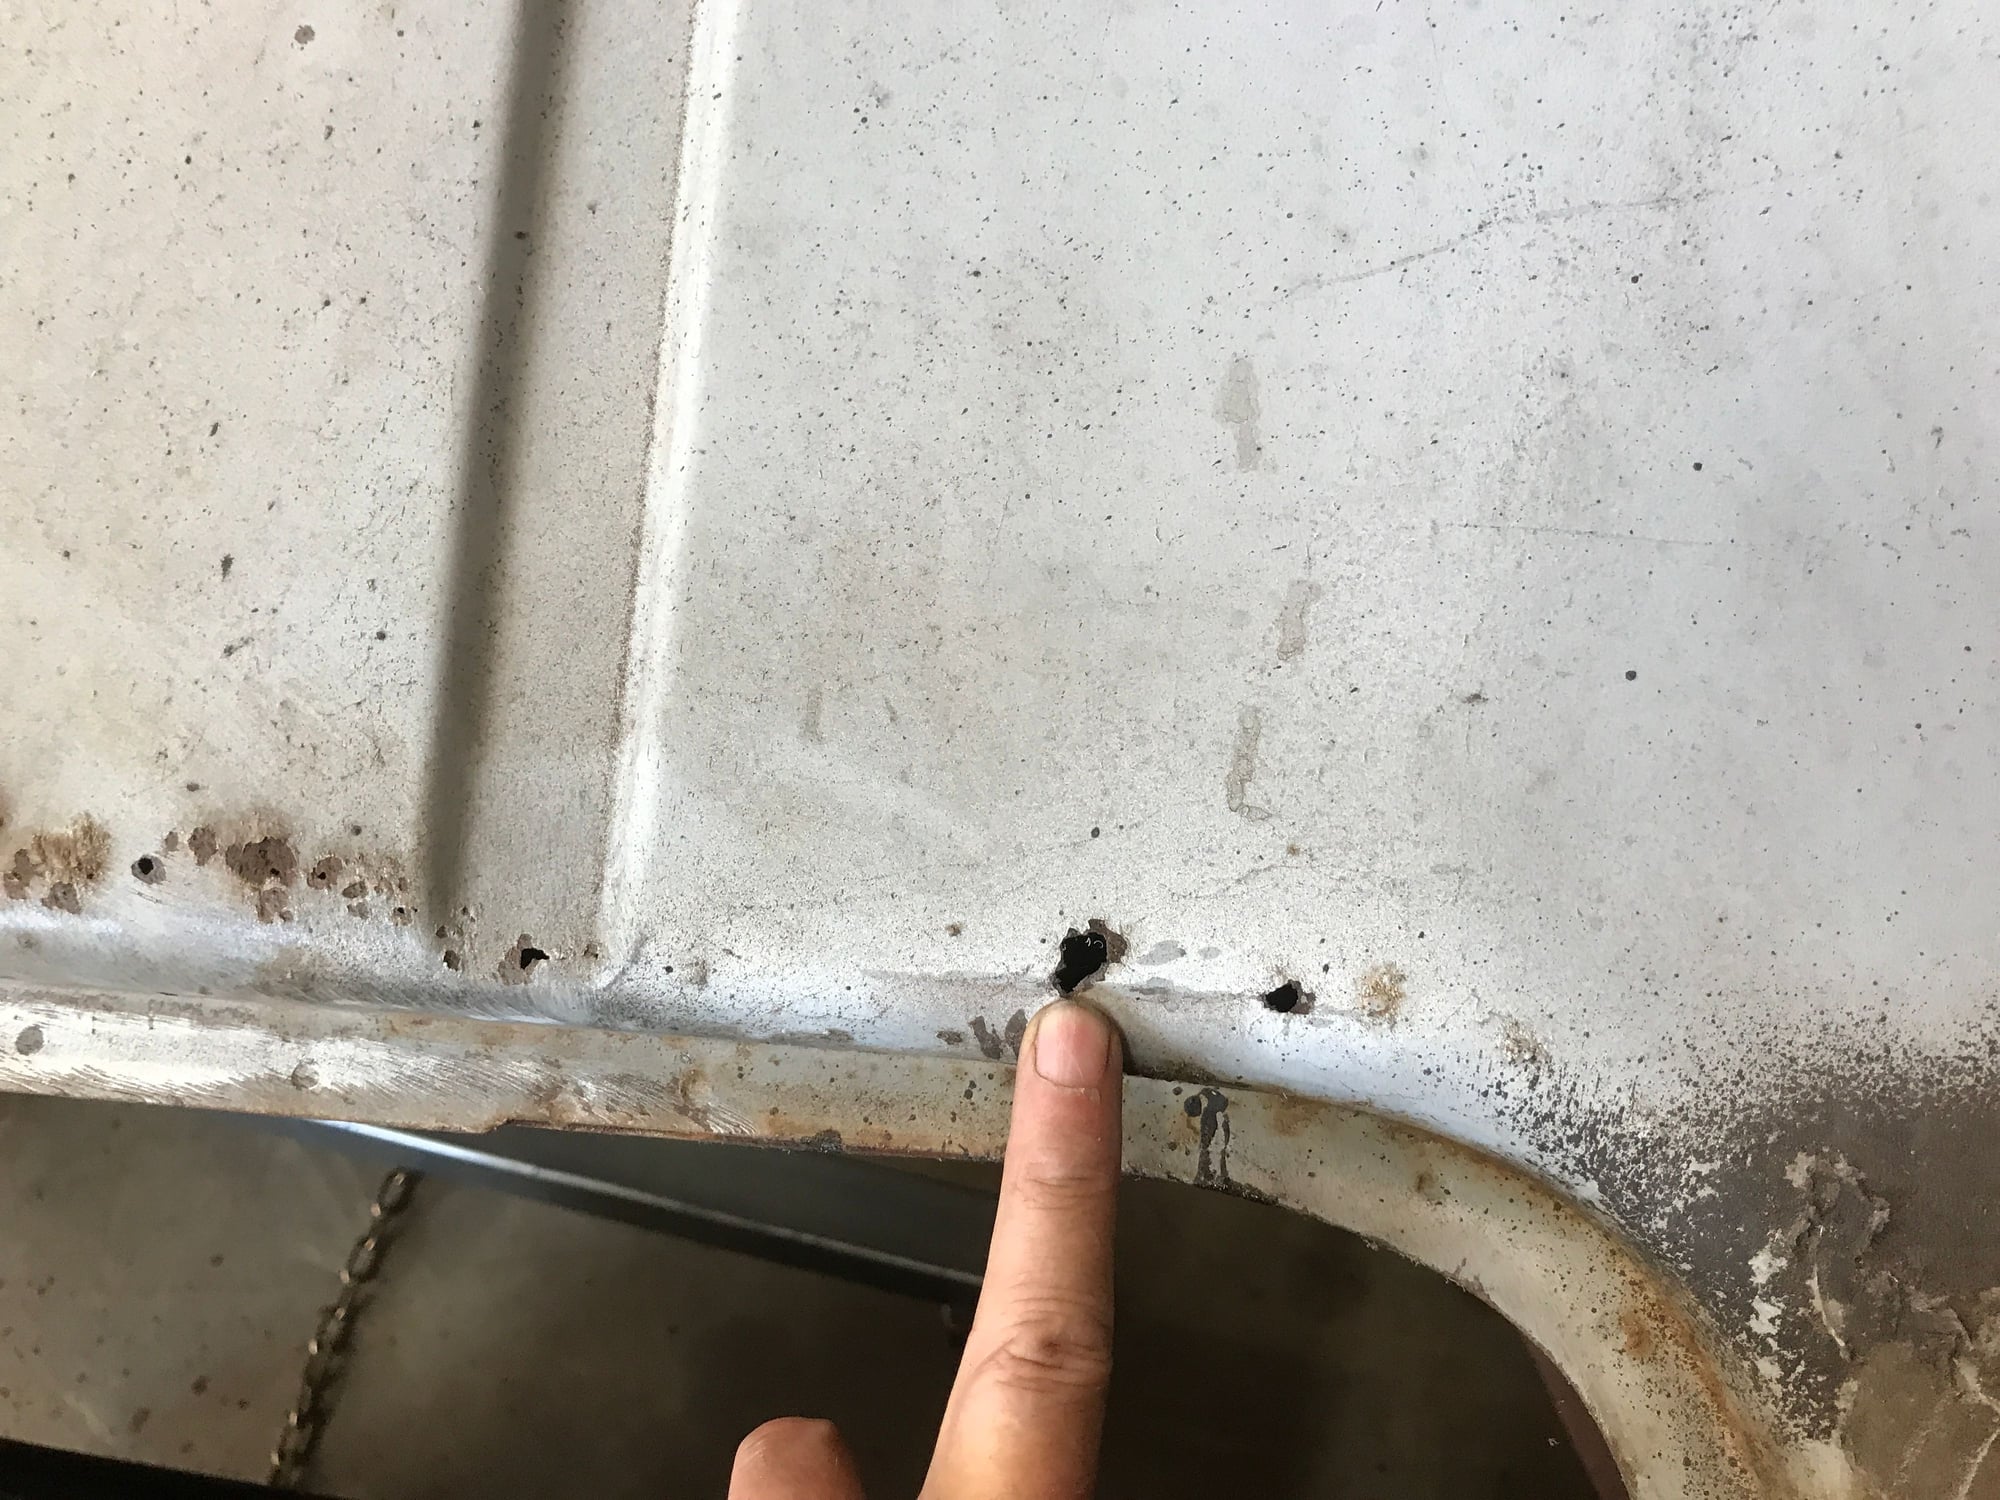
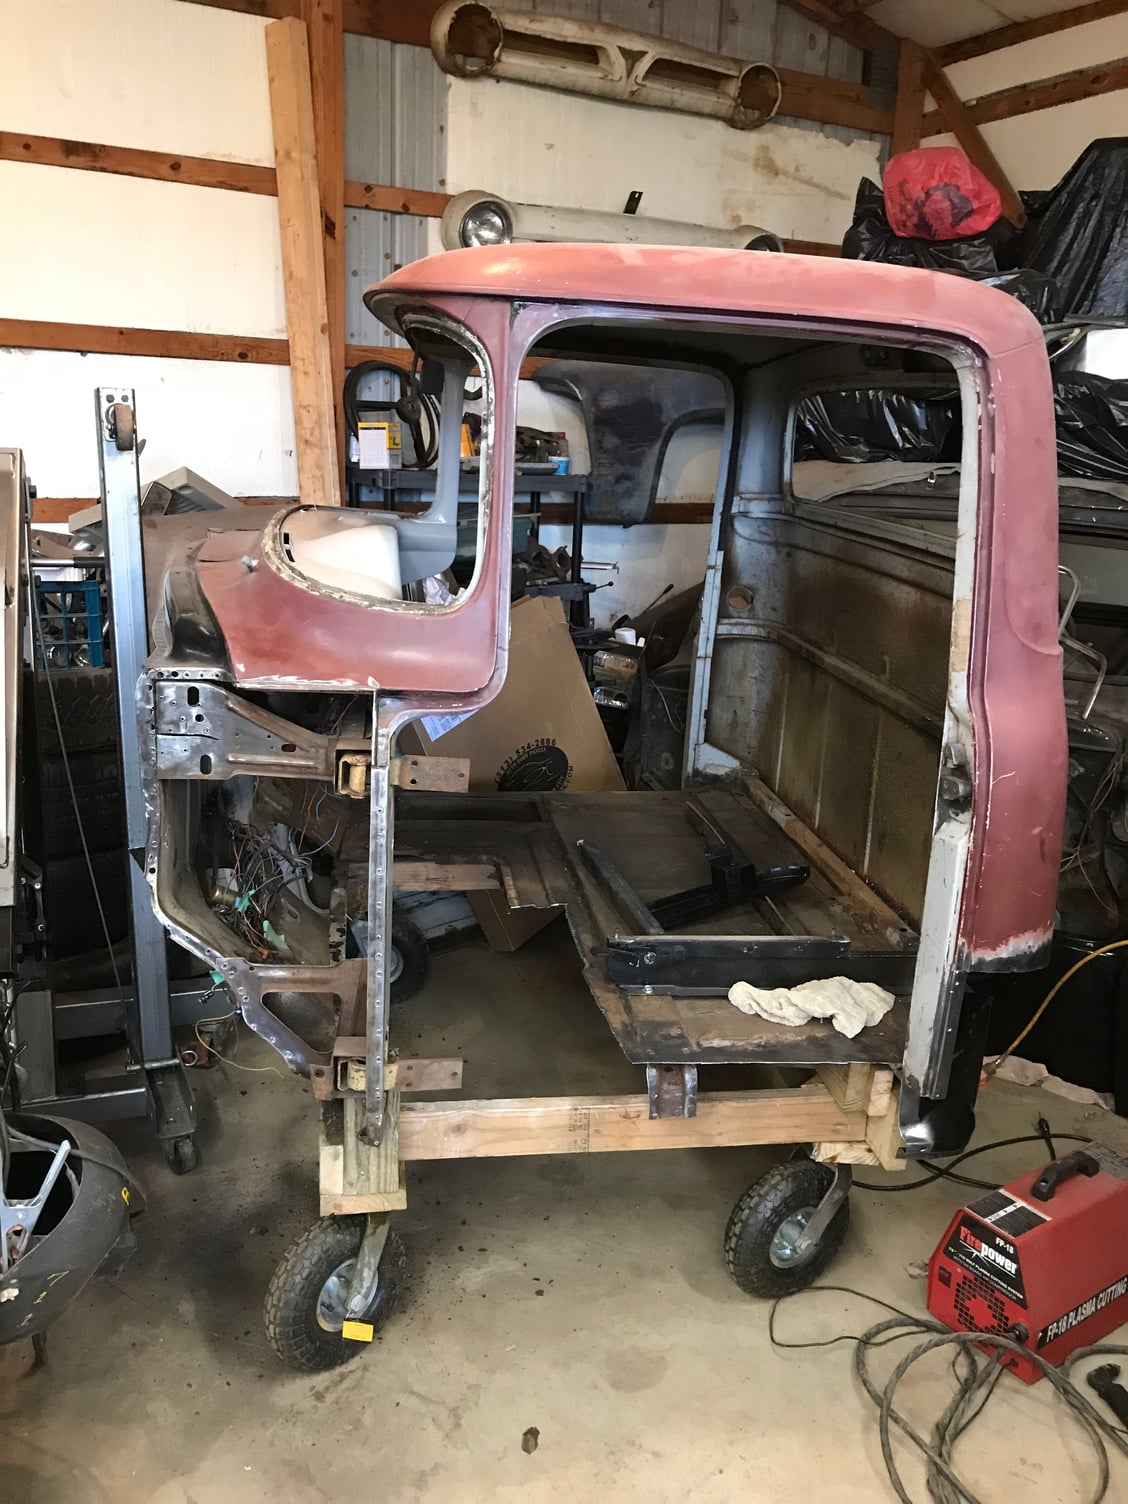
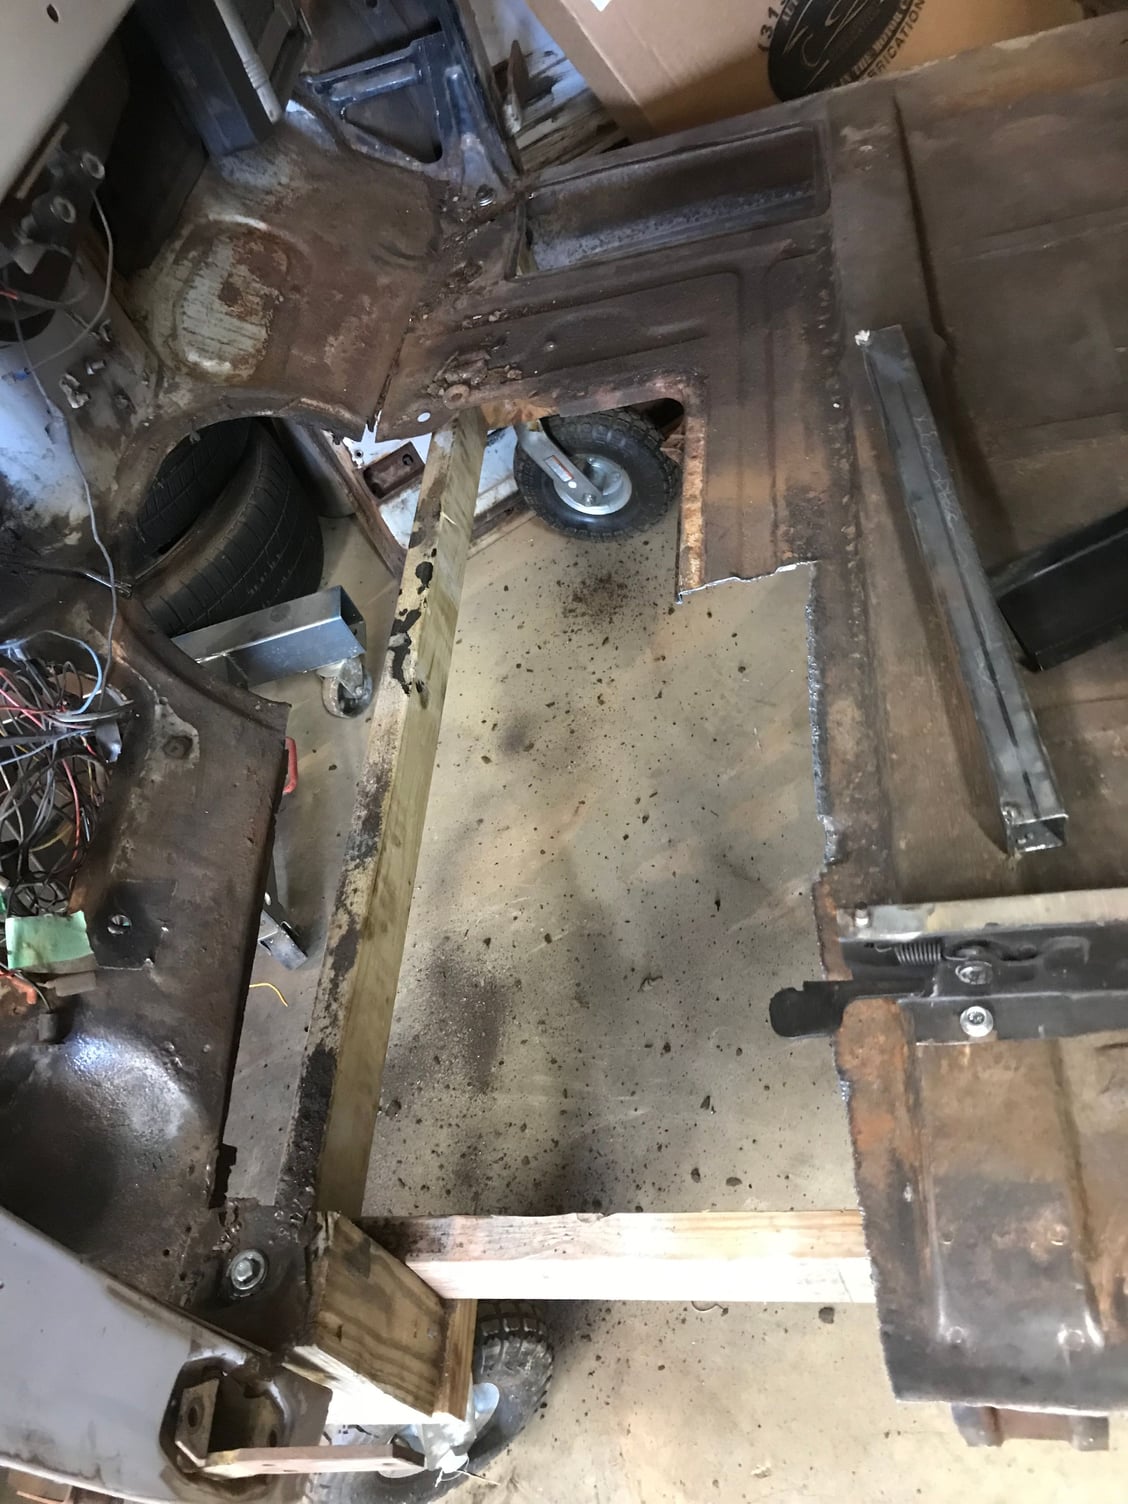
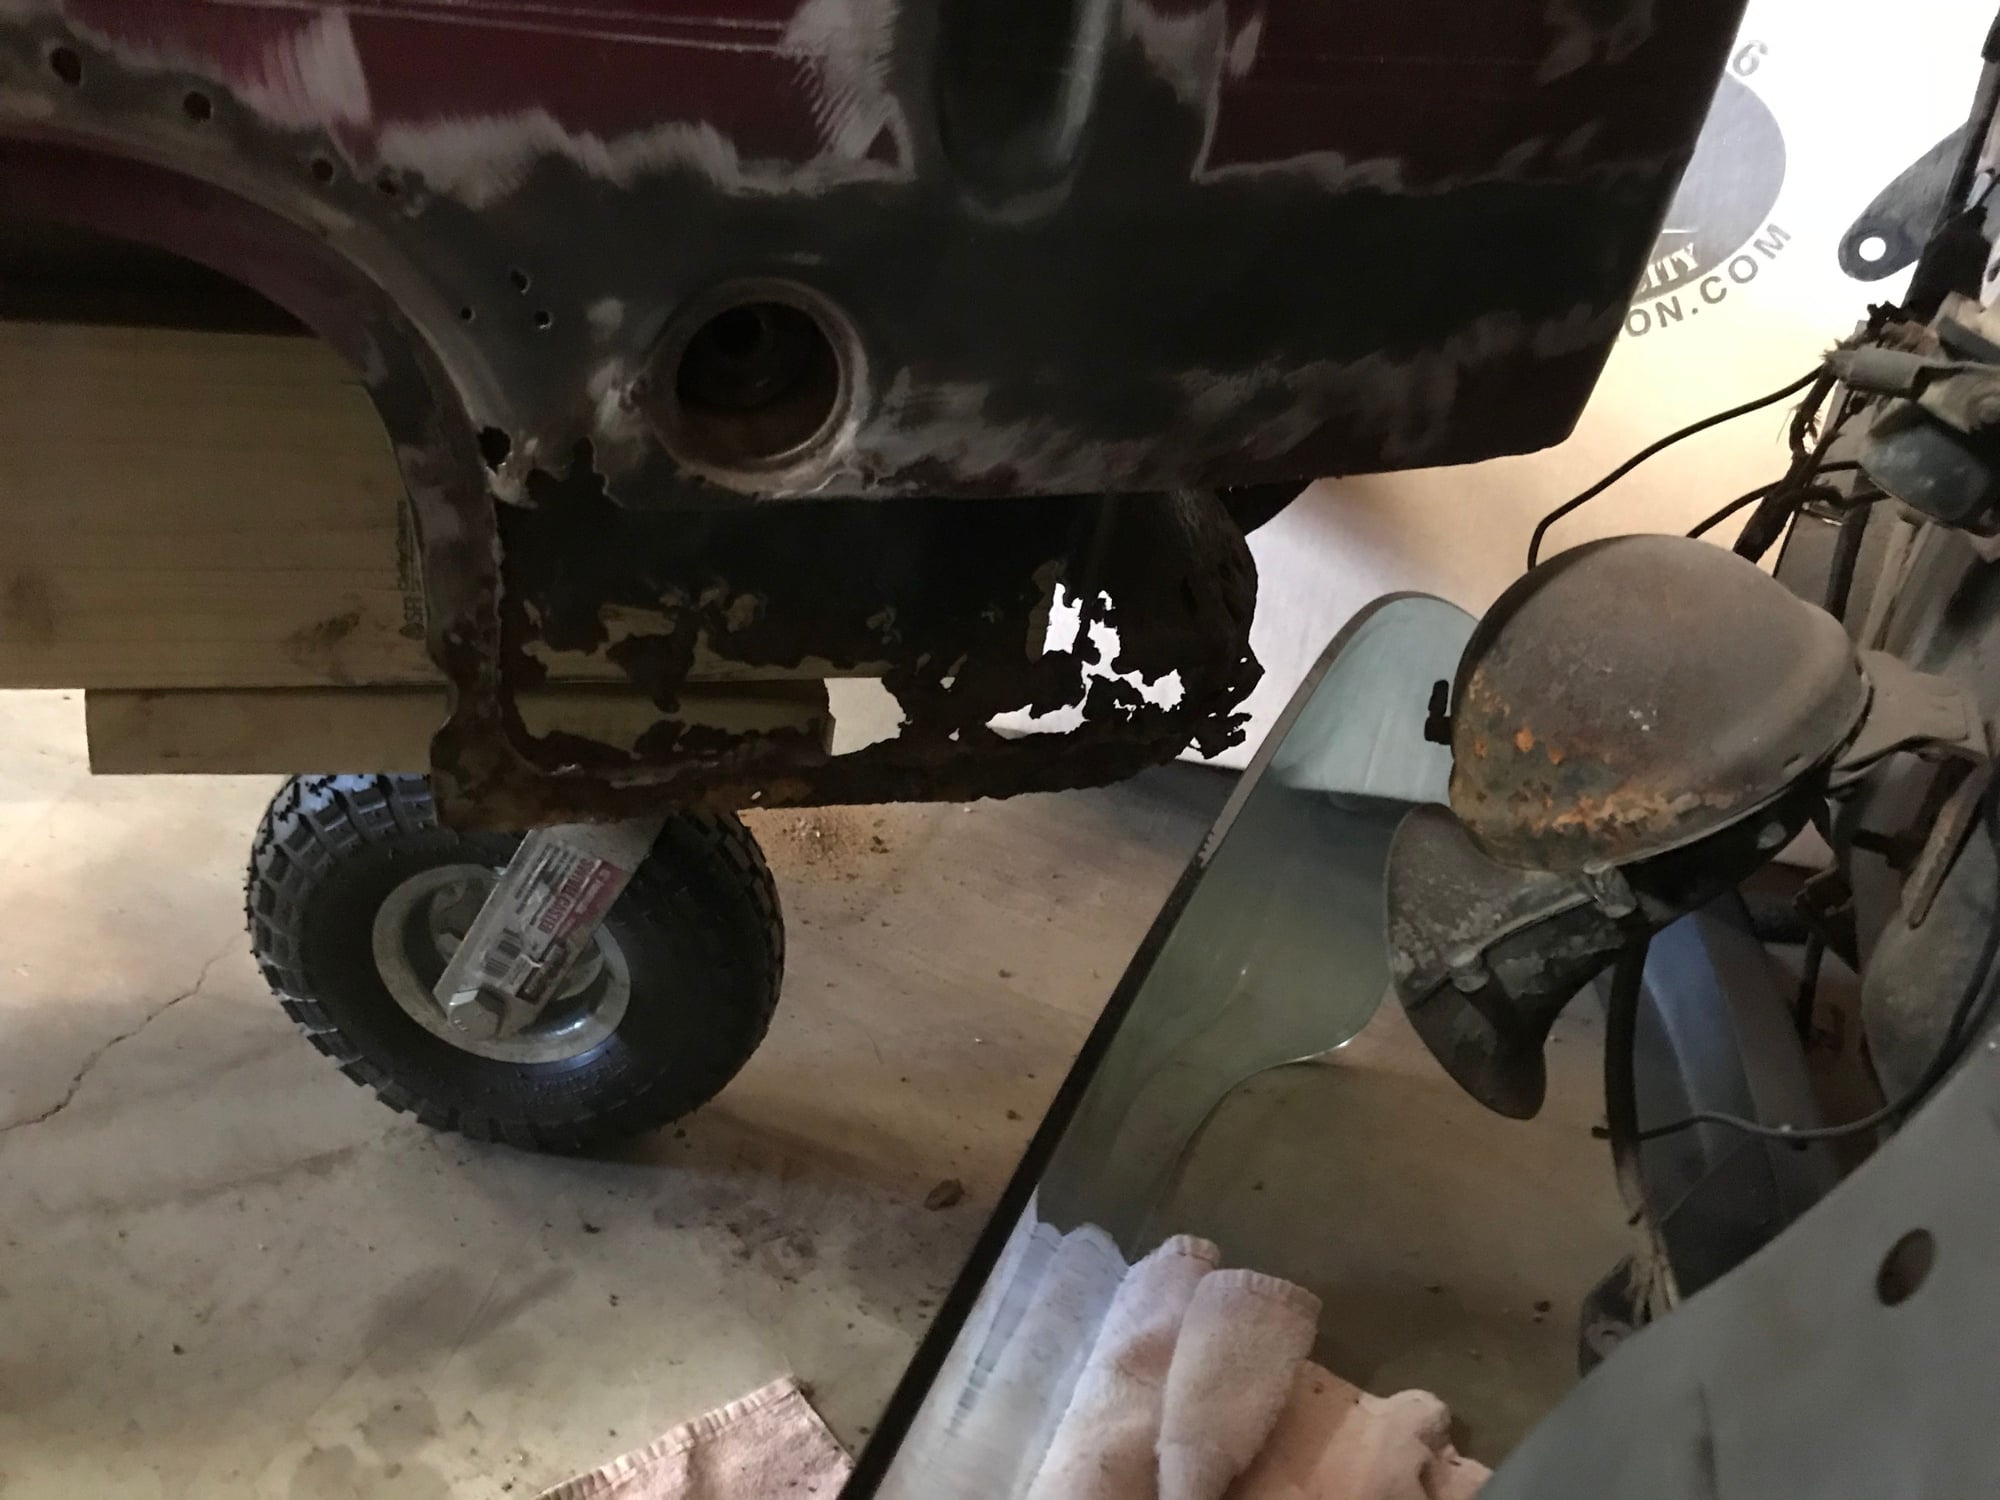
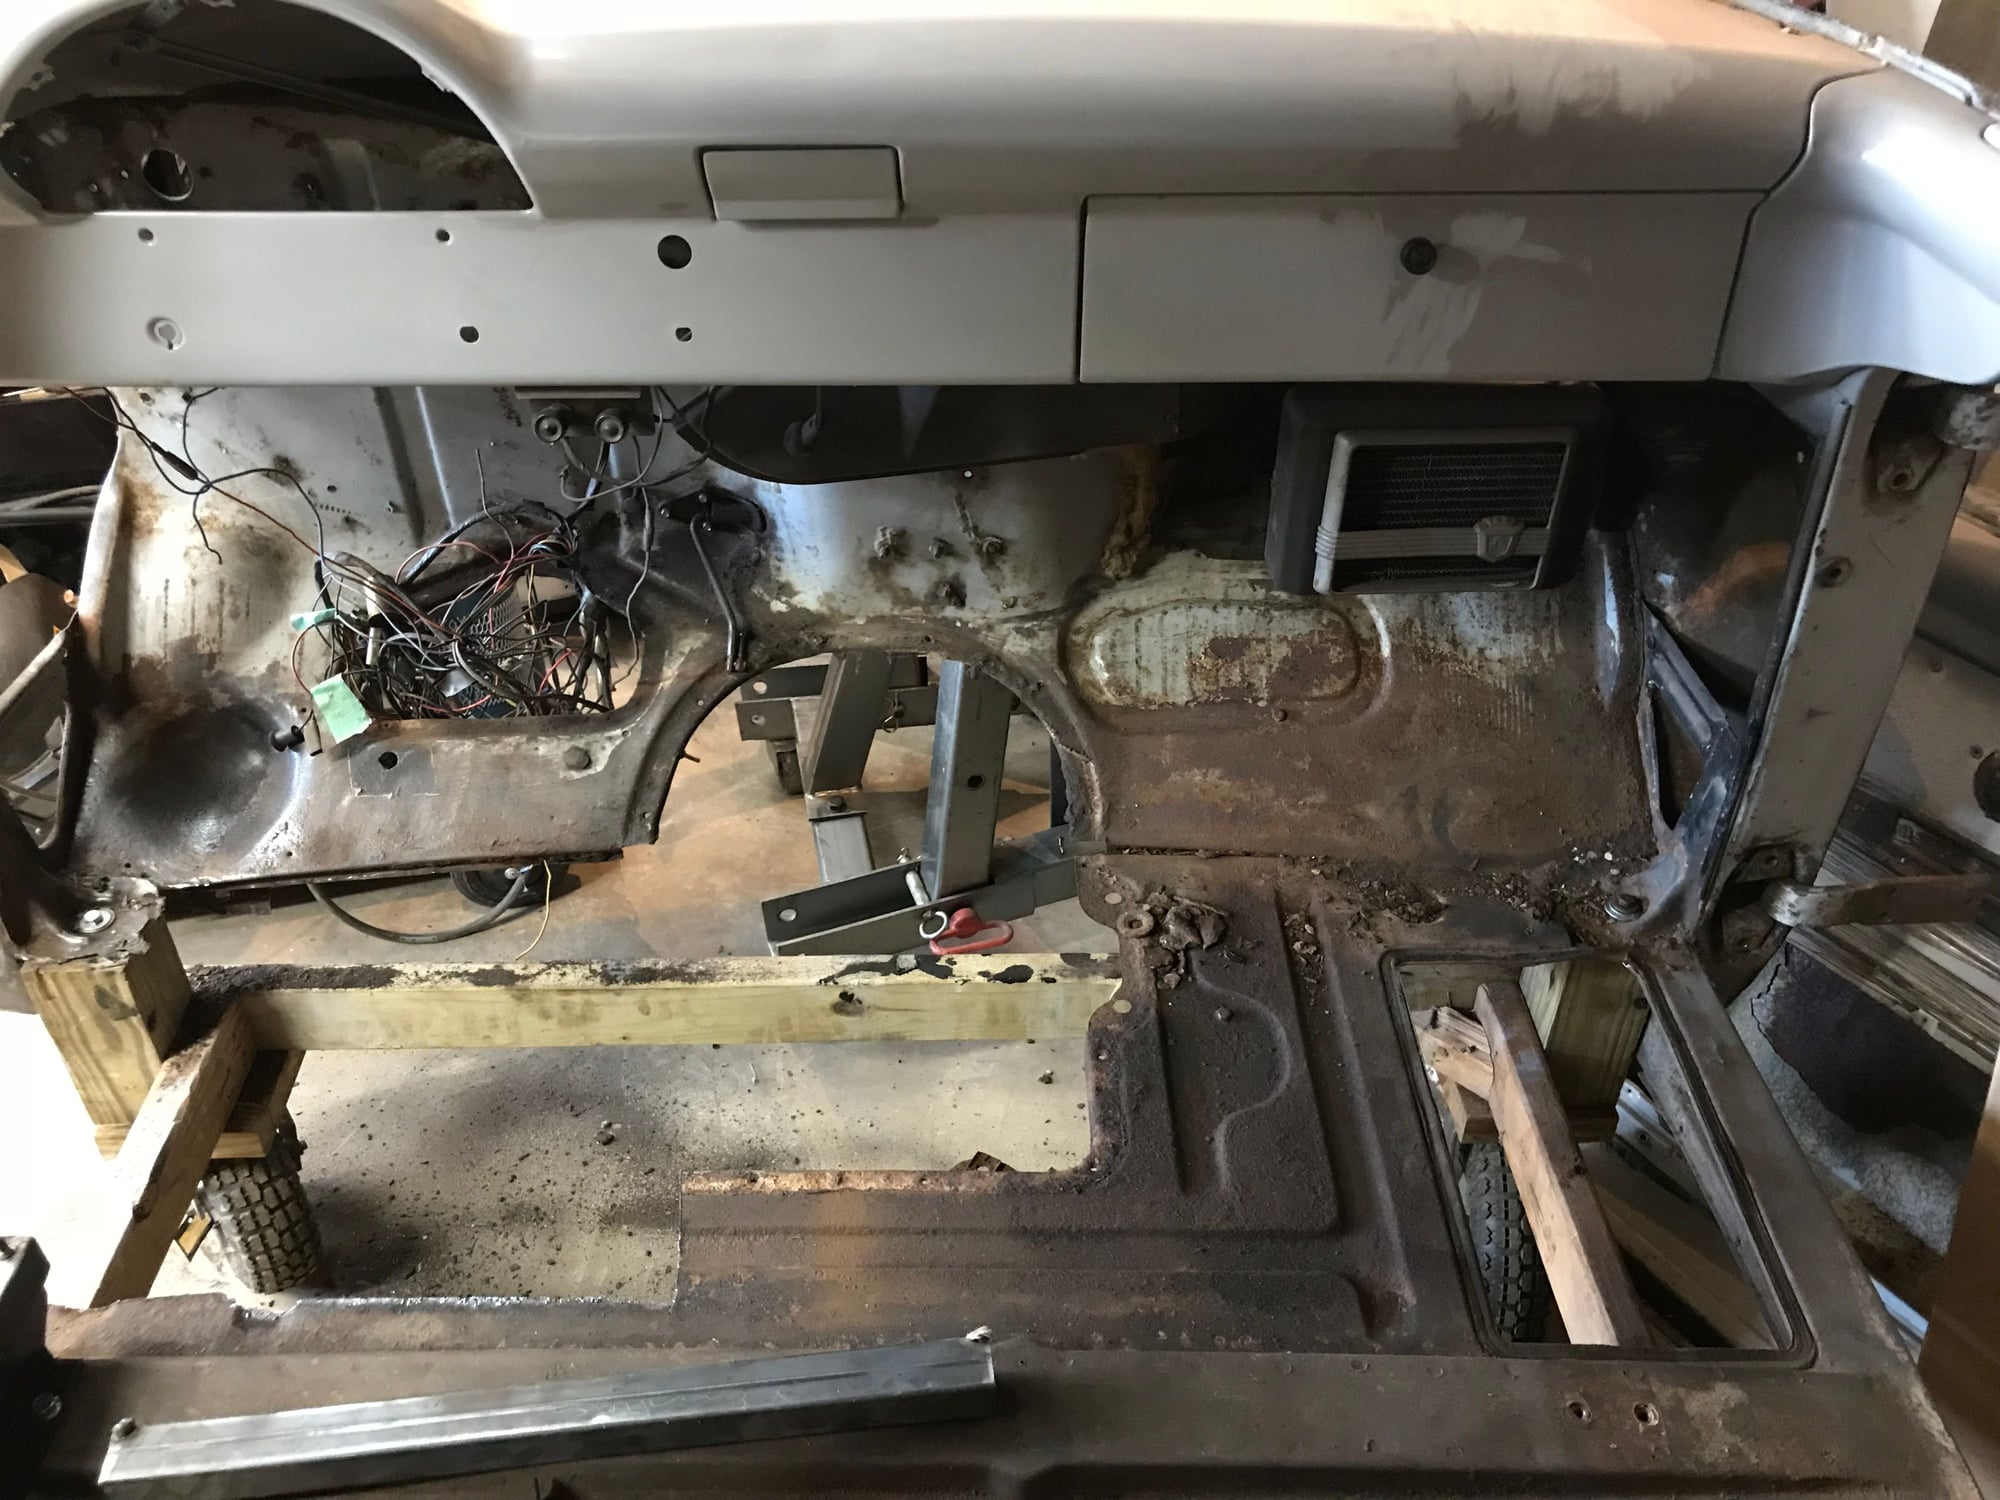
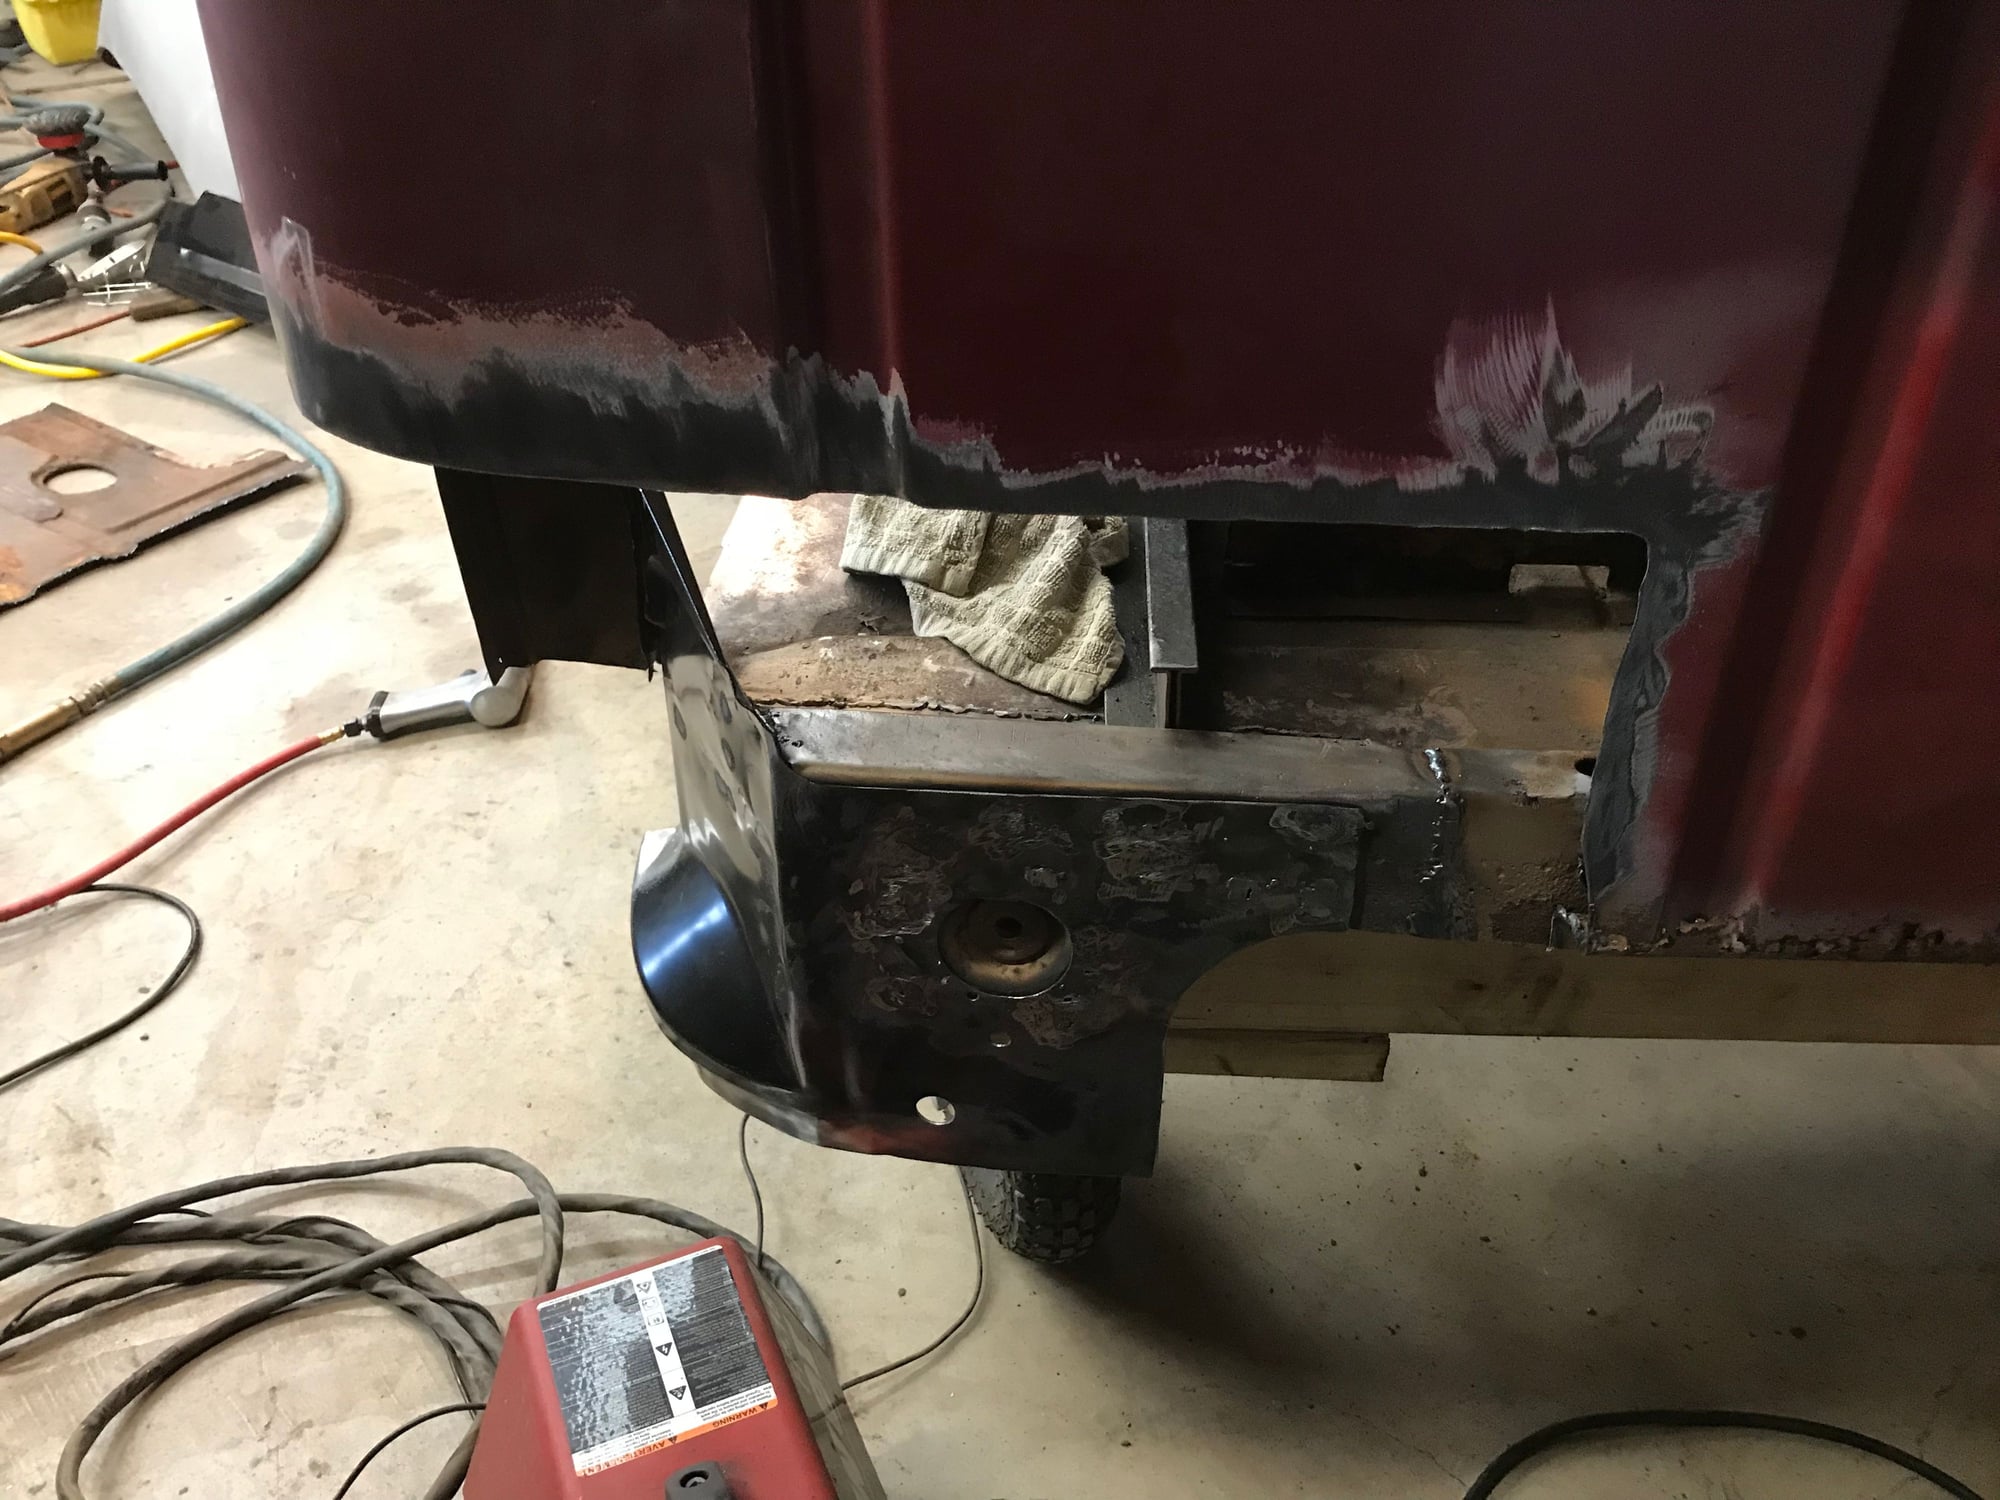
Still no progress on my cab so I decided to try to use my original cab. This one’s almost as bad. Roof’s better but bottom is shot.


  #70  
Old 10-29-2017, 11:57 AM
56panelford's Avatar
56panelford
56panelford is offline
FTE Legend
Join Date: Oct 2005
Location: northwestern Ontario
Posts: 263,775
Received 4,246 Likes on 2,719 Posts
Much like what I started out with BJ..
 
  #71  
Old 10-29-2017, 12:00 PM
bjmayberry2's Avatar
bjmayberry2
bjmayberry2 is offline
Lead Driver
Thread Starter
Join Date: Dec 2012
Location: Wentzville, MO
Posts: 8,445
Received 565 Likes on 367 Posts
Let the repairs begin.


Side view needs both rockers front and rear lower door jams.


Both front floor boards.


Passenger inner and outer corners


Looks like the firewall is still good.


Drivers front cab panel all the way to the cowl seam


Drivers inner and outer corners
 
  #72  
Old 10-29-2017, 12:03 PM
bjmayberry2's Avatar
bjmayberry2
bjmayberry2 is offline
Lead Driver
Thread Starter
Join Date: Dec 2012
Location: Wentzville, MO
Posts: 8,445
Received 565 Likes on 367 Posts
Things to make note of. Door hinge bolts are FINE threaded. Went to hang the doors and didn’t even think about them being fine. Sooo drivers door is hung with course threads now.
 
  #73  
Old 10-29-2017, 12:06 PM
bjmayberry2's Avatar
bjmayberry2
bjmayberry2 is offline
Lead Driver
Thread Starter
Join Date: Dec 2012
Location: Wentzville, MO
Posts: 8,445
Received 565 Likes on 367 Posts
Things to make note of. Door hinge bolts are fine threaded. Went to hang the doors and didn’t even think about them being fine. Sooo drivers door is hung with course threads now.

One bad thing about using my old cab is it’s only got a small back window.
 
  #74  
Old 10-29-2017, 12:18 PM
bjmayberry2's Avatar
bjmayberry2
bjmayberry2 is offline
Lead Driver
Thread Starter
Join Date: Dec 2012
Location: Wentzville, MO
Posts: 8,445
Received 565 Likes on 367 Posts
Originally Posted by 56panelford
Much like what I started out with BJ..
Seems all the good ones die young John.

I got some weld through primer but it’s copper based and smokes like crazy when I try to weld it (was also pretty pricey). What brand of weld through primer did you use? Seems like all the posts I see they are using gray colored primer.

Another question: did you sand blast your cab after you finished installing all your patches?
 
  #75  
Old 10-29-2017, 01:26 PM
56panelford's Avatar
56panelford
56panelford is offline
FTE Legend
Join Date: Oct 2005
Location: northwestern Ontario
Posts: 263,775
Received 4,246 Likes on 2,719 Posts
I mechanically cleaned the areas where I was patching and did sand blast the cab after. There were a few spots that I blasted that looked like they would be impossible to get to after the patches were in place. Where I used weld through primer at my plug welds I scraped the primer off through the holes before welding, seemed to get cleaner welds that way..After I got it all in epoxy primer I sealed all the seams with seam sealer then applied the high build primer ..


Quick Reply: Family 56 rebuild thread.


All times are GMT -5. The time now is 11:57 PM.