1948 - 1956 F1, F100 & Larger F-Series Trucks Discuss the Fat Fendered and Classic Ford Trucks

Scotty's 1952 F3, The Beginning (With Pics)

Thread Tools
 
Search this Thread
 
  #136  
Old 05-16-2016, 11:16 PM
Jules The Great's Avatar
Jules The Great
Jules The Great is offline
More Turbo
Join Date: Nov 2004
Location: Marysville, WA
Posts: 555
Received 5 Likes on 5 Posts
I think the plywood will last well, I bought all my boards individually and it cost about $350 so I know what you mean about cost!

You could even just put a coat of varnish on the wood so it looks nice until it starts getting scratched up, it will probably last fairly well with just spar varnish on top and try to keep painting the edges until it will not absorb anymore paint?
 
  #137  
Old 05-16-2016, 11:28 PM
Scotty's 52 F3's Avatar
Scotty's 52 F3
Scotty's 52 F3 is offline
Fleet Mechanic
Thread Starter
Join Date: Aug 2015
Location: Marana, Arizona
Posts: 1,993
Received 57 Likes on 50 Posts
Take a look at the Mar-K test boards. You will be surprised at how the wood looks after just a year. Even some of the best marine stuff. The paint didn't change a bit.

I'll probably get some nice bed wood after the truck is painted but, use Abe's idea of the rubber mat to cover it most of the time.

I don't mind spending some money on some nice bed wood. Just not ready yet.

Thanks for the feedback everybody.
 
  #138  
Old 05-17-2016, 07:33 AM
jmadsen's Avatar
jmadsen
jmadsen is offline
Logistics Pro
Join Date: Jul 2004
Location: Utah
Posts: 4,316
Received 29 Likes on 20 Posts
Lots of nice detailed work going on there. Trucks looking great!
Keep up the good work.
 
  #139  
Old 05-18-2016, 11:22 PM
Scotty's 52 F3's Avatar
Scotty's 52 F3
Scotty's 52 F3 is offline
Fleet Mechanic
Thread Starter
Join Date: Aug 2015
Location: Marana, Arizona
Posts: 1,993
Received 57 Likes on 50 Posts
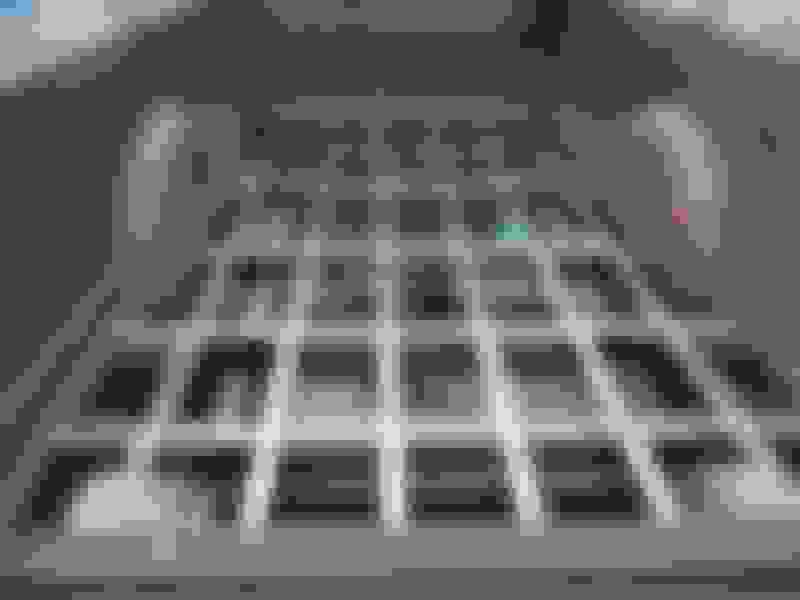
Thanks! It's getting there. Got the "Temporary" bed wood fitted today. It's not tightened down yet. I still have another coat or two of paint to put on.

The bed was a little tweeked and not quite square so it took some doin to get everything fitted and all those bolts to fall into place. LOTS of in and back out with all the pieces.


Everything fits!! Haven't welded the ends of the cross members up yet. If I decide to do that it will be when the truck comes apart for paint and body.
 
  #140  
Old 05-18-2016, 11:25 PM
Scotty's 52 F3's Avatar
Scotty's 52 F3
Scotty's 52 F3 is offline
Fleet Mechanic
Thread Starter
Join Date: Aug 2015
Location: Marana, Arizona
Posts: 1,993
Received 57 Likes on 50 Posts


I didn't cut grooves in the wood for the strips as suggested since I used plywood. Just sitting on top until I get the good stuff. After paint.


Not bolted down tight yet. Only one coat of paint so far.
 
  #141  
Old 05-18-2016, 11:30 PM
Scotty's 52 F3's Avatar
Scotty's 52 F3
Scotty's 52 F3 is offline
Fleet Mechanic
Thread Starter
Join Date: Aug 2015
Location: Marana, Arizona
Posts: 1,993
Received 57 Likes on 50 Posts


I'm happy with the look and the fit. It'll suck down tighter when I tighten the hardware. We'll see how it holds up.


I got the strips from Bruce Horkey's as well as the anti-squeak pads and the 8 bed mounting bolts. I bought bulk 5/16" stainless carriage bolts, nuts and washers for the rest of the bed cheap on line.

I have a usable Truck!!! I'll be getting loads of landscape rock on Monday. Gotta take a break from the truck and get the yard finished for Momma.
 
  #142  
Old 05-18-2016, 11:31 PM
Jules The Great's Avatar
Jules The Great
Jules The Great is offline
More Turbo
Join Date: Nov 2004
Location: Marysville, WA
Posts: 555
Received 5 Likes on 5 Posts
That looks Good Scott!

Make sure you tighten them all down evenly so you don't crush it into the wood in one place.
 
  #143  
Old 05-18-2016, 11:39 PM
Scotty's 52 F3's Avatar
Scotty's 52 F3
Scotty's 52 F3 is offline
Fleet Mechanic
Thread Starter
Join Date: Aug 2015
Location: Marana, Arizona
Posts: 1,993
Received 57 Likes on 50 Posts
You mean I shouldn't use my 1" drive impact? Thanks! I'll be careful. Especially after all the test fitting that went on. I really don't want to start over already.
 
  #144  
Old 05-19-2016, 12:19 AM
Jules The Great's Avatar
Jules The Great
Jules The Great is offline
More Turbo
Join Date: Nov 2004
Location: Marysville, WA
Posts: 555
Received 5 Likes on 5 Posts
HAHA you could if you wanted. I put all my boards in being careful to bring the bolt for each strip up evenly, then on the last center board I tightened the back two first then the rest and when I came up topside I was horrified! I loosened them but it was too late after all that work with the Oak still looks ok in the end
 
  #145  
Old 05-19-2016, 10:53 AM
abe's Avatar
abe
abe is offline
One Meadow Green Owner

Join Date: Dec 2000
Location: Central PA
Posts: 22,338
Received 2,745 Likes on 1,523 Posts
That looks good! Oil base paint or latex?

Don't over tighten the bed strips! They will bend.
 
  #146  
Old 05-19-2016, 11:22 AM
Scotty's 52 F3's Avatar
Scotty's 52 F3
Scotty's 52 F3 is offline
Fleet Mechanic
Thread Starter
Join Date: Aug 2015
Location: Marana, Arizona
Posts: 1,993
Received 57 Likes on 50 Posts
It's oil base Valspar Tractor and Implement Paint. Got it for my frame. Thanks for the warnings about tightening the bed strips. I'll be careful.

Too bad the replacement strips aren't as heavy duty as the originals. The originals are slightly wider too.
 
  #147  
Old 05-20-2016, 11:22 PM
Scotty's 52 F3's Avatar
Scotty's 52 F3
Scotty's 52 F3 is offline
Fleet Mechanic
Thread Starter
Join Date: Aug 2015
Location: Marana, Arizona
Posts: 1,993
Received 57 Likes on 50 Posts


Got'r done......almost. The eBay vendor only sent me 38 of the 100 bolts I ordered so I'm short 16 bolts to finish the bed and all the extras I was SUPPOSED to have for other stuff.
 
  #148  
Old 05-20-2016, 11:24 PM
Scotty's 52 F3's Avatar
Scotty's 52 F3
Scotty's 52 F3 is offline
Fleet Mechanic
Thread Starter
Join Date: Aug 2015
Location: Marana, Arizona
Posts: 1,993
Received 57 Likes on 50 Posts


Notice the lip at the tail gate end of the wood. The wood really needs to be 1" thick or better to sit flush.
 
  #149  
Old 05-21-2016, 10:34 PM
52 4x4's Avatar
52 4x4
52 4x4 is offline
Tuned
Join Date: Oct 2005
Location: Northern OR
Posts: 475
Received 17 Likes on 8 Posts
Nice job on that bed! Question on the distributor modifications: Are you running full manifold vacuum for the advance, or using ported vacuum from the carb? Seems like you would need to block off the passage to the venturi port if using the stock port on the carb. Might have to block off a passage at the gasket between the main body and the throttle body if you haven't already. I don't see a battery hold-down in your pictures - unless it's just out of sight. Thanks for all the neat pictures! - Bob
 
  #150  
Old 05-22-2016, 12:18 AM
Scotty's 52 F3's Avatar
Scotty's 52 F3
Scotty's 52 F3 is offline
Fleet Mechanic
Thread Starter
Join Date: Aug 2015
Location: Marana, Arizona
Posts: 1,993
Received 57 Likes on 50 Posts
Thanks Bob, I drilled and tapped the plug that went in the intake manifold on the rear of the intake below the carb. I can take a pic tomorrow. I plugged the port in the carb for the stock distributor.

I curved the distributor as recommended by some experts on the Ford Barn. Runs great and doesn't look like a Chevy HEI. (Even though they work great)

No battery hold down. Didn't have one when I got the truck. The #00 battery cables I made are so stiff they hold it pretty steady. Guess I better fab one to be safe.

The truck in your avatar looks bad ***.


Quick Reply: Scotty's 1952 F3, The Beginning (With Pics)


All times are GMT -5. The time now is 03:01 PM.