Notices
1987 - 1996 F150 & Larger F-Series Trucks 1987 - 1996 Ford F-150, F-250, F-350 and larger pickups - including the 1997 heavy-duty F250/F350+ trucks
Sponsored by:
Sponsored by:

Has anyone here ever successfully disassembled a 40/20/40 center console?

Thread Tools
 
Search this Thread
 
  #16  
Old 07-12-2018, 11:34 PM
Scndsin's Avatar
Scndsin
Scndsin is online now
FTE Chapter Leader

Join Date: May 2006
Location: Central Mississippi
Posts: 11,175
Received 760 Likes on 542 Posts
You can post pics now if you create an album & utilize the share function. (see side bar of "user cp")

I think you need 25 posts if you want to use the attachment function.
 
  #17  
Old 07-12-2018, 11:55 PM
Fordza's Avatar
Fordza
Fordza is offline
New User
Join Date: Jan 2014
Location: Columbus
Posts: 16
Likes: 0
Received 0 Likes on 0 Posts


Thanks Scndsin, not sure how to create and album but I'll give it a try.

 
  #18  
Old 07-13-2018, 12:02 AM
Fordza's Avatar
Fordza
Fordza is offline
New User
Join Date: Jan 2014
Location: Columbus
Posts: 16
Likes: 0
Received 0 Likes on 0 Posts


Nice, appears to be working.
 
  #19  
Old 07-13-2018, 12:18 AM
Fordza's Avatar
Fordza
Fordza is offline
New User
Join Date: Jan 2014
Location: Columbus
Posts: 16
Likes: 0
Received 0 Likes on 0 Posts


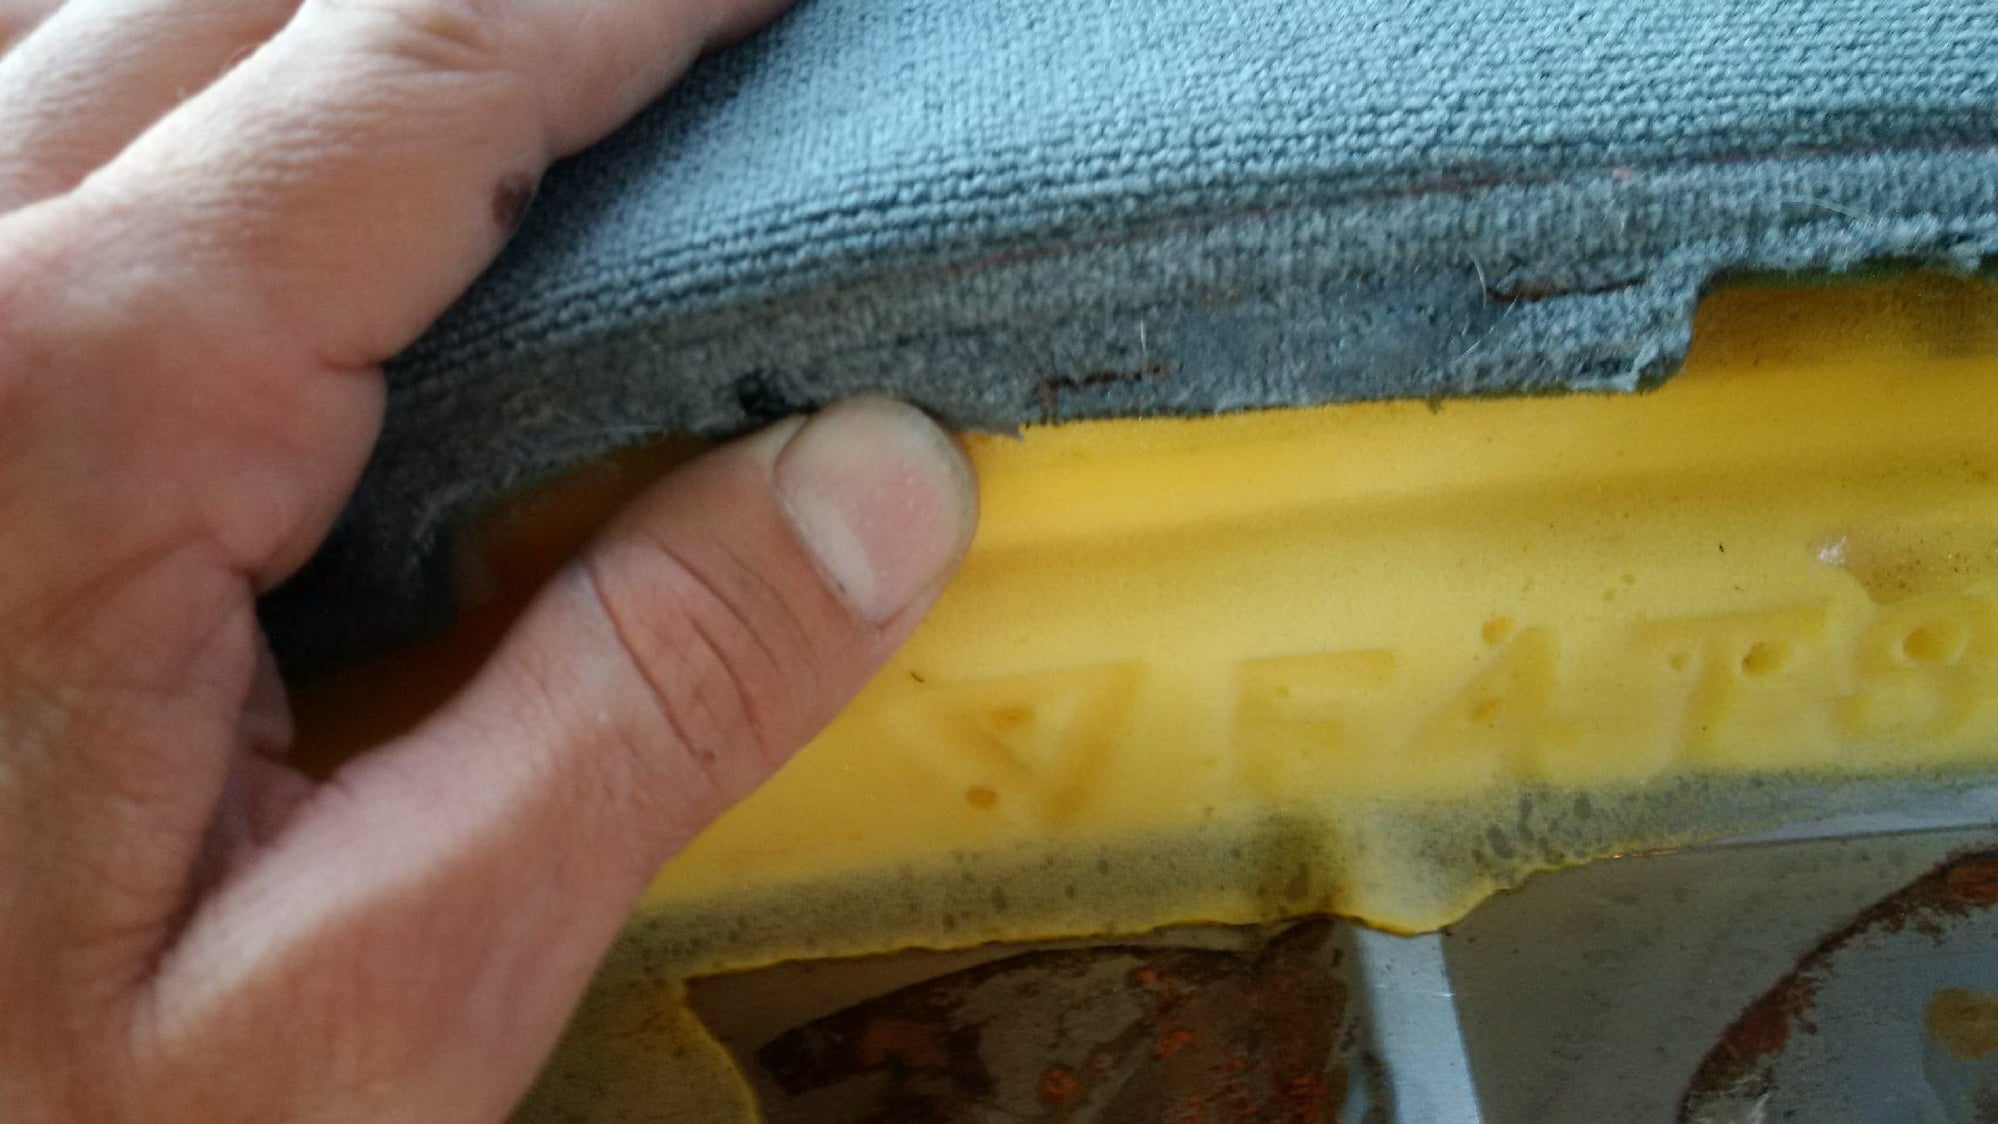
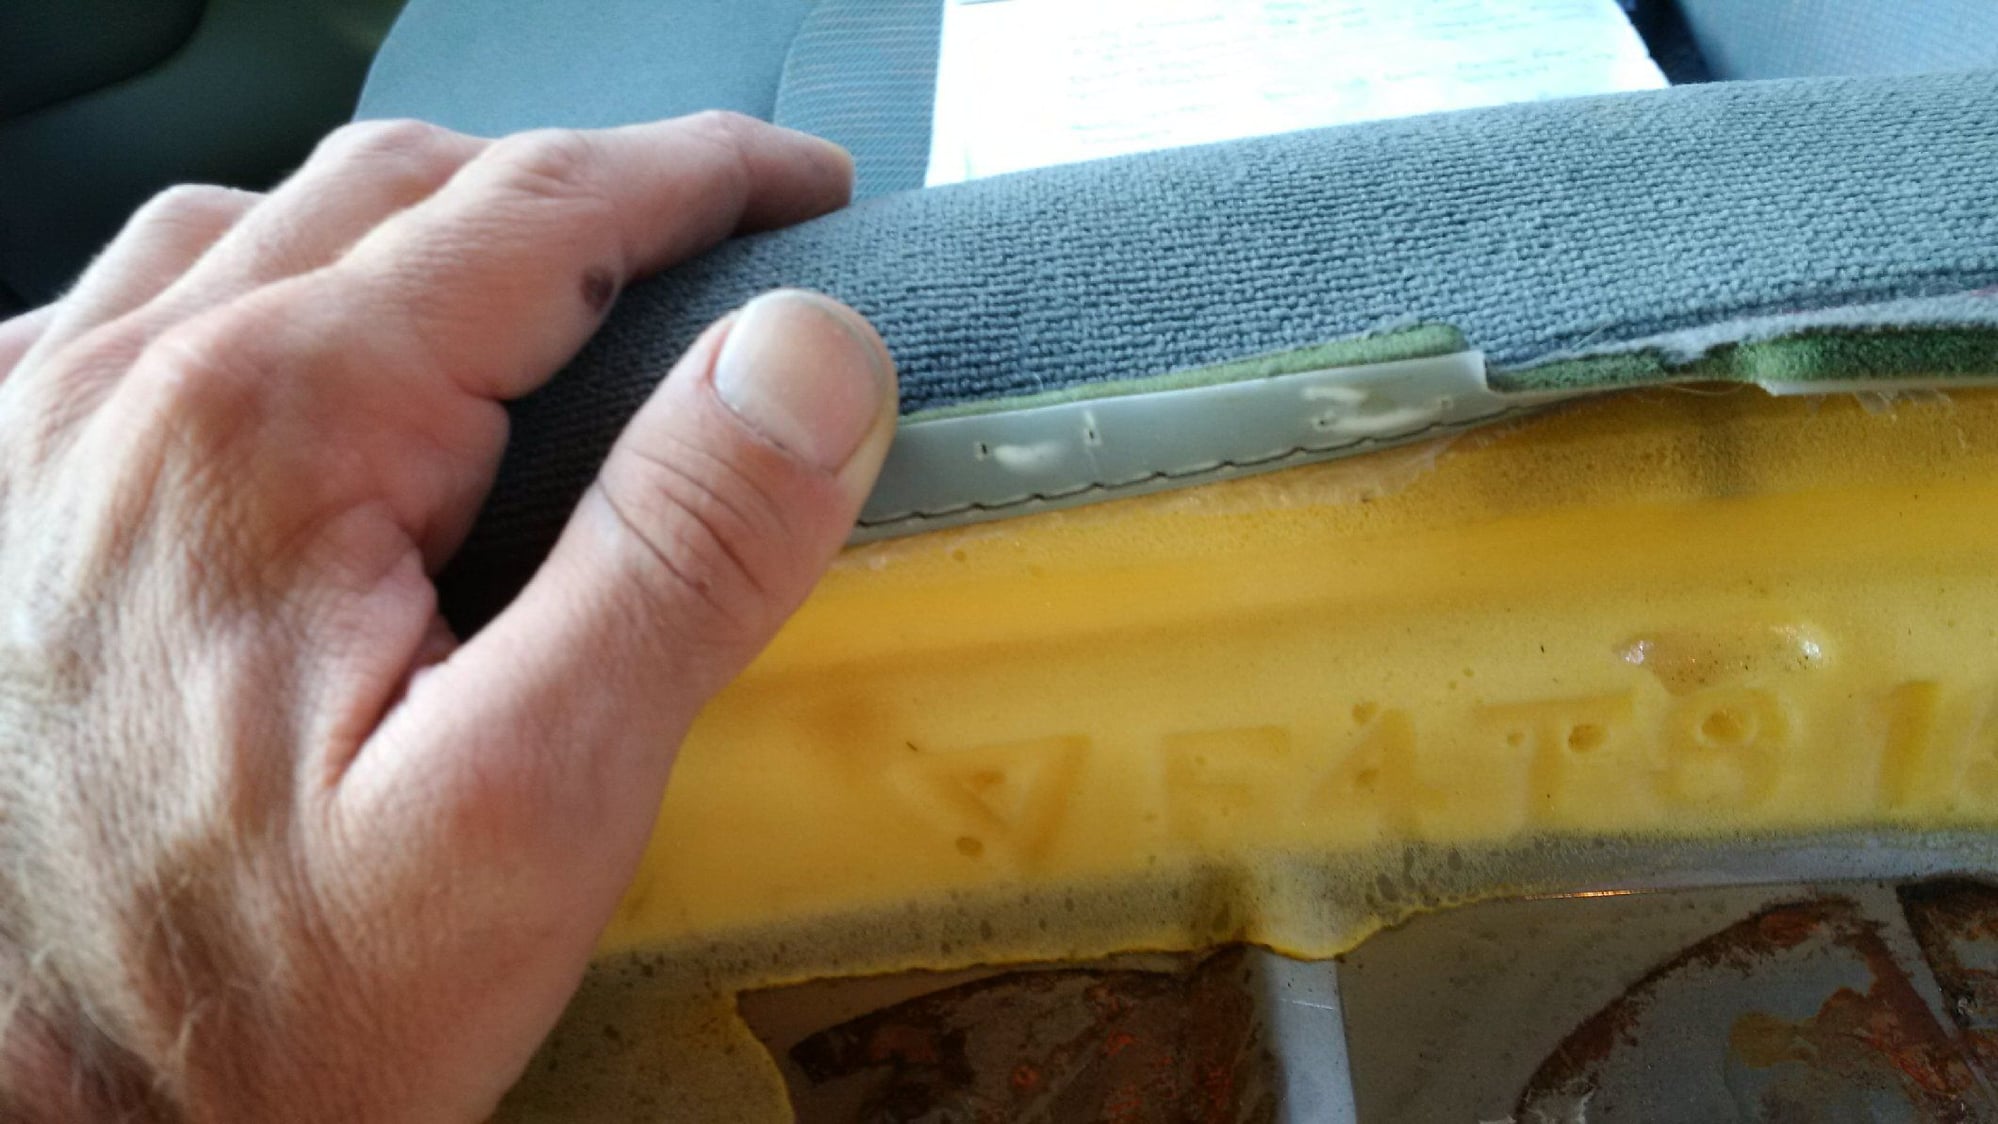
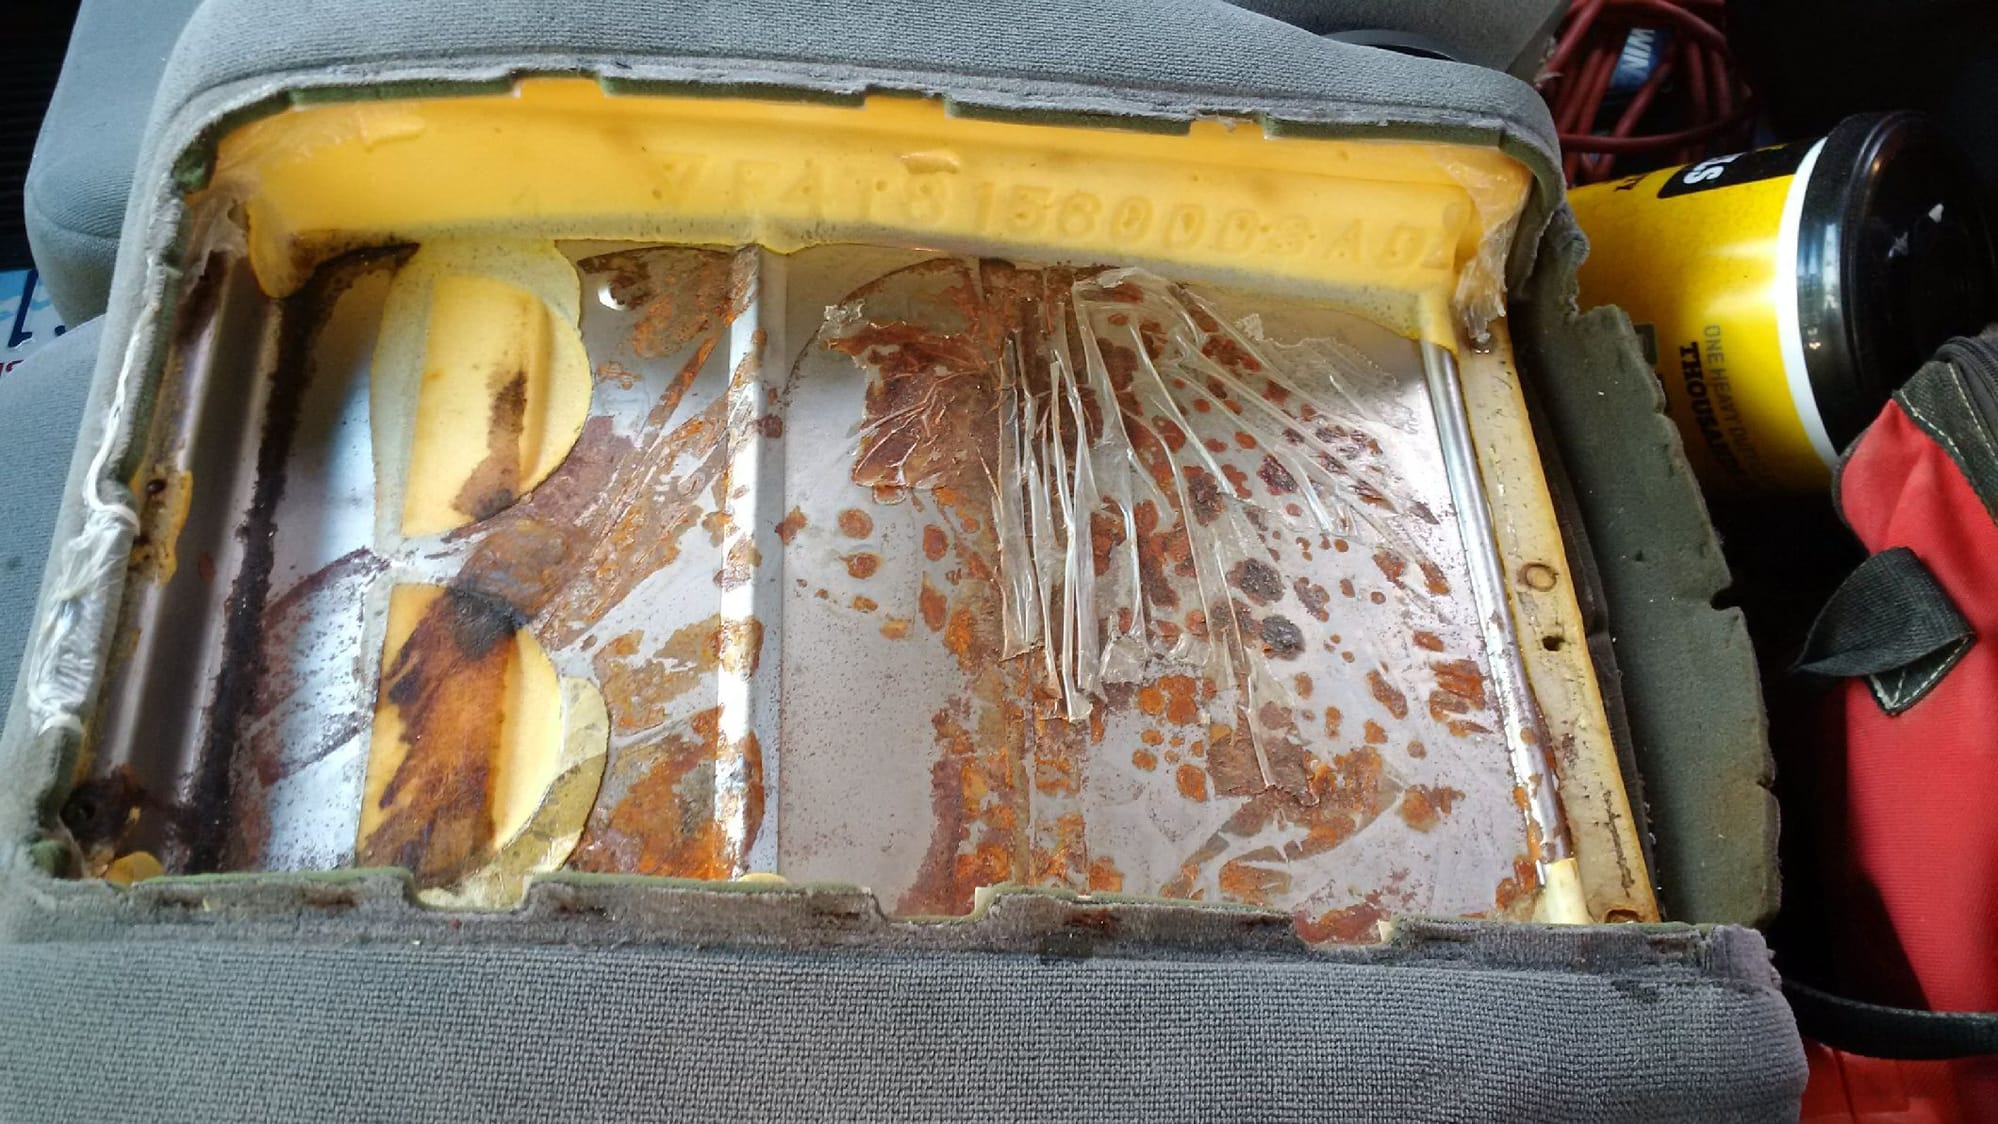
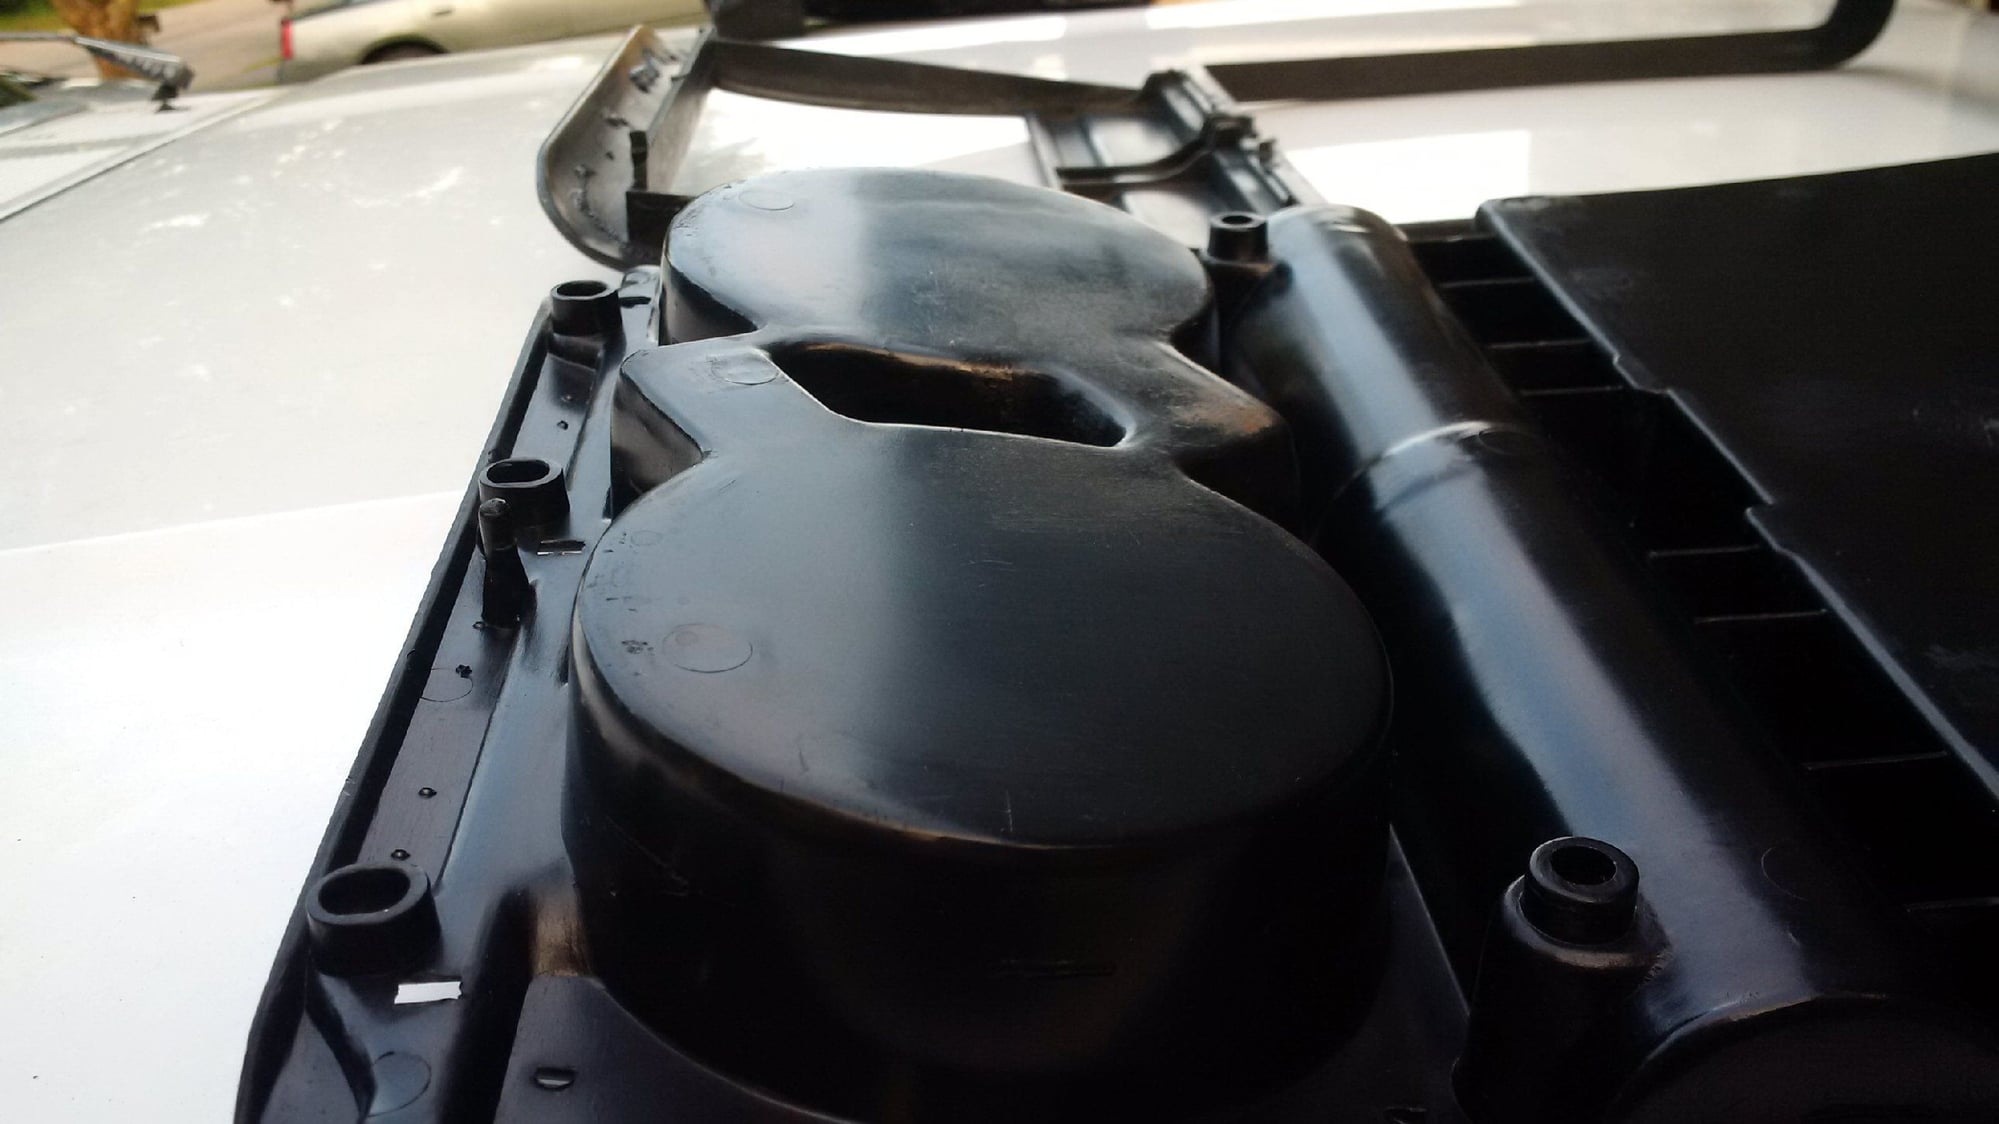
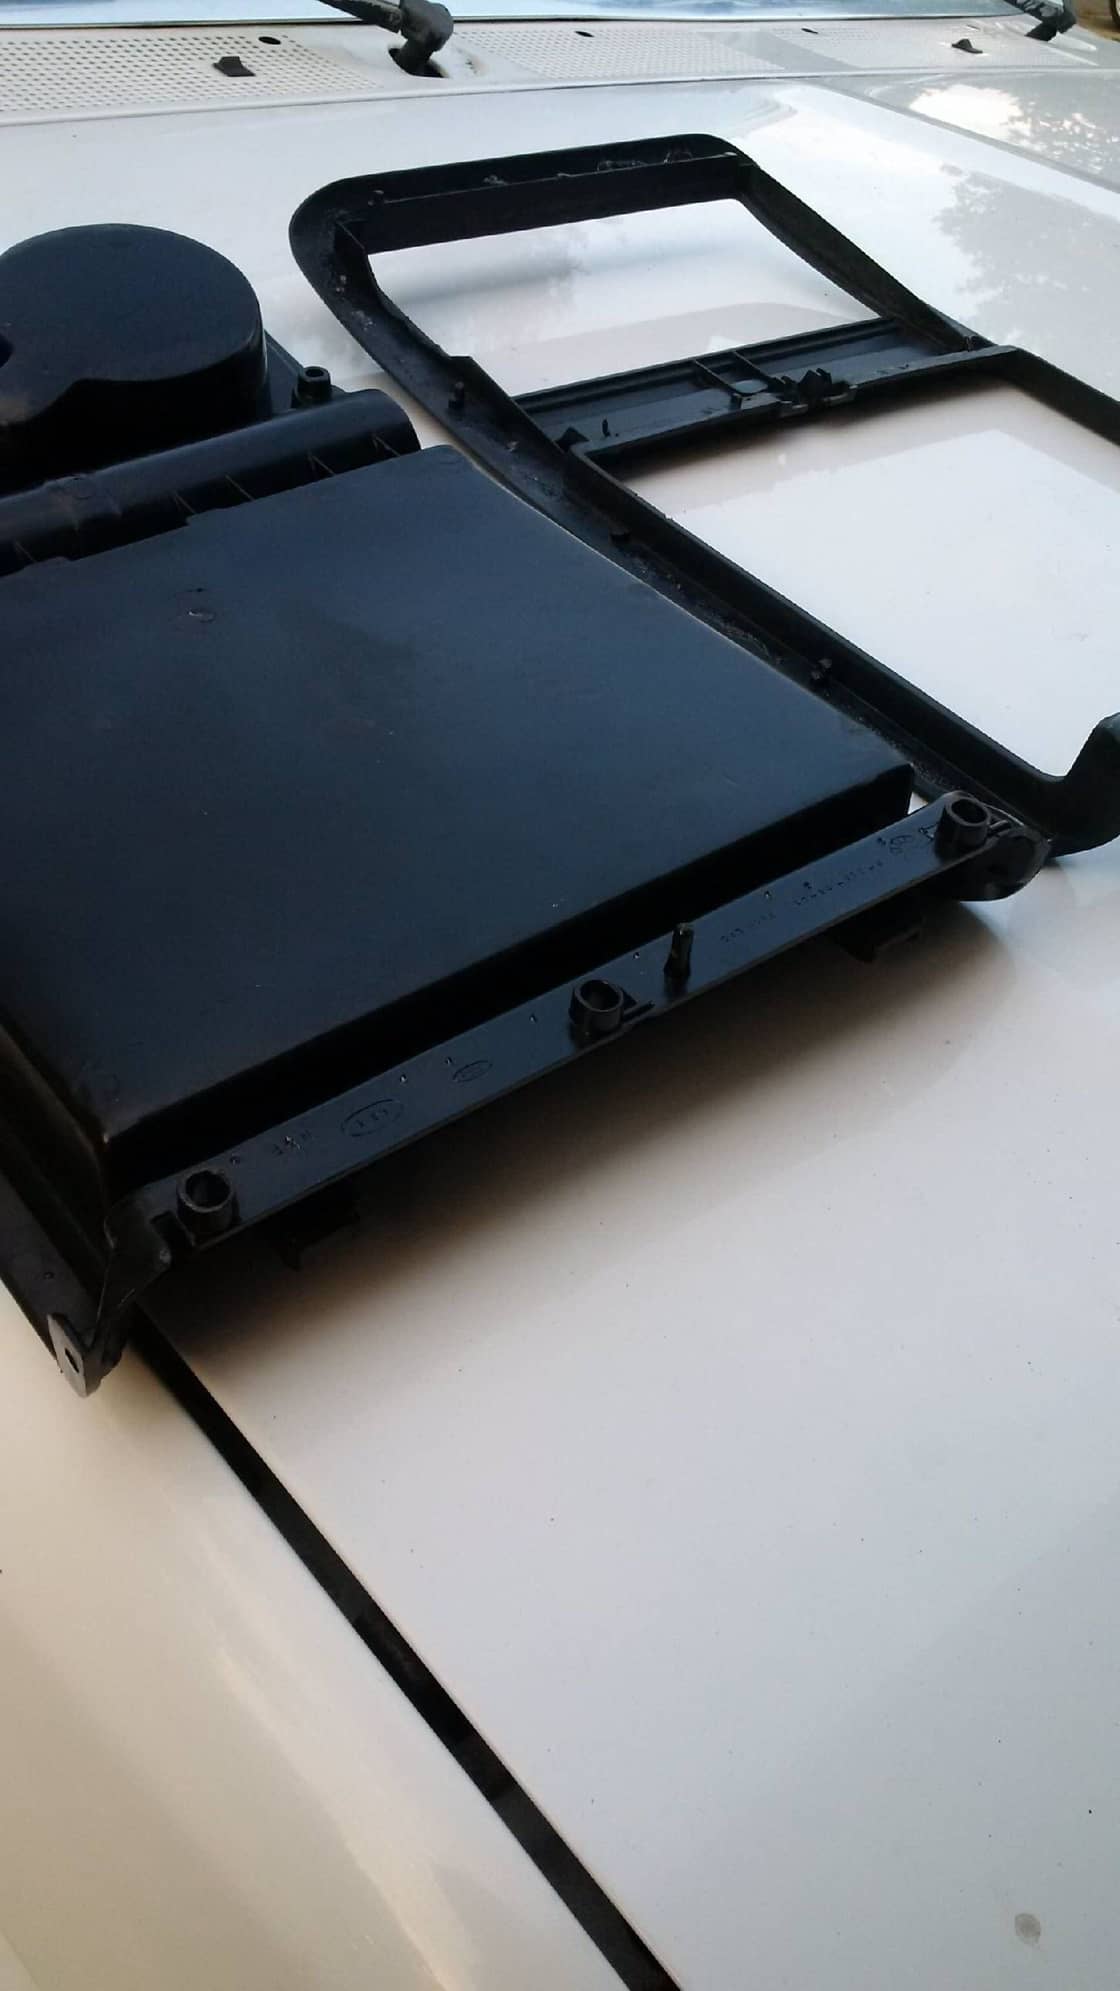
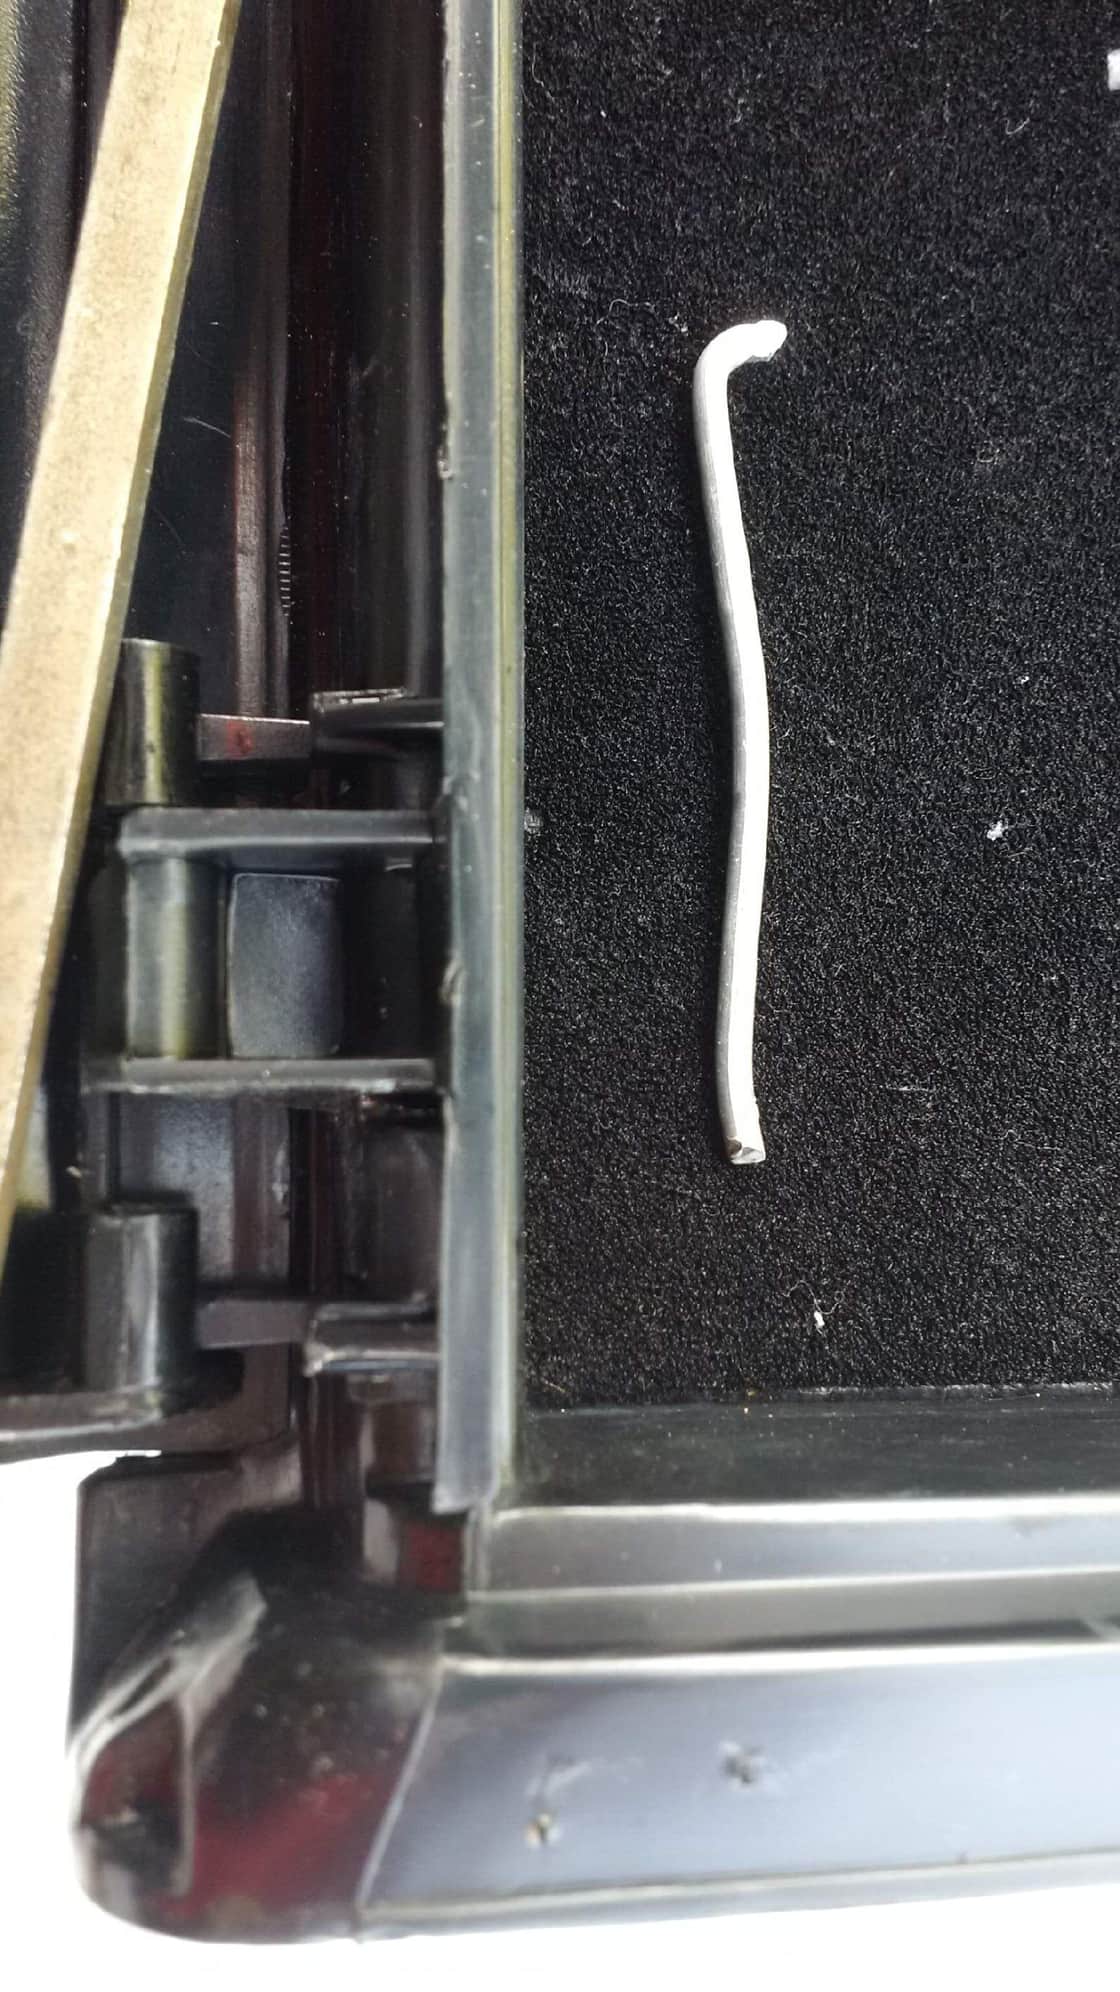
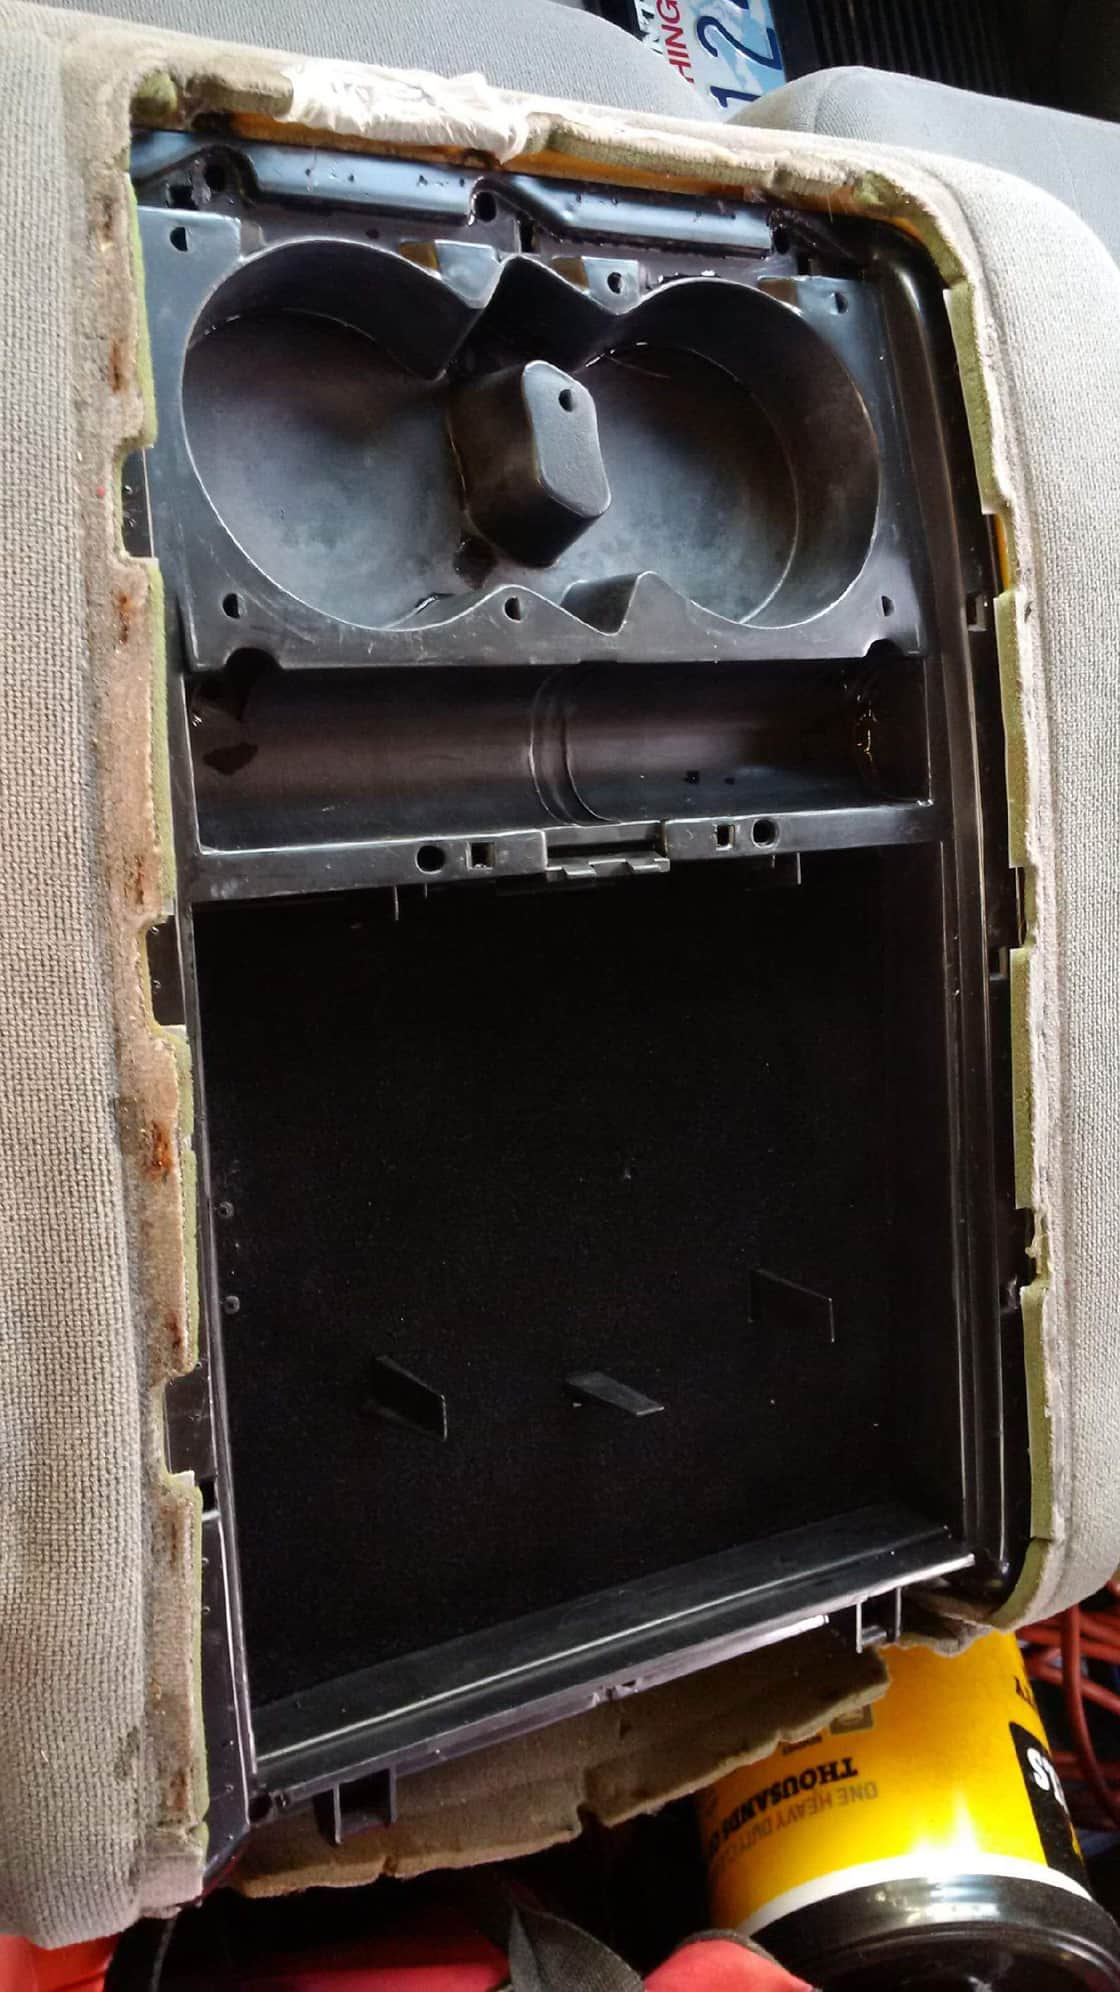
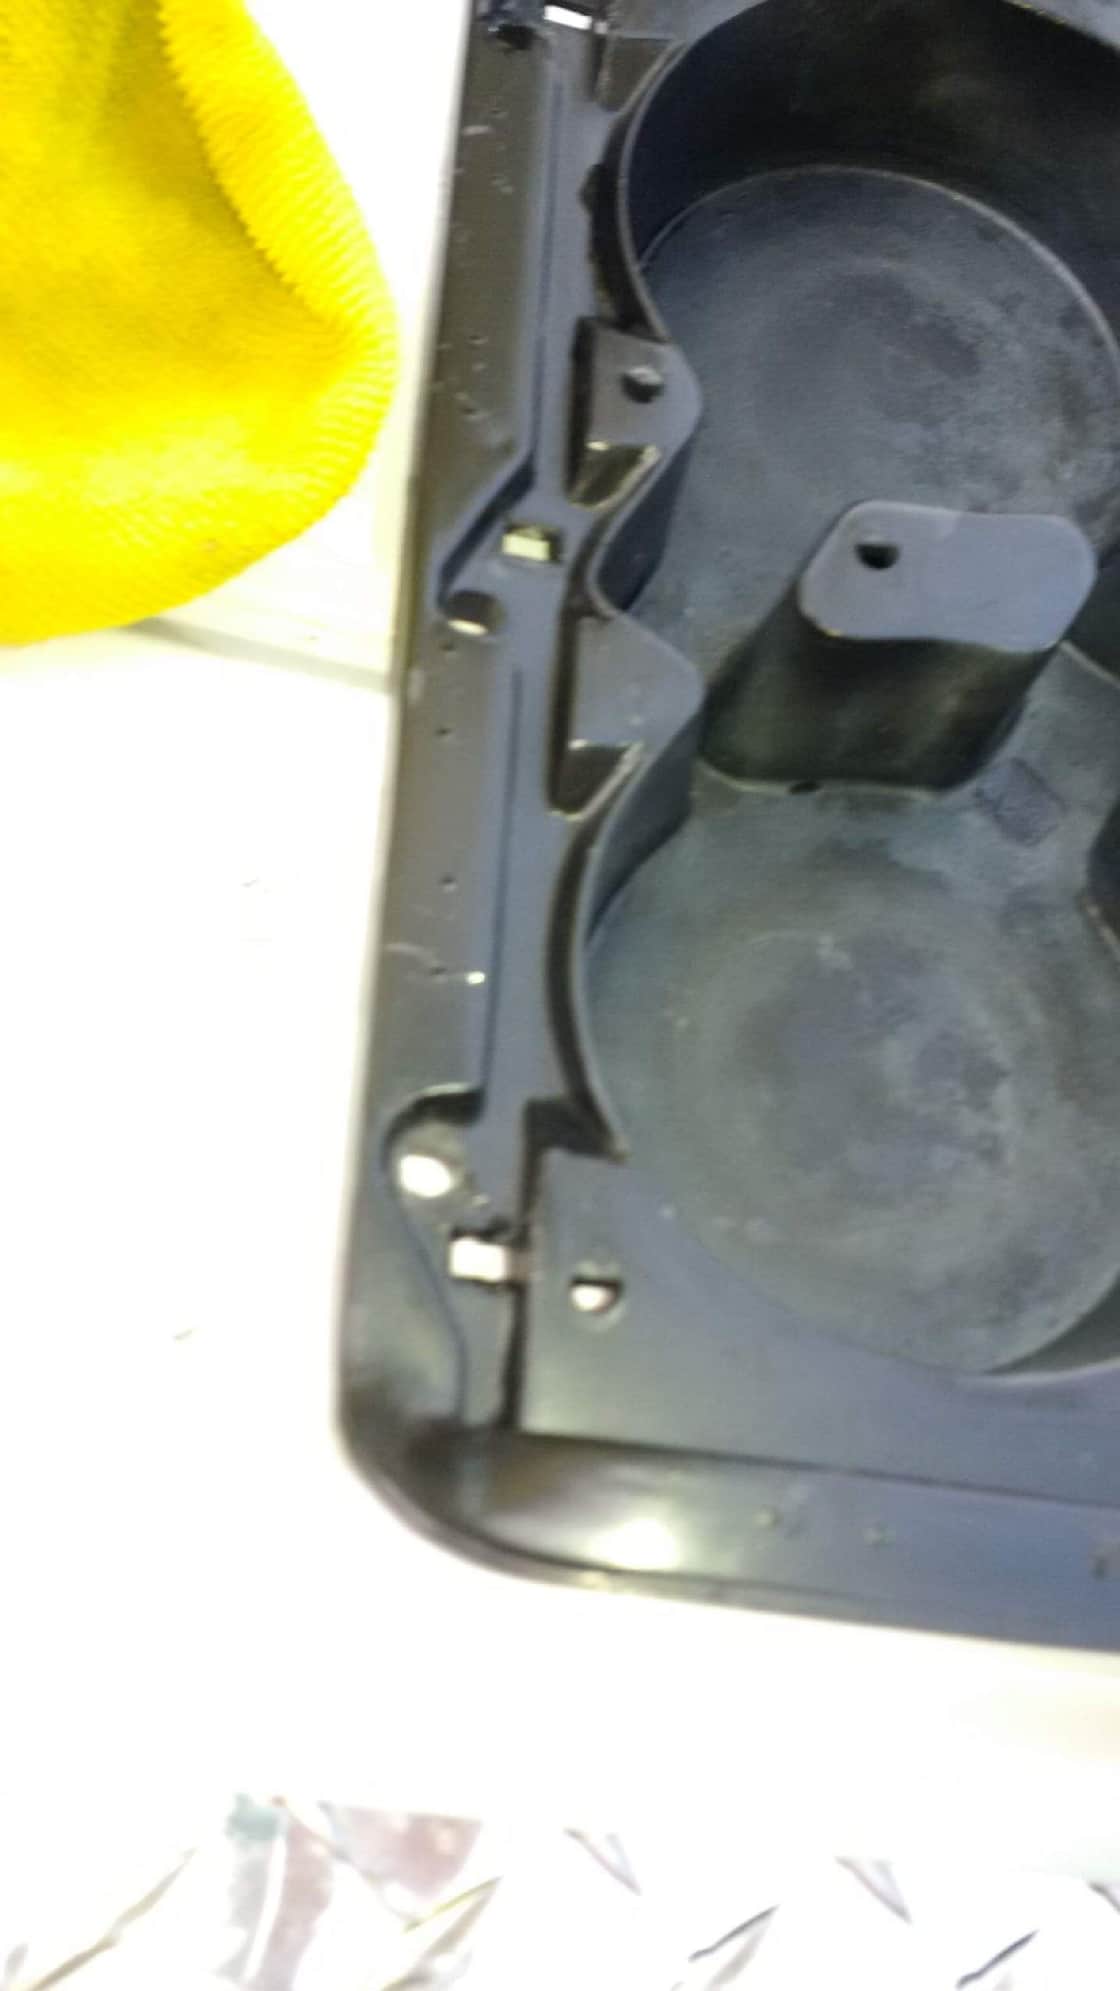
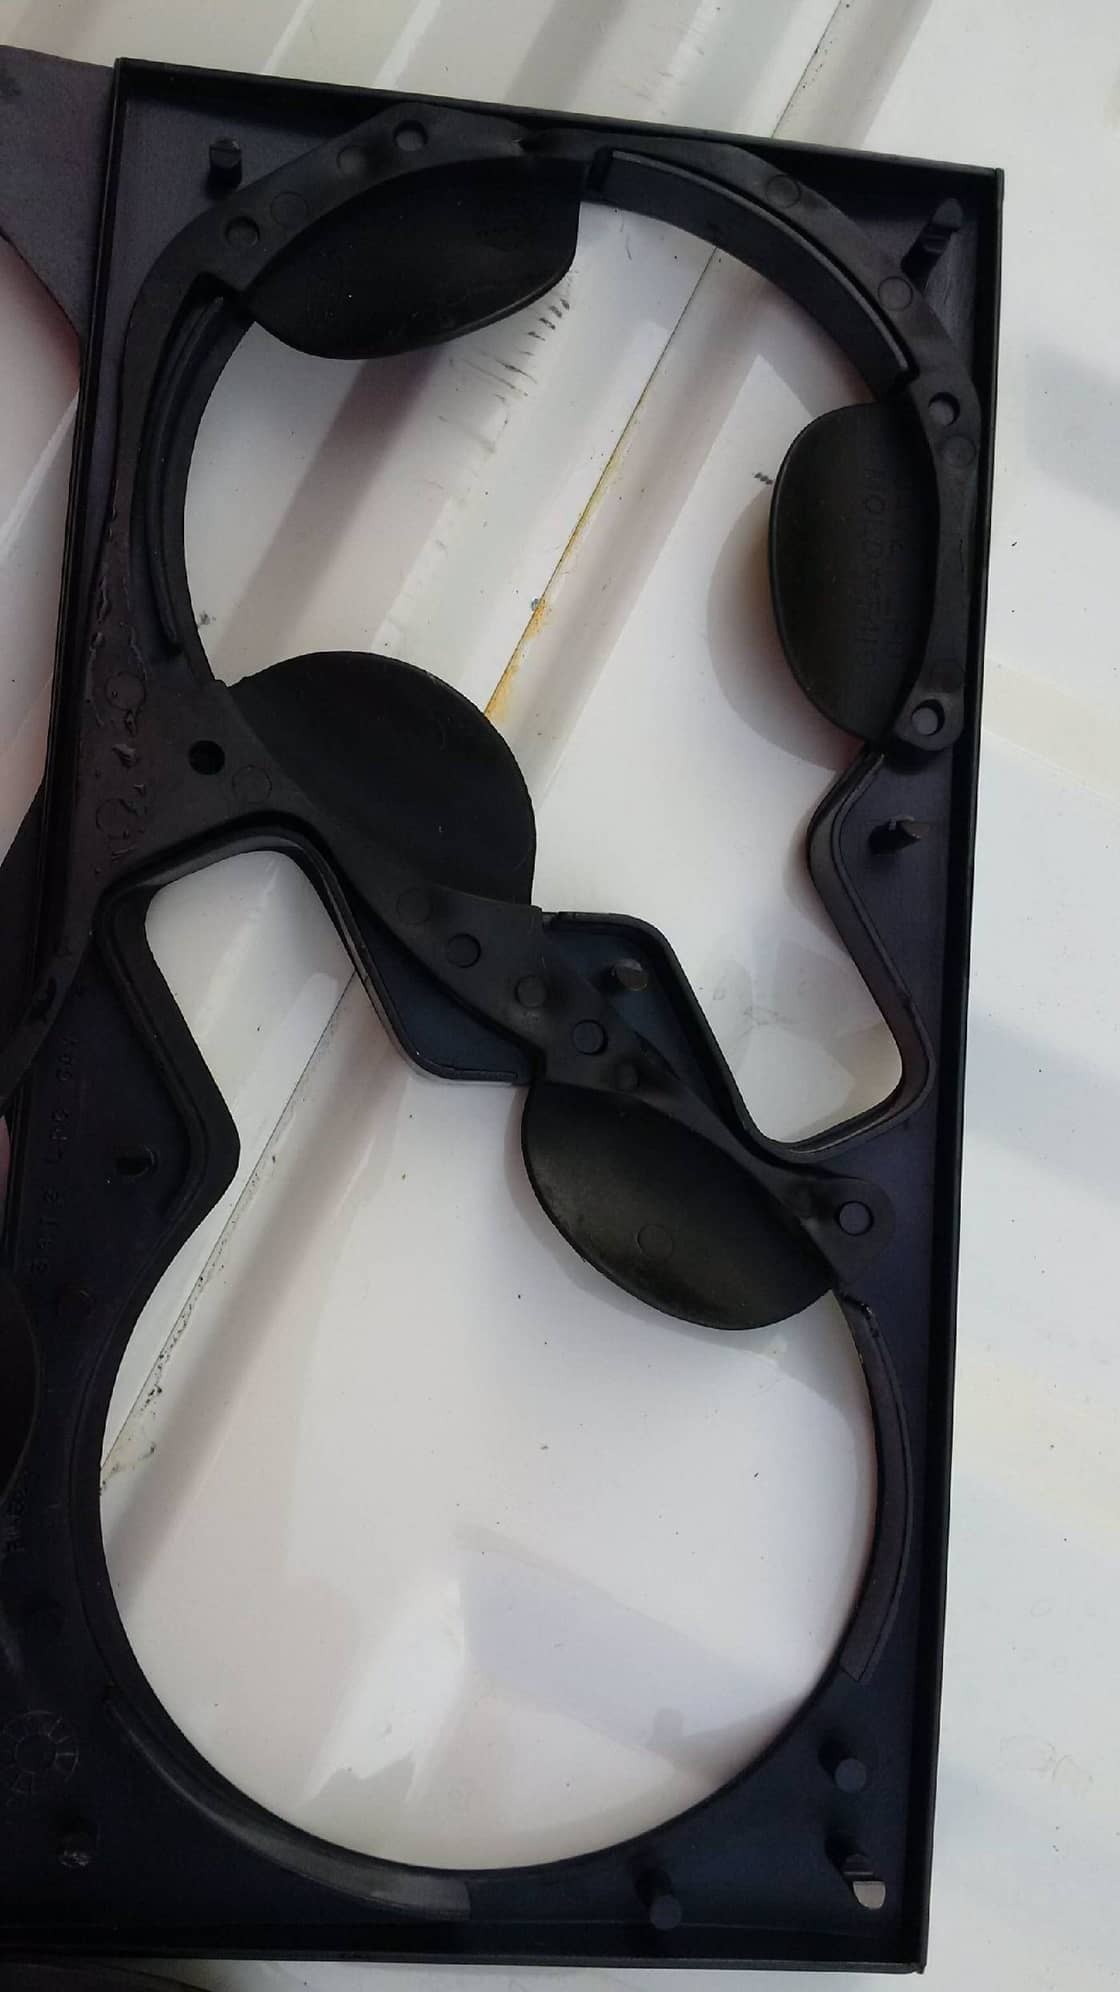
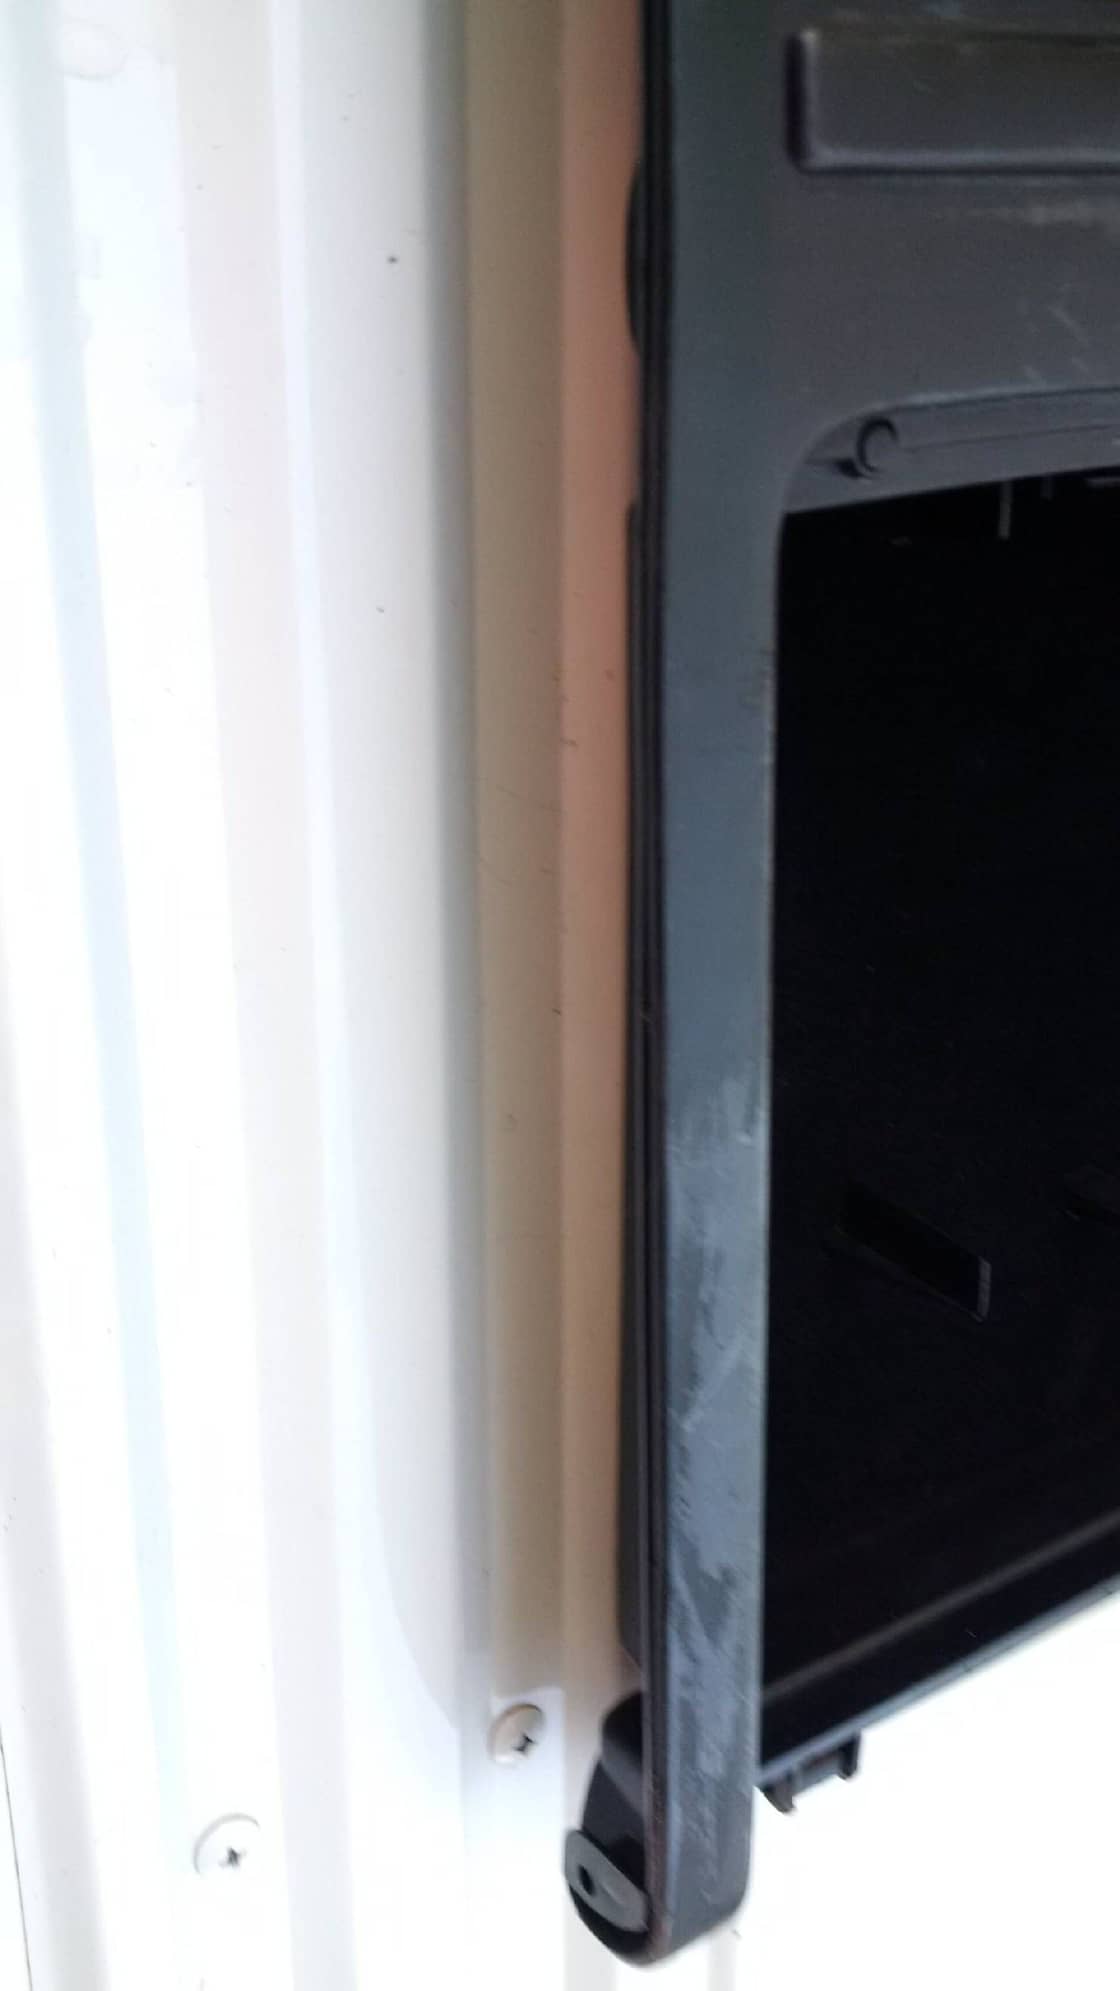
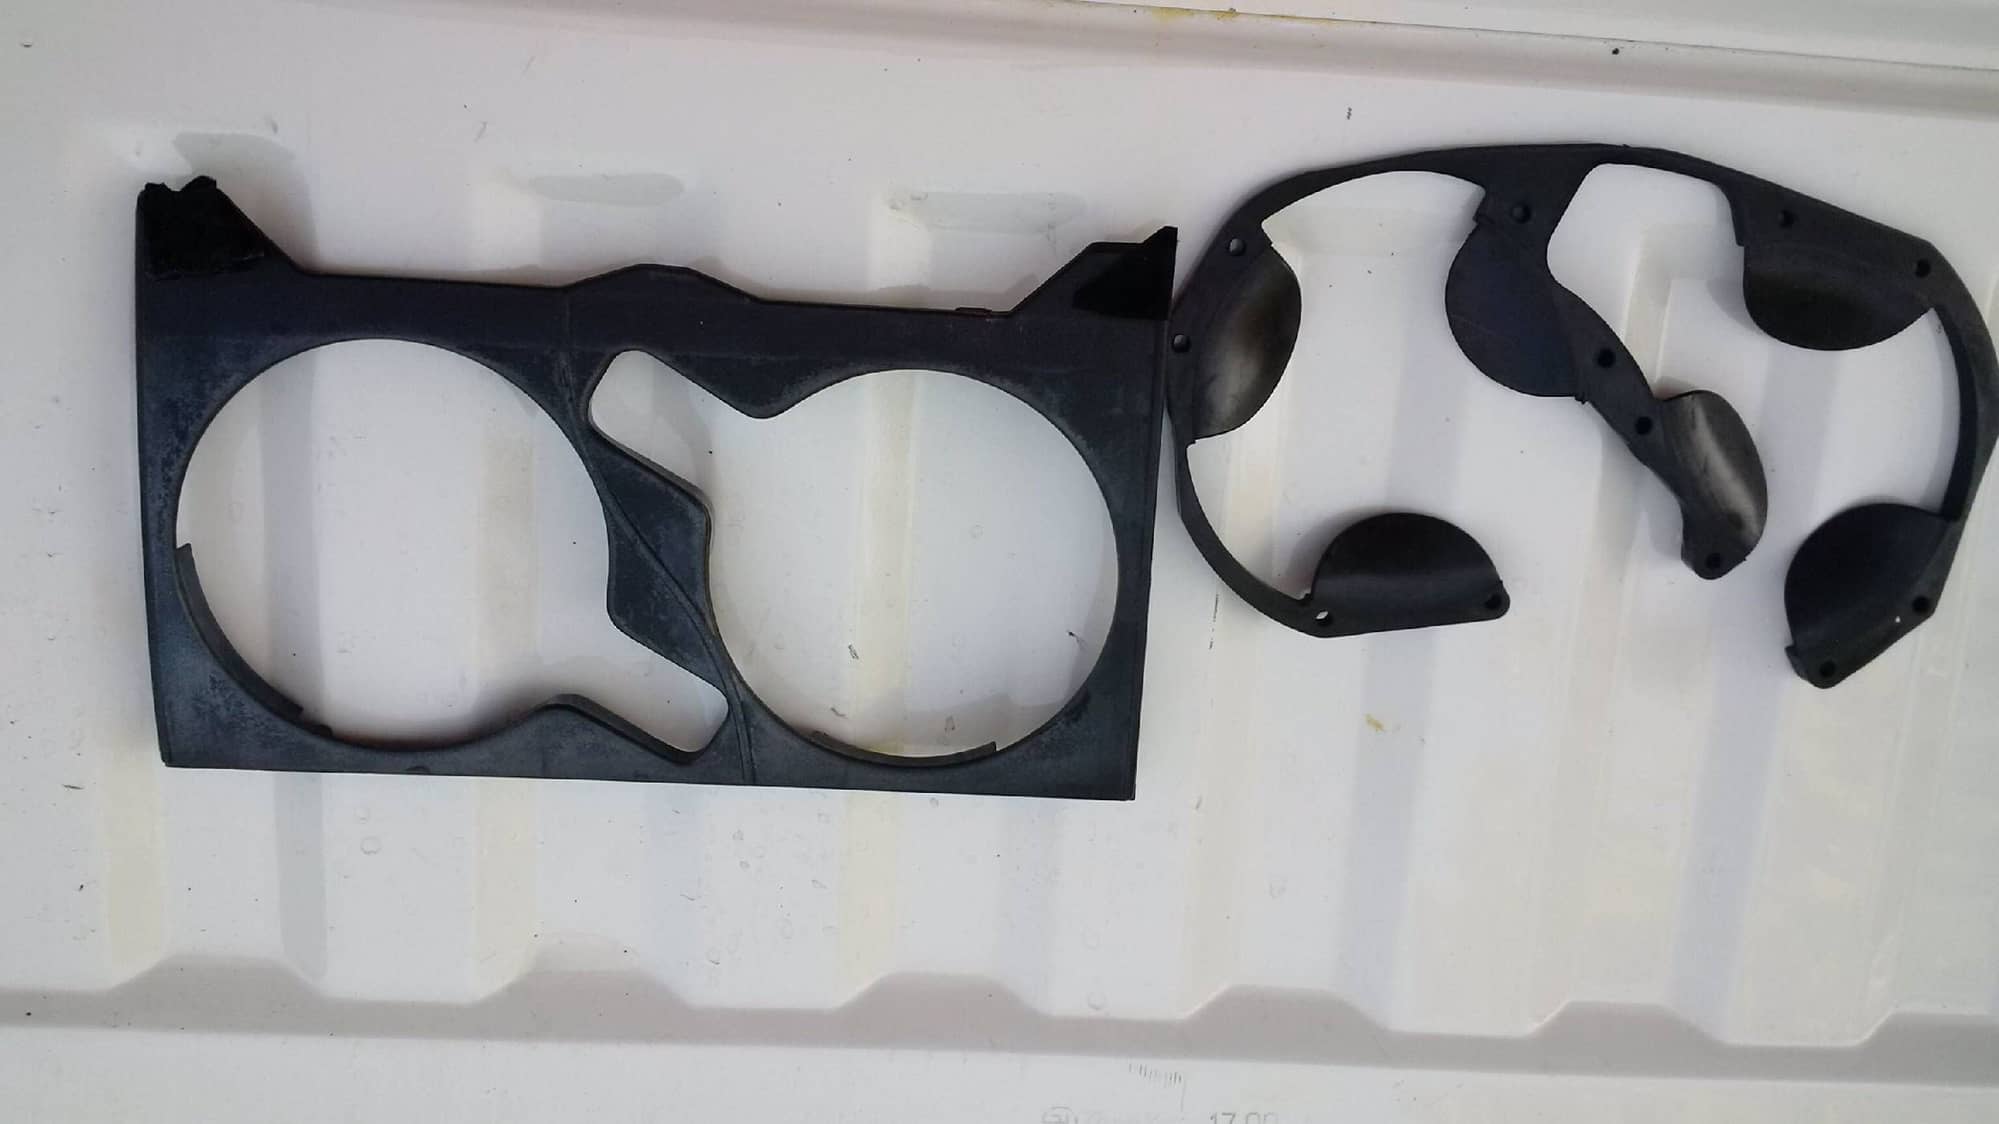
Ok, now that there are some pictures to use a reference, the storage compartment is made up of four sub sections: the main lower(bottom) storage cubby, The Bezel, The Lid, and The Cup holder.
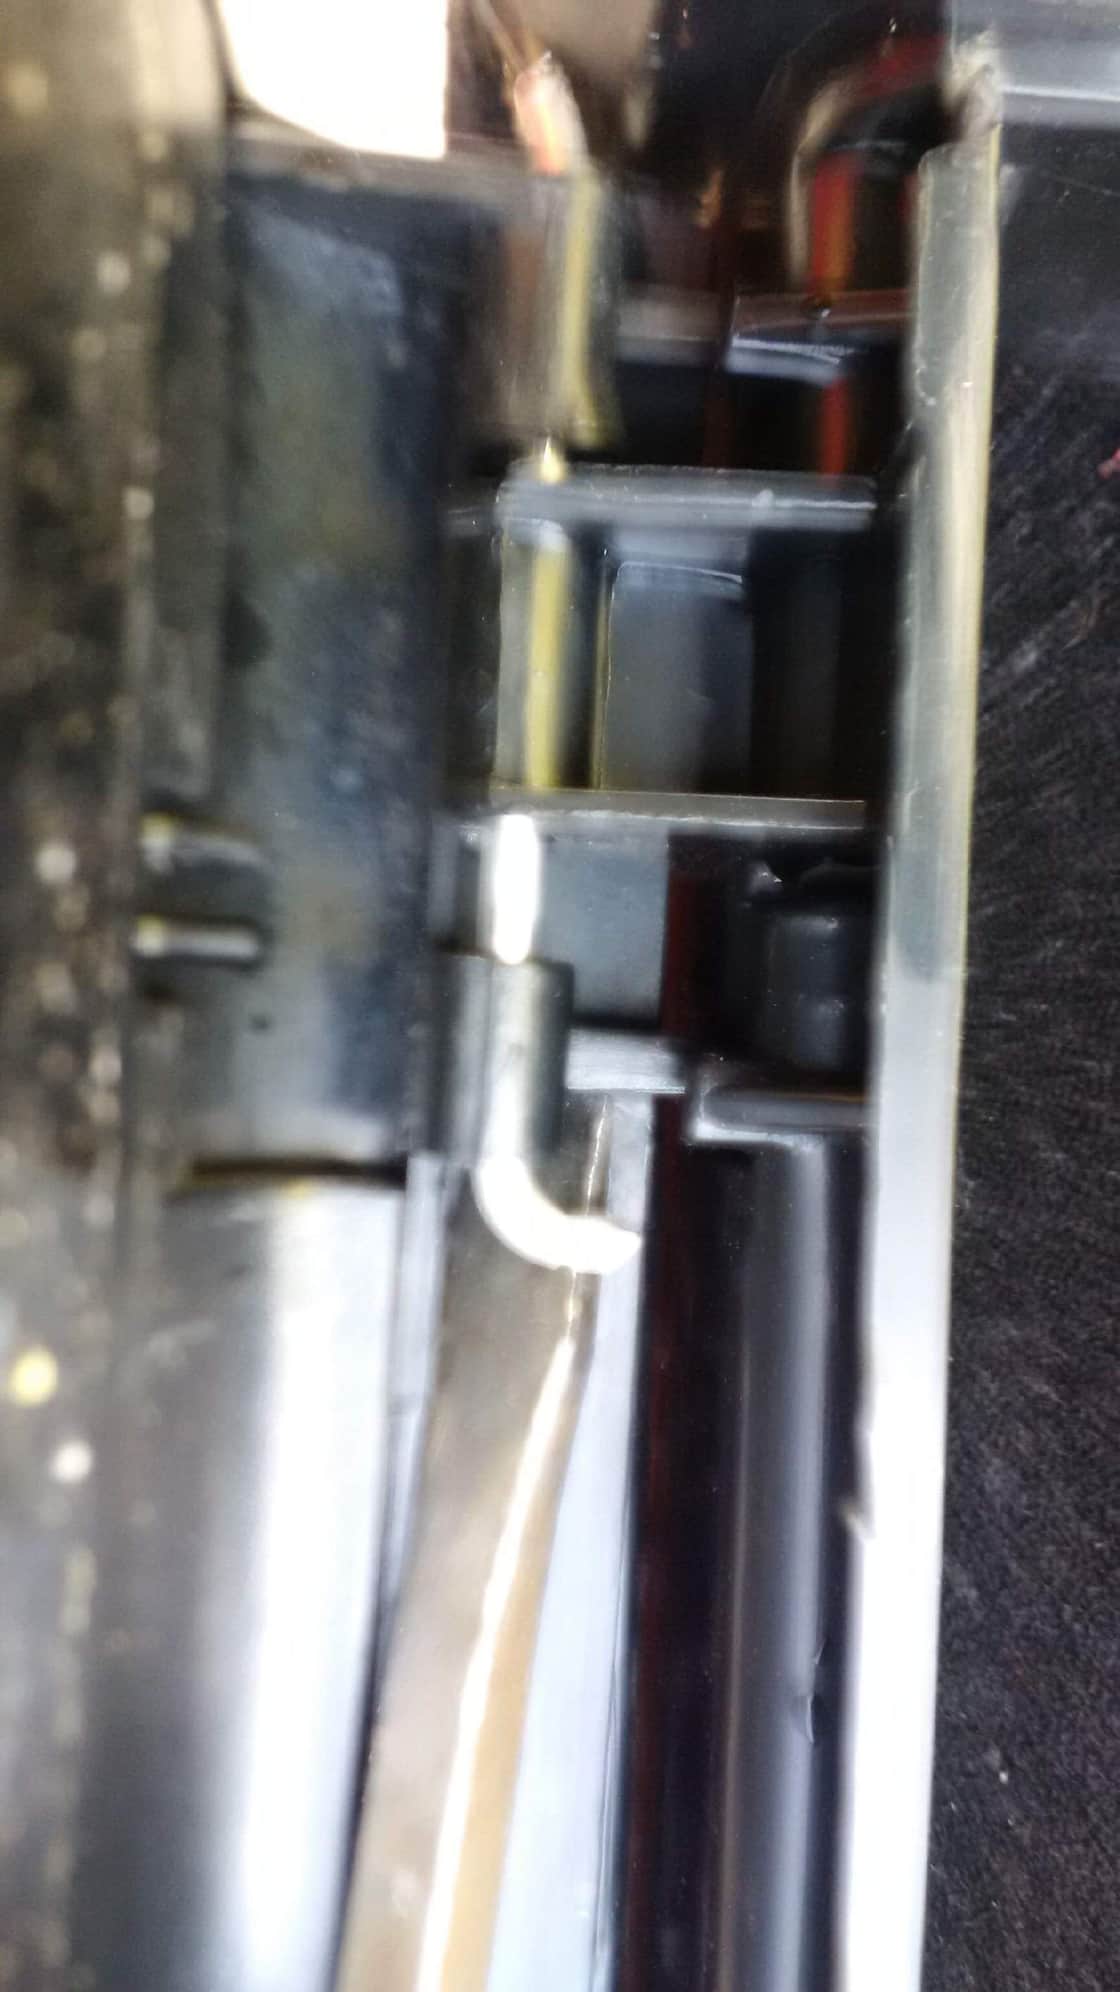
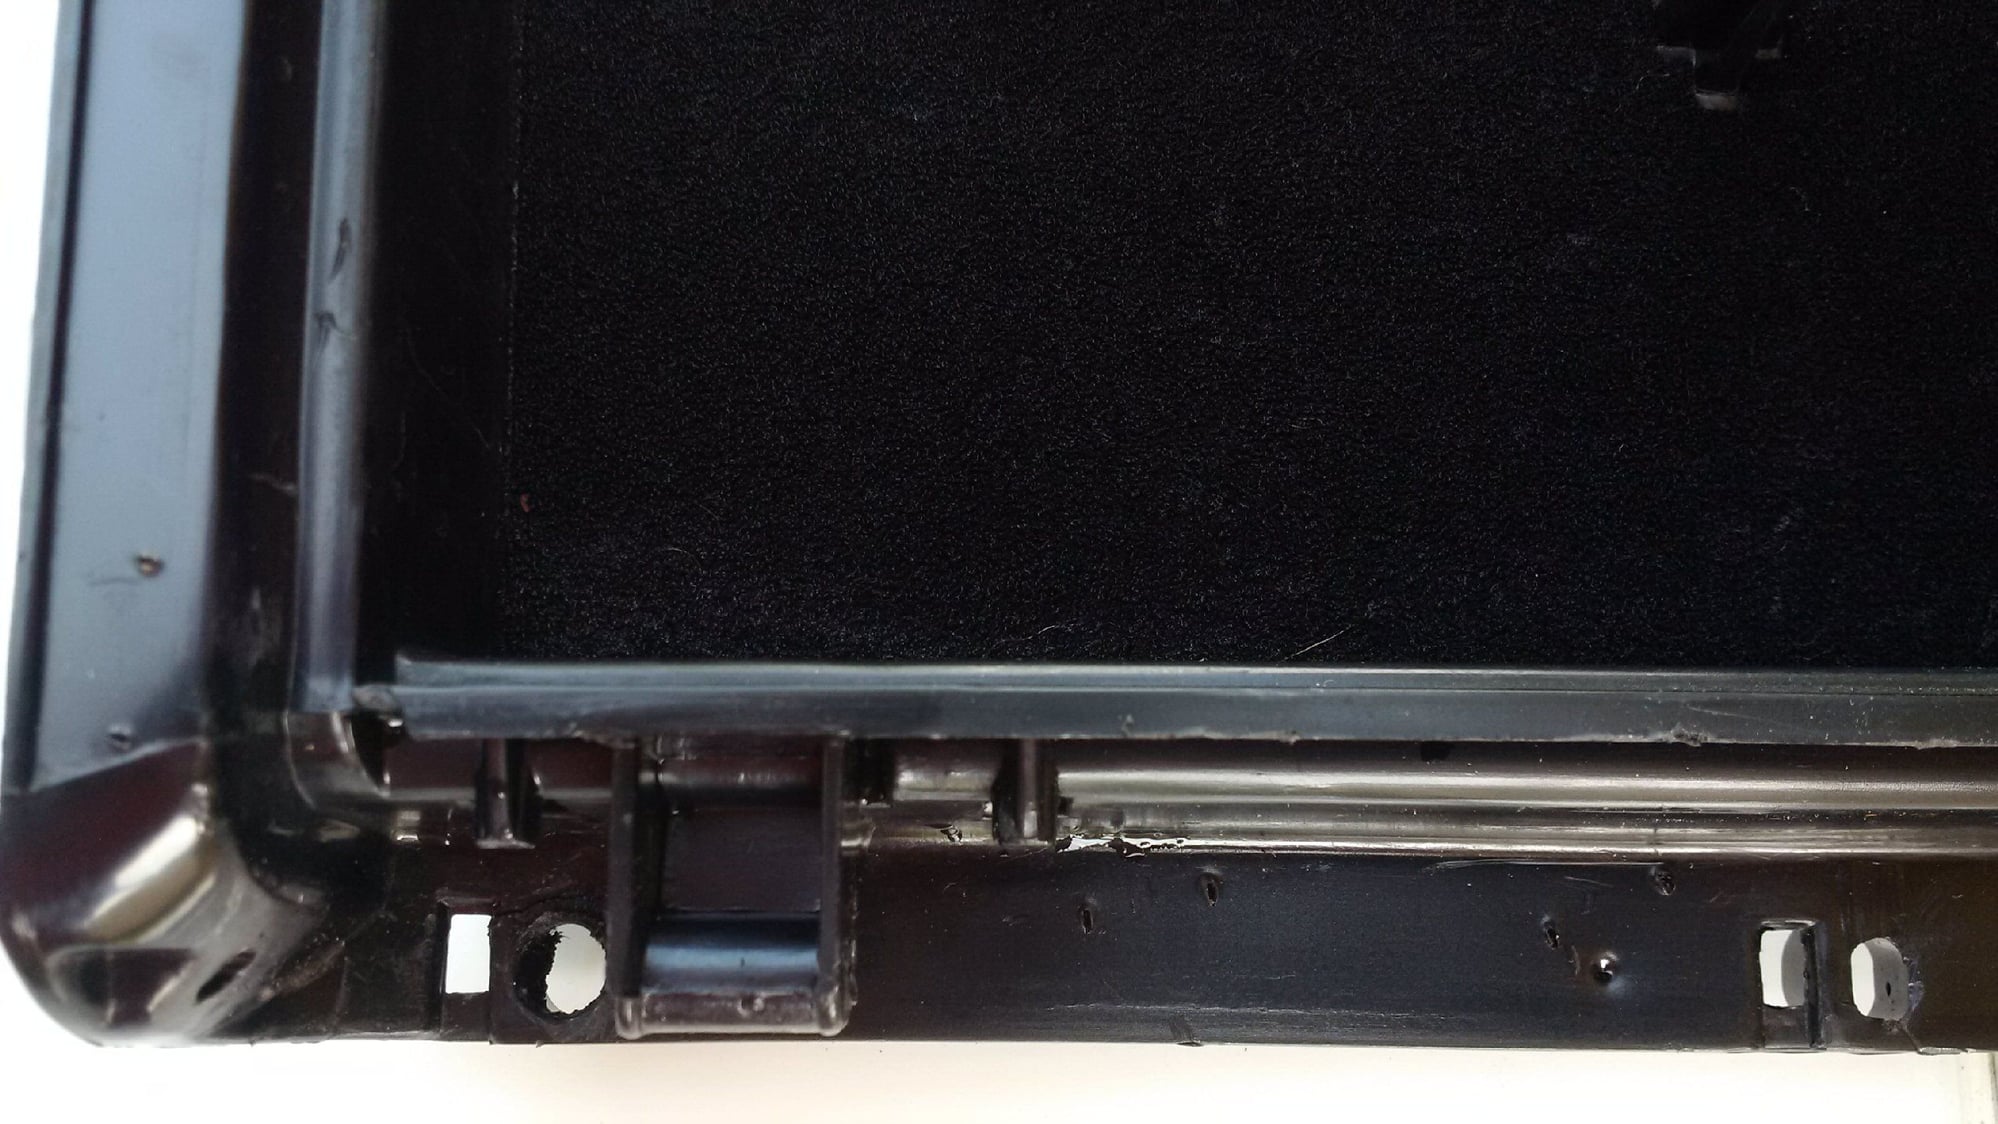
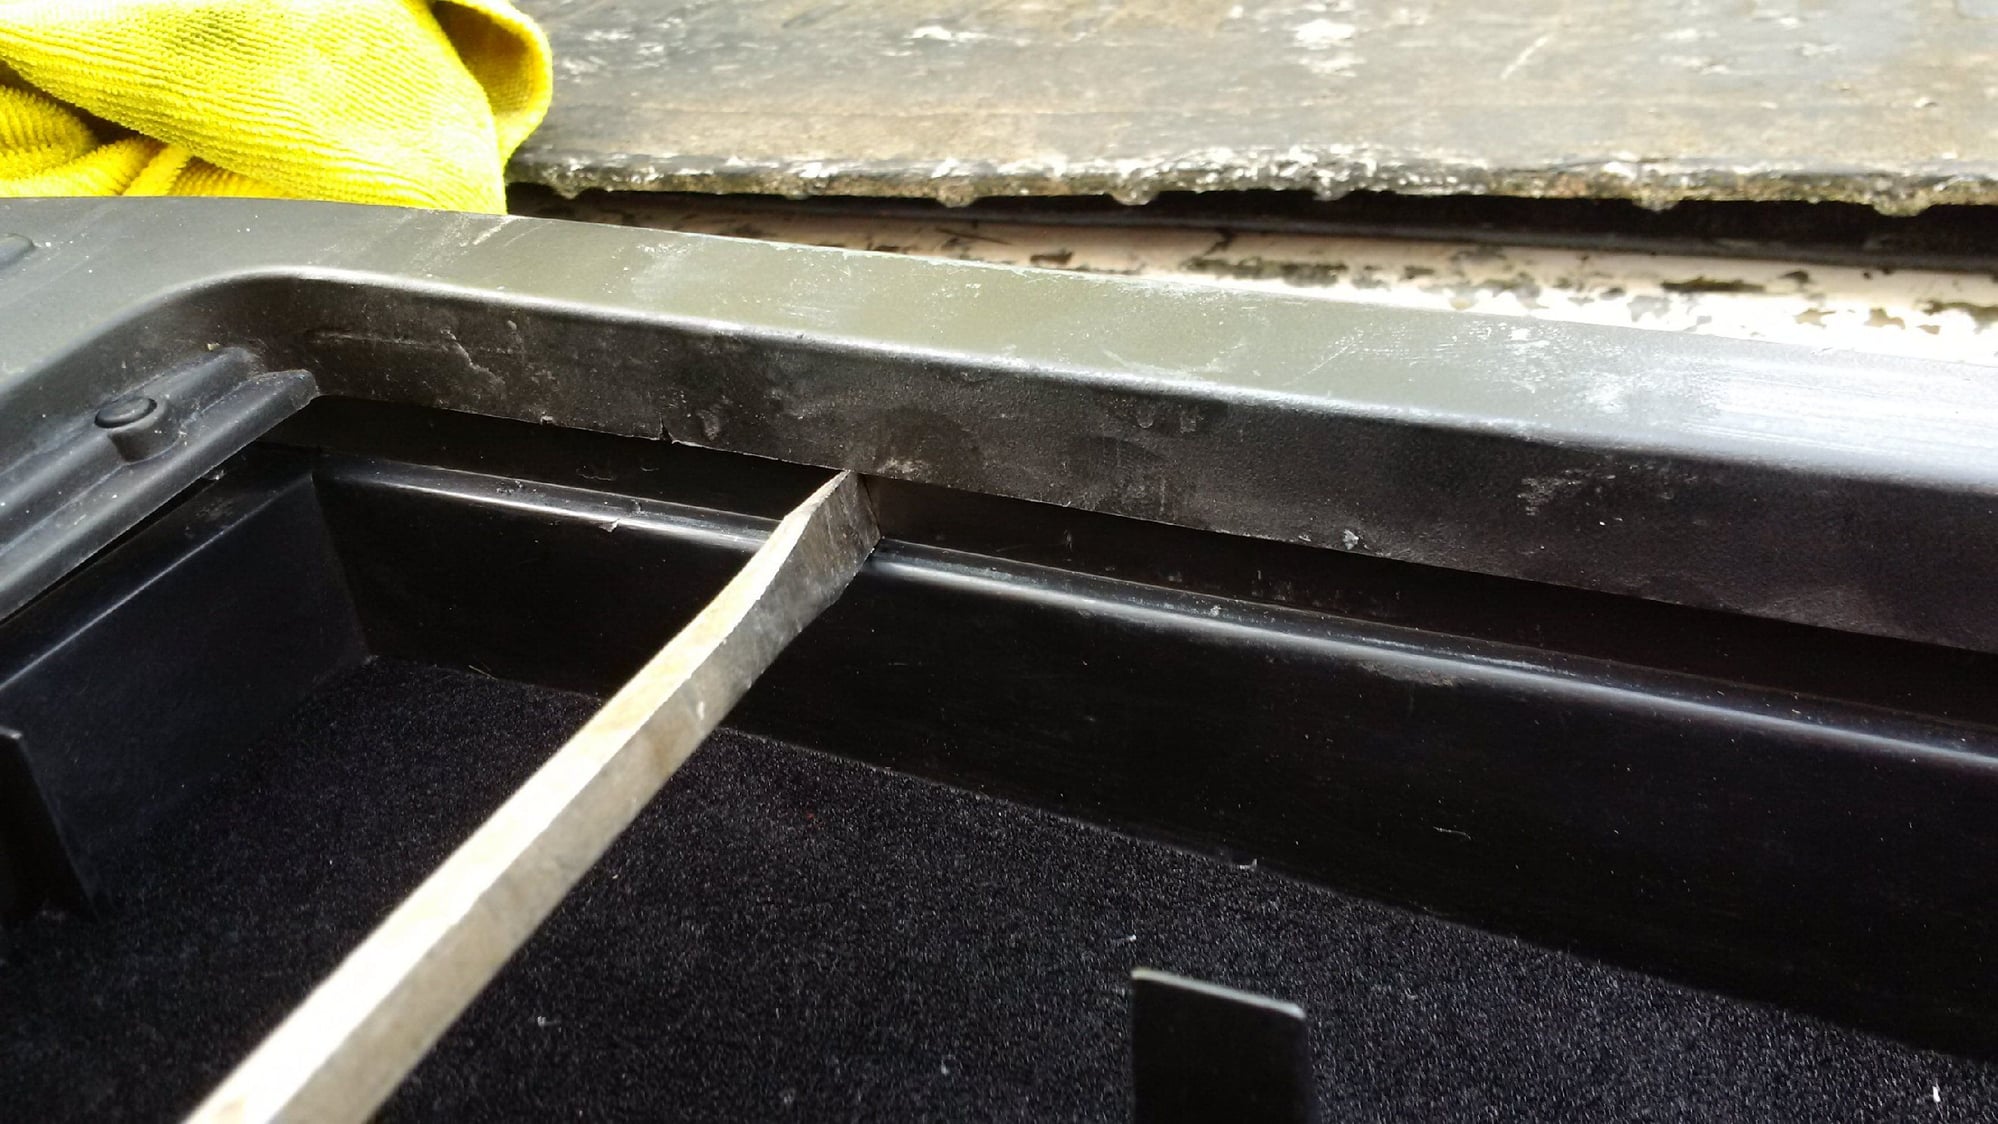
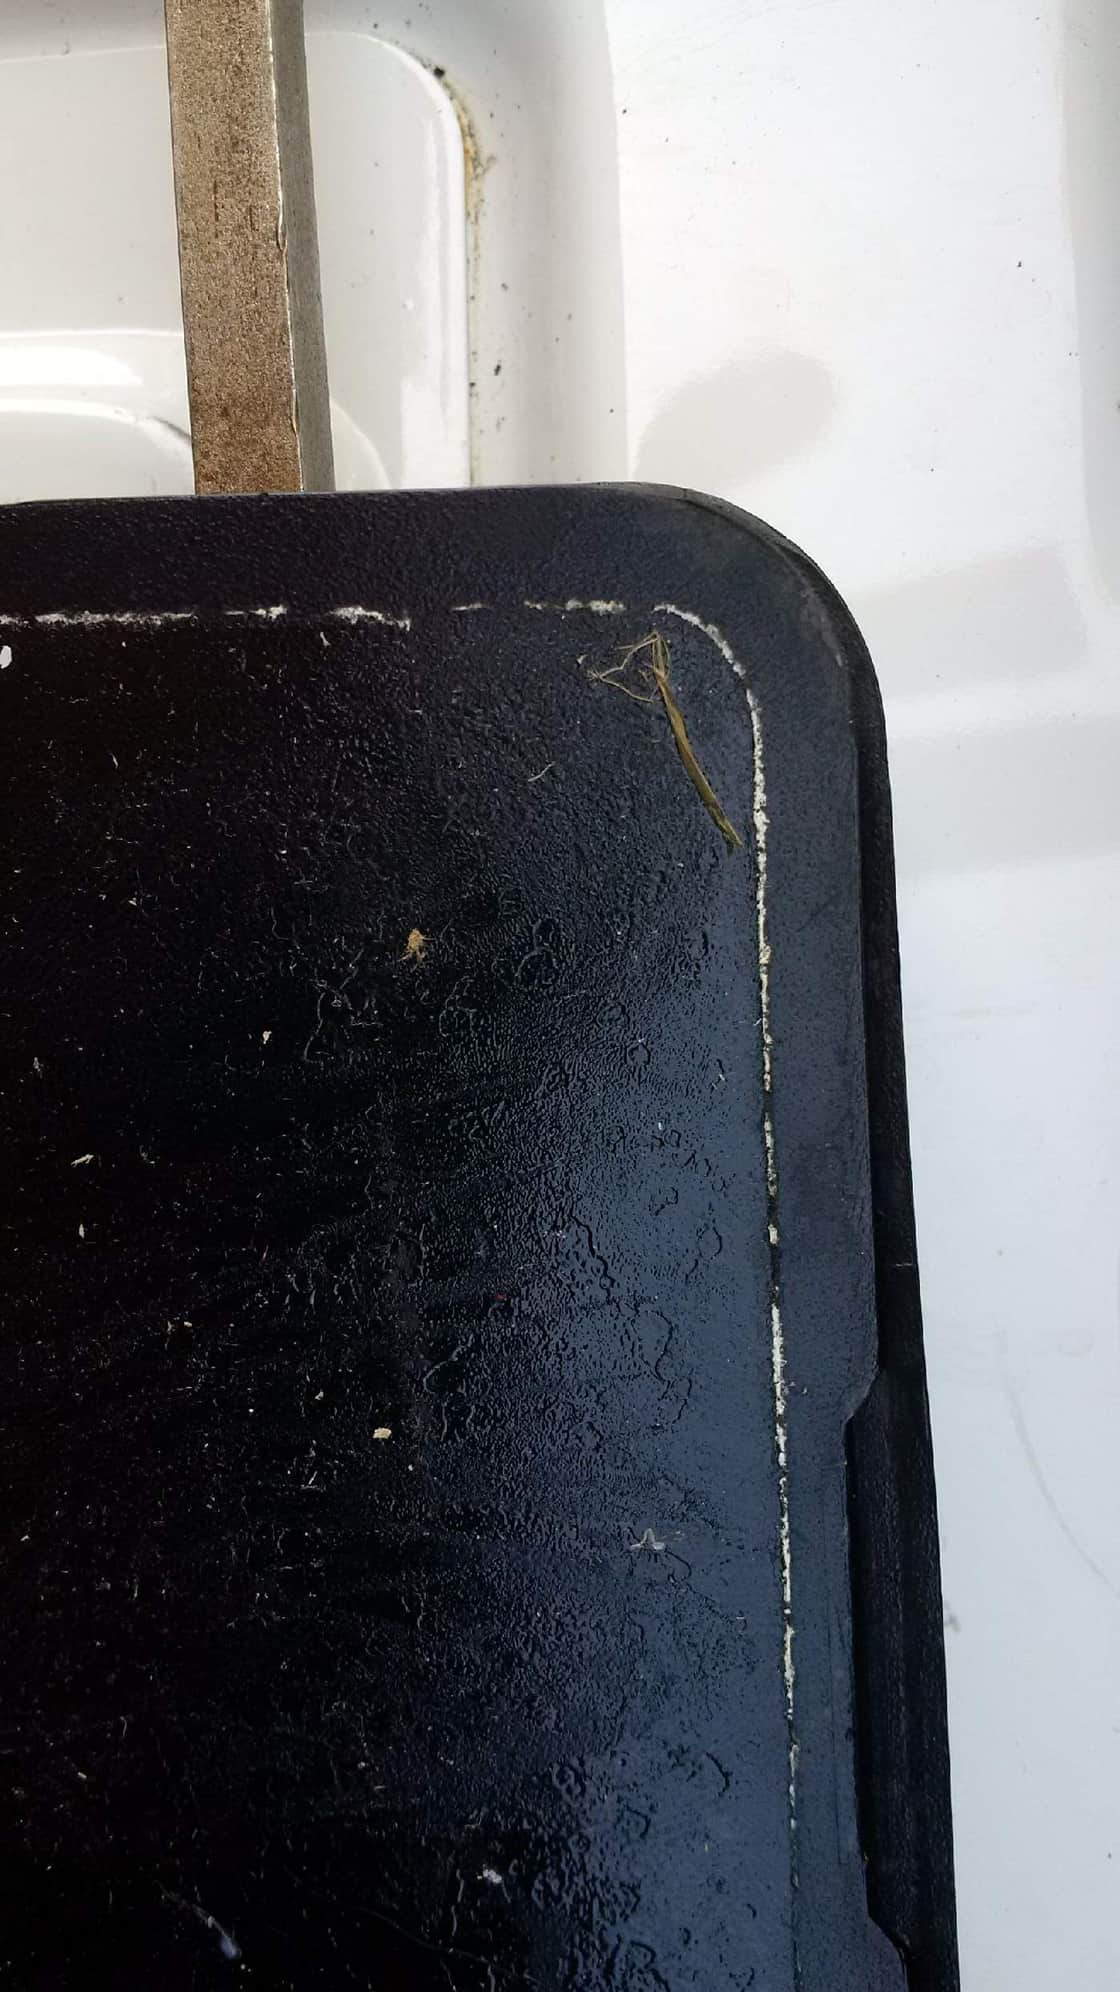
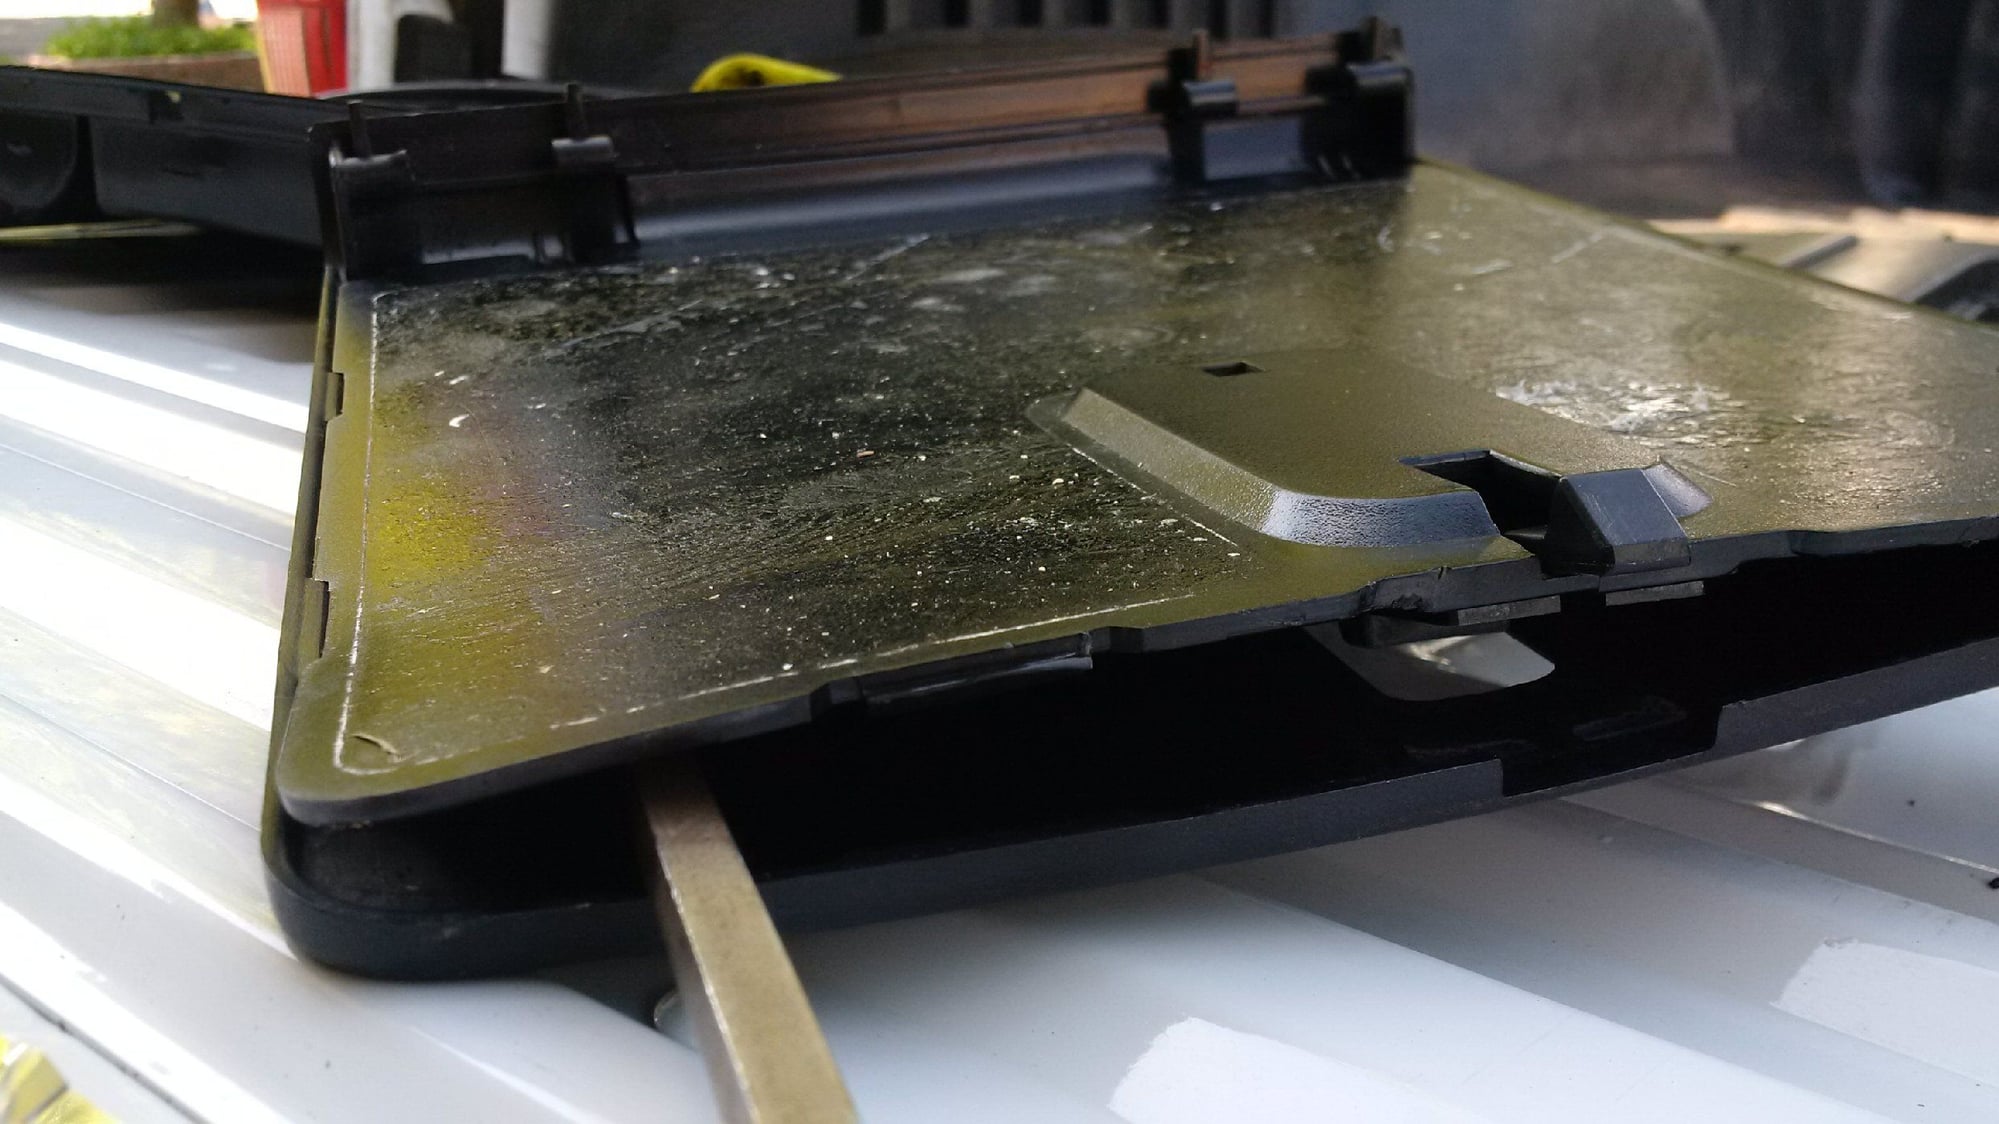
First remove the two hinge pins holding the Lid to the Lower section. Theses pins look just like two aluminum nails with a slight bend. the pins will just slide out by moving I them toward each other (inward). As you can see my lid underside is missing the felt (plan to resolve this after cleaning) I did fully disassemble the Lid as well. Probably the highest chance of breakage separating the two Lid halves. Take your time, make sure the Lid is warm I stuck mine in the microwave for a few seconds. Once you separate the halves there is a spring and the latch lever inside. The Lid is easy to separate, careful on the spring, and easy to reassemble as well. Next is the main lower cubby section. You'll see several staple in the fabric get something flat and stiff (screw driver worked for me) and pry all the staples out, double check and get the all otherwise you may tear your fabric. Next drill out the four rivets, then remove the main lower section. OOPS... first you must separate the Bezel from the main lower section. Just use the same flat screw drive and go along the seam and pry the Bezel upward, there is an adhesive but its more like chewing gum than glue. Once you have Bezel off you'll see the staples (sorry, it's late and I'm tired) The cup holder can be pried off easily at this point, it's two piece and no fasteners are used.

Hope this makes sense and helps everyone out.
 
  #20  
Old 07-13-2018, 05:23 AM
Diesel_Brad's Avatar
Diesel_Brad
Diesel_Brad is offline
Fleet Owner
Join Date: May 2009
Location: Gilbert, PA
Posts: 21,431
Received 59 Likes on 48 Posts
Lets see the bottom of this pice. I would pretty much bet the pins that hold it down are broke

Originally Posted by Fordza;18084691[img
https://cimg1.ibsrv.net/gimg/www.ford-trucks.com-vbulletin/2000x1124/img_20180712_161456_cbae84cb77f55adb95449d058dfb02 394cfb385b.jpg[/img]
 
  #21  
Old 07-13-2018, 05:23 AM
Diesel_Brad's Avatar
Diesel_Brad
Diesel_Brad is offline
Fleet Owner
Join Date: May 2009
Location: Gilbert, PA
Posts: 21,431
Received 59 Likes on 48 Posts
  #22  
Old 07-13-2018, 08:09 AM
Fordza's Avatar
Fordza
Fordza is offline
New User
Join Date: Jan 2014
Location: Columbus
Posts: 16
Likes: 0
Received 0 Likes on 0 Posts
@Diesel Brad.... I'm a betting man; how much you laying down? I can take as many pictures from as many angles as you like.
 
  #23  
Old 07-14-2018, 08:36 AM
Diesel_Brad's Avatar
Diesel_Brad
Diesel_Brad is offline
Fleet Owner
Join Date: May 2009
Location: Gilbert, PA
Posts: 21,431
Received 59 Likes on 48 Posts
Lets see it then
 
  #24  
Old 07-15-2018, 11:54 AM
Fordza's Avatar
Fordza
Fordza is offline
New User
Join Date: Jan 2014
Location: Columbus
Posts: 16
Likes: 0
Received 0 Likes on 0 Posts
What are you willing to wager? Sky is the limit Diesel Brad, The link you provided of the part you want to see the underside of did not work for me. Which part are you curious about?
 
  #25  
Old 07-15-2018, 06:54 PM
Diesel_Brad's Avatar
Diesel_Brad
Diesel_Brad is offline
Fleet Owner
Join Date: May 2009
Location: Gilbert, PA
Posts: 21,431
Received 59 Likes on 48 Posts
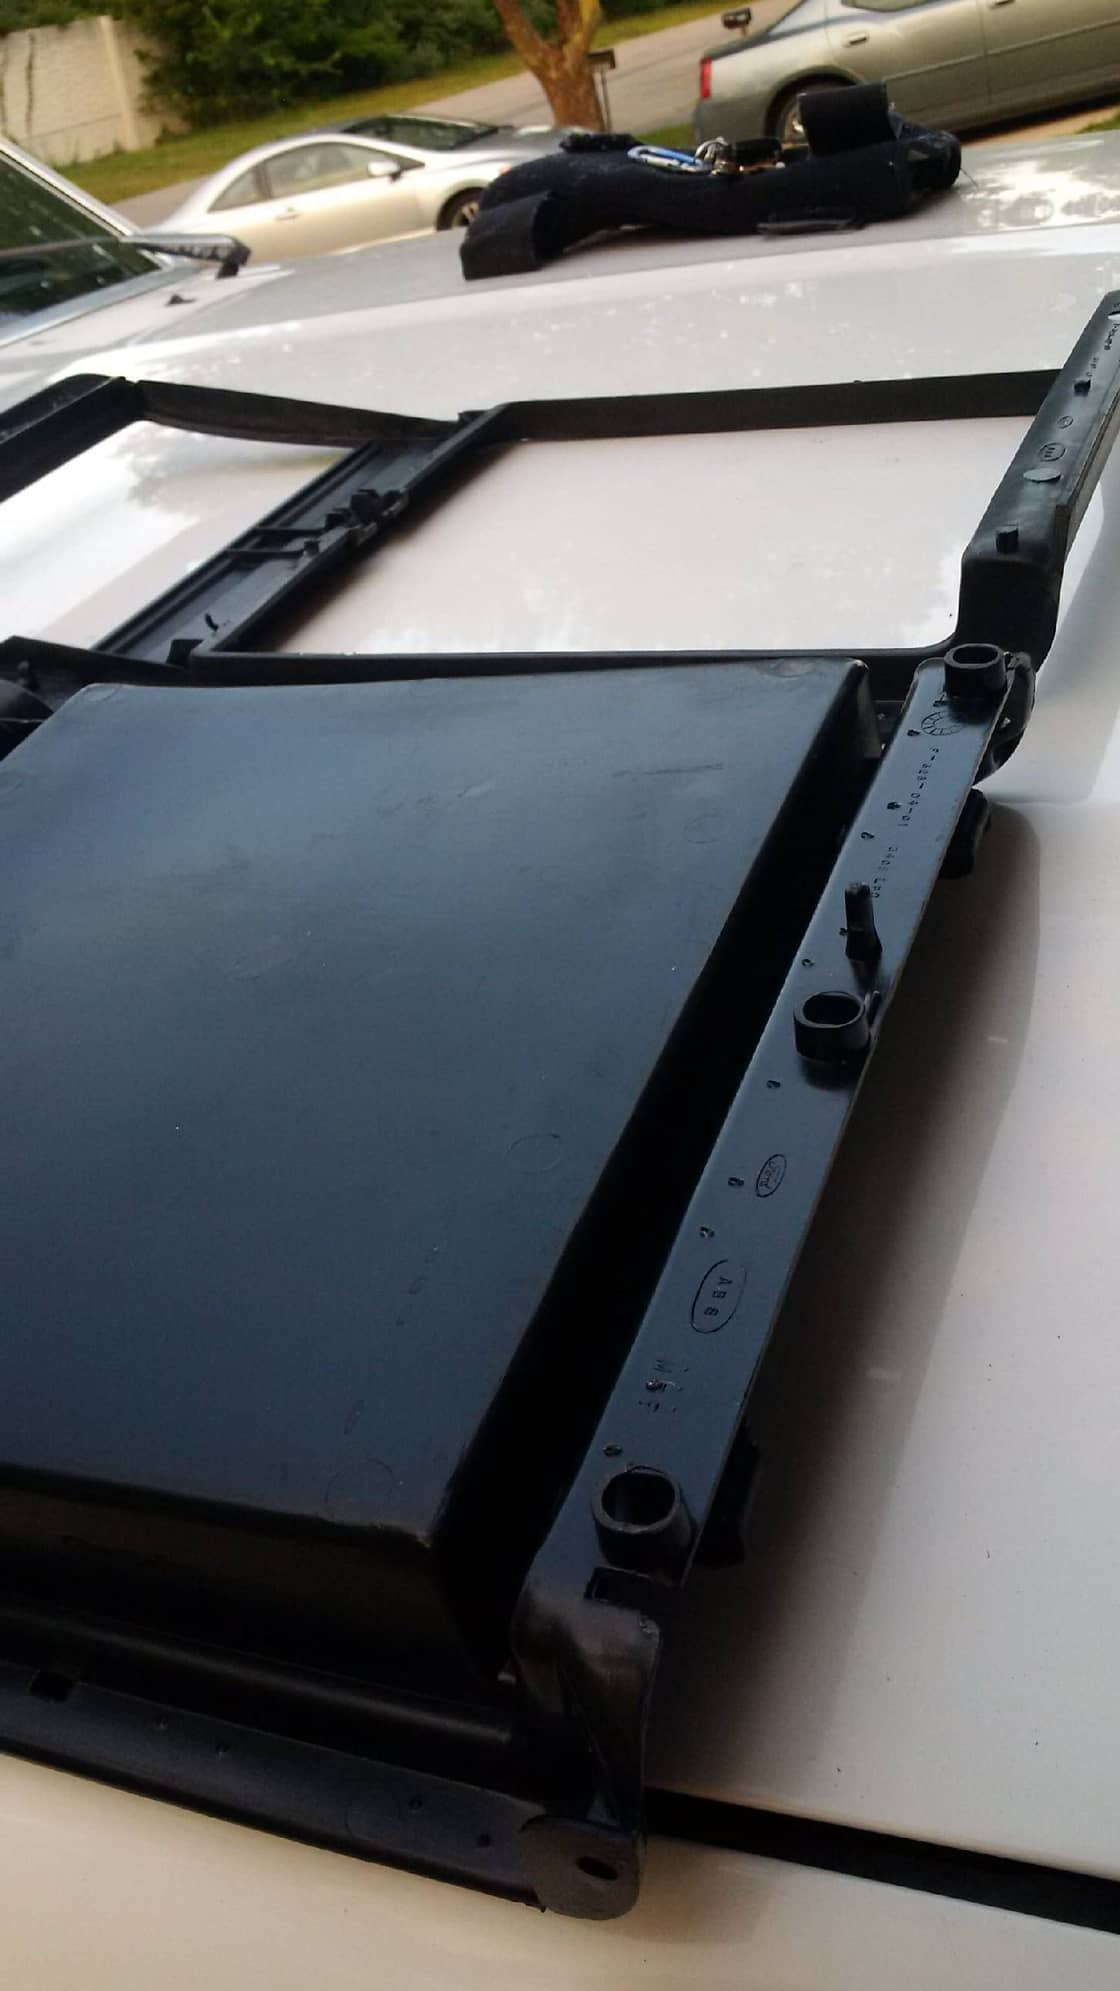
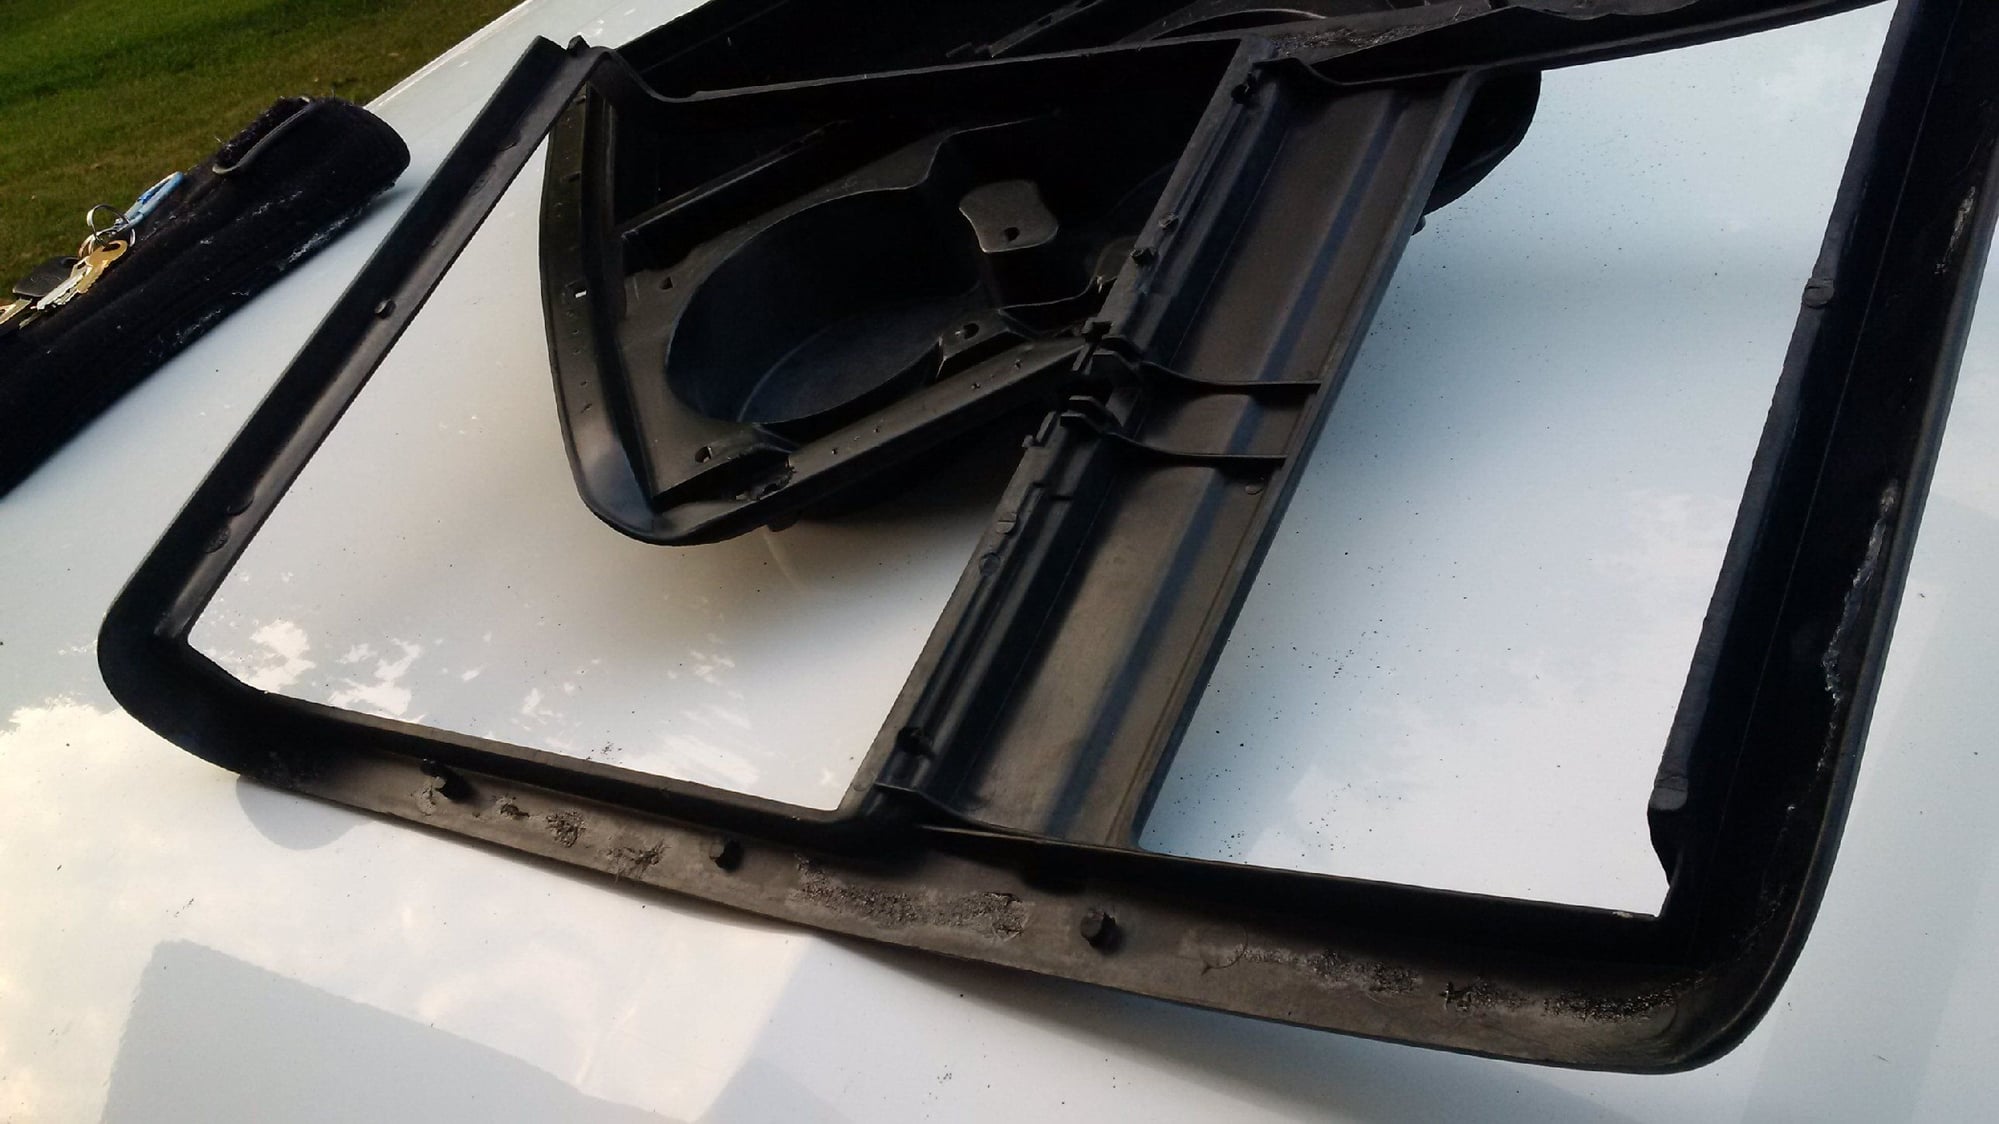
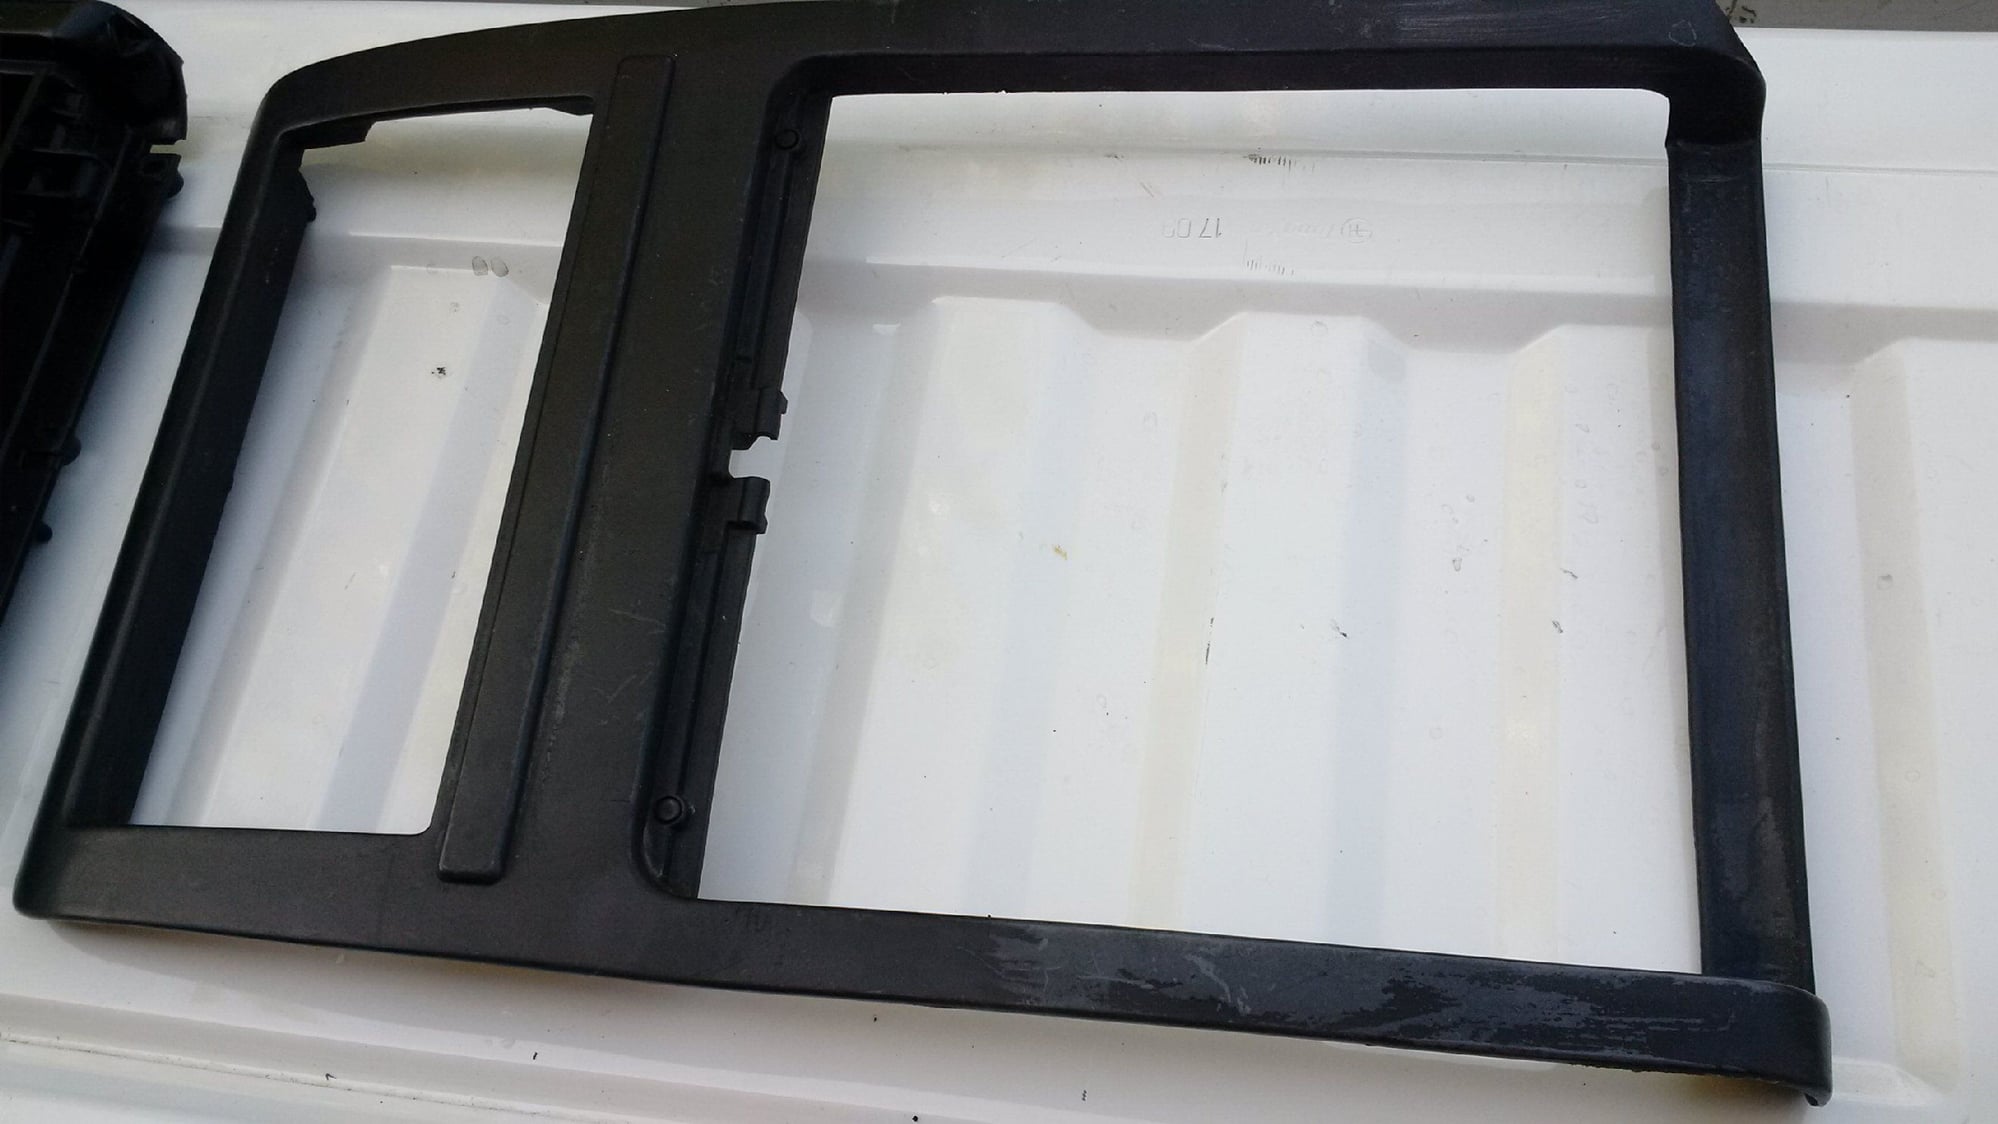
The main lid surround that has 14 pins holding it on
 
  #26  
Old 07-15-2018, 09:30 PM
Fordza's Avatar
Fordza
Fordza is offline
New User
Join Date: Jan 2014
Location: Columbus
Posts: 16
Likes: 0
Received 0 Likes on 0 Posts


Here you go Brad. Removing the main surround bezel was probably the easiest part of this...aside from pulling the lid hinge pins.
I didn't count the alignment pins but none of them broke during removal. Just waiting on the felt sheets to arrive from Amazon in a couple days and I'll get it all reassembled and back in my truck. I'm thinking about selling the Jump seat assembly and trying to install a console from a newer series truck, I like the one from my 2003 F150 better.
 
  #27  
Old 07-16-2018, 05:27 AM
Diesel_Brad's Avatar
Diesel_Brad
Diesel_Brad is offline
Fleet Owner
Join Date: May 2009
Location: Gilbert, PA
Posts: 21,431
Received 59 Likes on 48 Posts
Actually MOST if not ALL of your pins are broken. There are 14 in total. 3 in the front, 3 in the rear 3 on each side and 2 in the middle
 
  #28  
Old 07-16-2018, 08:06 AM
Fordza's Avatar
Fordza
Fordza is offline
New User
Join Date: Jan 2014
Location: Columbus
Posts: 16
Likes: 0
Received 0 Likes on 0 Posts
Well Brad, you're wrong. I took this unit apart and whether you want to believe me or not, nothing broke. Unless this storage unit was removed at some point in the past and reassembled, which I highly doubt given there are no signs of such. I've only owned the truck for about 3 weeks now.
In any case; to all of you interested in taking yours apart for cleaning or whatever, feel free to ask any questions. Regardless if some pins broke or not (they didn't) this is a relatively simple procedure to do.
 
  #29  
Old 07-16-2018, 12:57 PM
Roger T. Pipe's Avatar
Roger T. Pipe
Roger T. Pipe is offline
Elder User
Join Date: Mar 2008
Location: Sandy Hook, CT
Posts: 816
Likes: 0
Received 2 Likes on 2 Posts
@ Fordza...THANK YOU for posting this! I have about 4 or 5 of these sitting in storage and had no idea on how to dis assemble prior to your posting! Once Summer winds down I plan on tackling the reupholstery. Again-thanks for the tutorial.
 
  #30  
Old 07-16-2018, 03:15 PM
Fordza's Avatar
Fordza
Fordza is offline
New User
Join Date: Jan 2014
Location: Columbus
Posts: 16
Likes: 0
Received 0 Likes on 0 Posts
@ Diesel Brad, my apologies, I took a closer look a few minutes ago in better lighting and yes there are molded alignment pin around the perimeter of the upper bezel piece, and some of those pins are broken or have been cut/snipped somehow. Mine did not have any clips on the pins, and was not separating in anyway prior to removal.


For those of you still wanting to take your storage units apart I say go ahead... you may encounter a different issue when removing the Bezel than I did. take your time and don't try this when the plastic is cold.


Quick Reply: Has anyone here ever successfully disassembled a 40/20/40 center console?


All times are GMT -5. The time now is 11:00 AM.