When you click on links to various merchants on this site and make a purchase, this can result in this site earning a commission. Affiliate programs and affiliations include, but are not limited to, the eBay Partner Network.
Any questions I can answer for you? I�ve been running this for several months now and the truck is solid. I now need to replace my batteries because they are 5 years old and struggle in the sub-freezing temps we�ve had in Oklahoma. Keeping the batteries on a trickle charger when I don�t drive it helps them stay strong.
Thanks, Jesser02EX, for taking the time to do the write-up. I am looking at also doing this mod. I have already replaced my alternator, a few months ago, on my 7.3 EX with the Bosch unit you mentioned. I was wondering if you could go through and give a final list of the wire lugs you ended up purchasing for your project (wire size and ring size). Those things are fairly expensive and I would hate to buy some I don't need. Also, maybe a list of any extra items you found useful (for example, the red wire lug covering you put on the positive alternator terminal). How long were your wires you purchased for the new cables (2/0 AWG ground and 2 AWG charging cable)? Is there a good place to buy the wire other than a hardware store?
Is it recommended to replace the positive cable between the two batteries to a thicker wire or just leave as is with the new lugs?
Have you had the same problem as one of the other users with the marine terminals coming loose? Have you had reason to look into the Napa terminals?
Jesser02EX – enjoyed reading your post on changing out the battery cable terminals on your 7.3 PS Excursion. Also read TXDoug’s post which you referenced. Both have good insight and recommendations on making these changes. Thanks to both for your contributions. I just joined the forum and appreciate all the great info that everyone shares.
I have a 99.5 7.3 PS F-250 and I need to make the same charges.
I cross-checked your parts list against TXDoug’s list. I think I found one difference in terminal size, although I may be mis-reading your or TXDoug’s post. It is the terminal size for the battery interconnect cable. I think you list a 1/0 terminal and I think TXDoug lists a #1 AWG terminal. Again, I may have mis-read one or both posts.
I looked at the Ancor terminal data and it lists the cross section of a 1/0 as 53 sq mm and of a #1 AWG as 42 sq mm. I also found another reference chart online. It lists the cross section of a 1/0 as 54 sq mm (105,600 cmil) and of a #1 AWG as 42 sq mm (83,700 cmil).
Can you verify the size of the two interconnecting cable battery terminals that you used?
Thanks again for sharing your information.
Last edited by giskard; 02-10-2019 at 02:20 PM.
Reason: break out paragraphs
Wow, this is blast from the past thread. I went out and looked and I believe my interconnect terminals are 1/0.
A little update on my system upgrade. The cables are holding great, however, I am not happy with the Bosh 6.0 alternator. I�m still using it, but on very cold mornings, my dash battery light comes on as the truck is warming up. Once warm, no issues!
in January of 2018 I upgraded my batteries to new Interstate units from Costco. I keep a trickle charger on my batteries as I don�t drive a excursion very often in the winter. I�m not sure what�s happening with the Bosh alternator, but I wouldn�t recommend it to other users.
all in all, the electrical system is healthy. The new connections do not corrode like the old terminals did.
I considered buying that 140 amp Bosch myself. Right now I just have a crappy carquest 110 amp stock replacement unit the previous owner put on but it seems to hold it's end of the bargain up.
Jesser02EX - I ordered both 1 AWG and 1/0 terminals, along with all the other needed items from Genuinedealz.com to make the changes. Will post with what I find when I cut the cables to make the changes.
Update on my battery light. I have no idea what�s happy, today it was 30� when I was out and the truck didn�t warm fast. I recorded a video of what�s happening.
I keep the trickle charger on my truck when I�m the driveway so my batteries are always �topped off�.
If you still have the previous alternator why don't you reinstall it and see if the problem still exists?
I am in the process of changing the battery terminals on my 99.5 7.3 F250. Will update you on what I learned about terminal size when done. Held up first for passenger battery tray u nuts and now weather. Broke the two u nuts when removing battery tray to clean and paint. The bolts rusted to the u nuts after 20 years and the u nuts broke. Imagine that...
Bottom Line Up Front
Completed replacement of battery cable lugs on my OEM battery cables and battery terminals on my 99.5 F250 power stroke diesel. Information gleaned from this forum helped significantly to accomplish the task. Note: I would have replaced the battery cables in their entirety if I had known beforehand the amount of corrosion I was going to find during this task. A restoration of the passenger side battery tray was also easily accomplished during this effort.
Preparation
I replaced my batteries two weeks prior to undertaking this task. During the battery R&R I decided it was time to do something about the battery connections. Initially I thought I would replace the cables. After my research on this forum I learned I could save money by replacing only the battery cable lugs and battery terminals. I did not think cable corrosion would be an issue since the truck has lived its life in the southern states. This was not the case I found once I began cutting the OEM lugs from the cables. More on that later.
While I read many posts from numerous contributors, I focused on the threads of Jesser02EX and TXDoug�s on this topic for parts list and tools. I ordered lugs, heat shrink, and military ordinance battery terminals from Genuinedealz.com. The terminals were back ordered there so I ordered a set and battery terminal covers from the online store named after the big South American river. Also ordered a similar crimping tool as Jesser02EX used from the same store. The tool he used was no longer available.
I bought a rust inhibitor from my local parts store for use on the passenger battery tray. I used left over rattle cans of paint to paint the battery tray, its mounting plate in the engine compartment, and the engine compartment side area where the passenger side battery is grounded.
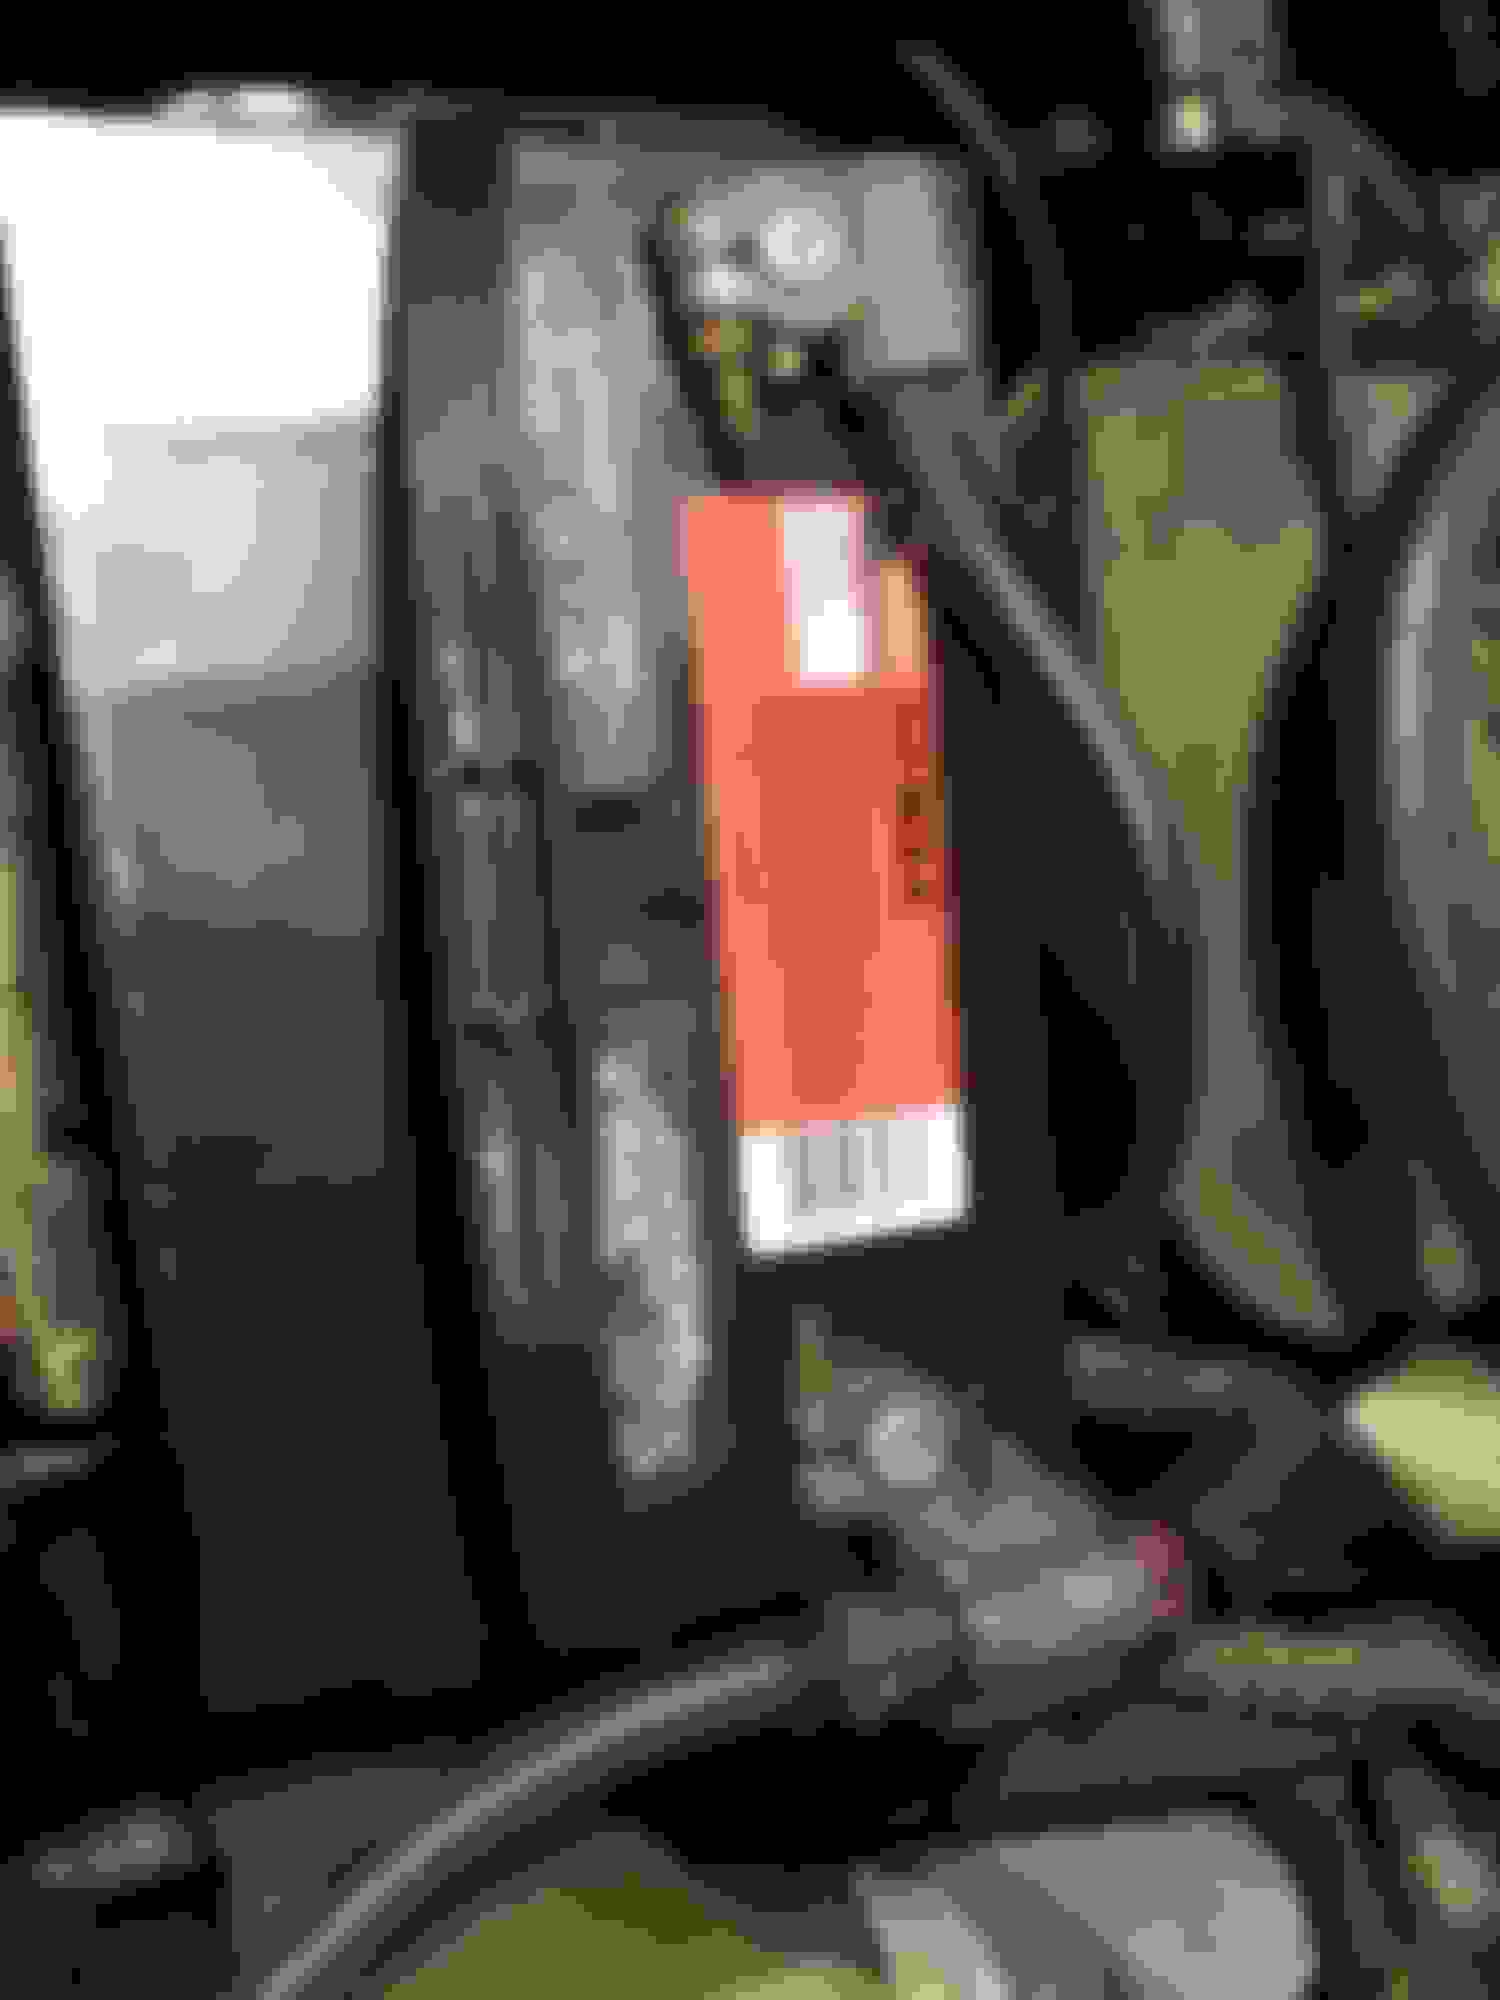
Passenger Side Before
Driver Side Before
Task 1 � Passenger Side Battery Tray Restoration
I removed the passenger side battery to permit removal of the passenger side metal battery tray. The tray was rusty and needed to be cleaned, rust treated, and then repainted.
I used a 3 inch wire brush in a corded drill to remove as much rust and old paint as possible. Then I switched to a 1.5 inch wire brush in the same drill to work in the corners and hard to reach areas of the tray. I wiped down the tray using a rag and paint thinner.
Next, I applied the rust treatment using a small horse hair brush. Directions say to use multiple thin coats for best results. I was a bit exuberant in the application of my first coat on the top side of the tray. This resulted in some runs and uneven surface. I was more careful with the remaining applications.
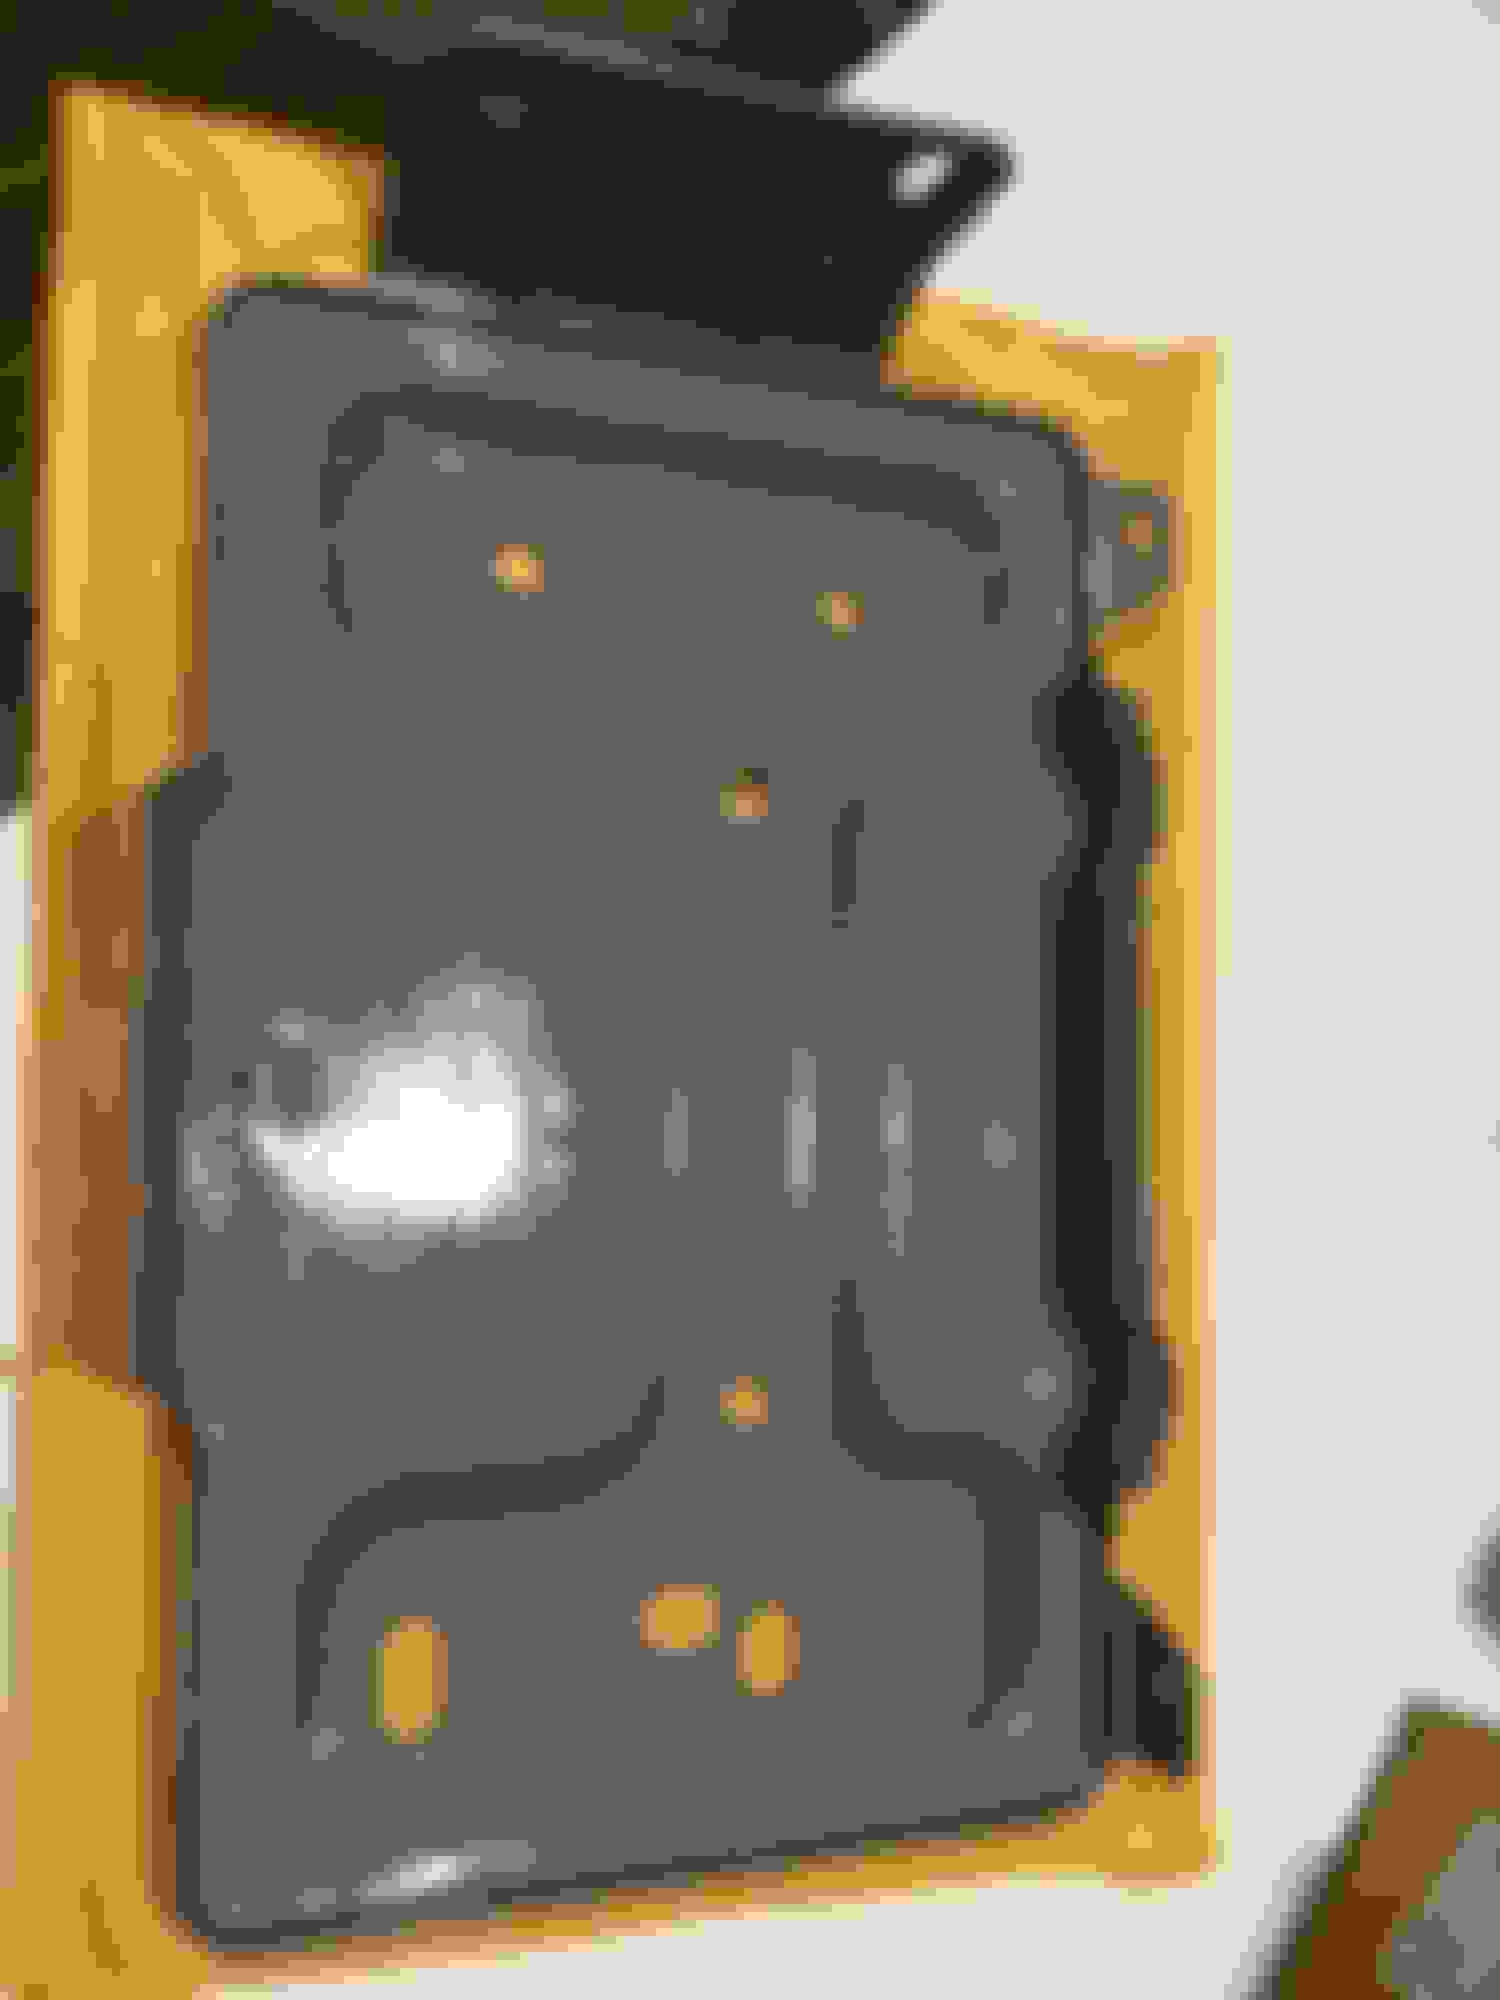
I let the rust treatment applications dry for 24 hours as recommended by the label. Then I applied several thin coats of a gray enamel paint from a rattle can I found on the paint shelf in the garage. I was surprised at how well the tray looked when done. I whole heartedly recommend the rust treatment I used. I achieved results better than I expected. See pictures.
Passenger Side Battery Tray Before (In Truck)
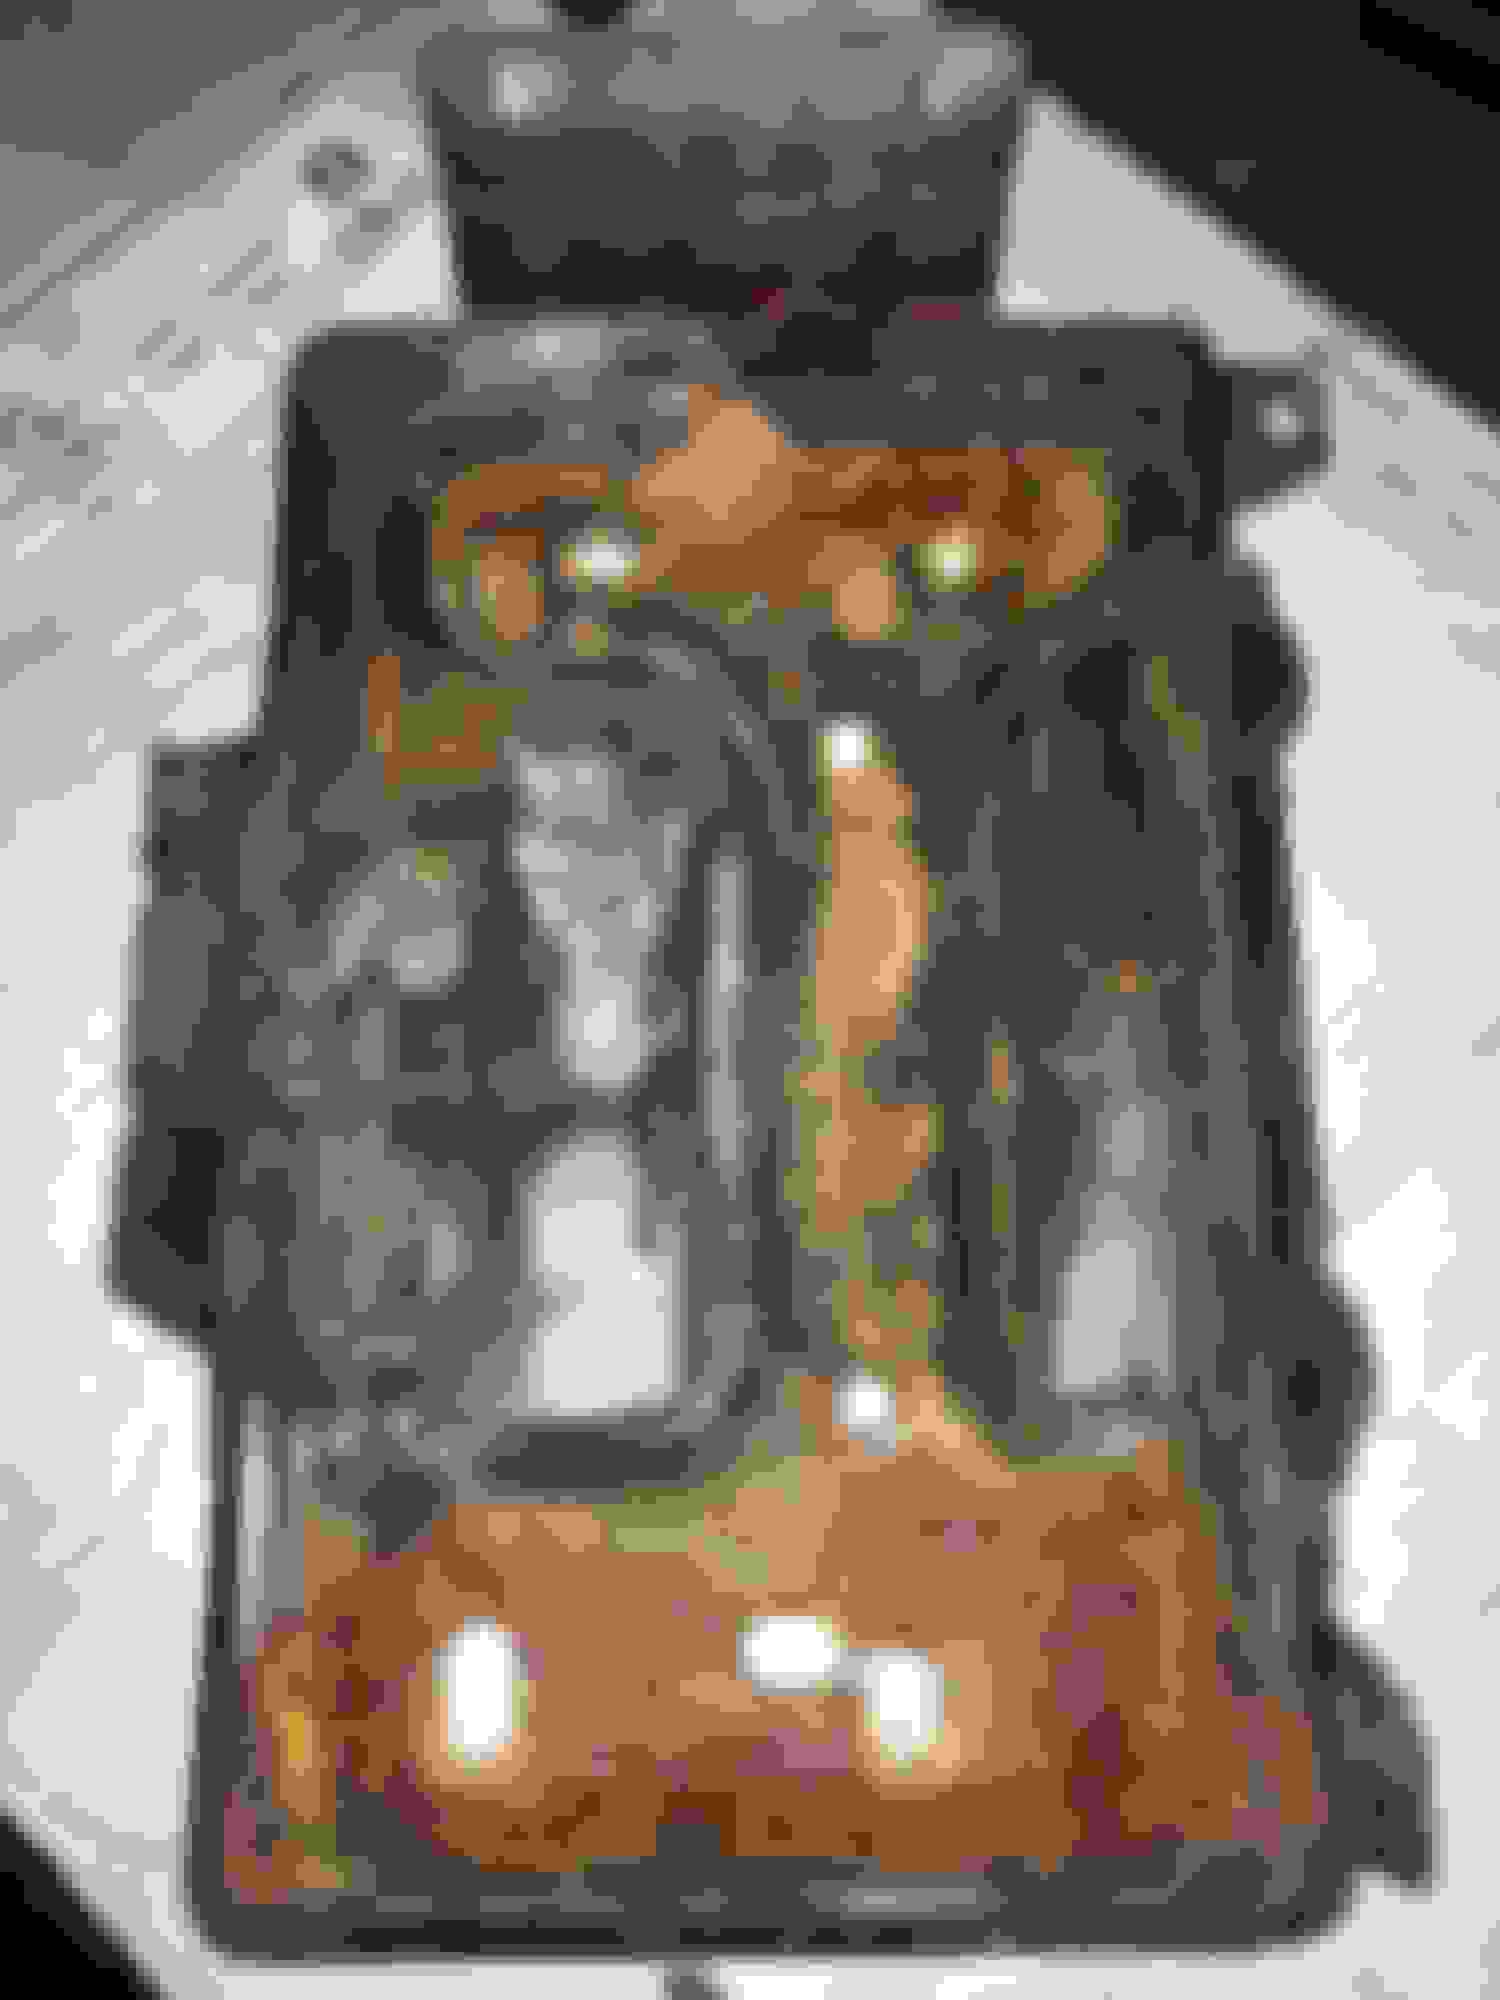
Passenger Side Battery Tray Top Before (On Bench)
Passenger Side Battery Tray Bottom Before (On Bench)
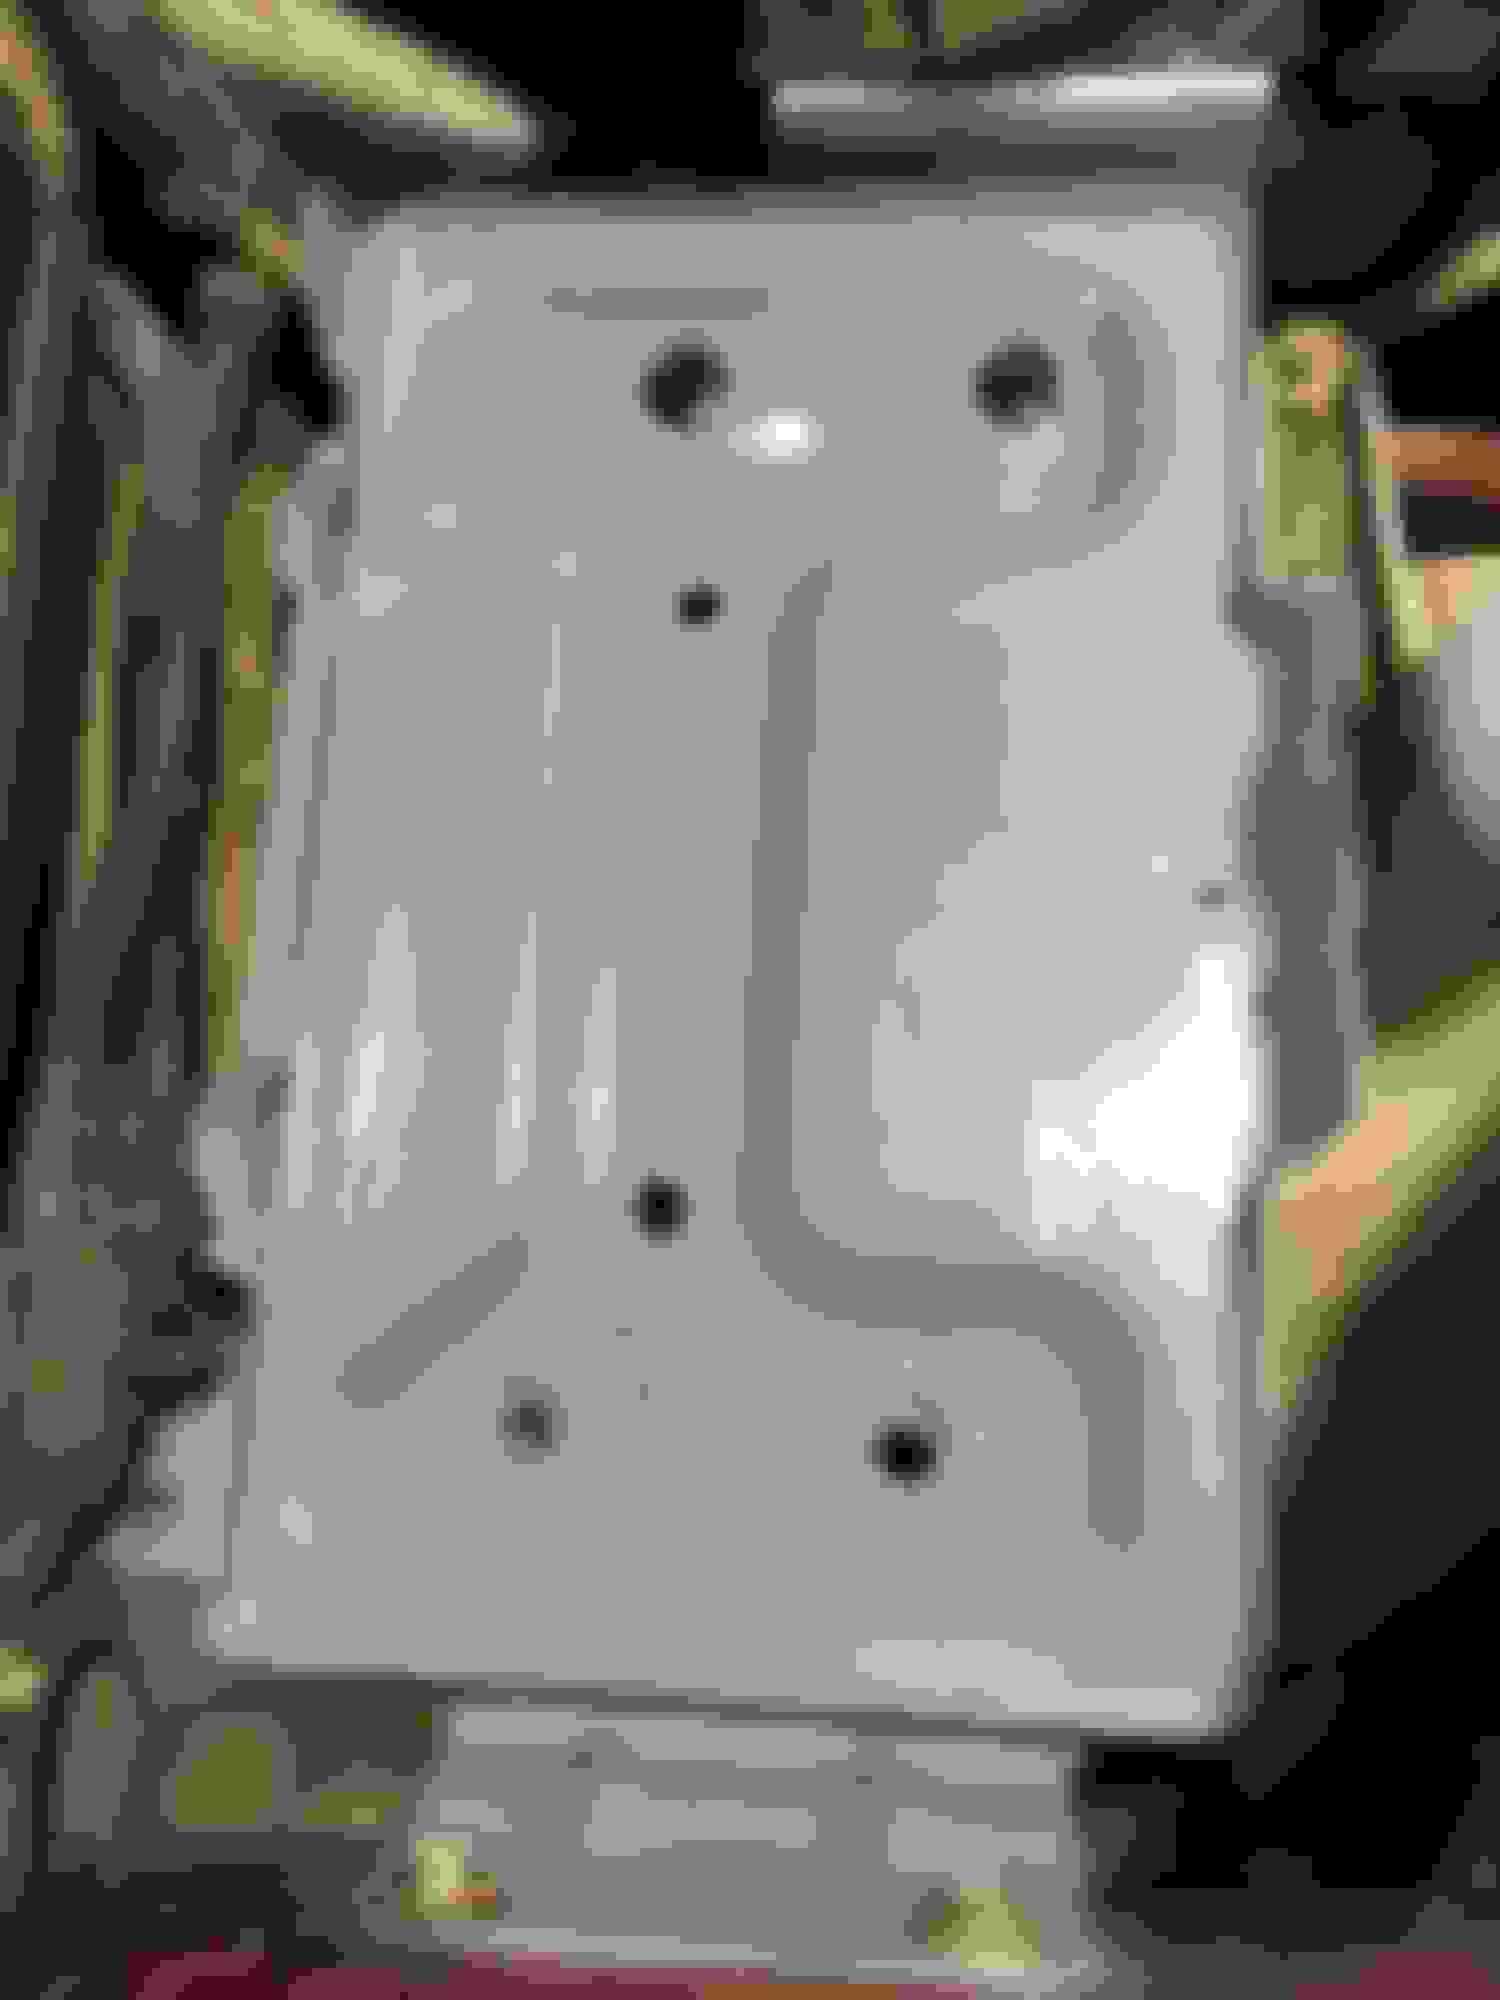
Passenger Side Battery Tray Top After (On Bench 1)
Passenger Side Battery Tray Bottom After (On Bench)
Passenger Side Battery Tray Top After (On Bench 2)
Passenger Side Battery Tray After (In Truck)
I cleaned and painted the battery tray mounting plate in the engine compartment while the tray was removed. I used a 1.5 inch wire brush in a cordless drill to remove as much rust and old paint as possible. I wiped down the mounting plate using a rag and paint thinner. Then I masked off the area surrounding the plate. Again, I went to the paint shelf in the garage and found a rattle can of silver enamel paint. Several thin coats were applied and then the area was unmasked.
Battery Tray Mounting Plate Before
Battery Tray Mounting Plate After
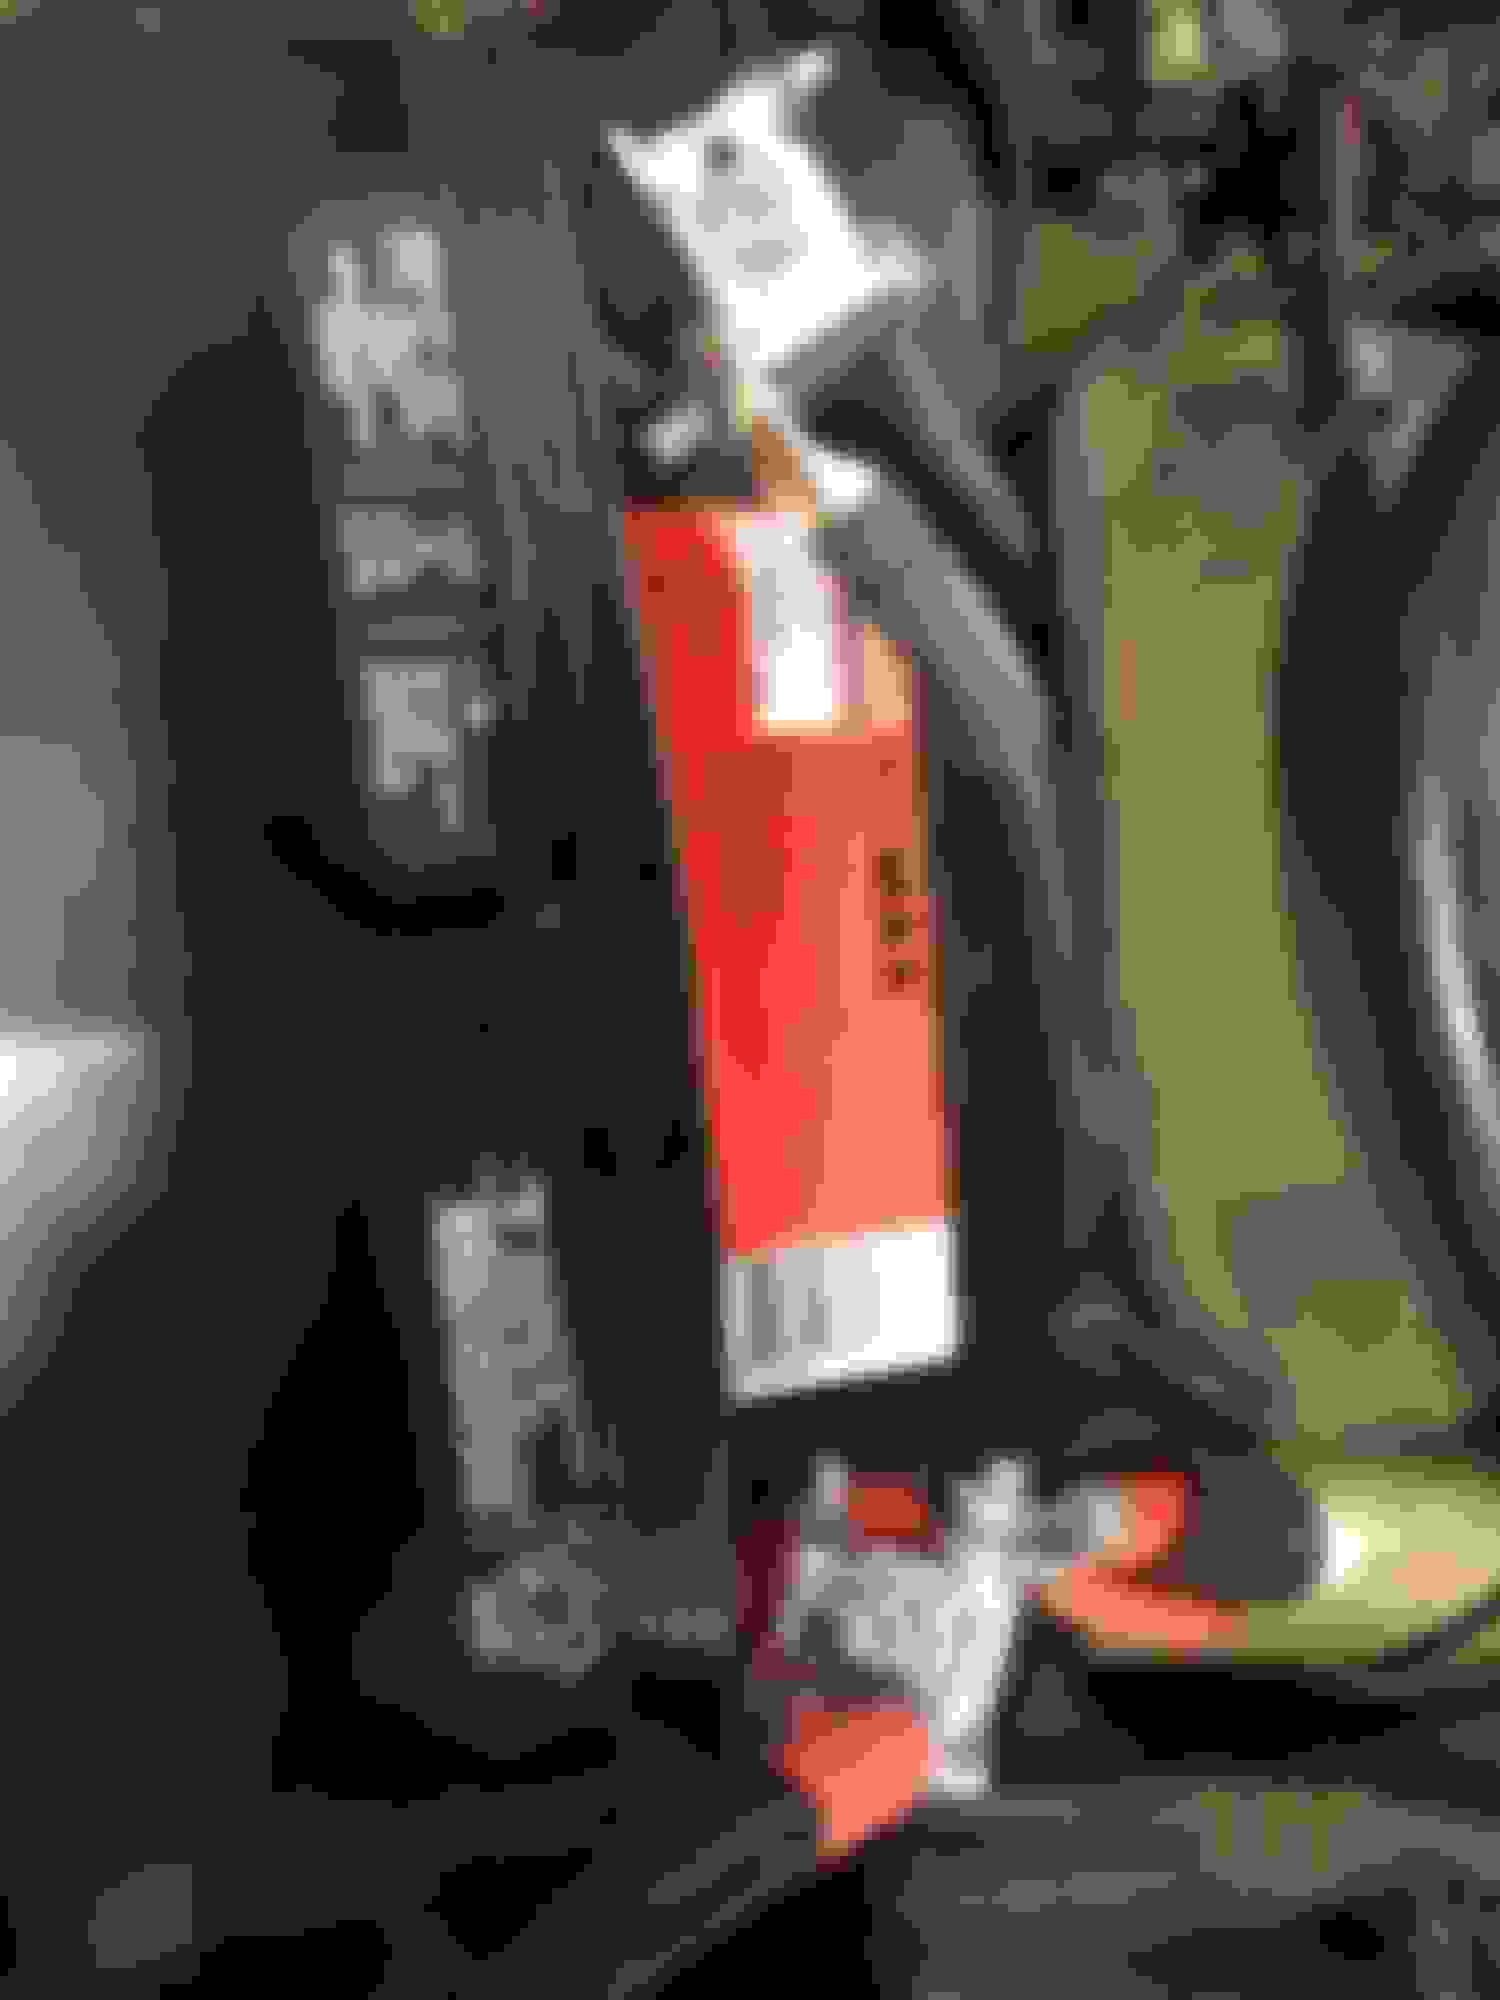
While removing the tray I broke both u bolts used in securing the bottom of the tray to the tray mounting plate. The bolts were rusted to the u nuts and were not salvageable. I searched online and found replacement u nuts at a local big box home improvement store that has a blue sign. The replacement u nuts are coarse thread while the OEM bolts are fine thread. I had to also buy the bolts to match the u nuts. See picture.
Passenger Side Battery Tray U Nuts & Bolts
I then removed the negative wire attached to the passenger side of the engine compartment. I used the same 1.5 inch wire brush and cordless drill to clean the paint away from the mounting area for this wire. I wiped down the area using a rag and paint thinner. I also cleaned the wire�s lug with a brass brush to ensure a clean ground. I reinstalled the ground wire and masked off the area surrounding it. Again, I went to the paint shelf in the garage and found a rattle can of black enamel paint. Several thin coats were applied and then the area was unmasked. See pictures.
Negative Wire Attached to the Passenger Side of the Engine Compartment 1
Negative Wire Attached to the Passenger Side of the Engine Compartment 2
Task 2 � Lug Replacement
I started with the driver side negative cable. There was some corrosion of the wire noted when the OEM lug was cut away. I made another cut a few inches from my first cut. There was still corrosion seen but somewhat less than found at the first cut. While I wanted to remove still more of the OEM cable in search of less corrosion I couldn�t and still have the cable reach the battery terminal. I chose to use soldering flux to clean the exposed copper prior to crimping the new lug. This was in lieu of using the vinegar and baking soda approach others have used. I used a small brass brush to clean away the larger portions of the corrosion prior to coating the copper with the flux and then heating it with a small butane torch. After cooling I wiped the exposed copper with a shop towel. I then coated the exposed copper with Noalox prior to installing the replacement lug.
The driver side positive cable showed amounts of corrosion similar to the just completed driver negative cable. I cut away as much of the cable as I could and still have it reach the positive battery terminal. I used the same procedure for the positive cable lug installation as used for the just completed negative cable.
The passenger side positive cross over cable showed more corrosion than either of the driver side cables. The passenger side positive starter cable showed even more corrosion than the passenger side cross over cable. I followed the same procedure here as done for the driver side. I cut away as much of the positive cables as possible and still have the cables reach the battery terminal.
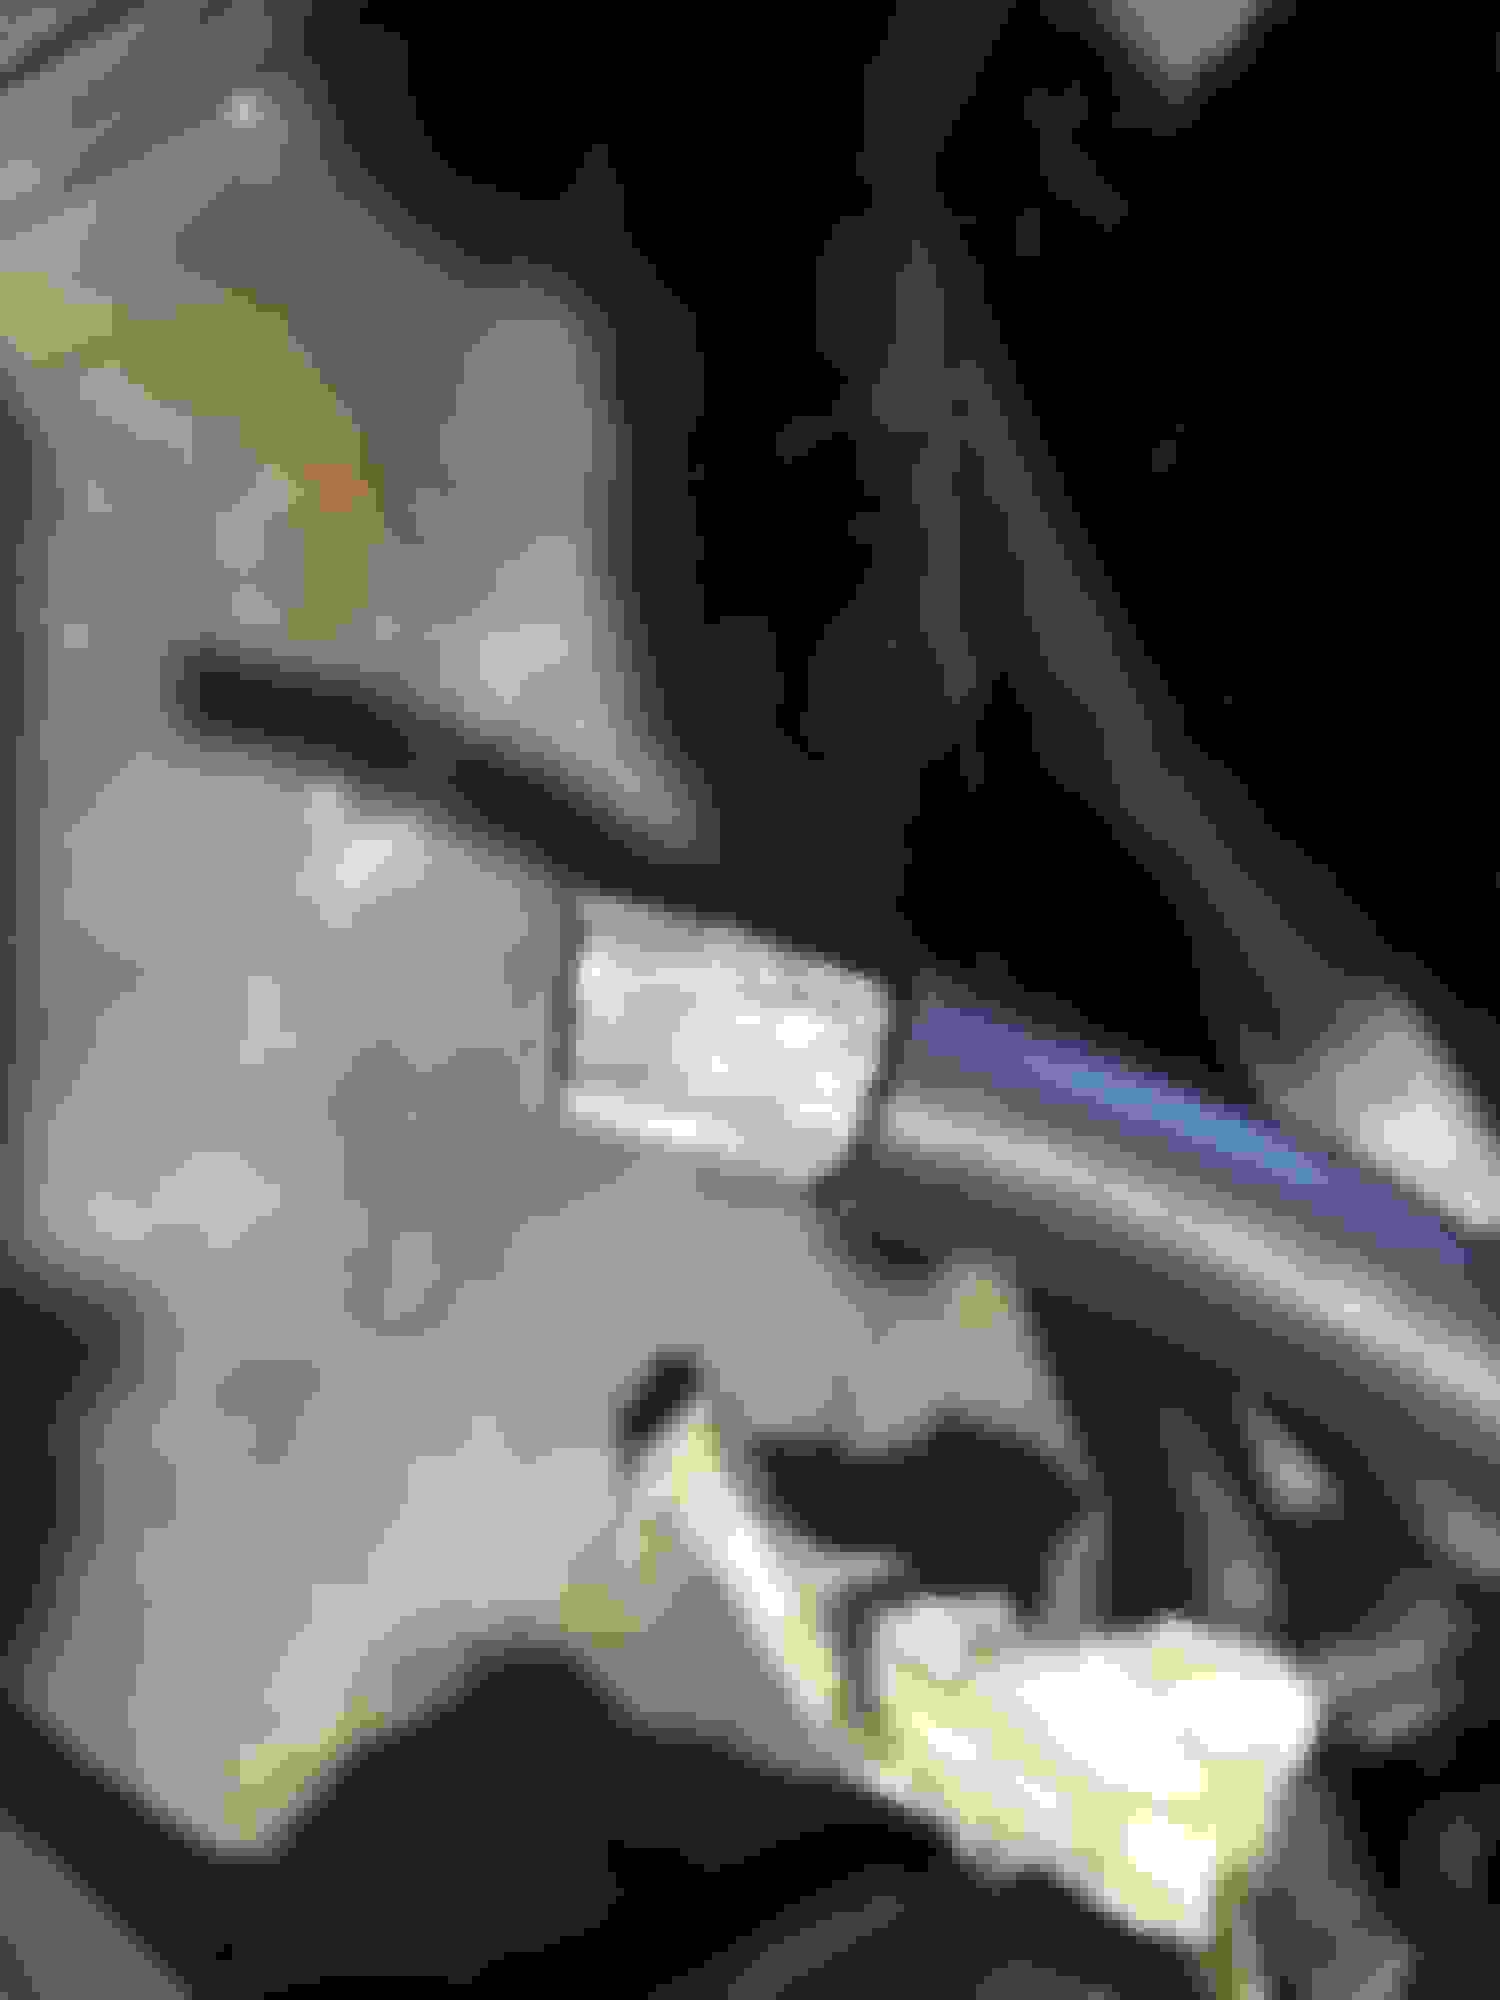
The passenger side negative cable showed the most corrosion of all the cables once the OEM lug was cut away. It had so much corrosion in it that the insulation had swelled near the end of the cable. This insulation swelling extended down the cable several inches. I have included pictures of this cable end. I was unable to cut away all of the effected cable as it would have resulted in a too short cable.
Passenger Side Negative Cable 1
Passenger Side Negative Cable 2
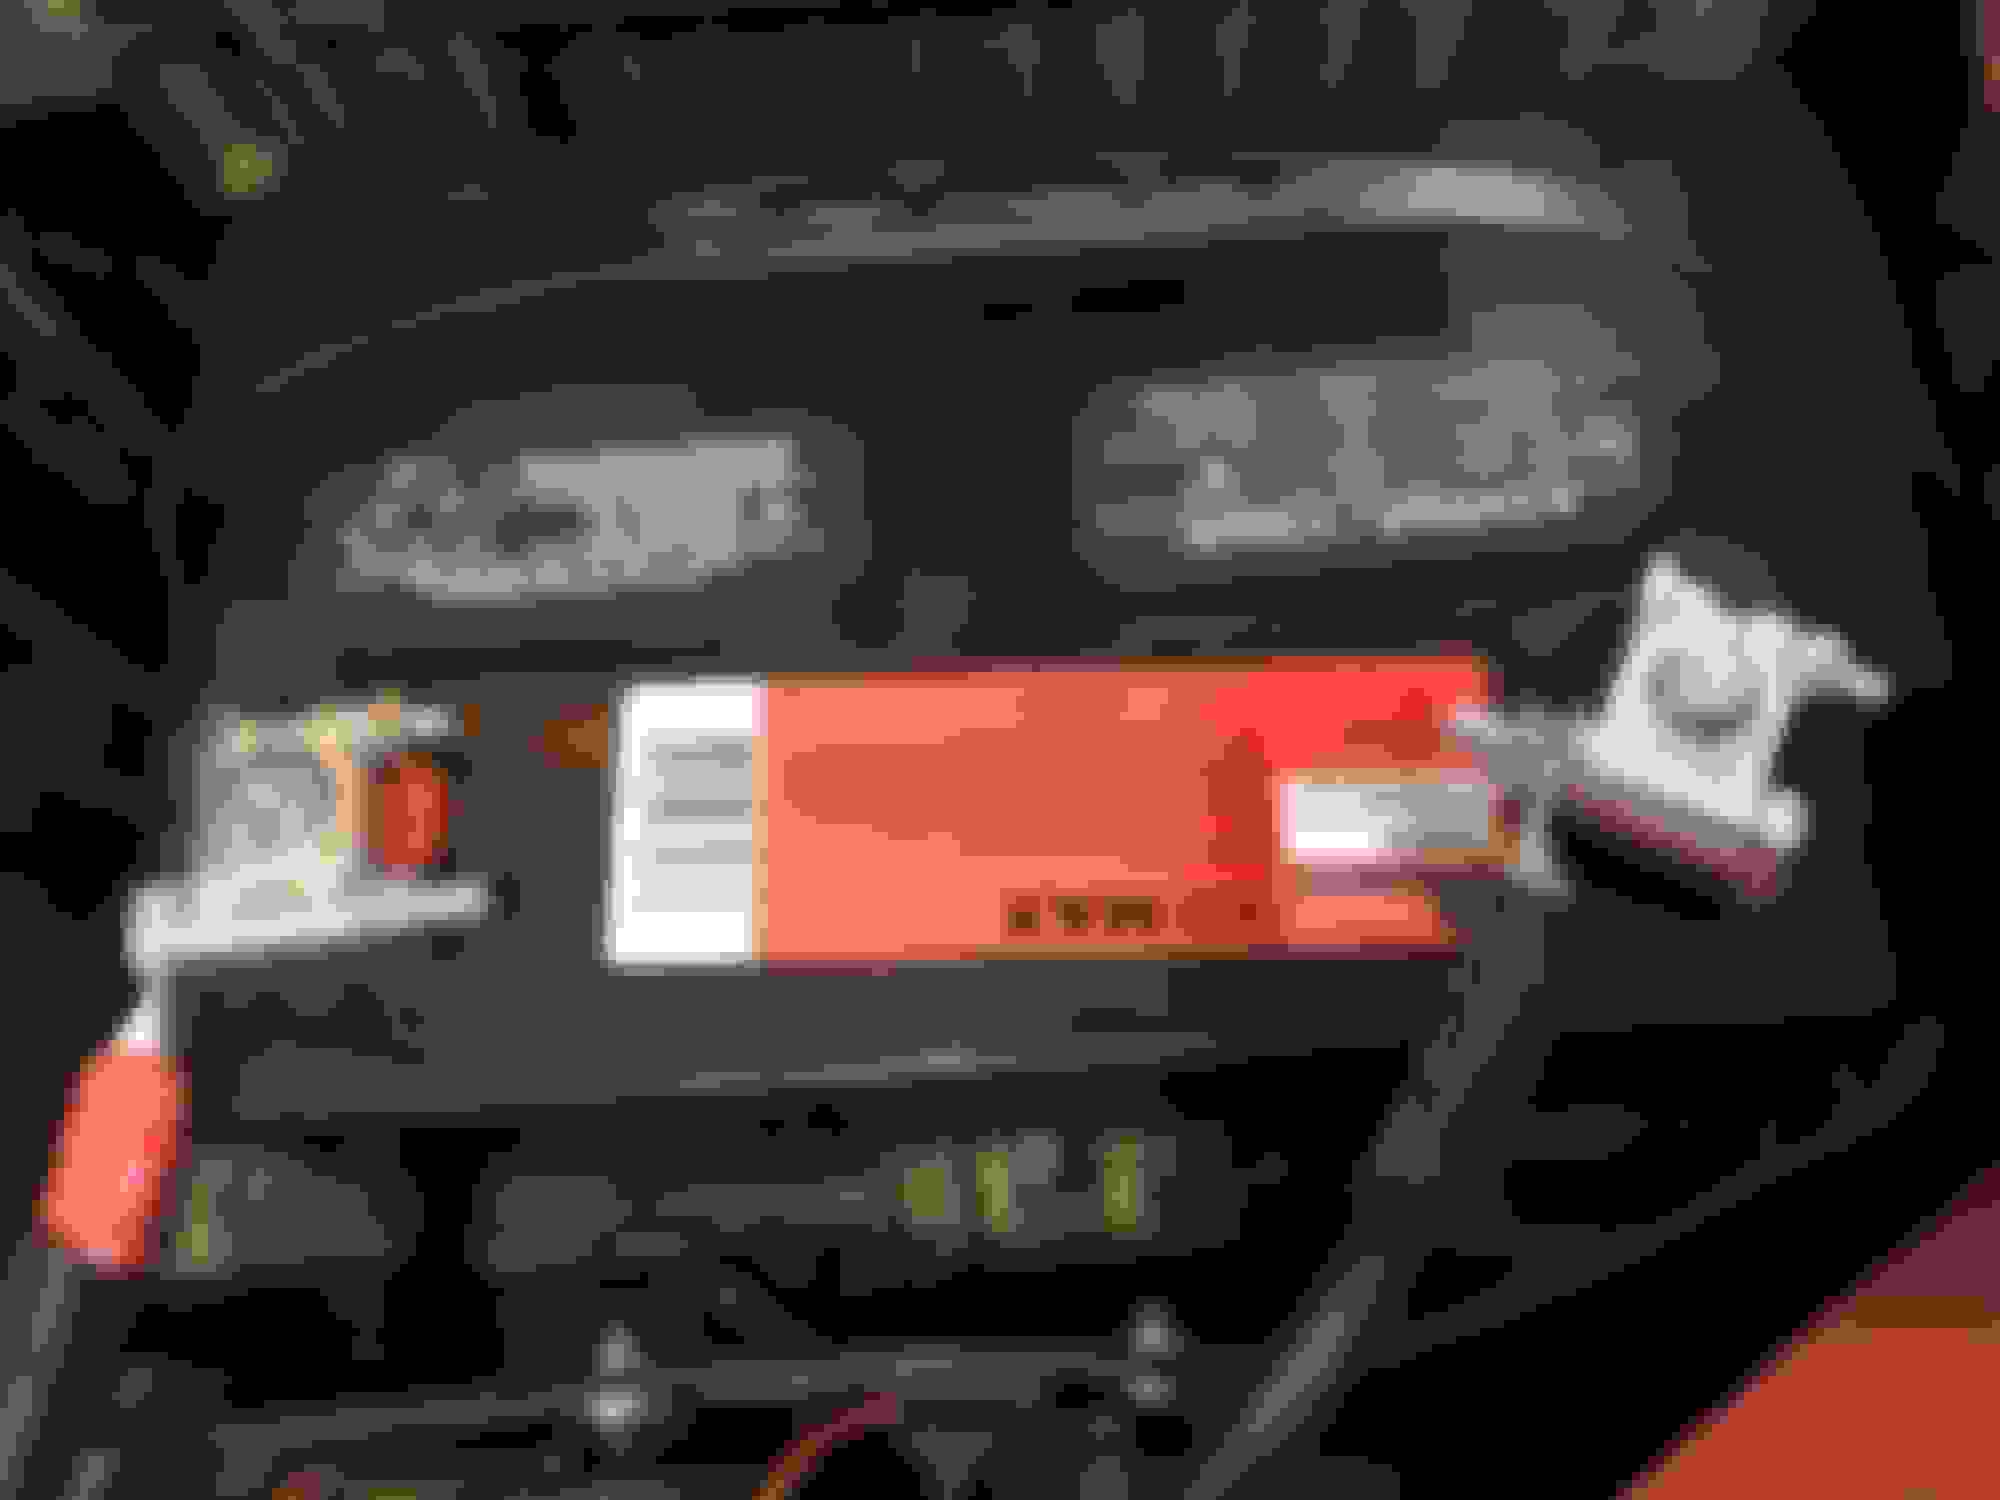
Cable Lugs Used on the OEM Cables
I used 1 AWG lugs on both ends of the positive cross over cable. A 1/0 lug was used on the driver side negative cable. A 2/0 lug was used on the passenger side negative cable because a 1/0 lug would not fit due to the amount of swelling of the cable due to the corrosion within the cable. A 2/0 lug was used on the starter cable. An 8 AWG lug was used on the passenger side positive cable for the starter relay.
Conclusion
It was an easy task to replace the lugs on the OEM battery cables and to replace the battery terminals. This was made possible by the information shared on this forum and the use of proper tools. I do plan to replace all of the OEM cables soon due to the amount of corrosion I found within the cables when I removed the OEM lugs. A restoration of the passenger side battery tray was also easily accomplished during this effort.
Recall I am new to this forum. I thought I hit the post button last night on the update of the results of my battery lug & terminal effort. I still don't see it. Did I not post it or is it awaiting a moderator review/approval?
Bottom Line Up Front
Completed replacement of battery cable lugs on my OEM battery cables and battery terminals on my 99.5 F250 power stroke diesel. Information gleaned from this forum helped significantly to accomplish the task. Note: I would have replaced the battery cables in their entirety if I had known beforehand the amount of corrosion I was going to find during this task. A restoration of the passenger side battery tray was also easily accomplished during this effort.
Preparation
I replaced my batteries two weeks prior to undertaking this task. During the battery R&R I decided it was time to do something about the battery connections. Initially I thought I would replace the cables. After my research on this forum I learned I could save money by replacing only the battery cable lugs and battery terminals. I did not think cable corrosion would be an issue since the truck has lived its life in the southern states. This was not the case I found once I began cutting the OEM lugs from the cables. More on that later.
While I read many posts from numerous contributors, I focused on the threads of Jesser02EX and TXDoug�s on this topic for parts list and tools. I ordered lugs, heat shrink, and military ordinance battery terminals from Genuinedealz.com. The terminals were back ordered there so I ordered a set and battery terminal covers from the online store named after the big South American river. Also ordered a similar crimping tool as Jesser02EX used from the same store. The tool he used was no longer available.
I bought a rust inhibitor from my local parts store for use on the passenger battery tray. I used left over rattle cans of paint to paint the battery tray, its mounting plate in the engine compartment, and the engine compartment side area where the passenger side battery is grounded.
Passenger Side Before
Driver Side Before
Task 1 � Passenger Side Battery Tray Restoration
I removed the passenger side battery to permit removal of the passenger side metal battery tray. The tray was rusty and needed to be cleaned, rust treated, and then repainted.
I used a 3 inch wire brush in a corded drill to remove as much rust and old paint as possible. Then I switched to a 1.5 inch wire brush in the same drill to work in the corners and hard to reach areas of the tray. I wiped down the tray using a rag and paint thinner.
Next, I applied the rust treatment using a small horse hair brush. Directions say to use multiple thin coats for best results. I was a bit exuberant in the application of my first coat on the top side of the tray. This resulted in some runs and uneven surface. I was more careful with the remaining applications.
I let the rust treatment applications dry for 24 hours as recommended by the label. Then I applied several thin coats of a gray enamel paint from a rattle can I found on the paint shelf in the garage. I was surprised at how well the tray looked when done. I highly recommend the rust treatment I used. I achieved results better than I expected. See pictures.
Passenger Side Battery Tray Before (In Truck)
Passenger Side Battery Tray Top Before (On Bench)
Passenger Side Battery Tray Bottom Before (On Bench)
Passenger Side Battery Tray Top After (On Bench 1)
Passenger Side Battery Tray Bottom After (On Bench)
Passenger Side Battery Tray Top After (On Bench 2)
Passenger Side Battery Tray After (In Truck)
I cleaned and painted the battery tray mounting plate in the engine compartment while the tray was removed. I used a 1.5 inch wire brush in a cordless drill to remove as much rust and old paint as possible. I wiped down the mounting plate using a rag and paint thinner. Then I masked off the area surrounding the plate. Again, I went to the paint shelf in the garage and found a rattle can of silver enamel paint. Several thin coats were applied and then the area was unmasked.
Battery Tray Mounting Plate Before
Battery Tray Mounting Plate After
While removing the tray I broke both u bolts used in securing the bottom of the tray to the tray mounting plate. The bolts were rusted to the u nuts and were not salvageable. I searched online and found replacement u nuts at a local big box home improvement store that has a blue sign. The replacement u nuts are coarse thread while the OEM bolts are fine thread. I had to also buy the bolts to match the u nuts. See picture.
Passenger Side Battery Tray U Nuts & Bolts
I then removed the negative wire attached to the passenger side of the engine compartment. I used the same 1.5 inch wire brush and cordless drill to clean the paint away from the mounting area for this wire. I wiped down the area using a rag and paint thinner. I also cleaned the wire�s lug with a brass brush to ensure a clean ground. I reinstalled the ground wire and masked off the area surrounding it. Again, I went to the paint shelf in the garage and found a rattle can of black enamel paint. Several thin coats were applied and then the area was unmasked. See pictures.
Negative Wire Attached to the Passenger Side of the Engine Compartment 1
Negative Wire Attached to the Passenger Side of the Engine Compartment 2
Task 2 � Lug Replacement
I started with the driver side negative cable. There was some corrosion of the wire noted when the OEM lug was cut away. I made another cut a few inches from my first cut. There was still corrosion seen but somewhat less than found at the first cut. While I wanted to remove still more of the OEM cable in search of less corrosion I couldn�t and still have the cable reach the battery terminal. I chose to use soldering flux to clean the exposed copper prior to crimping the new lug. This was in lieu of using the vinegar and baking soda approach others have used. I used a small brass brush to clean away the larger portions of the corrosion prior to coating the copper with the flux and then heating it with a small butane torch. After cooling I wiped the exposed copper with a shop towel. I then coated the exposed copper with Noalox prior to installing the replacement lug.
The driver side positive cable showed amounts of corrosion similar to the just completed driver negative cable. I cut away as much of the cable as I could and still have it reach the positive battery terminal. I used the same procedure for the positive cable lug installation as used for the just completed negative cable.
The passenger side positive cross over cable showed more corrosion than either of the driver side cables. The passenger side positive starter cable showed even more corrosion than the passenger side cross over cable. I followed the same procedure here as done for the driver side. I cut away as much of the positive cables as possible and still have the cables reach the battery terminal.
The passenger side negative cable showed the most corrosion of all the cables once the OEM lug was cut away. It had so much corrosion in it that the insulation had swelled near the end of the cable. This insulation swelling extended down the cable several inches. I have included pictures of this cable end. I was unable to cut away all of the effected cable as it would have resulted in a too short cable.
Passenger Side Negative Cable 1
Passenger Side Negative Cable 2
Cable Lugs Used on the OEM Cables
I used 1 AWG lugs on both ends of the positive cross over cable. A 1/0 lug was used on the driver side negative cable. A 2/0 lug was used on the passenger side negative cable because a 1/0 lug would not fit due to the amount of swelling of the cable due to the corrosion within the cable. A 2/0 lug was used on the starter cable. An 8 AWG lug was used on the passenger side positive cable for the starter relay.
Conclusion
It was an easy task to replace the lugs on the OEM battery cables and to replace the battery terminals. This was made possible by the information shared on this forum and the use of proper tools. I do plan to replace all of the OEM cables soon due to the amount of corrosion I found within the cables when I removed the OEM lugs. A restoration of the passenger side battery tray was also easily accomplished during this effort.
Great write up. Do you plan to post where you bought your crimp tool? I to saw the other tool is no longer available. Most that do this go bigger on the cables, but this should be enough unless a bigger alternator is going to be installed.

 01-14-2018, 10:26 AM