When you click on links to various merchants on this site and make a purchase, this can result in this site earning a commission. Affiliate programs and affiliations include, but are not limited to, the eBay Partner Network.
Maybe there's a problem at another bulb/socket on that side?
Almost sounds like a ground - I would suspect the one on that side which grounds the lights to the radiator support or where ever, or the one inside the tail light cavity on that side.
Maybe there's a problem at another bulb/socket on that side?
Almost sounds like a ground - I would suspect the one on that side which grounds the lights to the radiator support or where ever, or the one inside the tail light cavity on that side.
That's certainly a possibility. I have gone over almost all of the grounds on the truck, created new ones, cleaned up/replaced old ones, and used a LOT of dielectric grease though.
When I was checking voltage at the socket, at the headlight harness connector (driver side inner fender near washer bottle), I was getting 11.34 Volts. I used a set of aligator clips to keep the harness connected electrically, but separated for testing - not exactly the smartest way to do it, but I don't really have another way to test the connections without cutting into the wires.
I checked the passenger side just to compare, and it's 11.8 Volts. Battery (truck off) was sitting at 12.33 volts. So I'm losing voltage on the driver side somewhere, and it's enough to make things not operate correctly. I may also be losing voltage at the passenger side too, but at least the light works/blinks.
I'm not an electrical guy, but I kinda felt like the washer bottle might be causing some of the issues as well since it's on the same circuit as the driver side headlight harness. The washer bottle motor doesn't work, even though it's new. I checked voltage at the washer bottle connector and there's nothing going there.
I traced the green /w black strip wire back to the headlight harness connector, and it shares a common connection somewhere between the headlight harness socket and the firewall. Didn't dive any further into it at that point as I don't have many electrical supplies to tape, crimp, and replace stuff.... plus it was 12:30 at night lol.
I've seen 'em where the **** would bottom out on the gauge bezel, before it could push the switch shaft in far enough to complete the circuit and run the washer motor.
My truck was doing that and I just wadded up a very small piece of paper and stuck it inside the ****, so that it wouldn't set so far down on the switch shaft.
You make it sound so easy Rich! I guess I could always just replace some seals and some bearings and call it a day. The "while I'm here" itch has me worried though....
It's soooooooooooooooooooooo tempting to rebuild the entire axle while I have it that far down... including kingpins... and paint it, and install better parts, and this... and that... LOL my wallet already hurts just thinking about it!
I've seen 'em where the **** would bottom out on the gauge bezel, before it could push the switch shaft in far enough to complete the circuit and run the washer motor.
My truck was doing that and I just wadded up a very small piece of paper and stuck it inside the ****, so that it wouldn't set so far down on the switch shaft.
Ooooo really good call. The wiper motor works, but the washer bottle doesn't squirt fluid. It's actually been so long since I have had to use washer fluid that I had forgotten how the washer bottle worked. I'll give that a try and see if I get voltage at the washer bottle. Thanks meangreen!
Finally... the progress I've been waiting to post. Many thanks to everyone on the forum for the encouragement and support/advice with the front suspension issues.
Took 2.5 days to have everything done, but that includes around 1.5 days of watching paint dry LOL. Coating the bolts / pitman arm in penetrant for 2+ weeks REALLY helped. Pitman arm slid off without a fuss because I used the "right tool for the job"
A special thank-you to Rich (77&79F250) for a very expensive phone call - I still haven't seen an invoice in the mail, so I guess that means I'm buying you a case of beer? Shoot me a PM Rich!
Okay... getting to the nitty gritty cause nobody likes text. Everyone loves photos.
Before:
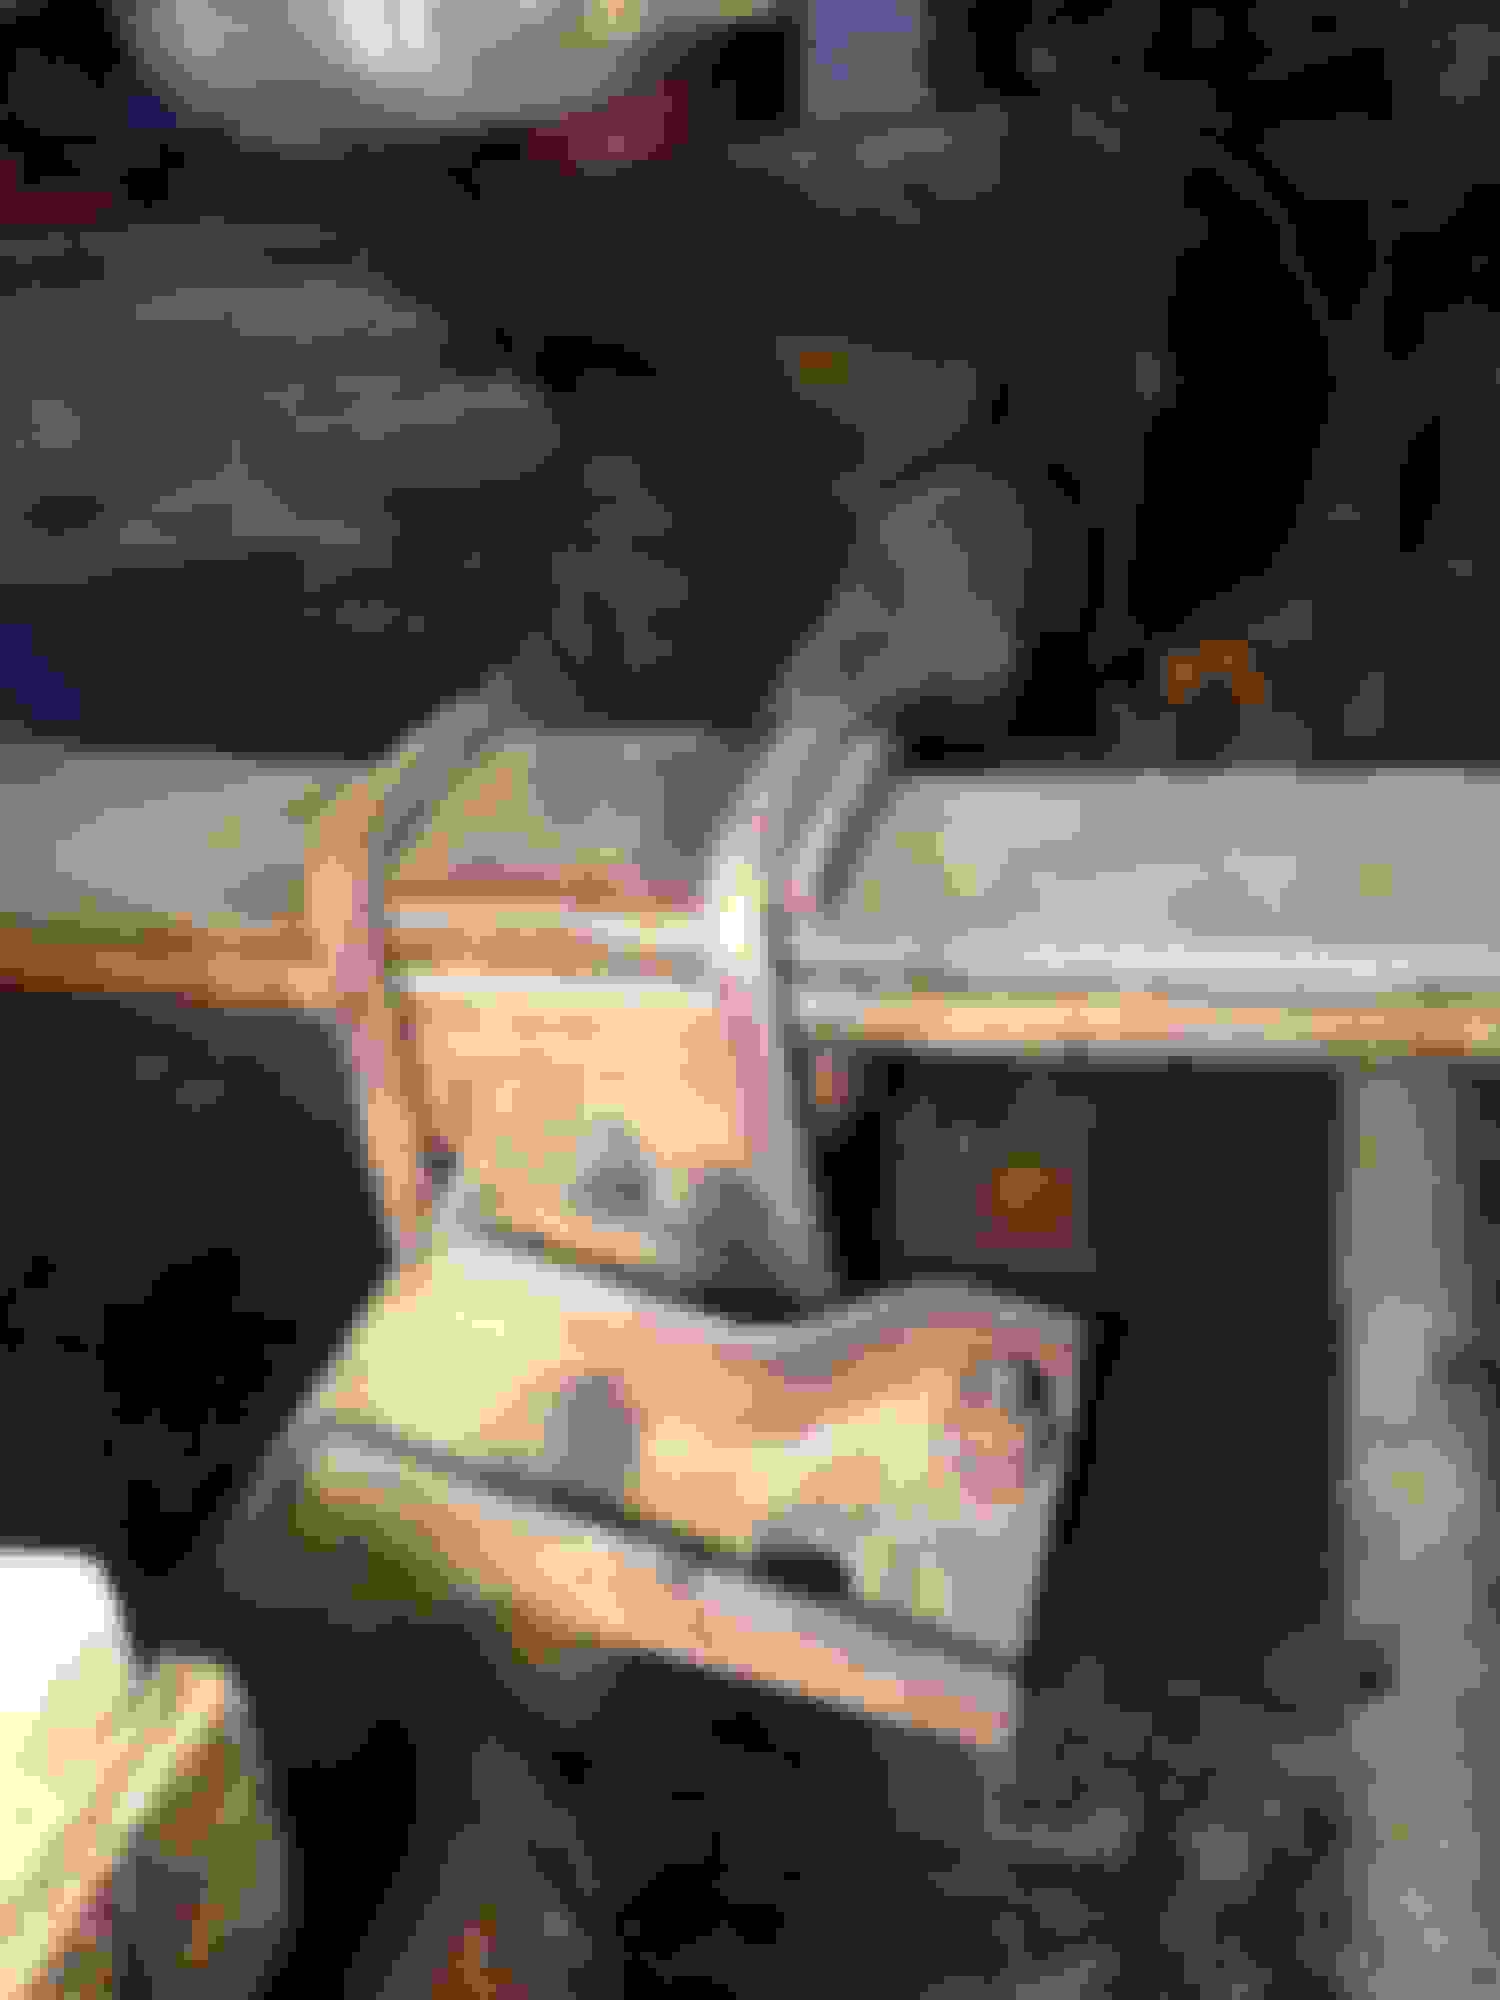
Question: This top plate above the passenger side leaf spring... is there supposed to be a twin on the driver side as well??? If so, I'm missing it (see after photos below for driver side).
Driver side (after). Notice there is no plate? I didn't lose it cause there was nothing there for me to lose... wondering if it's missing from the previous owner??? Seems kinda important to keeping the u-bolts centered (like the passenger side in the above photo).
Lots of rust... Glad to be rid of these leafs cause they were hurting.
Before yanking everything apart, I took a bunch of measurements and came up with this idea to hold the front chunk of UHMW strip within its leaf pack. It's something passive / restrictive rather than a hard connection to the leaf pack. More photos of the final result later.
Got the original frame bushings out with LOTS of heat. Lit them on fire, watched them burn, then pushed the old center pin out with a punch. Dug out the rubber with a screw driver... but I couldn't get the external sleeve from the original bushing out.
I ended up leaving the outside ring / sleeve for the OE bushing in the frame. Didn't want to torch out the rivets and take off the frame shackle connectors, so I cleaned up the inside with a dremel, but then had to deal with the Energy Suspension bushings somehow because they were too large.
Used the dremel A LOT.
Original dimension of 1.25" (original below, ground down version above).
Spent probably an hour on each bushing (4 in total) to get them perfect. Worked very slowly, and checked the diameter multiple times, test fitted about a dozen times, and make each bushing specific to its location (outside passenger frame, inside passenger frame, outside driver frame, inside driver frame). The result was worth it.
Final diameter of 1.12" (approximate... each had its own specific dimension to match the external sleeve of the OE bushing). Original shown below again.
Compressed the leaf pack tight, installed red lock tight on the centering pin.
Painted with POR-15, assembled, and installed with new Grade 8 zinc coated hardware. New stover nuts
The UHMW Strip eats up the space between the leaves. And yes, there was a space between the leaves BEFORE installing the UHMW. They came with roughly 1/8" thick space between the leafs from the factory, so the 1/8" thick UHMW plastic is a perfect fit and will assist the ride quality.
Notice how I integrated the "arms" on the front hanger? Not overly noticeable, but should be very effective.
The stock u-bolts will be used for now. Eventually I'll spend the cash and do the u-bolt flit upgrade. It wasn't in the timeline or the budget at the moment. Stock u-bolts had already been purchased.
The leafs actually hang properly on both sides, and are equal on both sides. No more bent leafs!!!
Front eyelet bolts tightened to 135 ft-lbs. OEM service manual calls for 120-150 ft-lbs.
Rear eyelet bolts tightened to 105 ft-lbs. OEM service manual calls for 80-120 ft-lbs.
Frame to shackle bolts tightened to 105 ft-lbs. OEM service manual calls for 80-120 ft-lbs.
U-bolts tightened to 95 ft-lbs. Couldn't find the proper spec for this in the service manual... Anyone know the proper spec?
U-bolt threads were coated LIBERALLY with blue thread locker.
The ride quality is GREATLY improved. Didn't drive the **** out of the truck yet, but even rolling over bumps and curbs, it drives significantly different.
But the proof is always in the pudding... so I took some measurements of each fender when I was done, truck was on the ground, wheels on.
Driver side 37"
Passenger side 37"
Both sides are basically 37" tall at the bottom of the fender arch, just above the wheel. Referencing the old photos... Driver side was 36" tall. Passenger side was 36.5" tall. Now they're both 37" tall.
On to dealing with a valve "tick", loss of vacuum, and dialing in the carb...
"Driver side (after). Notice there is no plate? I didn't lose it cause there was nothing there for me to lose... wondering if it's missing from the previous owner??? Seems kinda important to keeping the u-bolts centered (like the passenger side in the above photo)."
You need to get that top plate ASAP, even if you have to make one out of a 1/8 or 1/4 piece of steal and groove it with a grinder. The rest is looking good.
"Driver side (after). Notice there is no plate? I didn't lose it cause there was nothing there for me to lose... wondering if it's missing from the previous owner??? Seems kinda important to keeping the u-bolts centered (like the passenger side in the above photo)."
Yes there should be a plate on that side as well.
Originally Posted by 77&79F250
You need to get that top plate ASAP, even if you have to make one out of a 1/8 or 1/4 piece of steal and groove it with a grinder. The rest is looking good.
Thanks and good to know guys. What the &*^% is that top plate even called? I tried looking online for a factory one, just for *****s and giggles to see what they were worth, and didn't come up with much.
I'll probably end up going the U-bolt flip kit at this point.... I didn't go with it in the first place due to budget (at the time), and the massive time constraint I had to do the leaf spring swap. Now that I have everything working and in place, seems like the u-bolt flip kit would be the best route and bang for my buck.
Hindsight is 20/20 isn't it?
Originally Posted by somethingclever
Right angle sawzall should fit to get the outer sleeve of the original bushings.
Oooooo good suggestion. Never knew they made blades with a 90 in them. I was afraid that I would end up slicing into the frame bracket if I used my sawzall, so I tried using a fine-tipped punch to start.... The outter sleeve is so rusted to the frame that nothing made it budge, chip, peel, or pull out of its spot.
Curious what you think of the 'arms' I added to the front leaf hangers.
I'd call is a "mucho importante" plate. lol I'd think a JY would have something and maybe even checking a few years newer (80's ish?) of a truck should have one. Or just make one.
I'd call is a "mucho importante" plate. lol I'd think a JY would have something and maybe even checking a few years newer (80's ish?) of a truck should have one. Or just make one.
Haha I figured as much.
I looked at the U-bolts last night (driver side), and realized how angled they are (not perfectly vertical like the passenger side.... likely due to the lack of the plate). One of those "that doesn't look right" moments....
Time to make a trip to the steel store :P .... or bite the bullet and buy the WFO concepts u-bolt flip kit.
Either way, I'll deal with it before driving it. Still gotta deal with the issues in the motor....

 09-25-2018, 09:18 AM