1948 - 1956 F1, F100 & Larger F-Series Trucks Discuss the Fat Fendered and Classic Ford Trucks

"Belle" 1952 F-1 build thread.

Thread Tools
 
Search this Thread
 
  #76  
Old 02-05-2015, 11:28 PM
Rimrock F1's Avatar
Rimrock F1
Rimrock F1 is offline
Posting Guru
Thread Starter
Join Date: Apr 2013
Location: Rimrock AZ
Posts: 1,170
Likes: 0
Received 0 Likes on 0 Posts
Originally Posted by Gicknordon
If you aren't already planning on it, I would find a way to add a new cross bar back onto the radiator support. The whole front sheet metal is hung off of that support so that cross bar add a lot of structure to it.
Thanks Nick. I did re-install it, just didn't make it clear above.


Brace bolted back in with spacers.
 
  #77  
Old 02-11-2015, 08:41 PM
cjvale's Avatar
cjvale
cjvale is offline
New User
Join Date: Mar 2014
Posts: 6
Likes: 0
Received 0 Likes on 0 Posts
Hey Bud I'm loving the thread, I'm currently starting mine... However I'm running the auto trans. I like the work you have done thus far... Keep up the great work... Trial and error.....
 
  #78  
Old 02-13-2015, 07:34 AM
Rimrock F1's Avatar
Rimrock F1
Rimrock F1 is offline
Posting Guru
Thread Starter
Join Date: Apr 2013
Location: Rimrock AZ
Posts: 1,170
Likes: 0
Received 0 Likes on 0 Posts
Originally Posted by cjvale
Hey Bud I'm loving the thread, I'm currently starting mine... However I'm running the auto trans. I like the work you have done thus far... Keep up the great work... Trial and error.....
Good luck on your build. Yes trial and error all the time My wife would kill me if I tried to install an auto trans.
 
  #79  
Old 02-13-2015, 08:48 AM
Rimrock F1's Avatar
Rimrock F1
Rimrock F1 is offline
Posting Guru
Thread Starter
Join Date: Apr 2013
Location: Rimrock AZ
Posts: 1,170
Likes: 0
Received 0 Likes on 0 Posts
While waiting for a couple good days of weather so we could build the exhaust we completed a couple jobs and started work on the cab.


I filled and bled the clutch, it works fantastic.


Bleeding the master before doing the whole system.


I installed the fuel pump module.


Checking clearance of running board from ground and fuel pump.


Due to weather I brought the cab inside for work.


My wife helped me set it on it's back.
 
  #80  
Old 02-13-2015, 08:56 AM
Rimrock F1's Avatar
Rimrock F1
Rimrock F1 is offline
Posting Guru
Thread Starter
Join Date: Apr 2013
Location: Rimrock AZ
Posts: 1,170
Likes: 0
Received 0 Likes on 0 Posts


Like the rest of Belle the bottom of the cab was in great shape.


There was some slight metal repair to be done.


Lois volunteered to clean the bottom of the cab.


She wouldn't give up on wearing shorts but the hot undercoat was burning her legs. Her solution was the cut of legs from some of my old jeans.


A couple hours and she was done.


I spent some time with cleaner and this is how the cab ended up.
 
  #81  
Old 02-13-2015, 09:07 AM
Rimrock F1's Avatar
Rimrock F1
Rimrock F1 is offline
Posting Guru
Thread Starter
Join Date: Apr 2013
Location: Rimrock AZ
Posts: 1,170
Likes: 0
Received 0 Likes on 0 Posts


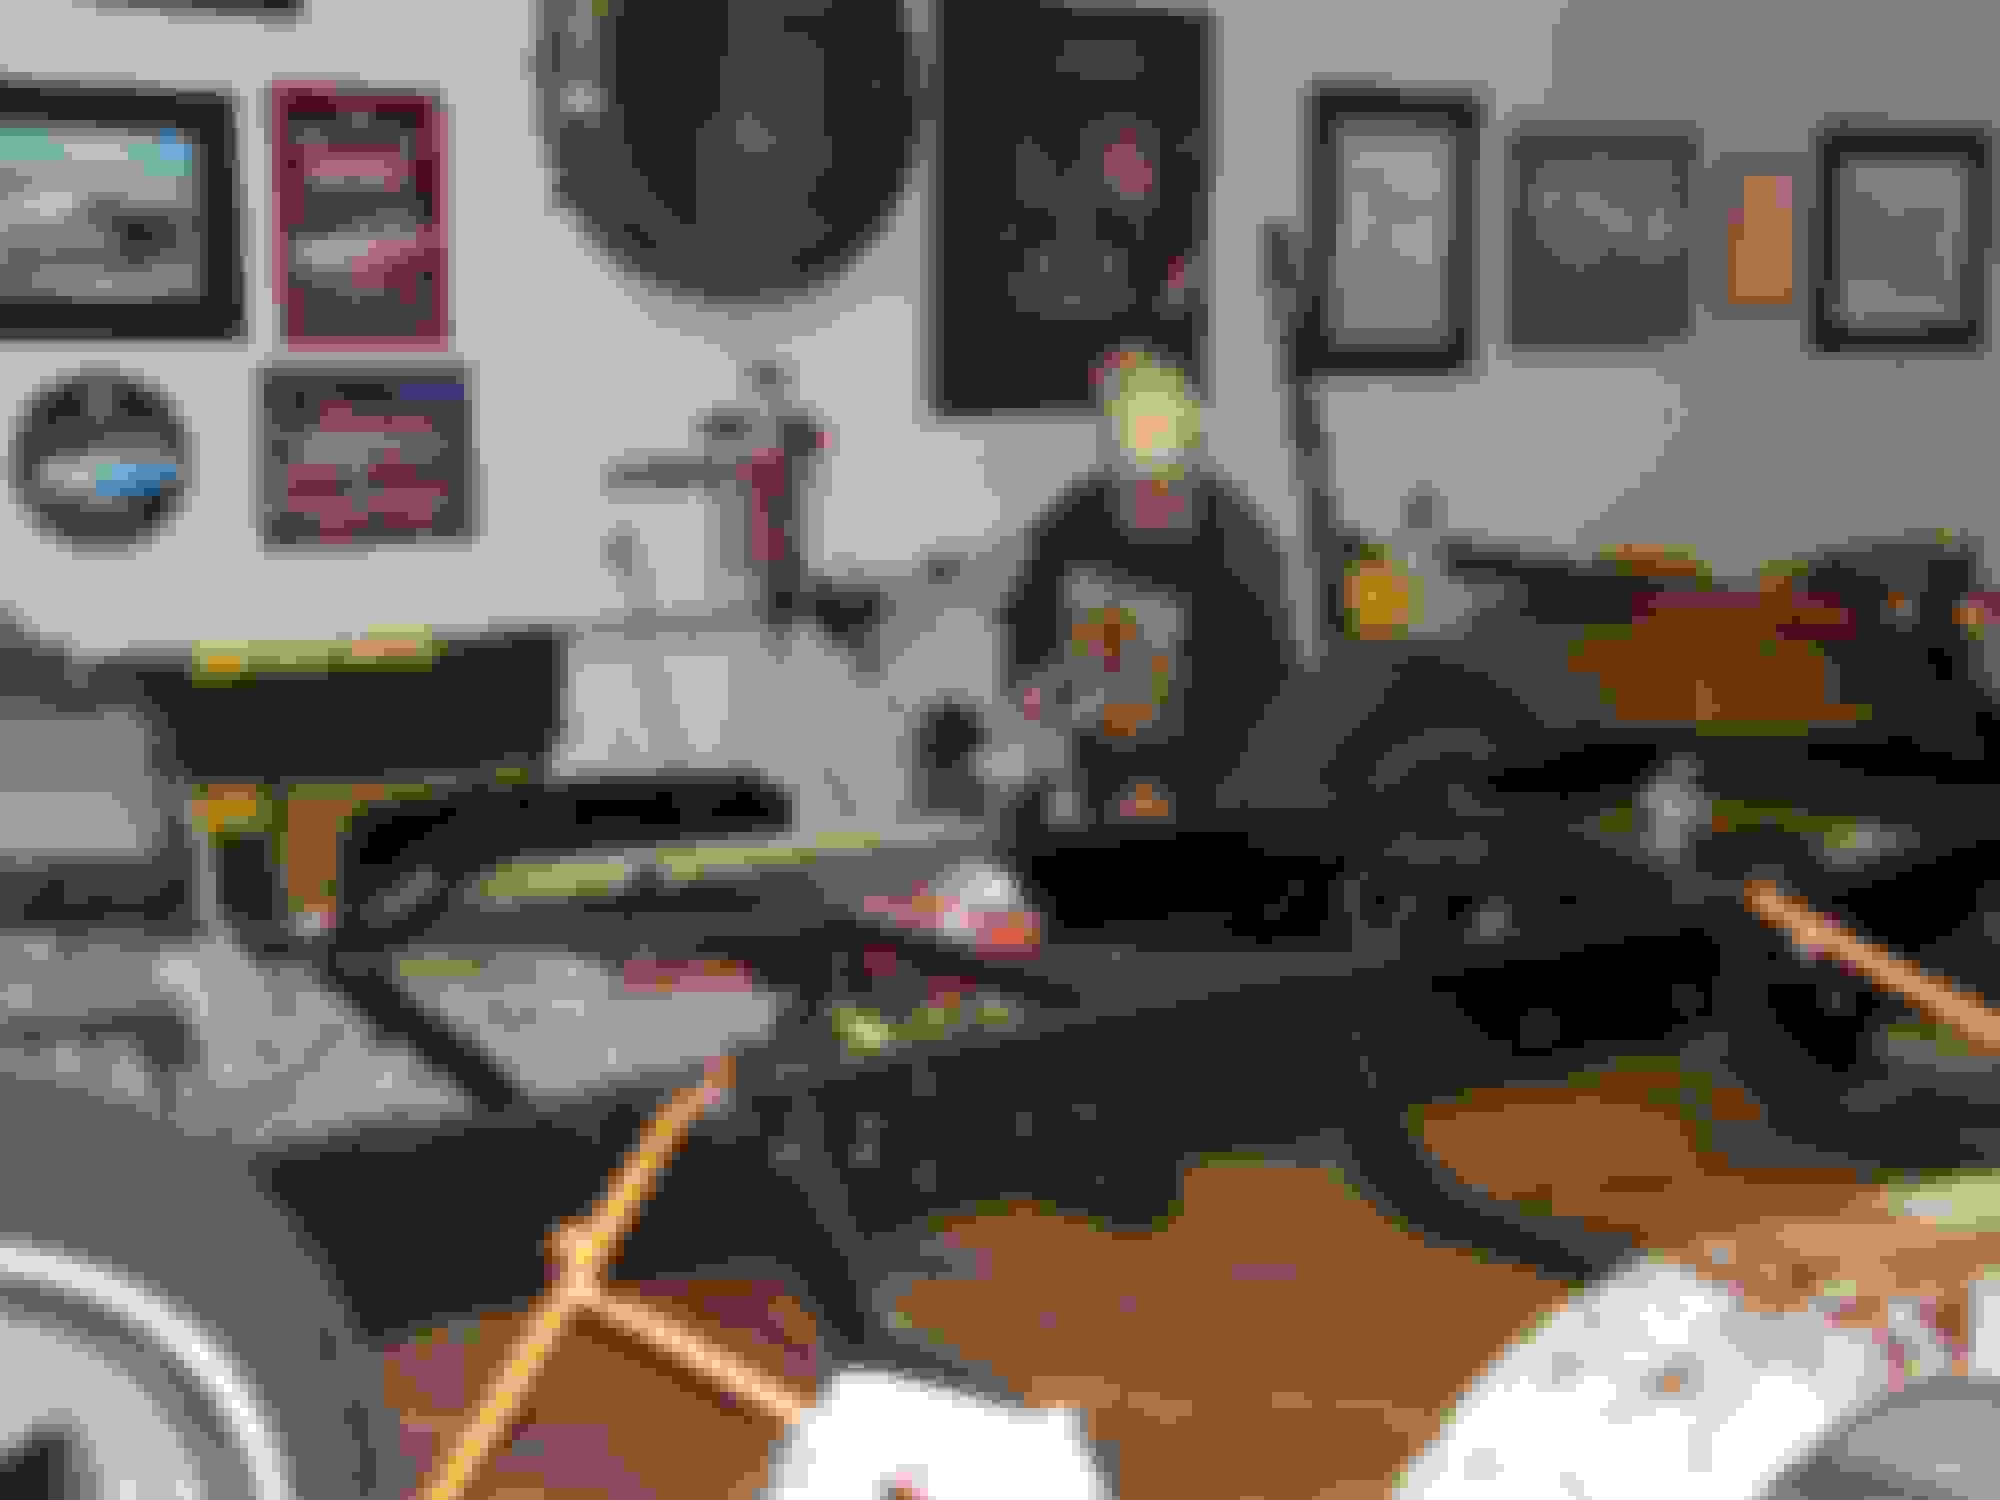
I treated the light rust with Eastwood rust converter.


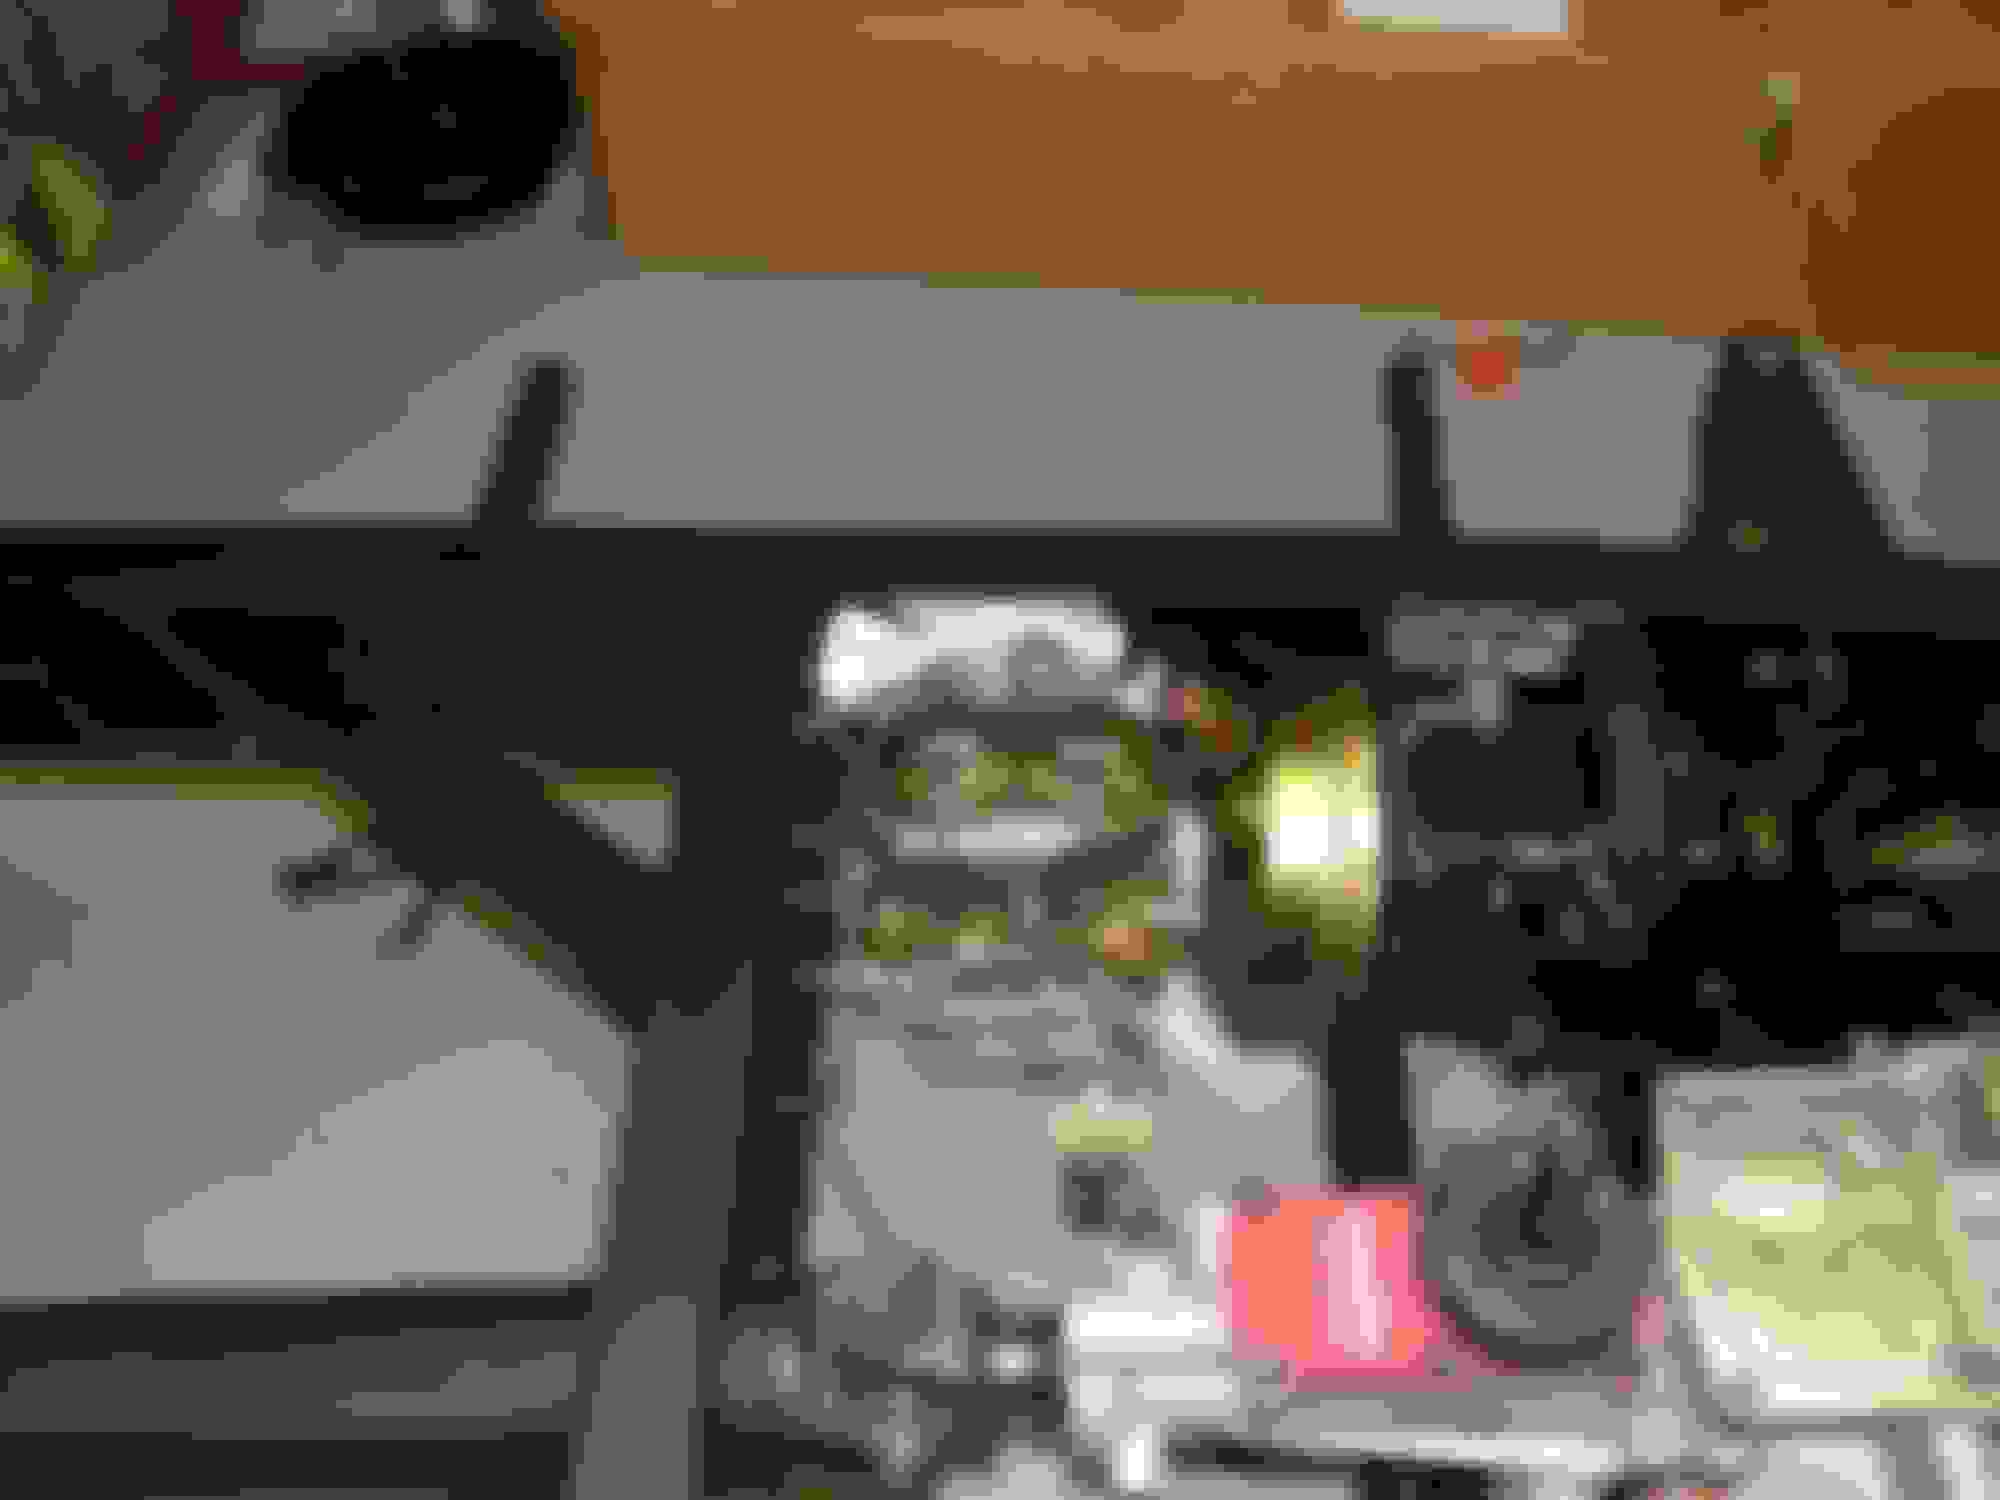
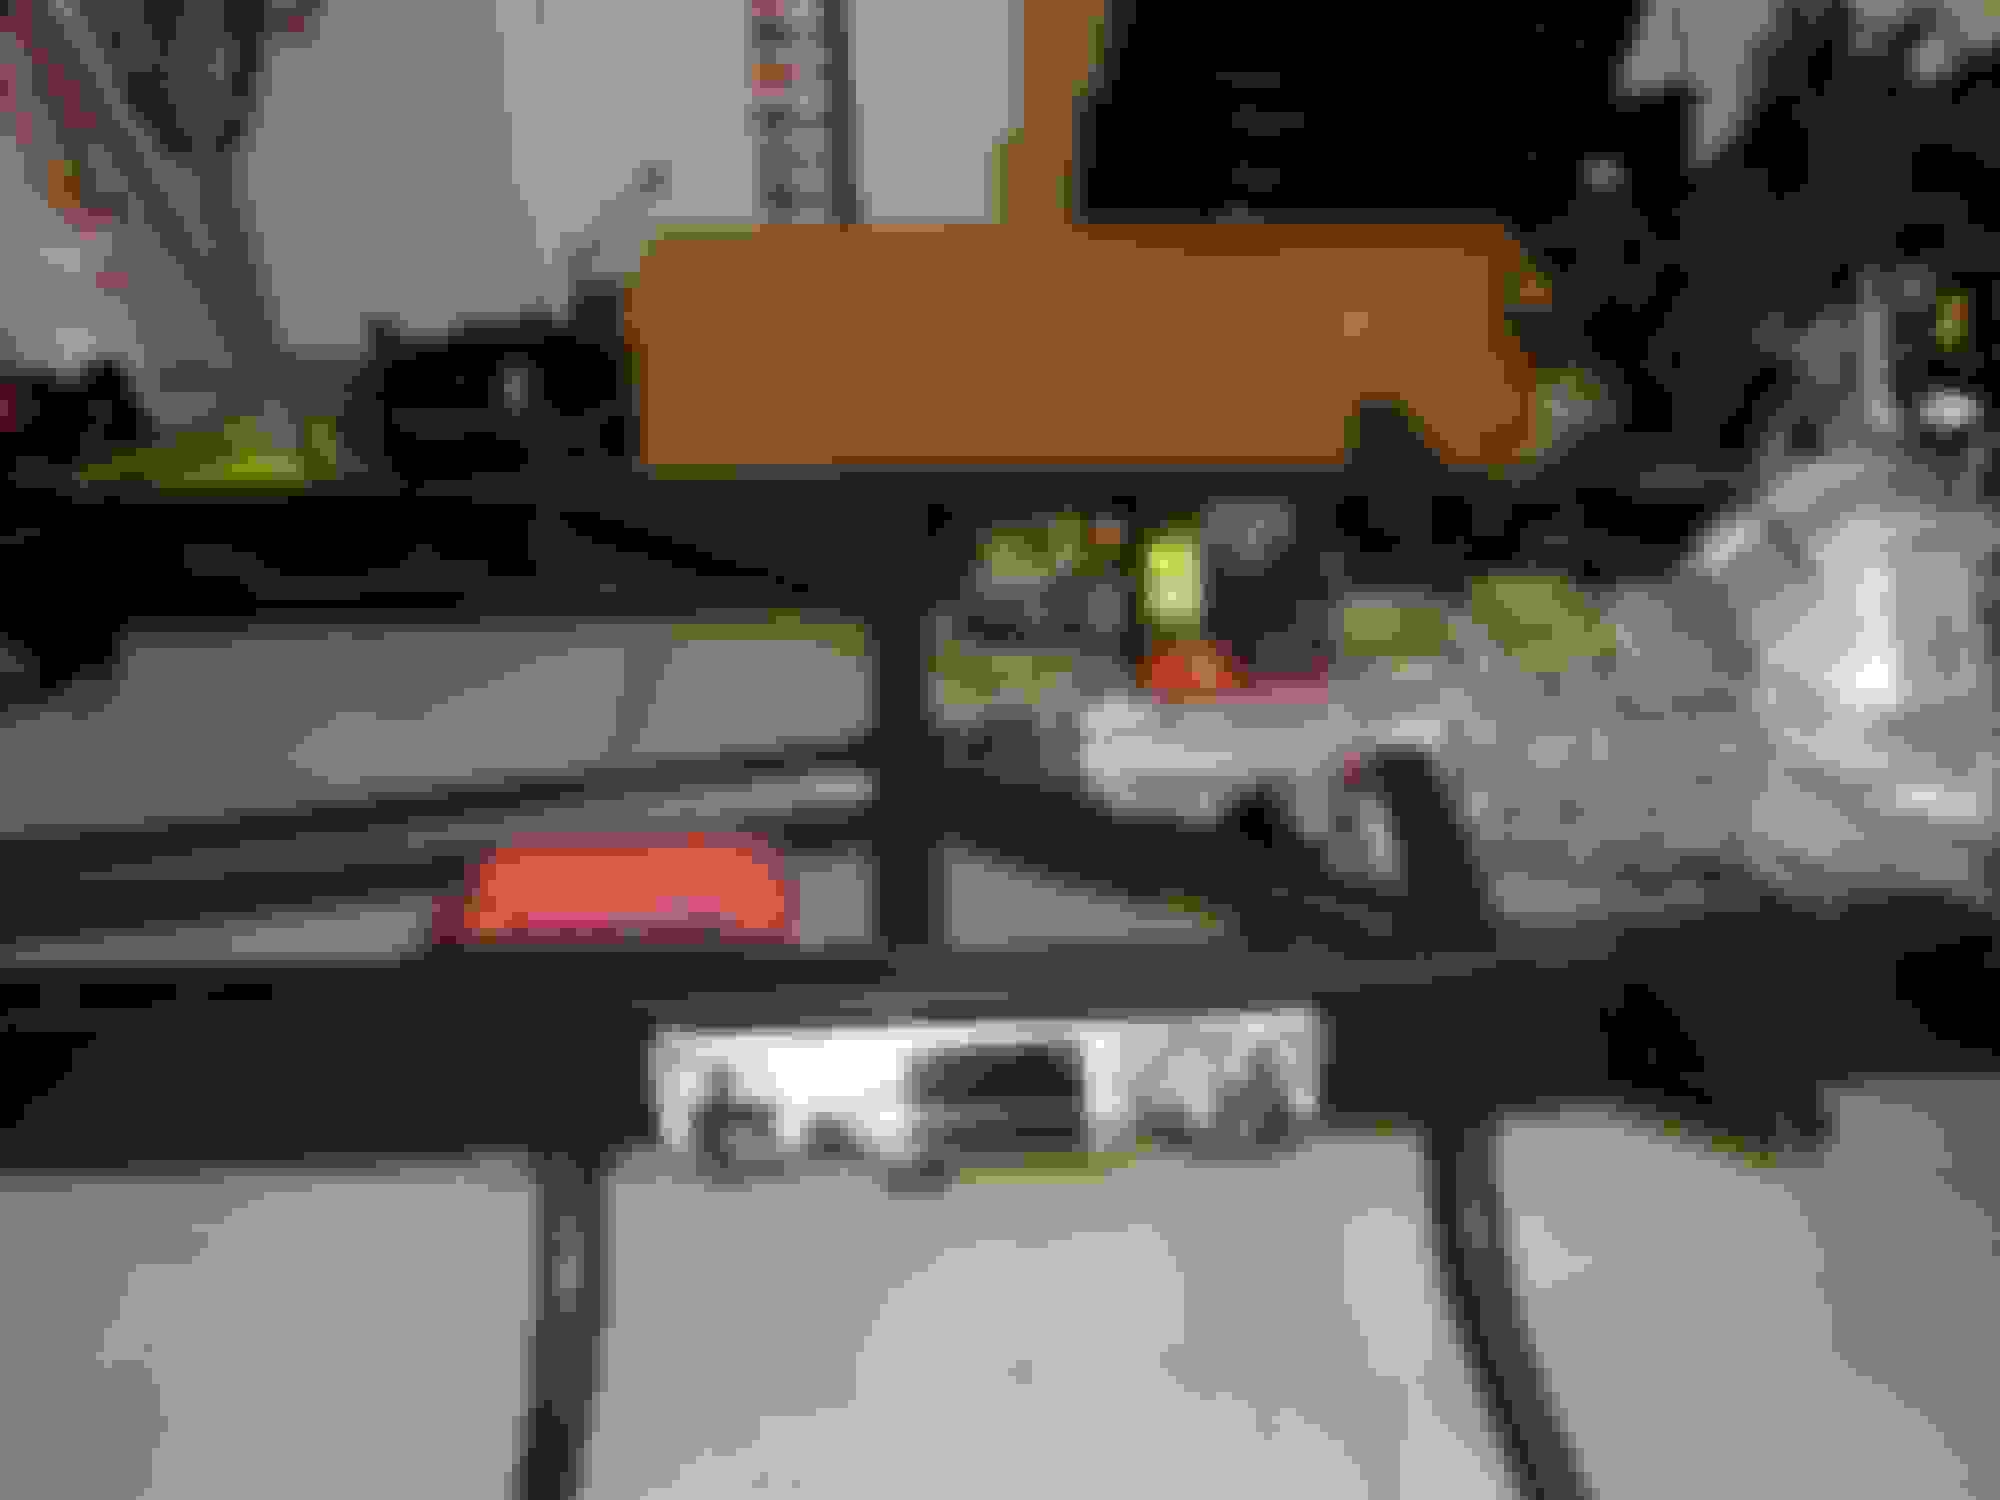
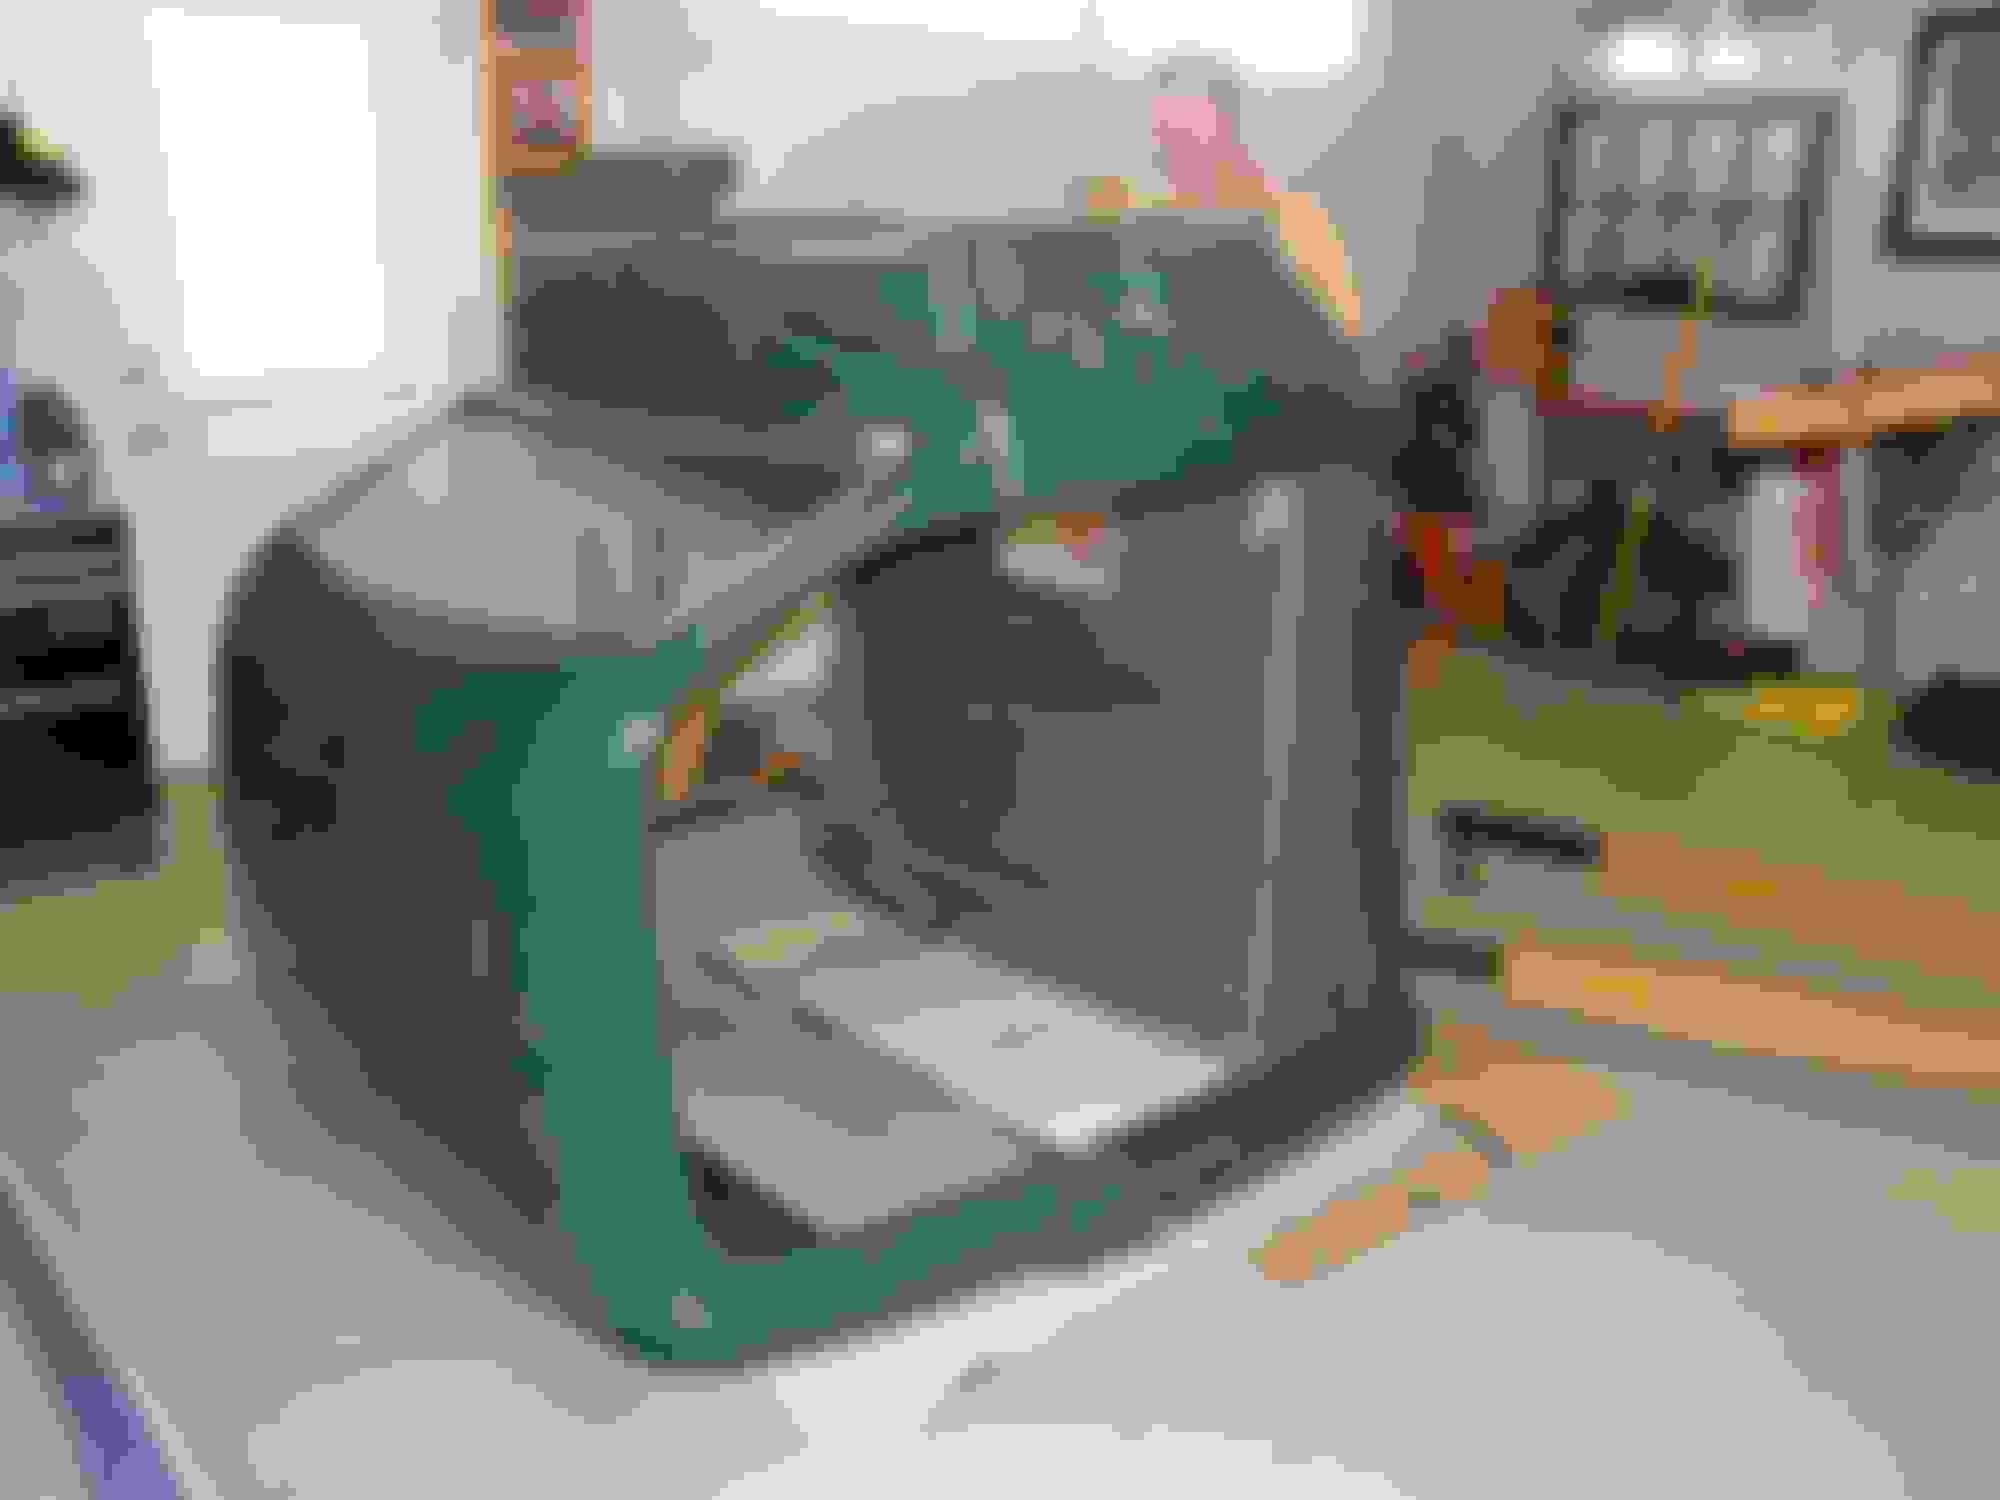
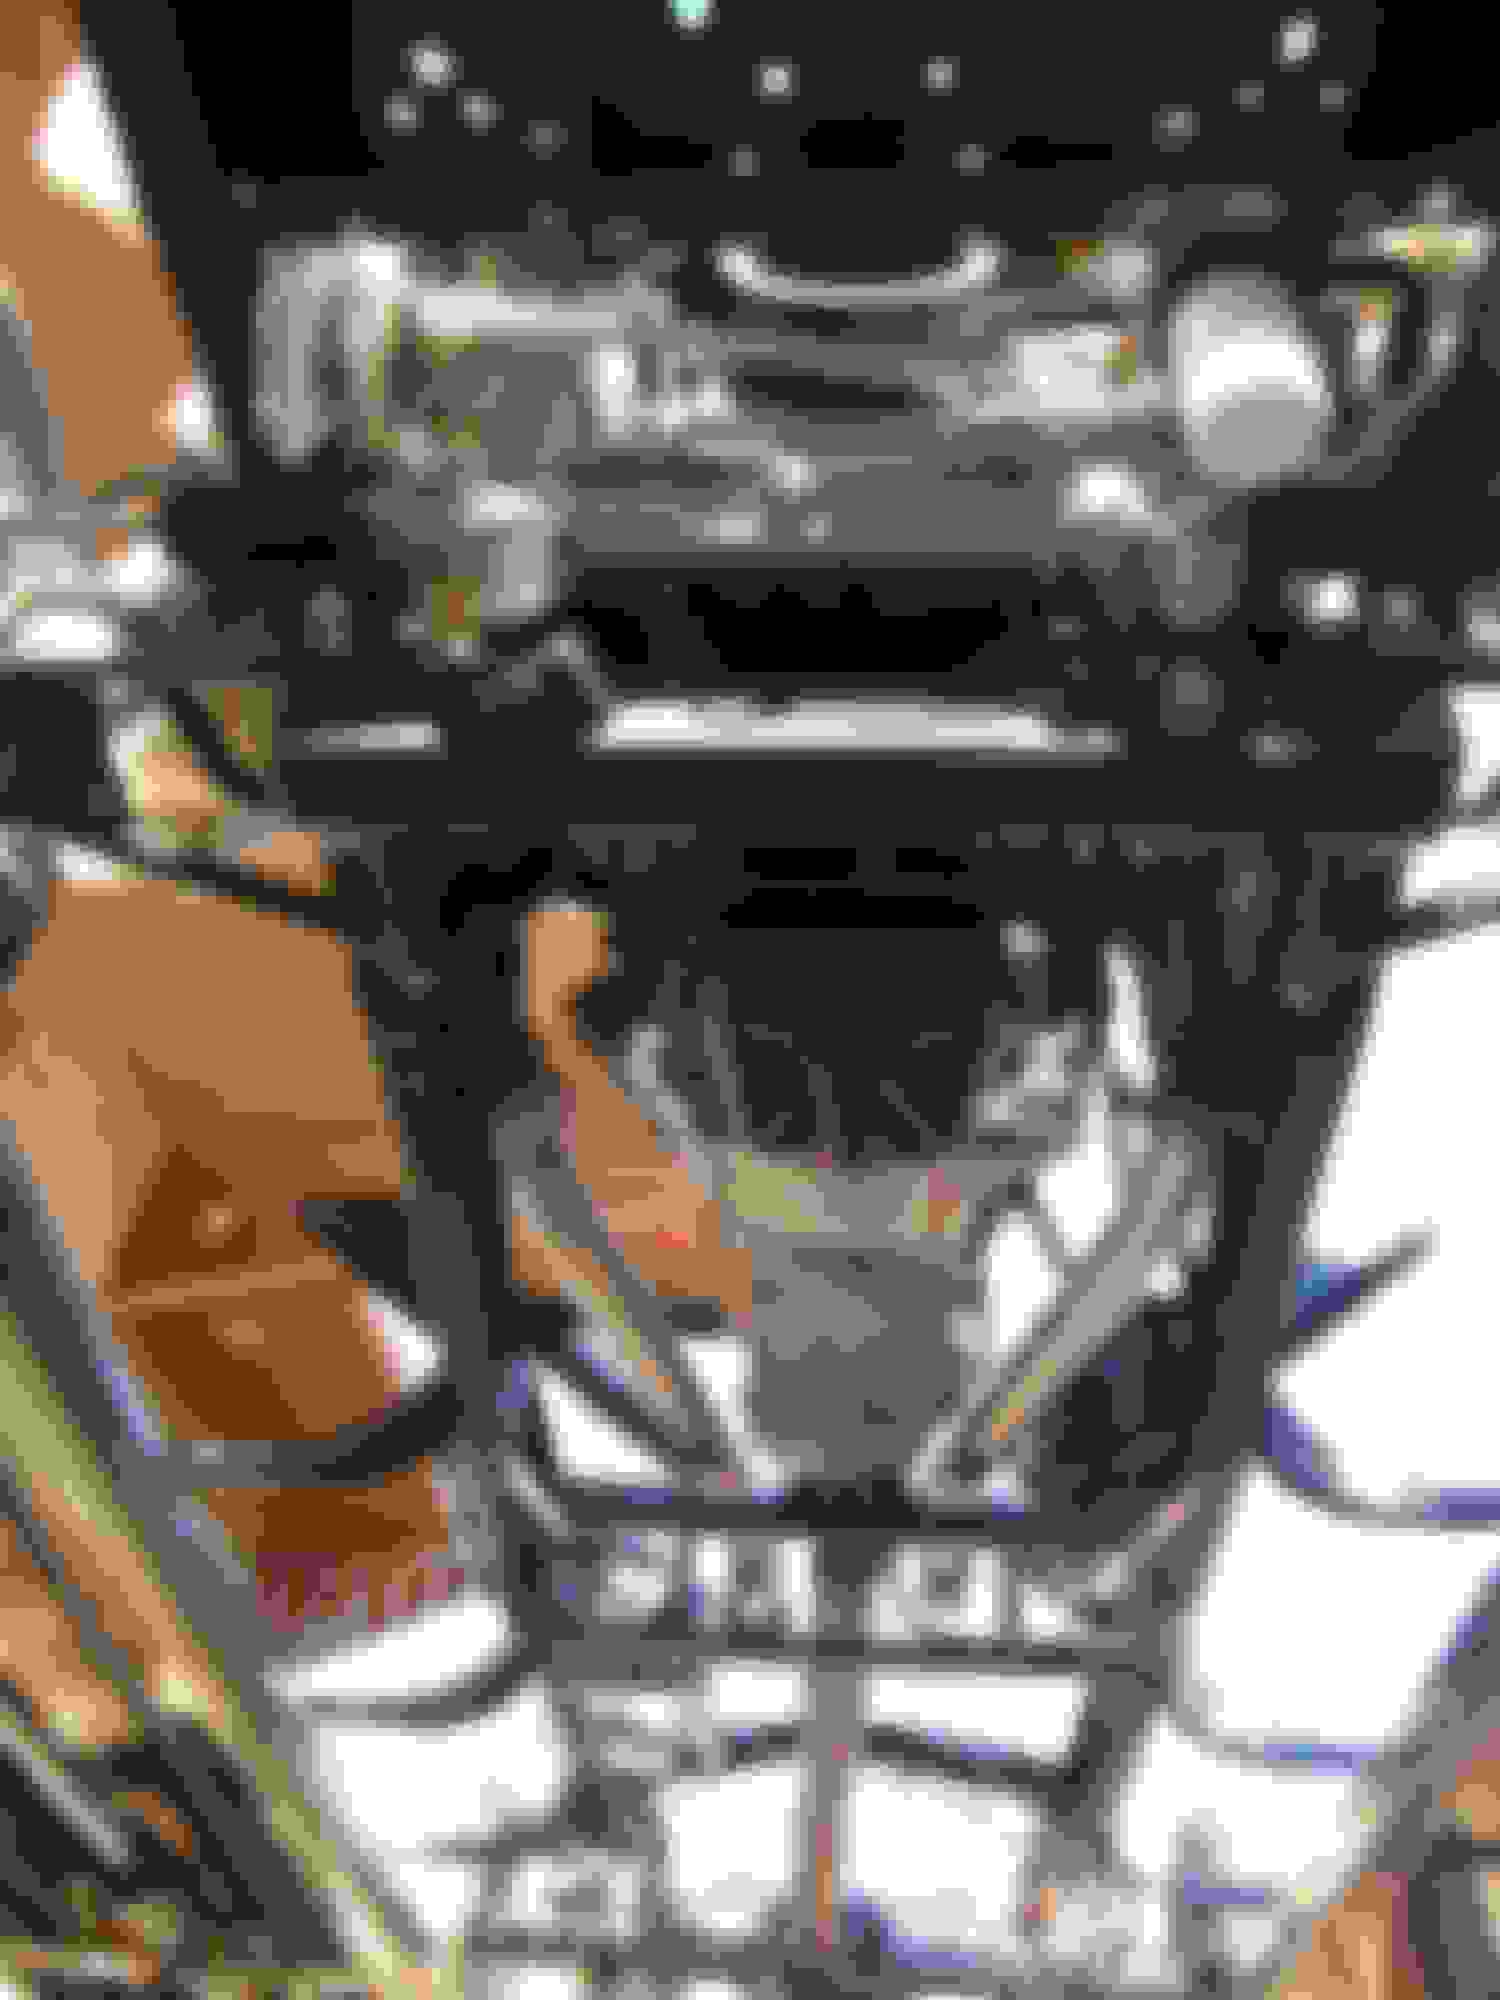
I took the opportunity to get some photos under the dash. Amazing condition for a 63 year old truck.


I finally found signs of repair work. Don't know what was done but it was done well.


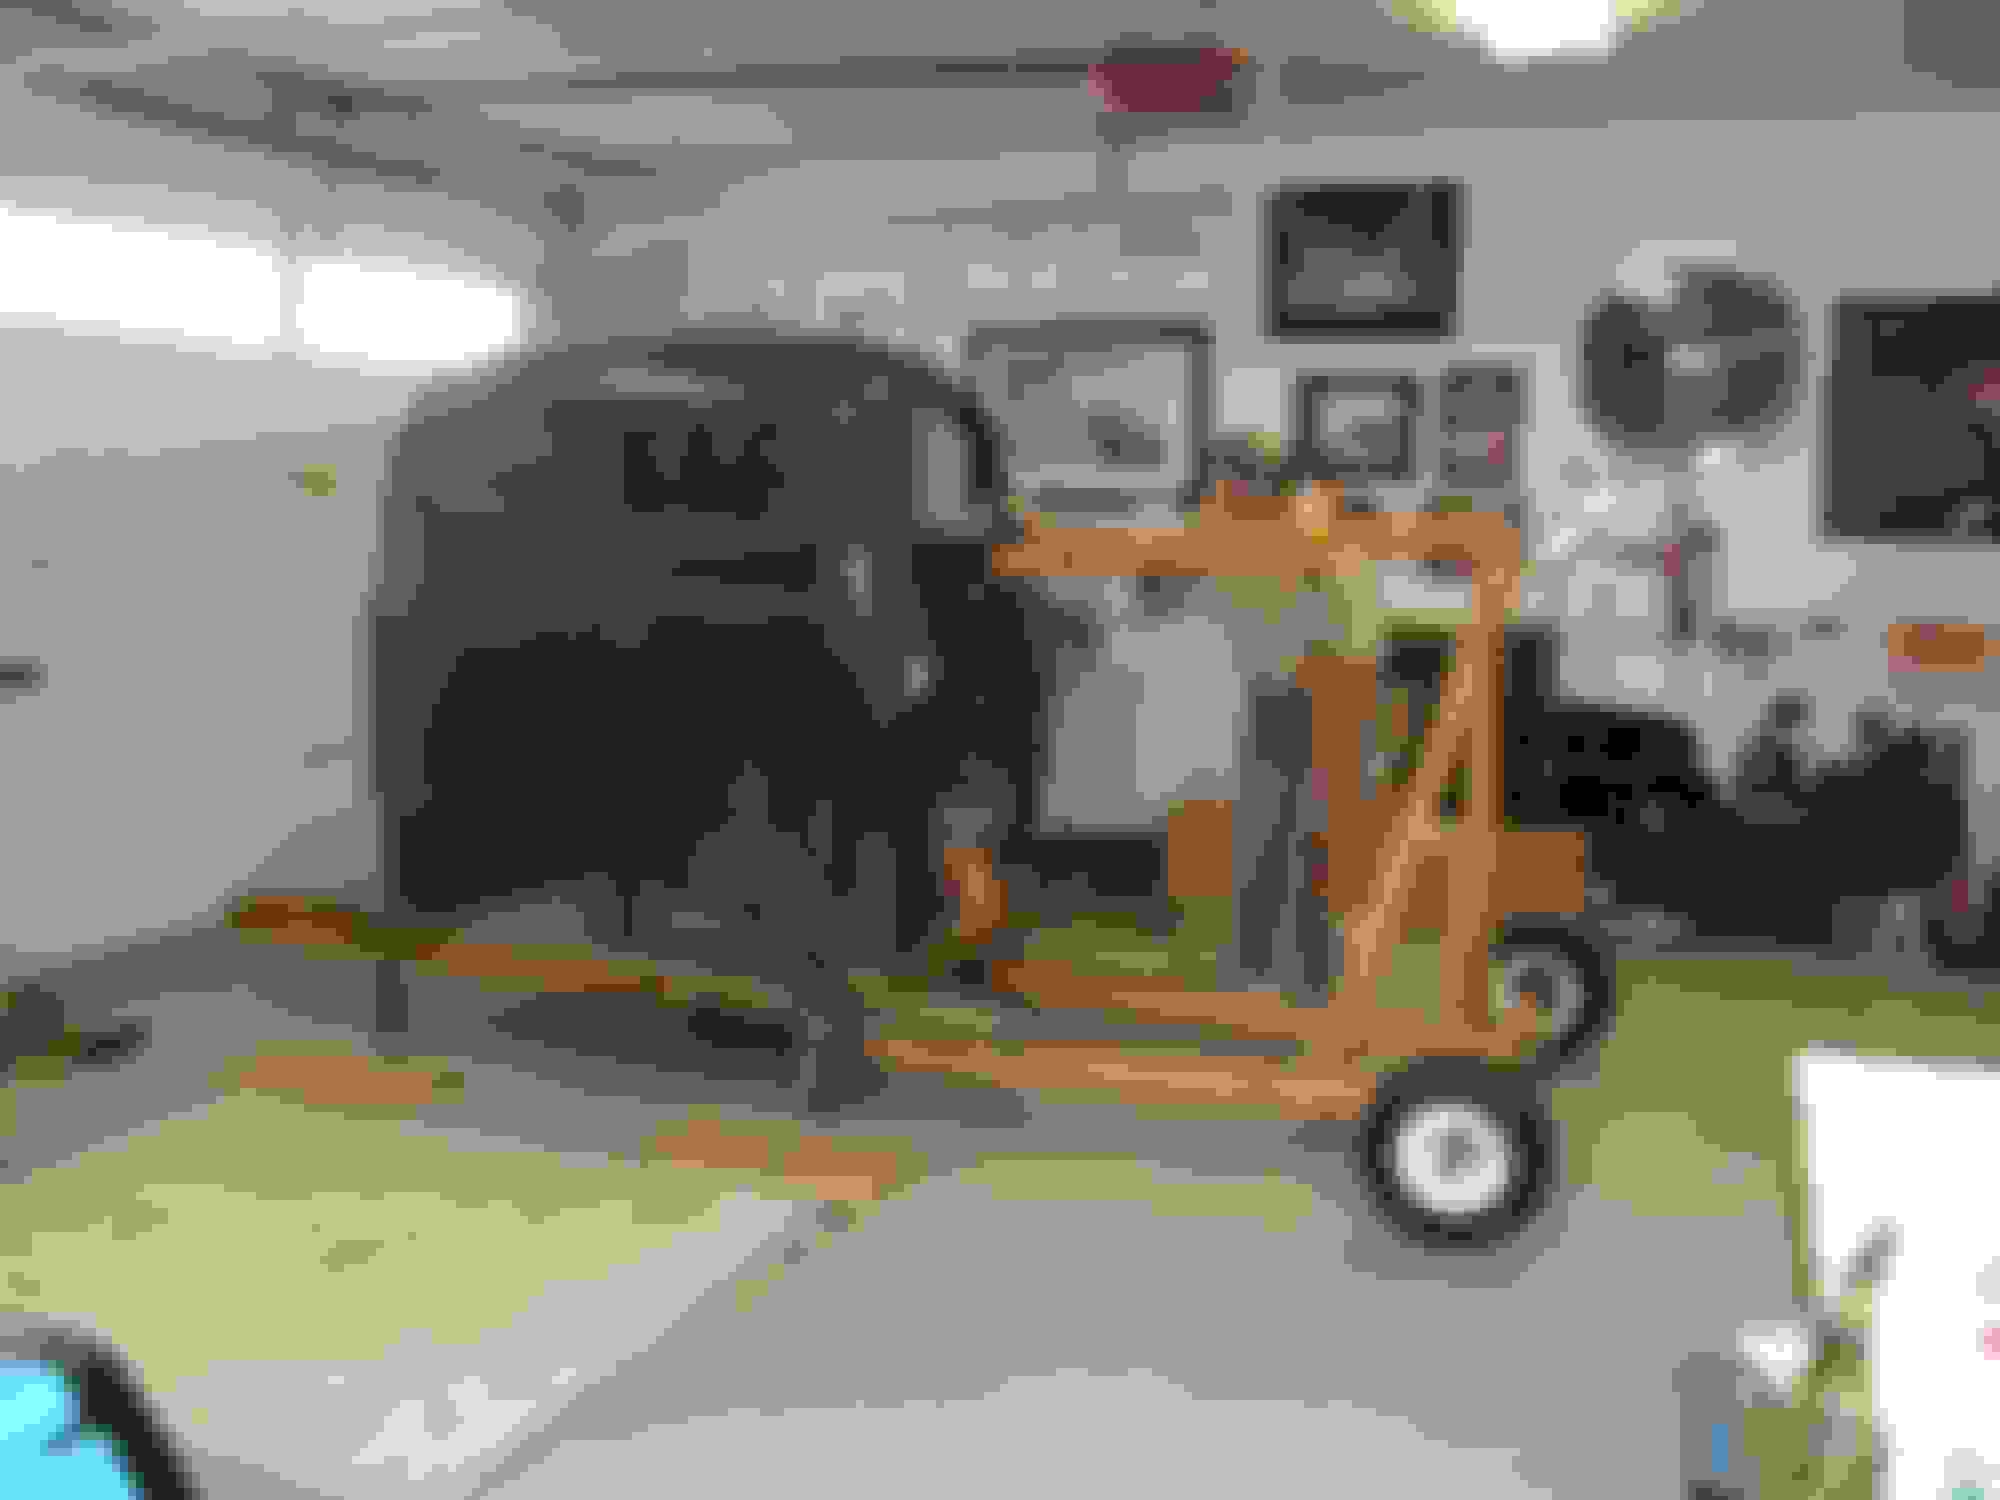
After the rust converter dried I sprayed the cab with Eastwood epoxy primer. I didn't do this in the shop. I slid the cab on the pads to the open doorway and sprayed from outside. After spraying I slid the cab back in and turned up the heat to cure. I also prepped the running boards.


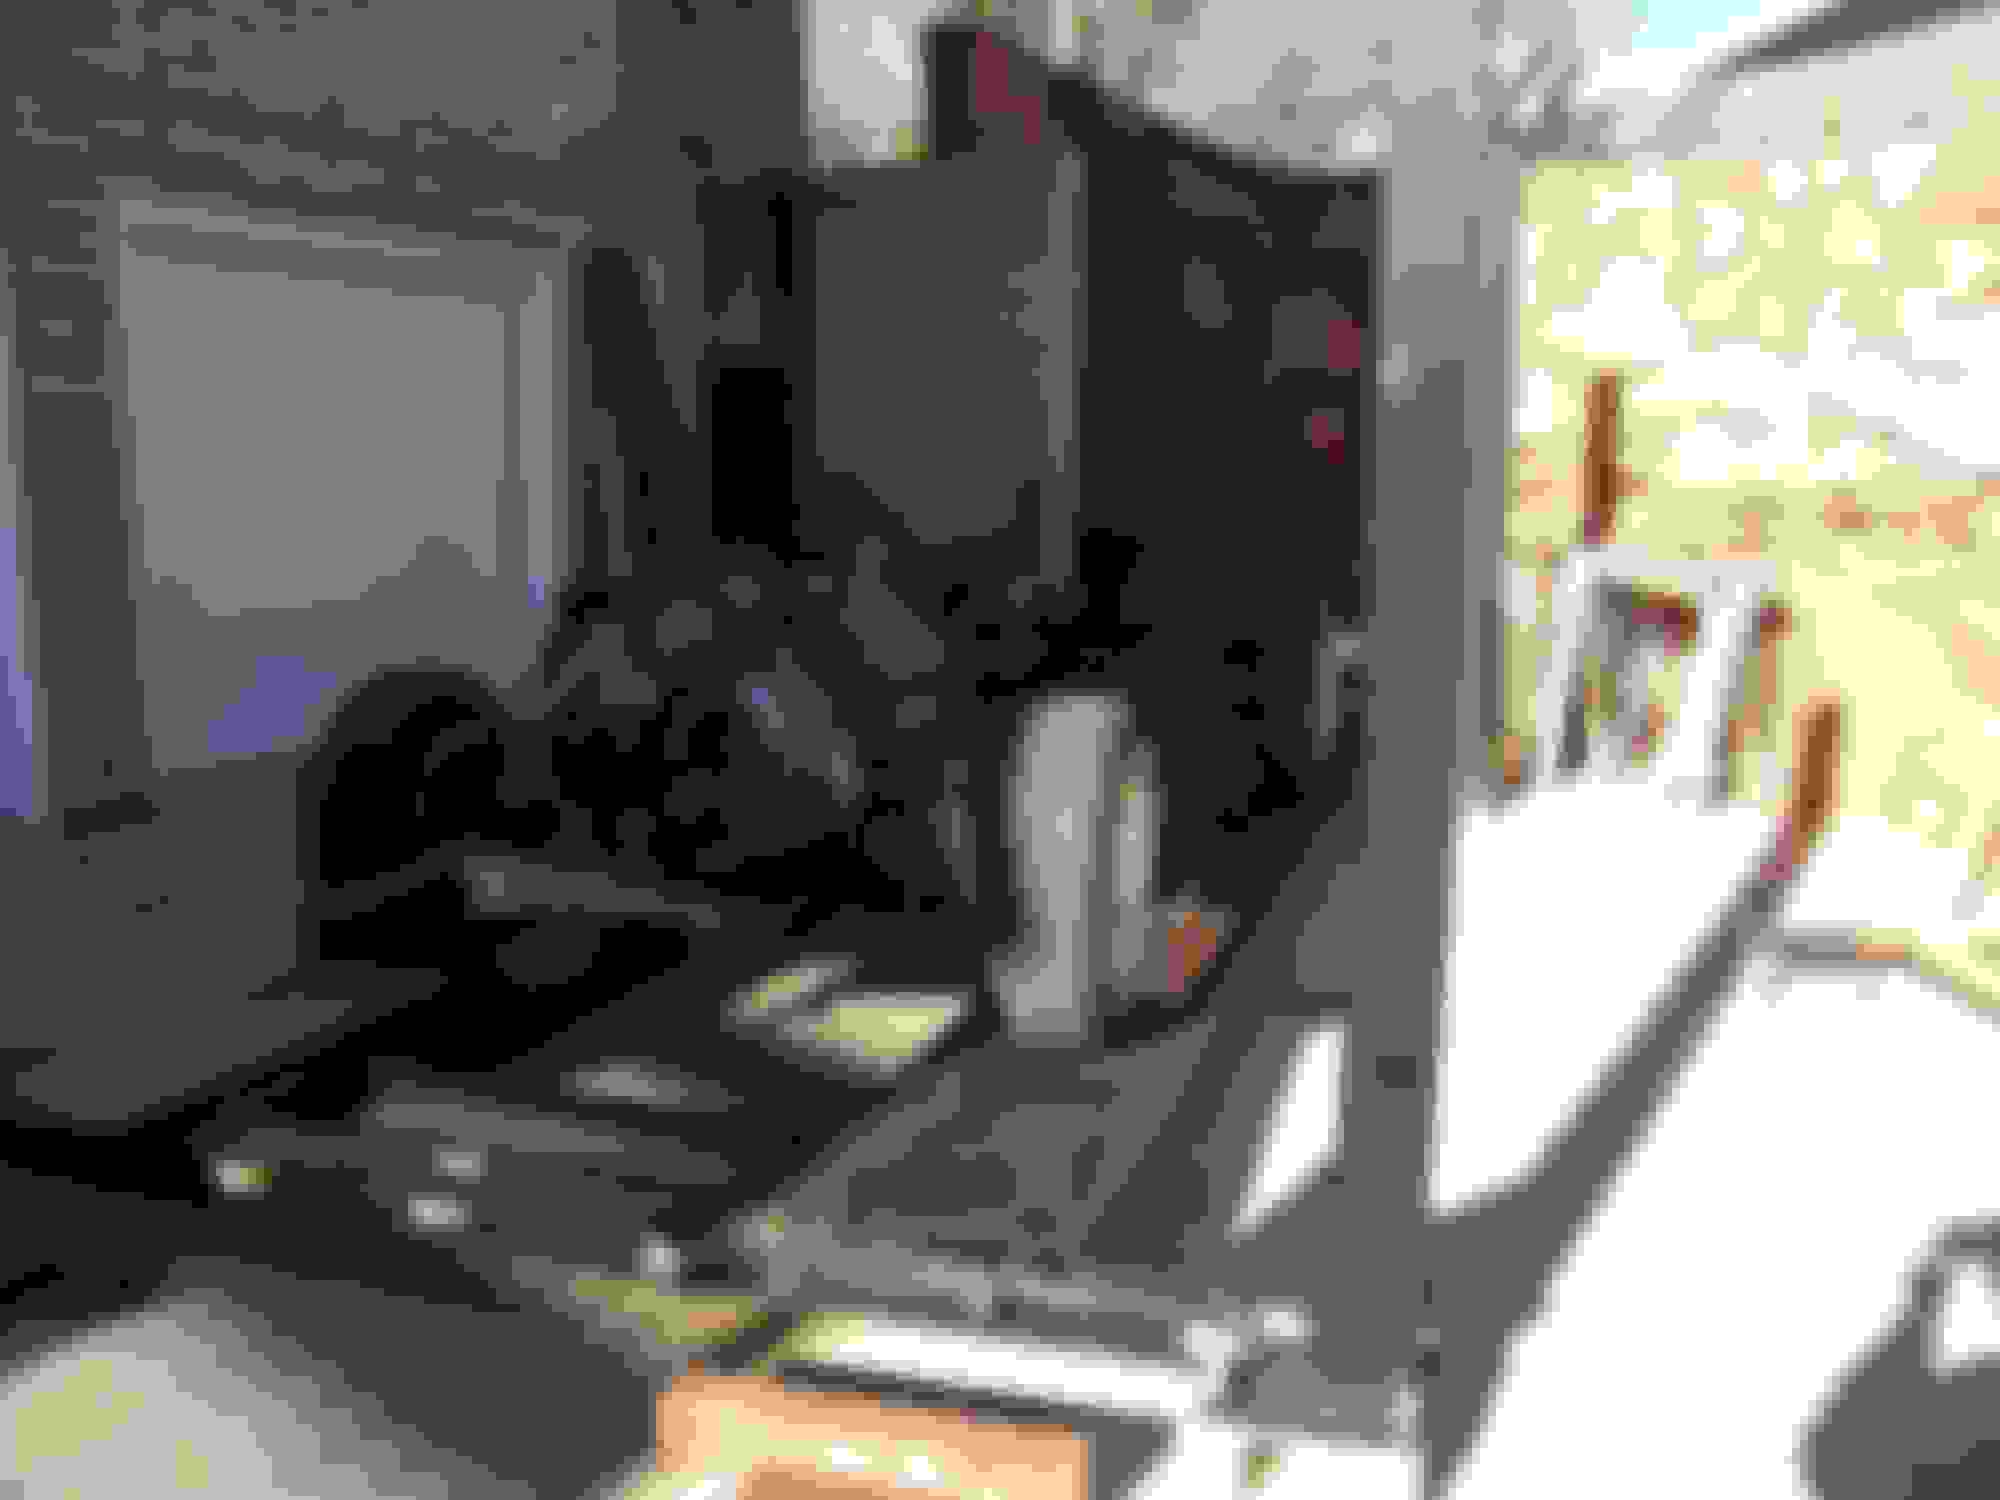
Next was spraying the Rock-it-Liner made by SEM. I got it from Summit and love this stuff, sprays very easily . Comes with the gun and in separate bottles so you mix it one quart at a time.
 
  #82  
Old 02-13-2015, 09:12 AM
Rimrock F1's Avatar
Rimrock F1
Rimrock F1 is offline
Posting Guru
Thread Starter
Join Date: Apr 2013
Location: Rimrock AZ
Posts: 1,170
Likes: 0
Received 0 Likes on 0 Posts


The first coat is thin.


After 3 coats the finish is beautiful.


A great finish for a paint challenged individual.
 
  #83  
Old 02-13-2015, 09:34 AM
Harrier's Avatar
Harrier
Harrier is offline
Lead Driver
Join Date: Nov 2002
Location: Jefferson City, MO
Posts: 8,730
Received 764 Likes on 374 Posts
man the bottom of that cab looks beautiful and those running boards look great.

You have one clever wife.
 
  #84  
Old 02-13-2015, 10:19 AM
Jolly Roger Joe's Avatar
Jolly Roger Joe
Jolly Roger Joe is offline
Lead Driver
Join Date: Jul 2011
Location: Rockingham, VA
Posts: 6,599
Received 27 Likes on 23 Posts
Nice work. That's really coming along nicely.
 
  #85  
Old 02-13-2015, 10:20 AM
Gicknordon's Avatar
Gicknordon
Gicknordon is offline
Fleet Mechanic
Join Date: Oct 2011
Location: Birdsboro PA
Posts: 1,885
Received 72 Likes on 36 Posts
Im so jealous of how nice that cab is. It took me literally a year just to fix the rust on mine.
 
  #86  
Old 02-20-2015, 08:18 AM
Rimrock F1's Avatar
Rimrock F1
Rimrock F1 is offline
Posting Guru
Thread Starter
Join Date: Apr 2013
Location: Rimrock AZ
Posts: 1,170
Likes: 0
Received 0 Likes on 0 Posts
We had good weather for a few days so I took the opportunity to take Belle over to Rick's house for exhaust install. Sorry not too many photos as we were busy working and didn't have Lois to shoot photos. Exhaust was done with a Borla builders kit and took three days. Kit is very nice and we had plenty of tubing, didn't use the 2 four foot straight sections that came in the kit.


Loading Belle onto the flatbed for the trip to Ricks.


Rick has a lift which was not really needed for this job but did make things easier.


I had a chunk of 1/2" stainless laying around. Rick took it and machined a set of exhaust flanges. Never have to worry about those warping.


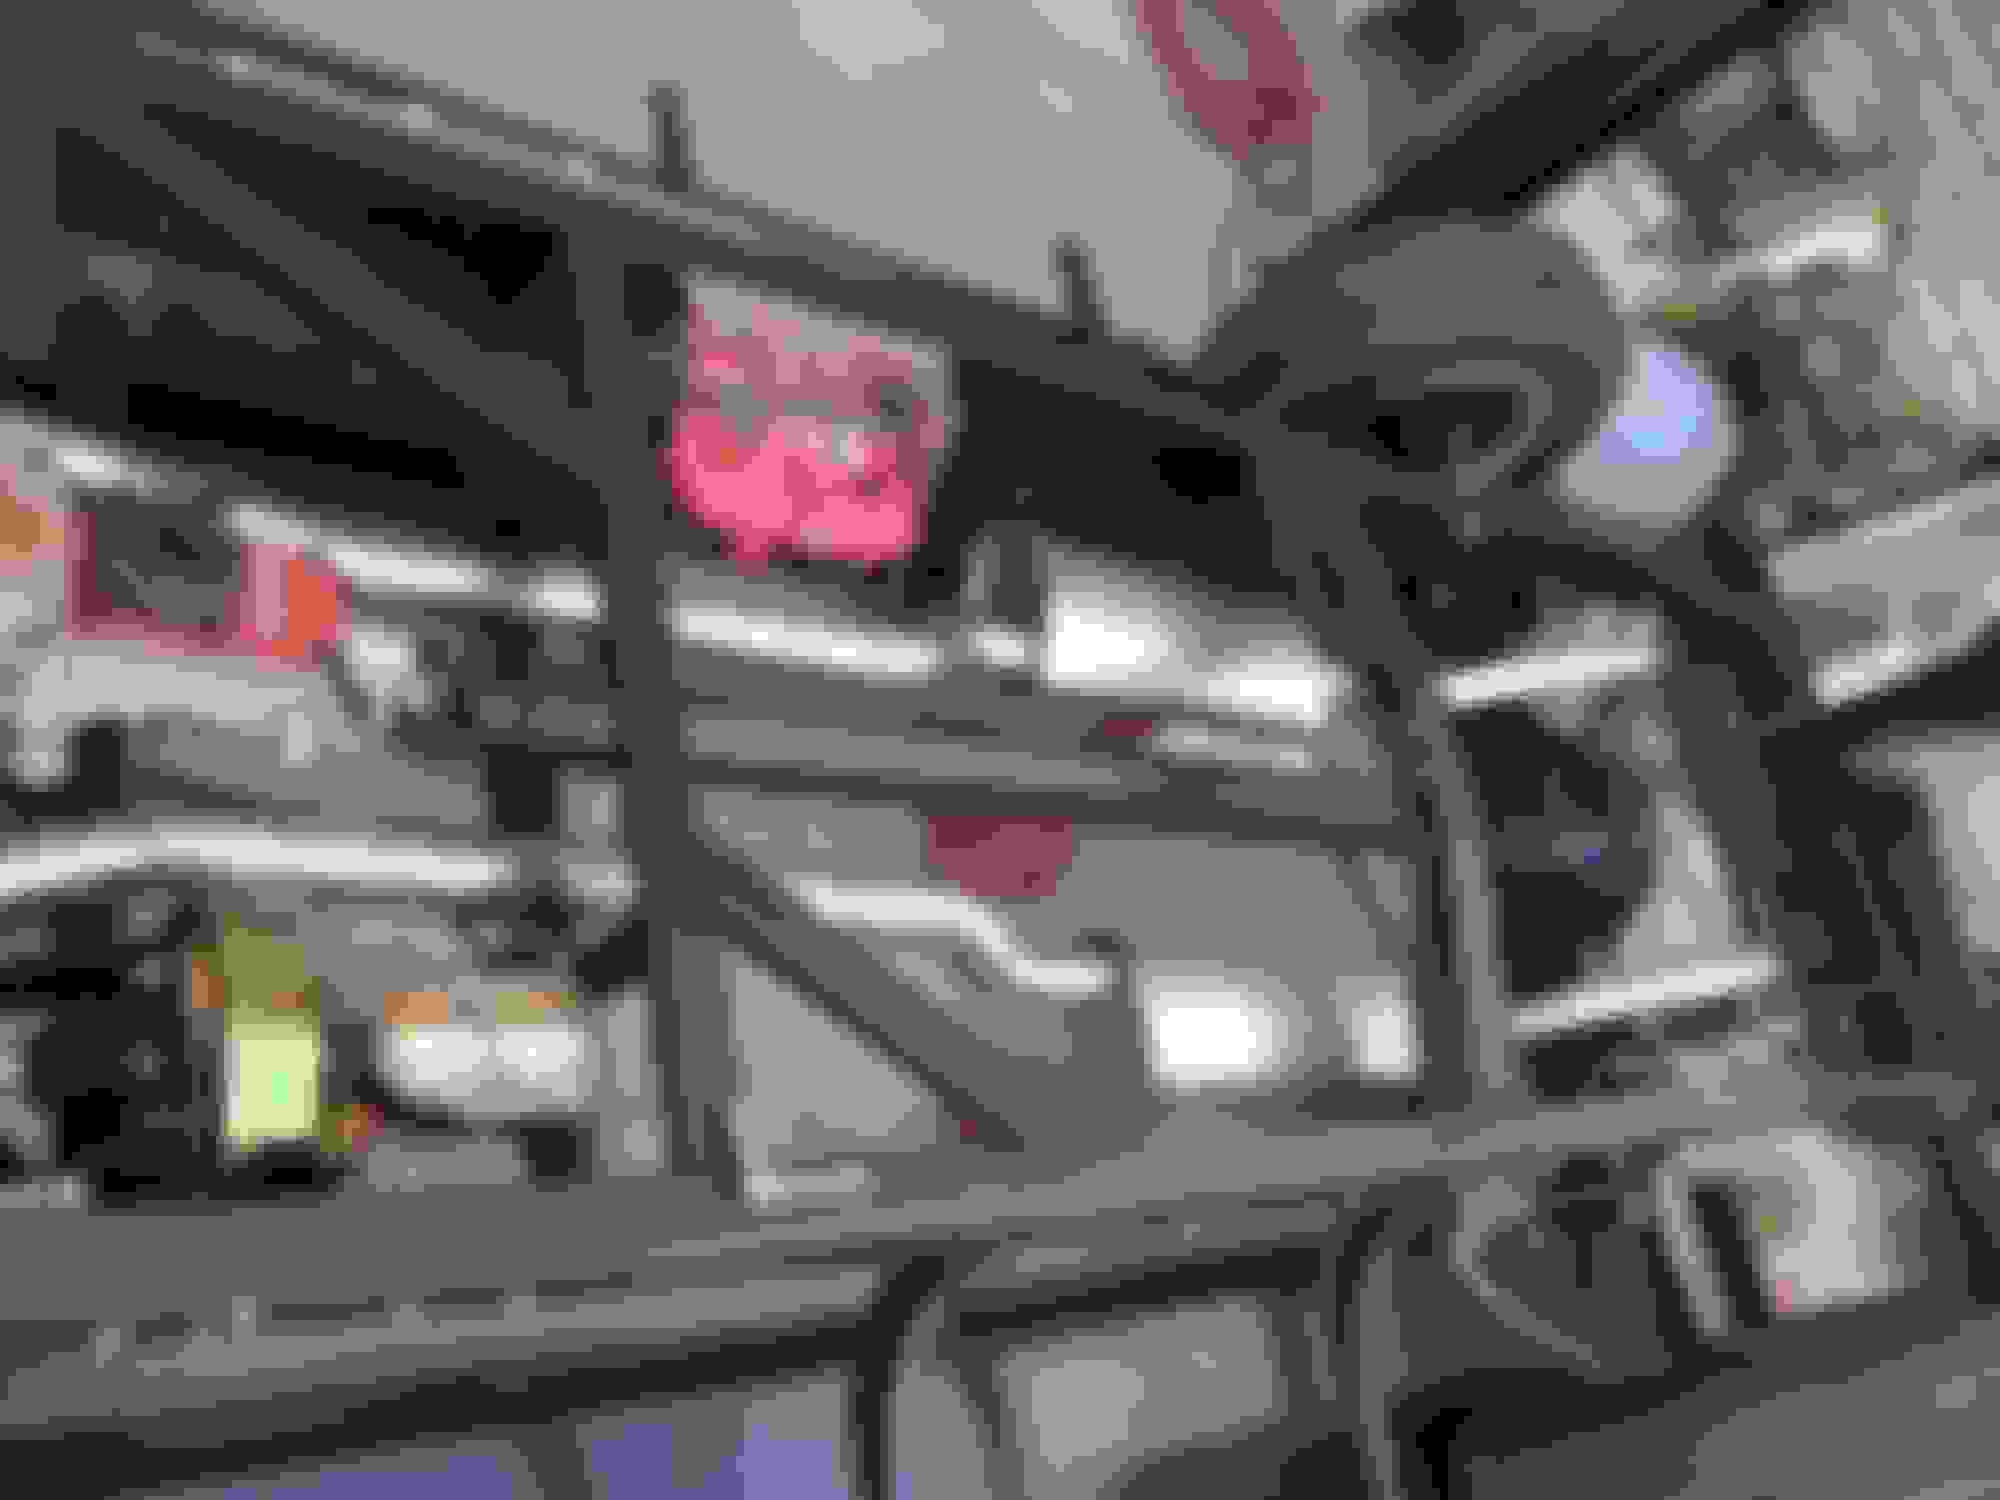
Figuring out where the mufflers will go.


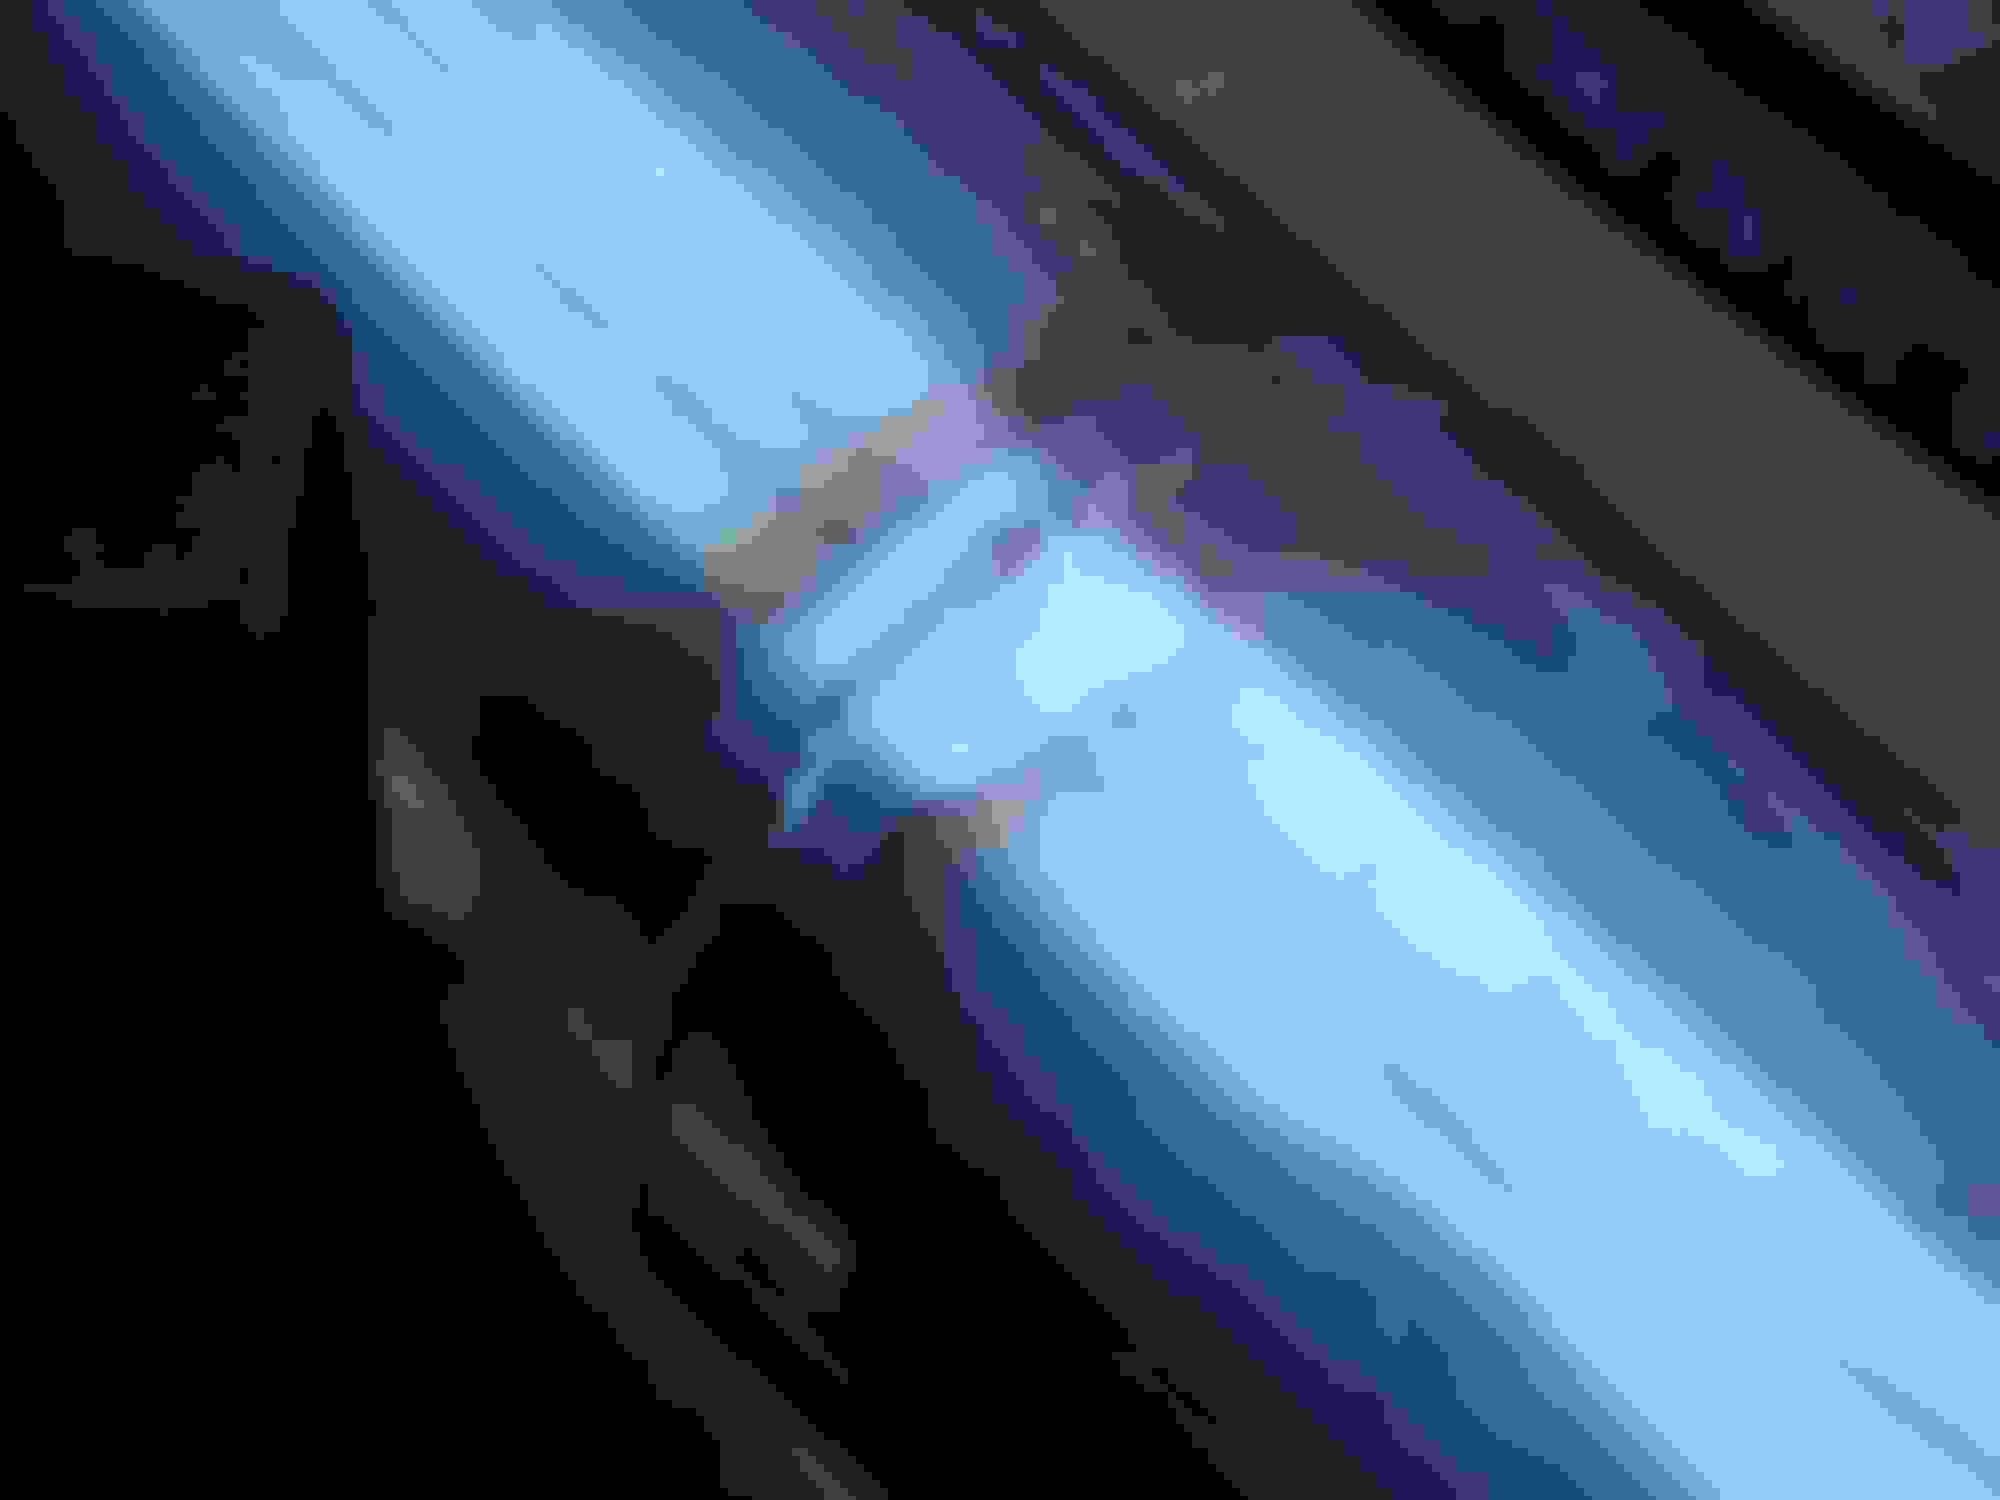
First pipe tacked in place. We never thought we would have a straight section through here


The drivers side tacked, again straight. Both pipes extend through the flanges and slightly into the factory header so they center the flanges.


I would cut grind and clean all the joints then Rick tig welded all the connections, makes for a very clean install. Thanks Rick!


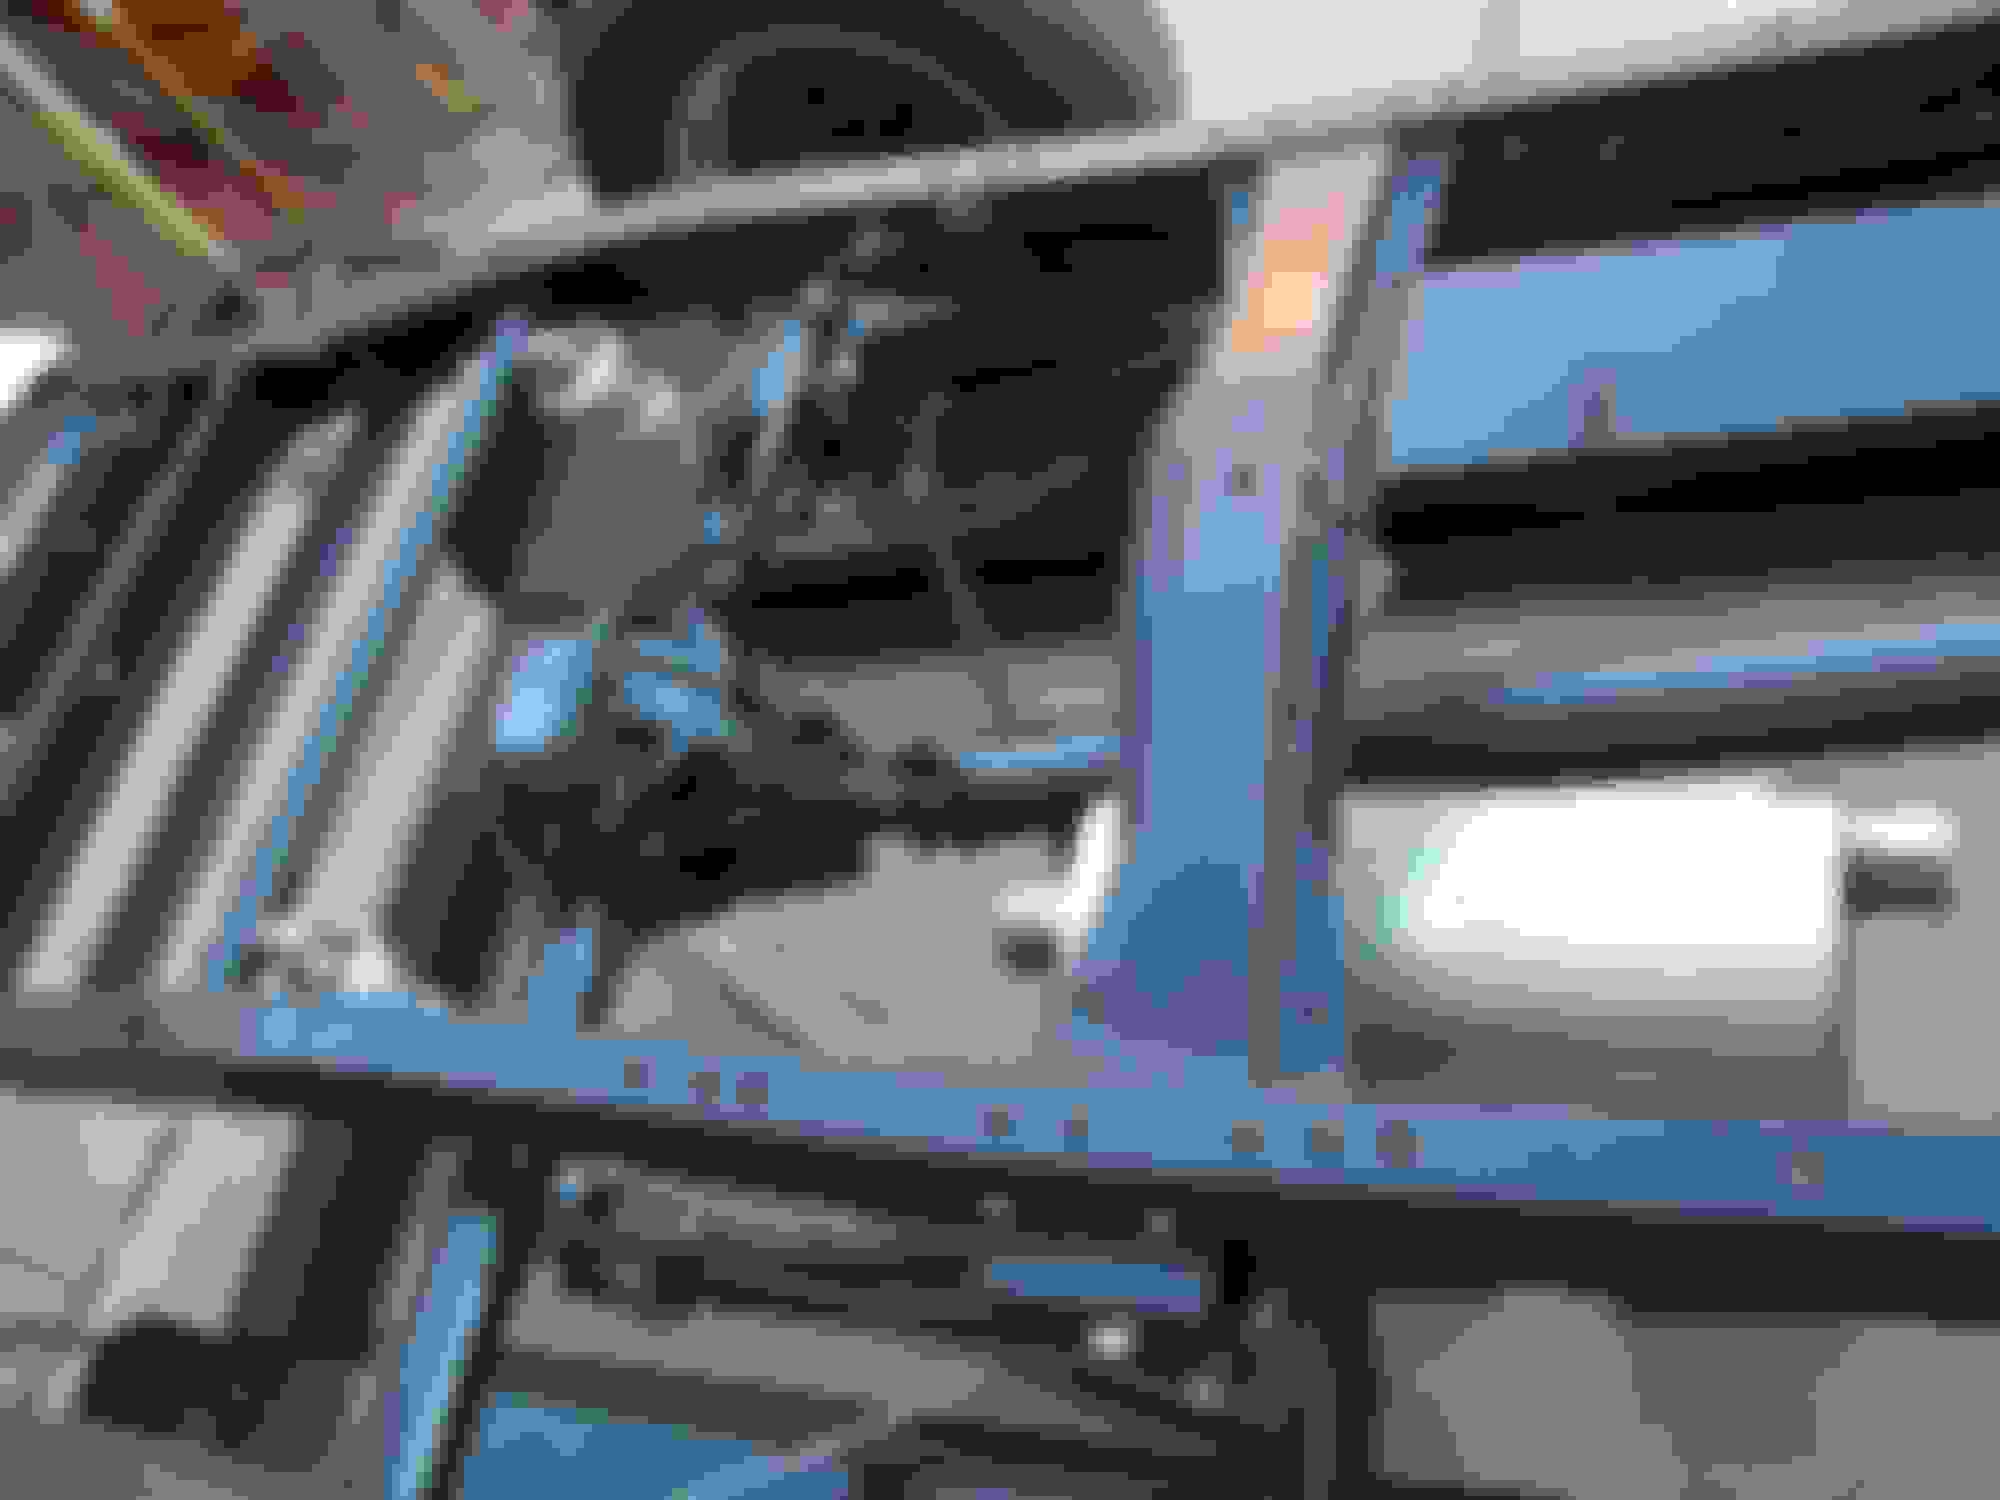
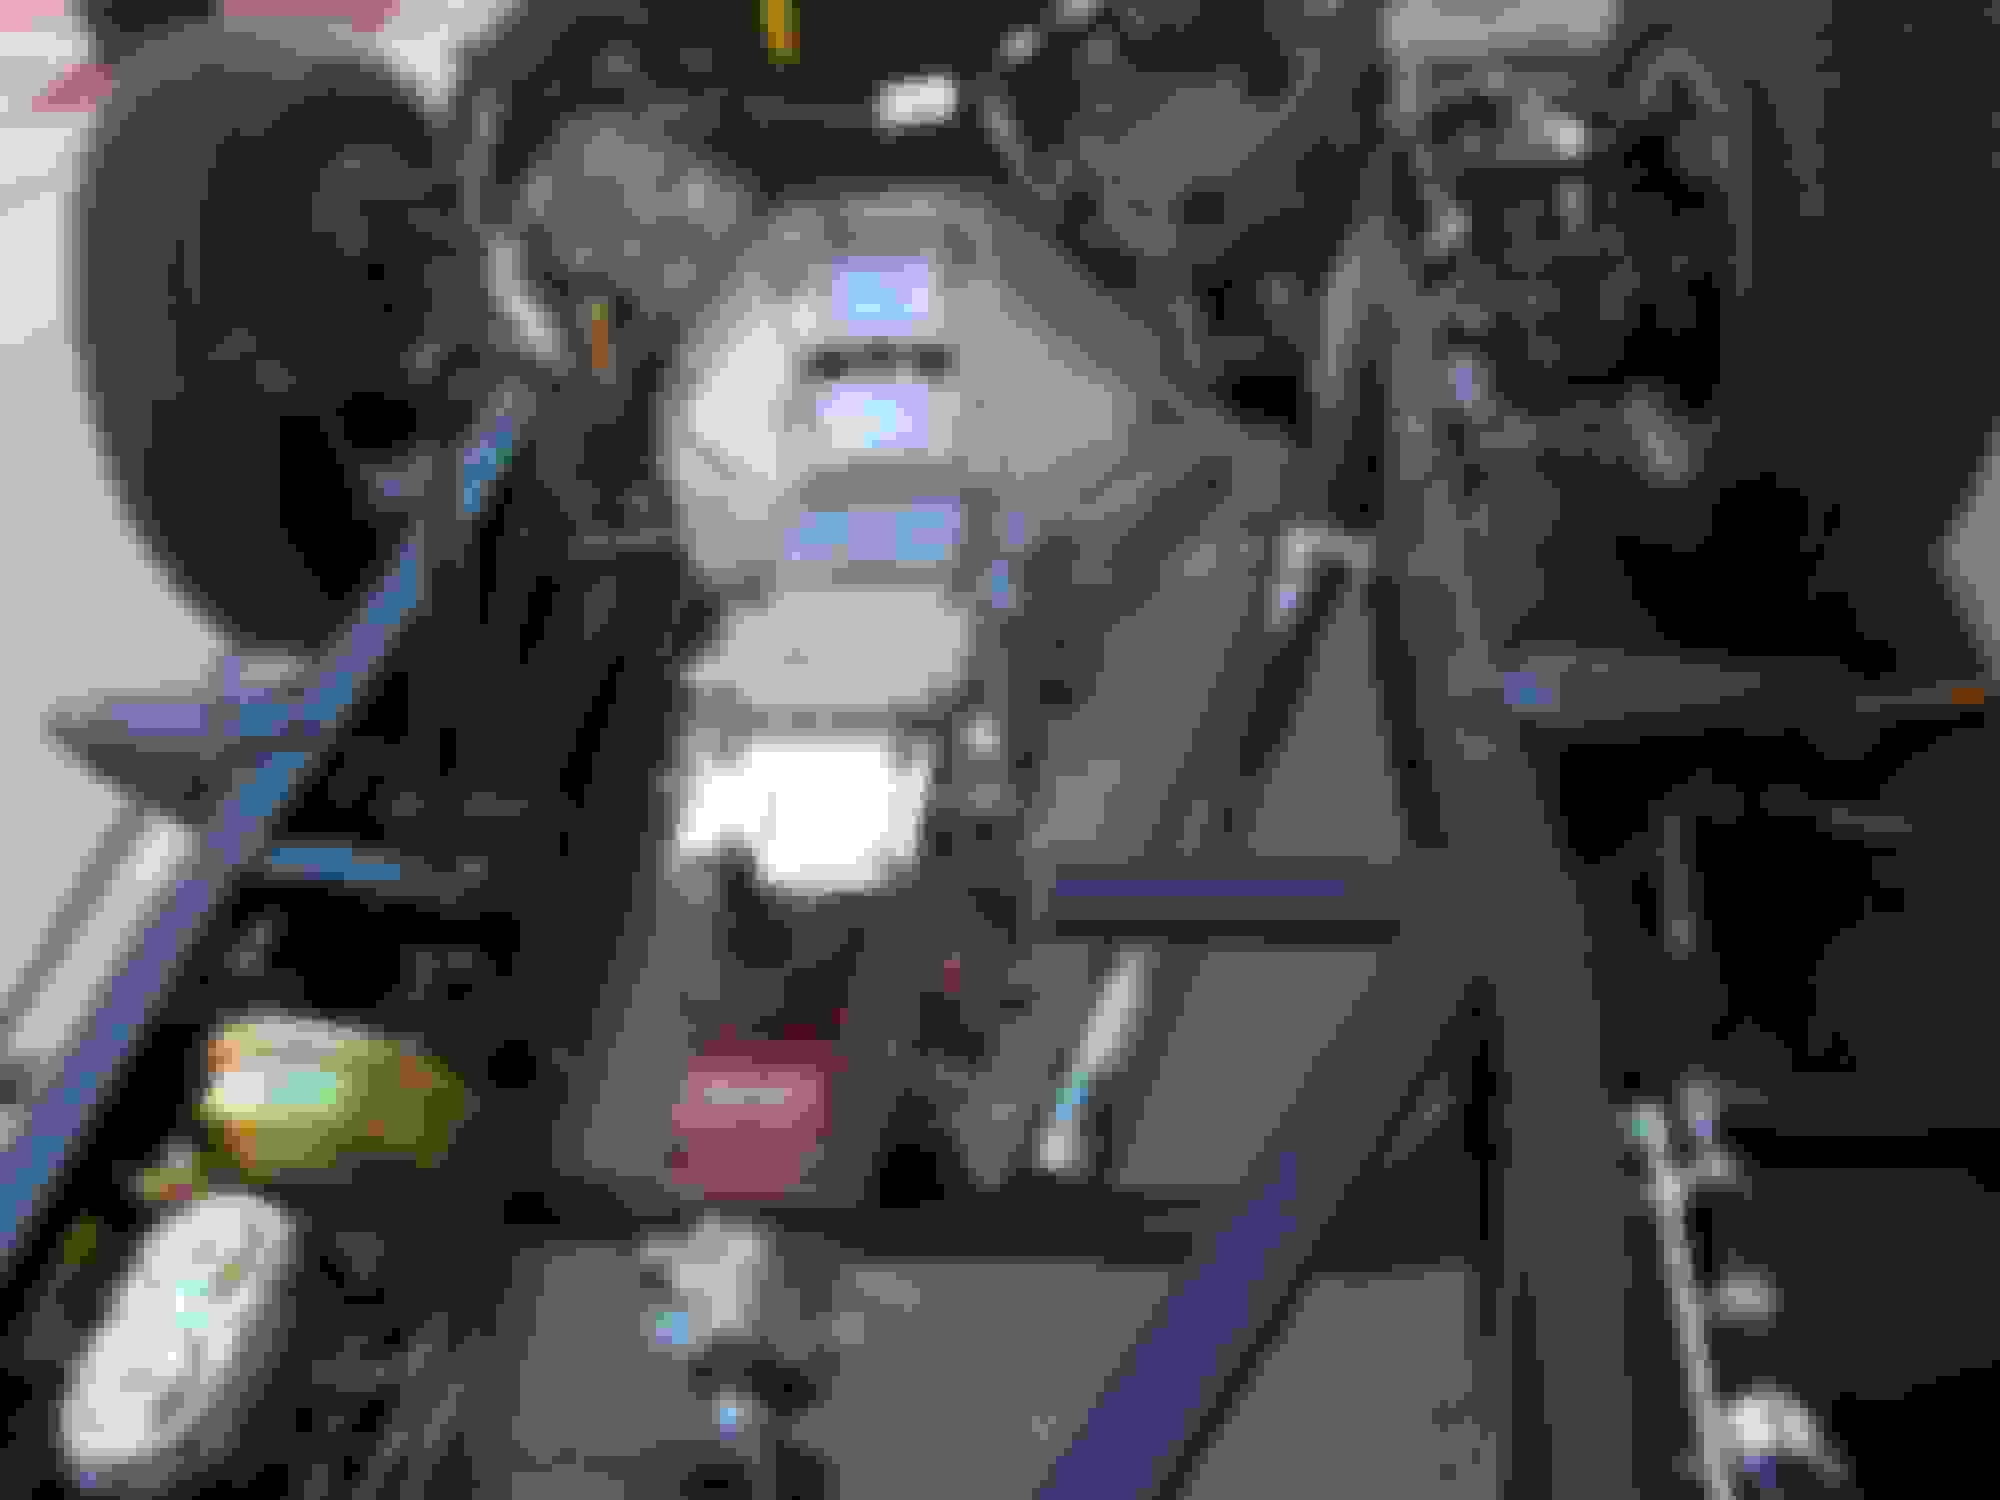
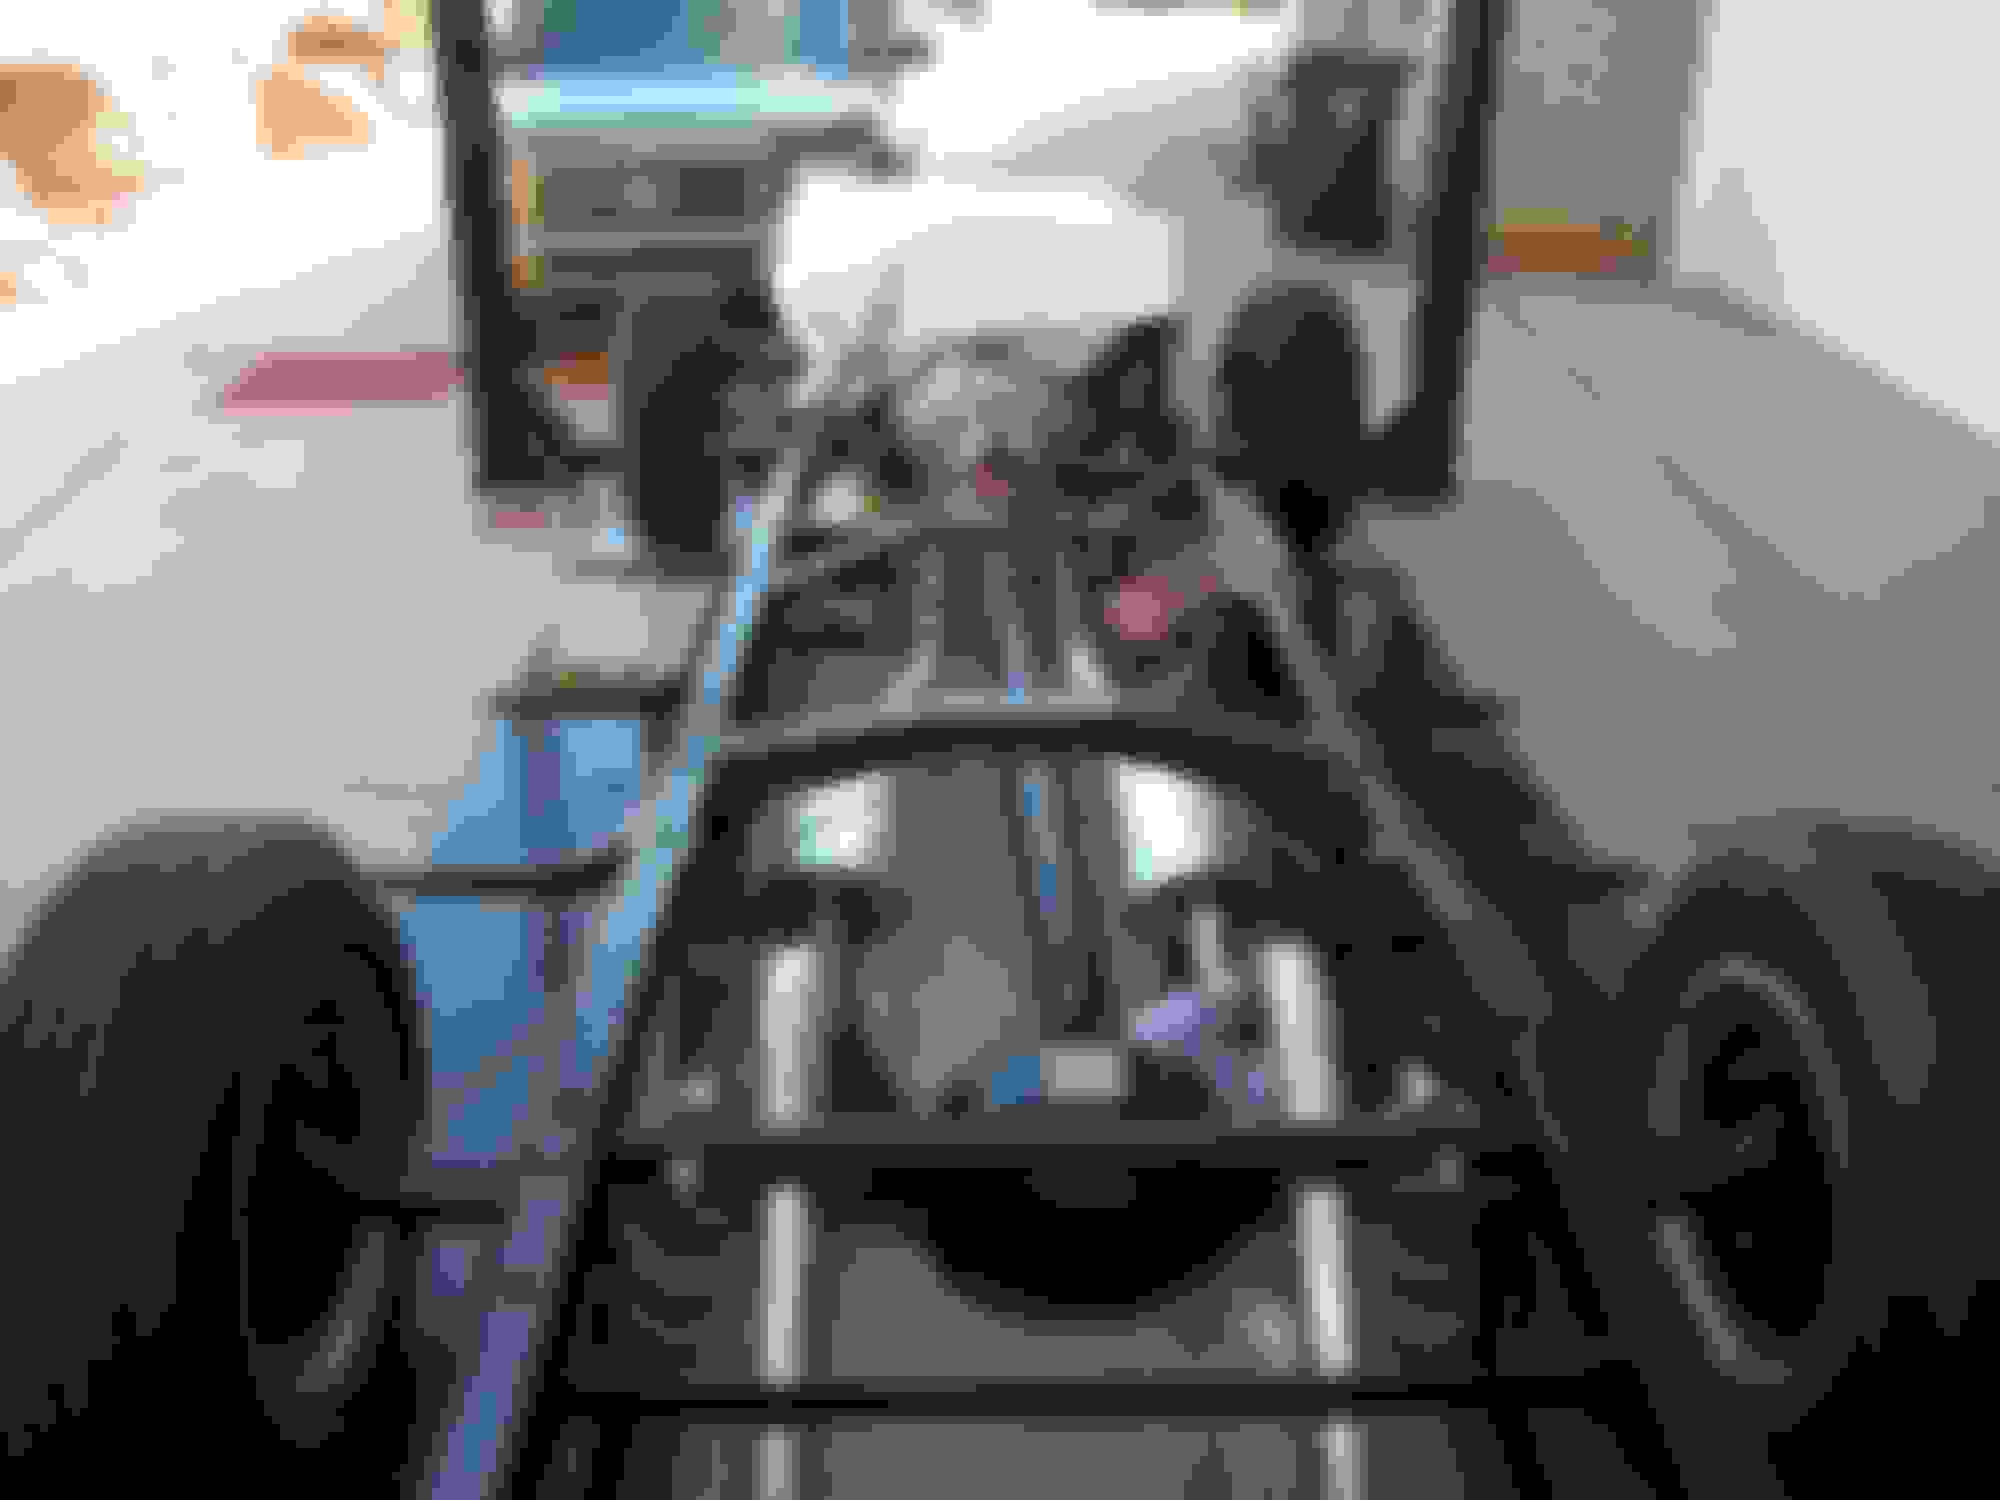
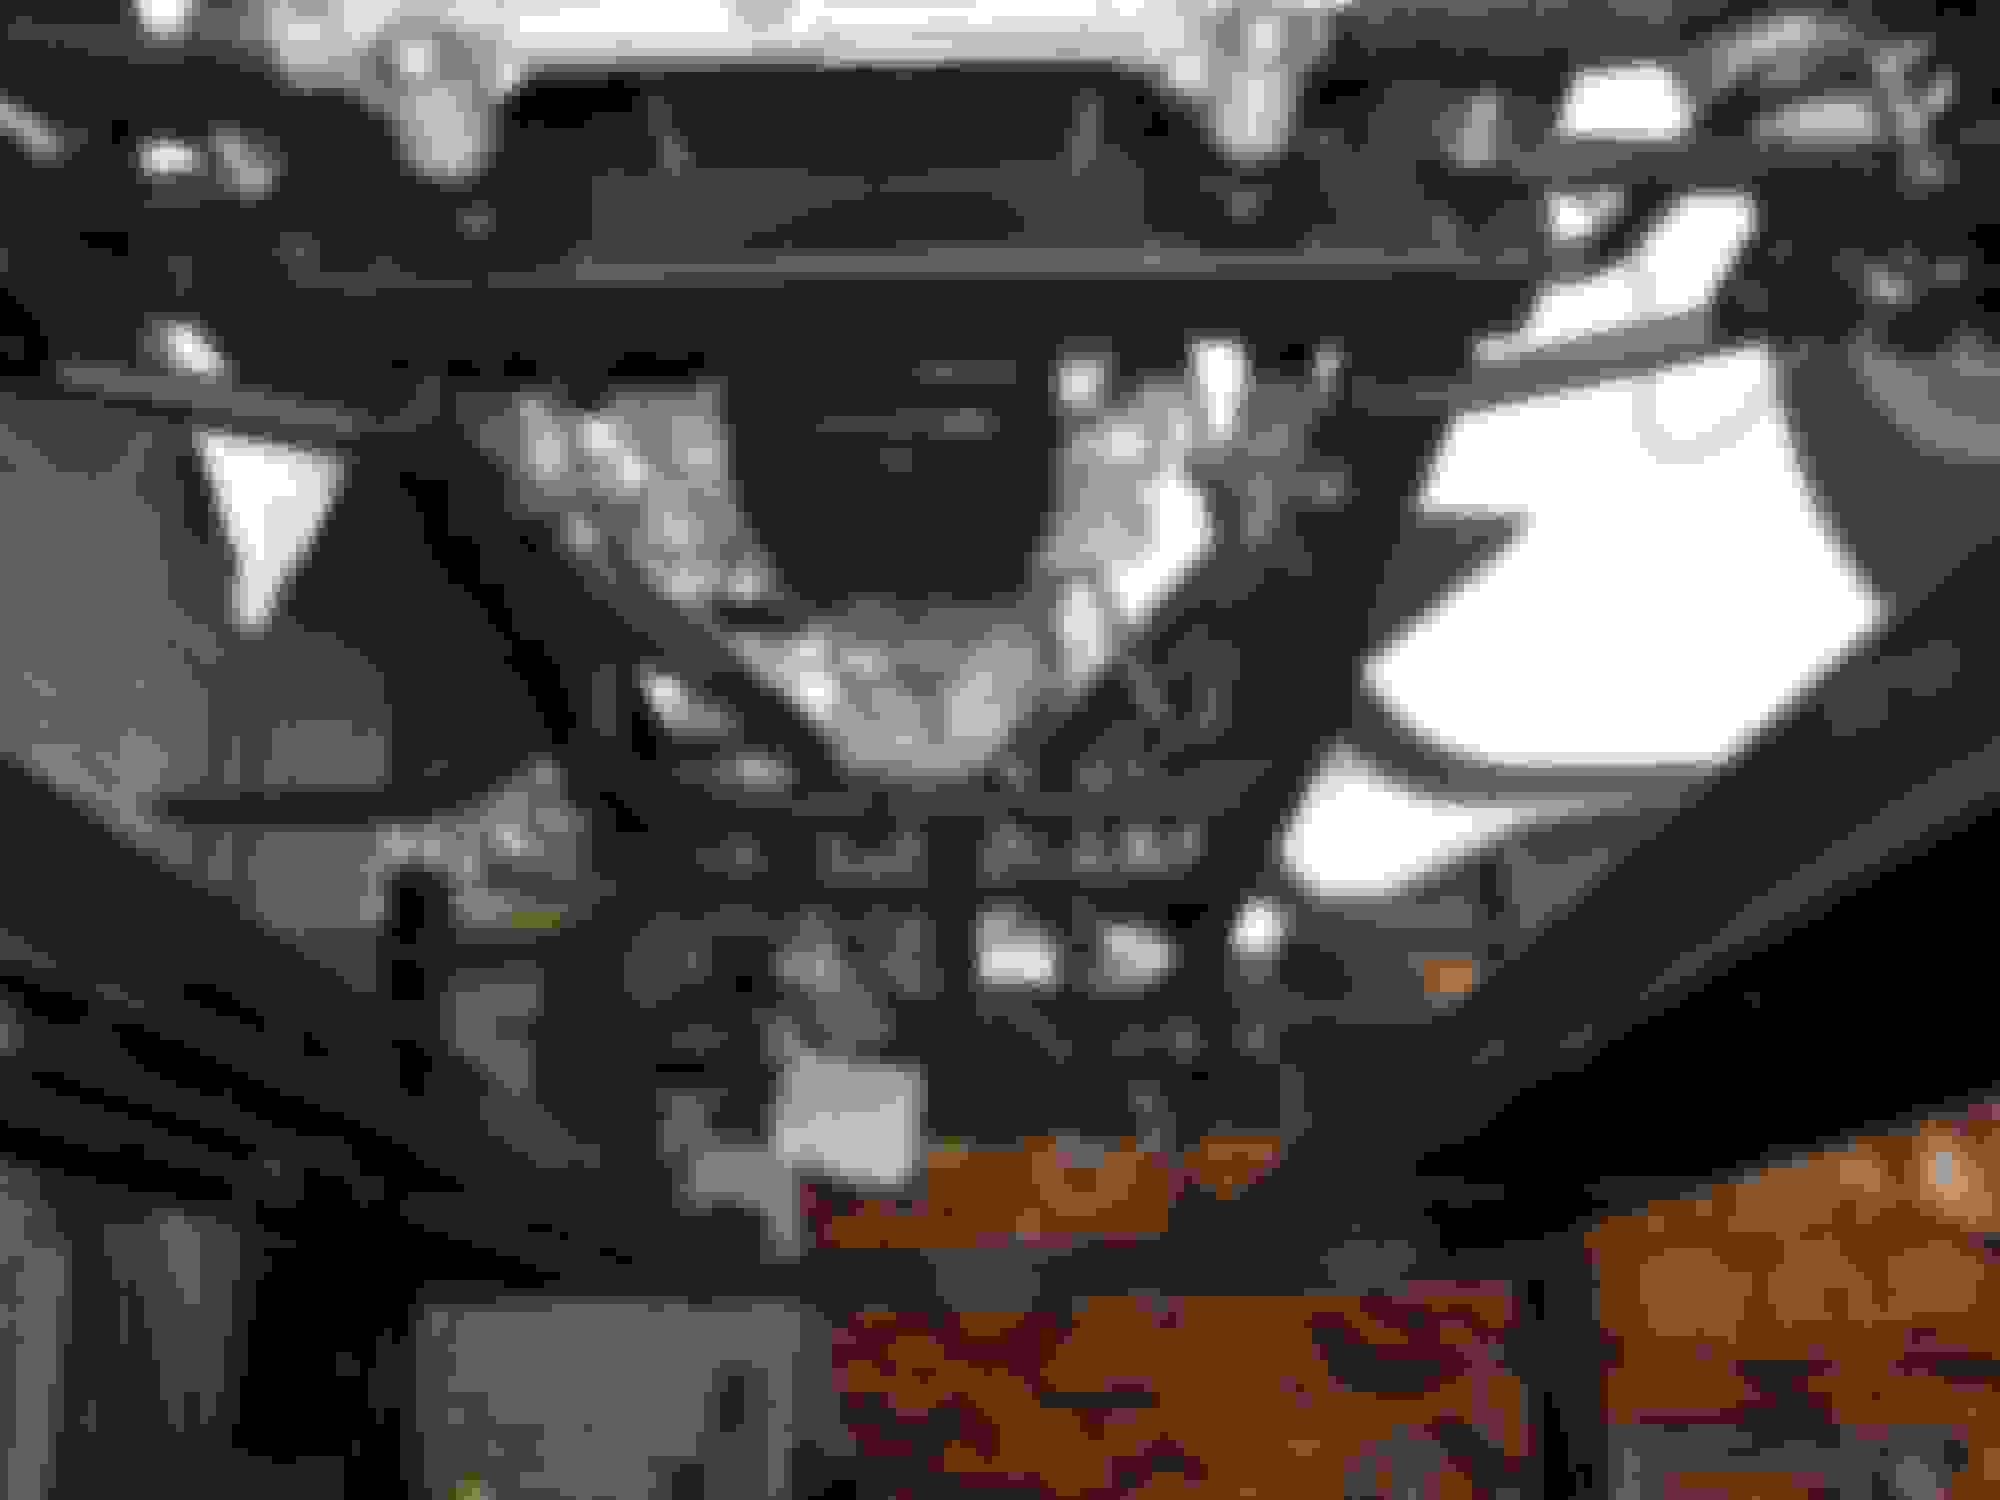
One advantage of the lift, we get to check out the bottom side.


Everything is tucked up inside the frame.


There are V band joints on each exhaust where they go through the crossmember so we can remove the system. Pipes are also clamped at the muffler outlet for the same reason.


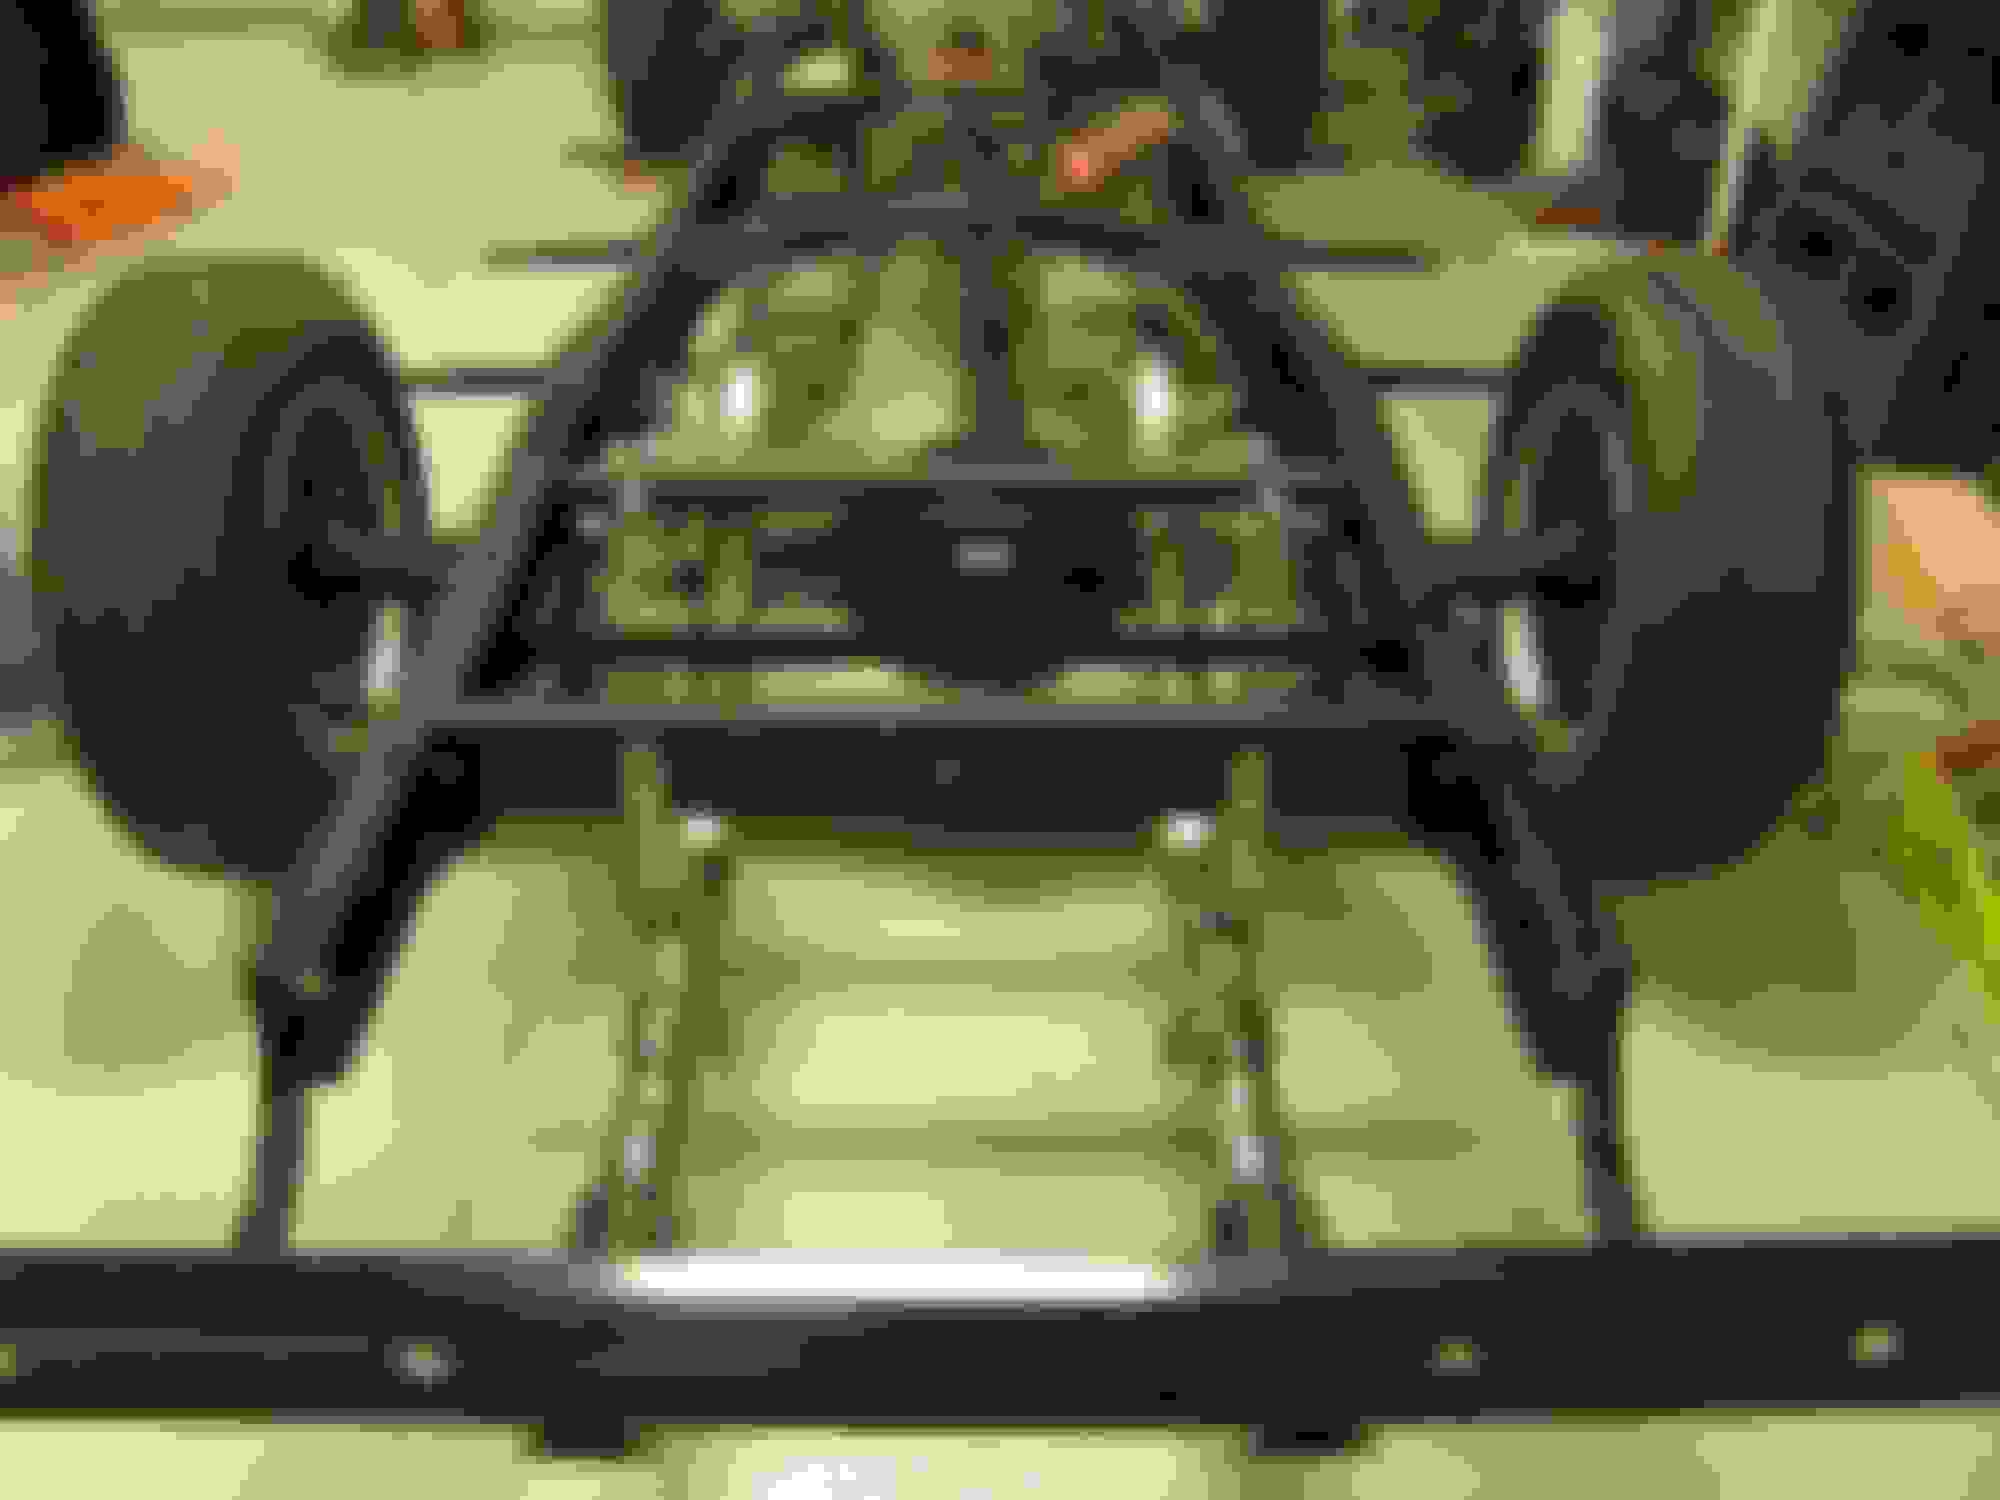
End of day three and we just have a little adjustment to do.


My last chance to check out the bottom before taking Belle home


Back home and everything adjusted. Boy am I exhausted.
 
  #87  
Old 02-20-2015, 09:27 AM
DW SD's Avatar
DW SD
DW SD is offline
Senior User
Join Date: Jul 2013
Posts: 386
Likes: 0
Received 0 Likes on 0 Posts
Excellent work!! That will be a thing of beauty. Can you capture video of the first startup?
 
  #88  
Old 02-20-2015, 10:46 AM
old_dan's Avatar
old_dan
old_dan is offline
Fleet Mechanic

Join Date: Aug 2010
Location: Morgan Hill, CA
Posts: 1,994
Likes: 0
Received 2 Likes on 1 Post
Exhausted???


Good one!! LOL
 
  #89  
Old 02-20-2015, 07:42 PM
Rimrock F1's Avatar
Rimrock F1
Rimrock F1 is offline
Posting Guru
Thread Starter
Join Date: Apr 2013
Location: Rimrock AZ
Posts: 1,170
Likes: 0
Received 0 Likes on 0 Posts
Originally Posted by Gicknordon
Im so jealous of how nice that cab is. It took me literally a year just to fix the rust on mine.
I am very fortunate. Here are a couple photos of the inside cab corners.


This is as I got it with just vacuuming.


Fronts were the same way


Stuff in the bottom is some kind of sealer. It is glued in very well so I will not remove.
 
  #90  
Old 02-20-2015, 07:44 PM
Rimrock F1's Avatar
Rimrock F1
Rimrock F1 is offline
Posting Guru
Thread Starter
Join Date: Apr 2013
Location: Rimrock AZ
Posts: 1,170
Likes: 0
Received 0 Likes on 0 Posts
Originally Posted by DW SD
Excellent work!! That will be a thing of beauty. Can you capture video of the first startup?
First start is going to be very soon and for good or bad we will be filming. I expect no problems but will have a fire extinguished close at hand.


Quick Reply: "Belle" 1952 F-1 build thread.


All times are GMT -5. The time now is 01:15 AM.