Lets do it again! 1951 Ford F1 LT1 supercharged, 4L80E, EFI, jag IFS, etc..

#257
 07-13-2015, 02:56 PM
No problem, its really not hard to do. I finished modifying my body harness today and am in the middle of putting it in the cab. I am tucking everything way up high since the firewall is so visible, but I am going to need a flashlight if I ever pop a fuse!
#258
07-15-2015, 09:47 PM
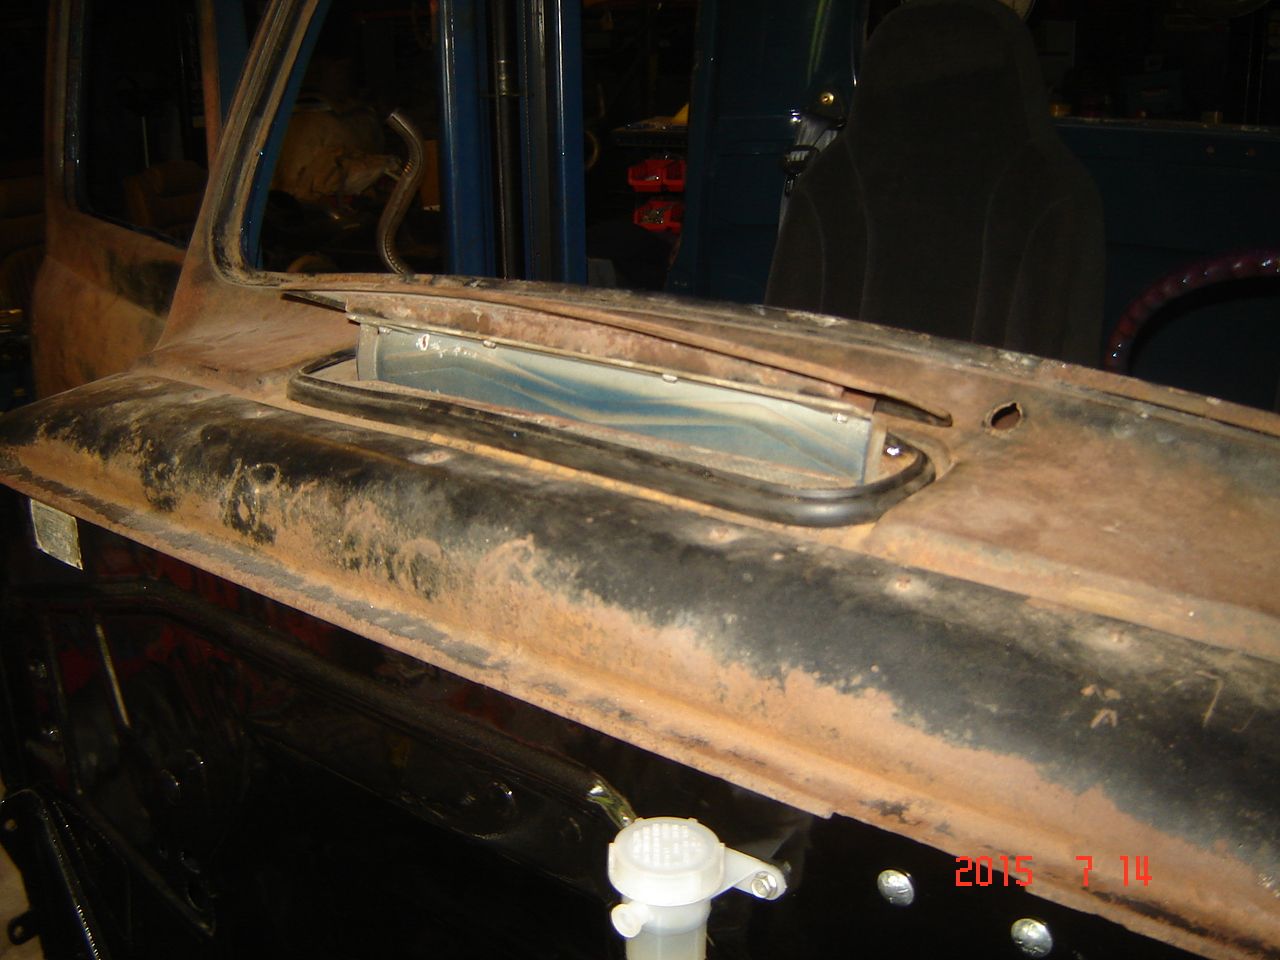
So many things on the punch list that I am bouncing around. Put the new vent seal in and reinstalled the cowl vent, works very nicely. We will see if it leaks.
STILL working on wiring. Finally have all the un-needed circuits removed from the harness and starting to get everything wired up. This was removed from the harness!
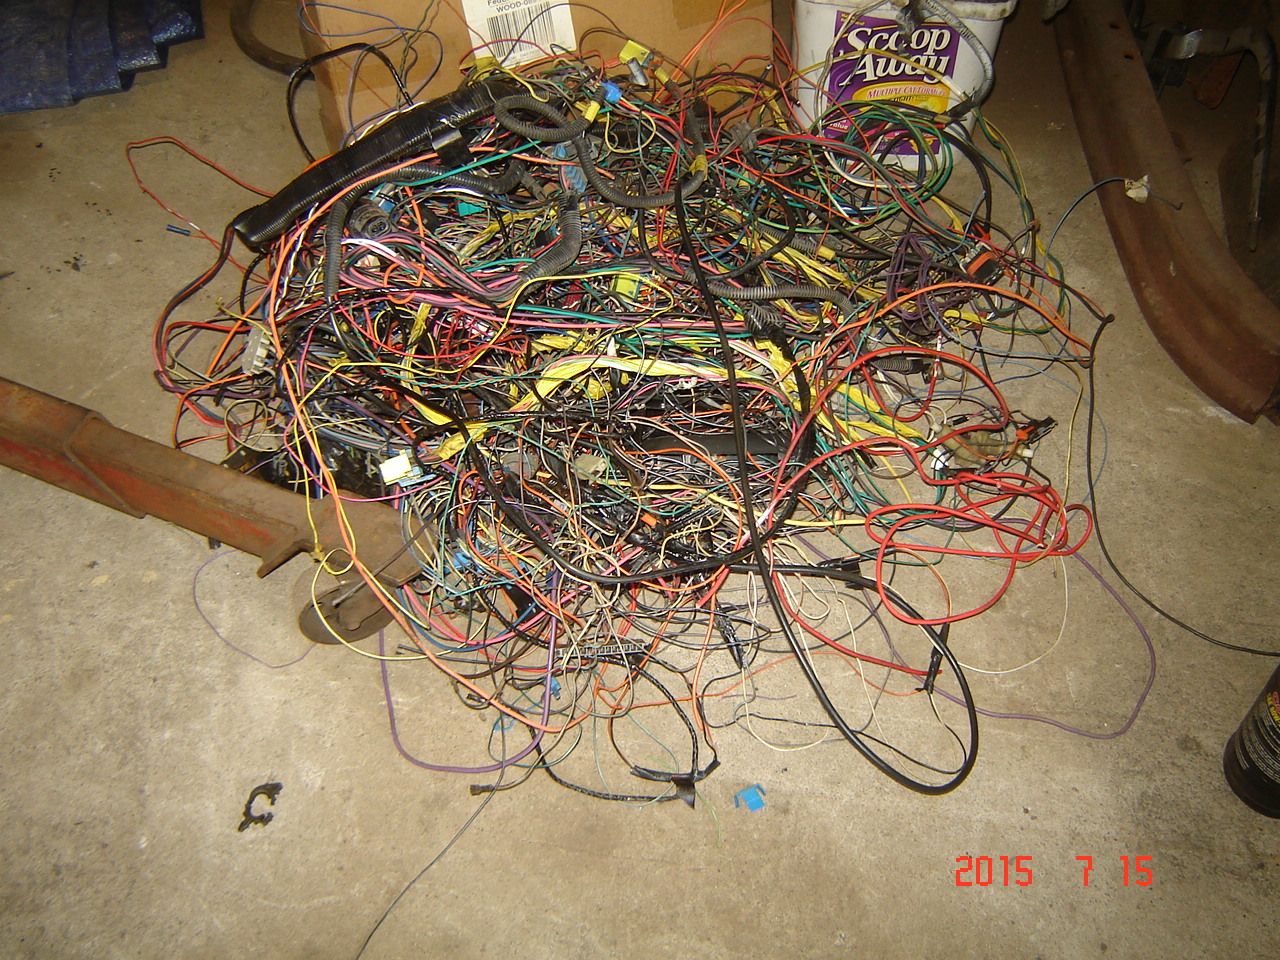
Also picked up a 1985 cherokee wiper motor at the bone yard yesterday, planning on putting it on my vacuum wiper setup.

STILL working on wiring. Finally have all the un-needed circuits removed from the harness and starting to get everything wired up. This was removed from the harness!

Also picked up a 1985 cherokee wiper motor at the bone yard yesterday, planning on putting it on my vacuum wiper setup.
#260
07-16-2015, 01:19 PM
#261
07-16-2015, 01:35 PM

Freshman User
Join Date: Apr 2015
Location: chicago il
Posts: 36
Likes: 0
Received 0 Likes
on
0 Posts
#262
07-16-2015, 03:12 PM
If you could check my thead out and see what you think it would be greatly appreciated. This is of the 1950 with the possible camaro front and rear
https://www.ford-trucks.com/forums/1...l-me-more.html
https://www.ford-trucks.com/forums/1...l-me-more.html
#263
07-20-2015, 10:37 PM
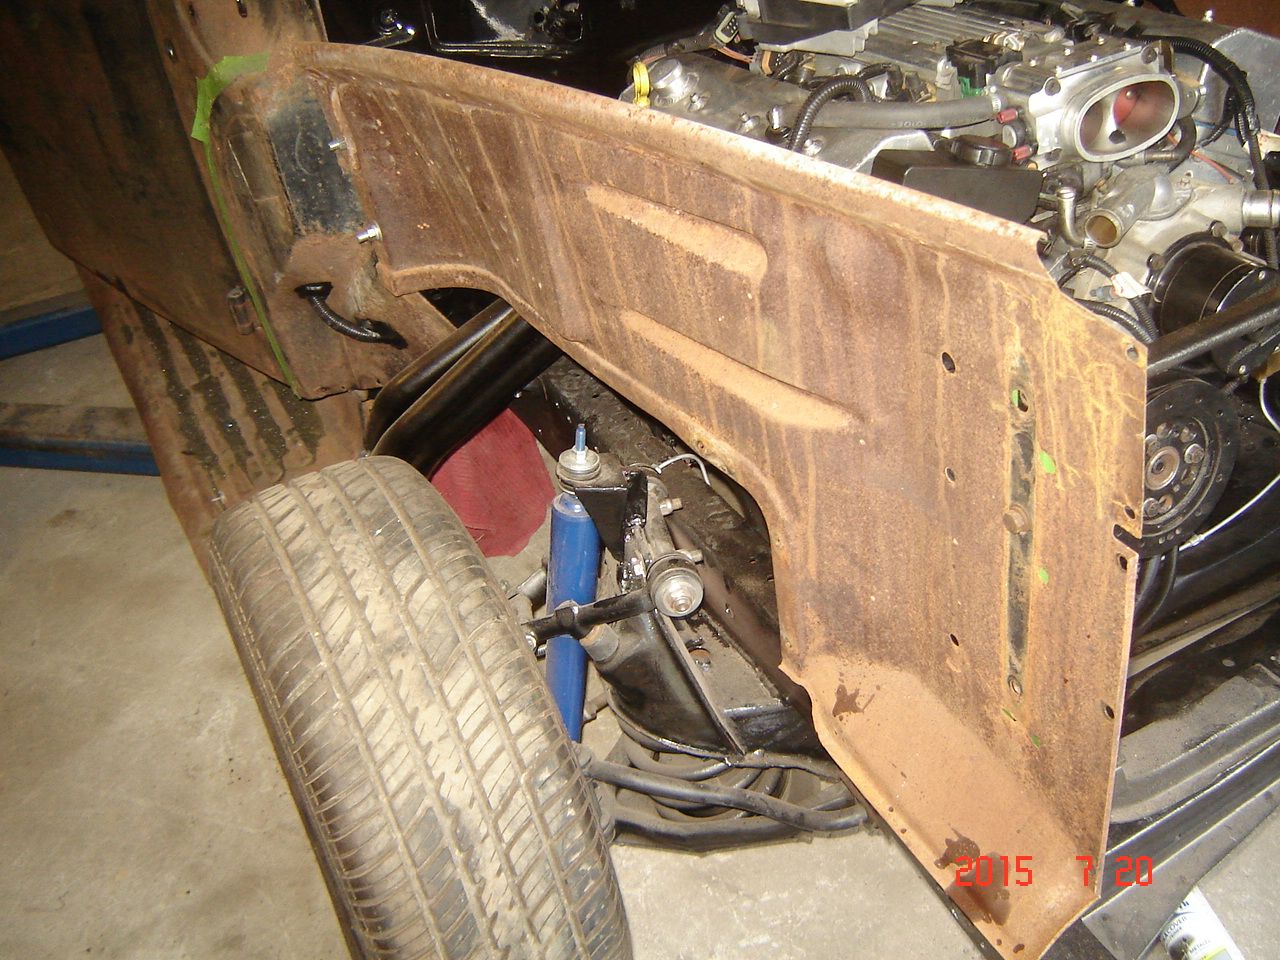
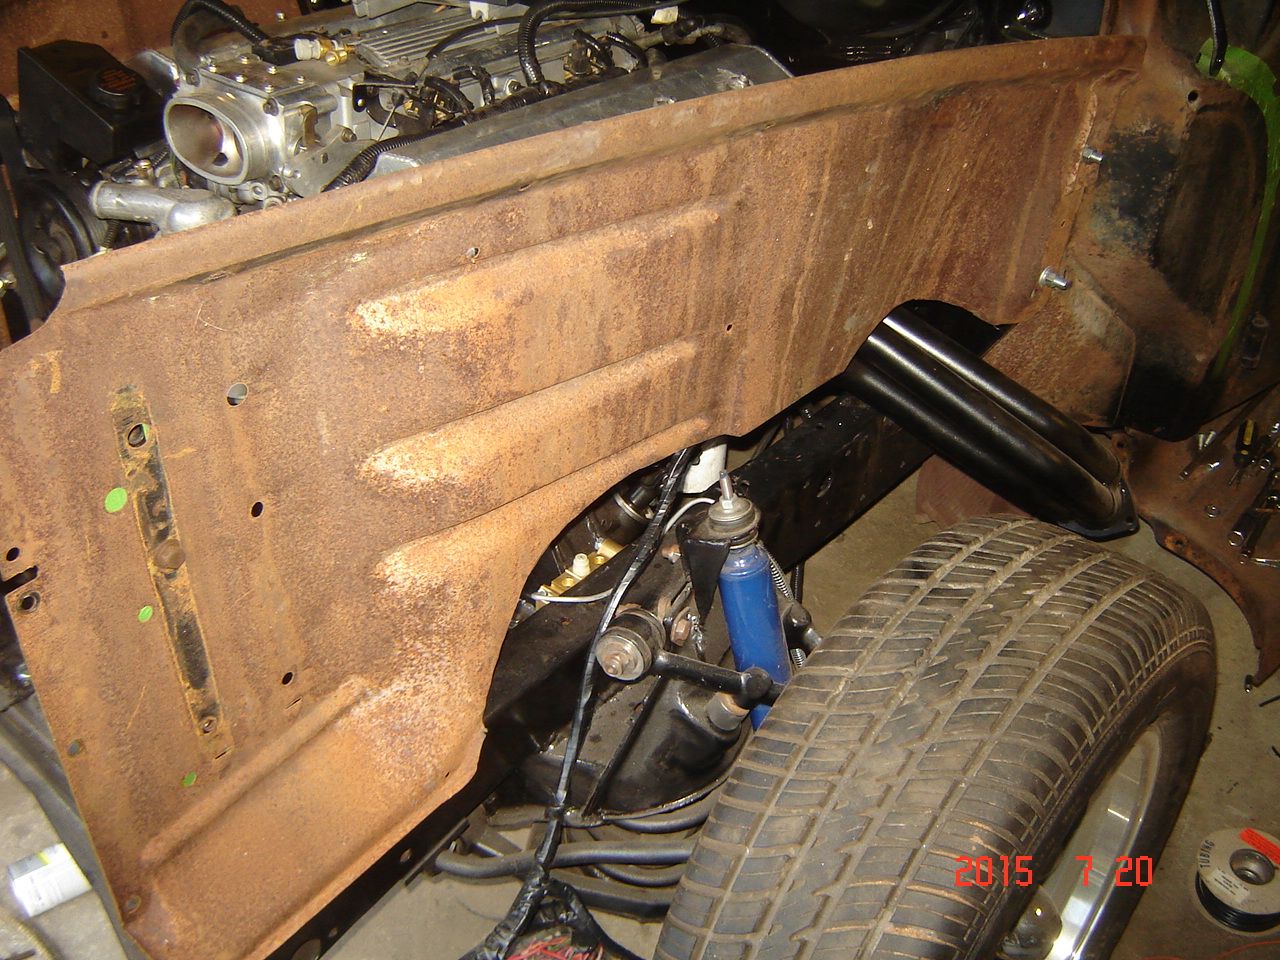
Got some stuff done today, PS pressure hose hooked up, have to make a mount for the PS fluid tank tomorrow and then I can finish that up. Amazingly the XJ6 PS pressure hose fit fine and had the right fitting to mount to the LT1 PS pump. Cut the drivers side inner fender for header and room to get the shims on the control arm, pass side I just left the lower piece out. I think I will make some dust flaps to cover some of the open space but I want to be able to get to the suspension with tools as needed. I should have time to paint the inner fenders tomorrow. Working on lots of little things, guage sending unit installs, LED installs, more wiring, and all the nit pick stuff that takes awhile.
Orignally I made a 1/4" thick rubber mount for the rad support but that made it too high, looks like it wants to be right on the frame with no spacer. So I just put a piece of roofing felt between it and the frame and bolted it down with 7/16" carriage bolts. No springs on the bolts, with the jag crossmember welded in I dont expect the frame to flex much anymore.
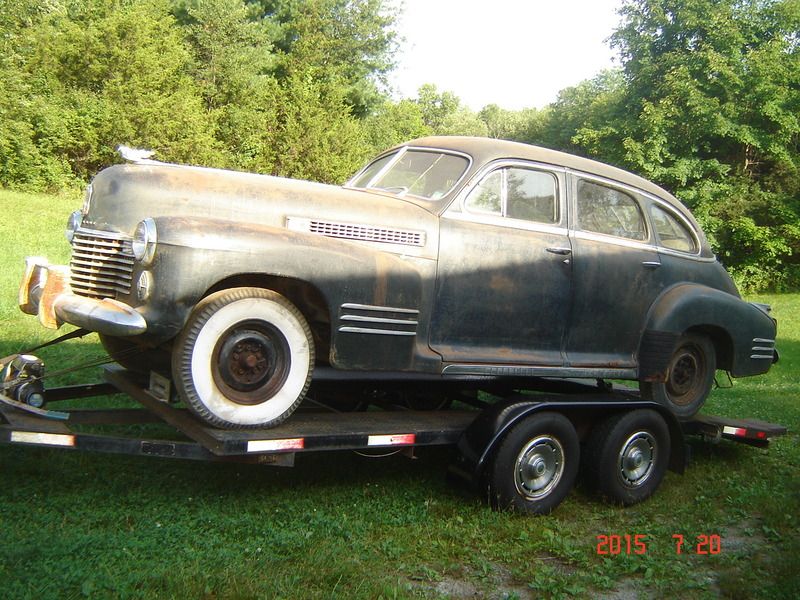
Also picked this up this morning, yet another caddy! 1941 this time.
Orignally I made a 1/4" thick rubber mount for the rad support but that made it too high, looks like it wants to be right on the frame with no spacer. So I just put a piece of roofing felt between it and the frame and bolted it down with 7/16" carriage bolts. No springs on the bolts, with the jag crossmember welded in I dont expect the frame to flex much anymore.


Also picked this up this morning, yet another caddy! 1941 this time.

#265
07-21-2015, 11:44 AM
If you count me planning the next "to do" list before I go to bed it sure seems like it, just ask my wife!
I dont work on it every day but when I do I tend to push hard. Breaking the build into smaller projects with reasonable goals helps keep it moving, and before long getting those small projects done leads to good progress.
I dont work on it every day but when I do I tend to push hard. Breaking the build into smaller projects with reasonable goals helps keep it moving, and before long getting those small projects done leads to good progress.
#266
07-21-2015, 09:26 PM
Only ended up with a couple hours in the shop today, lots of running around for other stuff. Got the inner fenders and fender braces painted, but have some more engine compartment stuff to do before I can mount them.
Just realized also I need new or good used rubber bumpers that go on top of the fender supports, and the fact that the fender supports are the same for both sides? That makes one mount backwards compared to the other but I guess that is the way it should be?
Just realized also I need new or good used rubber bumpers that go on top of the fender supports, and the fact that the fender supports are the same for both sides? That makes one mount backwards compared to the other but I guess that is the way it should be?
#267
07-26-2015, 09:34 PM
Few more things off the punch list today.
Installed the sending units for fuel pressure, oil pressure, and water temp. Made and installed the brake lines from the master to the proportioning valve, filled the system and bled it, only one fitting had to be tightened up a little more and I actually now have brakes. Mounted the PCM as well.

One other simple task, remove the oil filter to lose the oil cooler. Simple right? I knew there were going to be problems when my strap wrench collapsed the filter and would not budge it!
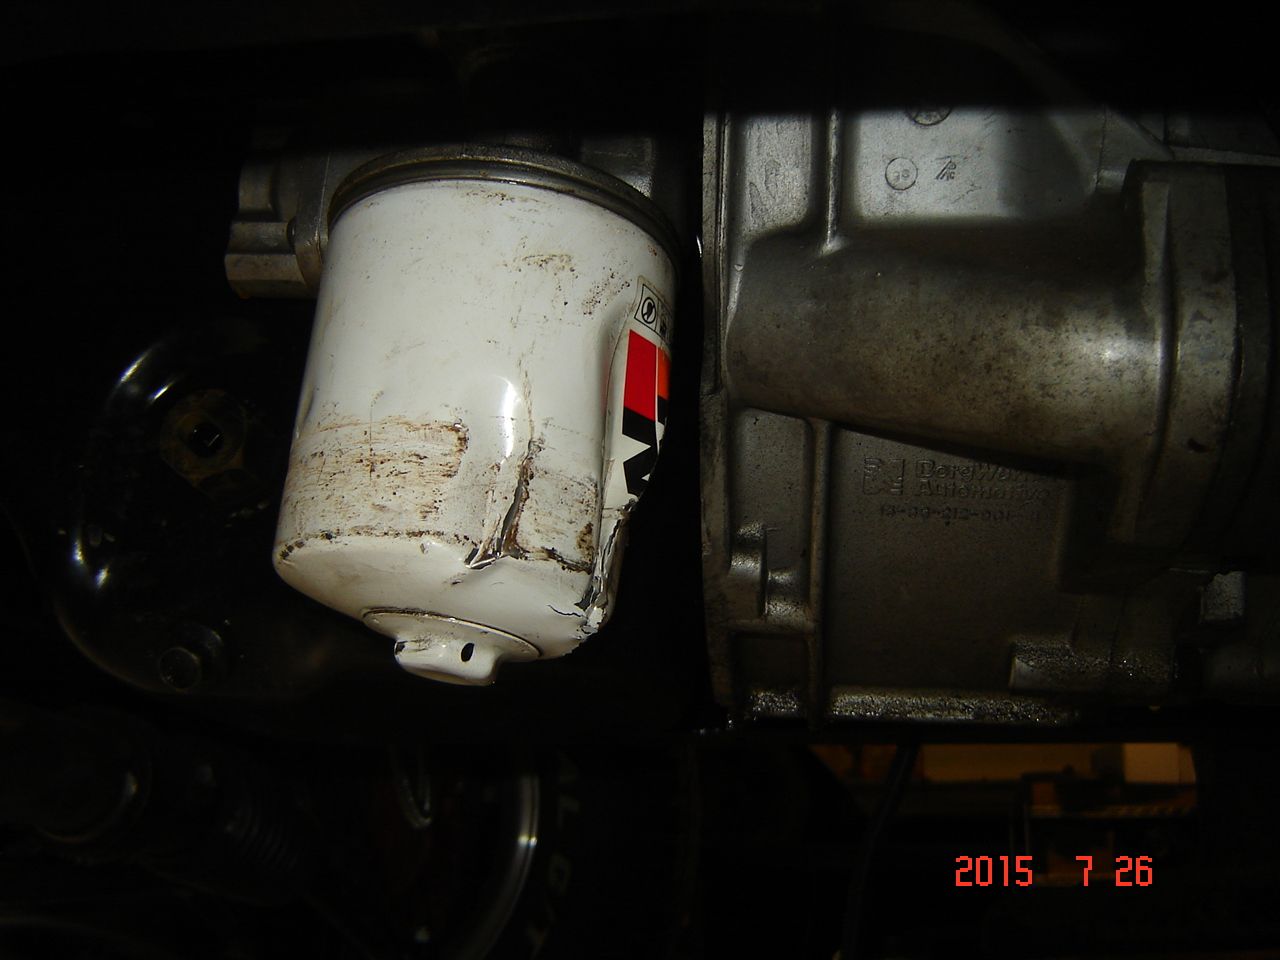
My luck, filter was installed with no oil on the gasket and it was not going to move! This was part way in the removal process.

I ended up having to use a cutoff wheel to cut through a slot in the filter base to get it to unscrew from the oil cooler. All the while I was using a drift and a hammer to try and get the filter to turn, hit it hard enough to crack the oil filter mount on the engine block in half! Luckily I had a replacement on the shelf and now a new filter is installed and the cooler was tossed. 15 minute job took almost an hour. Without the truck in the air for access this would of been a total nightmare, never forget to oil that filter gasket!
#269
07-26-2015, 10:10 PM
You know it, but this was a gift from the previous owner of the donor car, I learned my lesson years ago with stuck oil filters. I doubt this filter was on there more than a few hundred miles, PO scattered the rear on the car not long after the engines's first oil change. You would of thought it was put on with super glue, it was NOT going to move.
Anyone have a picture of these pieces mounted on the radiator support? I cant remember if they are supposed to fit over the support tubing so the outer flat edge with the bolt hole is on the outside of the support or on the inside.
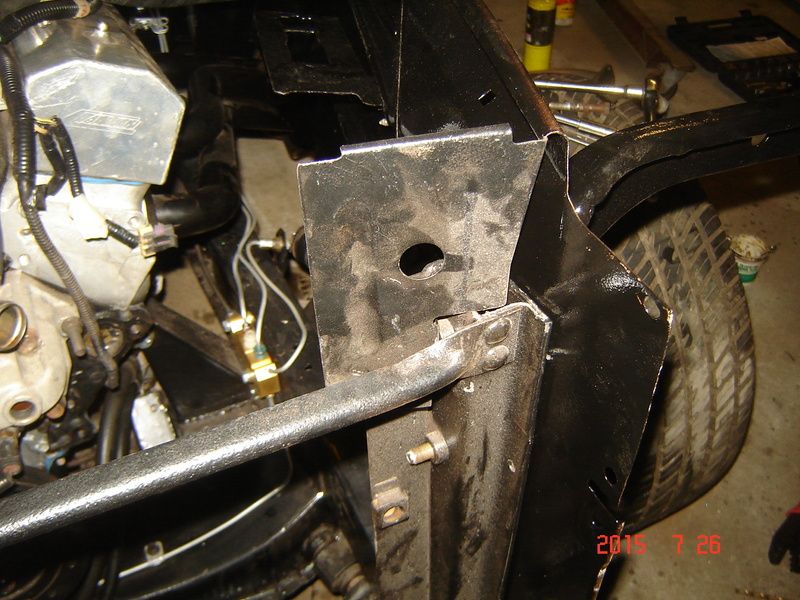
Anyone have a picture of these pieces mounted on the radiator support? I cant remember if they are supposed to fit over the support tubing so the outer flat edge with the bolt hole is on the outside of the support or on the inside.

#270
07-27-2015, 11:46 AM
Elder User
Join Date: Jun 2013
Location: Metro Detroit-MI
Posts: 949
Likes: 0
Received 0 Likes
on
0 Posts