
05-07 Harley Headlight Install
#1
 02-25-2012, 01:28 AM


05-07 Harley Headlight Install
I picked up a set of 05-07 Harley Headlights from Riffraff Diesel for my truck. I finally got around to installing them and snap a few pictures along the way. I am really happy with how the Harley lights compliment the Dark Shadow Gray (Paint code CX) paint on my truck.
Here are a few shots of the install.
Factory lights!

First thing to do is remove the grill by pulling the 4 screws under the hood, then releasing the 4 spring clips along the bottom edge.

Next pull the clips from the upper (2) rods.
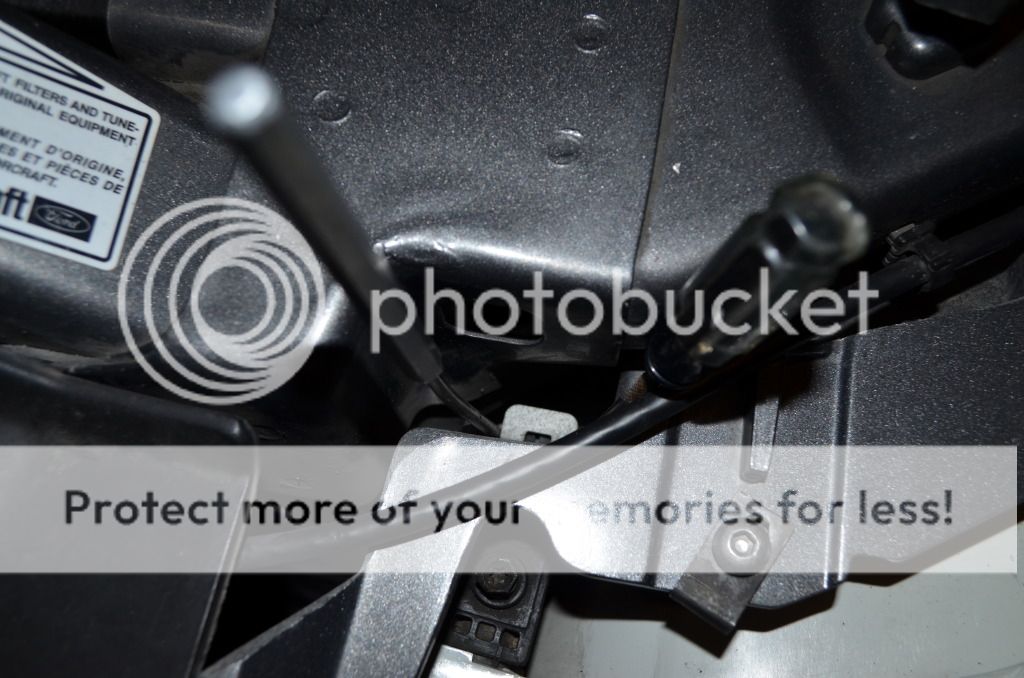
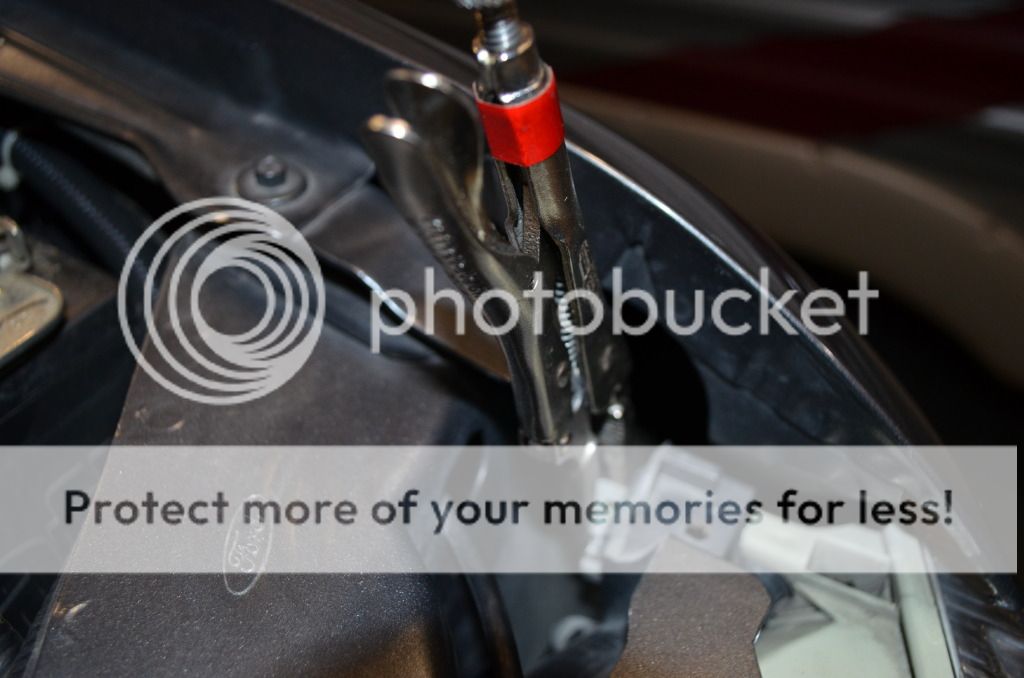
Next use a torx bit to drive the lower adjuster to drive the headlight bottom all the way out to disengage the threaded rod from the nut retainer.

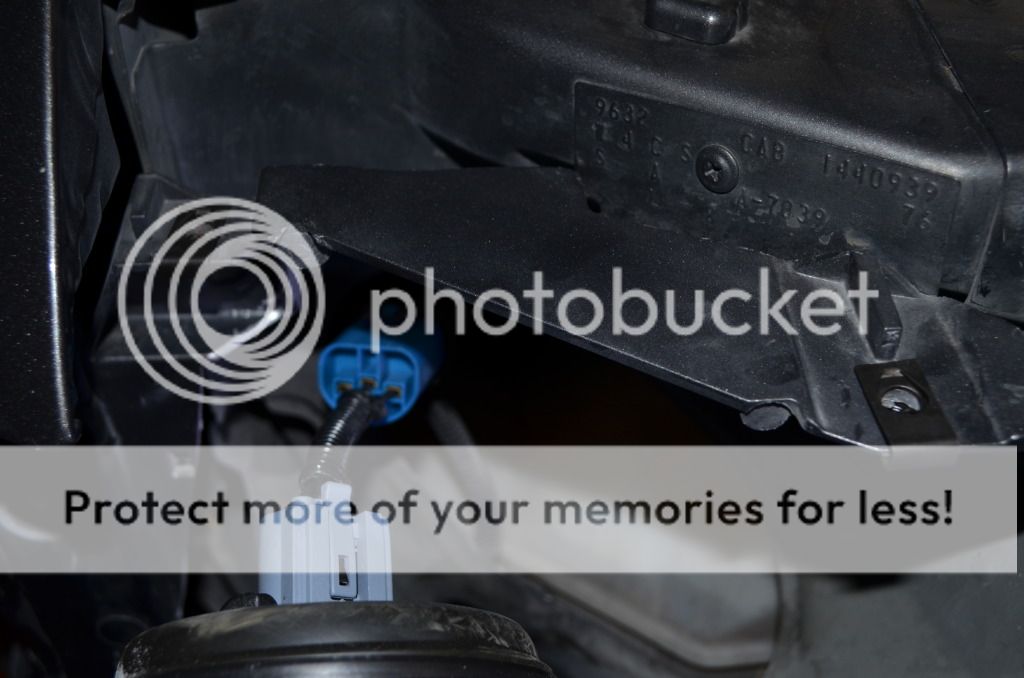
Remove the headlight from the bucket and disconnect the headlight bulb wiring.

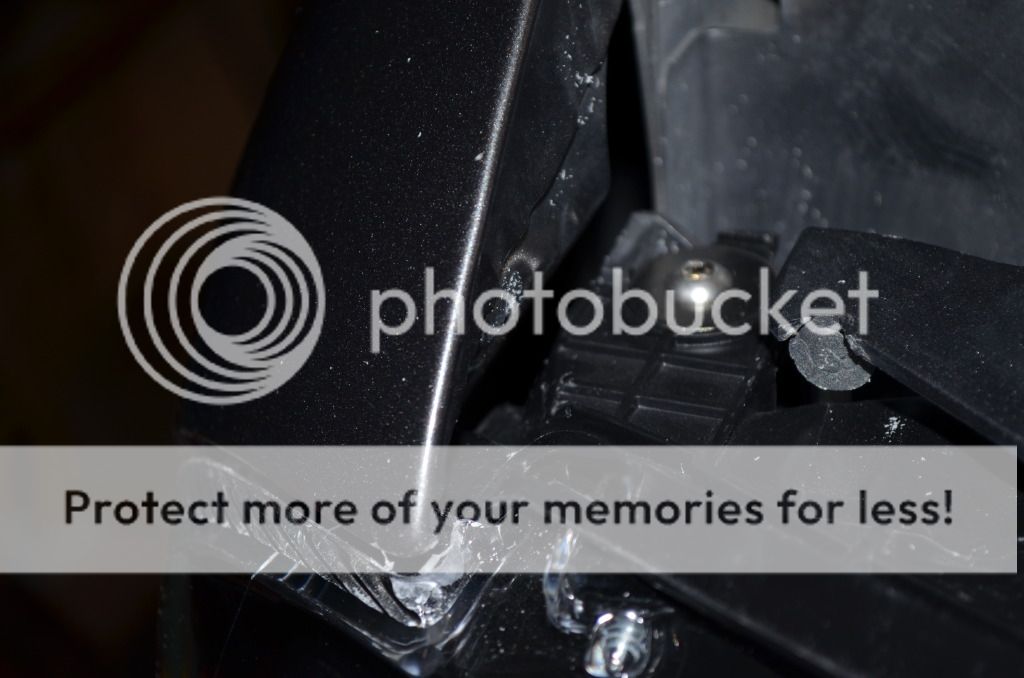
Next, remove the (2) screws under the turn signal just above the bumper.

Remove the light assy from the truck, disconnect the wiring.

If your truck has the lower trim/splash guard around the lower screw holes, remove or trim it to fit the lights.
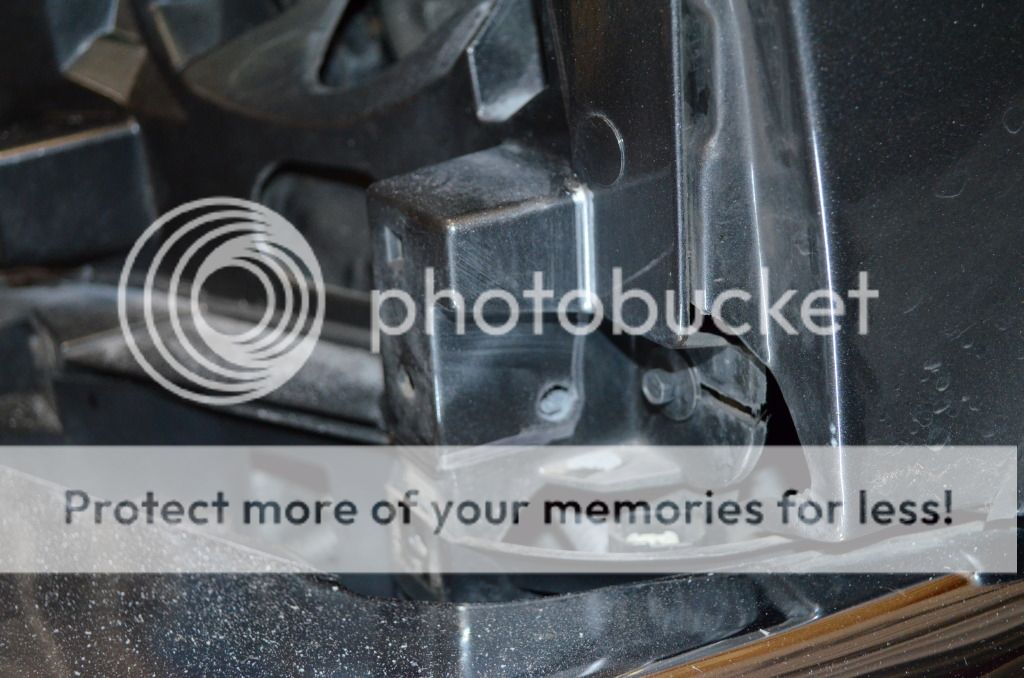
Layout the cut line and trim out the header panel to make room for the new lights.


Cut out the header along your cut lines. Trim down sharp edges and then fit the new light assy. Trim as needed to make it fit perfectly.


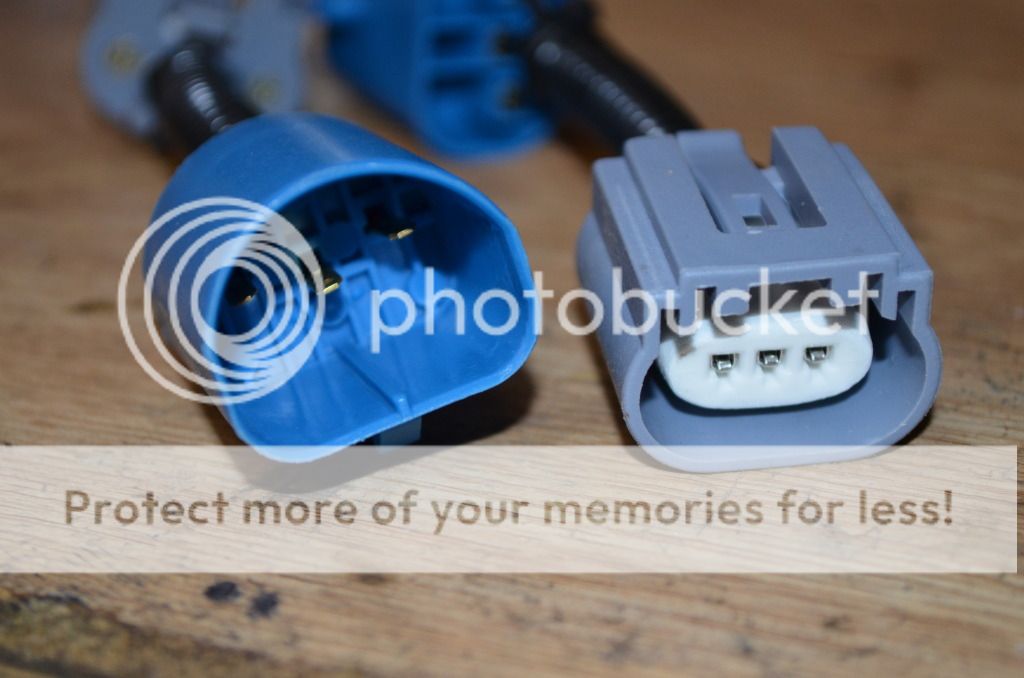
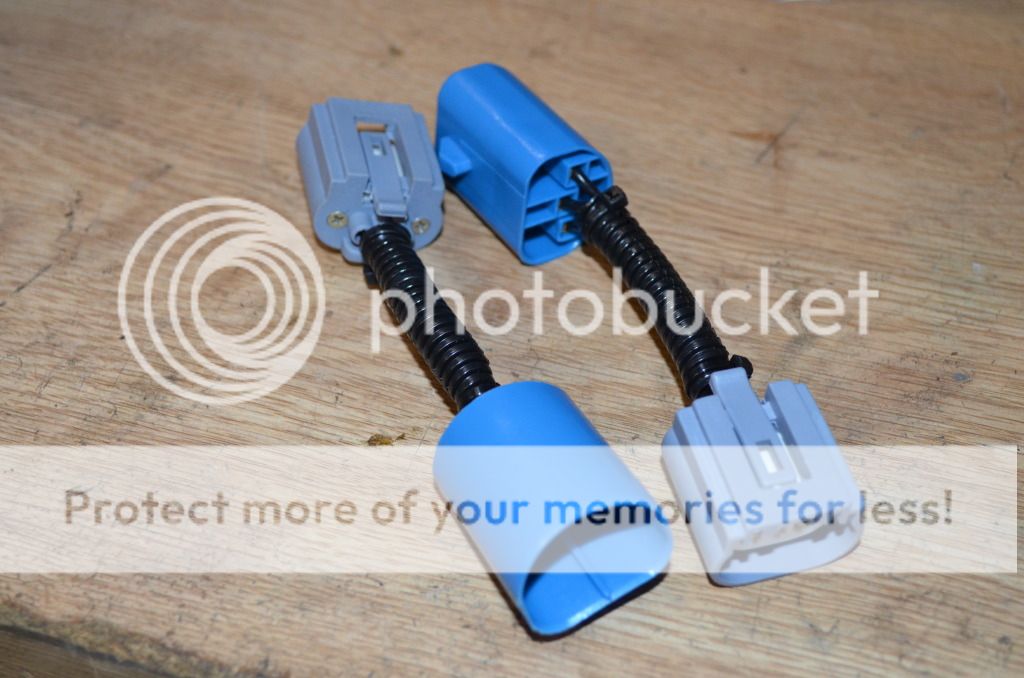
You can now hook up the headlights using a harness, or you can rewire the headlight bulbs to your own harness.
Install the headlight into the newly cutout bucket area. Install the lower two screws and then I used 1/4-20" X 3/4" long socket head stainless steel screws for the upper holes. I did use a 1/4" stainless steel fender style washer too.


Here are the lights installed!


Here are a few shots of the install.
Factory lights!
First thing to do is remove the grill by pulling the 4 screws under the hood, then releasing the 4 spring clips along the bottom edge.
Next pull the clips from the upper (2) rods.
Next use a torx bit to drive the lower adjuster to drive the headlight bottom all the way out to disengage the threaded rod from the nut retainer.
Remove the headlight from the bucket and disconnect the headlight bulb wiring.
Next, remove the (2) screws under the turn signal just above the bumper.
Remove the light assy from the truck, disconnect the wiring.
If your truck has the lower trim/splash guard around the lower screw holes, remove or trim it to fit the lights.
Layout the cut line and trim out the header panel to make room for the new lights.
Cut out the header along your cut lines. Trim down sharp edges and then fit the new light assy. Trim as needed to make it fit perfectly.
You can now hook up the headlights using a harness, or you can rewire the headlight bulbs to your own harness.
Install the headlight into the newly cutout bucket area. Install the lower two screws and then I used 1/4-20" X 3/4" long socket head stainless steel screws for the upper holes. I did use a 1/4" stainless steel fender style washer too.
Here are the lights installed!
Last edited by woodnthings; 02-25-2012 at 08:55 PM. Reason: added pictures


#3
02-25-2012, 05:17 AM
Join Date: Jan 2006
Location: Hanover,PA
Posts: 4,130
Likes: 0
Received 0 Likes
on
0 Posts
#4
02-25-2012, 06:44 AM
Senior User
Join Date: Jan 2010
Location: blue springs Missouri
Posts: 240
Likes: 0
Received 0 Likes
on
0 Posts
#5
02-25-2012, 09:45 AM
Install took about 3 hours. Actually a pretty easy job to do. I did also loosen the bumper to allow it to drop down for clearance
I need to fix a few of the pictures, looks like I pasted the wrong ones in a few spots.
I will most likely sell the OEM lights. I need to post it in the classifieds though. Just haven't had time yet.
I need to fix a few of the pictures, looks like I pasted the wrong ones in a few spots.
I will most likely sell the OEM lights. I need to post it in the classifieds though. Just haven't had time yet.
#7
02-25-2012, 10:34 AM
Trending Topics
#8
02-25-2012, 11:18 AM
Postmaster

#9
02-25-2012, 12:51 PM
They adjusted really quickly. I ended up doing the drivers side first, backed the truck out and set it based on the passenger side one. Then did the passenger side and matched the other one. I just park about 25' from my garage door and set it to the panel lines.
If you had to adjust left to right, you could use the mounting screws for little bit of adjustment. Height is set with an adjuster built into the lights. Really easy.
If you had to adjust left to right, you could use the mounting screws for little bit of adjustment. Height is set with an adjuster built into the lights. Really easy.
#10
02-25-2012, 01:20 PM
Postmaster
They adjusted really quickly. I ended up doing the drivers side first, backed the truck out and set it based on the passenger side one. Then did the passenger side and matched the other one. I just park about 25' from my garage door and set it to the panel lines.
If you had to adjust left to right, you could use the mounting screws for little bit of adjustment. Height is set with an adjuster built into the lights. Really easy.
If you had to adjust left to right, you could use the mounting screws for little bit of adjustment. Height is set with an adjuster built into the lights. Really easy.
I was asking because I thought that style of light only had a up and down adjusted and had hoped there wasn't any issues with left to right. So that is good to know. I want a set of them.
 But I keep having to spend money on parts noone will ever see.
#11
02-25-2012, 01:58 PM
#12
02-25-2012, 02:39 PM
I used this headlight aiming guide the first time I changed a set of headlights.
The next time I just shined the lights on the garage door and and used masking tape to mark the center of focus for each light and marked where the front tires were on the driveway. After install I just put truck back in the same place and adjusted the the center of focus of the new lights to that of the old lights.
The next time I just shined the lights on the garage door and and used masking tape to mark the center of focus for each light and marked where the front tires were on the driveway. After install I just put truck back in the same place and adjusted the the center of focus of the new lights to that of the old lights.
#13
02-25-2012, 09:03 PM

#14
02-25-2012, 10:27 PM
Join Date: Apr 2010
Location: Albemarle NC
Posts: 2,223
Likes: 0
Received 0 Likes
on
0 Posts
I used this headlight aiming guide the first time I changed a set of headlights.
The next time I just shined the lights on the garage door and and used masking tape to mark the center of focus for each light and marked where the front tires were on the driveway. After install I just put truck back in the same place and adjusted the the center of focus of the new lights to that of the old lights.
The next time I just shined the lights on the garage door and and used masking tape to mark the center of focus for each light and marked where the front tires were on the driveway. After install I just put truck back in the same place and adjusted the the center of focus of the new lights to that of the old lights.
#15
02-26-2012, 10:38 AM
Cargo Master