Here's what I was working with...

- To start off, you have 2 nuts to remove that holds the Master Cylinder onto the Firewall; Twisting the MC to the side (It will twist rotationally about 1/4 of a turn)

- I found that simply using the Clutch Line Removal tool, and removing the line it's self is easier to work with....So go ahead and pull that off..It's 100% straight forward...
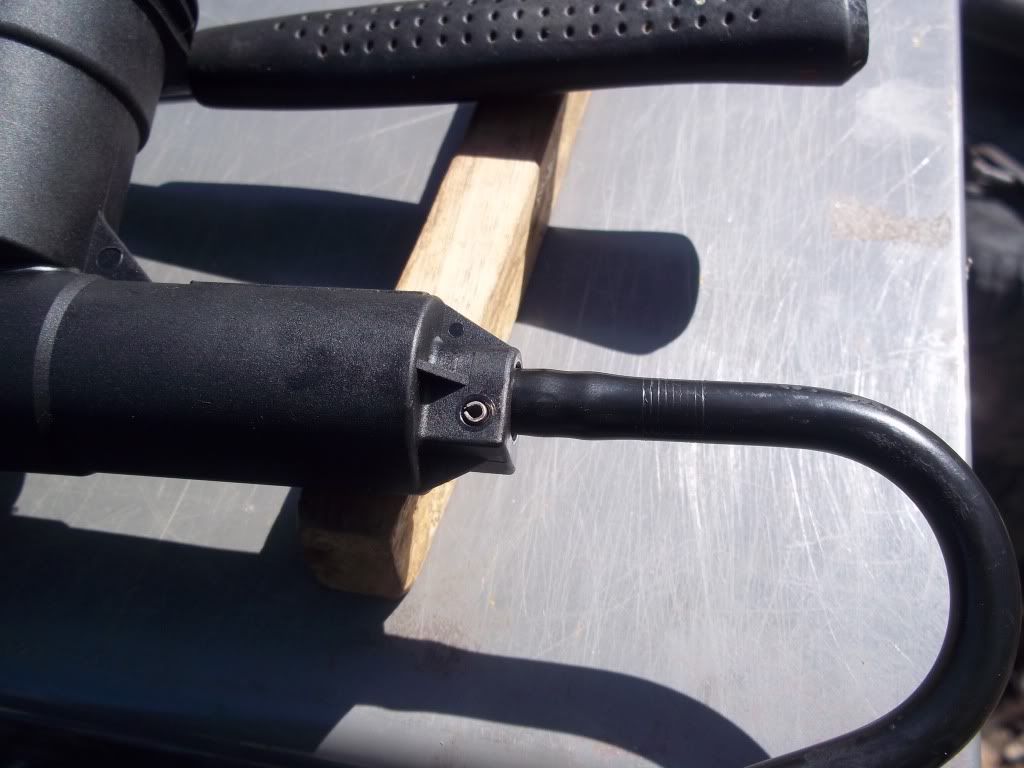
- Once everything is free, use a TINY 4 way screwdriver as a punch (I know, I know....But it is the only thing I found that's thin enough to go completely through) to drive out the Roll Pin in the front that holds the actual plastic hose on.
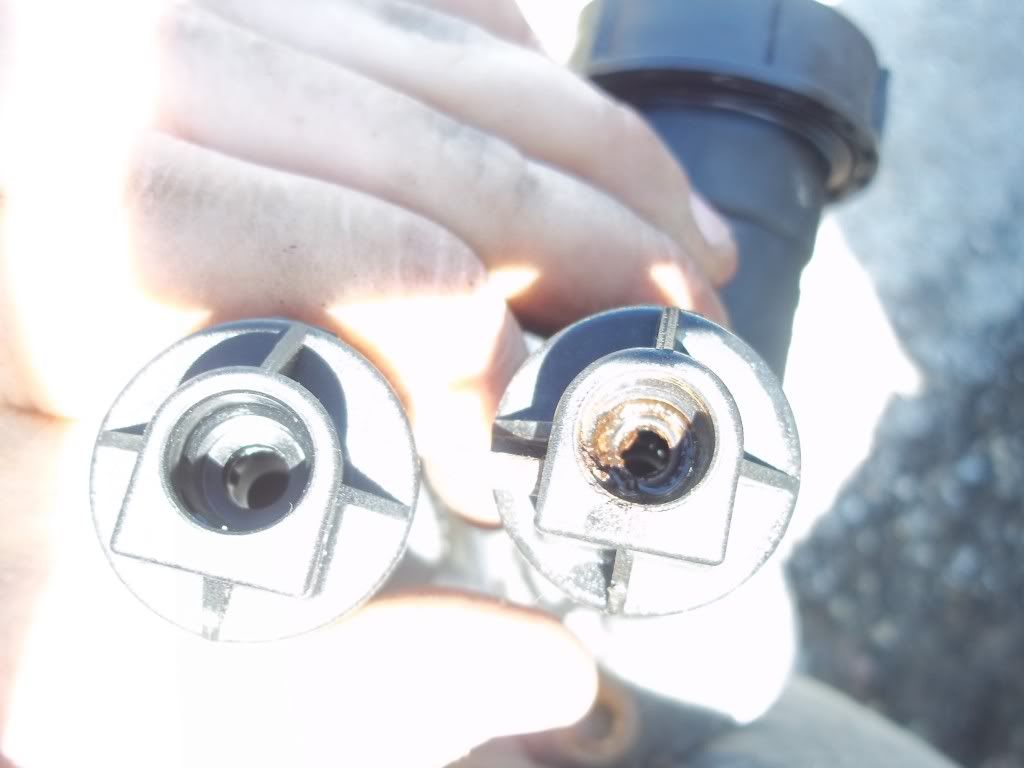
Here's the new Master Cylinder on the left, old one on the right..
- Now, put in the little O-Ring in the end, that is supplied with the kit...
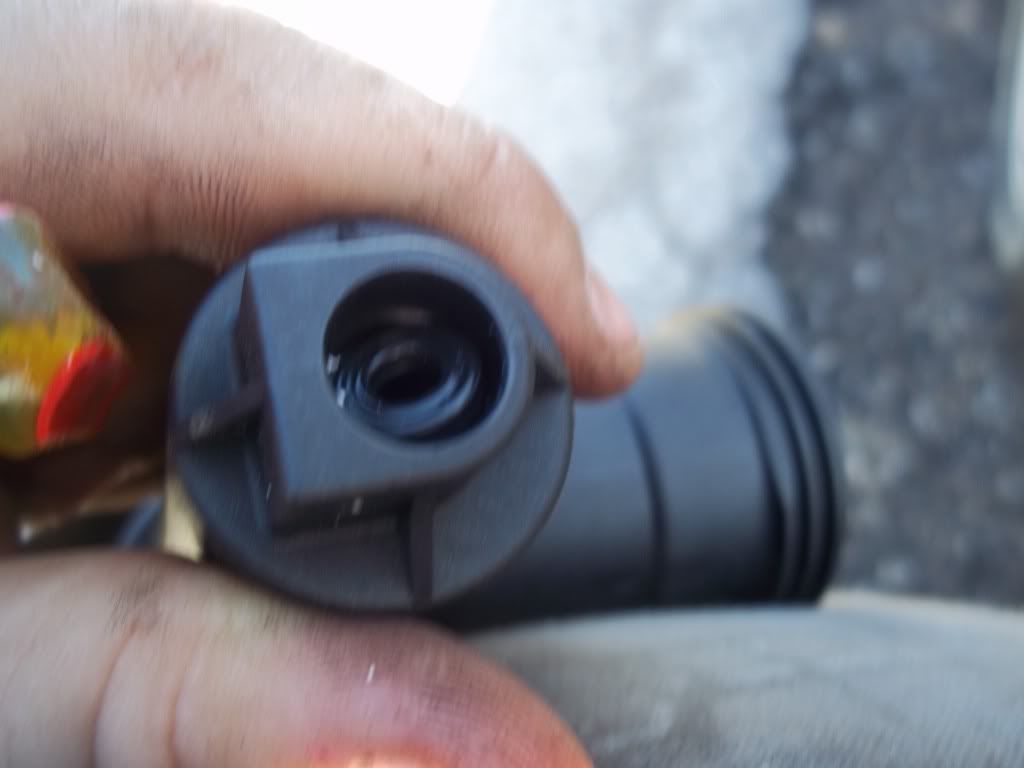
- Finally, snap the new Clutch Rod into the new Master Cylinder, and it'll look like this...
And don't forget the diaphragm that goes into the bowl...

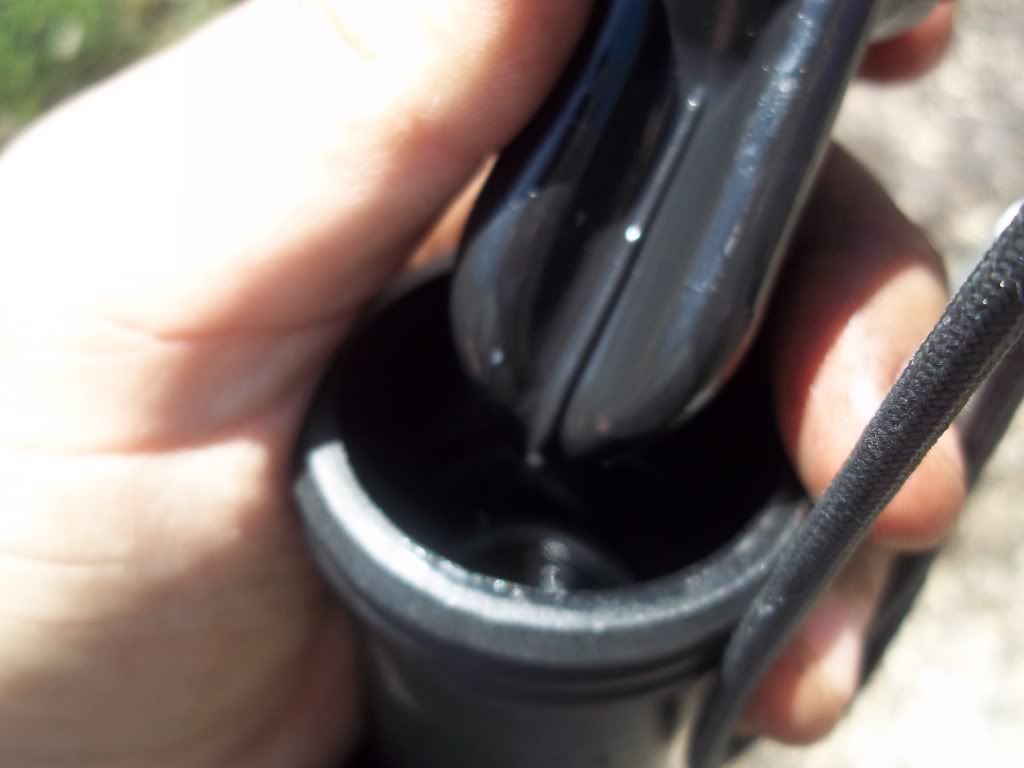
- And then lastly, put the little foam piece in the end where the Clutch Rod goes in..
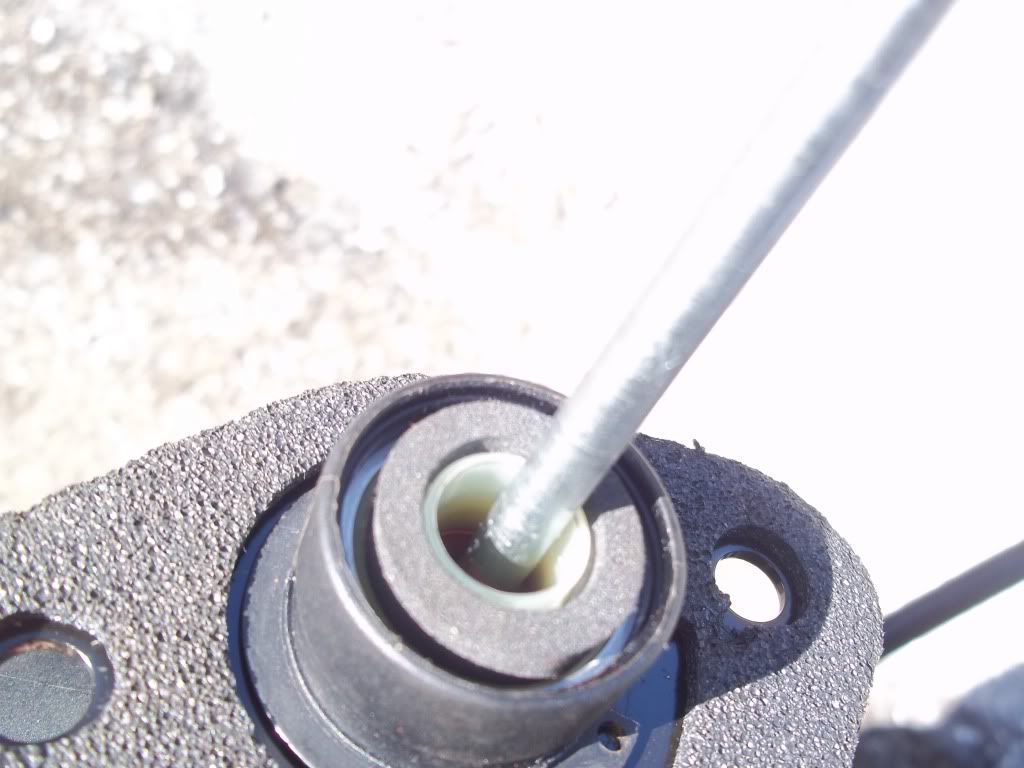
Finally, put the line into the end of the Master Cylinder, gently tap the Roll Pin in to secure it...
And reattach the Master Cylinder to the Firewall, in the reverse order it was removed...
And then reattach the line to the Slave Cylinder...
Snap the Clutch Rod onto the Pedal Assembly "Nub" that pushes/pulls the Clutch Rod in/out..
Bleed the Slave Cylinder off, and VOILA!
Enjoy that ****...
