
My 79 crewcab build thread (56K pics inside)
#31
 10-09-2009, 03:11 PM

Posting Guru
#32
10-16-2009, 02:14 PM

Thank you.
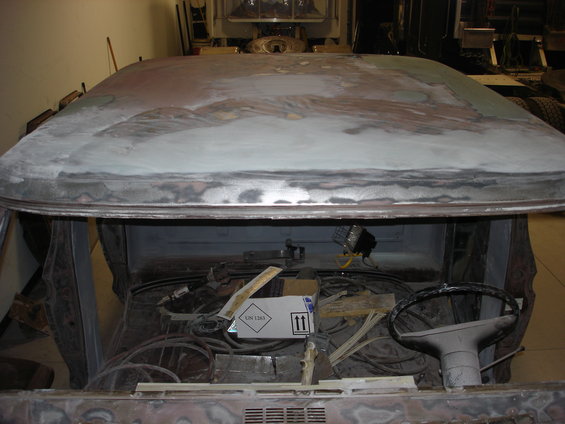
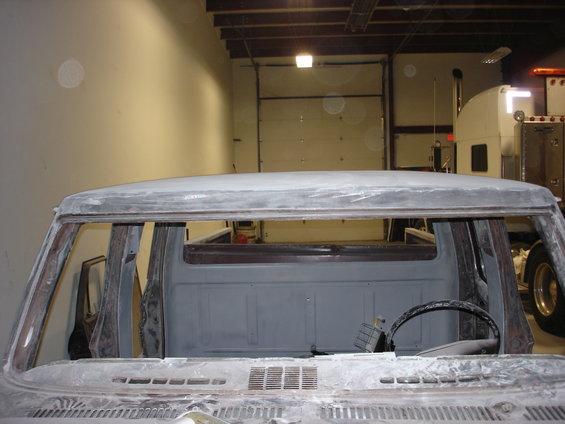
More progress. I finished up the roof, what a major pain that was. It is pretty flimsy and made it very hard to sand.
several coats of filler all hand sanded with the longboard.
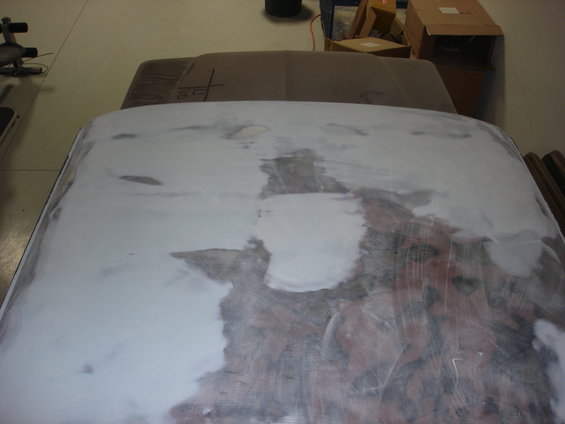
Final coat of filler, waiting to be sanded.
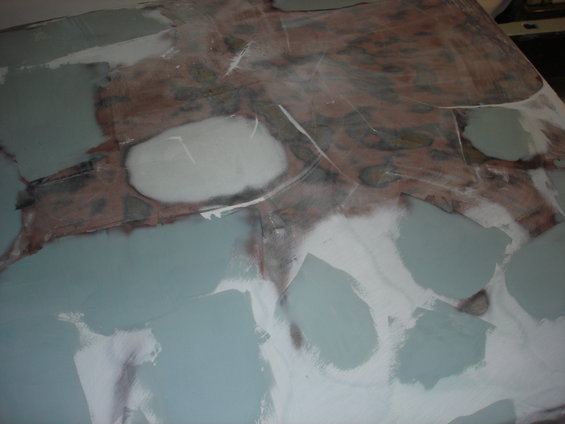
Then finish it off with a coat of spot putty. This needs to be sanded as well.
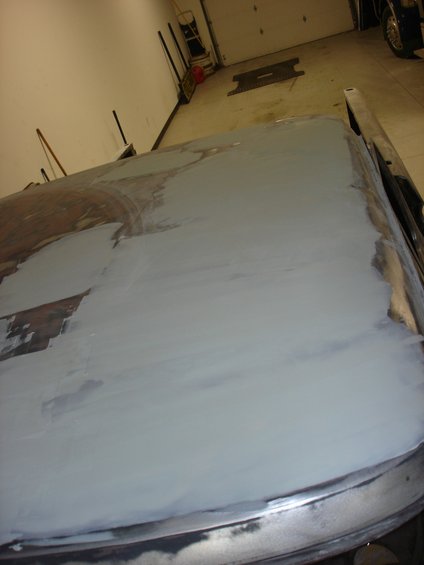
Finished and ready for primer.
Looks 100% better without those cheap cab lights. I am going to try and find a set of LED cab lights that will look nice to put on it.
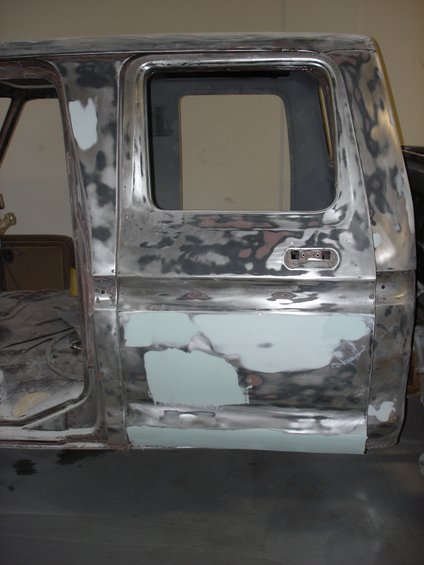
And last but not least the driver side door, it has a final coat of spot putty that needs to sanded yet also.
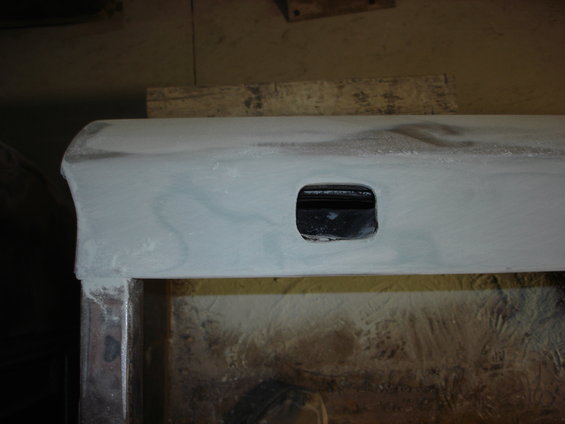
On both sides of the upper bed rail I had to redo 3 of the 4 stake pockets. They were pretty busted up so I reshaped the holes. Both sides of the bed rails had a bunch of dents in them as well so those needed some straightening.
So as it is right now I have one spot left on the lower passenger bedside that needs to be done, the back of the cab needs to be sanded, the passenger rear door needs to be hung and checked, hood needs to be finished and I need to finish up the cowl. Once those are done I ready to spray some primer.
#34
10-16-2009, 02:35 PM
It wasn't rolled, hail damage maybe, careless loading of stuff in the bed, who knows. These roofs are very flimsy and thin so it doesn't take much to dent them. When the holes for the cab lights were welded up some warping of the roof occured as well up front. If I had more patience I would of cut the roof out and put a van roof in but I just wasn't up for that challenge.
How many gallons of bondo? It really isn't that thick. So far on the entire build I have gone thru 5 quarts of bondo and probably sanded off 50% of it.
How many gallons of bondo? It really isn't that thick. So far on the entire build I have gone thru 5 quarts of bondo and probably sanded off 50% of it.
#35
10-16-2009, 02:40 PM
It wasn't rolled, hail damage maybe, careless loading of stuff in the bed, who knows. These roofs are very flimsy and thin so it doesn't take much to dent them. When the holes for the cab lights were welded up some warping of the roof occured as well up front. If I had more patience I would of cut the roof out and put a van roof in but I just wasn't up for that challenge.
How many gallons of bondo? It really isn't that thick. So far on the entire build I have gone thru 5 quarts of bondo and probably sanded off 50% of it.
How many gallons of bondo? It really isn't that thick. So far on the entire build I have gone thru 5 quarts of bondo and probably sanded off 50% of it.
well its looking good! im afraid of the day i try to make my crewcab look nice.. i got a dent in the roof and all stake pockets torn and bed sides dented like mad.. I think i will just keep driving it, seems crazy to try to fix all my problems.


#38
10-16-2009, 07:26 PM

#40
10-16-2009, 08:48 PM
#41
10-16-2009, 08:56 PM
I only used the inner and outer lower door panel. The inner door panel fit OK with some mods, it was to long on the bottom end, not a real big deal. The outer skin fit perfectly with no problems. You have to remember though I took a complete door section and had to cut it down to size to fit the shorter crew door. I have no idea how it would fit as a direct replacement for a front door. As far as thickness goes, it is just as thick as the OE panel was. I'd use them again.
#42
10-16-2009, 09:07 PM
#43
10-17-2009, 01:26 AM
Well hot damn. If we all won the lottery, Ranger, you'd be the man to call. I give you kudos sir. I'm slowly learning my stuff. I'm pretty much using my GI bill to pay for schooling to learn how to weld and bend some sheet metal.
I want to take my 78 and put a 73 grill on it, drop it down a few and put down about 500 horsies on the rear and look classy doing it. I've got all the parts bought with my "Iraq money". Just have to learn the body and paint portion. Then its on like donkey kong.
Good job on your trucks dude. Glad to see someone with my passion and the level of skill I wish I had.
#44
10-18-2009, 06:18 PM
Thank you guys.
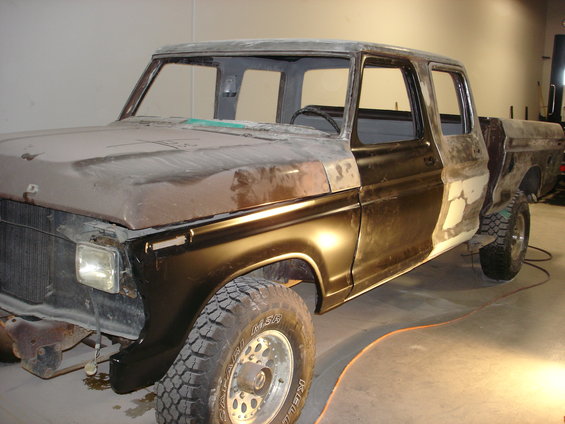
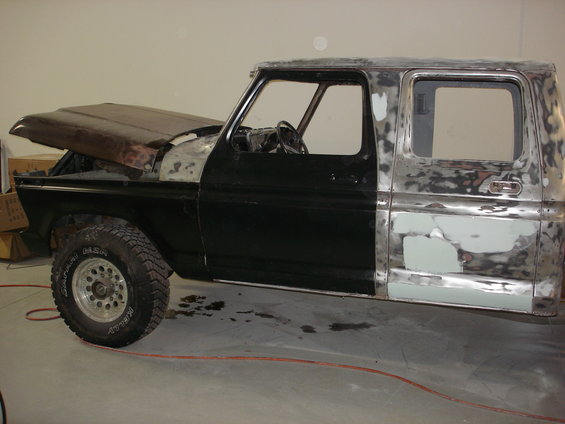
I had a couple hours to burn today so I took the NOS doors and fenders down and fit the driver side. I also have to prealign the side molding and drill the mounting holes for the mirror blind nuts. Once they are set in there final place I'll drill a pilot hole thru the hinges to the cab so when it comes time to remount the doors it will be a little easier.
I had a couple hours to burn today so I took the NOS doors and fenders down and fit the driver side. I also have to prealign the side molding and drill the mounting holes for the mirror blind nuts. Once they are set in there final place I'll drill a pilot hole thru the hinges to the cab so when it comes time to remount the doors it will be a little easier.
#45
10-23-2009, 11:55 AM
The progress thru the week so far.
Got the hood sanded with 80 and then went over it with 180. Had a couple of small dents to fix and some rock dents in the front. It is now ready for primer. I have to pull the hood and decide what I'm going to do on the inside. It is the worst part of sanding this truck.

I also took off all the bondo that was covering up a dent in the lower rear corner of the bed. I sure am glad I took all of the prior bondo work off this truck. Whoever did the previous work sucked at preparation.

Passenger doors are on and lined up. Couple small dents in the rear door that needed some attention.

So if I get the back of the cab sanded, the front of the box, fix the dent in the bed and sand down the OE primer on the passenger door and fenders I think it is pretty much ready for some primer.
Went down this morning installed the strikers and latches and got the side trim drilled and mounted. I also was going to mount the mirrors but I have to find the correct tool to put in the nutserts.

Got the hood sanded with 80 and then went over it with 180. Had a couple of small dents to fix and some rock dents in the front. It is now ready for primer. I have to pull the hood and decide what I'm going to do on the inside. It is the worst part of sanding this truck.
I also took off all the bondo that was covering up a dent in the lower rear corner of the bed. I sure am glad I took all of the prior bondo work off this truck. Whoever did the previous work sucked at preparation.
Passenger doors are on and lined up. Couple small dents in the rear door that needed some attention.
So if I get the back of the cab sanded, the front of the box, fix the dent in the bed and sand down the OE primer on the passenger door and fenders I think it is pretty much ready for some primer.
Went down this morning installed the strikers and latches and got the side trim drilled and mounted. I also was going to mount the mirrors but I have to find the correct tool to put in the nutserts.