When you click on links to various merchants on this site and make a purchase, this can result in this site earning a commission. Affiliate programs and affiliations include, but are not limited to, the eBay Partner Network.
Hi,
On a chance encounter with the original owner of my rental property, he told me that he built the garage extra tall to accommodate a 1979 Ford Crew truck. (I bought the property from a subsequent owner).
Can someone please tell me how tall a 1979 Ford Crew truck is? I live in a different city, and thus can not measure the height of the garage door opening. I do know the replacement garage door had to be custom ordered....but have no measurements.
Thanks!
Aaron-71 - Thanks for that write-up. really puts some good info out there. I didn't spend as much time as you did on research obviously! However I need an e-brake having a manual and also if I was ever to sell the truck. The reason I didn't go disks was a thread I found saying eldorado calipers weren't good enough for a heavy truck which makes good sense.
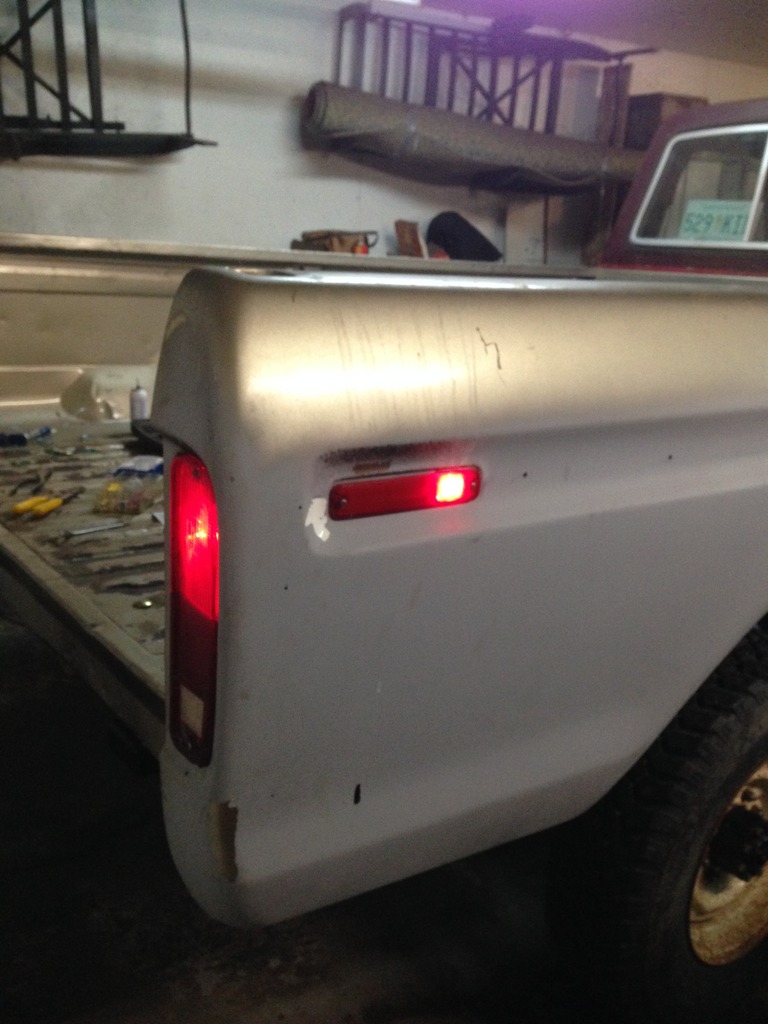
I just found this image tonight which shows a separate caliper just for the brake.
I haven't been able to find that exact part yet.
this method I could see working a little better as those pads would not wear with the regular breaking system and so wouldn't need much adjusting.
Anyhow I had to make a decision and so went back to drums. I'm getting them up to scratch so they shouldn't need servicing for a while!
Hi,
On a chance encounter with the original owner of my rental property, he told me that he built the garage extra tall to accommodate a 1979 Ford Crew truck. (I bought the property from a subsequent owner).
Can someone please tell me how tall a 1979 Ford Crew truck is? I live in a different city, and thus can not measure the height of the garage door opening. I do know the replacement garage door had to be custom ordered....but have no measurements.
Thanks!
Depends upon if it was four wheel drive or not, and perhaps a couple of other variables.
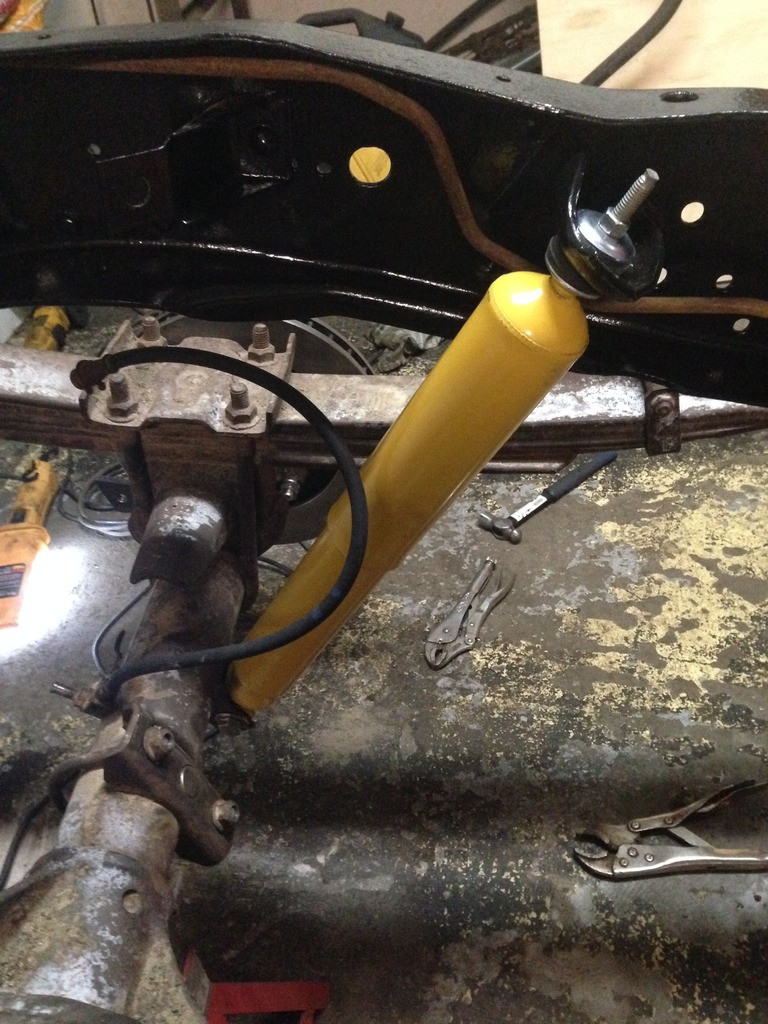
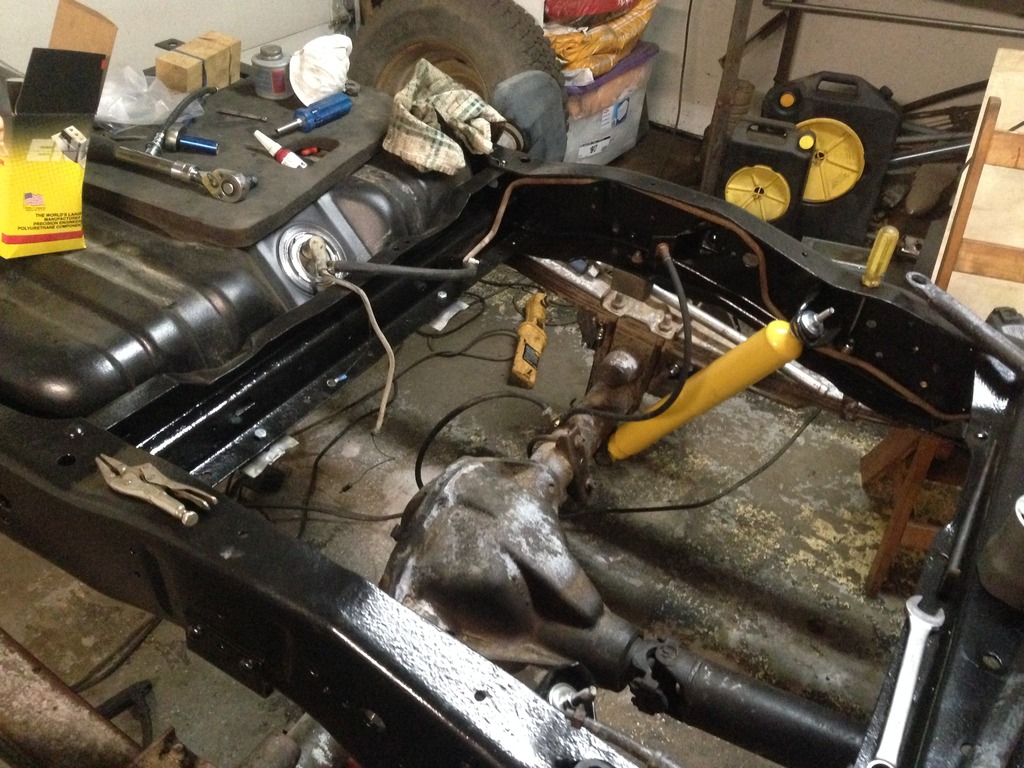
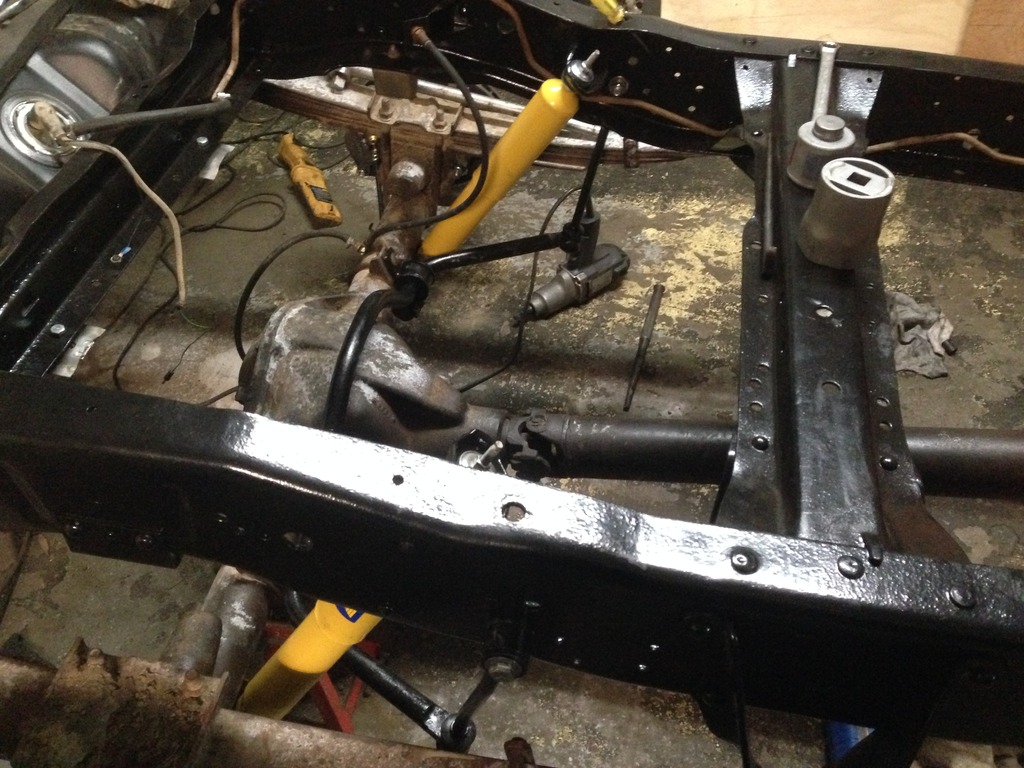
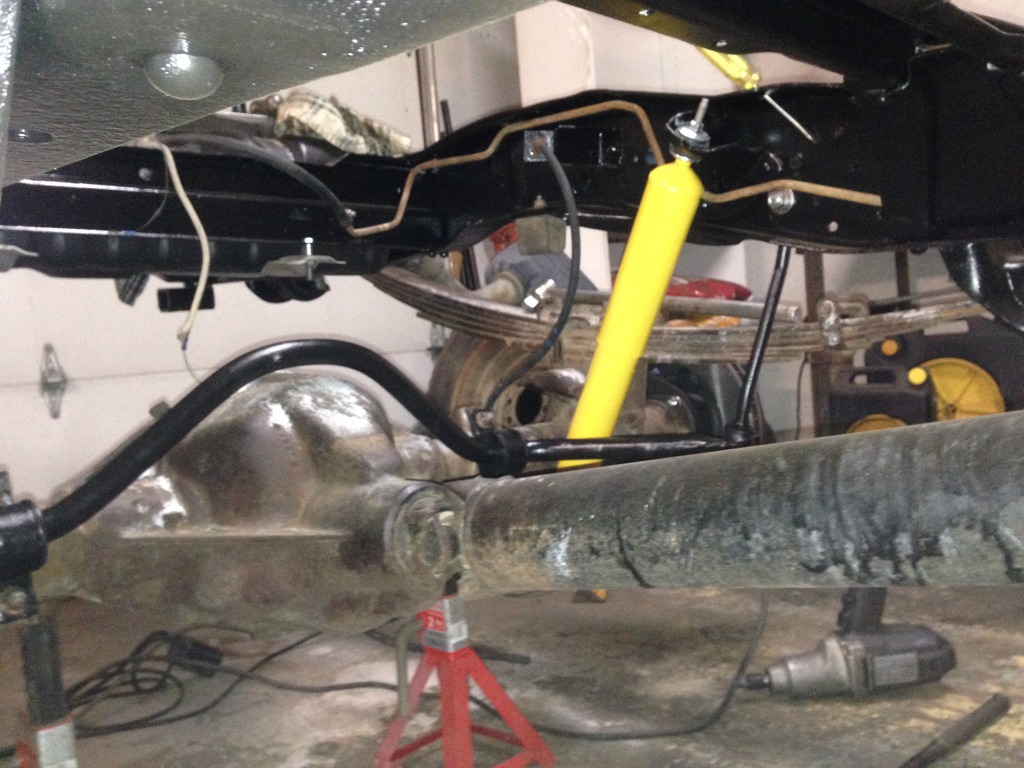
Brand new Monroe gas shocks ordered and installed with stainless hardware.
Love how these shocks feel in the truck. Took it for a drive and their response is fantastic.
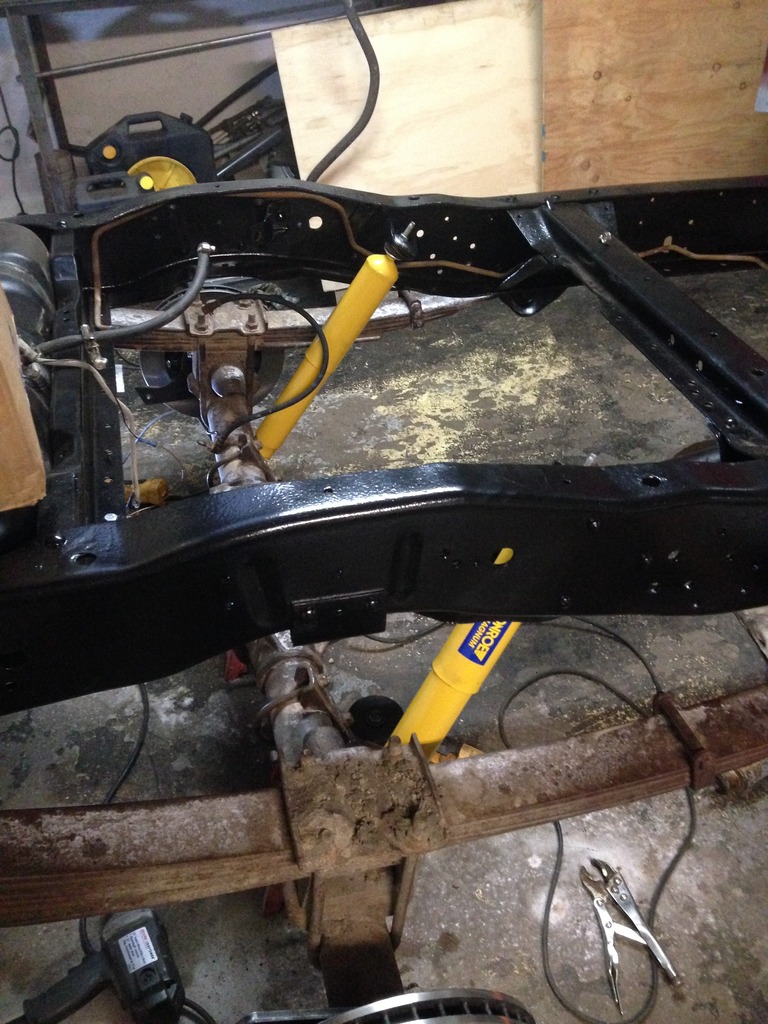
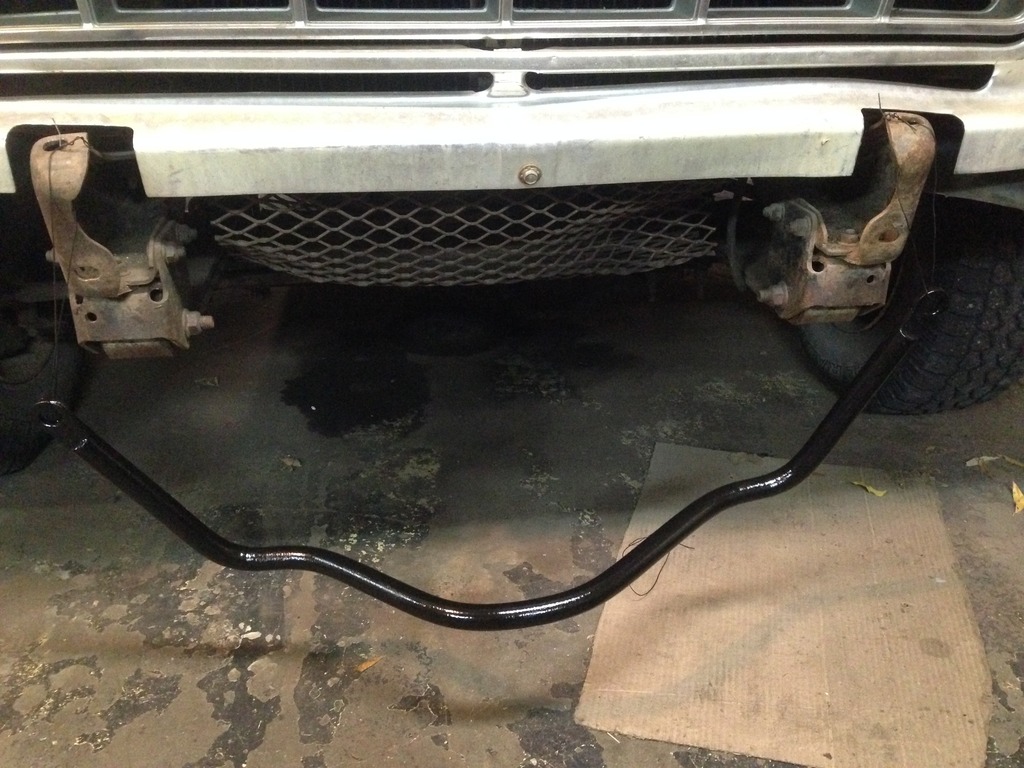
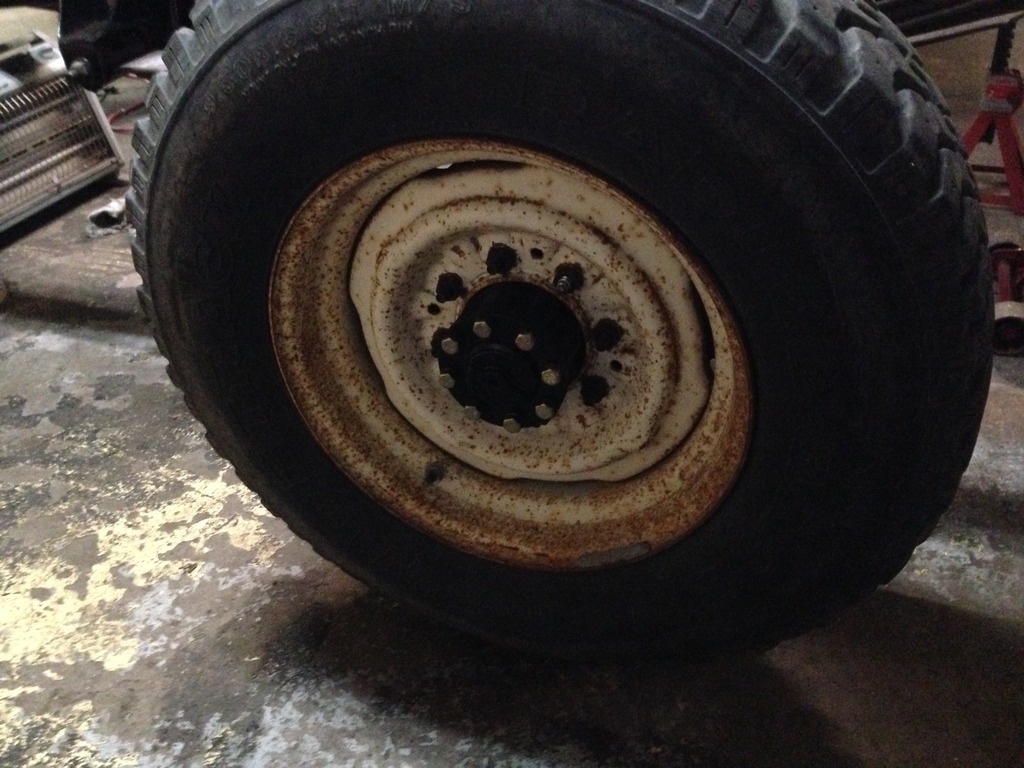
One wheel mounted. Sway bar fully removed, disassembled, wire wheeled, Metal Ready'd, and waiting for... you guessed it.. POR-15.
New fuel line from the tank to the cab (rubber for now, new steel lines likely to come in the future).
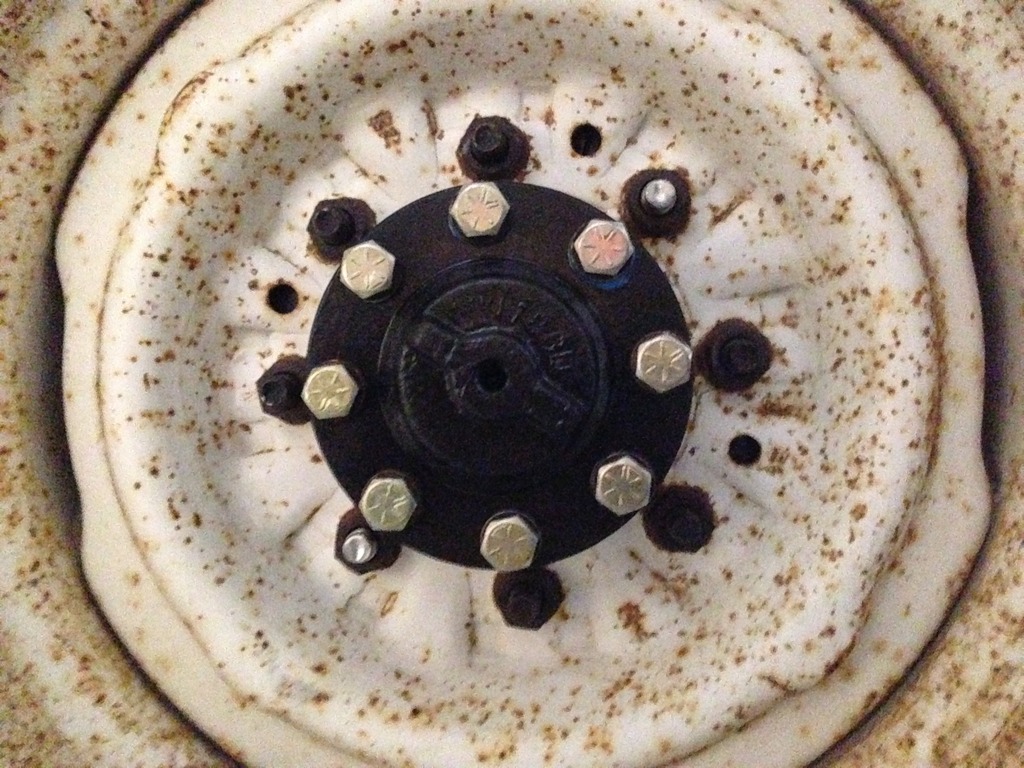
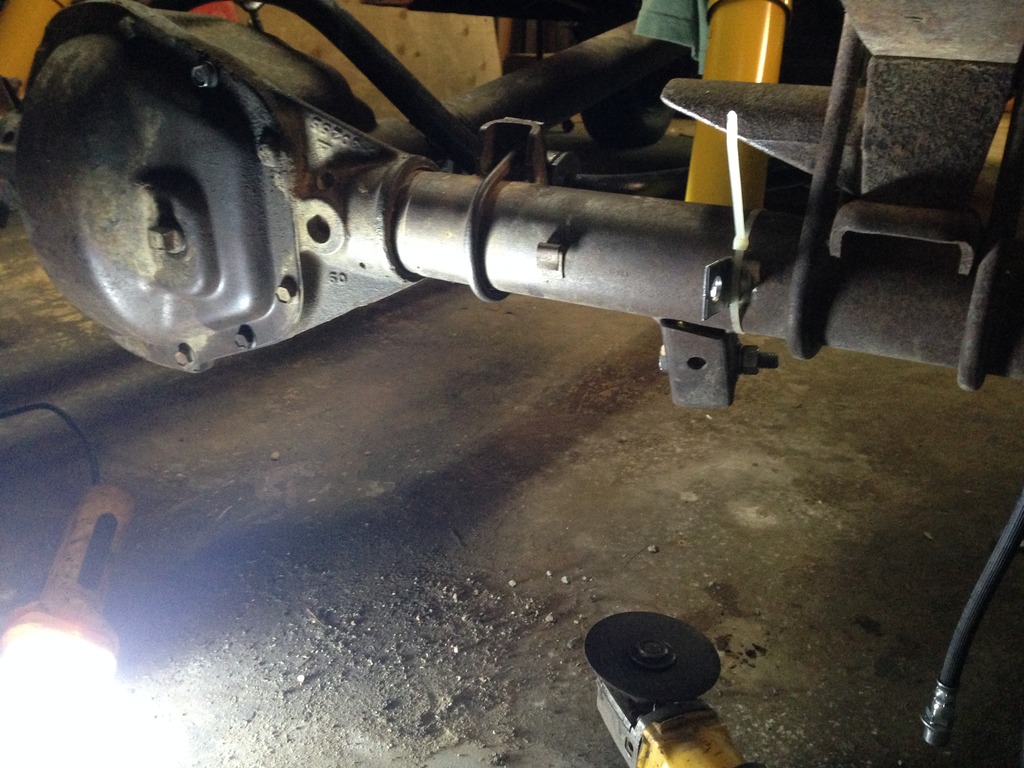
Finished up the driver side axle after some small complications.
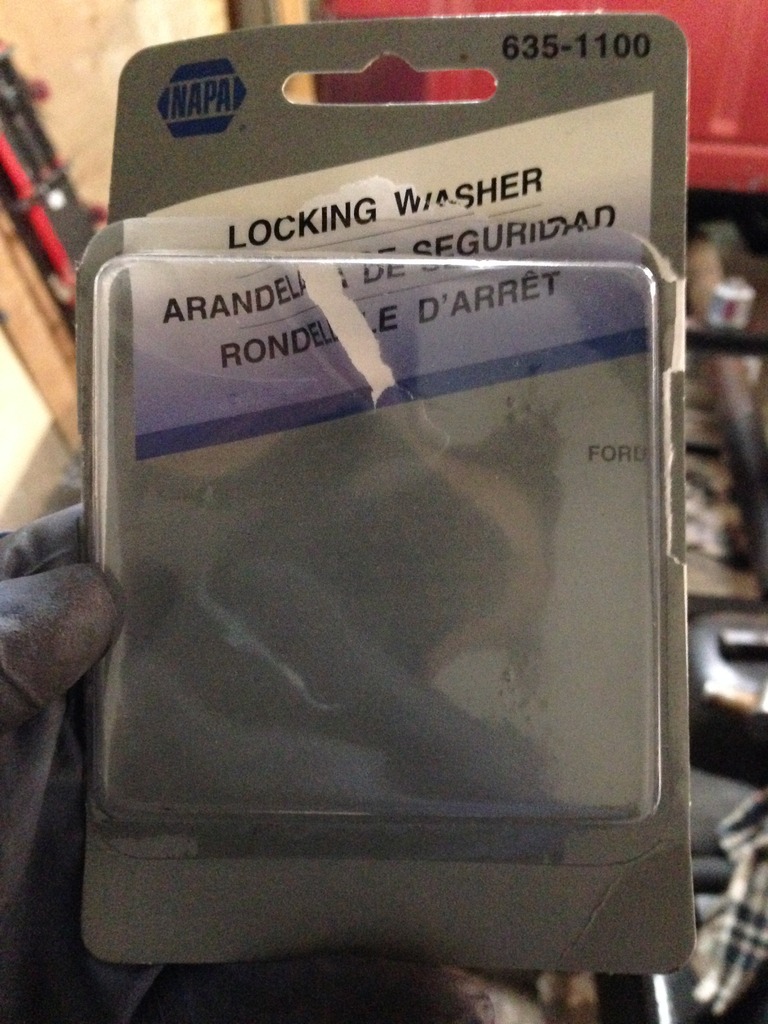
Had to get a new locking washer from Napa... broke the OEM one by forgetting to unfold the tabs before reinstalling... Whoops. New ones are darn expensive too... $30 a pop.
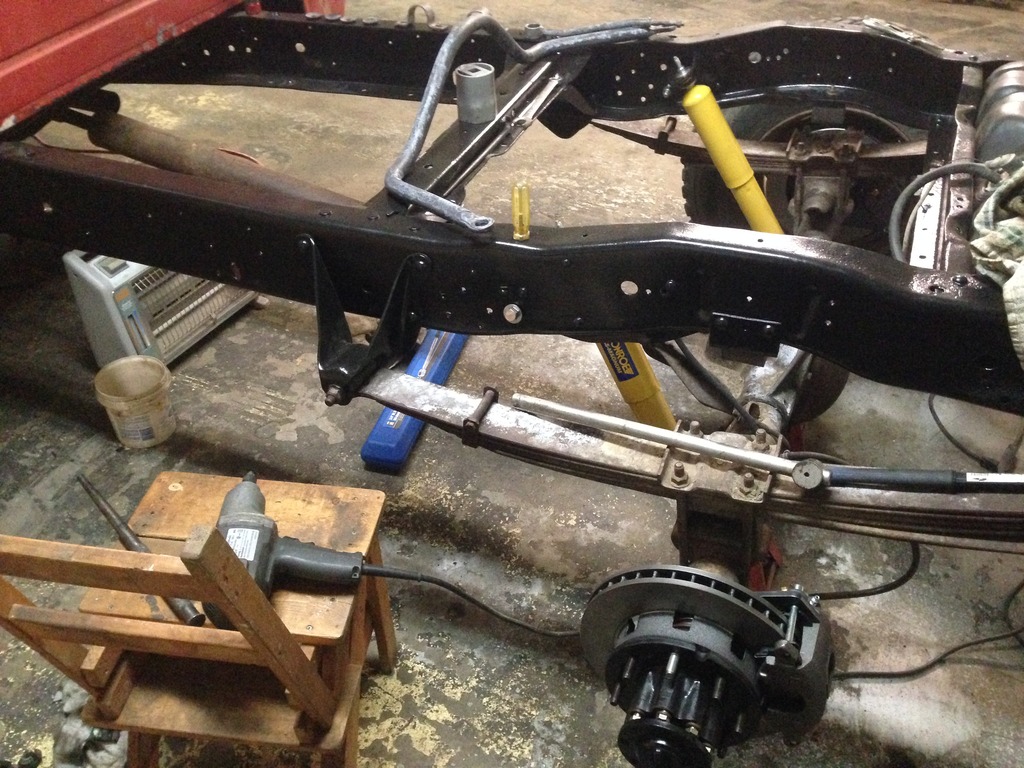
Sway bar, end links, bushing caps, and bushing washers all painted with POR-15. Did a second coat with POR-15's Chassis Saver (not UV sensitive like POR-15 is). Installed with stainless hardware.
Hang dry.
Installed with new energy suspension bushings. Front and rear ordered at the same time. Front was a thick 1" bar, rear was a 1-1/8" thick bar.
Starting to look good!
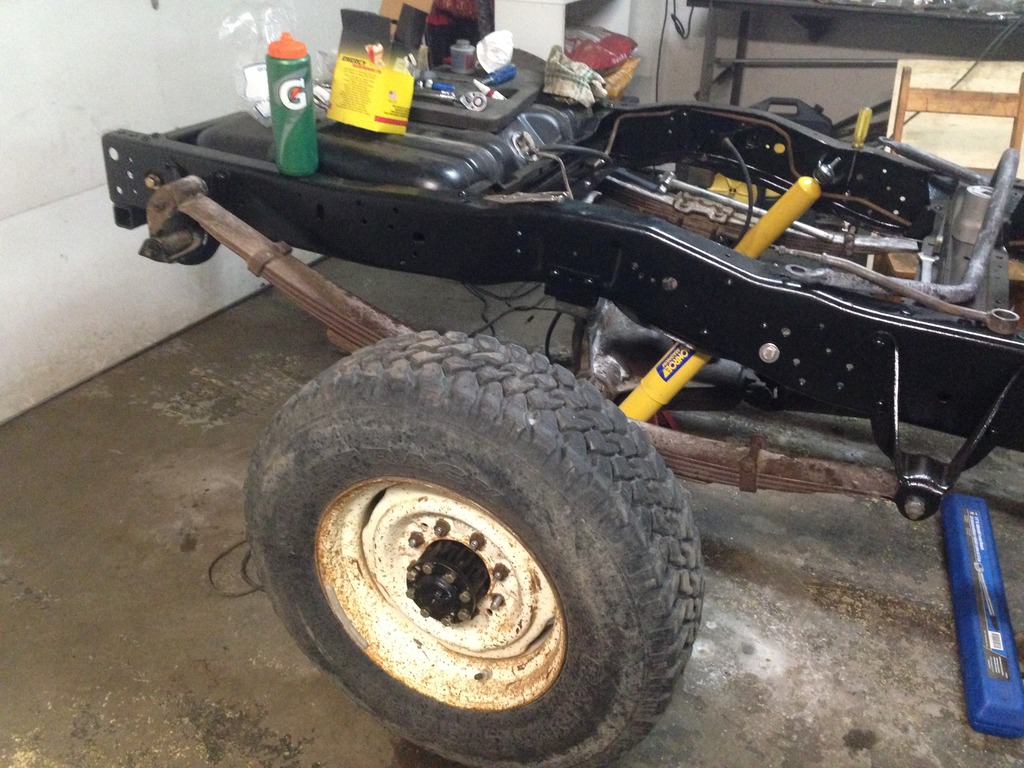
Drive side wheel installed.
Note the Dorman vs Wagner lug studs. Looks ridiculous, but will stay this way for now.
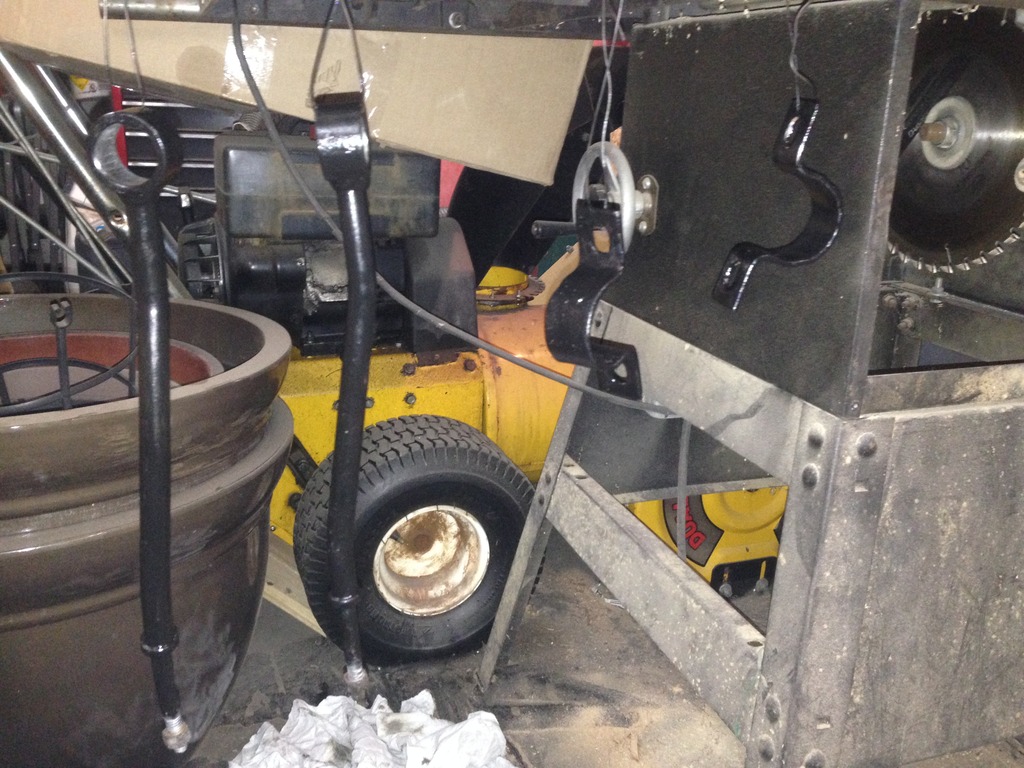
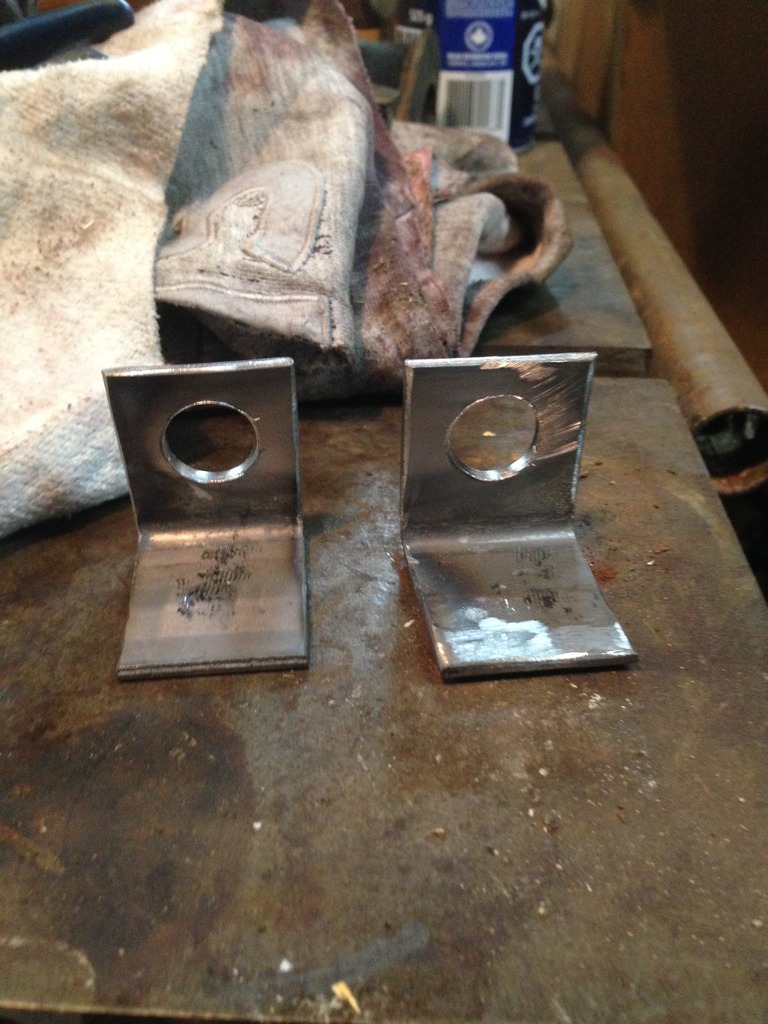
Next, I set my eyes on making some clips for my rubber brake lines. 1-1/2" x 1-1/2" angle used. 5/8" hole drilled for the female ends.
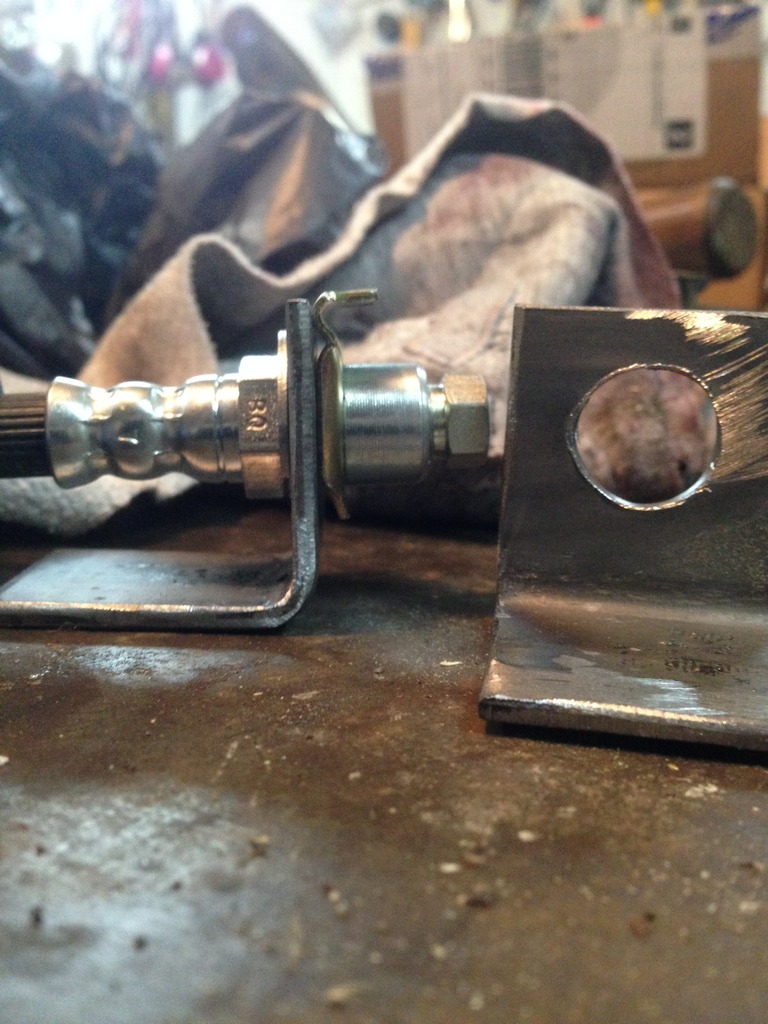
Test fit. Works pretty good once the zinc coated clips are in place.
Rough approximation of final location.
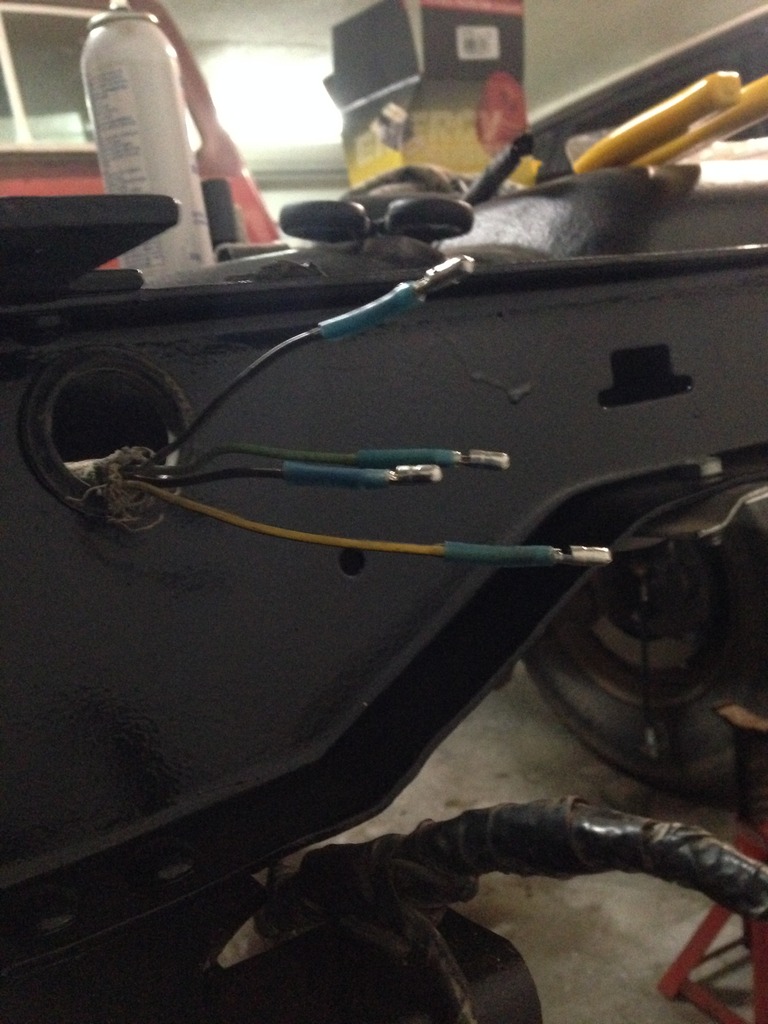
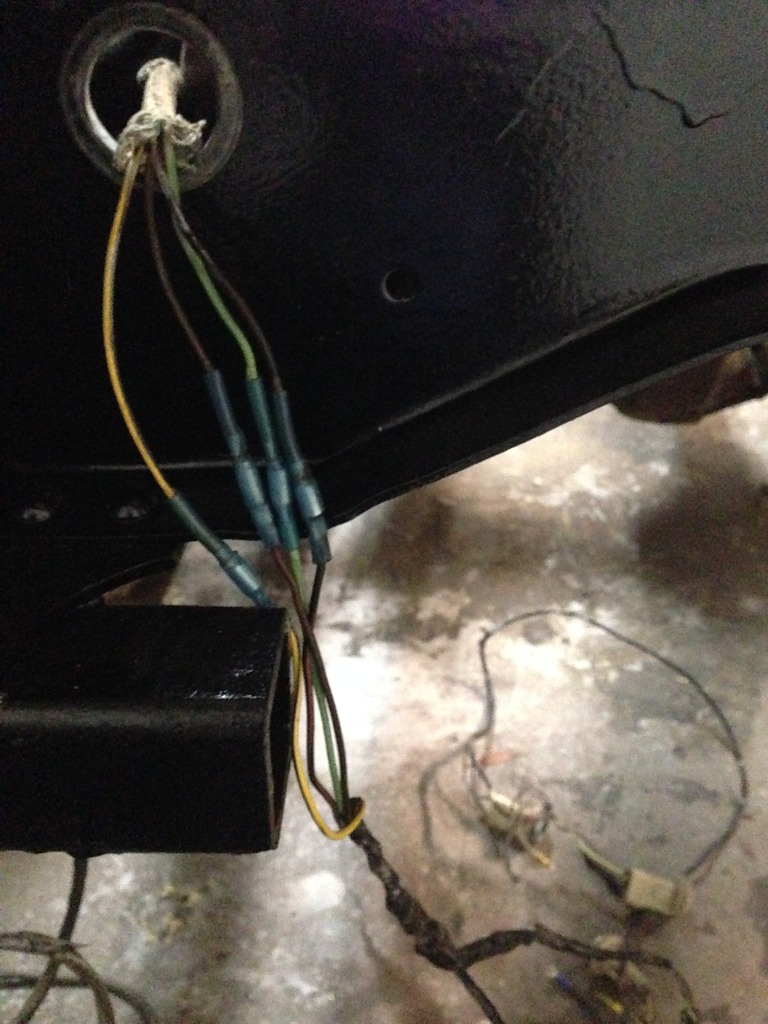
Lastly, I started working on the electrical to get it all sorted out before the box goes back on. These small electrical connectors are only temporary. This is just to get everything working and then I'll switch my connectors over to Delphi Weather Packs (if the budget works out) .
Waterproof.
Cleaned up all the socket contacts and the bottom of each bulb. Found some grounding issues, I'll need a better electrical connection.
More new parts to come.
Forgot to mention. Every bolt has received a healthy treatment of my favourite product. Anti-seize.
Every bolt on my truck will get the same. If it's heavily rusted, it gets replaced. If it's just surface rust, it gets cleaned with a wire wheel on the bench grinder then a heavy dose of Anti-seize.
Great idea with the line lock. I've looked into this before but came up with a single problem. I haven't been able to find a reliable source that states the maximum allowable pressure for caliper piston seals.
Others on forums have reported blowing out an old seal or two when they applied a line lock and I could see it being true. I doubt caliper seals were designed to hold 900-1500 PSI for long periods of time.
This could be all a hoax, but if anyone has any legitimate claims or research on this subject, I'd be interested in reading it.
Originally Posted by 77fummins
Aaron-71 - Thanks for that write-up. really puts some good info out there. I didn't spend as much time as you did on research obviously! However I need an e-brake having a manual and also if I was ever to sell the truck. The reason I didn't go disks was a thread I found saying eldorado calipers weren't good enough for a heavy truck which makes good sense.
Thanks. I wish I had taken pictures that day. Would have made my claims a lot more credible.
It was really incredible to see the pistons slowly coming out of the calipers on their own... kinda scary actually lol.
Originally Posted by 77fummins
I just found this image tonight which shows a separate caliper just for the brake.
I haven't been able to find that exact part yet.
this method I could see working a little better as those pads would not wear with the regular breaking system and so wouldn't need much adjusting.
Anyhow I had to make a decision and so went back to drums. I'm getting them up to scratch so they shouldn't need servicing for a while!
Drums are definitely the best if you need an e-brake. I don't need an e-brake just yet, and I'll only be doing some short/slow driving in the near future so I'm not so worried about it.
I've driven my daily driver without an e-brake for over 6 years now. Never once have I ever actually been in a situation where I needed the e-brake. Since my truck will see less km's than my DD, I figure I should be good.
Plus, I'm planning a Hydroboost conversion in the near future. More pics/research to come on that too.
Great idea with the self-contained e-brake system. I like that idea. Let us know if you find any more info!!!
Little more progress to post while I have some time.
December 12, 2016.
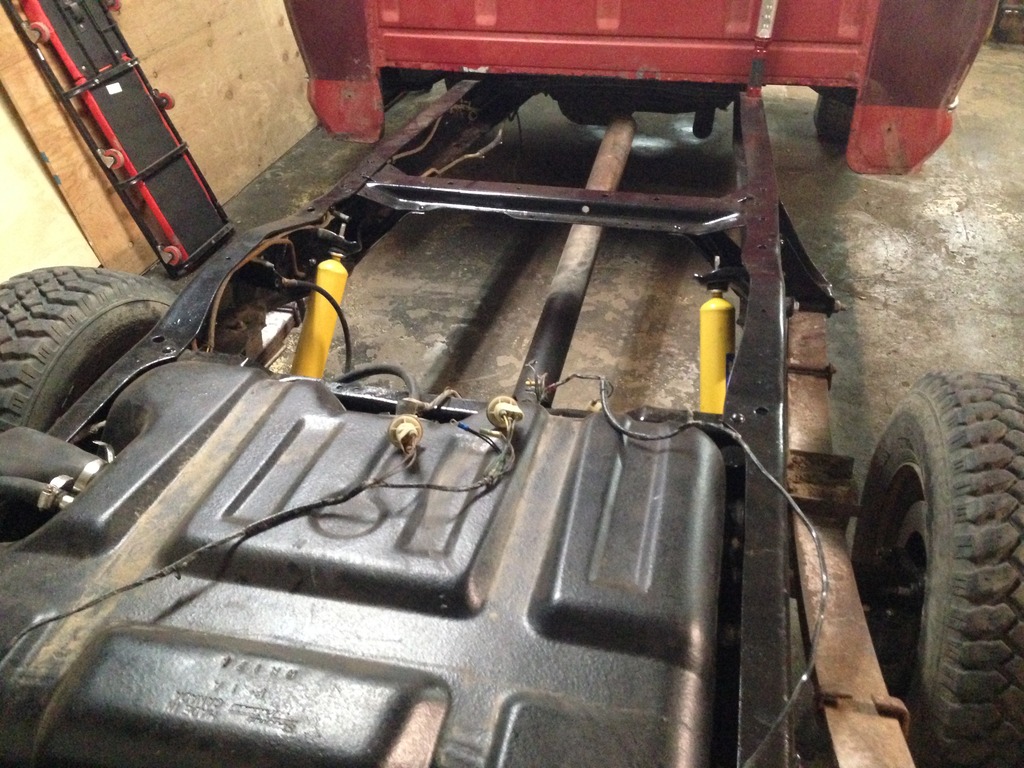
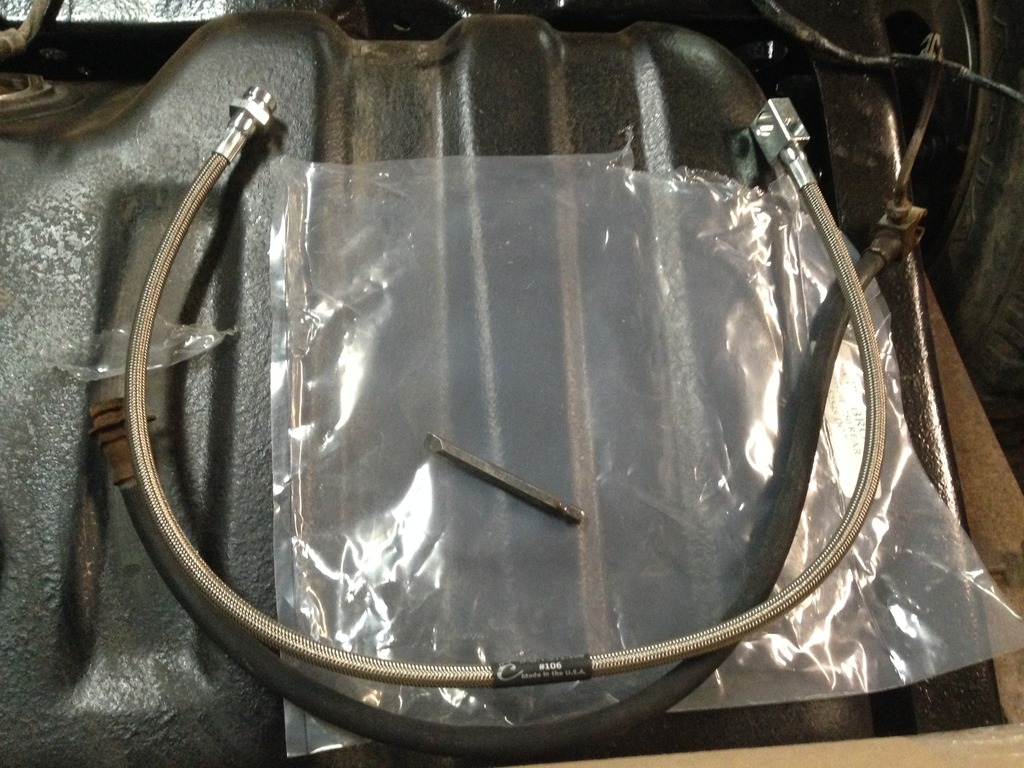
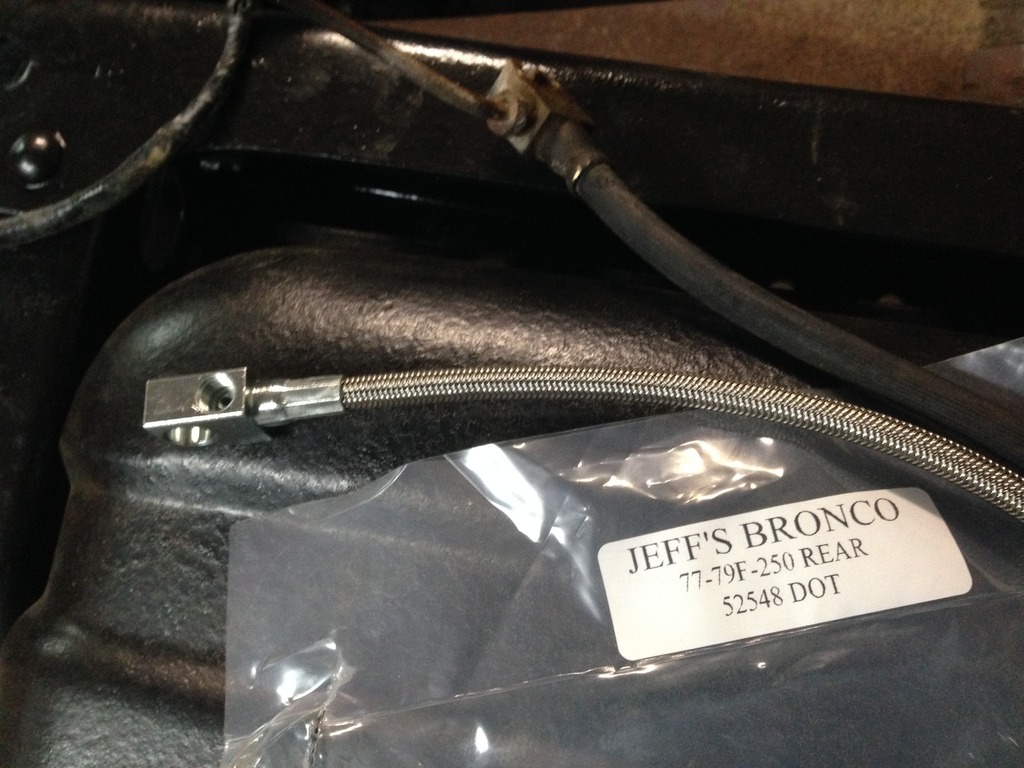
Picked up an extended brake line part from Jeff's Bronco Graveyard. Stainless braided steel line. 3" longer for a future suspension lift (gotta plan ahead!). Note that I moved the union joint for my brake lines. It didn't make any sense why Ford hid the joint in the brake line behind the auxiliary tank... you have to drop the tank to access it. Optimal location turned out to be near the shock tower.
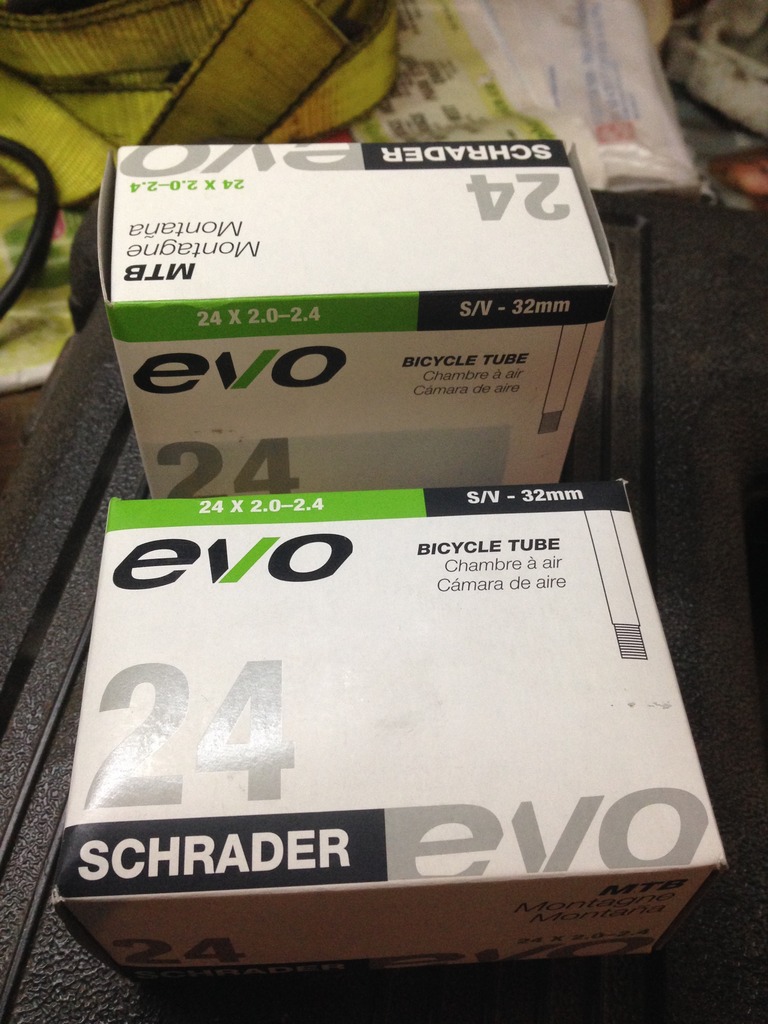
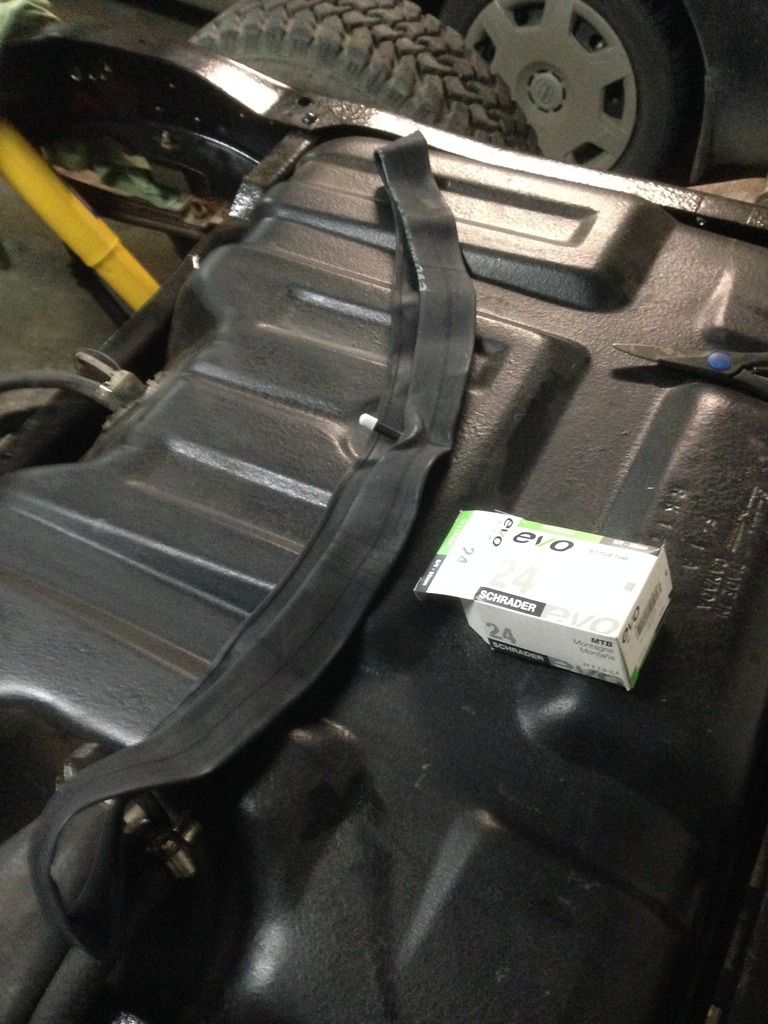
Picked up some 24" bicycle tires for my gas tank. Also bought some brand new tank straps from Jeff's Bronco Graveyard. Found this trick on another thread, and it's genius. Modifications to the tire tube included: cutting out the stem, and then cutting the tire perpendicular to the tube. This way I just had a friend lift the gas tank while I wrapped the tube around it. Top and bottom straps are both protected so they don't dent the tank.
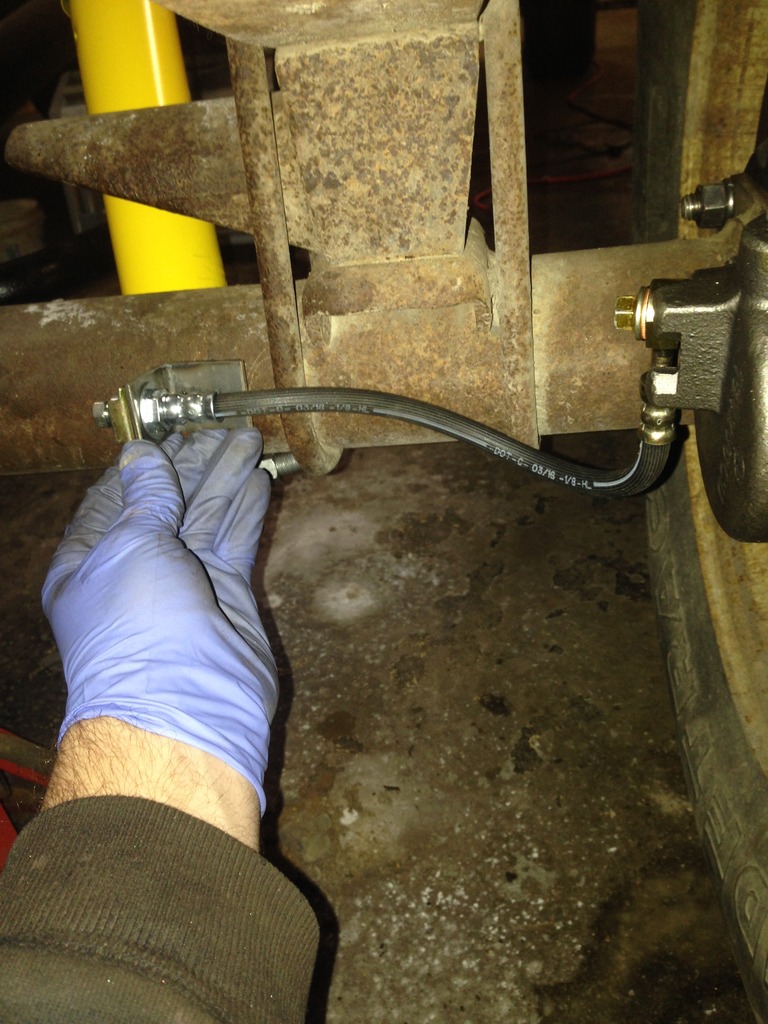
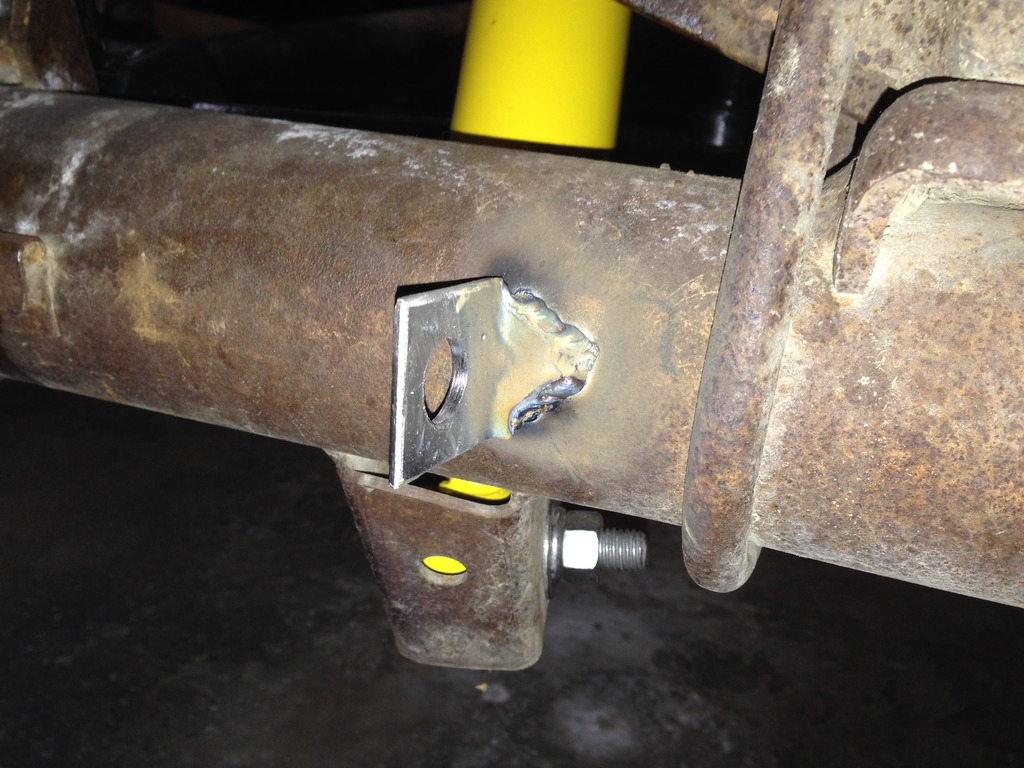
Brake lines all assembled.
Including my new rubber line mounts.
Welded in place. First weld in over 10 years. Brake lines reassembled right after and tightened up.
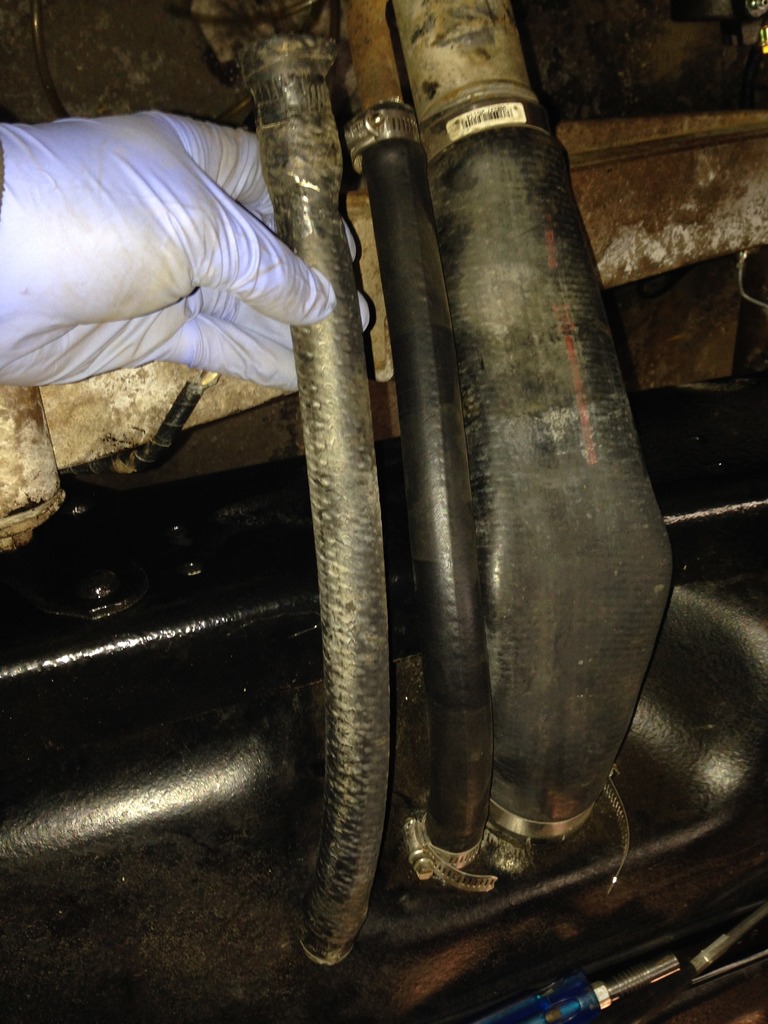
Could smell fuel near the gas tank, and it's a sealed system. Found it was the vent tube that needed to be replaced. Original vent tube on the left, new one installed in the pic.
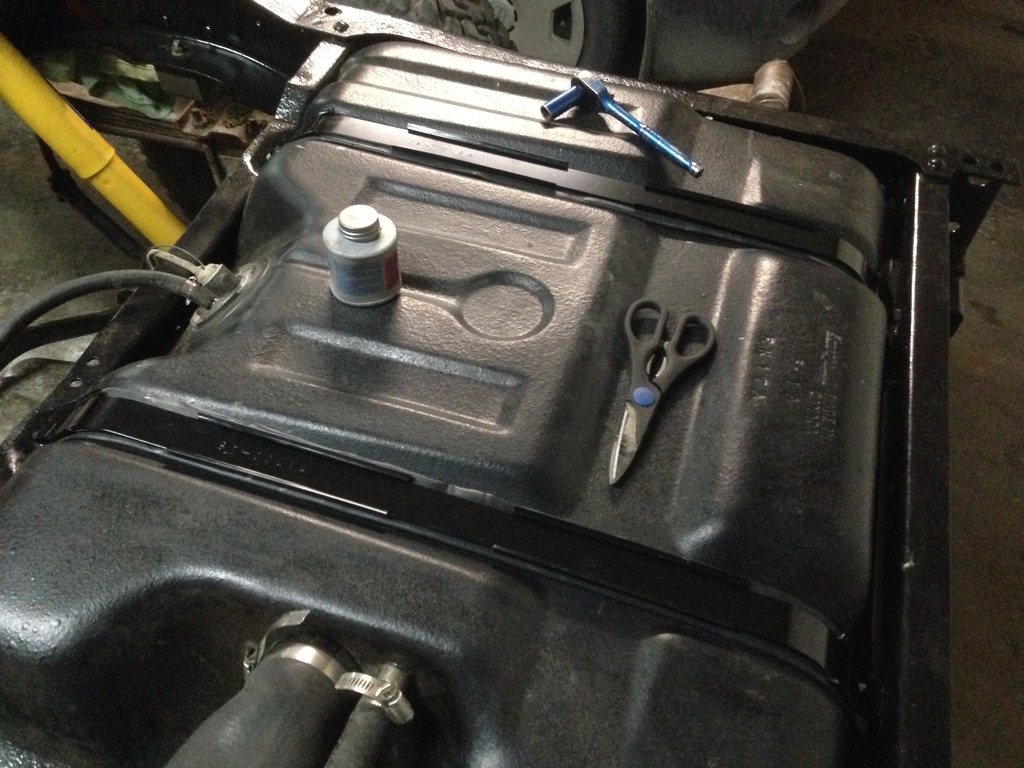
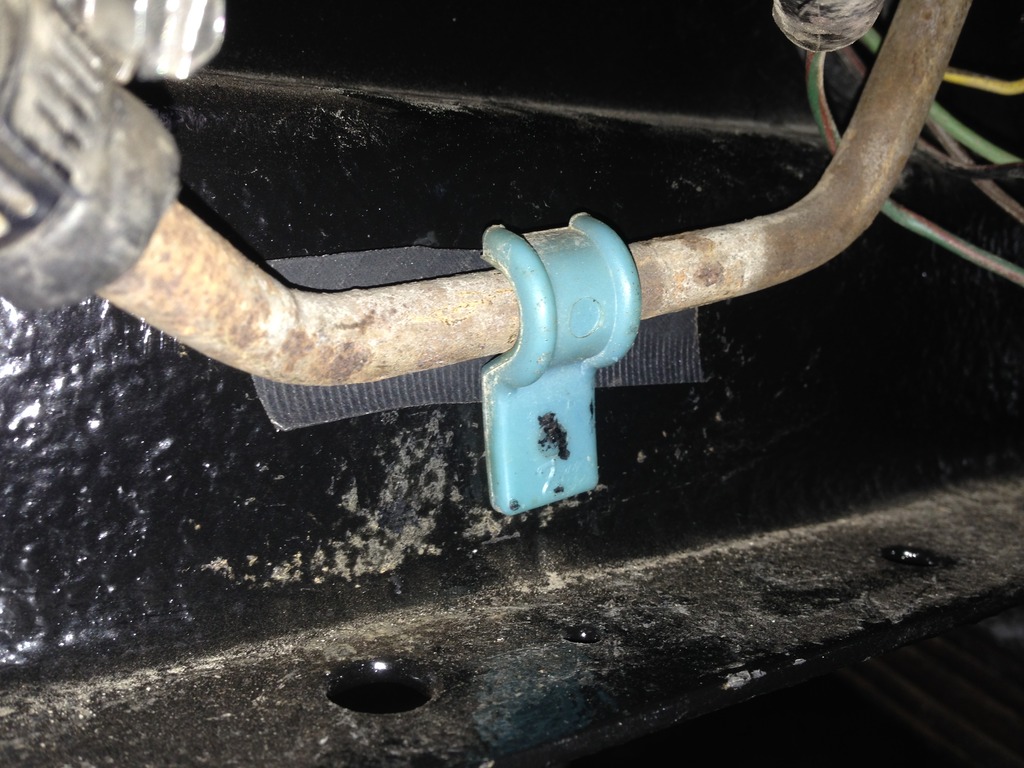
One final touch because I don't want to come back very soon. Fuel lines all installed with a small piece of rubber tire (left over from the tank straps) bewteen the frame and the tube.
This is to prevent further rusting/rubbing of my fuel line so I don't spring a leak. The brake lines all needed to be replaced, and so do the fuel lines... but I don't want to do the fuel lines just yet. Want to wait until I get my auxiliary tank figured out.
Subscribed! I don't think it really matters how big your shop/garage is, it's never big enough. Awesome work!
Thanks for the kind words! I would have to agree. My friends/family keep telling me that even a 150'x50' won't be big enough for me. They might be right
Almost time to park the truck, but there's still lots to be done!
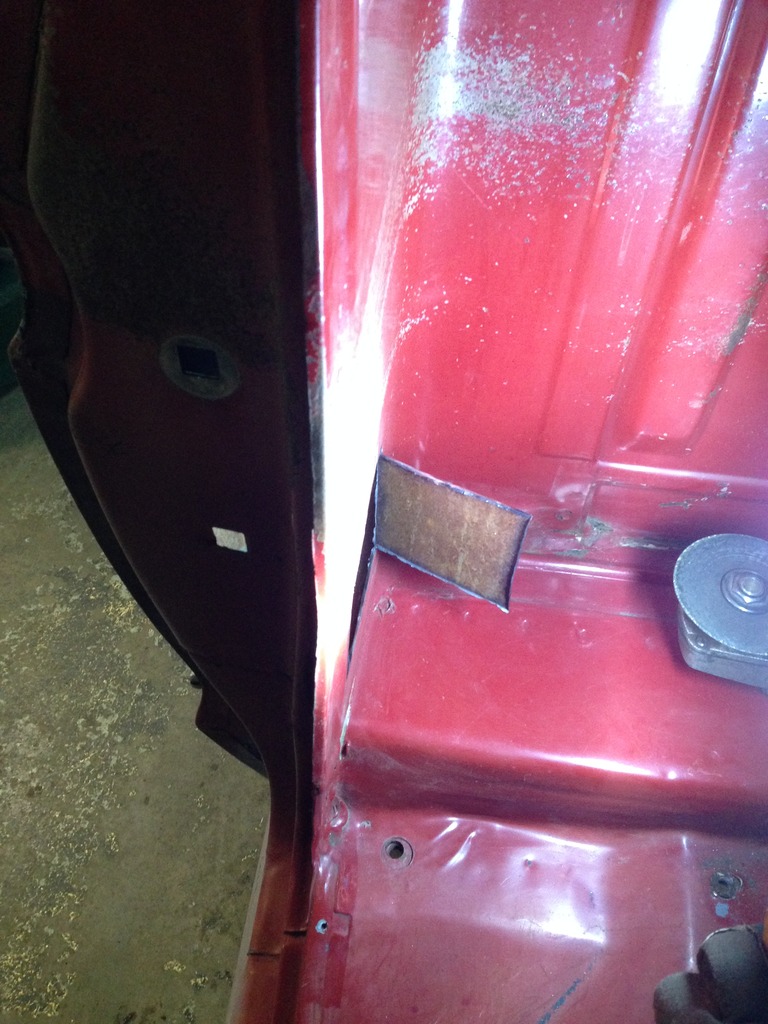
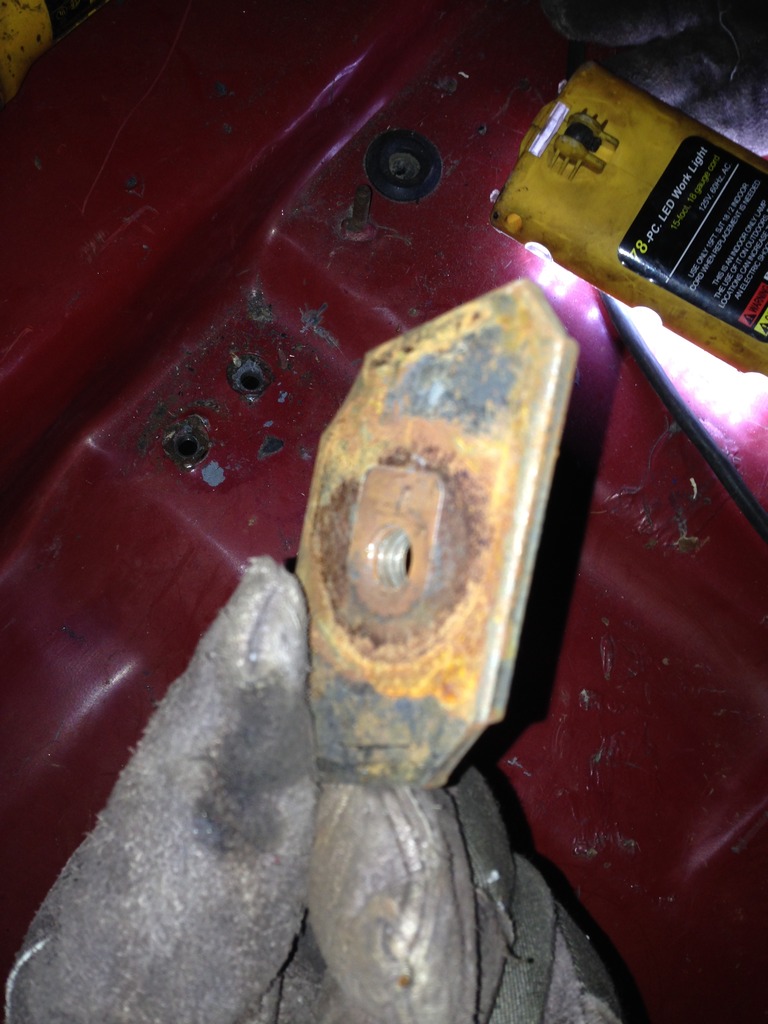
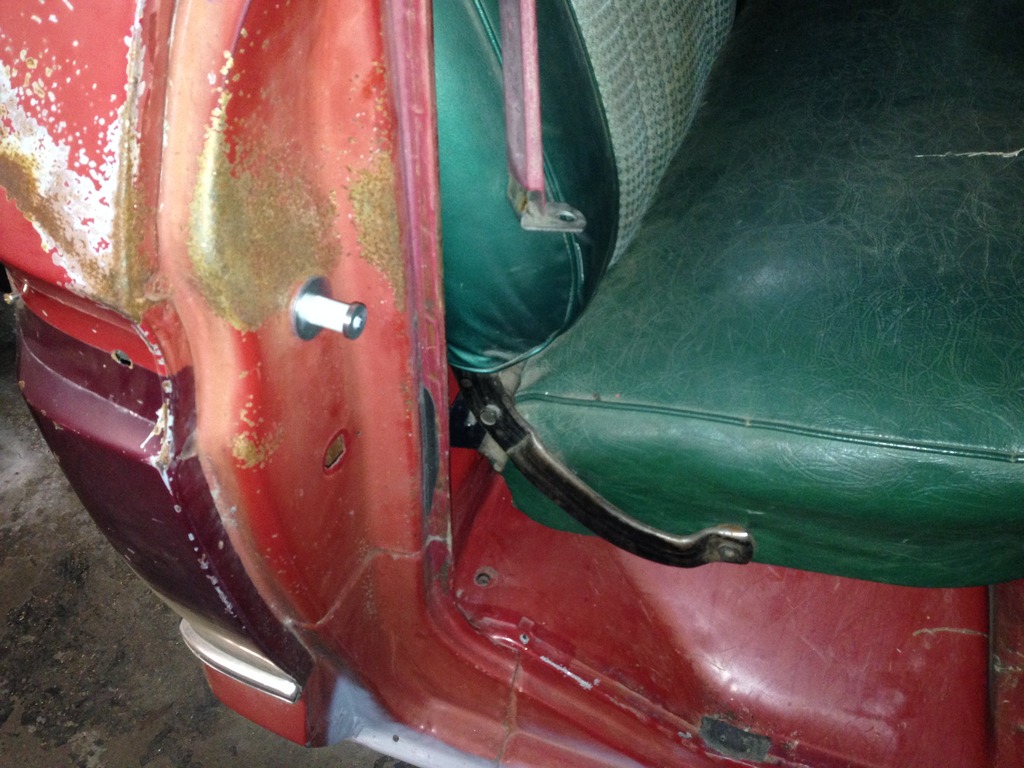
Striker nut fell inside the cab when the striker was removed.
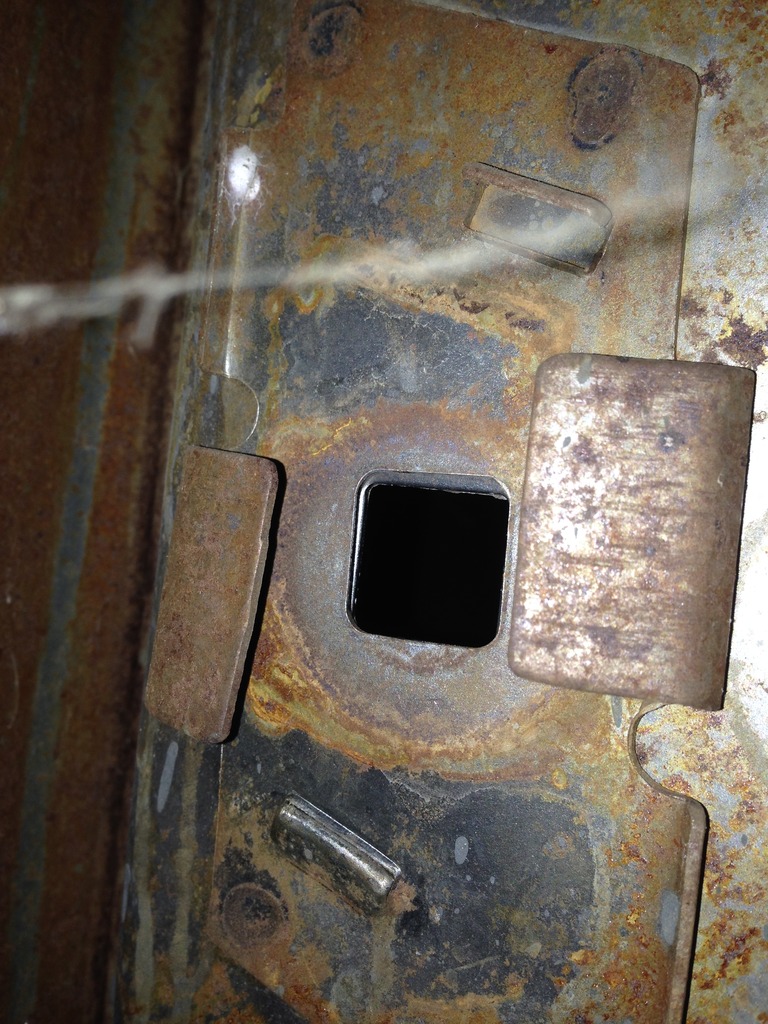
Got out the zip disks.
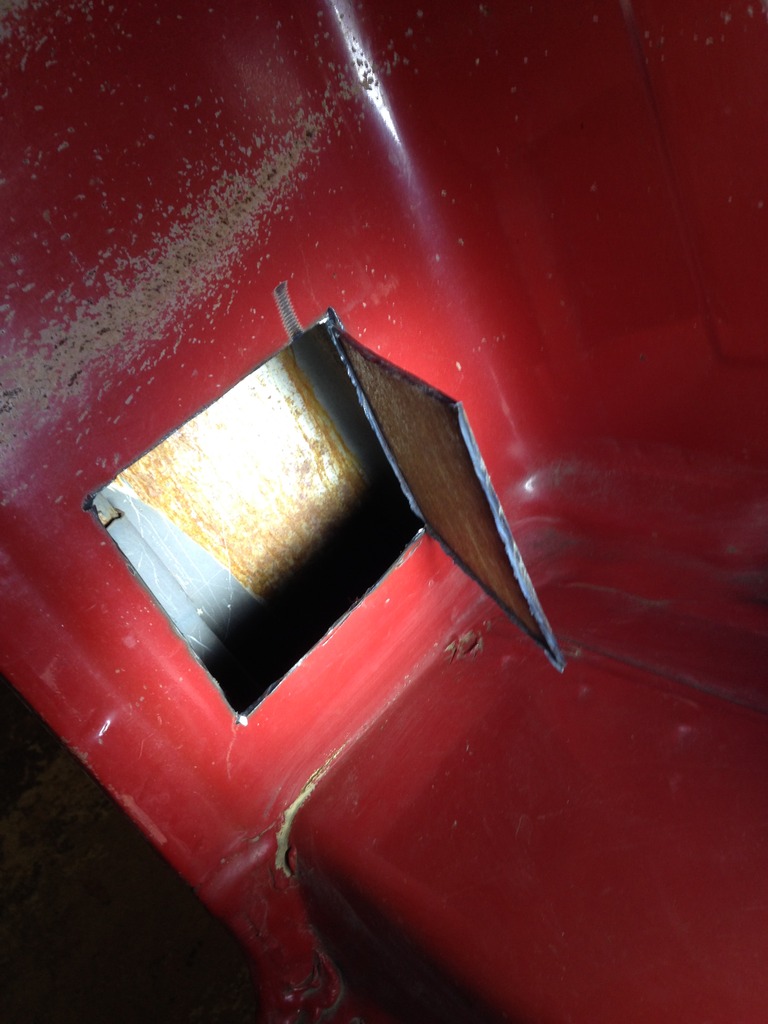
Nice little access door. Didn't intend it to work this way, but it's sure nice that it did!
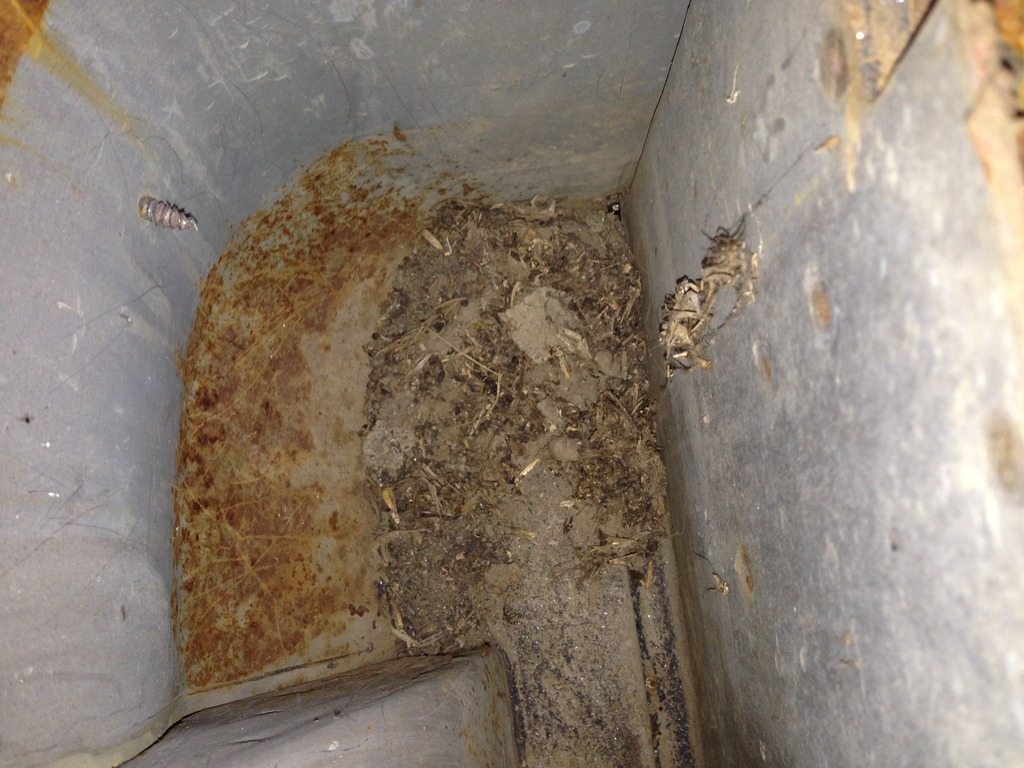
A view down into the cab corner from above. I think I might intentionally open up the driver side as well just to clean it out. It would sure be nice to put some POR-15 on the inside of the cab corners
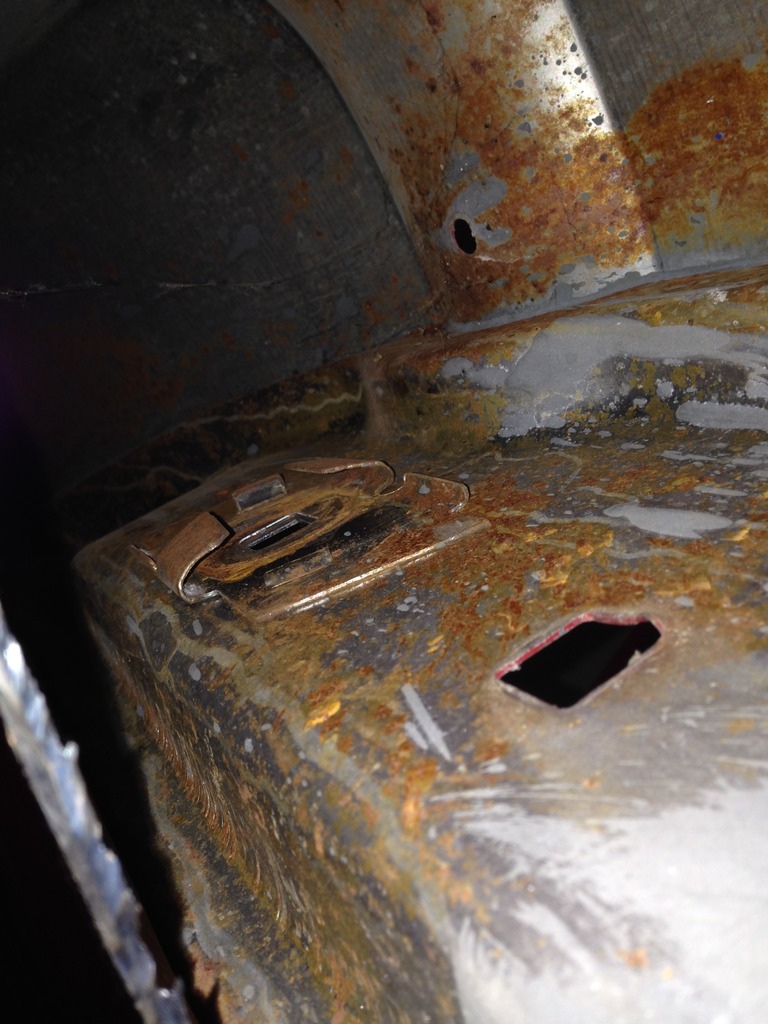
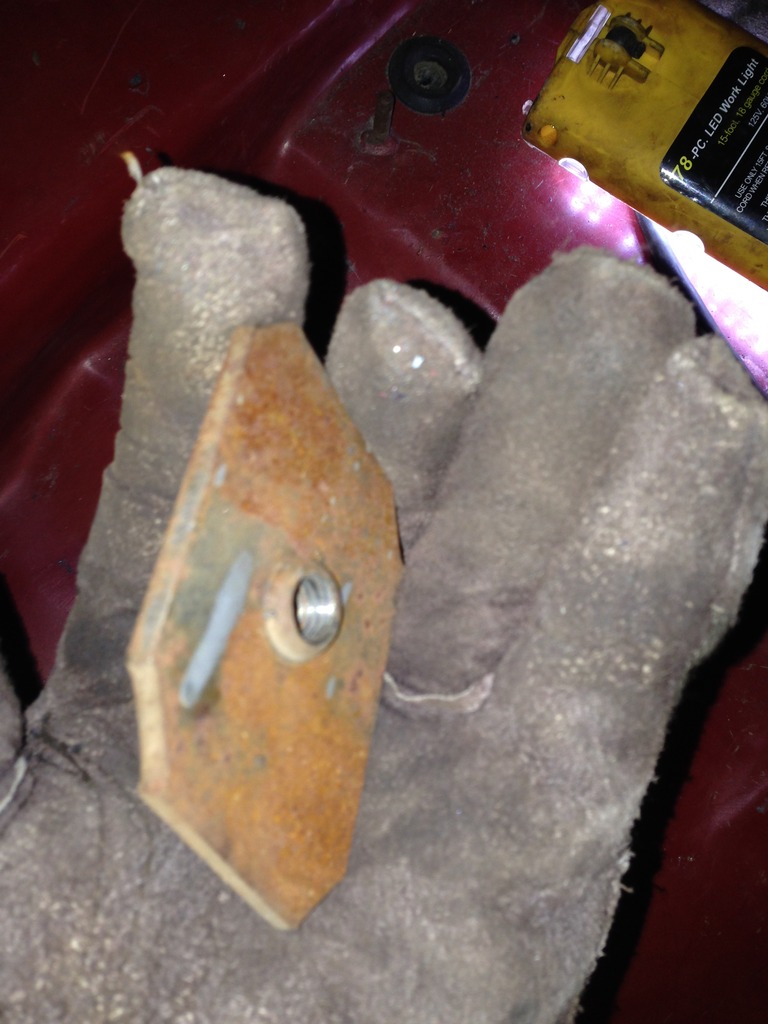
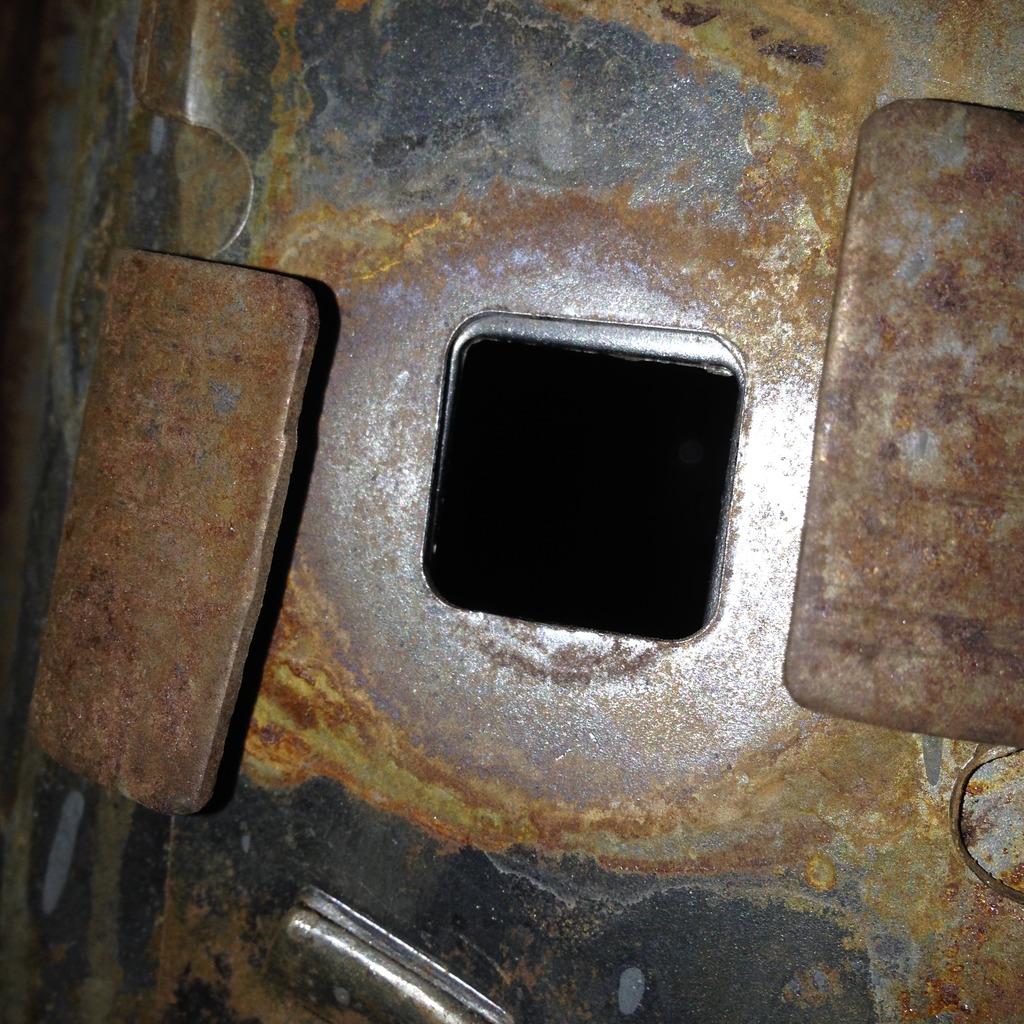
Now a view above the hole I made. The following will be pictures of what the door striker nut retainer looks like. Hope these pictures help somebody out one day cause I had no clue what held the nut in place.
The nut. 7/16"-14
A straight-on view.
And finally... seat back in and striker installed. Man these things need to be worked in! The door closes well, but won't open very well anymore!!! You really gotta yank on it to get er open!
The doors will be realigned in the future. For now they'll stay the way they are and I'll just keep yanking on them
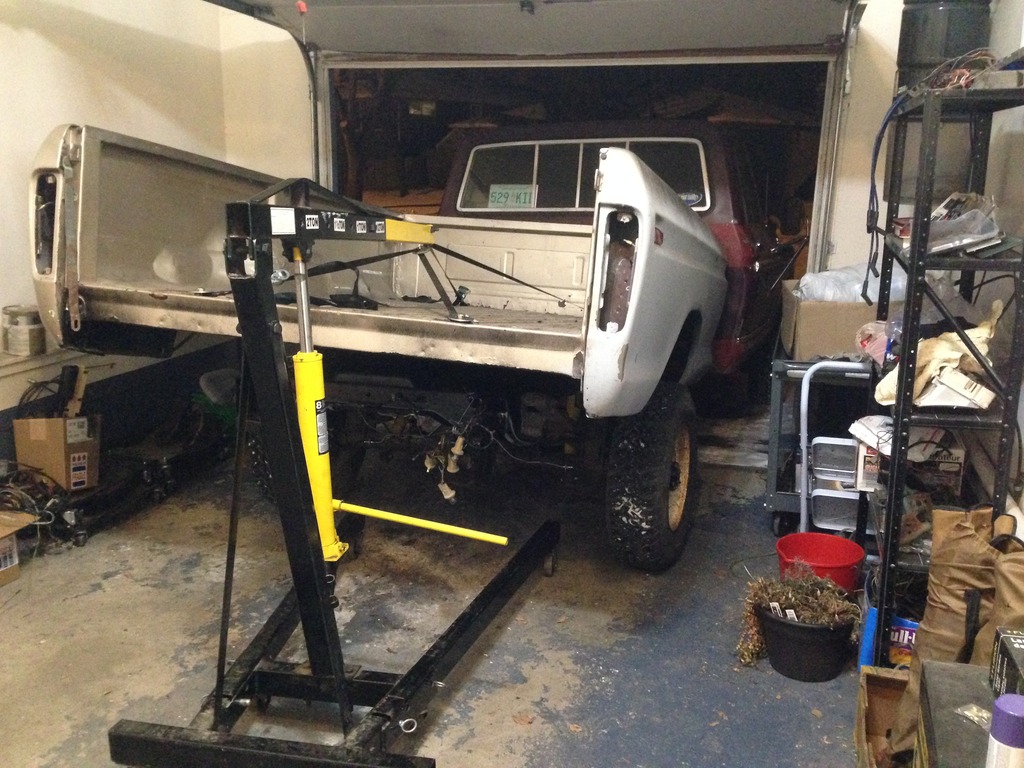
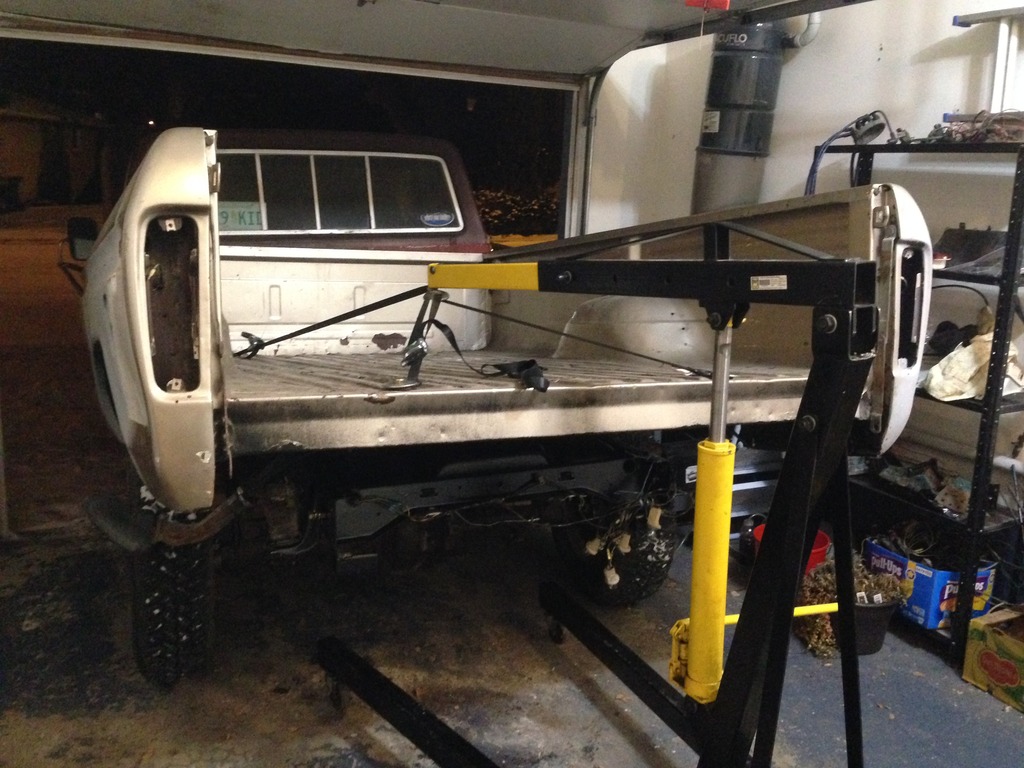
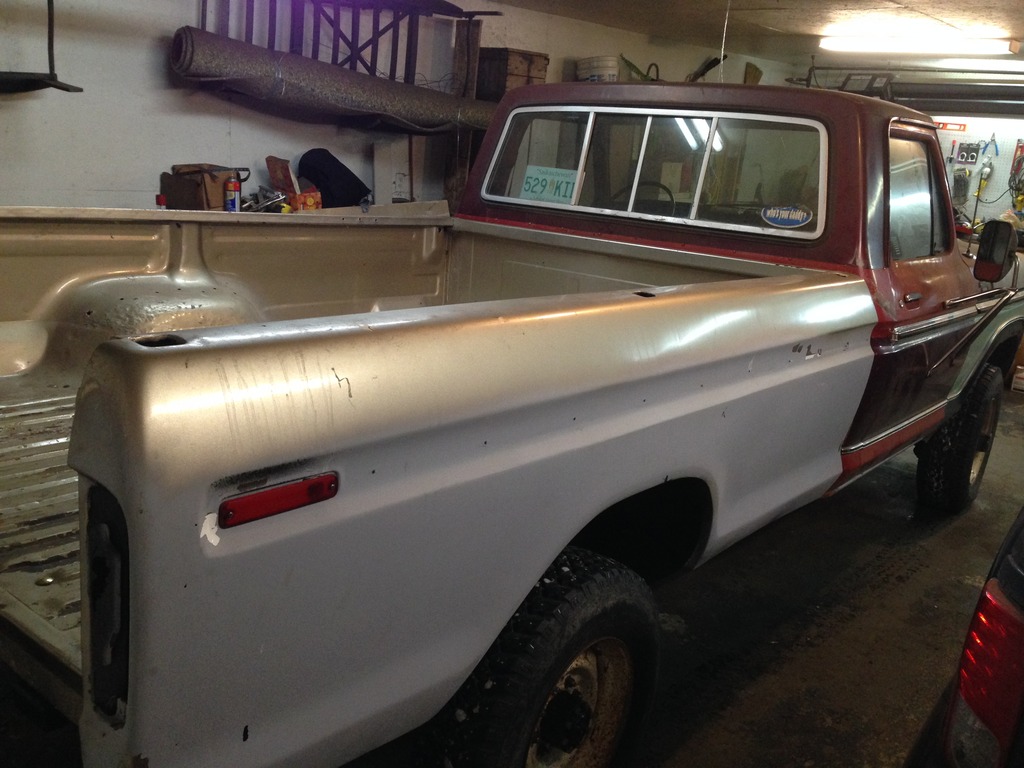
With that all complete, it's time to mount the box on the "new" frame for the first time. This trick actually worked fairly well despite having to back up the truck on a slippery driveway. The crane and box could be manipulated by my dad and myself with the truck parked half way into the garage.
Another pic for reference. The only thing that was a hassle was undoing the nuts squished between the box and the frame. One of us lifted a corner of the box, the other quickly unscrewed the nut on the bolt sticking through the box hole. After that, it was a simple procedure of lifting the box once more with someone under the truck to align all of the box/frame holes for some new carriage bolts
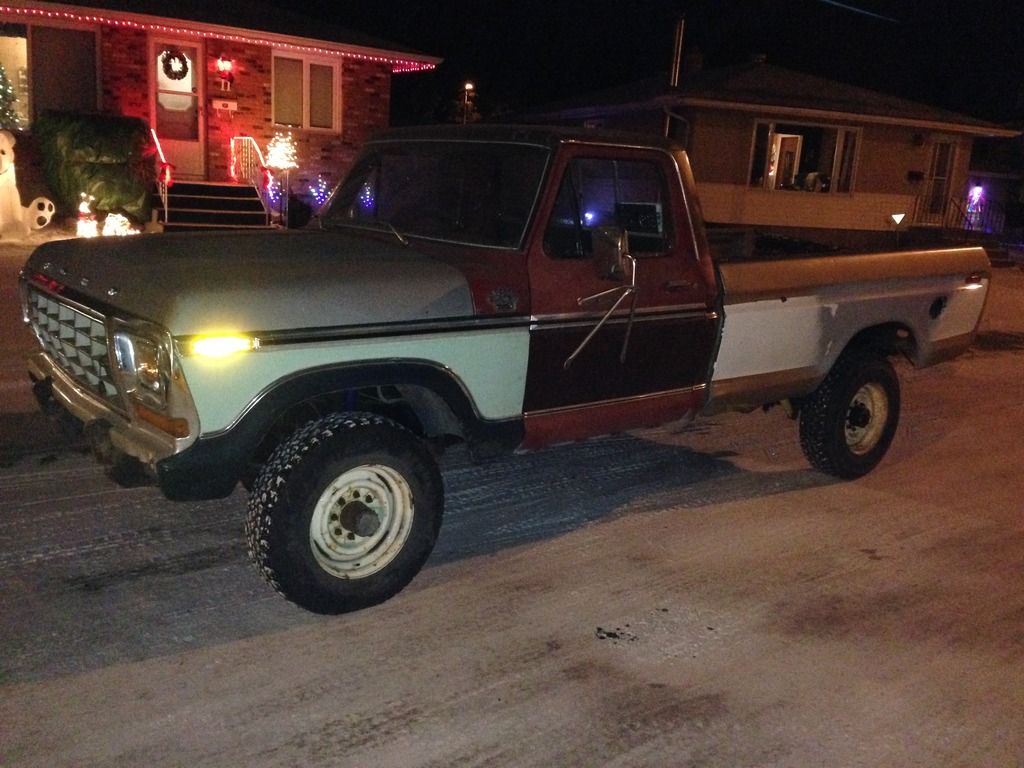
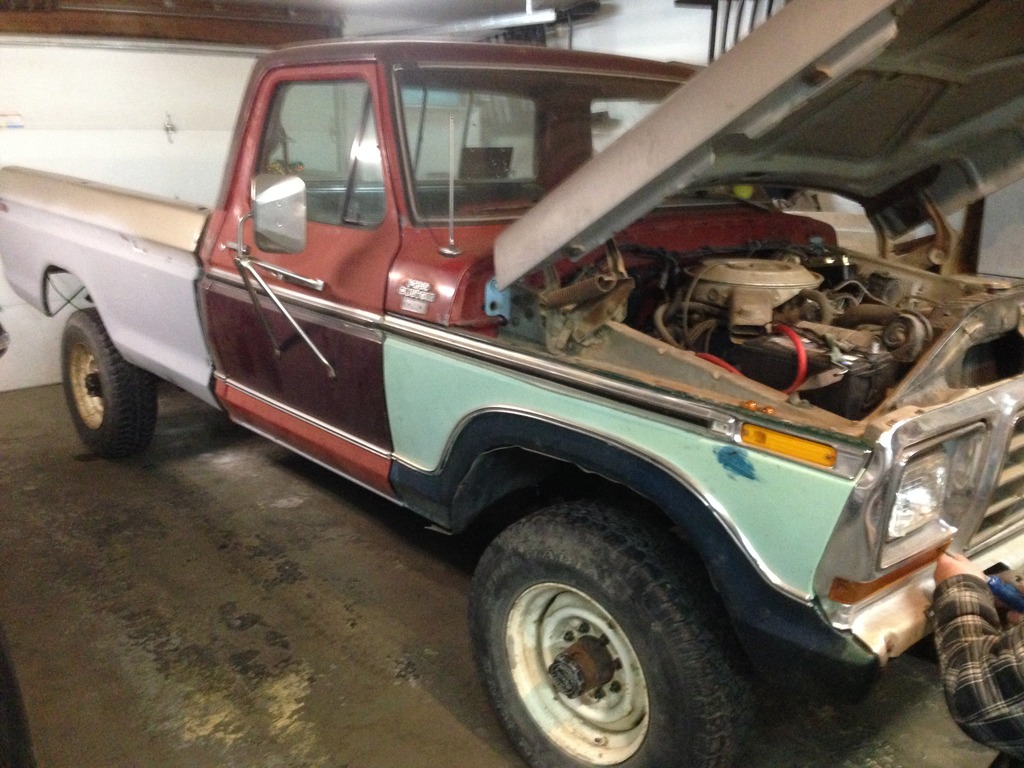
And here you have it! A new truck!!! Super excited. It was like Christmas came early (on December 14).
Parked back in the garage immediately to continue some small work. These projects never seem to be finished
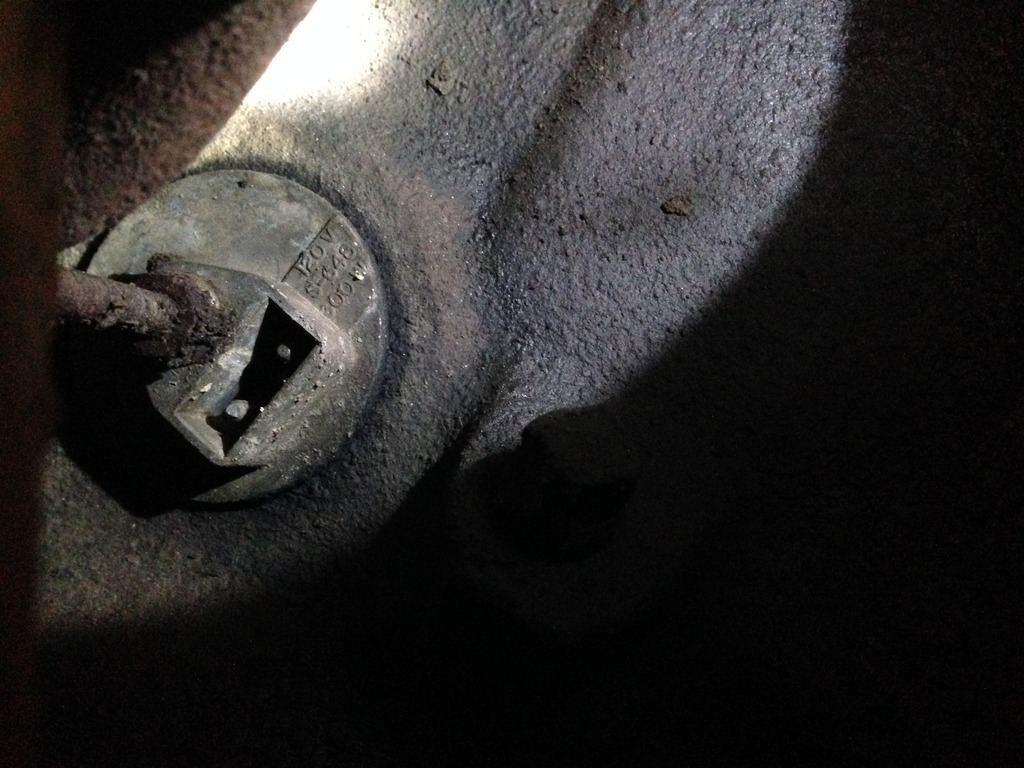
Since ripping my block heater cord, I needed to figure out what the heck it was that I have installed in my block. Almost all of the block heaters I know have a crescent-shaped end on the cord. Mine was square.
After a little investigating online, I found out someone installed a different block heater than they were supposed to.
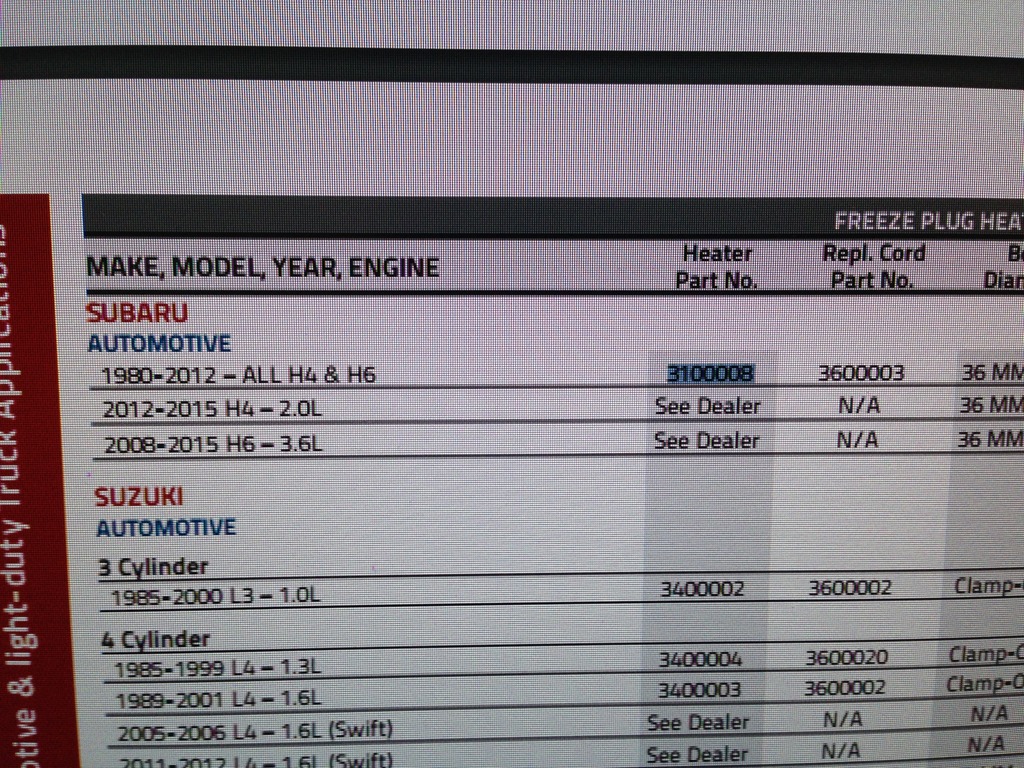
Code on the block heater reads: 5-648
Which unfortunately, fits most subarus...
But it did allow me to finally order a few block heater cord from Napa!
Continued with work on my lights/electrical. Things need to be up to snuff before I'm going to park it.
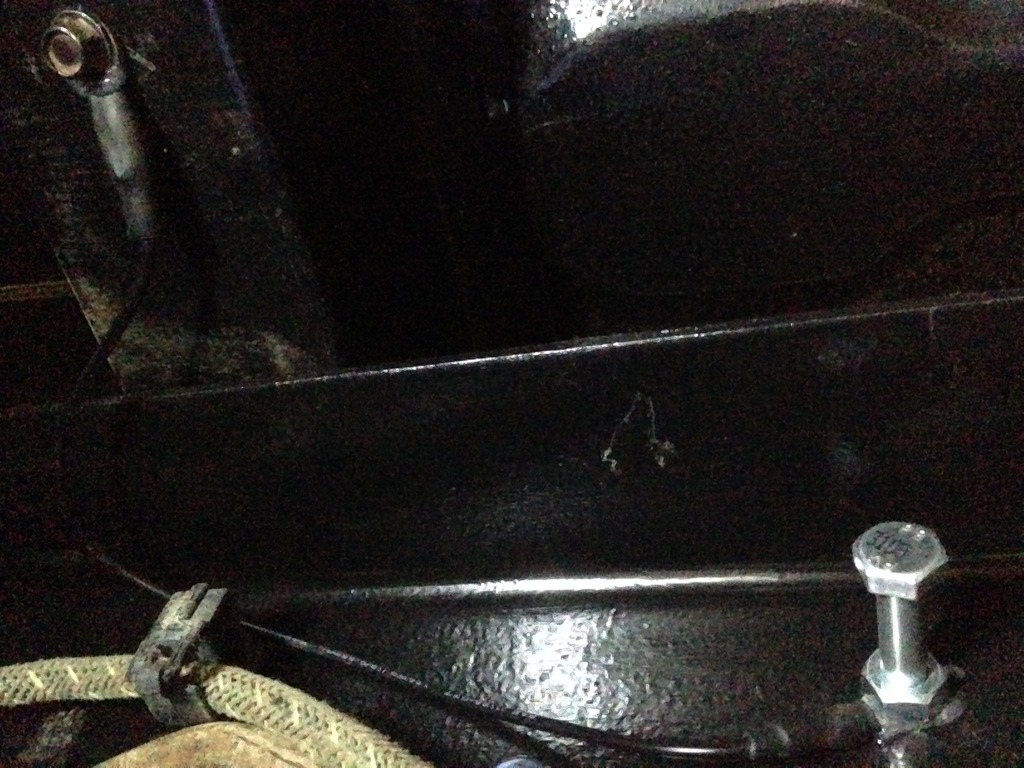
Got my lights working! Brake lights don't exactly work, but hey... small steps.. Found out that I had lots of grounding issues with the rear lights system.
So I made a heavy-duty ground with an extra long bolt between the frame and a machine screw in the bottom of my box. The long bolt will get changed out in the future, but for now... everything works!
Used 14 gauge wire, cut to length, and finished with double wall adhesive lined heat shrink. Should last quite some time. Oh... and can't forget dielectric grease under the connections!! Fuel electrical and lights got the same treatment (dielectric grease )
Next, I spend some time researching online and got distracted... in a good way.
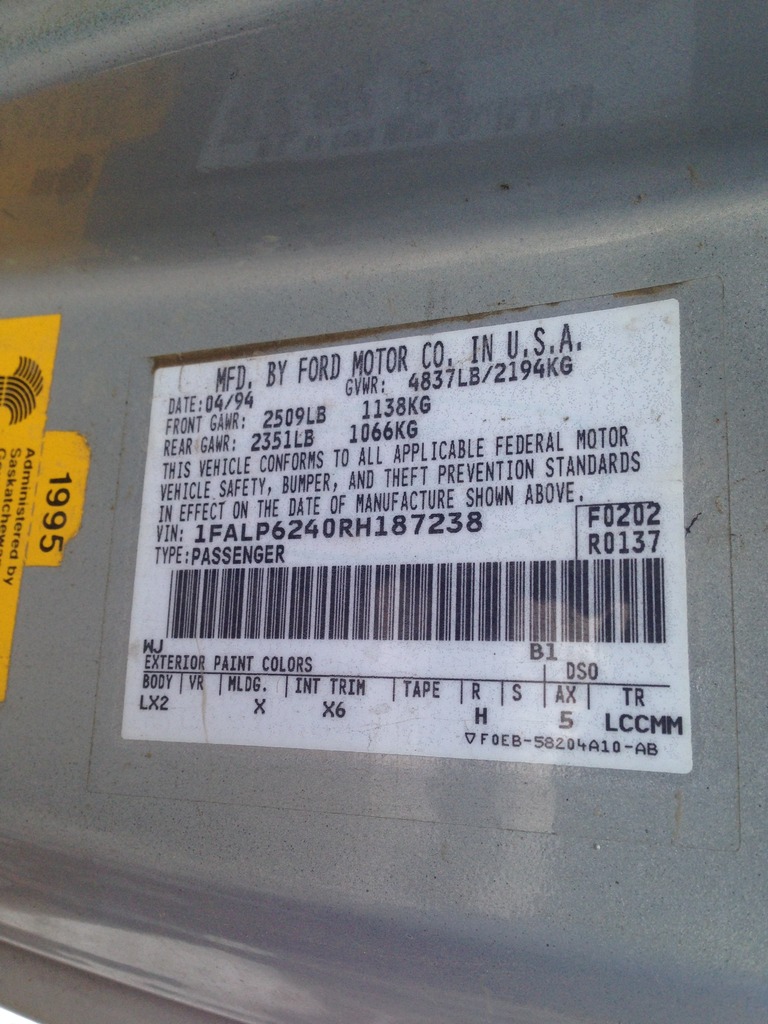
Found a 1994 Thunderbird with a V6. Had both a 3G alternator... but also... and more importantly... a 2-speed Mark VIII Fan!!!
Shot of the T-bird info:
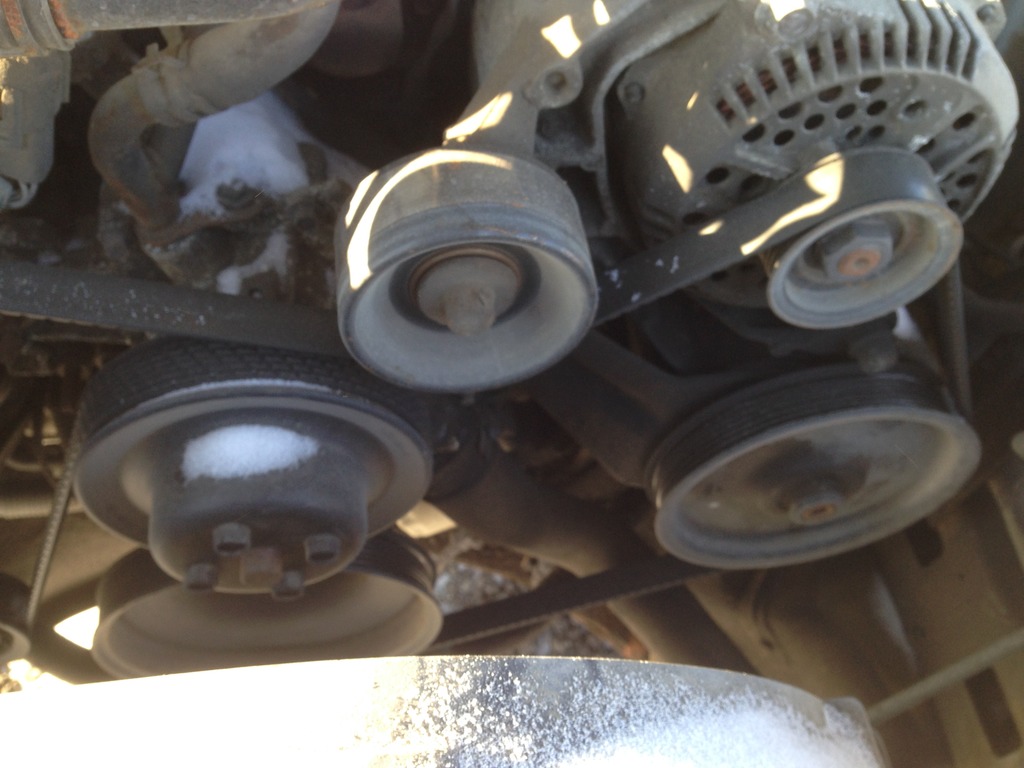
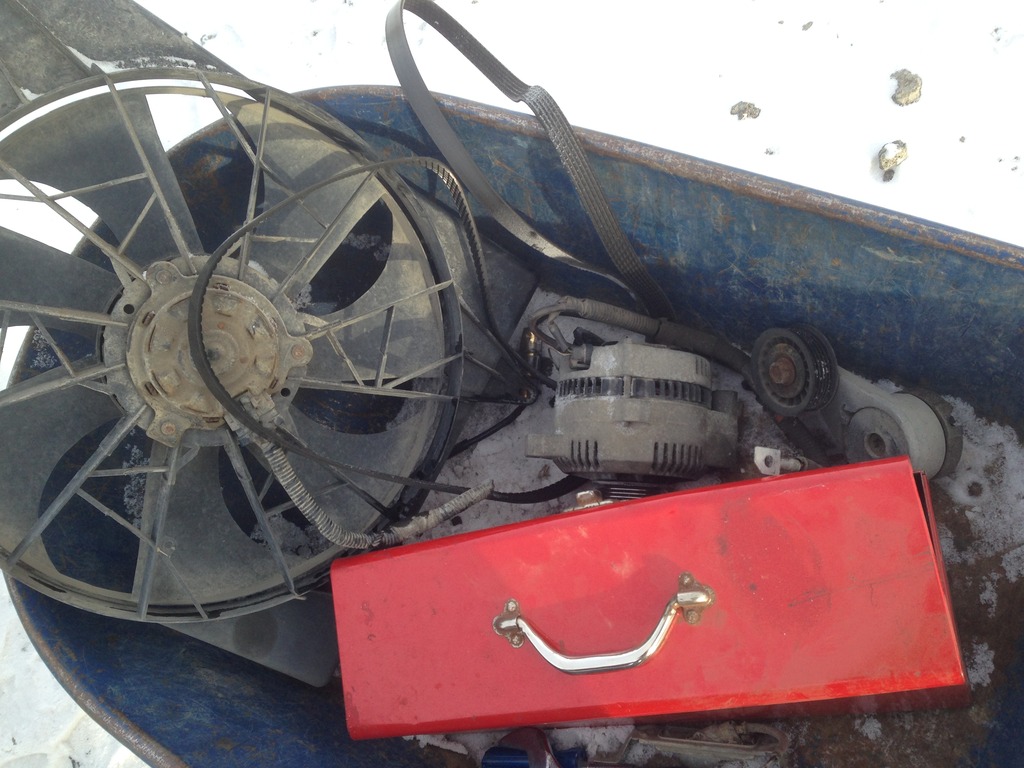
Some pulleys, tensioners, idler arm, and an alternator that I swiped. Will attempt a serpentine pulley system in the distant future. Lots of planning to happen before that takes place though.
Don't forget the Mark VIII Fan! Cha-ching!
Back to working on the truck.
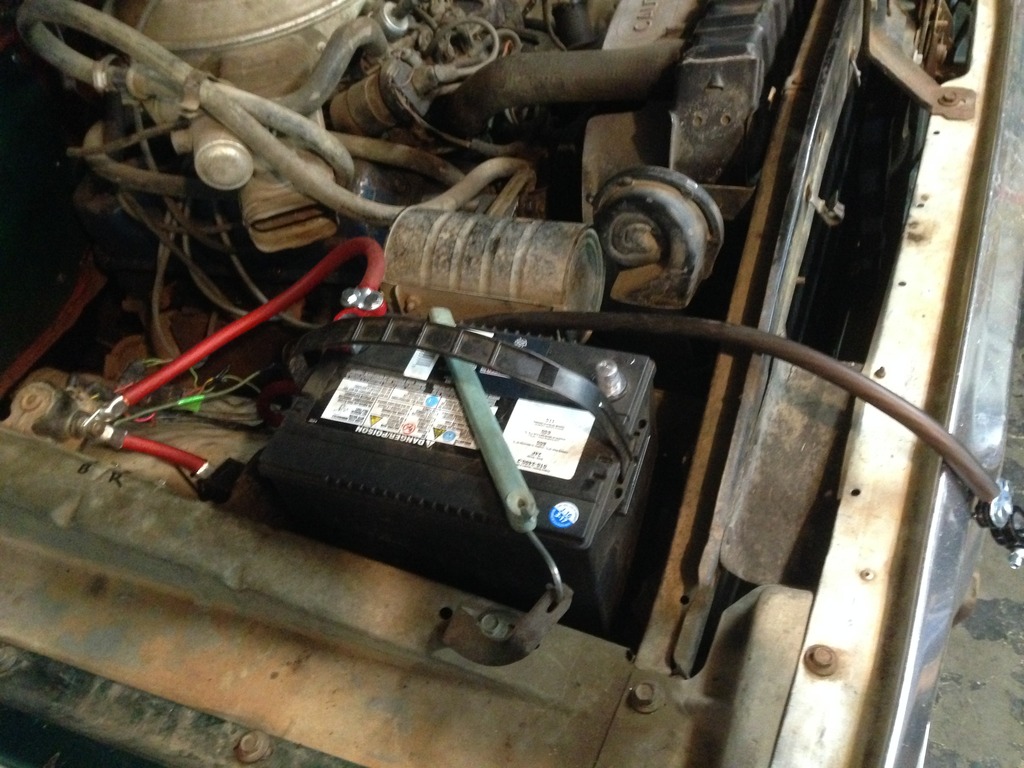
Traced the wires under my hood and found that the P.O. (not my parts guy), had wired up some cockamamie system for dual batteries that got roasted (burnt wires). He musta wired something up wrong, but it appeared to be a decent plan before something went seriously wrong. The truck came with 2 voltmeter gauges (one for each battery) under the dash... They got removed and will stay removed for now.
Needless to say, the alternator didn't work... and I wasn't about to re-wire and re-trace everything for a 1G system...
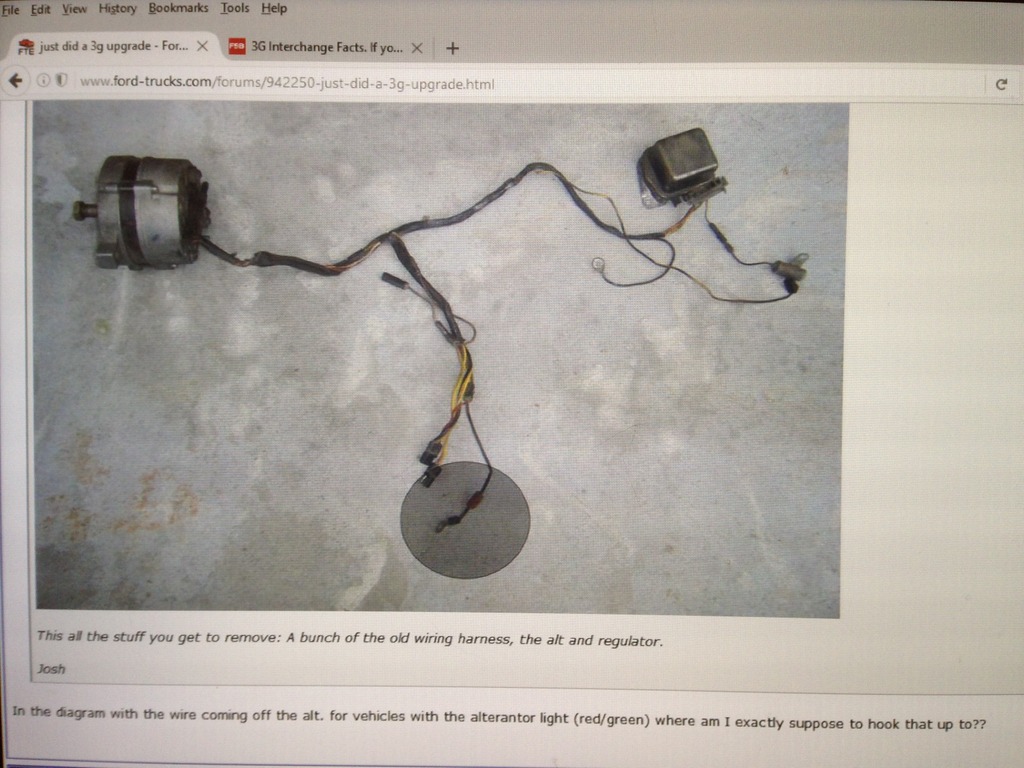
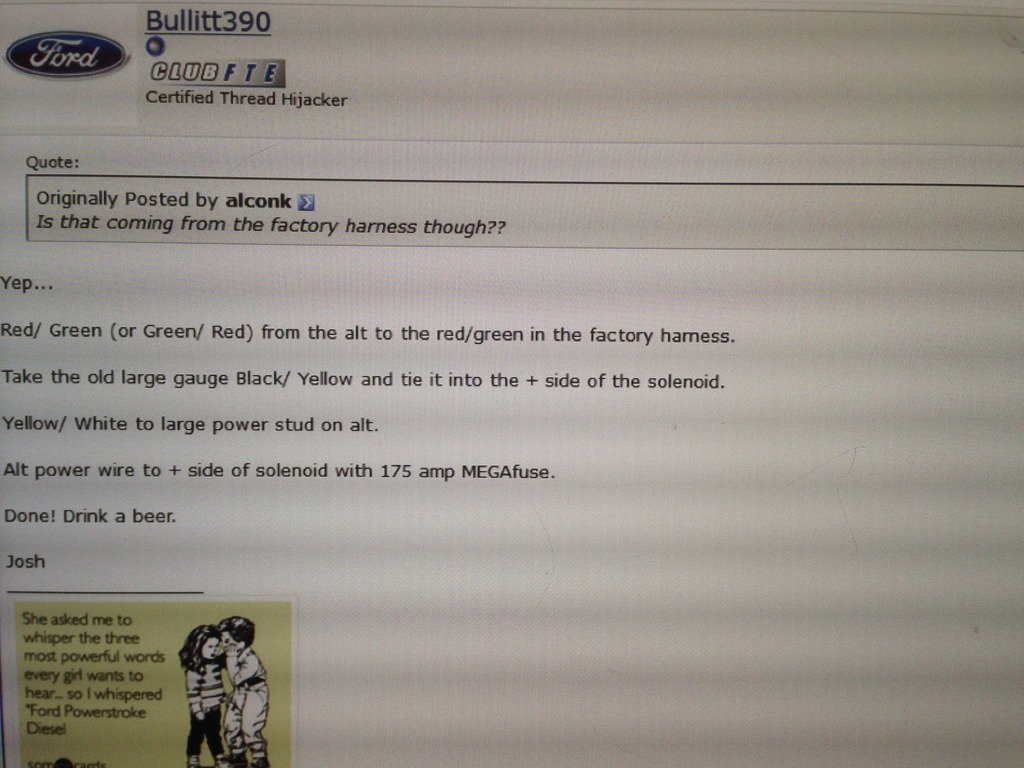
So I did a 3G upgrade! Been wanting to do one for a VERY long time now. I've had the parts for over 2 years. Basically followed these 2 posts step by step.
Bullitt390... huge thanks to him on that thread. There are others that contributed a lot, but I used his 2 posts to get my alternator wired.
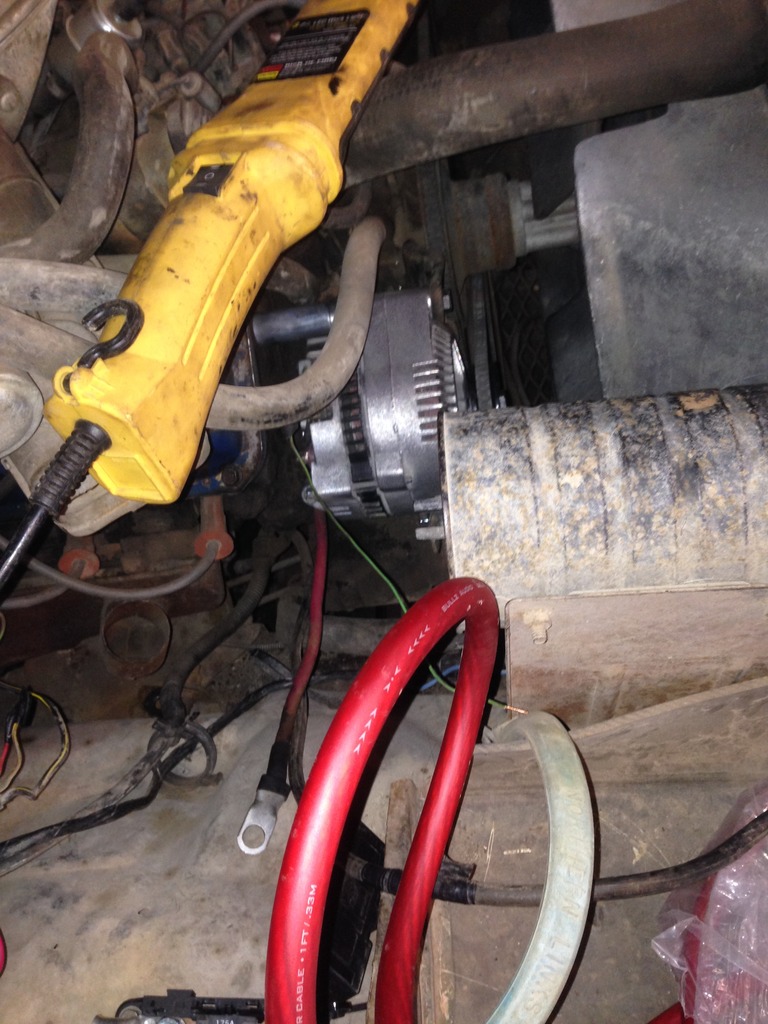
All lines from the alternator to the starter solenoid are 1/0 red wire.
Red wire from starter solenoid to battery + is 1/0.
Black wire from battery - to engine ground is 1/0.
In the words of Tim Allen... MORE POWER! UHHHHHOHOHO.
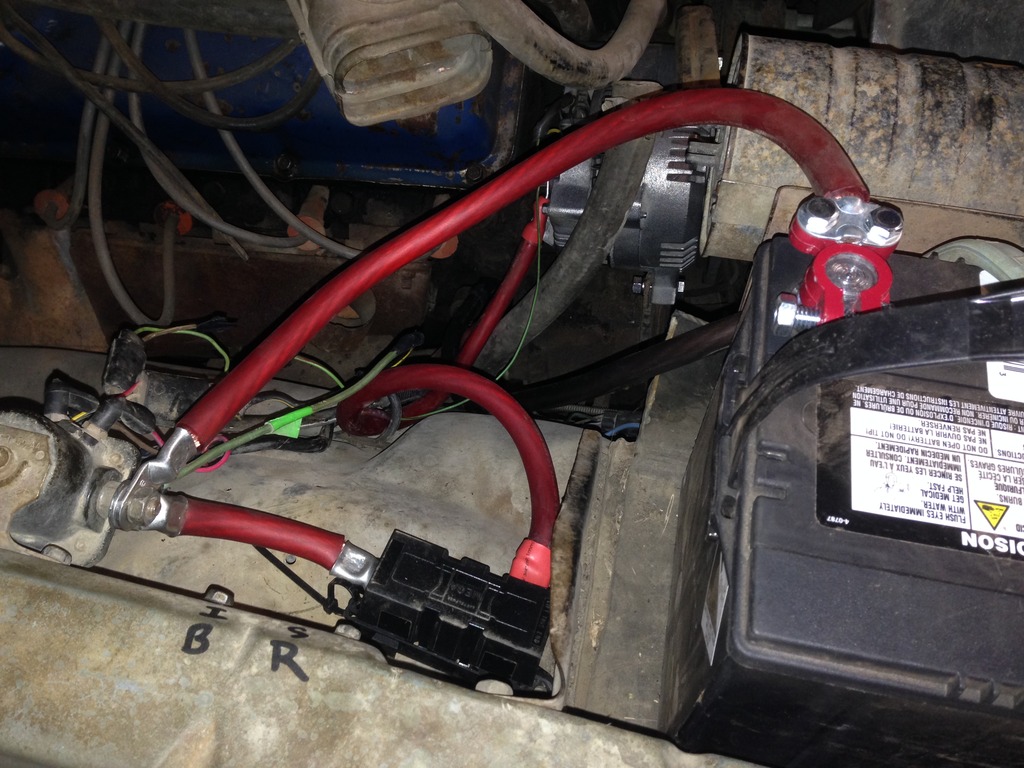
Shot of everything all wired up. Relocated the Starter Solenoid to make room for my megafuse and the extra wires. Need to order more Red shrink tubing (didn't order enough) to keep everything consistent.
New battery terminals. Need shrink tubing yet (will do this later).
Battery terminal wires will get trimmed and relocated in the future. For now, everything works like a charm! Also need to add in an in-line fuse between the spliced 12 gauge wires under the starter solenoid.
Interestingly enough, I was able to reuse some of the hacked up/spliced up wires from the P.O.'s dual battery job. Used some 12 gauge wire from the alternator to the frame for an alt ground. Worked out well!
I will make a few more grounds in the near future. One from the cab to the frame and another from the front clip to the frame. Gotta make sure these old beasts have great grounding!
Great build Aaron-71. So I like what your doing with the POR. Now I believe it works best on items that are a bit rusty for it to really hang on. So I take it most of your stuff has a bit left on? Only reason I ask is I notice you cleaning everything quite well, which is something I would do too. Can you over prep to jeopardize the adhesion?
Great build Aaron-71. So I like what your doing with the POR. Now I believe it works best on items that are a bit rusty for it to really hang on. So I take it most of your stuff has a bit left on? Only reason I ask is I notice you cleaning everything quite well, which is something I would do too. Can you over prep to jeopardize the adhesion?
Thanks!
It's a good point you're making about the POR-15. It's name is literally "paint over rust" (POR).
Now, I don't want a show truck, but I'm not really a fan of how flaky the frame would look had I not wired everything down to bare metal. That's where the Metal Ready comes into play. You keep the bare metal wet with Metal Ready for 15-20 minutes, then hose it down with water to neutralize and wash away the product. It leaves behind small pores for the POR-15 to "bite" into as if the metal was pitted, but only a very small amount.
In terms of how it's worked for me, it's worked great. I've coated the underside of my box, of my cab, and now most of the frame. It's pretty darn strong.
So strong in fact, that the only markings I have on my frame are small small scratches about the length and width of a thin sewing needle. These markings were from installing the box after the POR-15 and Chassis Saver/Topcoat were applied to the frame (all my work above).
My dad and I had accidentally dragged the box on the frame at a few points during the install, and a small "needle-like" scratch was all that was left behind. Yes, it did penetrate the POR-15... am I worried? Not at all! The frame is bound to have imperfections and will eventually form rust again.
This is by no mean a permanent solution. It's merely preventative. If POR-15 can stand up to a 400-500lb sheetmetal box being dragged across it... I think that certifies it as "strong".
Would the POR-15 be stronger with it applied directly over the rust? You betcha it would. More surface area means greater adhesion. However, since I wanted something a little more aesthetically pleasing, I chose to wire wheel the frame.
Arron71, I,ve been watching your build, nice job. Just a word of advice. Get a proper battery tie down, I used a bungy cord once and it failed. Battery went upside down, not fun. Keep up the good work.
The access doors really got me thinking.. if a guy can source the right size plastic covers or caps or whatever ( seems like I've seen something that would work well in other vehicles ) then this could be a great step to take just because.. my donor cab for my f100 has great sheet metal but yeah, why not go the extra step to better protect it.
we couldeven use the covers for the front cab mount boxes to cover these holes.. but I'm with you on por the *****� out of as much as possible.
thank you for giving me another shot of inspiration! My problem is I have 2 trucks.. 78 f100 sb & 79 F250 SC 4x4

 01-05-2017, 07:40 PM


 .
.


 )
)