My '86 F-350 Budget Build
#1
 04-22-2016, 12:49 PM


Join Date: Apr 2016
Location: Long Island
Posts: 25
Likes: 0
Received 0 Likes
on
0 Posts
My '86 F-350 Budget Build
Hi everyone, This thread will introduce my truck, plans for it and the million inevitable questions I will have.
I picked up this 1986 F-350 for pretty cheap, was originally supposed to come with a plow and all the accessories but that was dropped out of the sale last minute.
1986 F-350
Regular cab/Long bed
4x4
4 speed manual
6.9l IDI diesel
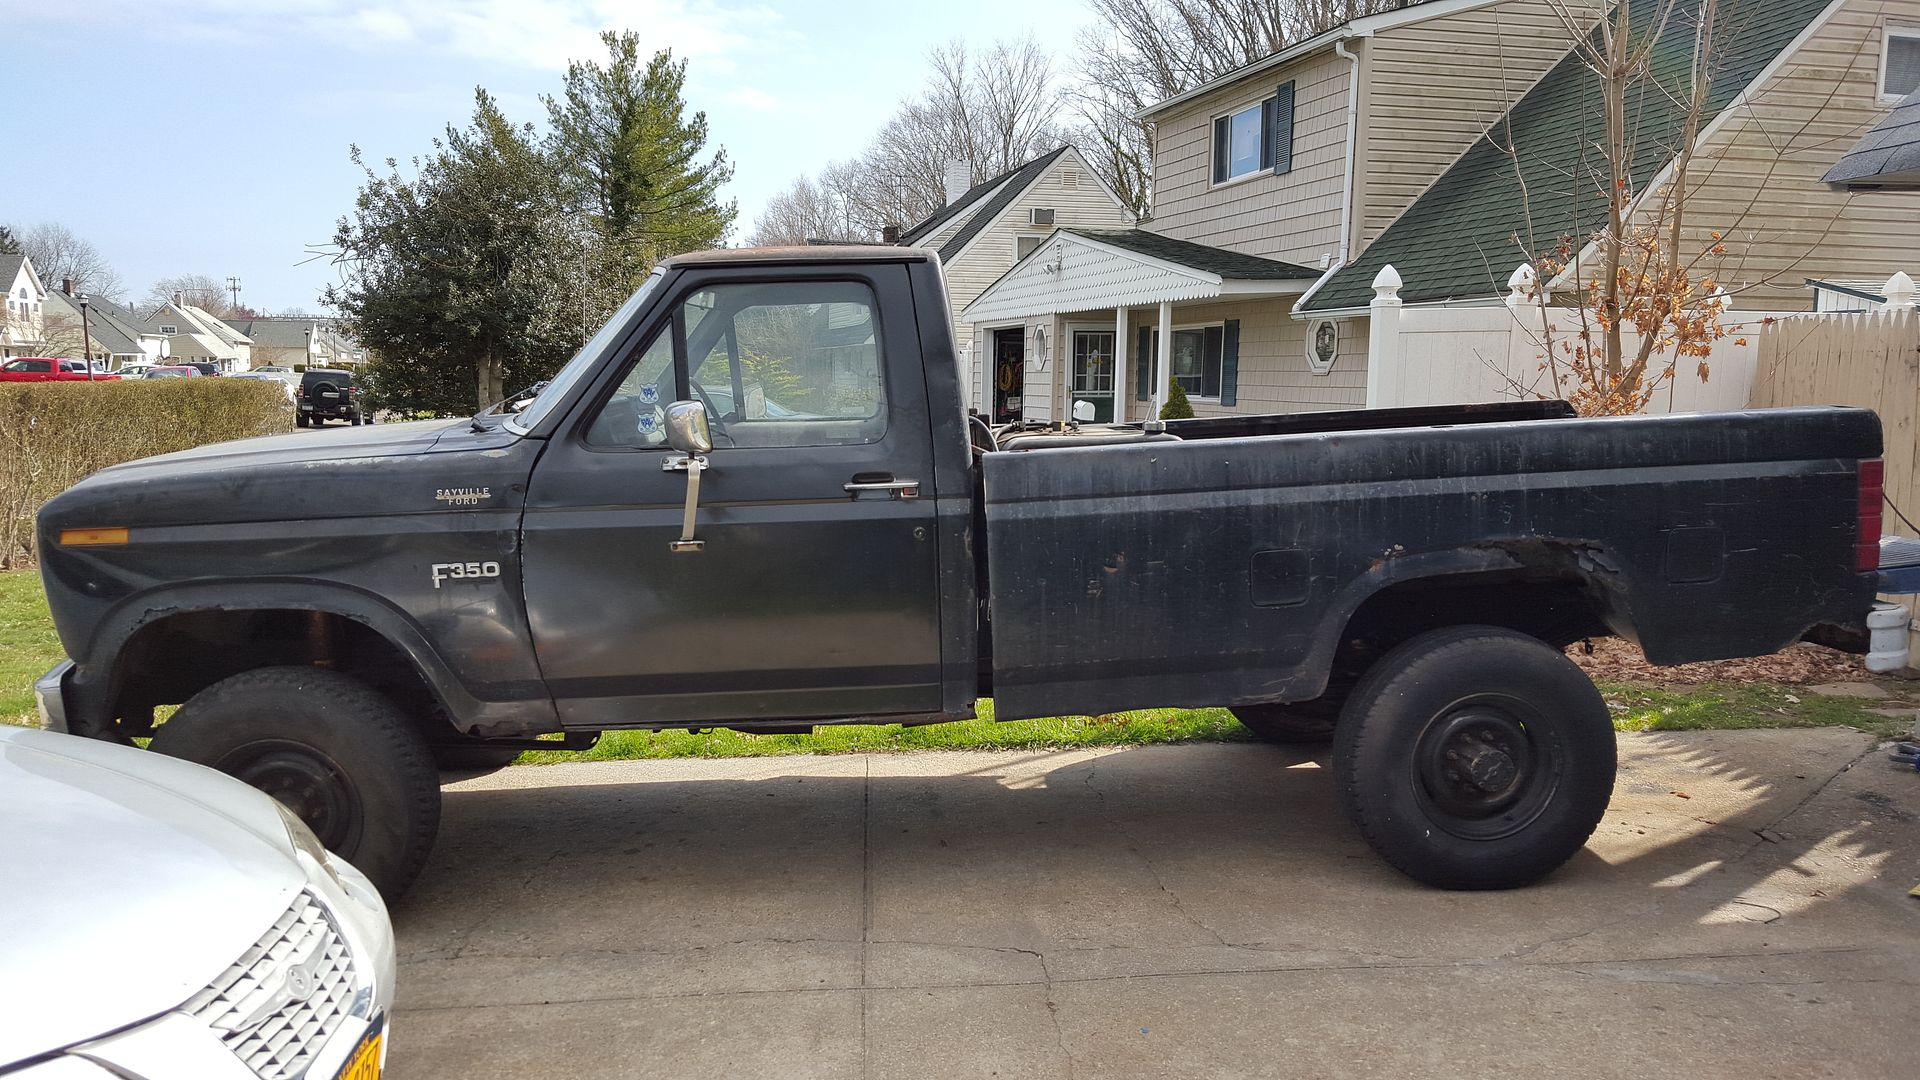
My purpose for this truck is mainly to throw my Motorcycle in the bed and lug it to track days. Just need to get the thing SAFE and reliable.
The moto for this truck is "why not". im going to have as much fun with this thing as i can. I have a long way to go but i hope to put a brush bar with some fogs on it, maybe a bed roll bar with more lights, (want as much light as possible driving in pitch black to the tracks). Paint scheme if i ever get there will be PURPLE. yes purple, more towards the blue end of the spectrum but purple none the less , with maybe flat black 2 tone and trim.
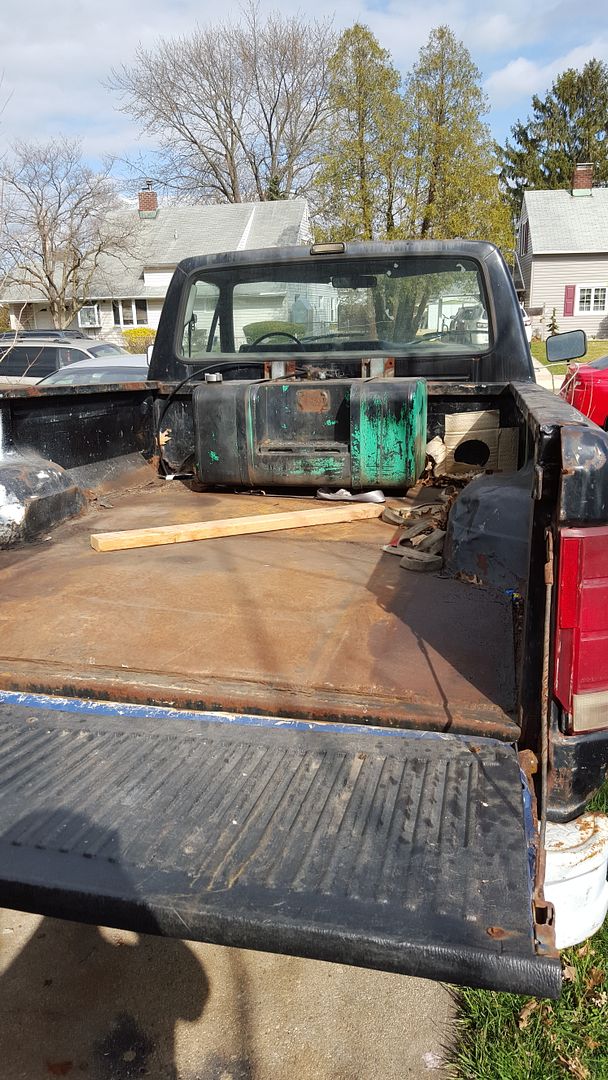
anyway, some things i've gotten recently is a bed off an 87+ that is in real good shape, some rust on the wheel arches but the whole inner part has been coated in POR15 (I will cut our the flared arches and weld in 80-86 arches at some point)
I also picked up a rust free cab,(Original has practically no floors left) Swapping all that gives me a good opportunity to really asses the frame and treat the rust as best i can.
Im trying to organize and figure out how to link a photobucket album that i'll keep all my photos in. Attempt number 1:
86 Ford F350 Project by mminacap | Photobucket
Please let me know if that works/doesn't work.
Thanks for looking!
__________________________________________________ _______________
FIRST JOB: SUSPENSION:
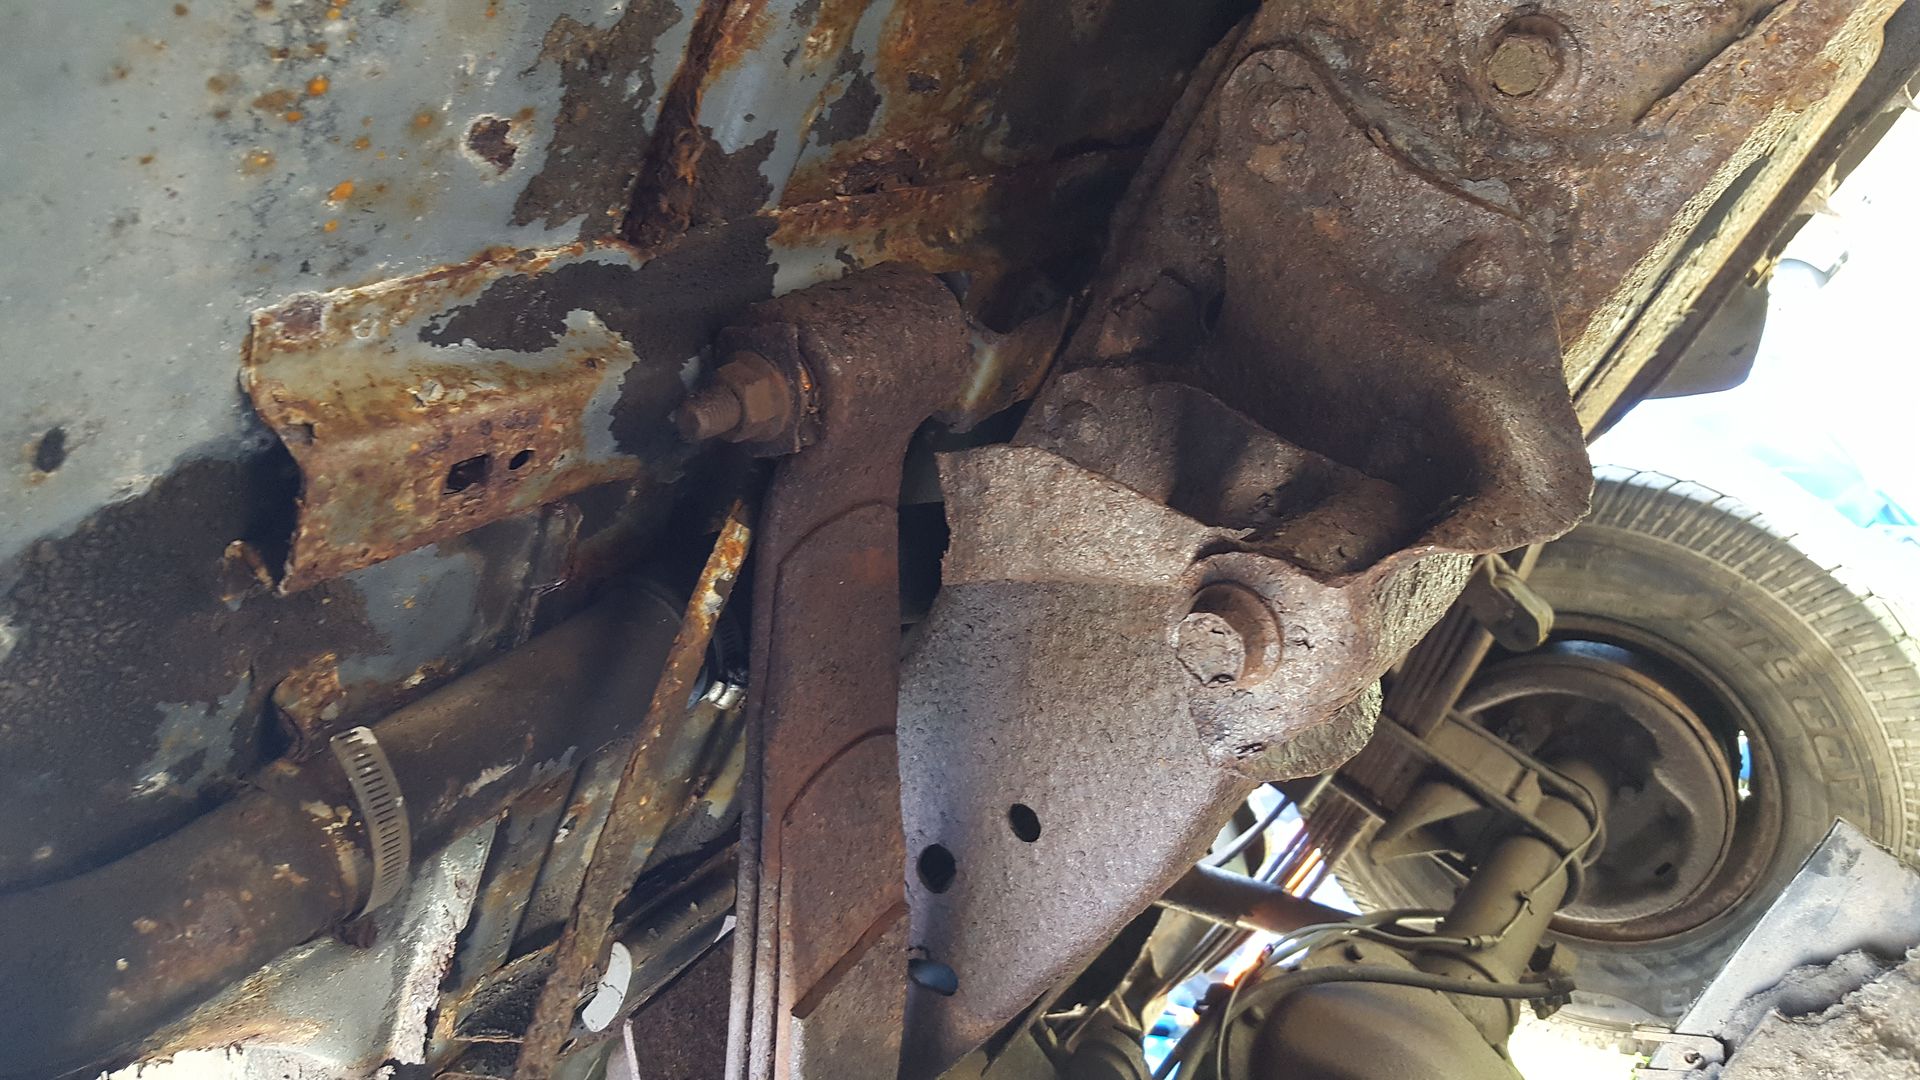
So the leaf spring rear shackles and hangers are rusted through and failed at some point.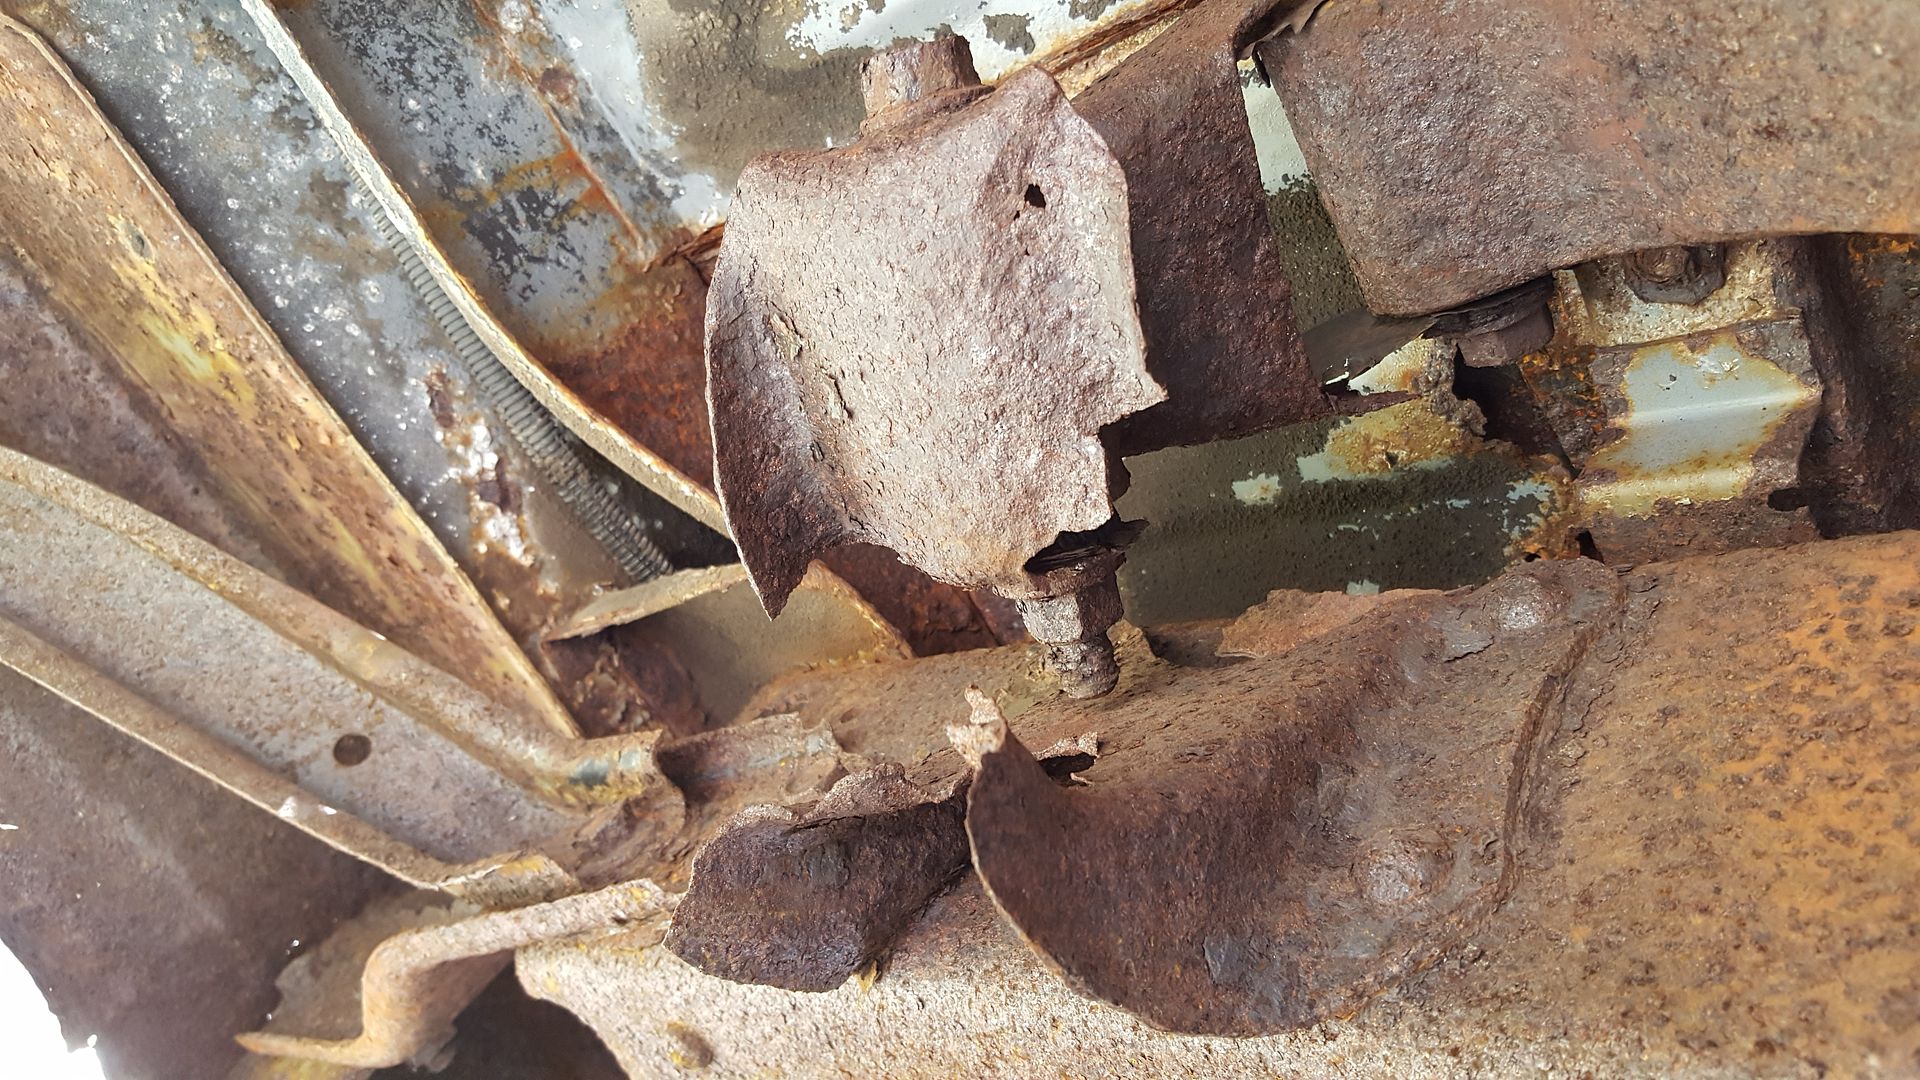
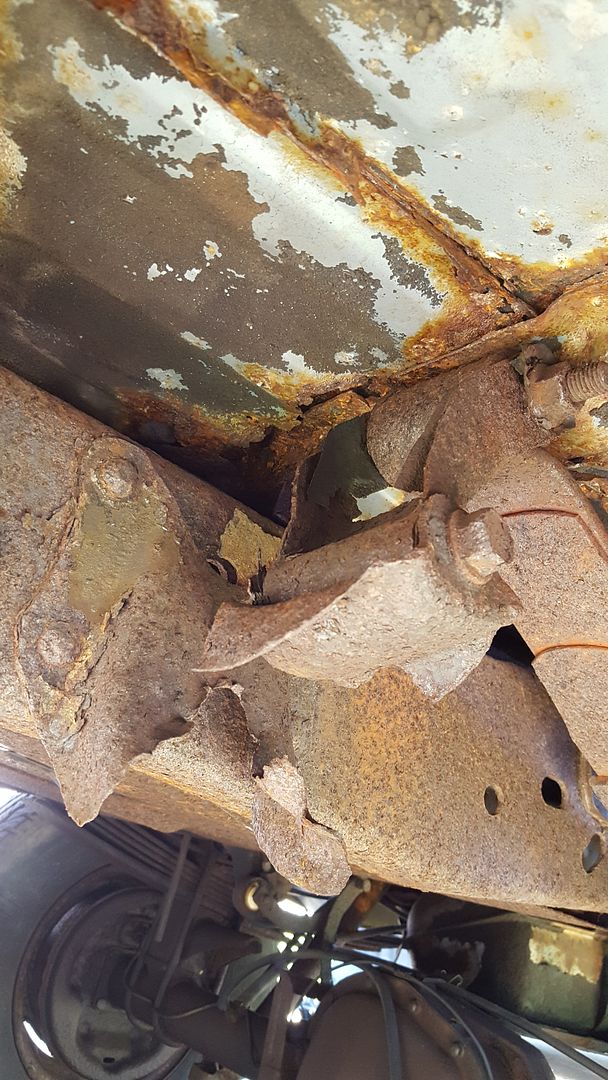
other side:
So last night I went to town with an angle grinder and cut off wheel. unfortunately I only have about an hour of daylight on the weekdays after work and my commute...
Here is the result:
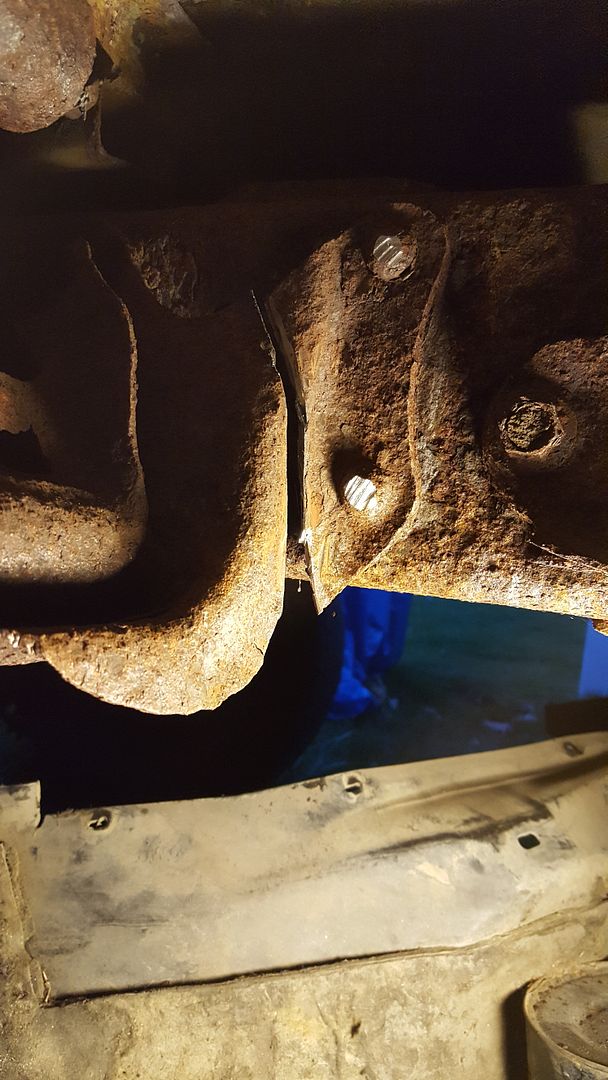
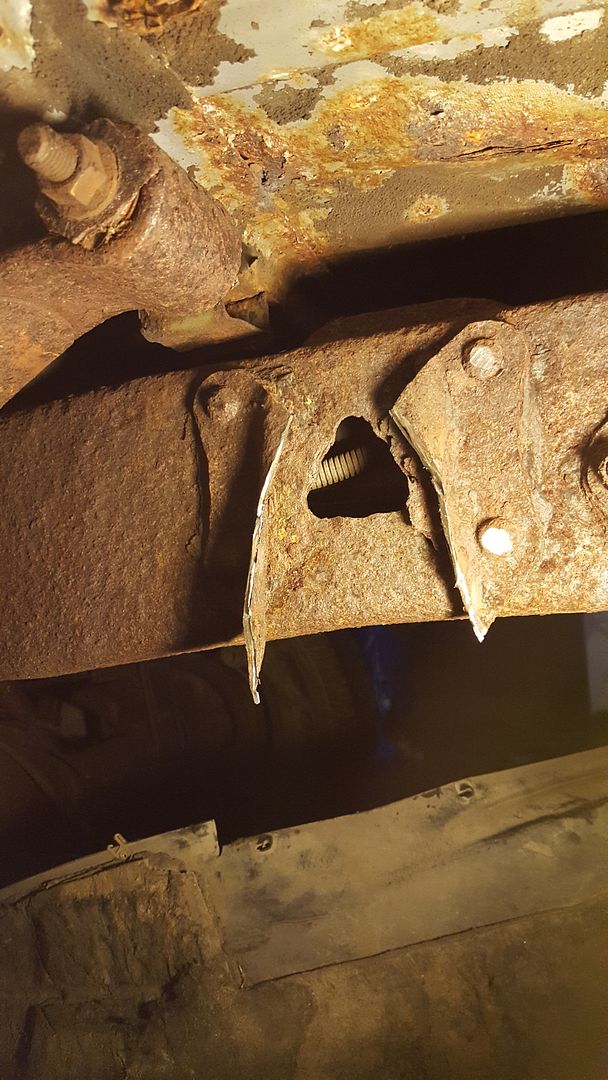
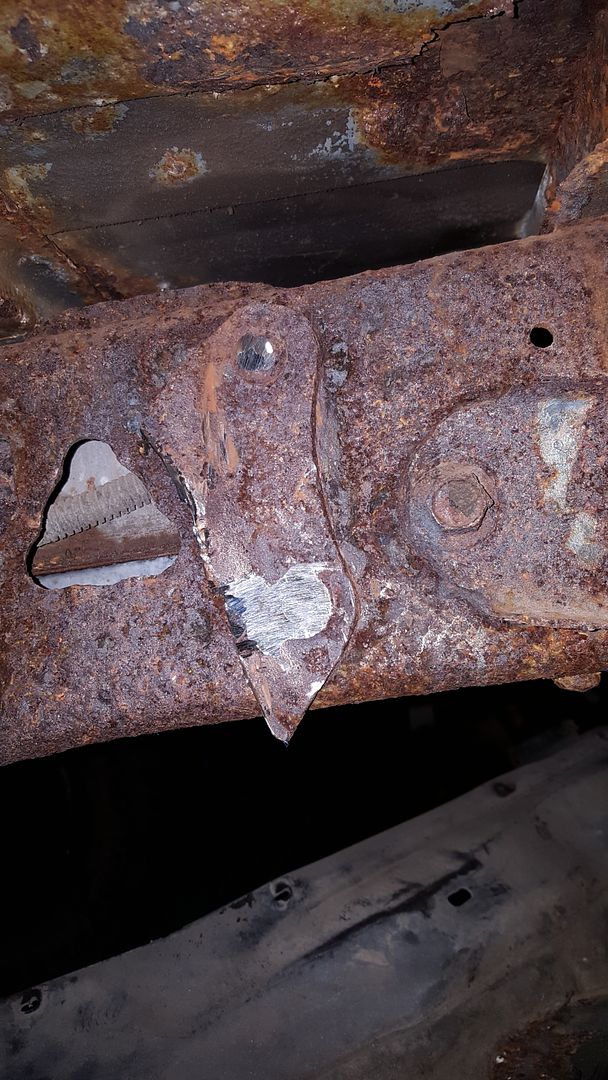
Anyone have any good suggestions on how to knock out the rest of that frame rivet? I don't have an air hammer so only thing that i can think of is making a dimple in the center and taking out my frustrations with a sledge hammer haha. there's got to be a better way..
I picked up this 1986 F-350 for pretty cheap, was originally supposed to come with a plow and all the accessories but that was dropped out of the sale last minute.
1986 F-350
Regular cab/Long bed
4x4
4 speed manual
6.9l IDI diesel


My purpose for this truck is mainly to throw my Motorcycle in the bed and lug it to track days. Just need to get the thing SAFE and reliable.
The moto for this truck is "why not". im going to have as much fun with this thing as i can. I have a long way to go but i hope to put a brush bar with some fogs on it, maybe a bed roll bar with more lights, (want as much light as possible driving in pitch black to the tracks). Paint scheme if i ever get there will be PURPLE. yes purple, more towards the blue end of the spectrum but purple none the less , with maybe flat black 2 tone and trim.
anyway, some things i've gotten recently is a bed off an 87+ that is in real good shape, some rust on the wheel arches but the whole inner part has been coated in POR15 (I will cut our the flared arches and weld in 80-86 arches at some point)
I also picked up a rust free cab,(Original has practically no floors left) Swapping all that gives me a good opportunity to really asses the frame and treat the rust as best i can.
Im trying to organize and figure out how to link a photobucket album that i'll keep all my photos in. Attempt number 1:
86 Ford F350 Project by mminacap | Photobucket
Please let me know if that works/doesn't work.
Thanks for looking!
__________________________________________________ _______________
FIRST JOB: SUSPENSION:
So the leaf spring rear shackles and hangers are rusted through and failed at some point.


other side:

So last night I went to town with an angle grinder and cut off wheel. unfortunately I only have about an hour of daylight on the weekdays after work and my commute...
Here is the result:


Anyone have any good suggestions on how to knock out the rest of that frame rivet? I don't have an air hammer so only thing that i can think of is making a dimple in the center and taking out my frustrations with a sledge hammer haha. there's got to be a better way..
#2
04-22-2016, 05:17 PM


#3
04-25-2016, 12:11 PM
Join Date: Apr 2016
Location: Long Island
Posts: 25
Likes: 0
Received 0 Likes
on
0 Posts


#5
04-25-2016, 10:11 PM
Join Date: Apr 2016
Location: Long Island
Posts: 25
Likes: 0
Received 0 Likes
on
0 Posts

#6
04-26-2016, 05:32 AM
Pictures are back up!
Good work so far. Do you have the new hangers to bolt on and if so where did you get them so others know?
You say you bought it for the bike to haul around a 4x2 would have been a little lower to get it in & out of. Then again would not have 4x4 for winter.
Dave ----
Good work so far. Do you have the new hangers to bolt on and if so where did you get them so others know?
You say you bought it for the bike to haul around a 4x2 would have been a little lower to get it in & out of. Then again would not have 4x4 for winter.
Dave ----
#7
04-26-2016, 05:44 AM


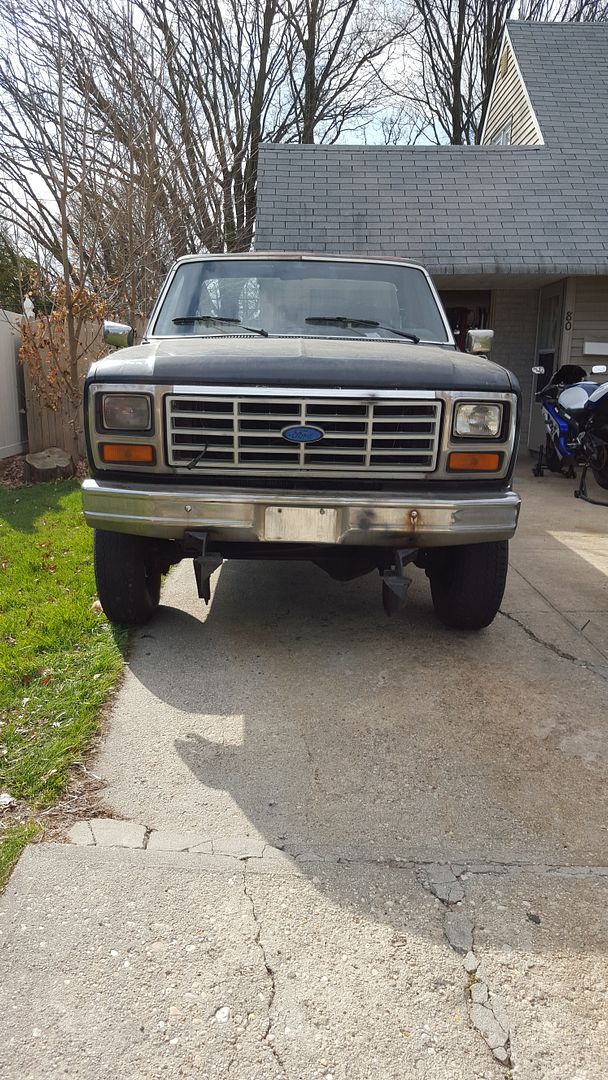
Front bumper is hanging on the drivers side and there's rust from movement around the bolt.
Plowing is very harsh on the front of the frame.
This may be a sign that the frame is cracked behind the steering box.
Very common with these trucks (in fact, I welded ANOTHER one about a month ago)
Have someone turn the steering wheel lock to lock while you stand in front of the truck and watch the bumper rise and fall.
If it's just the rail, you can weld and plate it. If the rail is torn from the crossmember you are better off finding a donor.
Trending Topics
#8
04-26-2016, 11:52 AM
Join Date: Apr 2016
Location: Long Island
Posts: 25
Likes: 0
Received 0 Likes
on
0 Posts
Thanks!
I got the hangers and shackles from RockAuto Very fast shipping, I was really how quickly I got them.
I thought about something lower or smaller but couldn't do it. If I was getting a truck it was going to be as big as possible haha. I plan on getting a welder and custom making an extra long loading ramp to help.
ArdWrknTrk
Thanks! I'll defiantly look into this, this is the sort of stuff I'm still figuring out, what to look for and if things are fixable/worth fixing. I really hope It's nothing I can't handle.
Just trying to take this thing one step at a time and not physic myself out.
Thanks,
-Matt
#9
05-03-2016, 04:49 PM
Join Date: Apr 2016
Location: Long Island
Posts: 25
Likes: 0
Received 0 Likes
on
0 Posts
Ok, not very pleased with this past weekends progress... Crappy weather and Paint for another project came in!
But to followup with what ArdWrknTrk brought up, the bumper is actually very loose from the bolts, I've been up down and all around the truck and cant see any signs of damage in the frame. The drooping plow carriage seems to be just that one sitting low? We'll all see when I start getting into the front and really find out how it all goes together.
Now the good stuff:
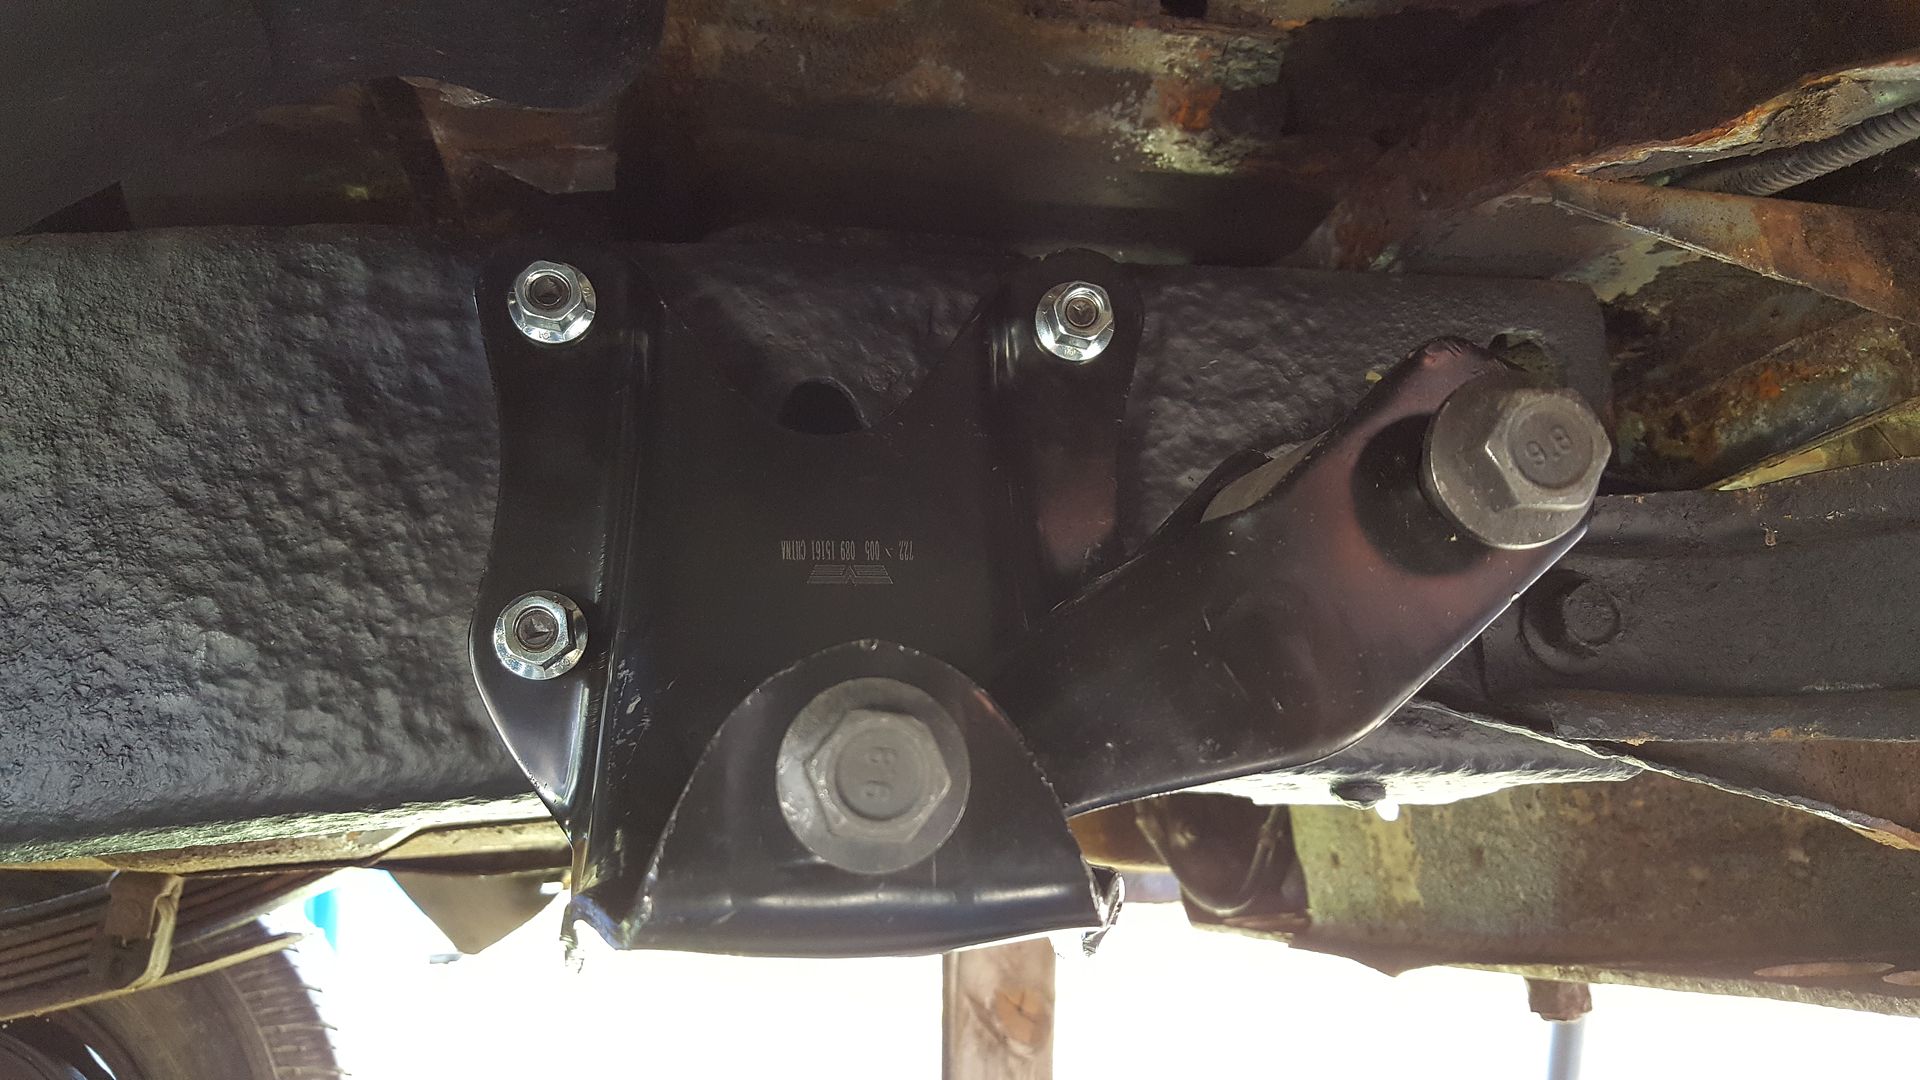
New Hanger and Shackle on the frame.
Unfortunately the other side didn't go so smoothly. The Bolt holding the shackle to the leaf spring bushing is rusted in place...
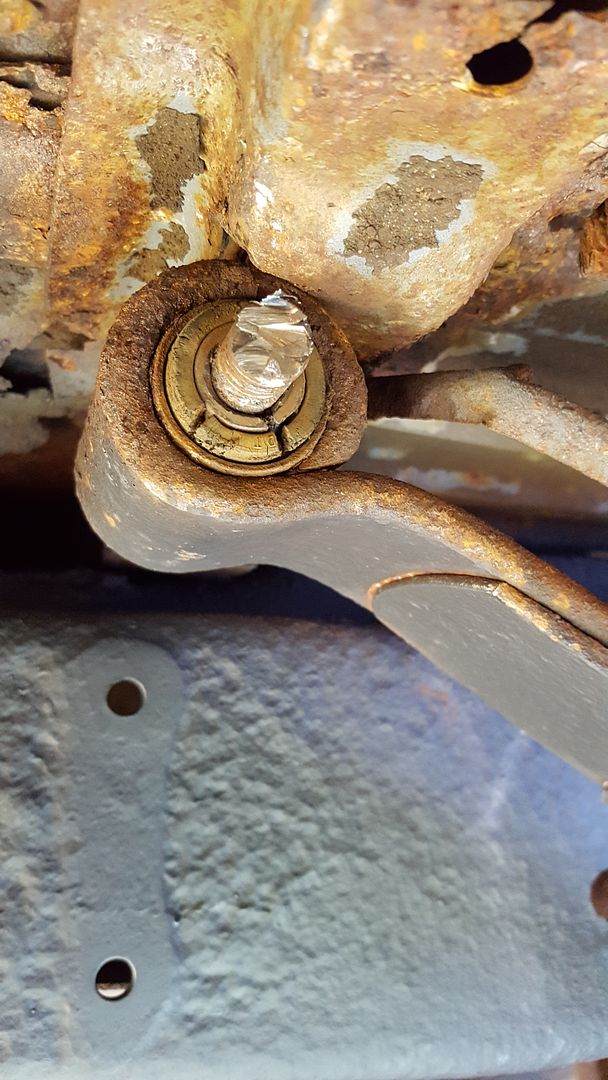
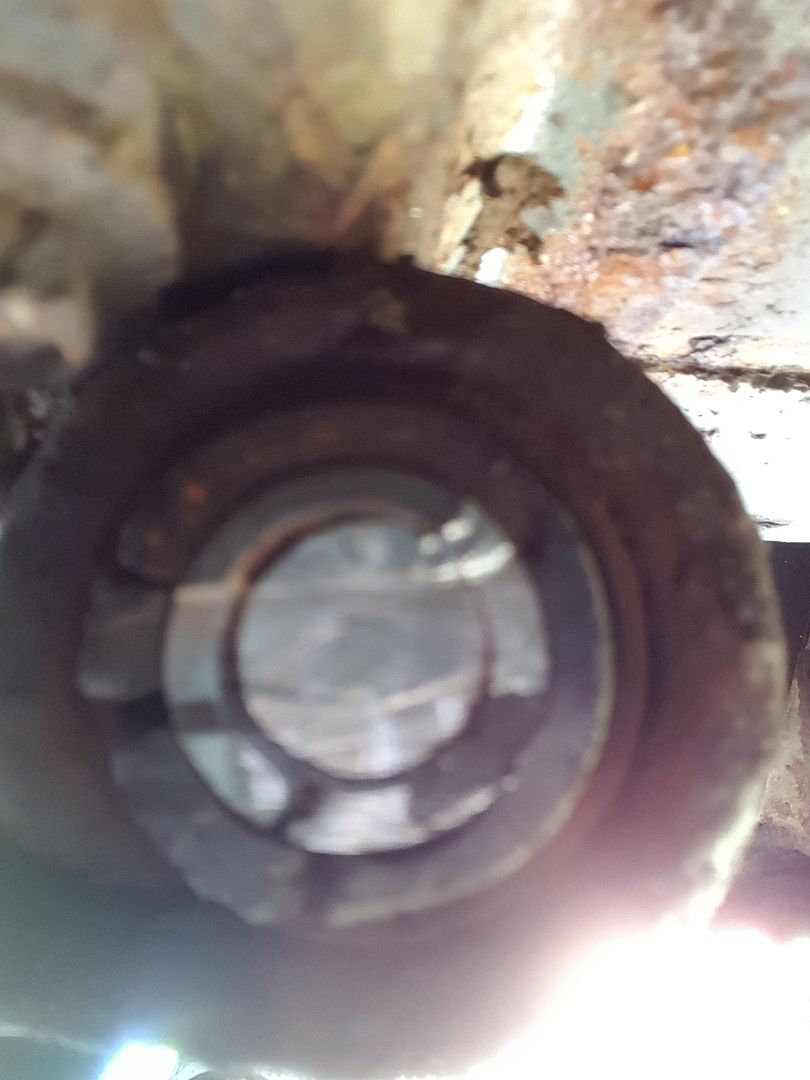
Chopped off both sides and gave it hell with a 3lb mallet and nothing...
Any Suggestions?
As of now the plan is just to cut/grind it down as far as possible and try to drill it out.
Also open to suggestions on getting those bushings out/new in
On the bright side. The paint for my bike tank came in so...
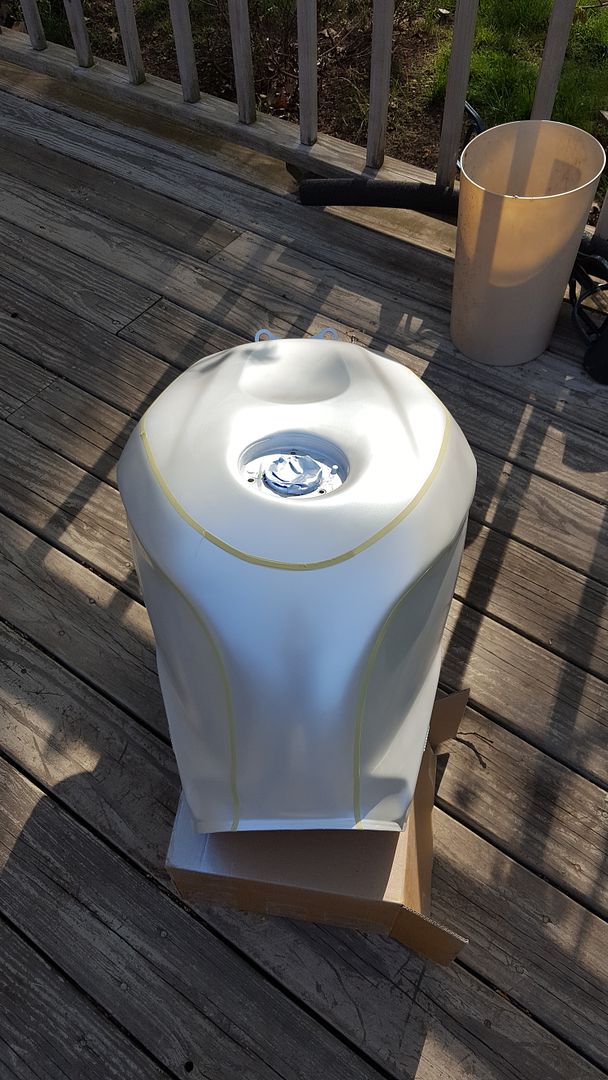
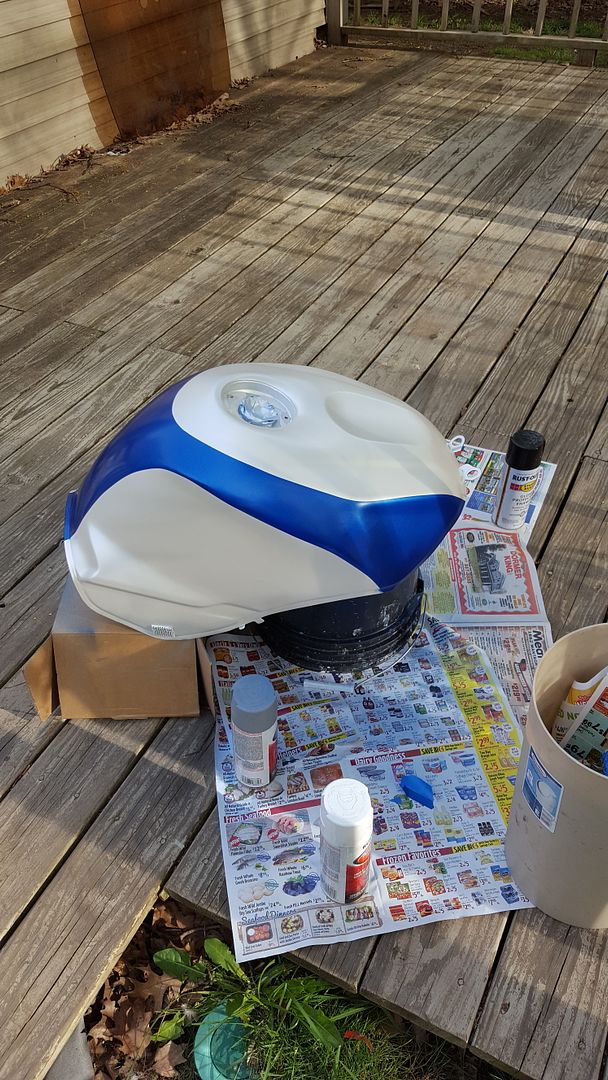
Just a pear white with metallic blue out of rattle cans. Turning it into a track bike so just trying to have some fun with it. Cutting custom vinyl graphics and numbers for it before clear!! #37 haha
-Matt
#10
05-03-2016, 05:58 PM
If you are going to replace the rubber bushings any way burn them out with a torch.
Then you just have to deal with the outer metal shell hammer & chisel should get it out. Better yet if you have air hammer that would drive the metal out in no time.
IIRC someone used threaded rod, nuts to fit, large socket and large washers to pull the bushings into place.
Dave ----
Then you just have to deal with the outer metal shell hammer & chisel should get it out. Better yet if you have air hammer that would drive the metal out in no time.
IIRC someone used threaded rod, nuts to fit, large socket and large washers to pull the bushings into place.
Dave ----
#11
05-03-2016, 06:29 PM
Logistics Pro
For the spring eye bushings, go rent a ball joint press and find some pipe to use as appropriate spacers. I used the ball joint press on mine to get them out most of the way then air hammered them out the rest of the way. It's not a fun job at all!
If you use polyurethane bushings they are 3 piece, they push in by hand. Super easy re installation.
If you use polyurethane bushings they are 3 piece, they push in by hand. Super easy re installation.
#12
05-03-2016, 06:29 PM
X2 on what Dave said about burning the bushing out.
A piece of all-thread and a few sturdy washers will pull the new ones in if you don't have a press.
Gary Lewis can tell you that the frame rail cracks *behind* the steering box.
The best way to tell is -like I said- have someone turn the wheel lock to lock while you look from the front.
A piece of all-thread and a few sturdy washers will pull the new ones in if you don't have a press.
Gary Lewis can tell you that the frame rail cracks *behind* the steering box.
The best way to tell is -like I said- have someone turn the wheel lock to lock while you look from the front.
#13
05-03-2016, 07:19 PM
For the spring eye bushings, go rent a ball joint press and find some pipe to use as appropriate spacers. I used the ball joint press on mine to get them out most of the way then air hammered them out the rest of the way. It's not a fun job at all!
If you use polyurethane bushings they are 3 piece, they push in by hand. Super easy re installation.
If you use polyurethane bushings they are 3 piece, they push in by hand. Super easy re installation.
Dave ----
#14
05-03-2016, 07:43 PM
Join Date: Apr 2016
Location: Long Island
Posts: 25
Likes: 0
Received 0 Likes
on
0 Posts
The RockAuto kit came with new bushings, not poly but was a good deal. I already raided the local home depot with $6 worth of threaded rod, washers, nuts and pipe pieces lol
I'll try and get someone to turn the wheel and check if it wiggles this weekend.
I was thinking about a jaw puller tool but figured there wasn't enough of an edge for it to grab.
I'll try and get someone to turn the wheel and check if it wiggles this weekend.
I was thinking about a jaw puller tool but figured there wasn't enough of an edge for it to grab.
#15
05-03-2016, 09:46 PM
Logistics Pro
Some are, the energy suspension bushings I bought were not that way. No metal sleeve used. It depends on what style bushings are in the rear shackle that determines what kit you buy.