1967 - 1972 F-100 & Larger F-Series Trucks Discuss the Bumpsides Ford Truck

Grumps 72 F100 Build

Thread Tools
 
Search this Thread
 
  #31  
Old 01-28-2016, 08:53 PM
Grumps Garage's Avatar
Grumps Garage
Grumps Garage is offline
Freshman User
Thread Starter
Join Date: Feb 2015
Posts: 38
Likes: 0
Received 0 Likes on 0 Posts
Pulled out the hot wrench and freedom these from the crown vic frame
 
Attached Images  
  #32  
Old 02-02-2016, 01:32 PM
ford_pickup's Avatar
ford_pickup
ford_pickup is offline
Elder User
Join Date: Dec 2010
Location: Liberty Hill, Tx
Posts: 618
Likes: 0
Received 0 Likes on 0 Posts
Awesome Job on a Great Truck, looking forward to seeing progress
 
  #33  
Old 02-11-2016, 01:45 AM
Grumps Garage's Avatar
Grumps Garage
Grumps Garage is offline
Freshman User
Thread Starter
Join Date: Feb 2015
Posts: 38
Likes: 0
Received 0 Likes on 0 Posts
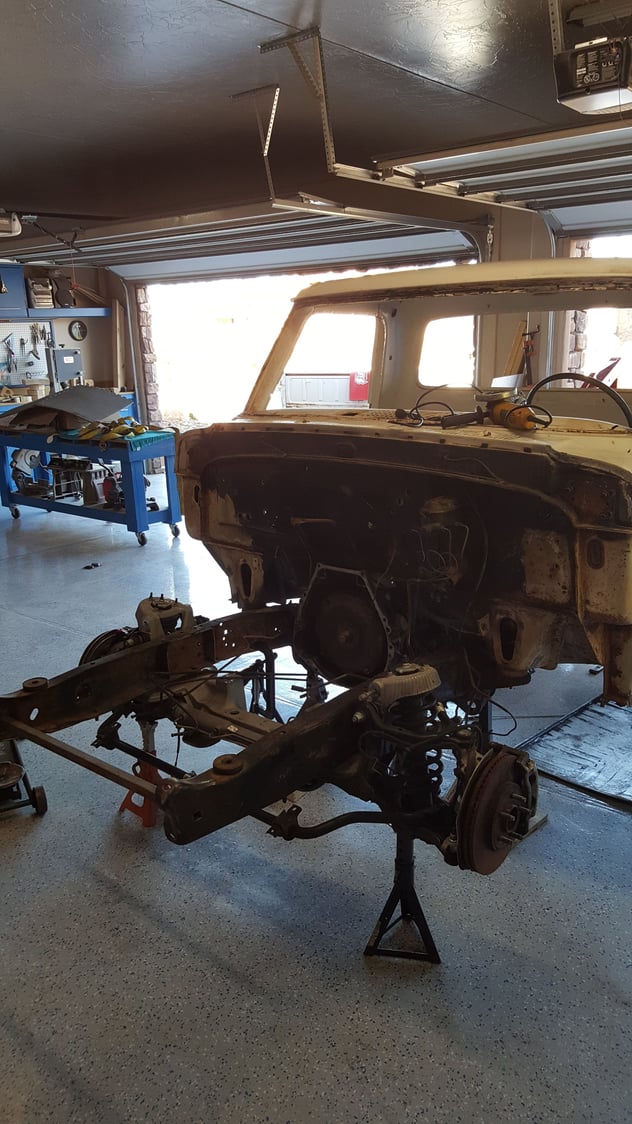
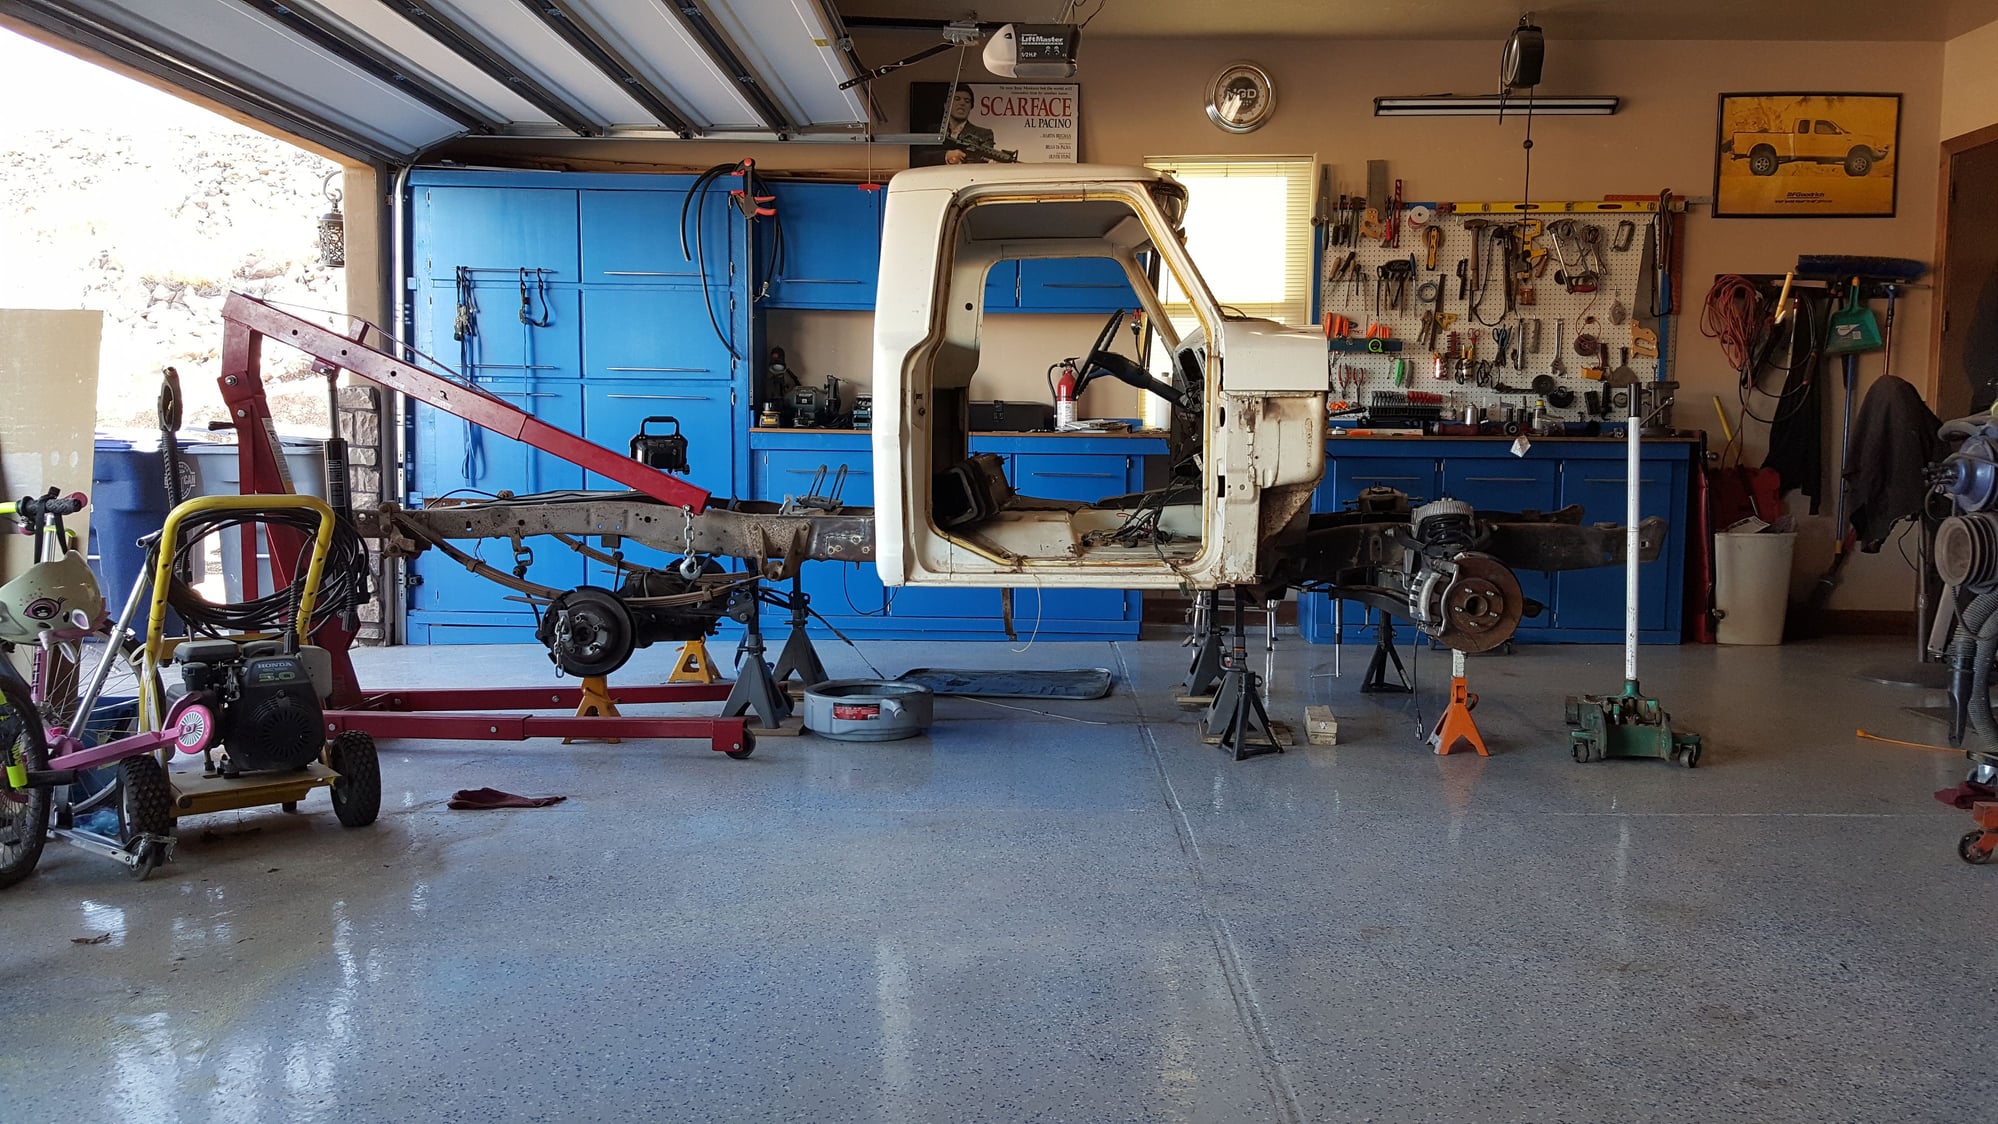
Started ripping and tearing the front suspension out, about that time I realized I didn't mark the center line ofor the front hubs
 
  #34  
Old 02-11-2016, 01:48 AM
Grumps Garage's Avatar
Grumps Garage
Grumps Garage is offline
Freshman User
Thread Starter
Join Date: Feb 2015
Posts: 38
Likes: 0
Received 0 Likes on 0 Posts
Removing the rivets from the coil buckets is a real treat, many cuss words were muttered!
 
  #35  
Old 02-11-2016, 02:00 AM
Grumps Garage's Avatar
Grumps Garage
Grumps Garage is offline
Freshman User
Thread Starter
Join Date: Feb 2015
Posts: 38
Likes: 0
Received 0 Likes on 0 Posts


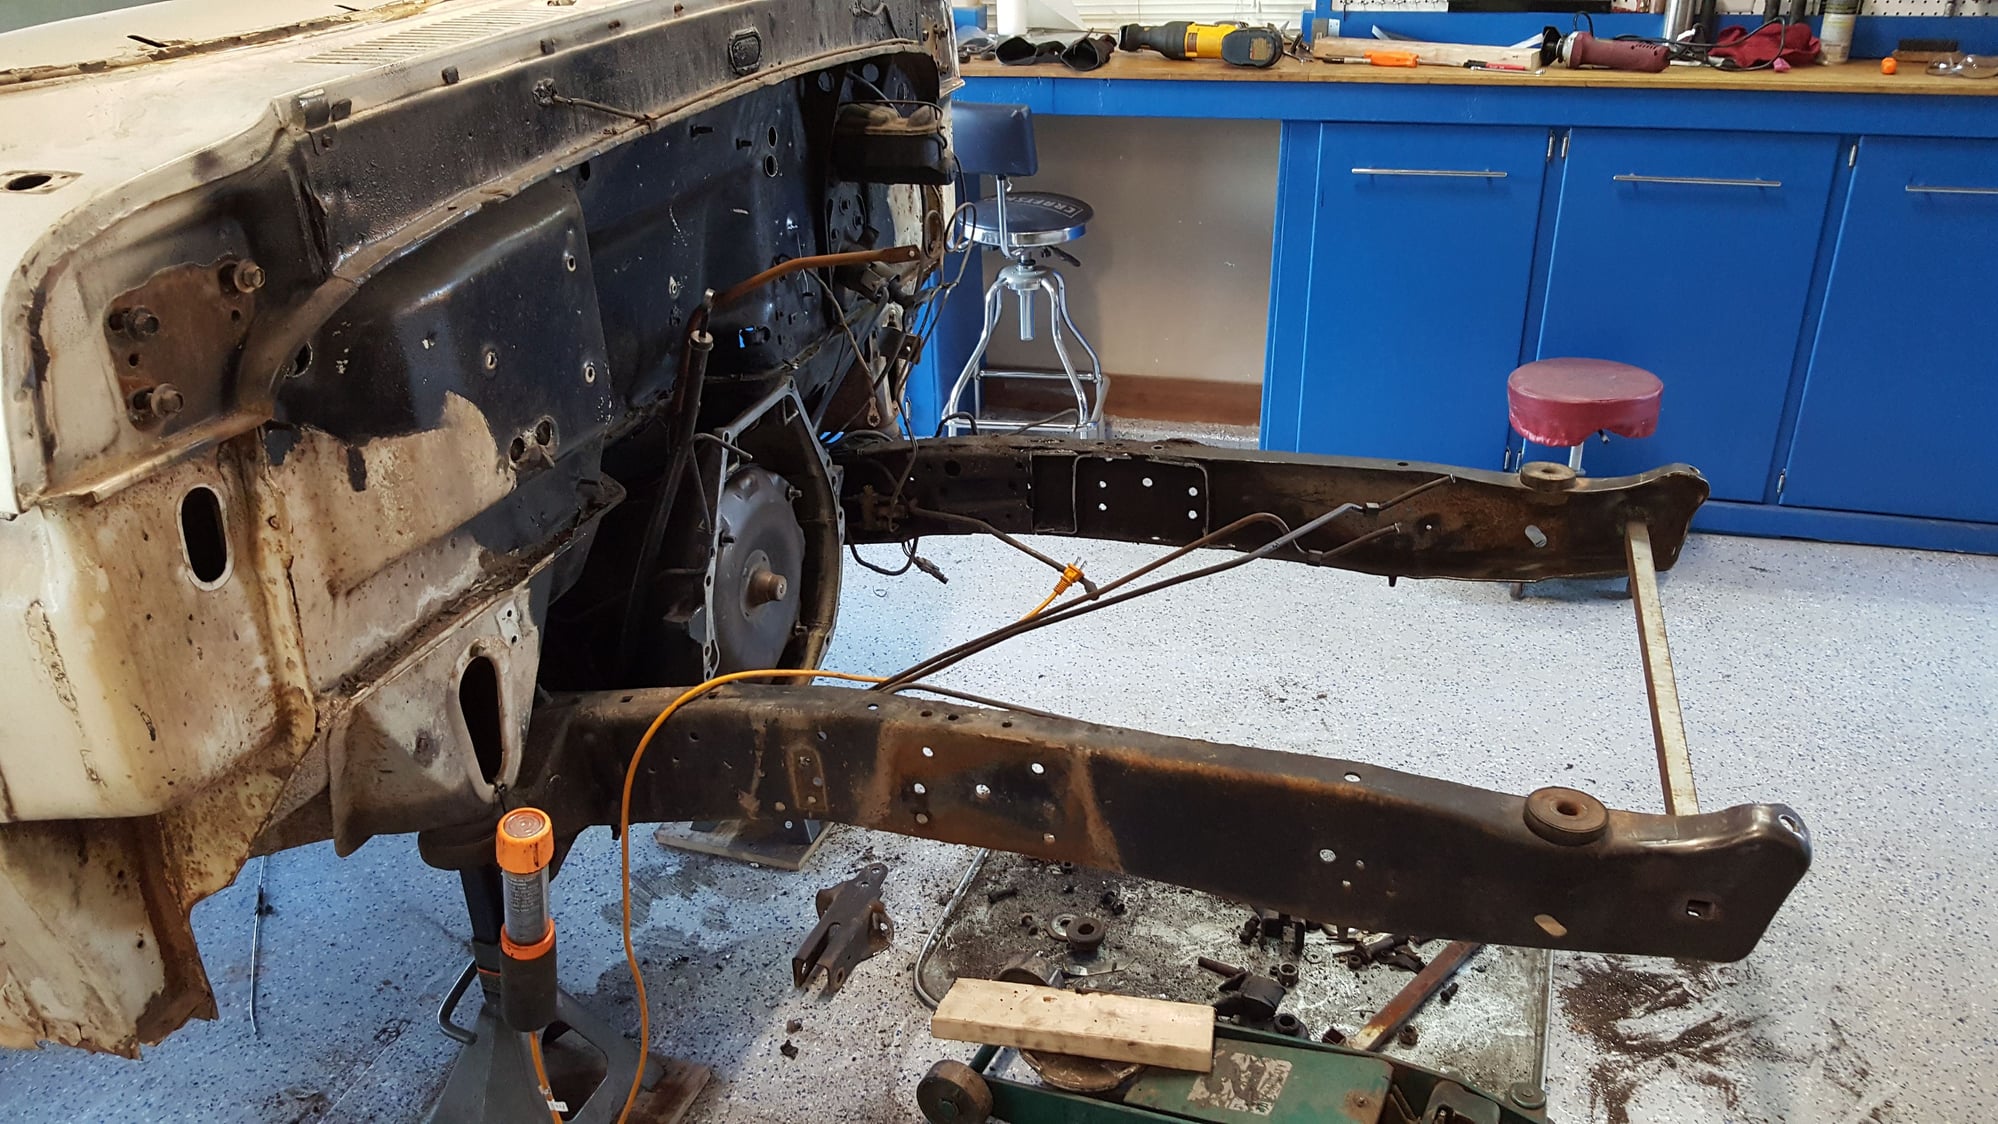
Just a few Sawzall blades gave their life to cut this cross member out.
 
  #36  
Old 02-11-2016, 02:04 AM
Grumps Garage's Avatar
Grumps Garage
Grumps Garage is offline
Freshman User
Thread Starter
Join Date: Feb 2015
Posts: 38
Likes: 0
Received 0 Likes on 0 Posts
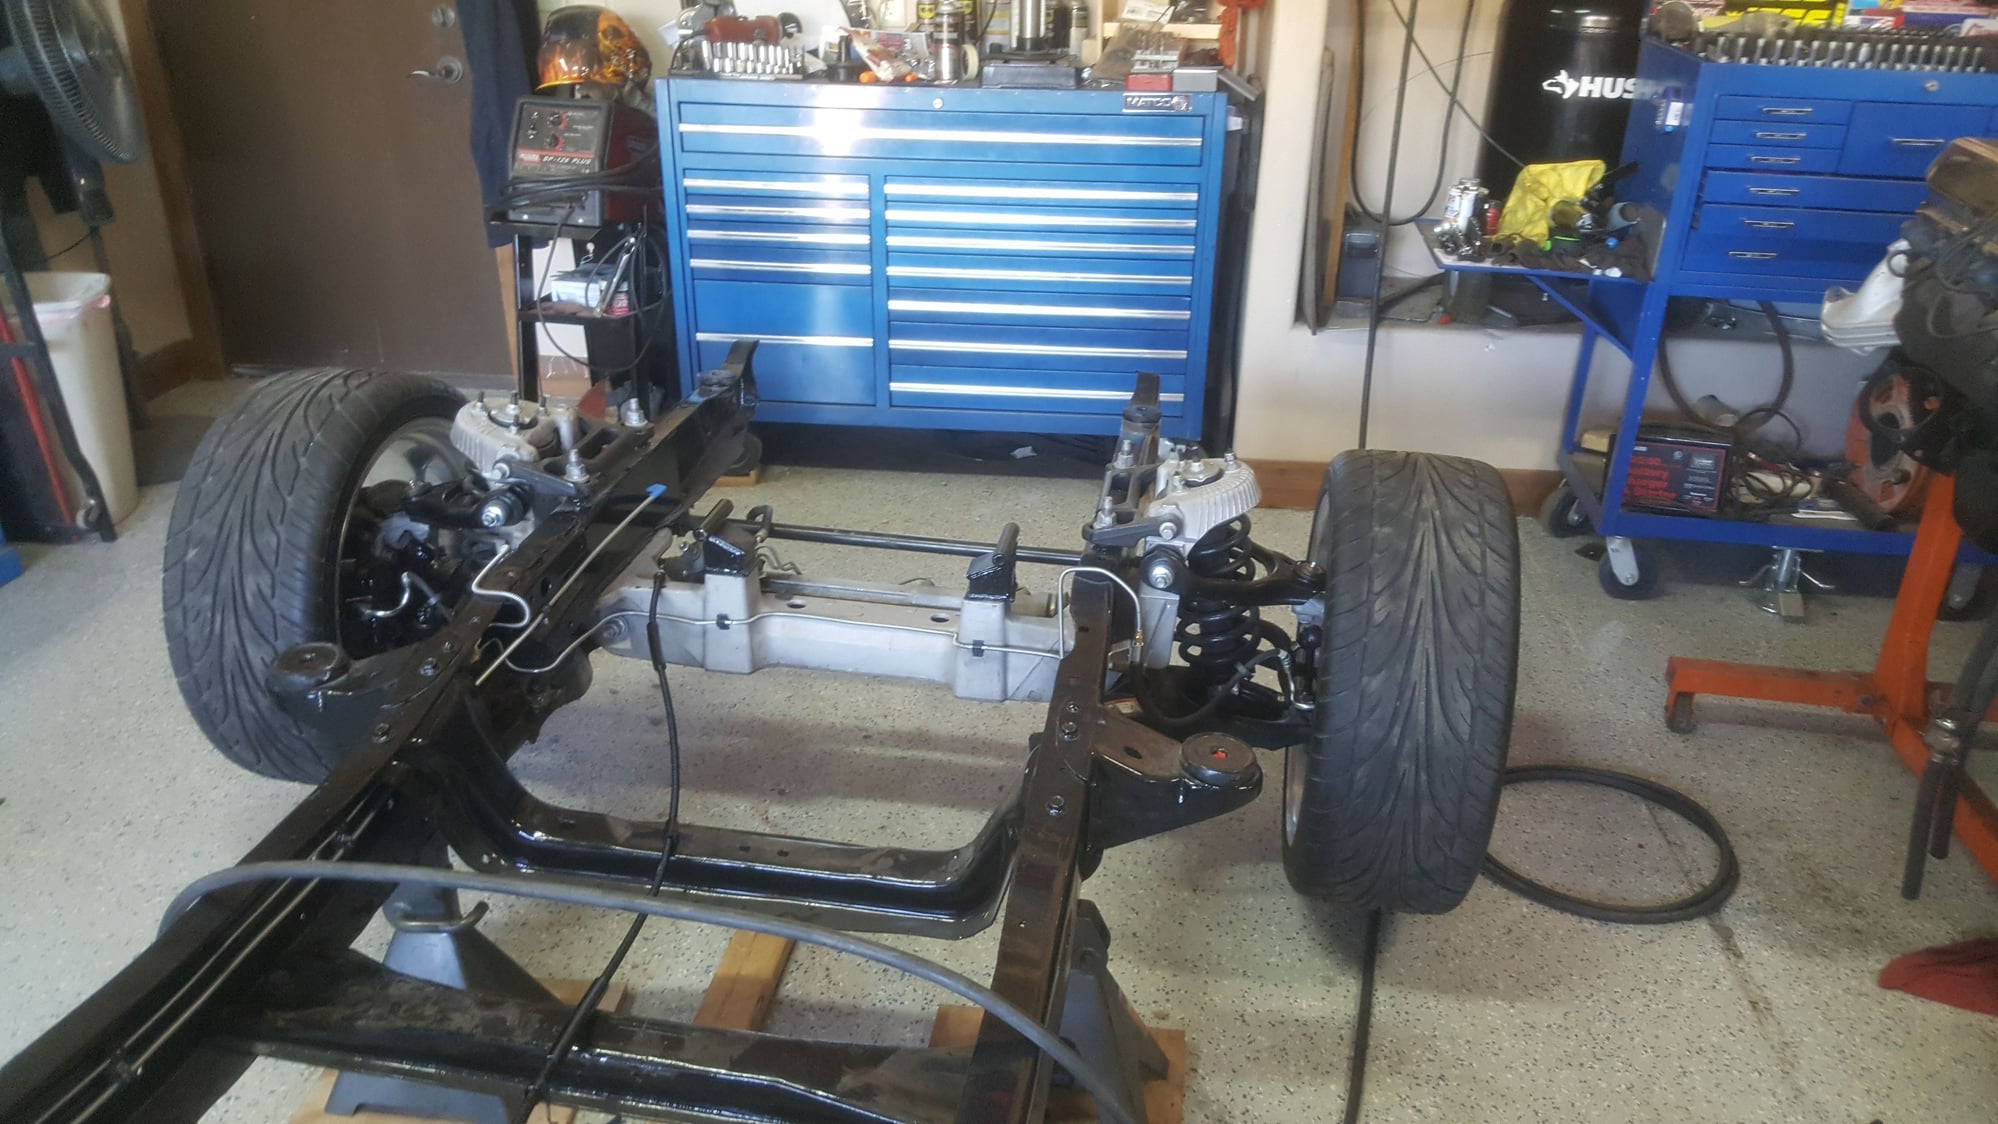
Mocked up the new front suspension, lowering the rear suspension will be a must.


  #37  
Old 01-20-2017, 06:33 PM
Grumps Garage's Avatar
Grumps Garage
Grumps Garage is offline
Freshman User
Thread Starter
Join Date: Feb 2015
Posts: 38
Likes: 0
Received 0 Likes on 0 Posts
It's been awhile since I posted any updates, but the winter weather has slowed my progress. So I thought I'd catch everybody up on my project.



Here the Crown Vic suspension is located and the mounting bolts installed.


A little frame clean up is in order, with the angle grinder and a cup brush.<br/>



The rear suspension mount all welded up, almost ready for some por-15.



All cleaned up with a nice coat of por-15



Suspension all installed.
 
  #38  
Old 01-20-2017, 06:43 PM
Grumps Garage's Avatar
Grumps Garage
Grumps Garage is offline
Freshman User
Thread Starter
Join Date: Feb 2015
Posts: 38
Likes: 0
Received 0 Likes on 0 Posts


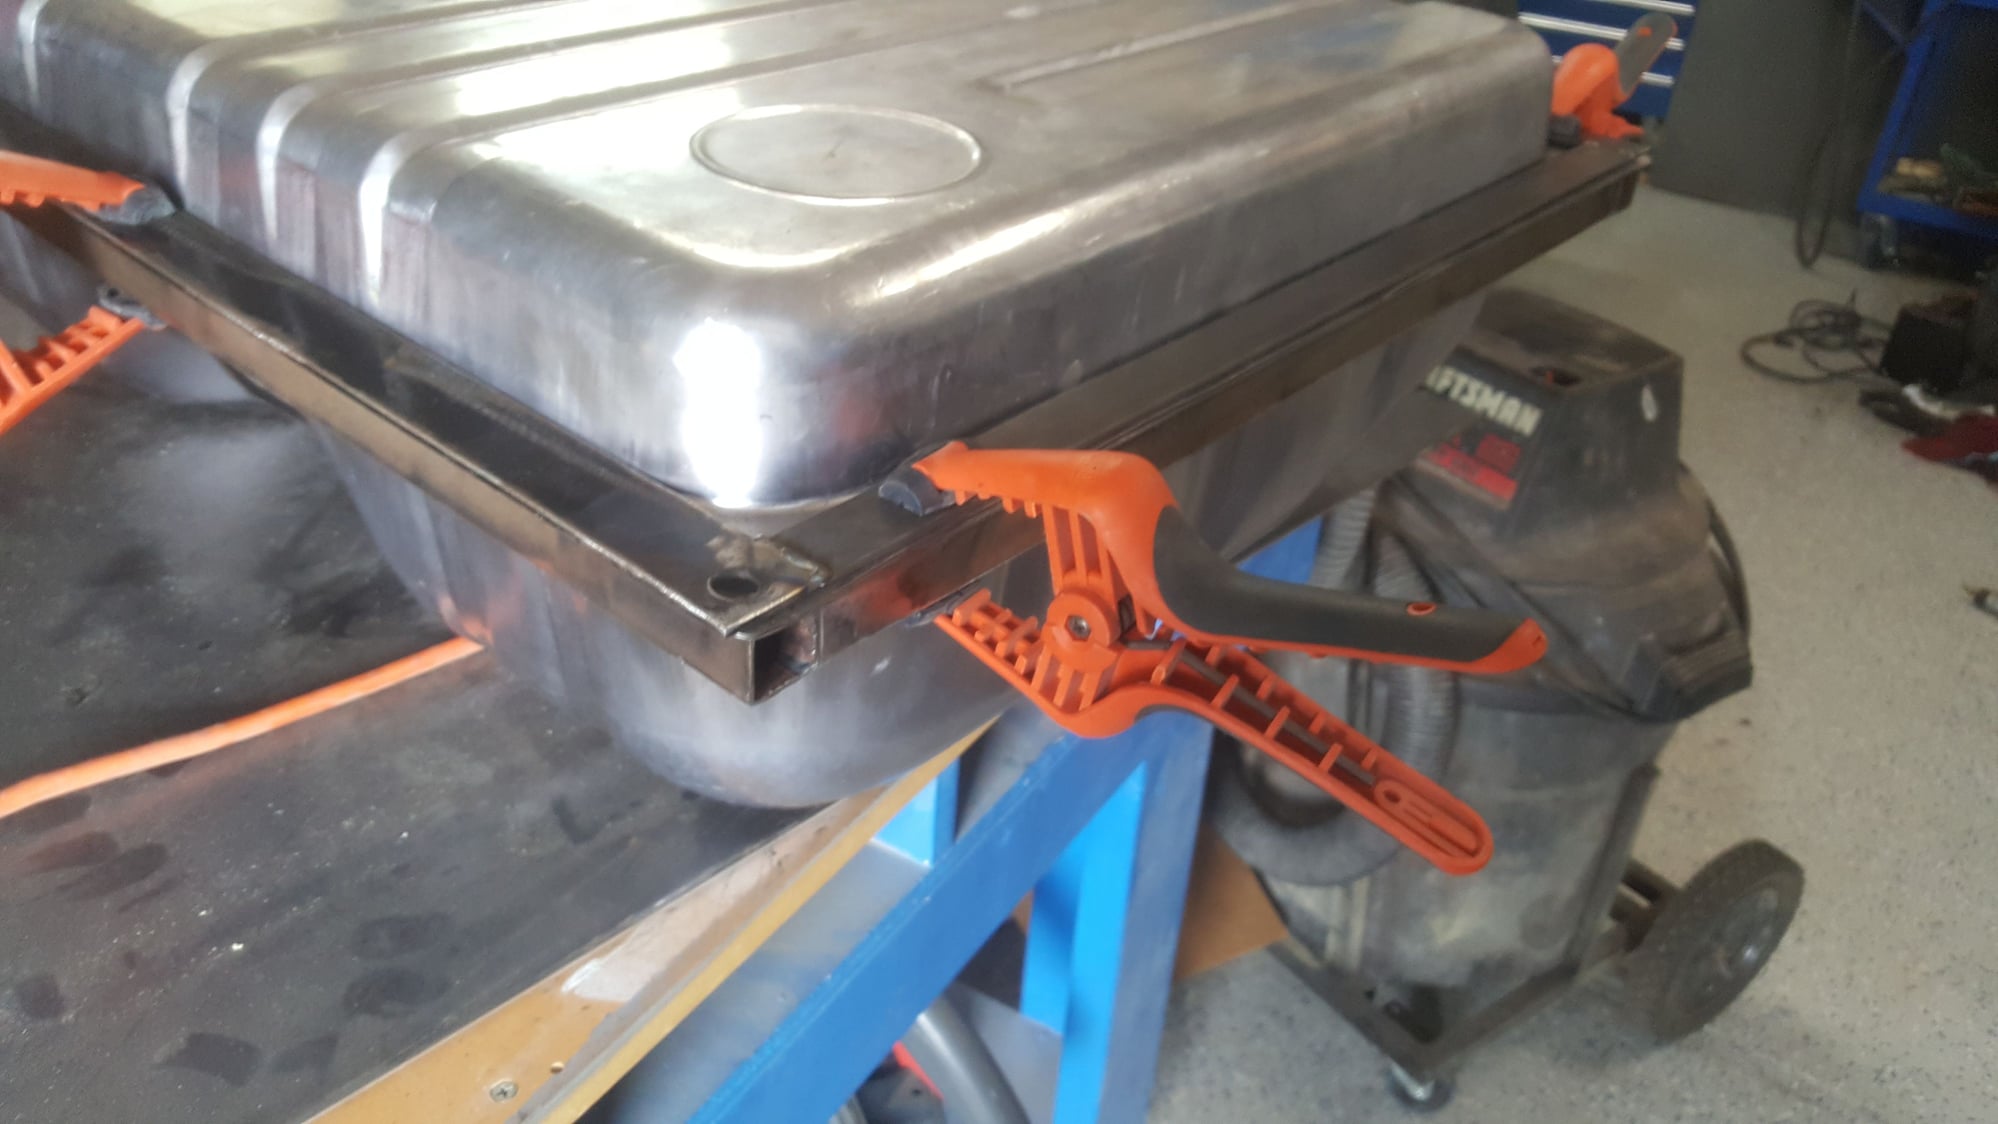
Installing a 1969 Mustang betweenn the frame rails. made s support out of square tubing.
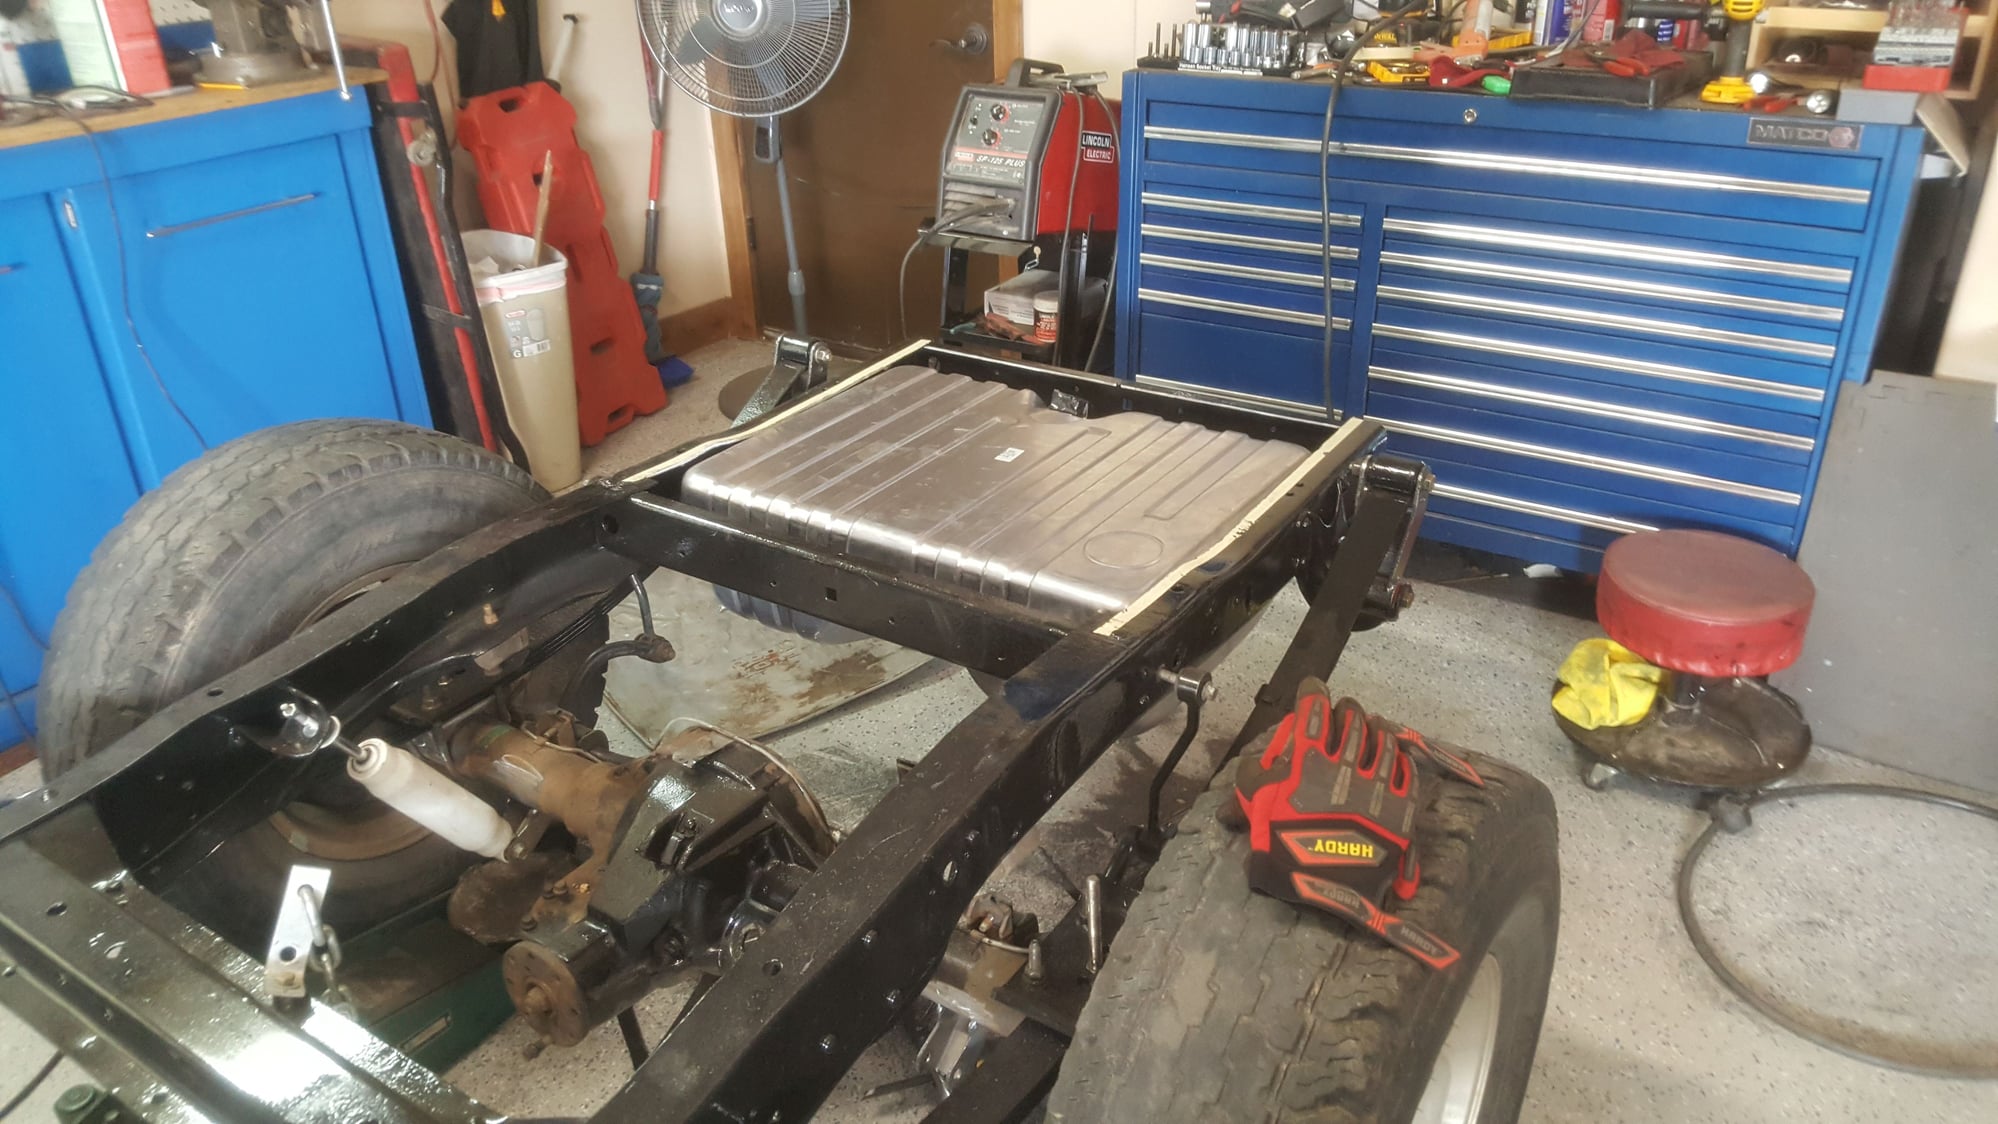


Tight fit .
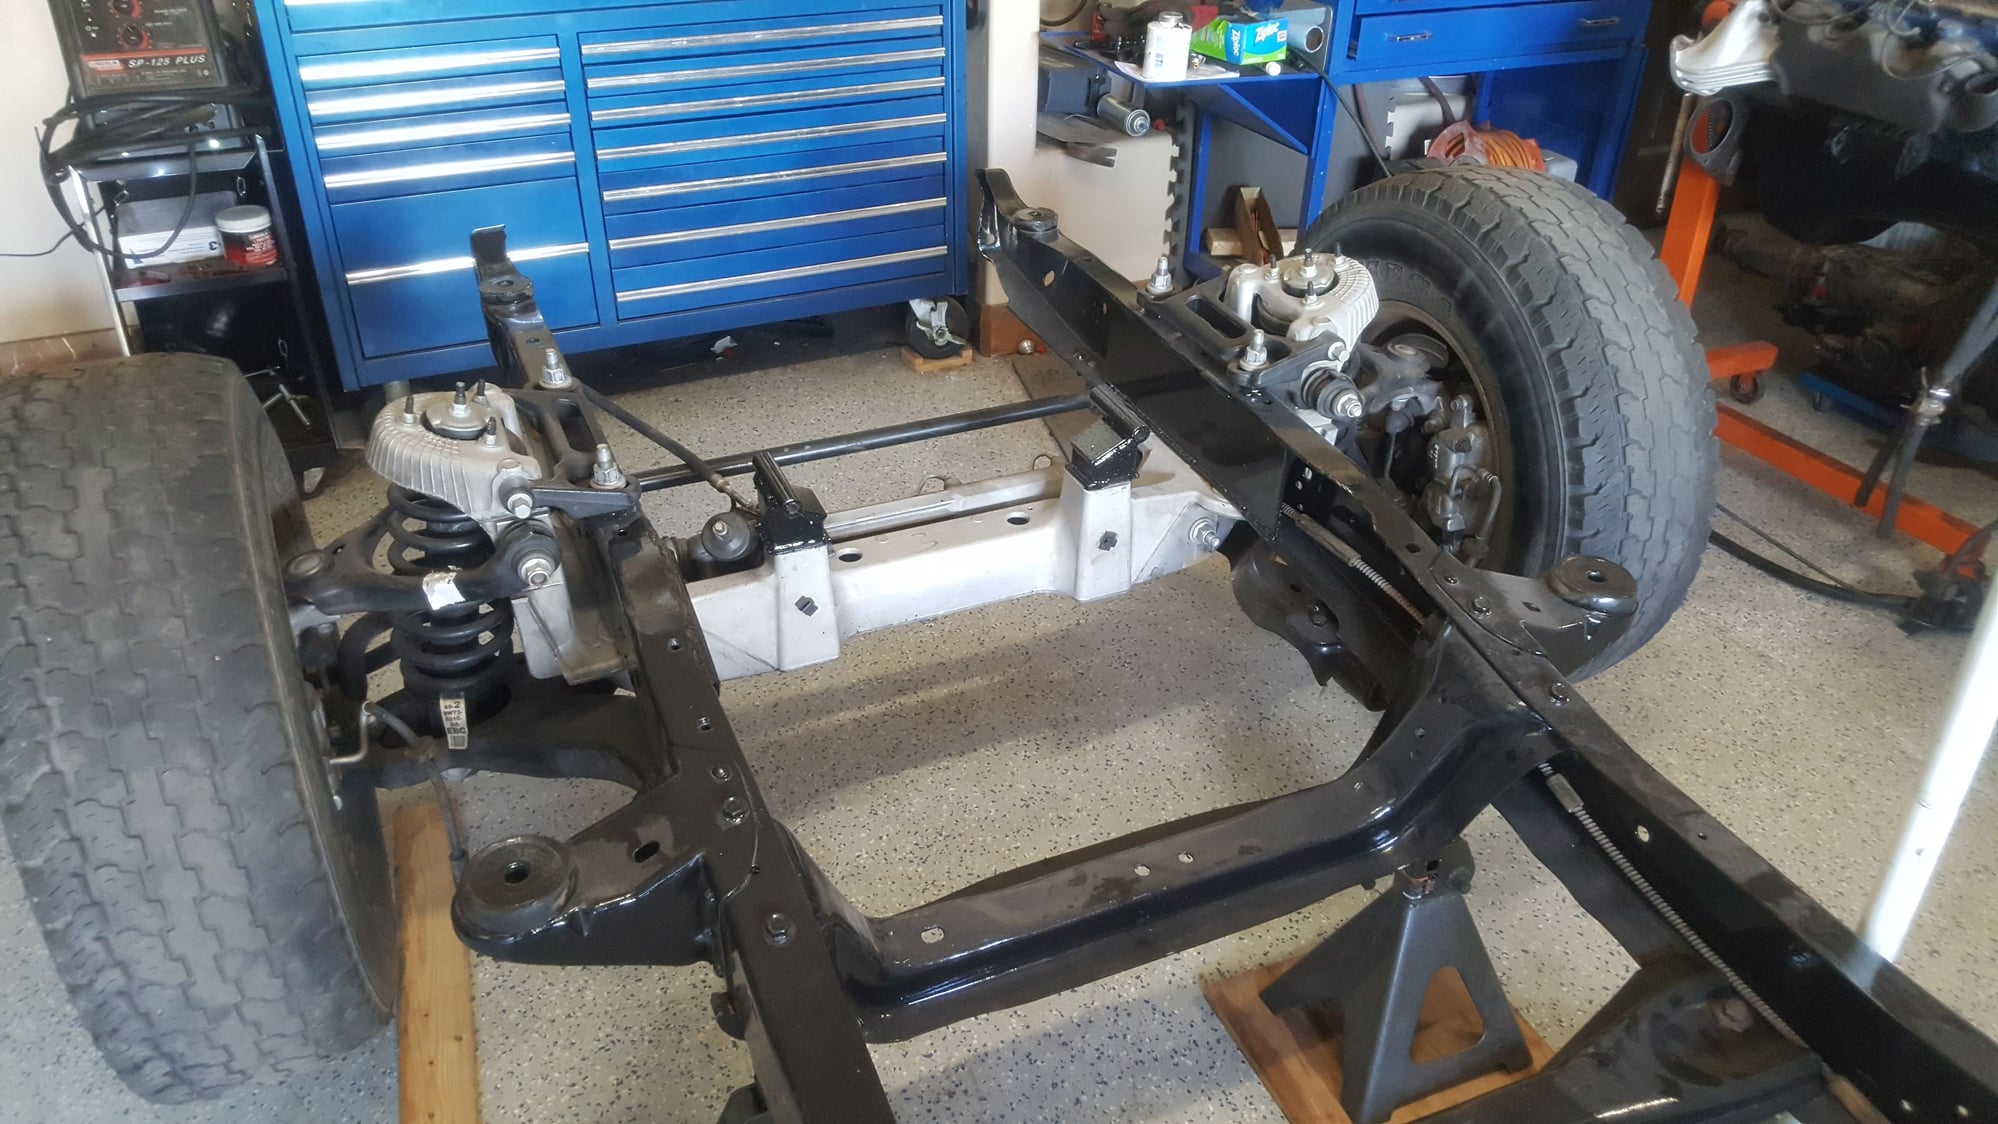


Motor mounts for the 460 installed on the suspension cradle.


Mounted up to the block and welded up.<br/>
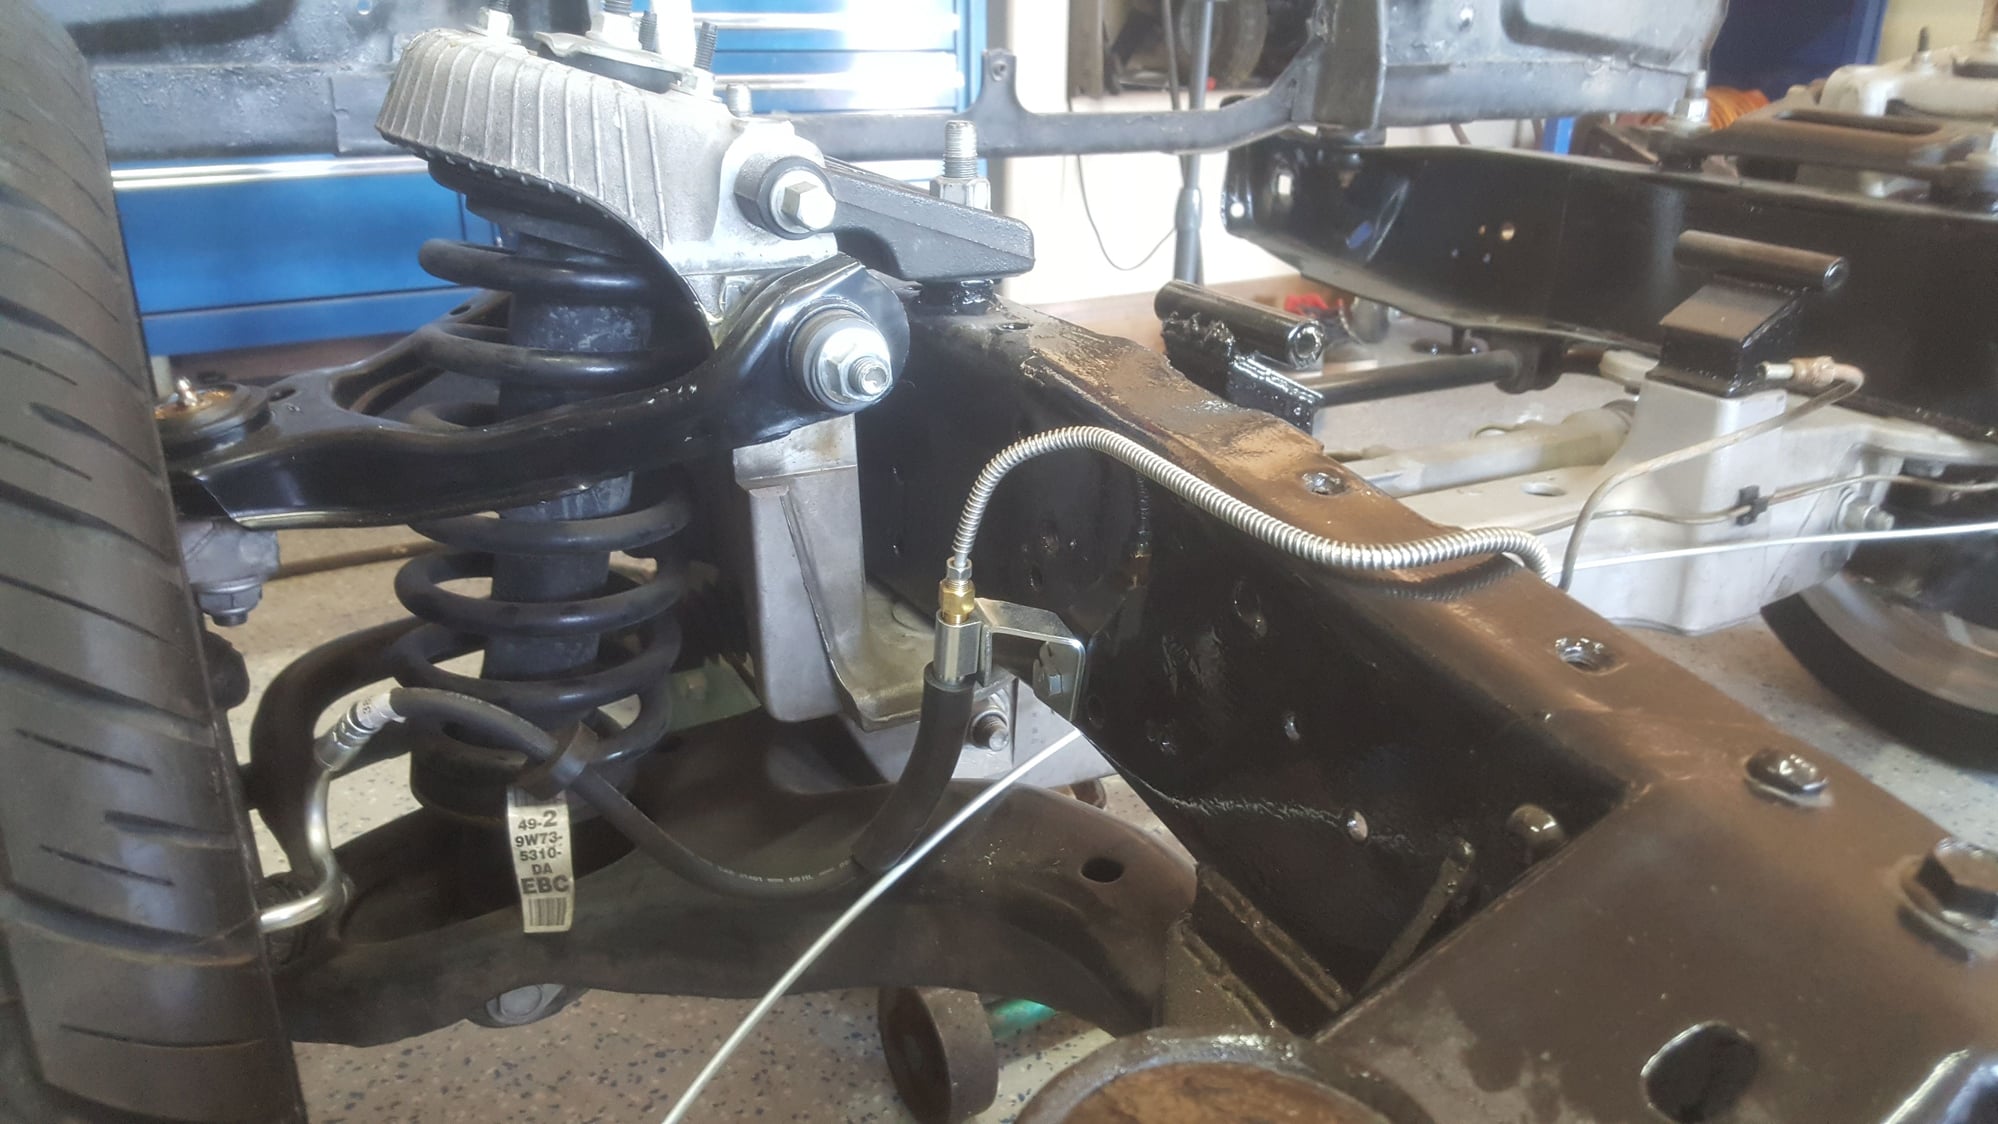


Brake lines installed.
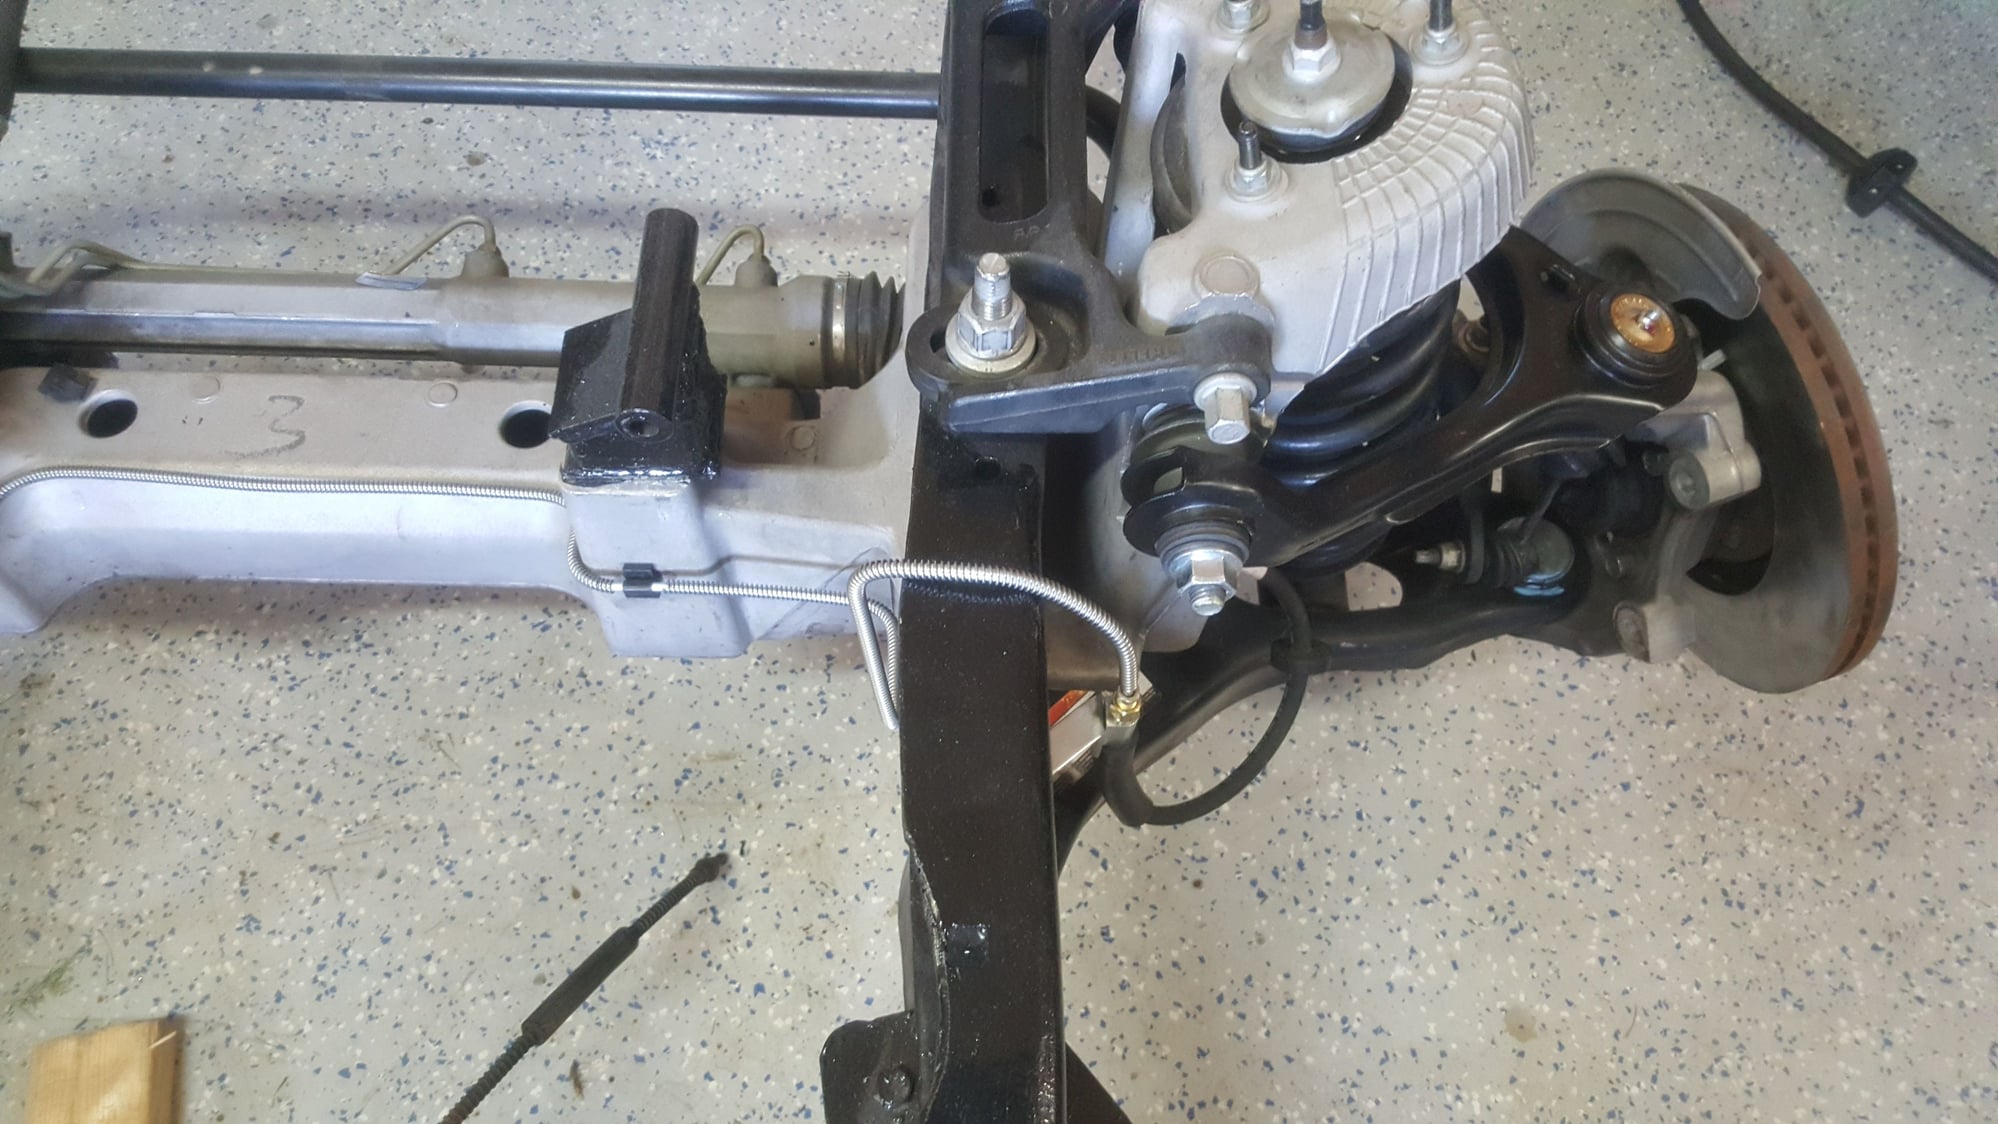


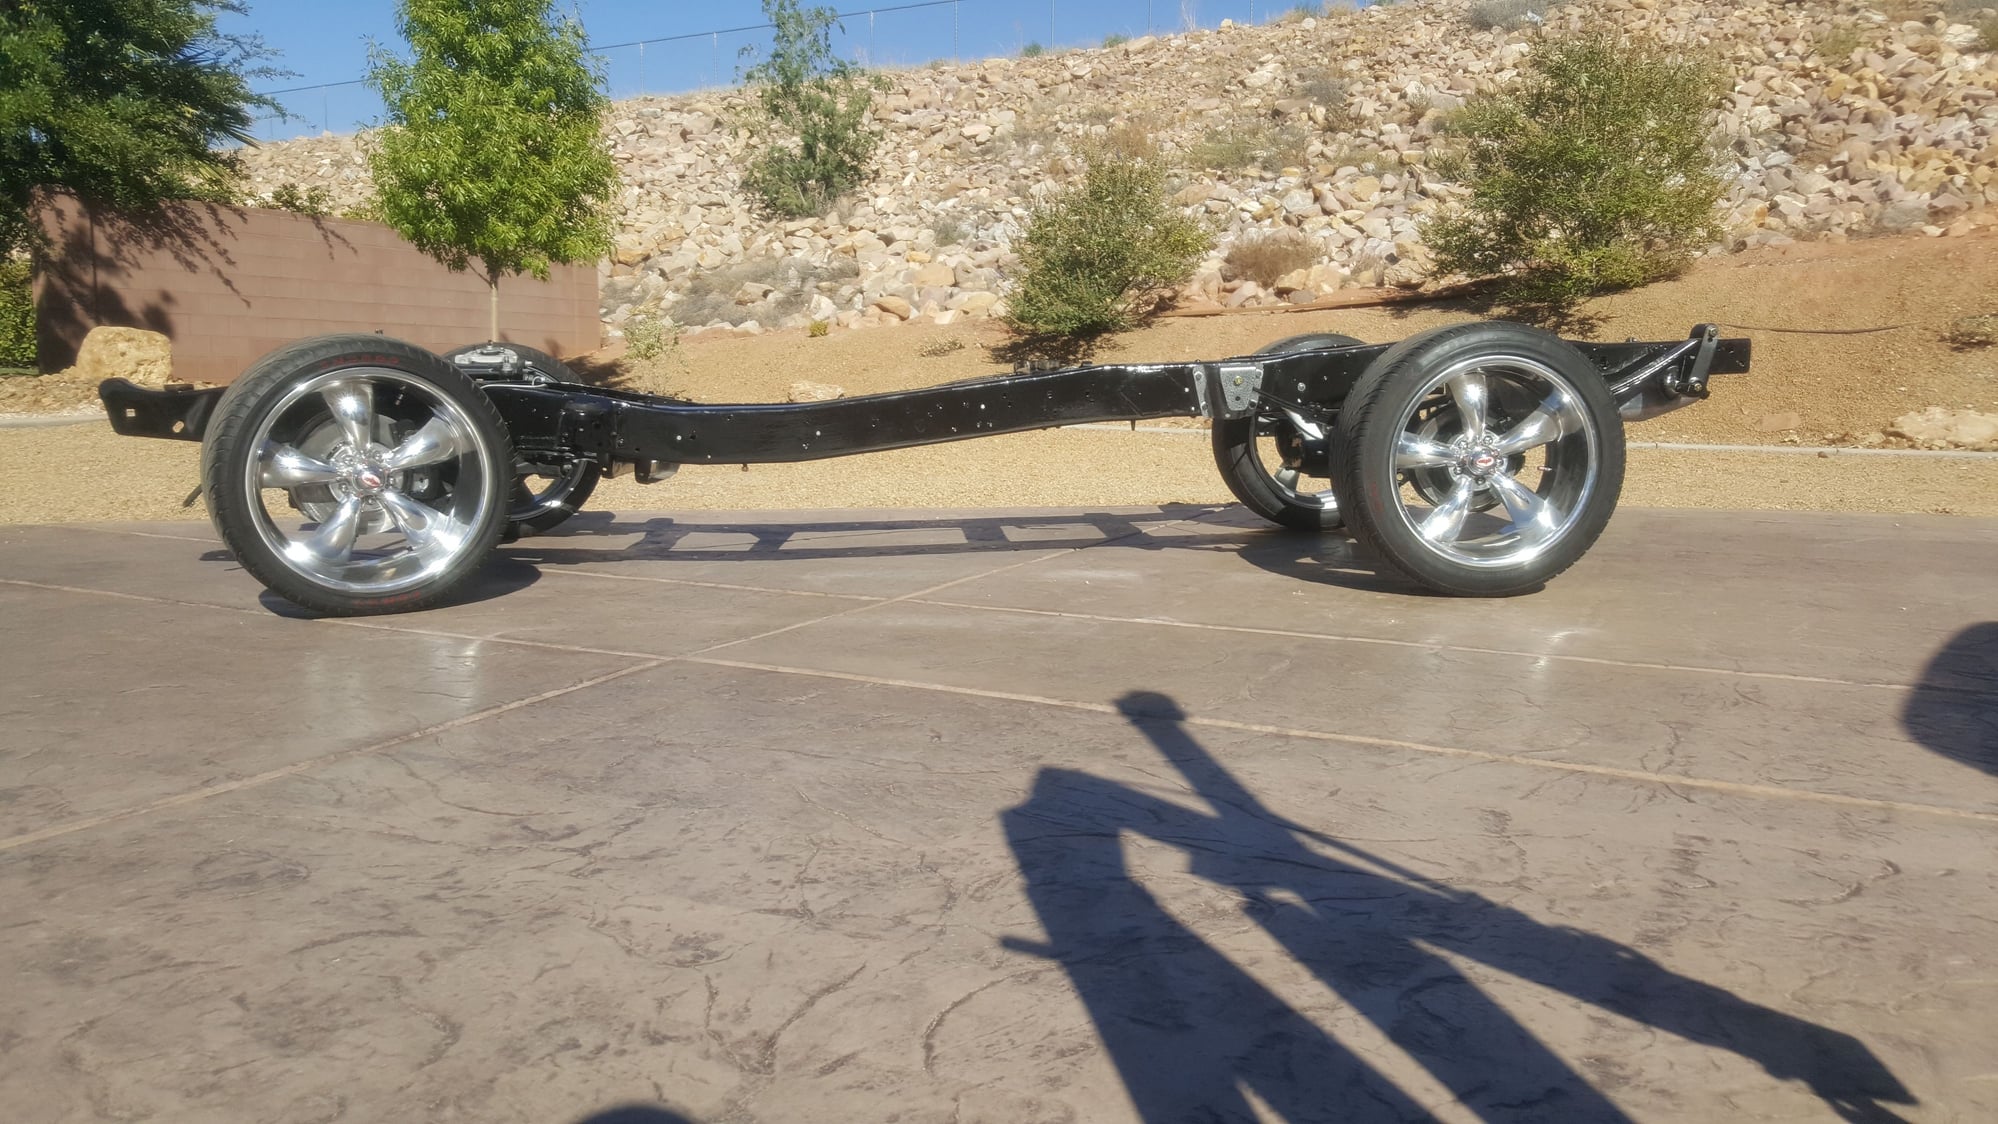
Really starting to look like something.
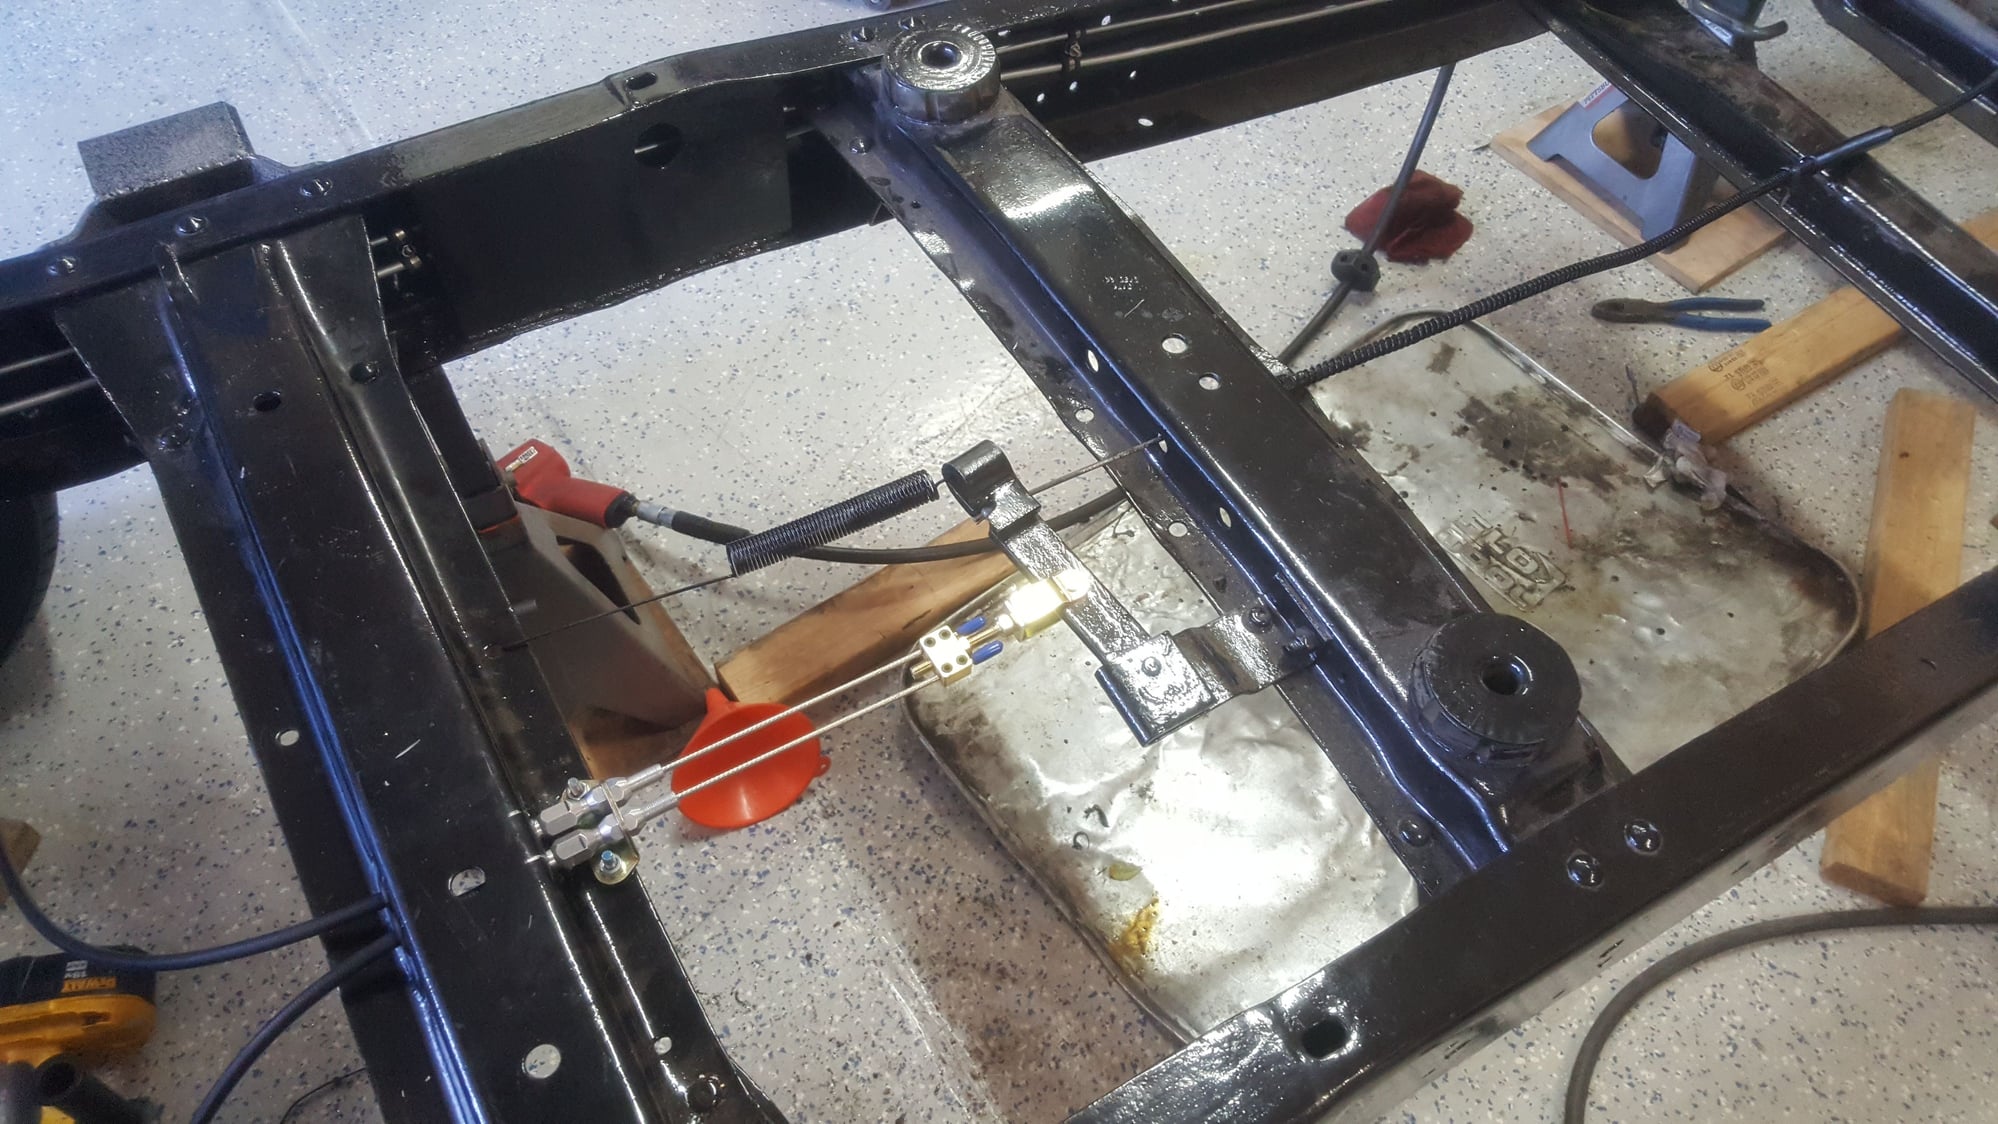


Got the Lokar Parking Brake Cable all mounted up, nice set up.
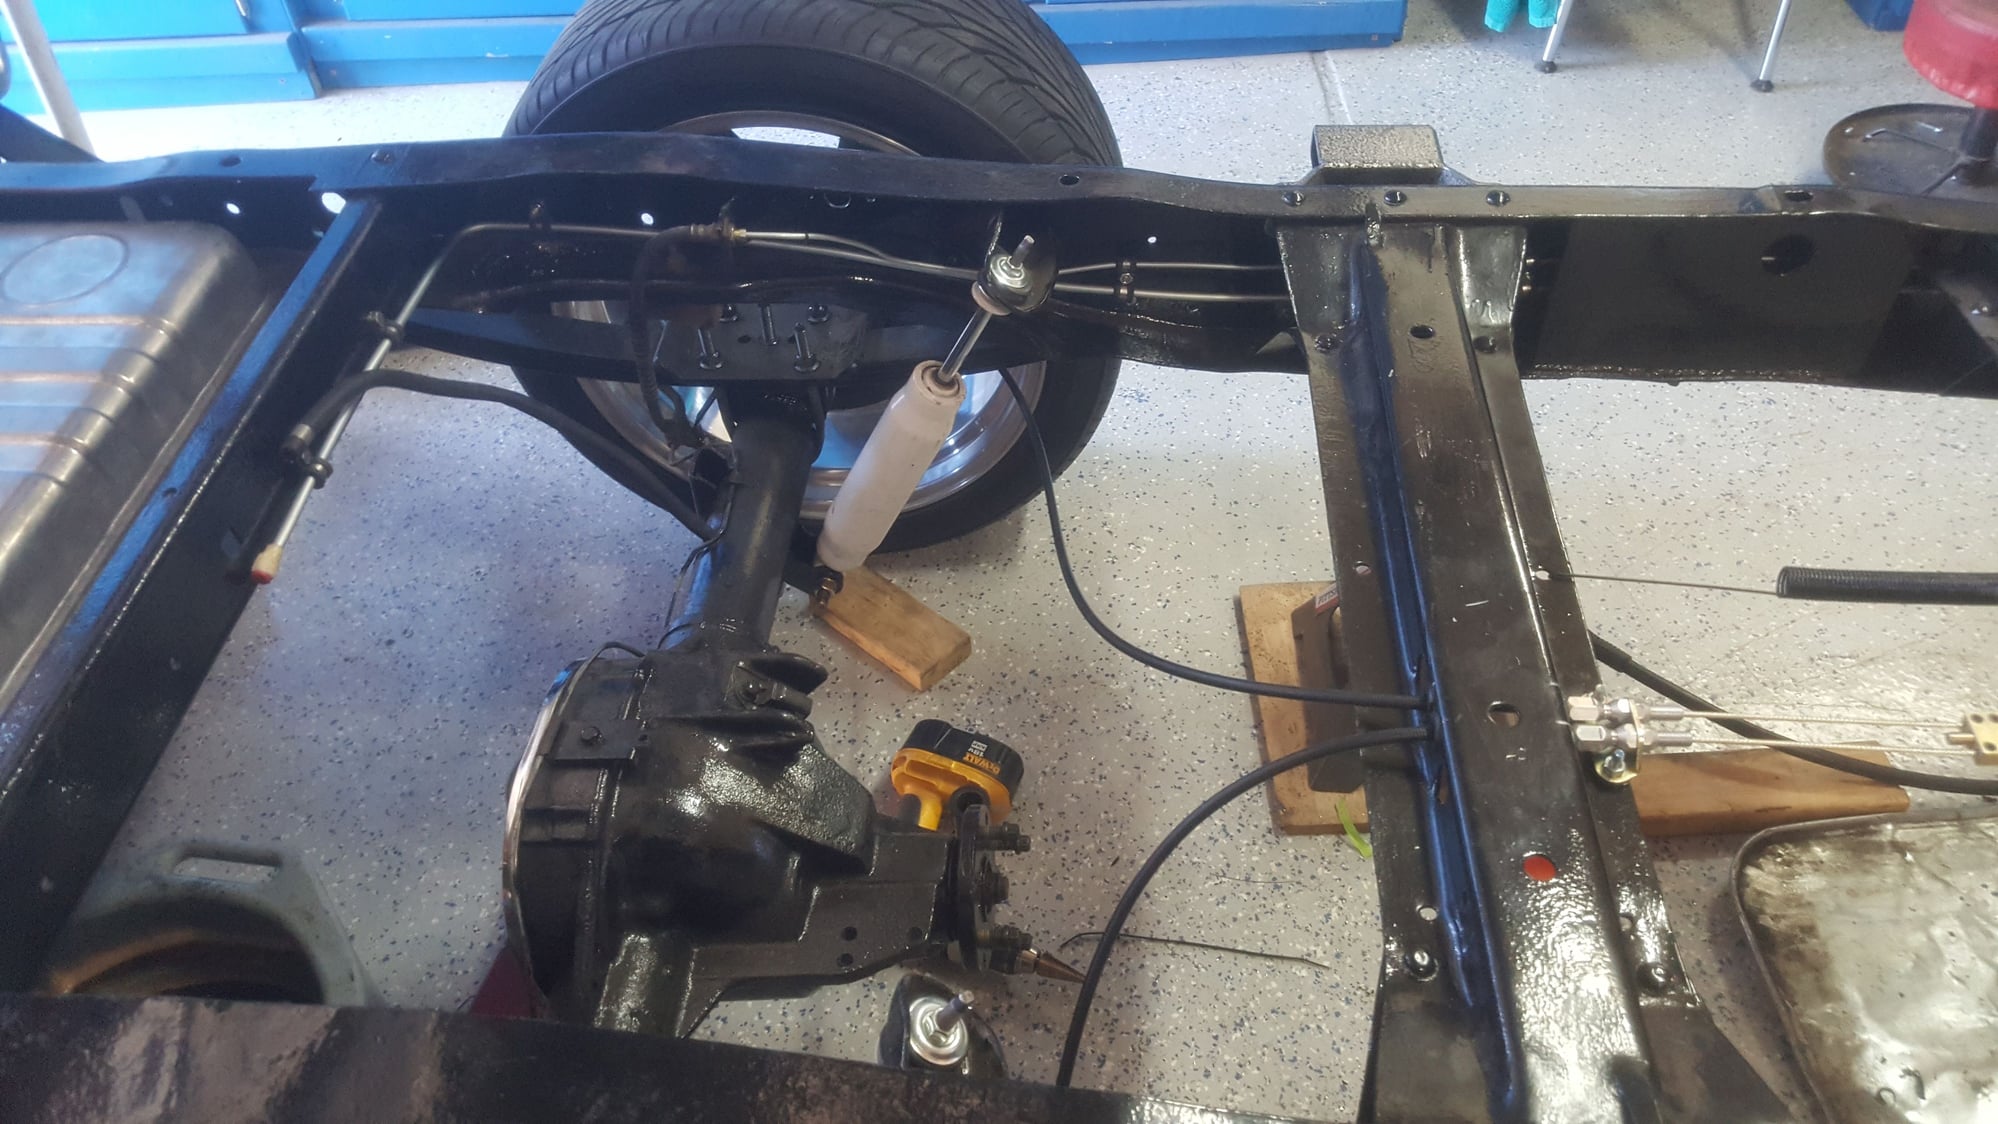


Nice sunny day to see what it looks like in the sun.<br/>
 
  #39  
Old 01-20-2017, 06:54 PM
Brian1971f100's Avatar
Brian1971f100
Brian1971f100 is offline
Posting Guru
Join Date: Mar 2016
Location: Barre Mass
Posts: 1,412
Likes: 0
Received 1 Like on 1 Post
Looking good so far. Keep up the good work
 
  #40  
Old 01-20-2017, 07:03 PM
Grumps Garage's Avatar
Grumps Garage
Grumps Garage is offline
Freshman User
Thread Starter
Join Date: Feb 2015
Posts: 38
Likes: 0
Received 0 Likes on 0 Posts


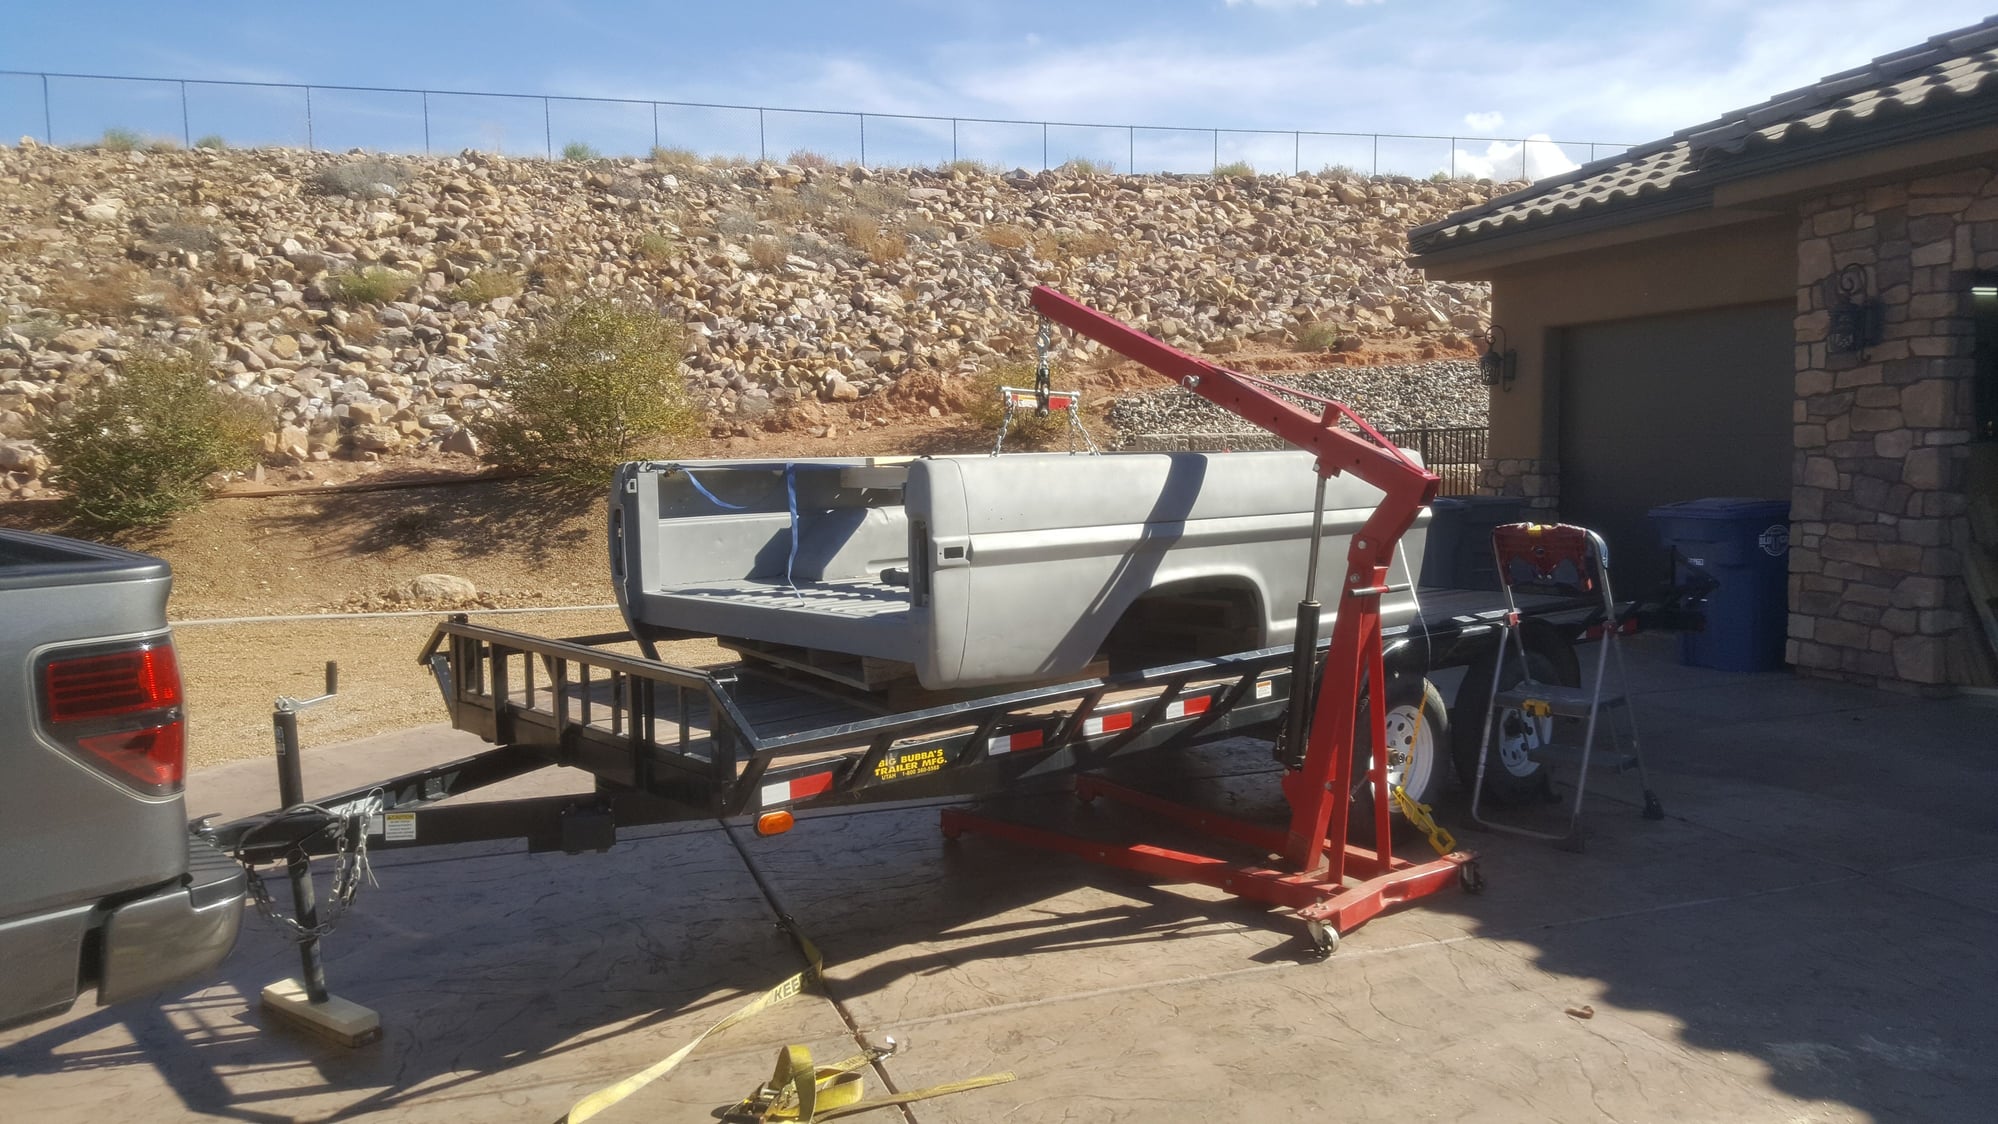
Now that the chassis is all good, time to start on the body. A trip to the sand blaster will get it all started.
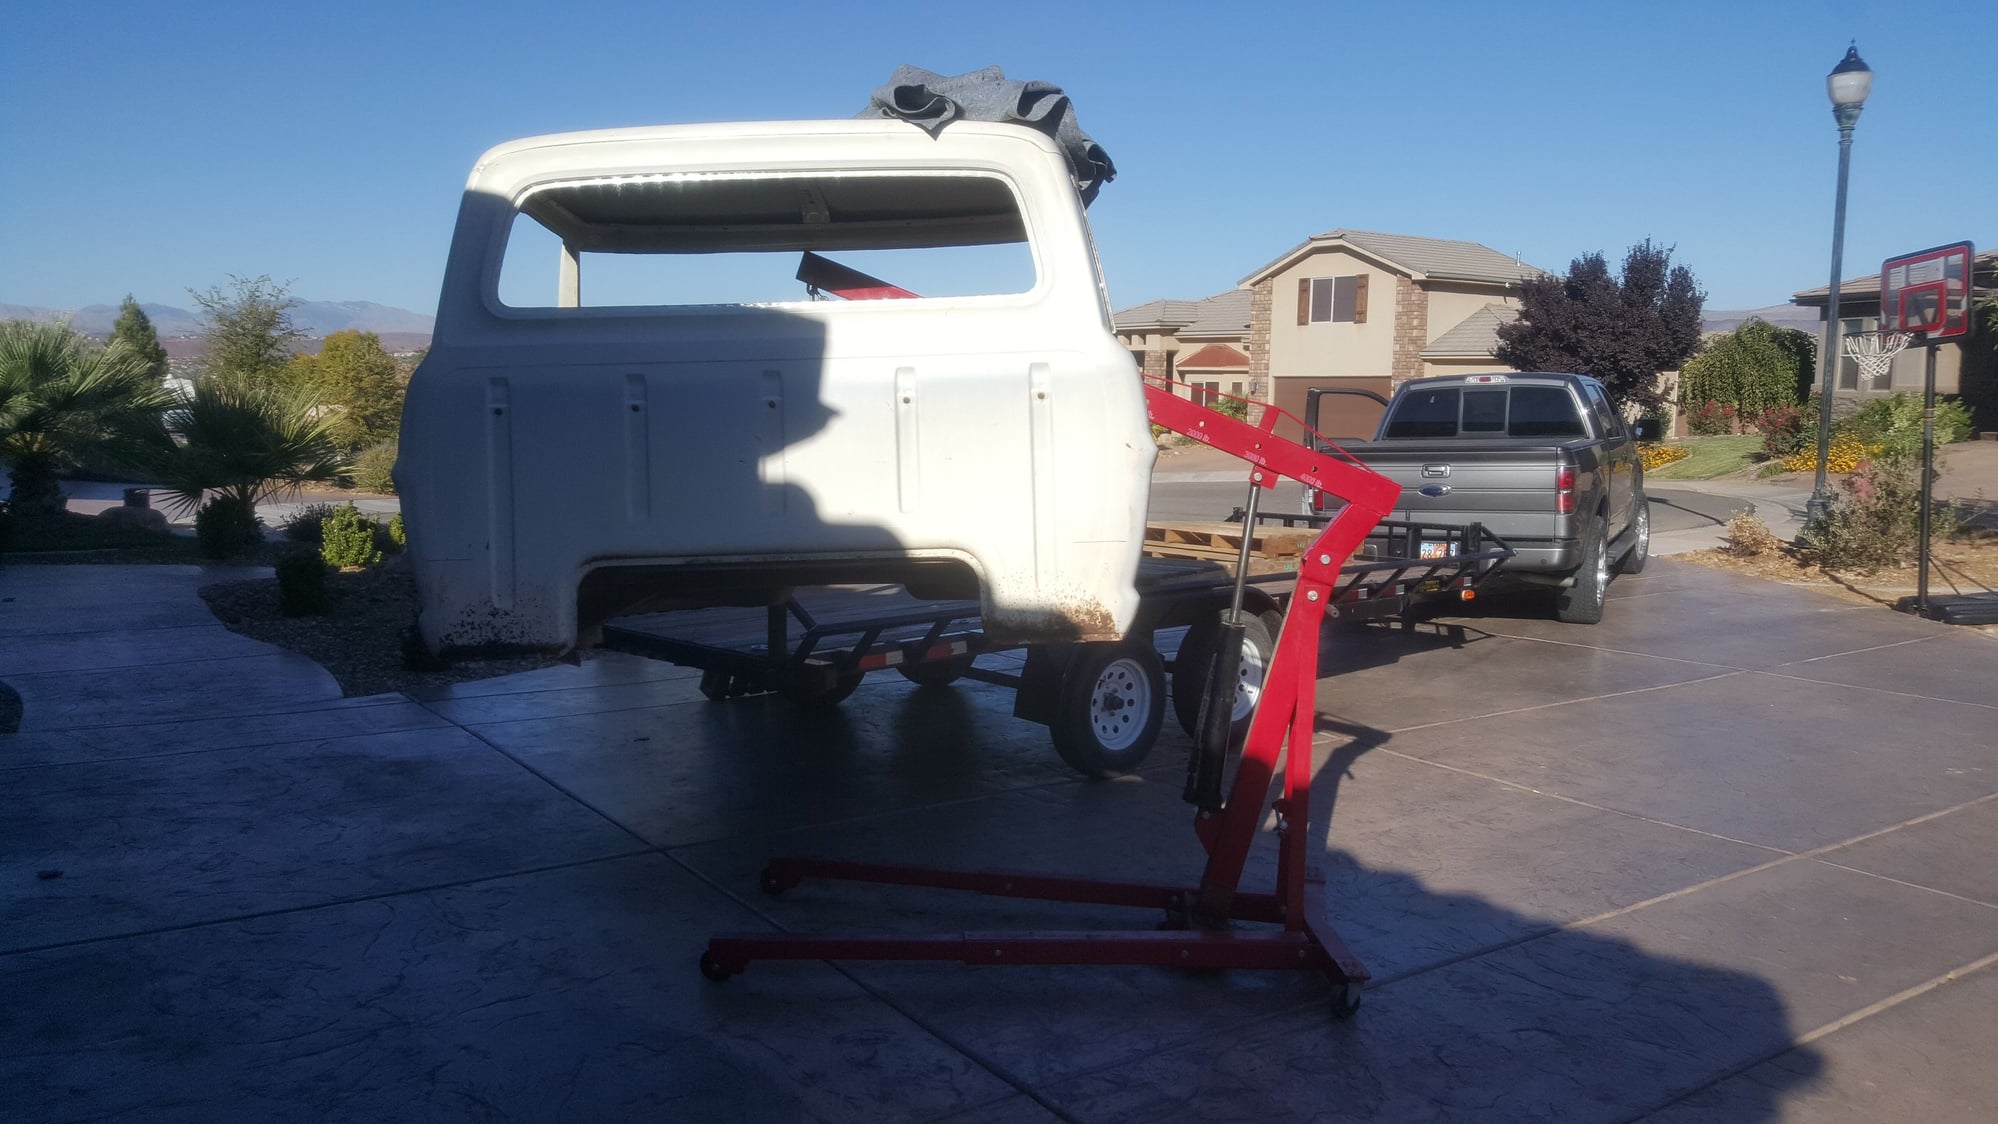


Looks like I have at least one cab corner to replace and of course the drivers floor pan.
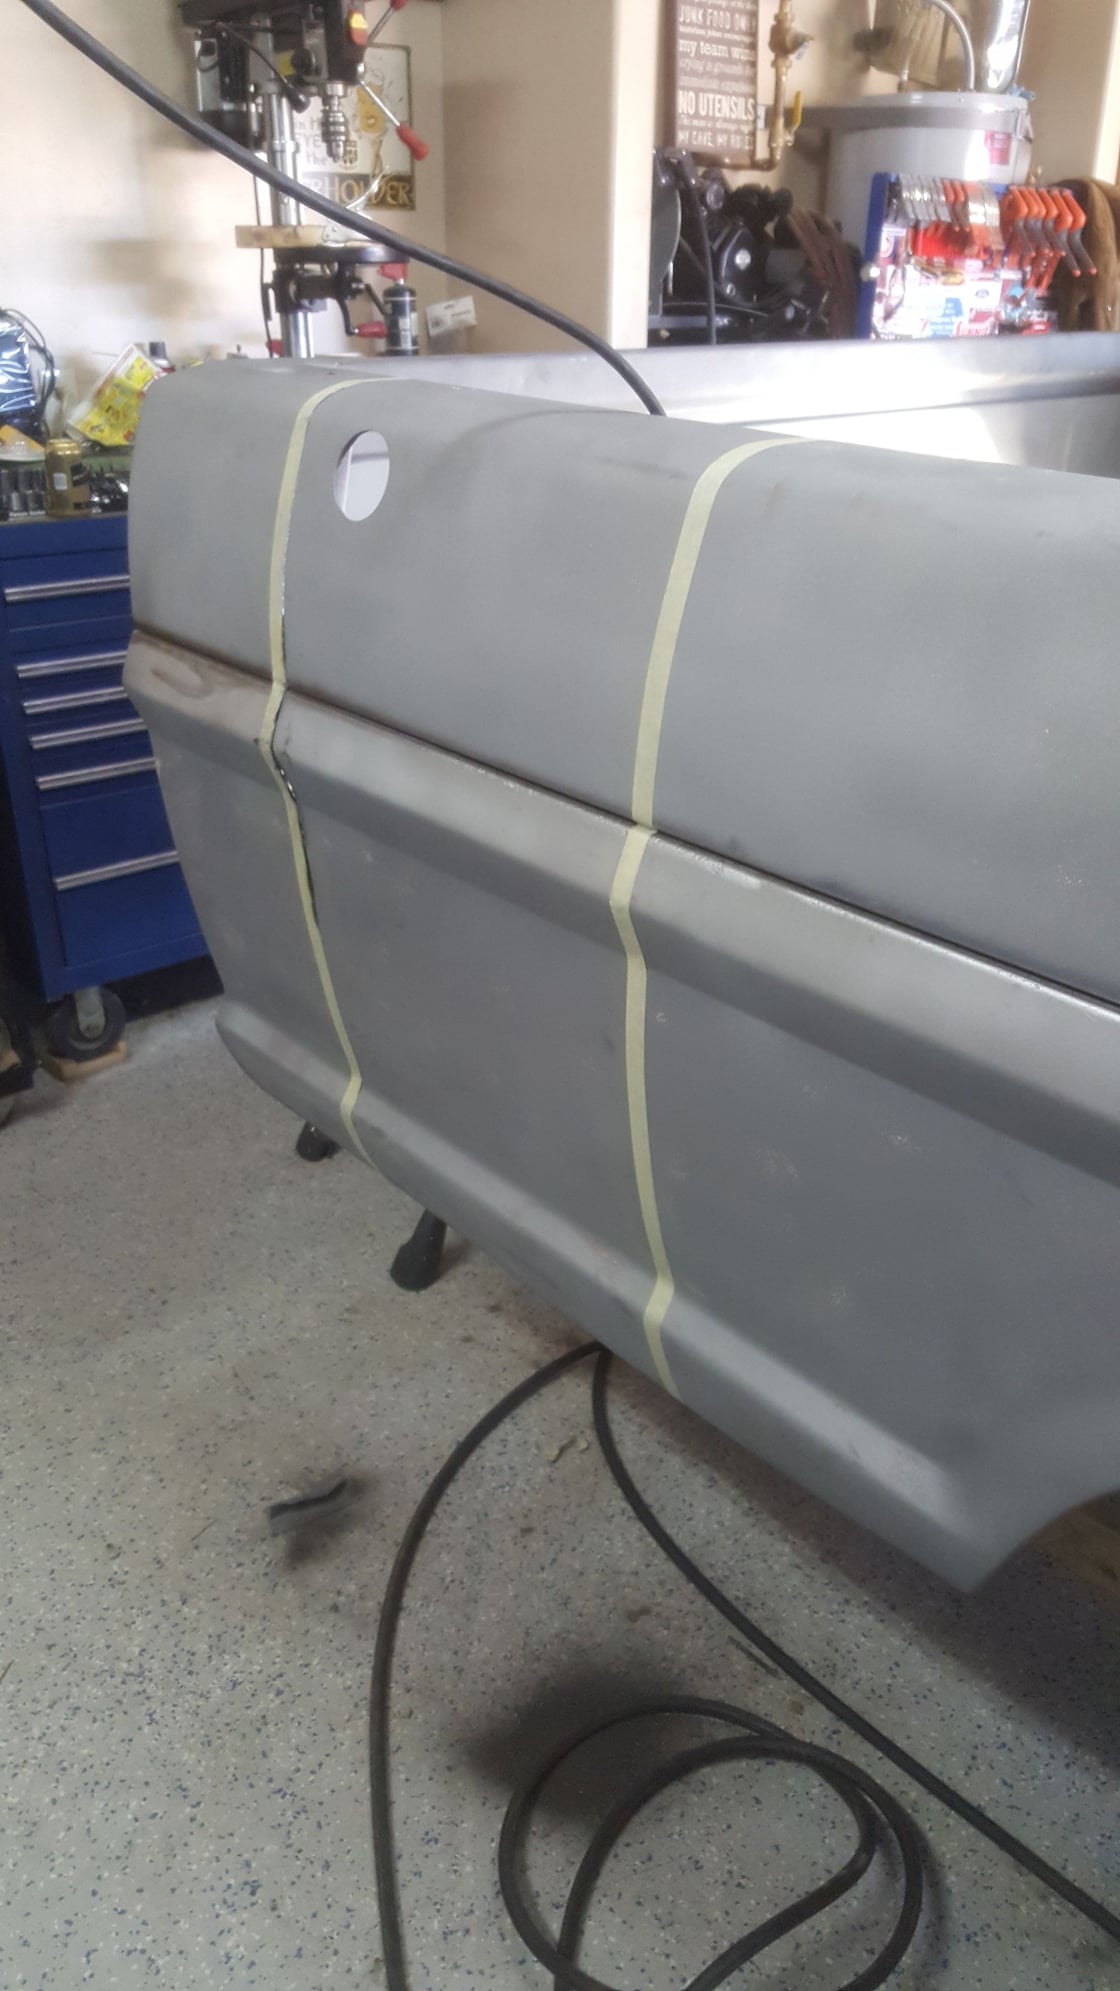


Marked out my first cut.
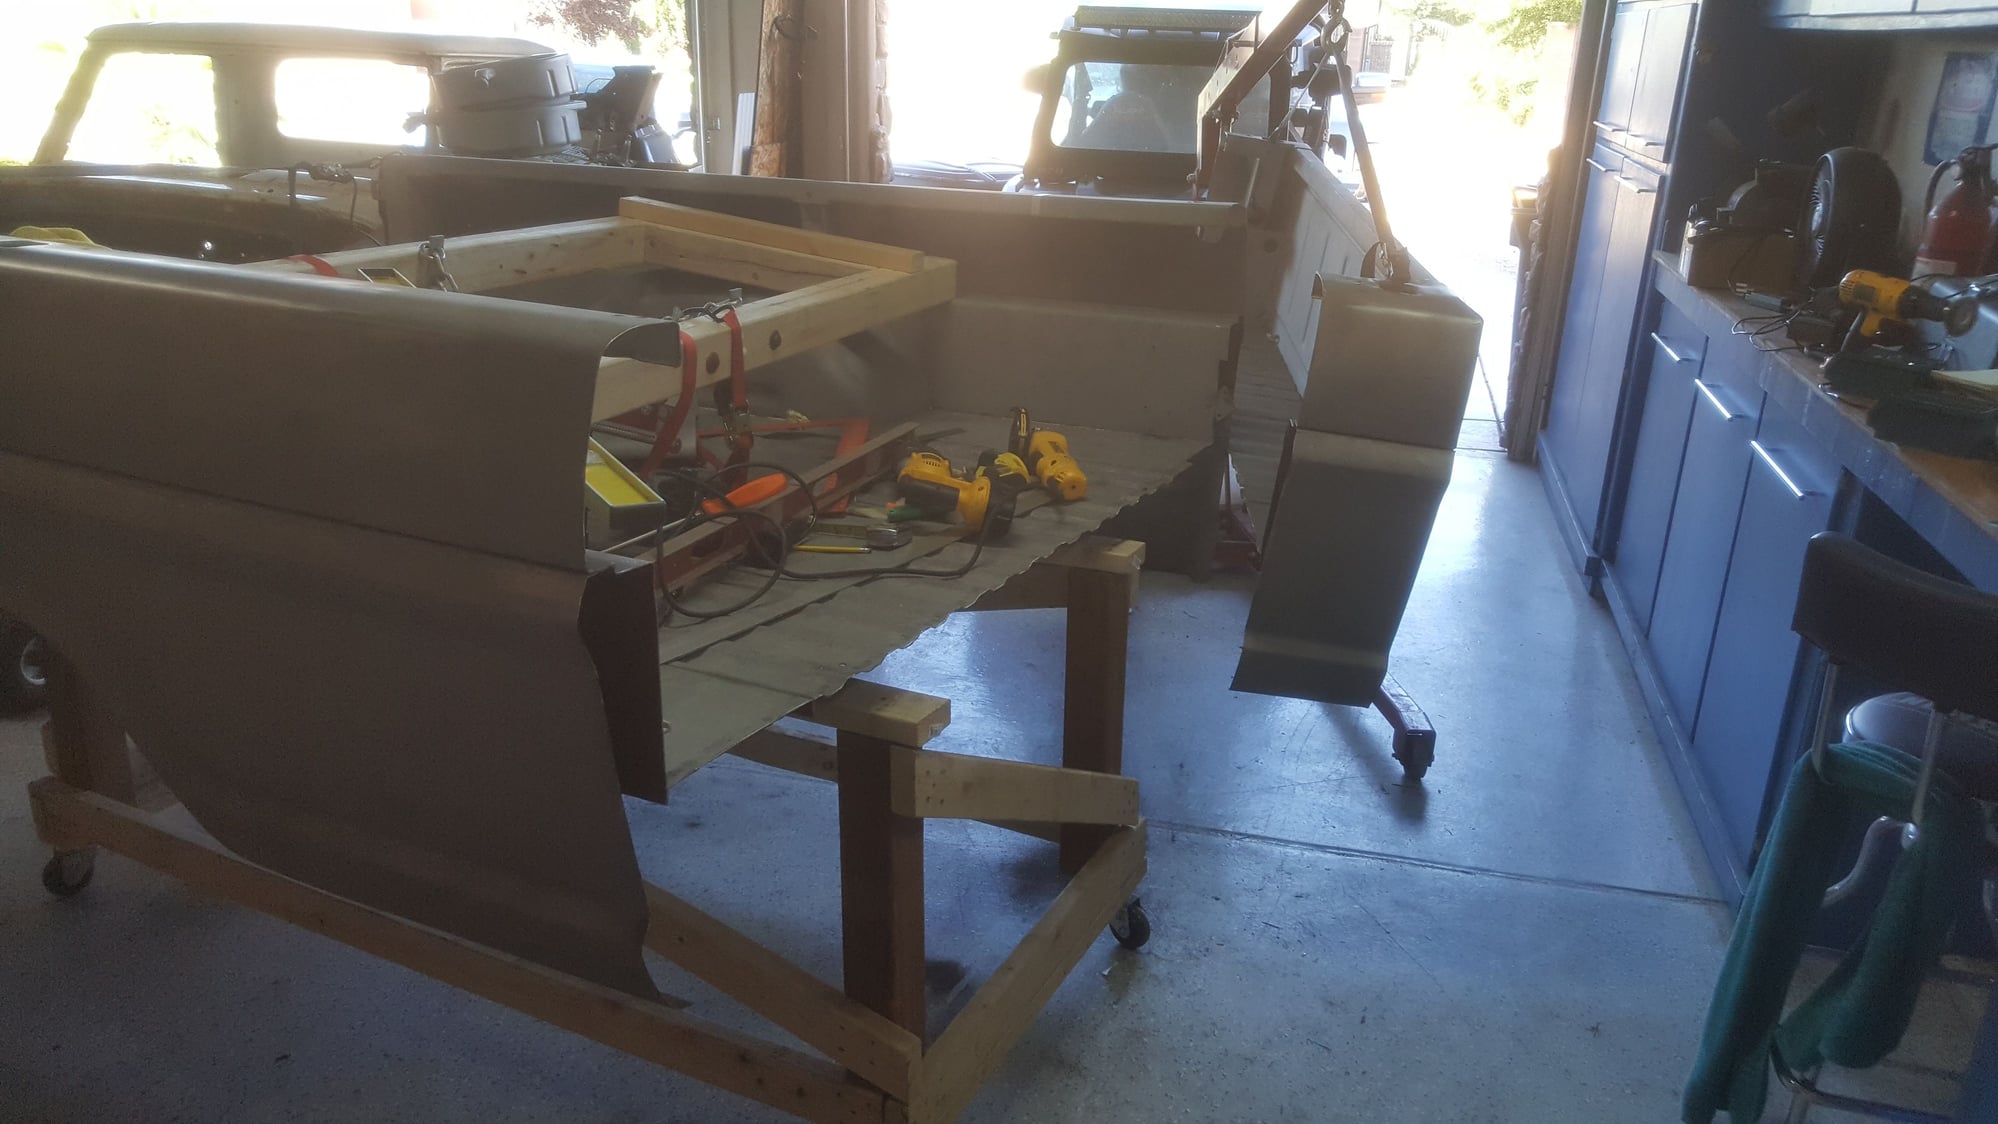


Well that was no fun at all.
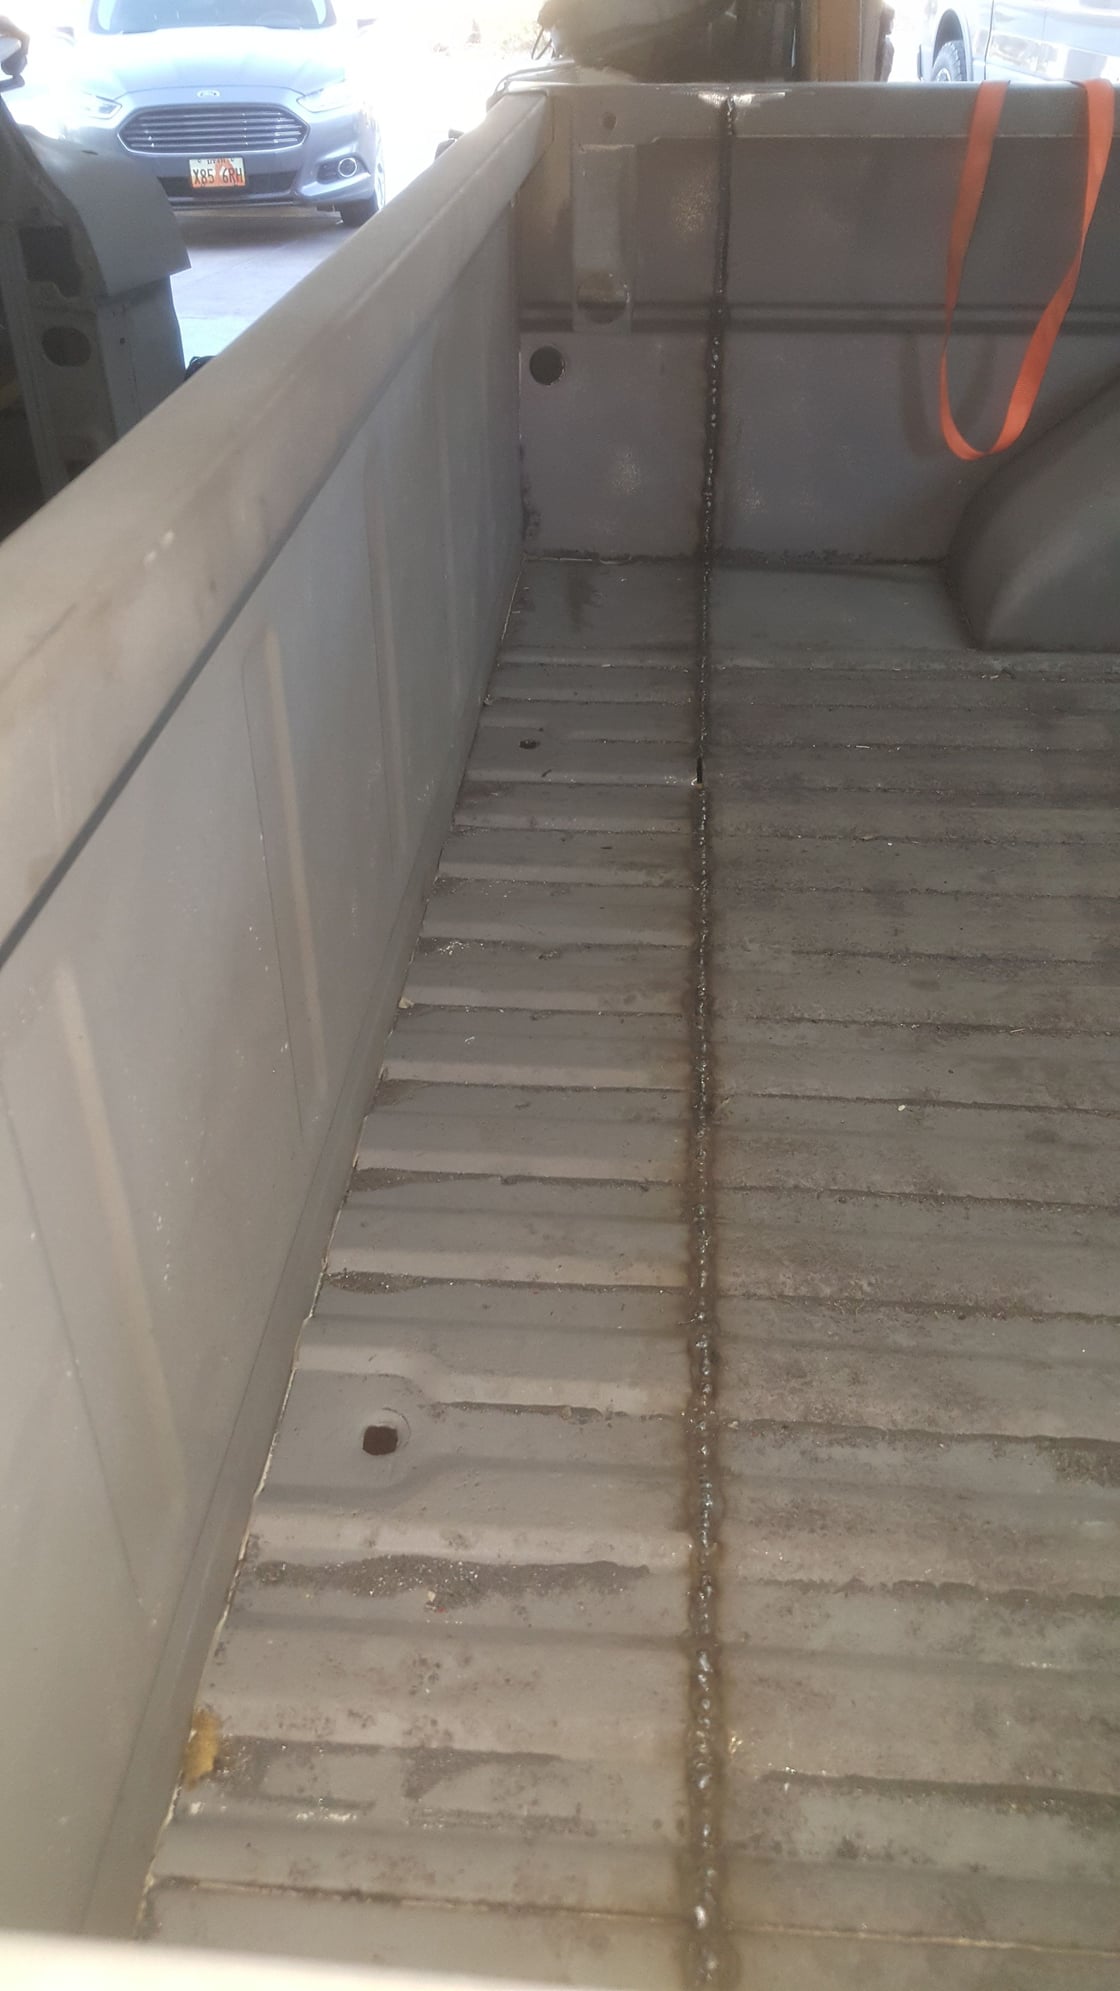


All welded up.
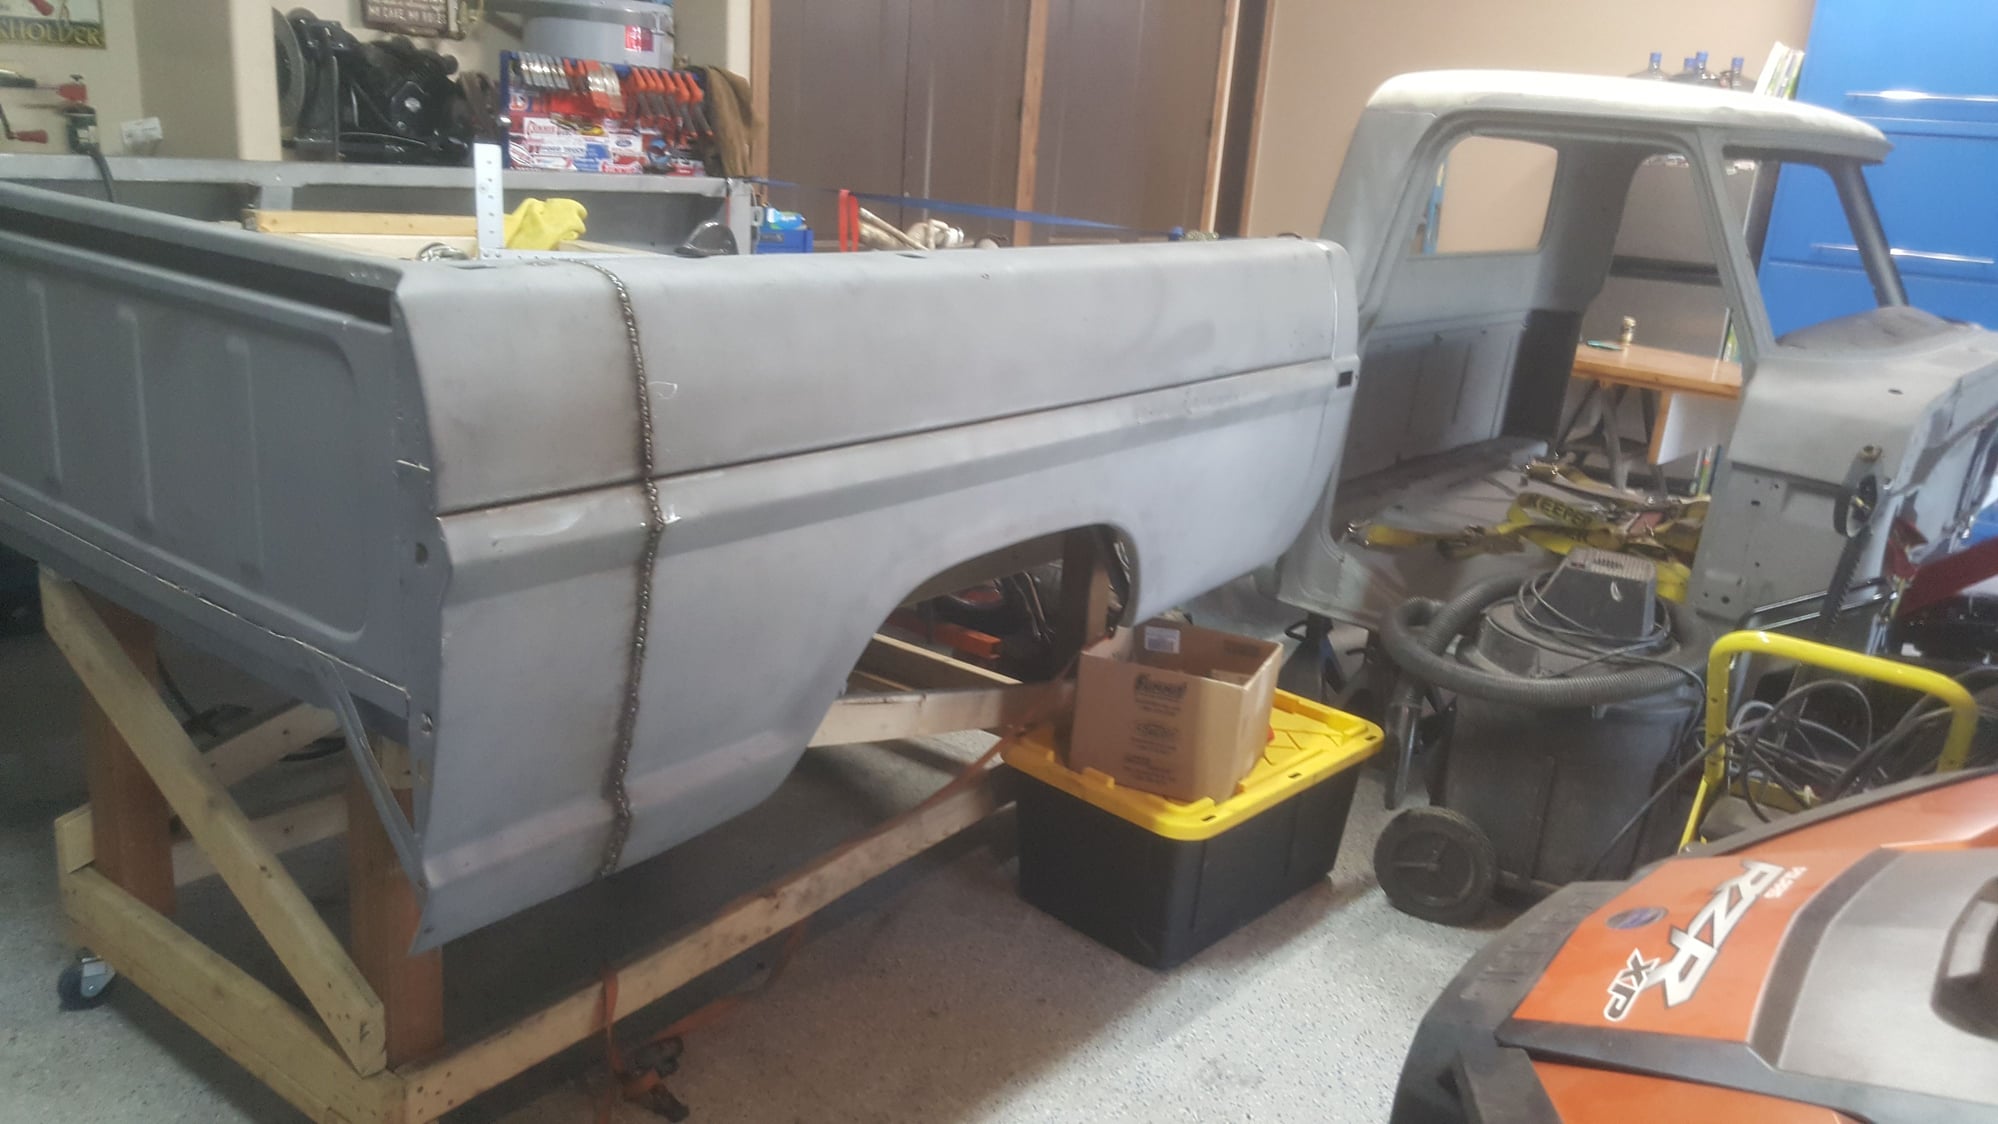


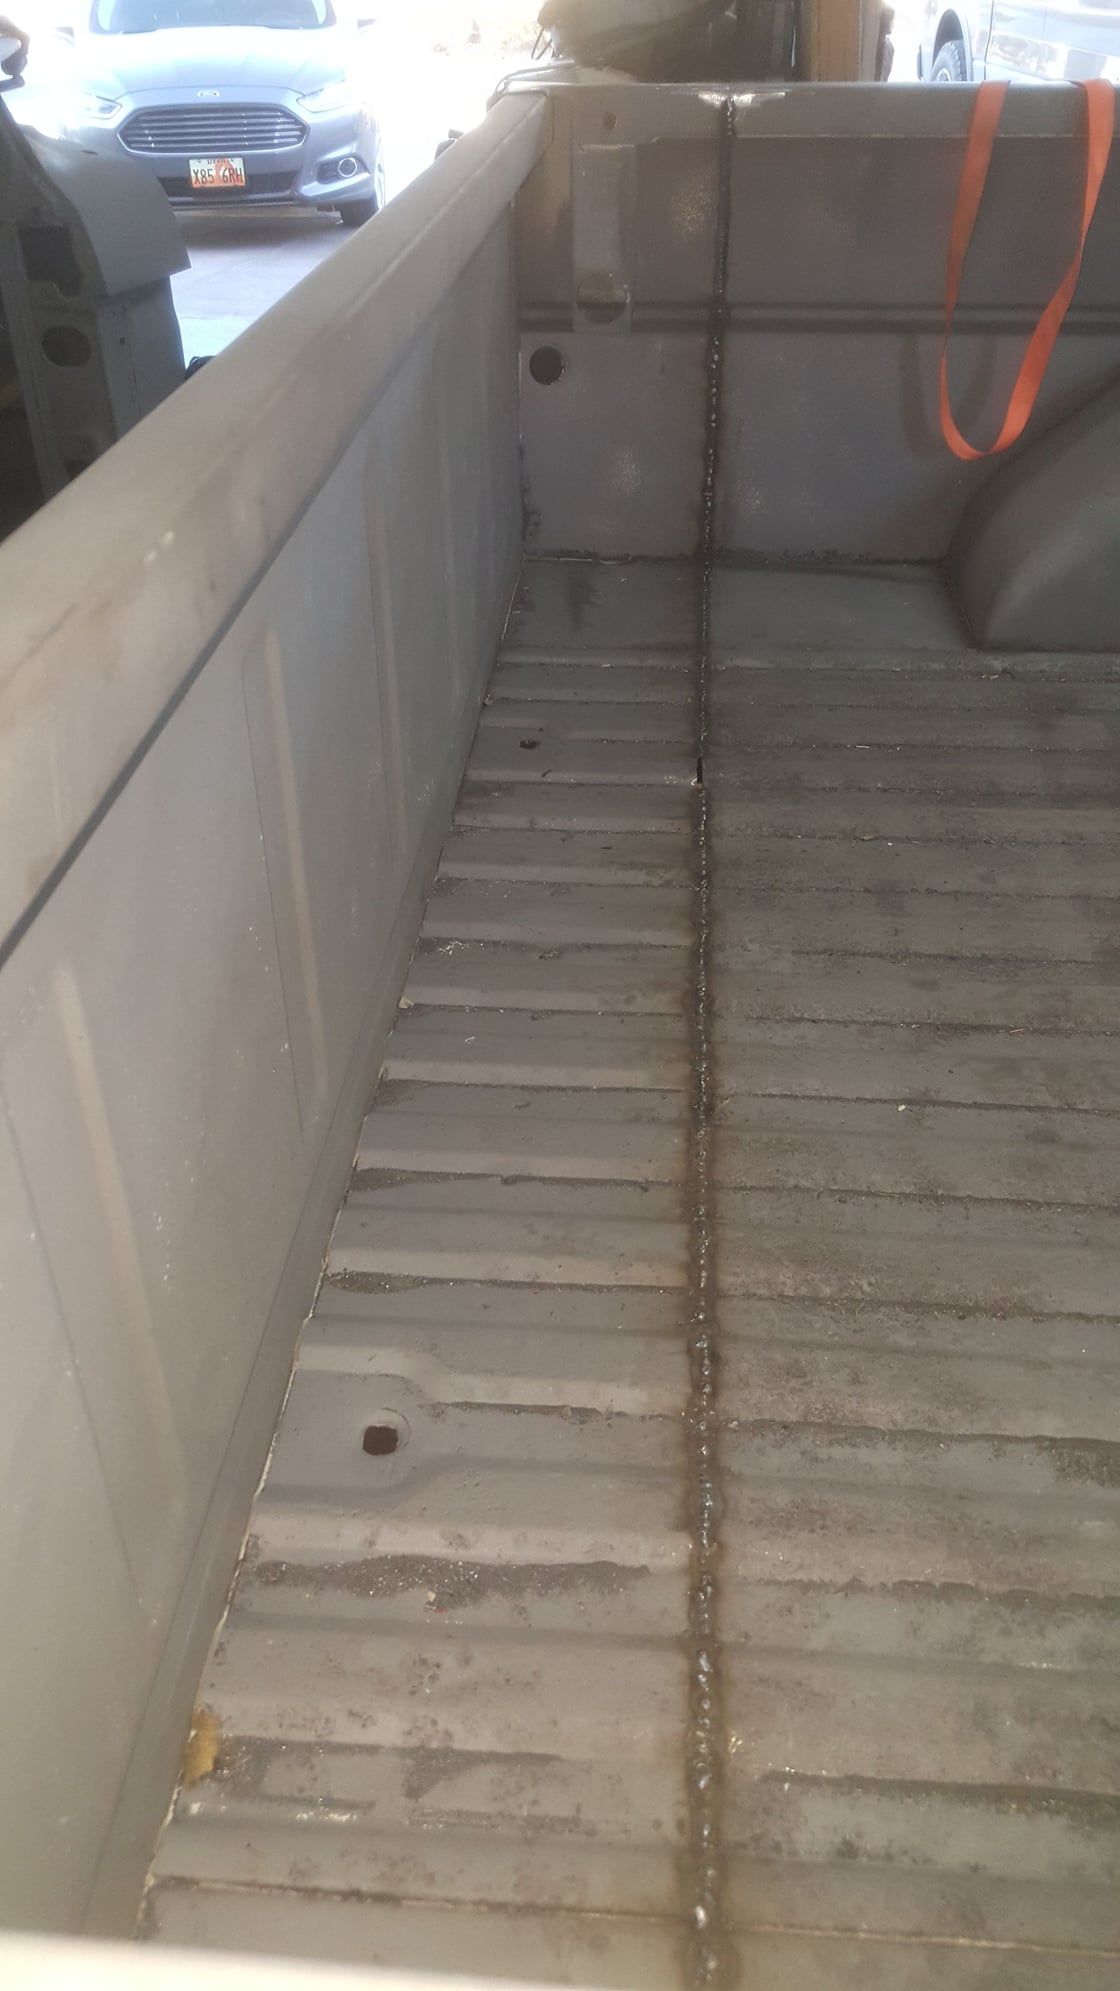
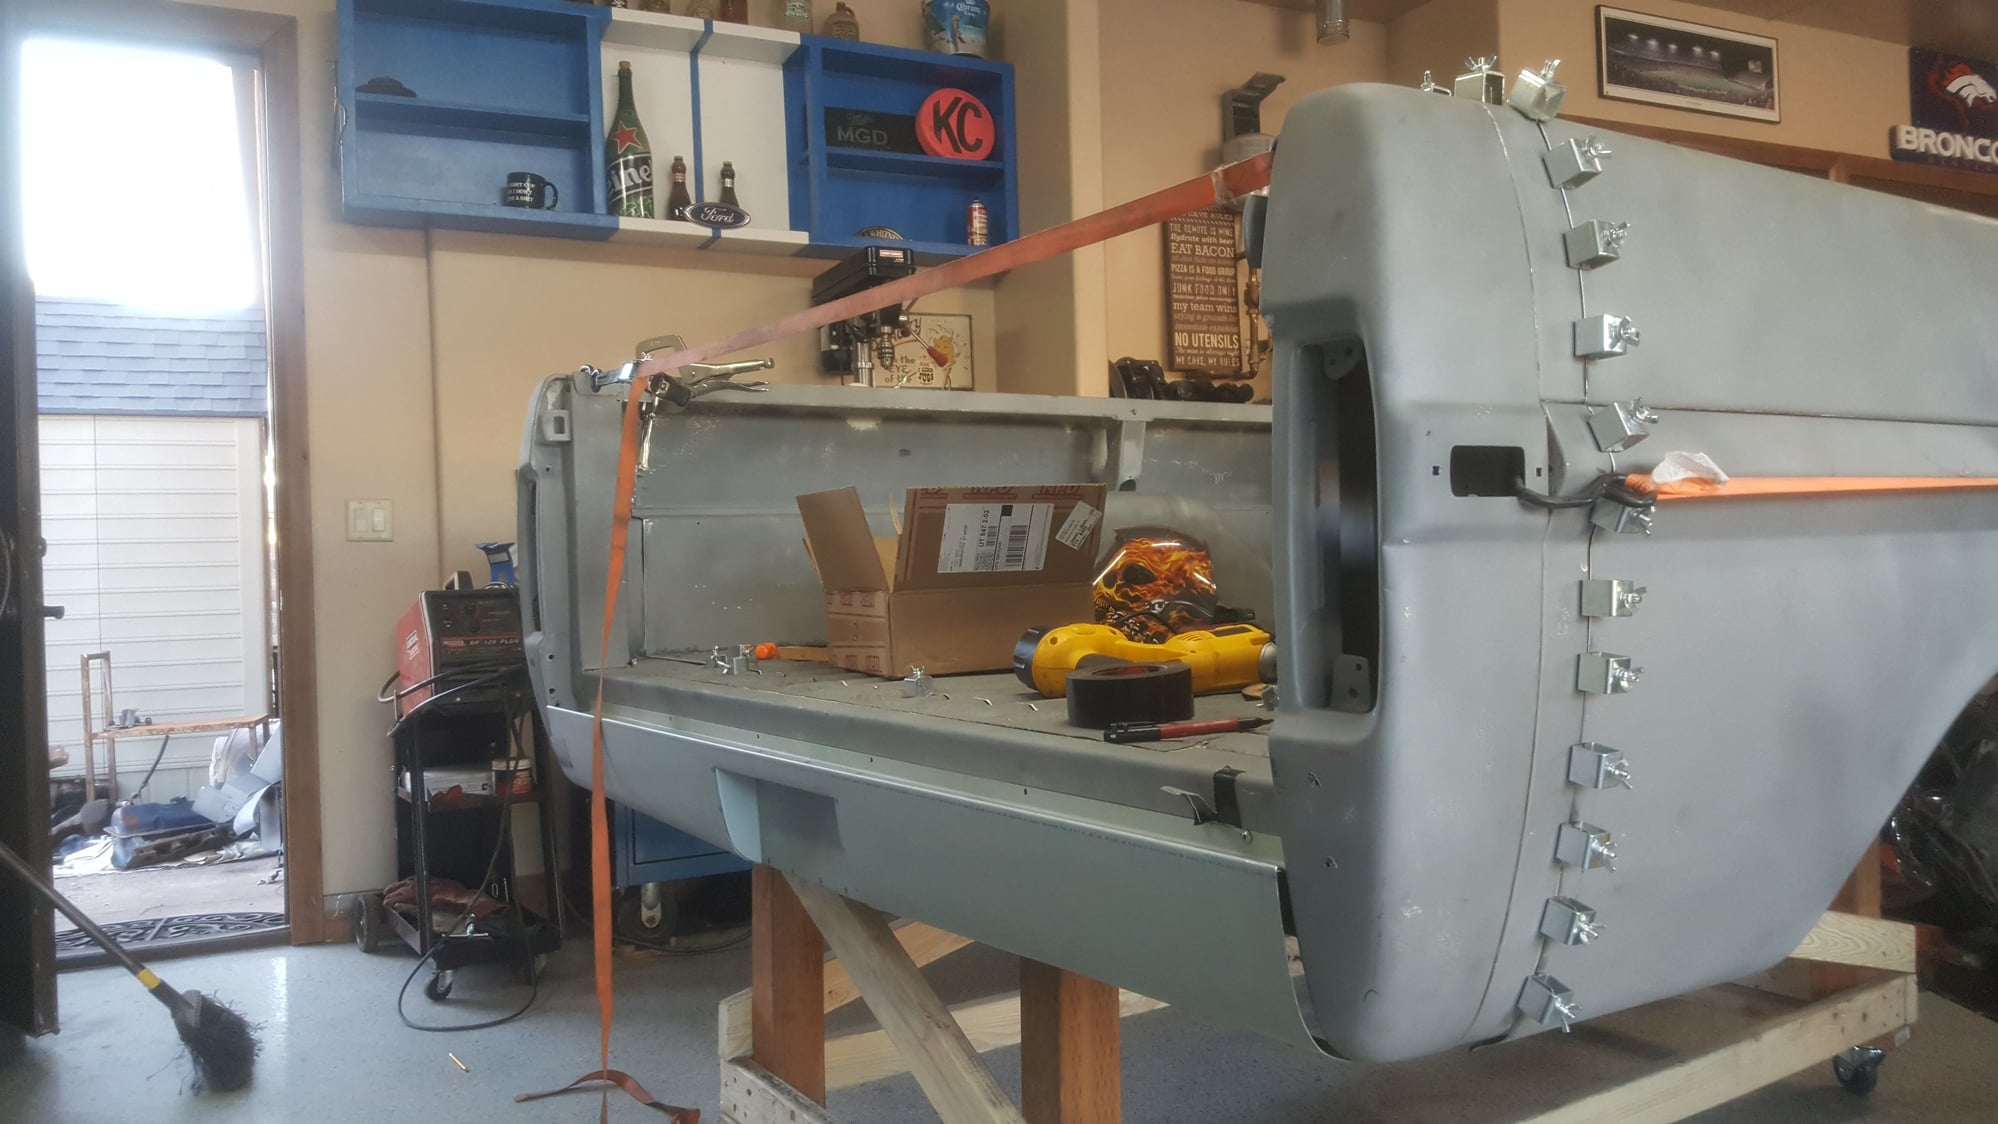
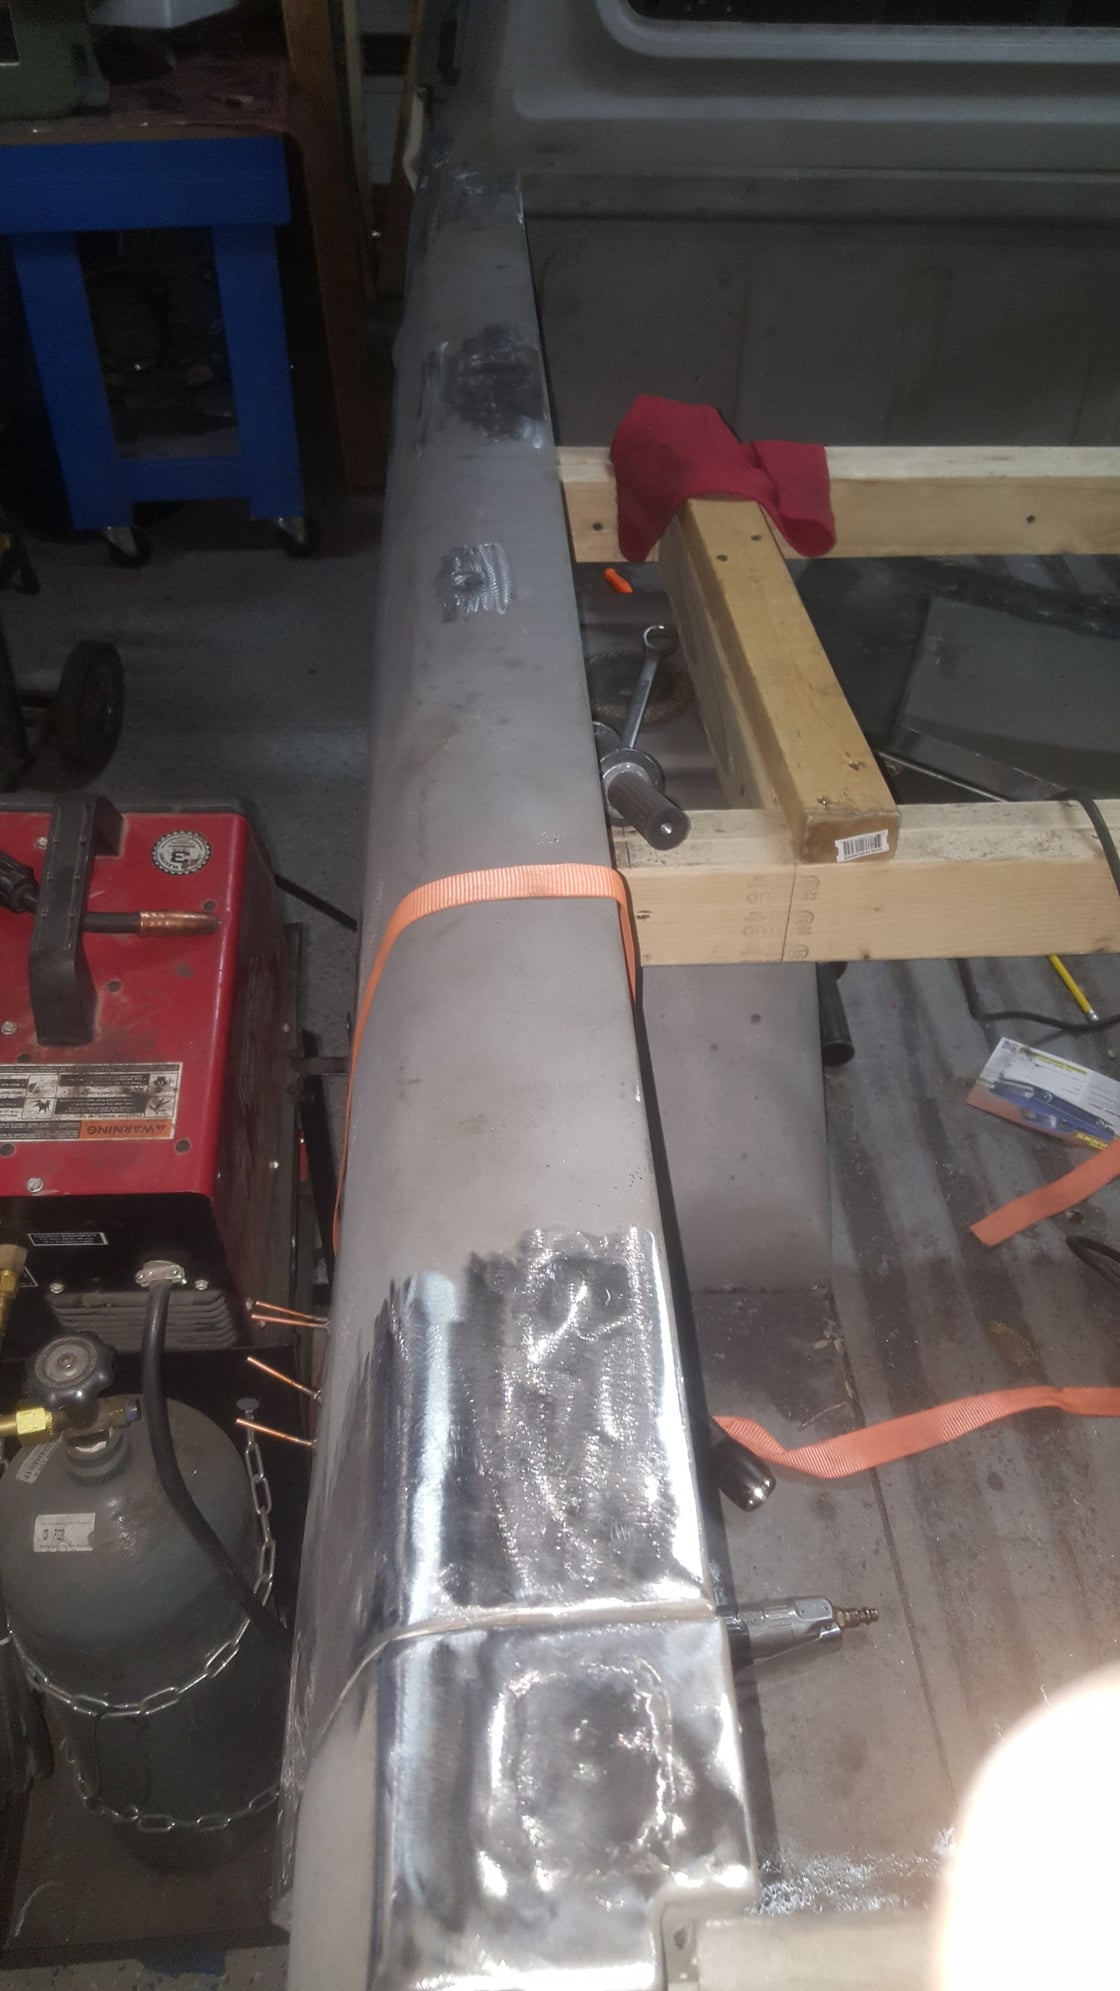
Aft part of the bed cut and clamped together, ready for some welding.
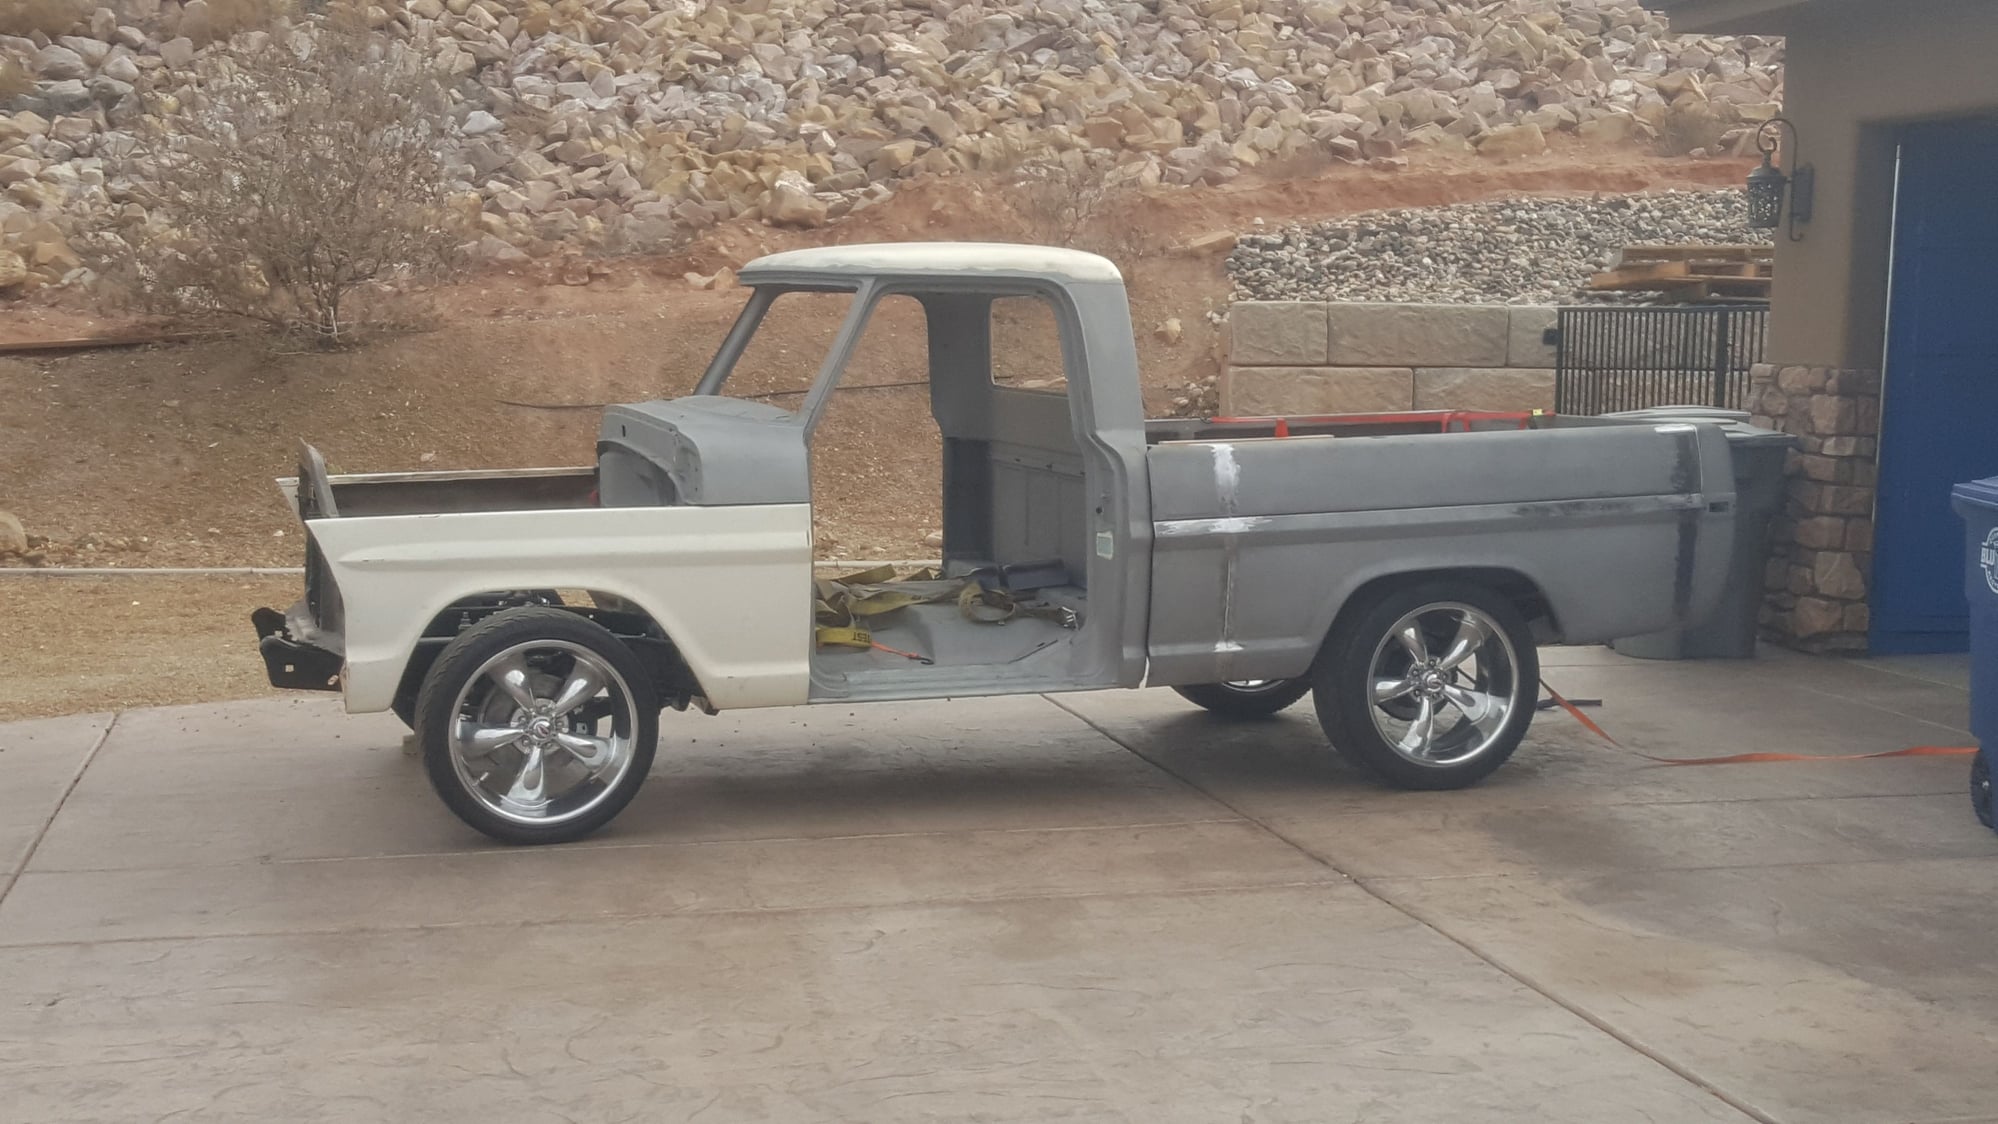


Starting to look like a truck.
 
  #41  
Old 01-20-2017, 07:09 PM
Grumps Garage's Avatar
Grumps Garage
Grumps Garage is offline
Freshman User
Thread Starter
Join Date: Feb 2015
Posts: 38
Likes: 0
Received 0 Likes on 0 Posts


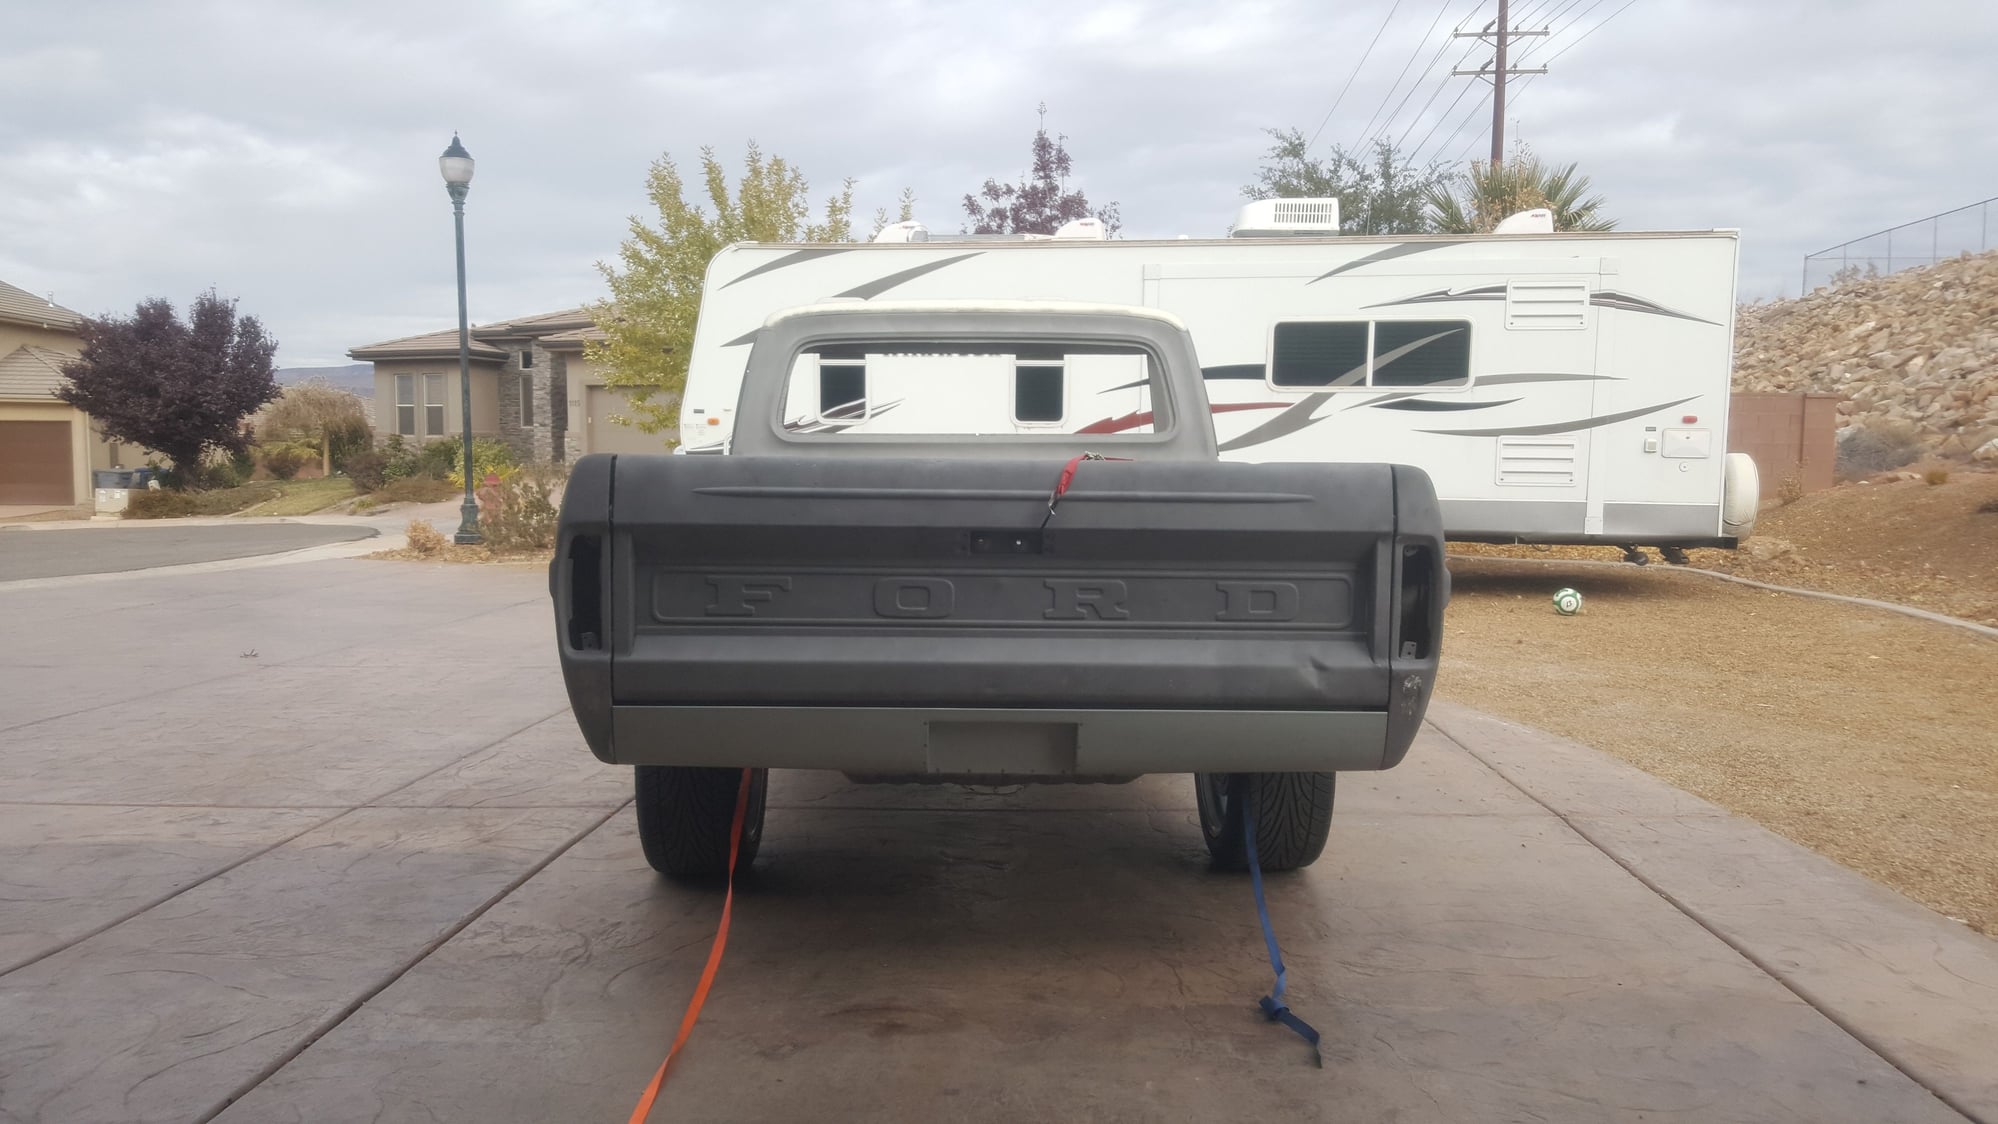
Big ol'dent in the tail gate to take care of, but the roll pan should look pretty good.


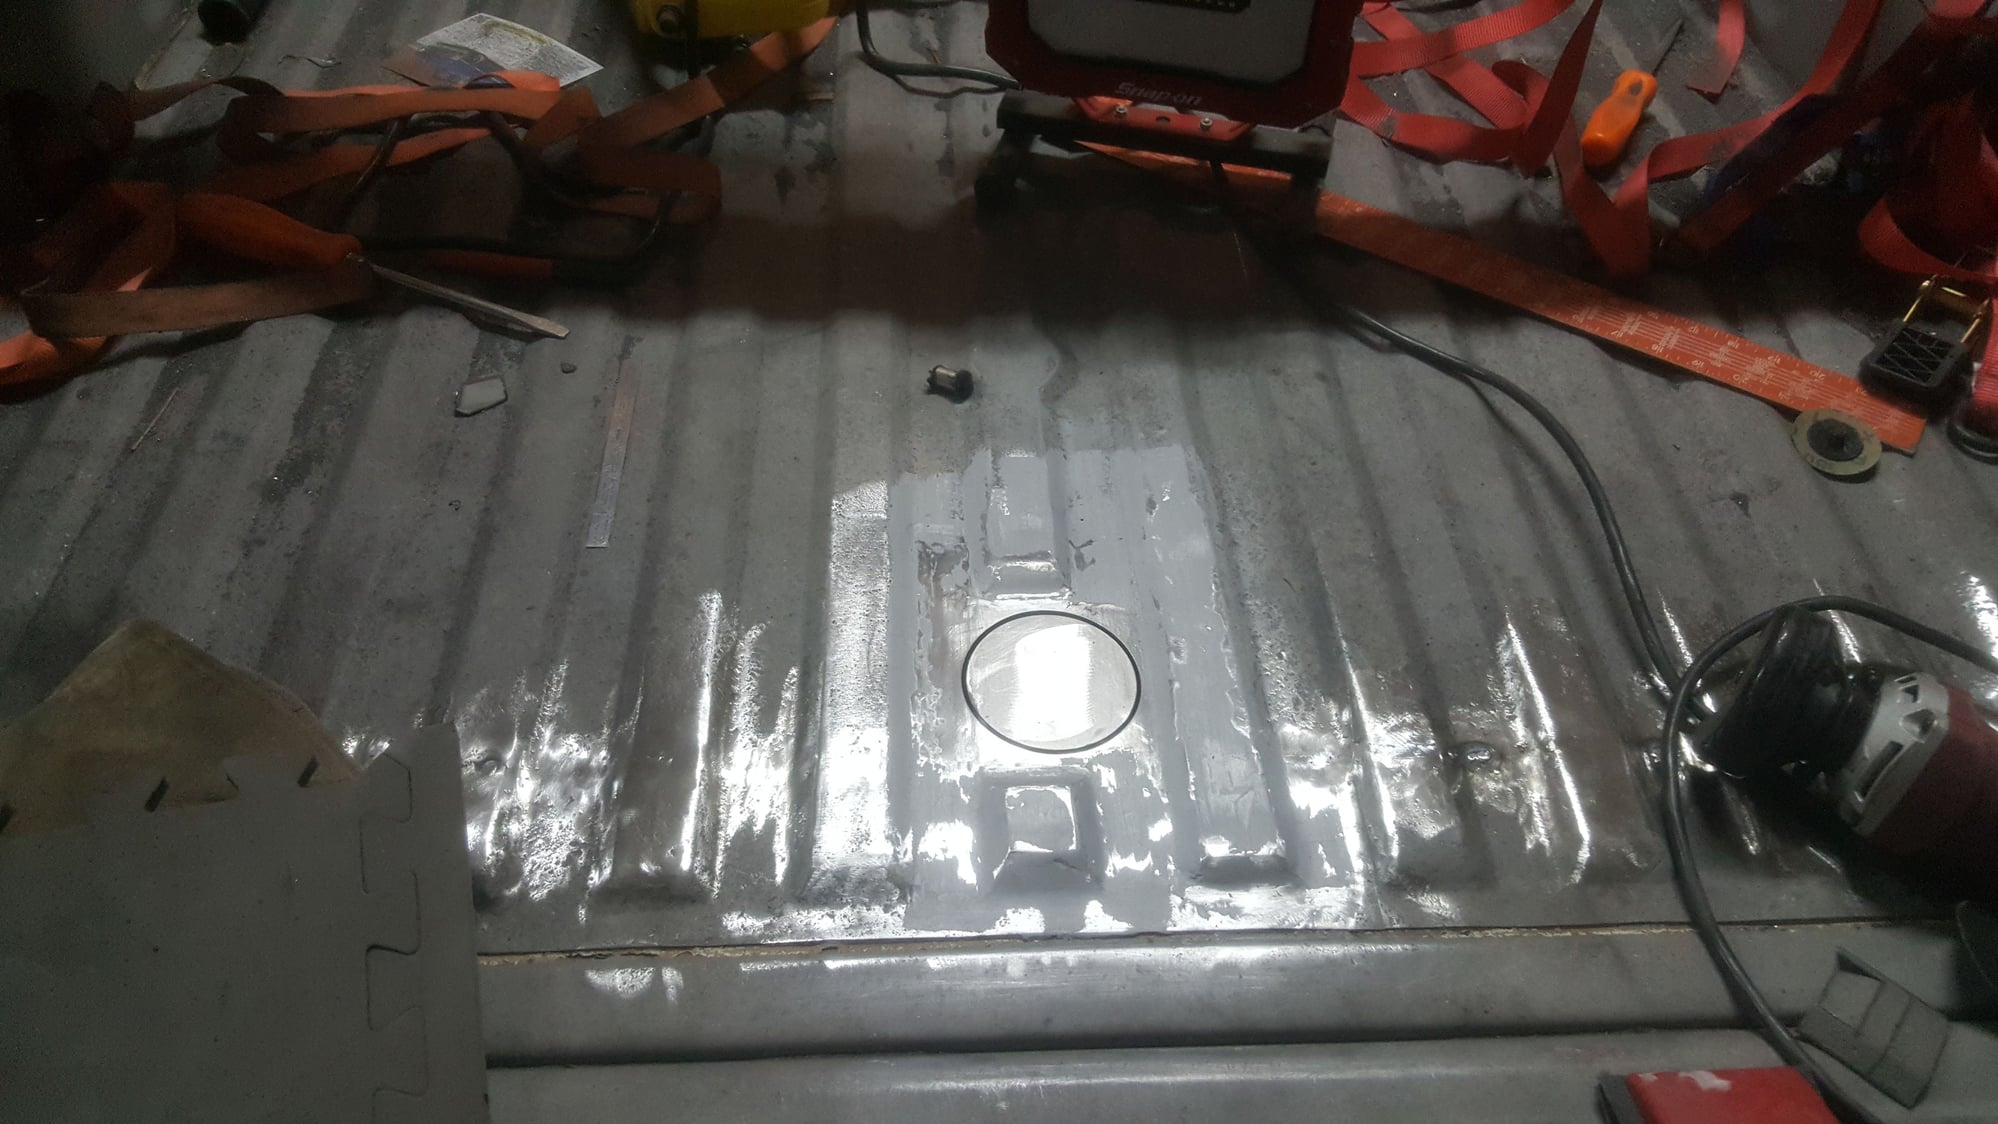
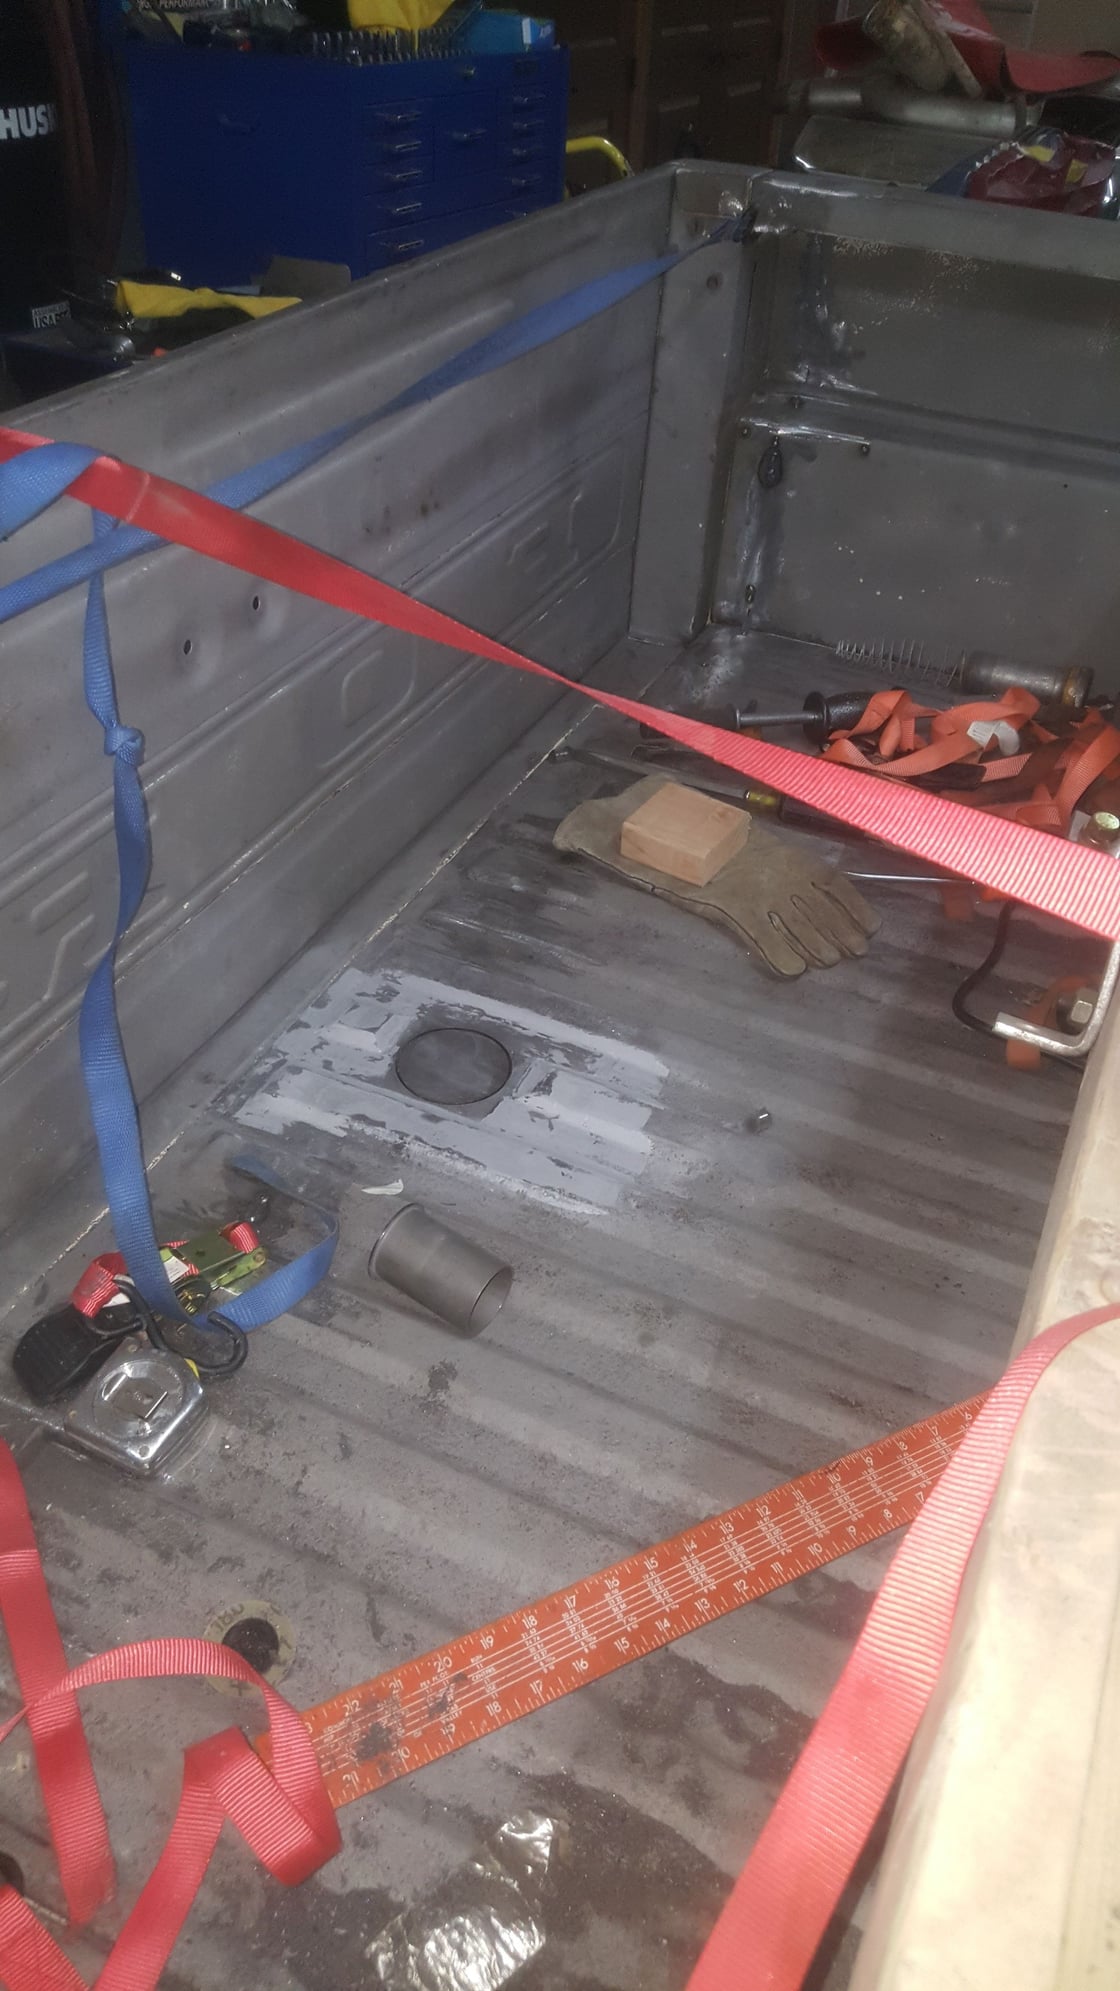
Filling all the bolt holes a stake pockets.


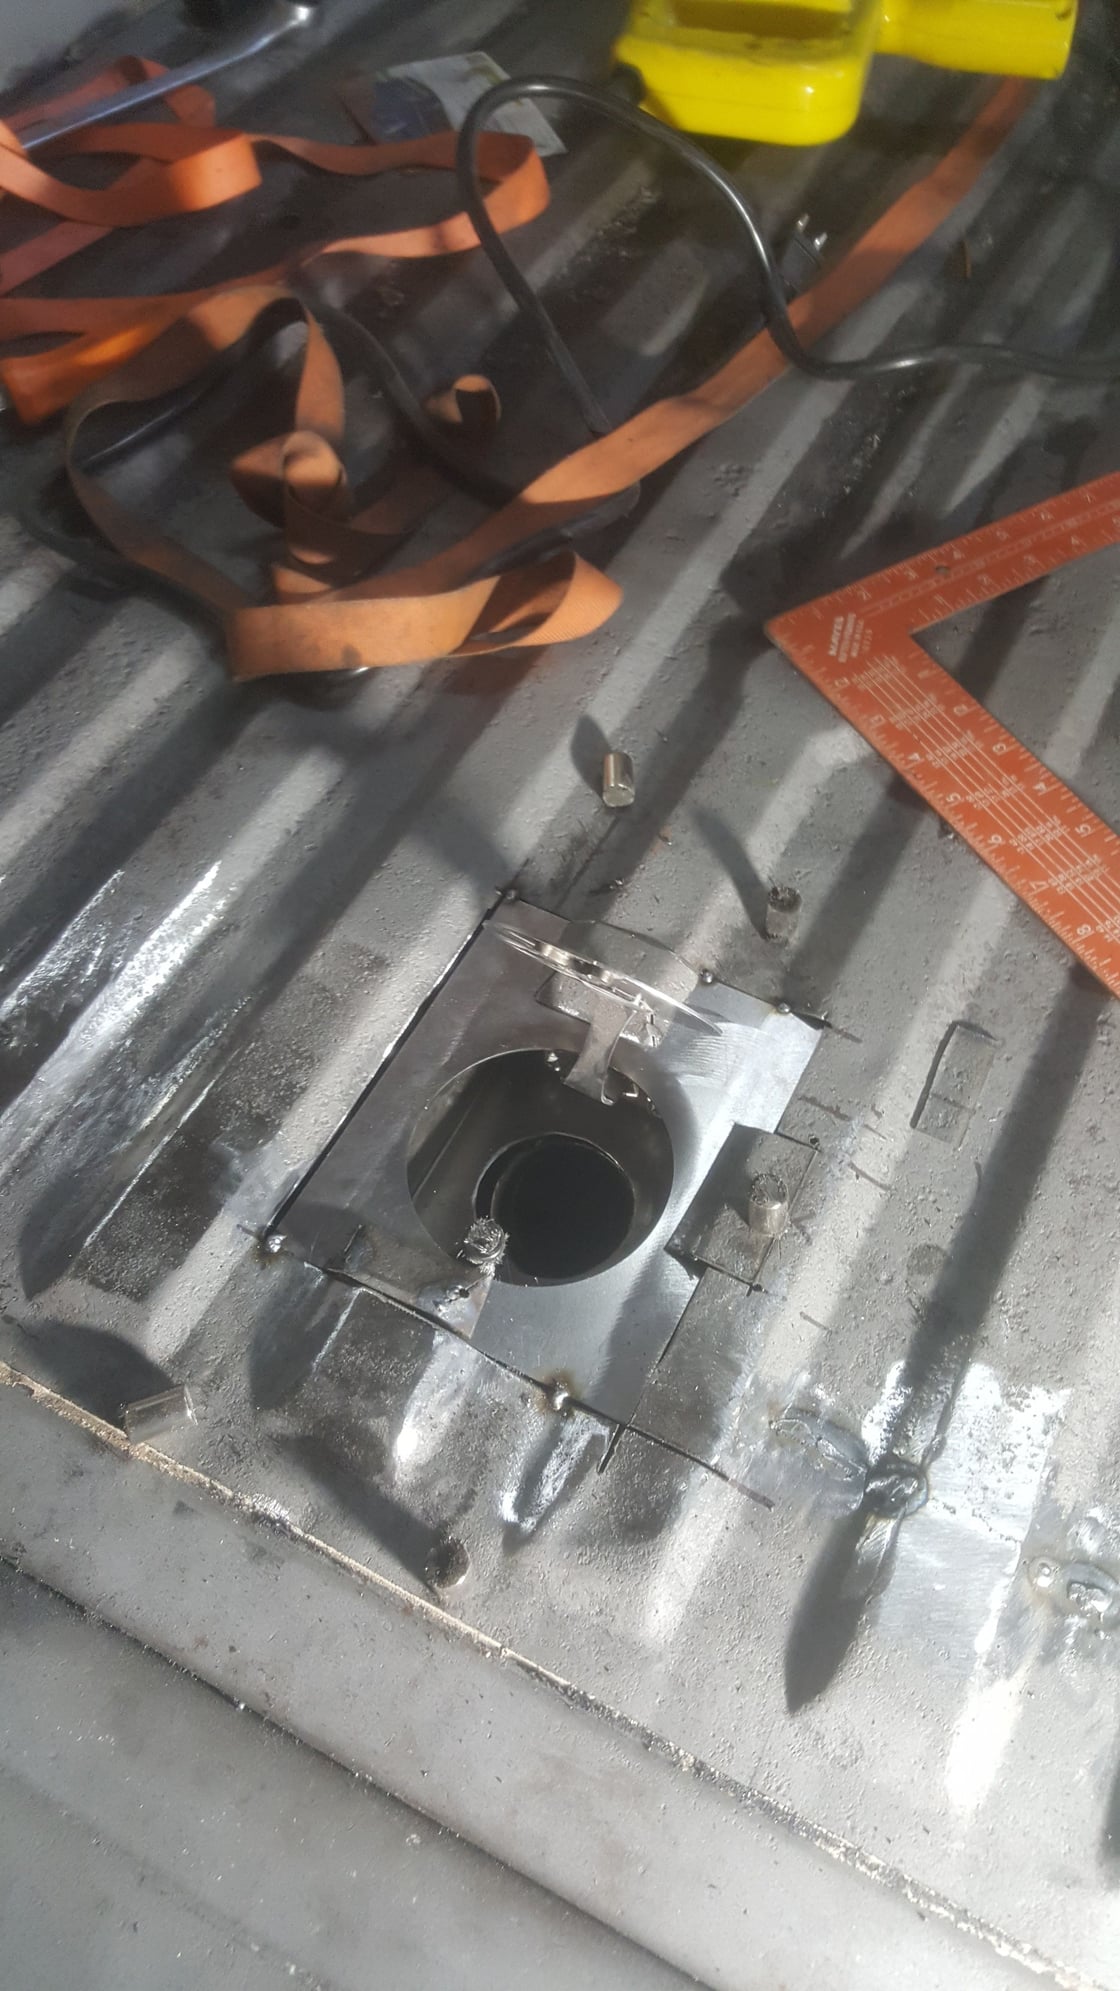
Installing a in bed fuel filler.


Turned out pretty good for an amateur.
 
  #42  
Old 01-20-2017, 10:09 PM
fe390pc's Avatar
fe390pc
fe390pc is offline
Logistics Pro
Join Date: Mar 2009
Location: Maryland
Posts: 3,725
Received 190 Likes on 174 Posts
Great work!
 
  #43  
Old 01-21-2017, 02:05 AM
GaryKip's Avatar
GaryKip
GaryKip is offline
Logistics Pro
Join Date: Aug 2015
Location: Lind, WA- Eastern WA
Posts: 4,092
Received 13 Likes on 13 Posts
I can see that you haven't spent all winter sleeping, good job!!
 
  #44  
Old 01-23-2017, 02:04 PM
JEFFFAFA's Avatar
JEFFFAFA
JEFFFAFA is offline
Hotshot
Join Date: Mar 2013
Location: Phoenix, Az.
Posts: 14,198
Received 169 Likes on 149 Posts
Looking good! You have any pics of your cab corner repair? And what did you do for a gas cap?
 
  #45  
Old 01-23-2017, 05:38 PM
Grumps Garage's Avatar
Grumps Garage
Grumps Garage is offline
Freshman User
Thread Starter
Join Date: Feb 2015
Posts: 38
Likes: 0
Received 0 Likes on 0 Posts
Haven't got around to the cab yet, but it's on the agenda. The gas door assembly is from Hagan you can see it here 90 Series Round Flat Fuel Door.
 
Related Topics
Thread
Thread Starter
Forum
Replies
Last Post
theastronaut
1961 - 1966 F-100 & Larger F-Series Trucks
601
04-02-2019 03:21 PM
Brad sxt
1961 - 1966 F-100 & Larger F-Series Trucks
11
01-06-2017 01:54 PM
farmall_7
1948 - 1956 F1, F100 & Larger F-Series Trucks
9
01-13-2016 01:13 PM
Hobby welder
1957 - 1960 F100 & Larger F-Series Trucks
9
02-07-2015 06:44 AM
e-tek
1961 - 1966 F-100 & Larger F-Series Trucks
217
04-07-2014 12:13 AM


Quick Reply: Grumps 72 F100 Build


All times are GMT -5. The time now is 04:32 AM.