introducing my '54 F100 projec
#1
 10-03-2015, 03:39 PM


Join Date: Apr 2011
Location: Hertfordshire, UK
Posts: 68
Likes: 0
Received 0 Likes
on
0 Posts
introducing my '54 F100 projec

I have been a member for a while now, thought I would introduce myself and my project,
I have gained so much motivation from everyone's posts, I think I should return the favour and show you guys some images of what I am up to over here in the UK (hopefully the image works)


#5
10-08-2015, 03:36 PM
Join Date: Apr 2011
Location: Hertfordshire, UK
Posts: 68
Likes: 0
Received 0 Likes
on
0 Posts
#6
10-11-2015, 07:28 PM
Join Date: Apr 2011
Location: Hertfordshire, UK
Posts: 68
Likes: 0
Received 0 Likes
on
0 Posts
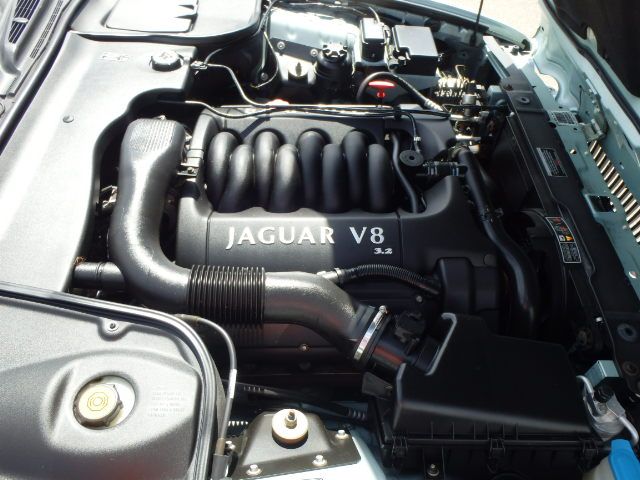 Here is a pic of the donor:
http://i1178.photobucket.com/albums/...48625_04X1.jpg
I am hoping to fit this engine from the J*g, currently researching the feasibility of the project what with all the electronification and all that on the engine... Any advice muchly appreciated!!
Last edited by jazzydog; 10-11-2015 at 07:47 PM. Reason: added interest
#7
10-11-2015, 11:13 PM
Join Date: Dec 2003
Location: Saskatoon, Saskatchewan
Posts: 89,683
Received 1,353 Likes
on
1,112 Posts

Trending Topics
#8
11-07-2015, 02:44 PM
Join Date: Apr 2011
Location: Hertfordshire, UK
Posts: 68
Likes: 0
Received 0 Likes
on
0 Posts


#9
11-07-2015, 05:48 PM
Posting Guru
Join Date: Sep 2011
Location: Clitherall, MN.
Posts: 1,409
Likes: 0
Received 0 Likes
on
0 Posts
I would say grab everything off the Jag you can think of. Never done that sort of swap. But quite a few of the guys have. Don't get rid of the donor car till the truck is running like you want it. Might be some little gadget you missed that will make all the difference. Good luck way over there.
#10
04-23-2016, 11:38 AM
Join Date: Apr 2011
Location: Hertfordshire, UK
Posts: 68
Likes: 0
Received 0 Likes
on
0 Posts


#11
04-23-2016, 11:51 AM
Join Date: Apr 2011
Location: Hertfordshire, UK
Posts: 68
Likes: 0
Received 0 Likes
on
0 Posts


#14
04-23-2016, 12:06 PM
Join Date: Apr 2011
Location: Hertfordshire, UK
Posts: 68
Likes: 0
Received 0 Likes
on
0 Posts
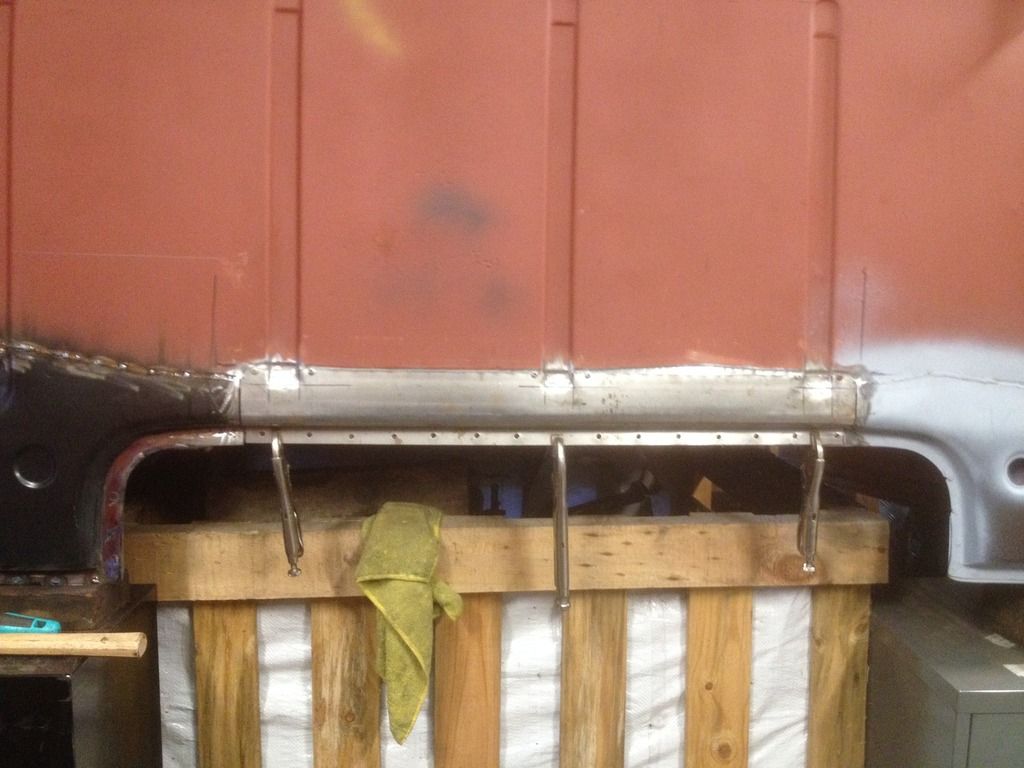
Transfer to steel
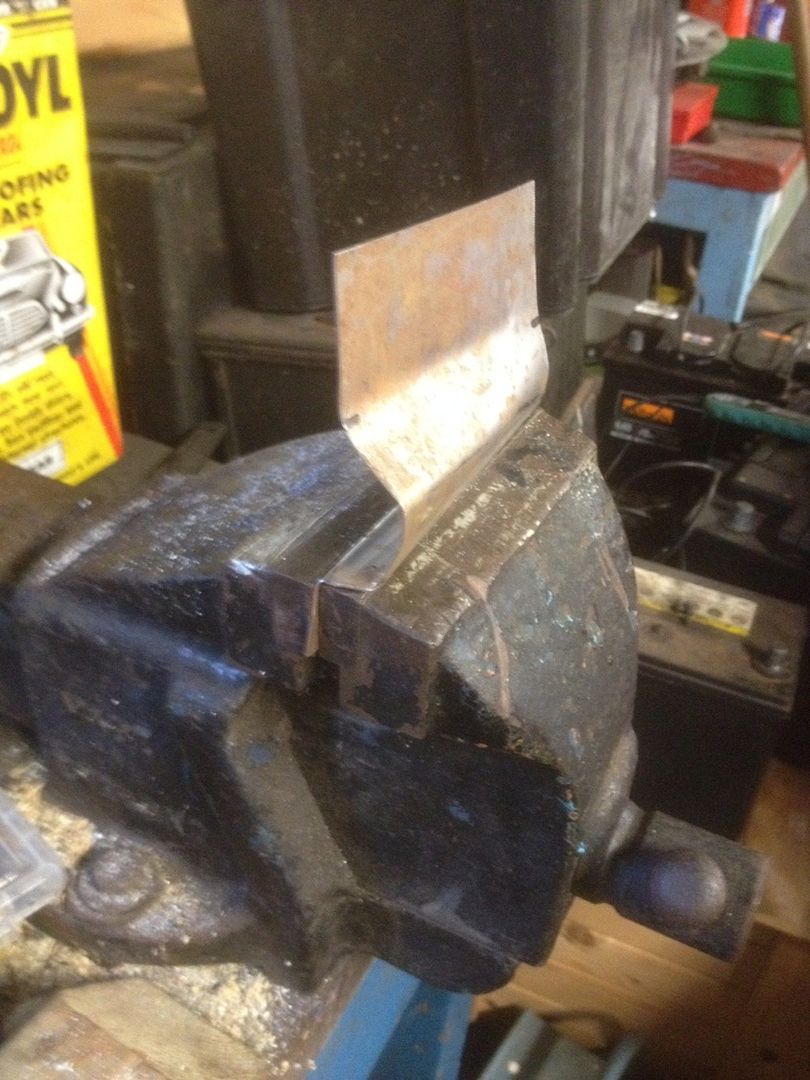
Cut out the rusted area and weld in the new section
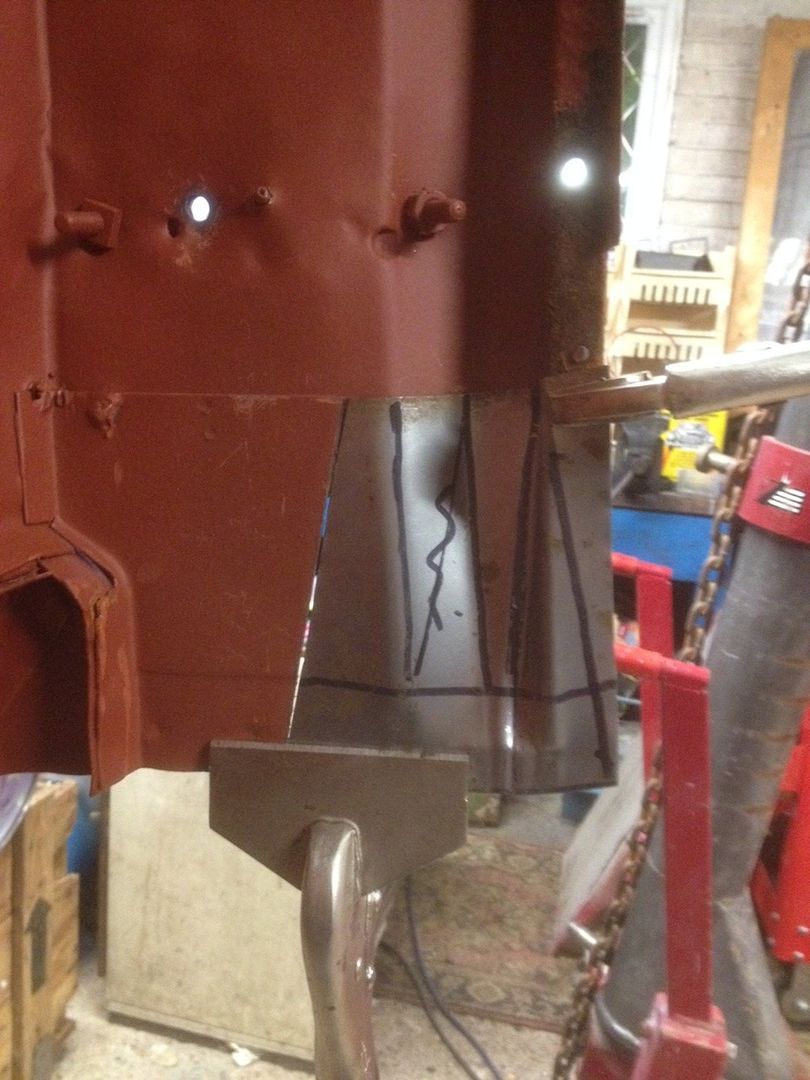
The front corners were not too difficult to do, but the rear corner on the driver side, around where the fuel filler goes took ages, and if i was to do it again i would buy the repair panel.
I am sure you have all seen how this is done so i won't bore you with too many photos of this.
#15
04-23-2016, 12:19 PM
Join Date: Apr 2011
Location: Hertfordshire, UK
Posts: 68
Likes: 0
Received 0 Likes
on
0 Posts
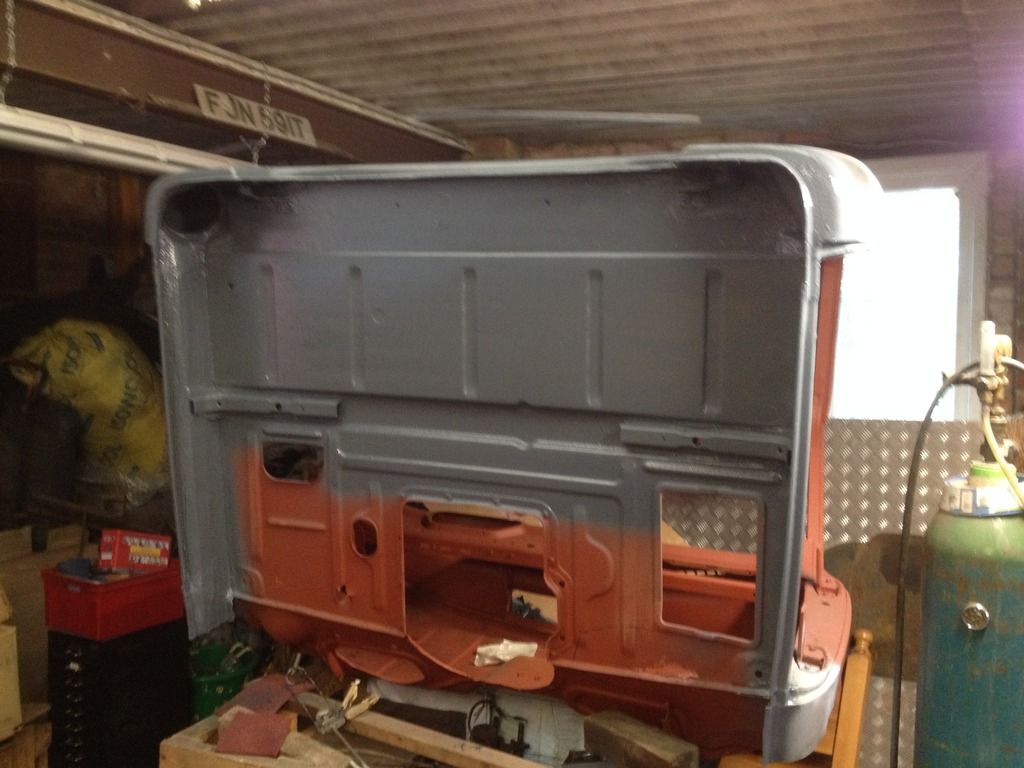
Once the corners were done, I fabriated the centre section and welded that in
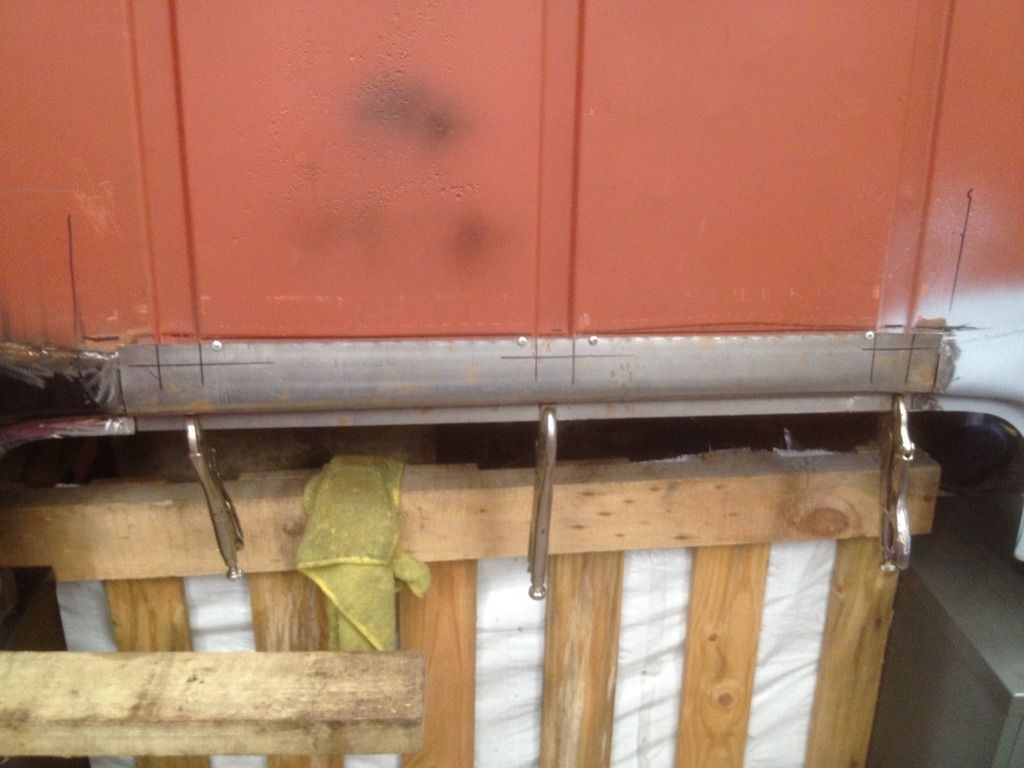
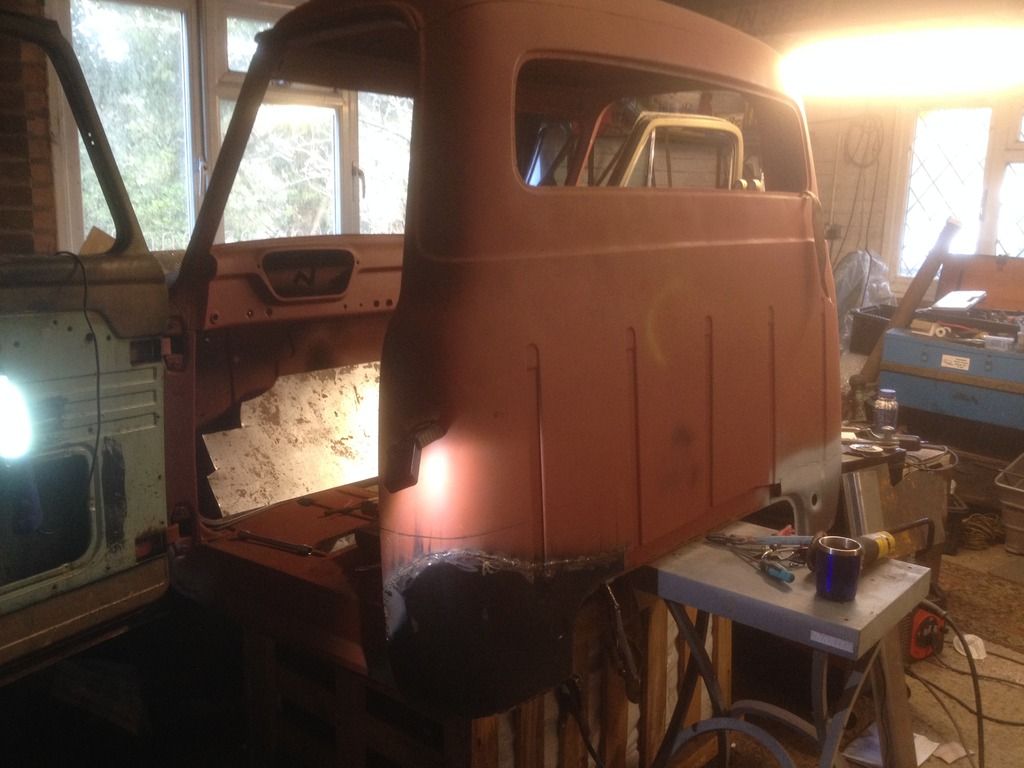
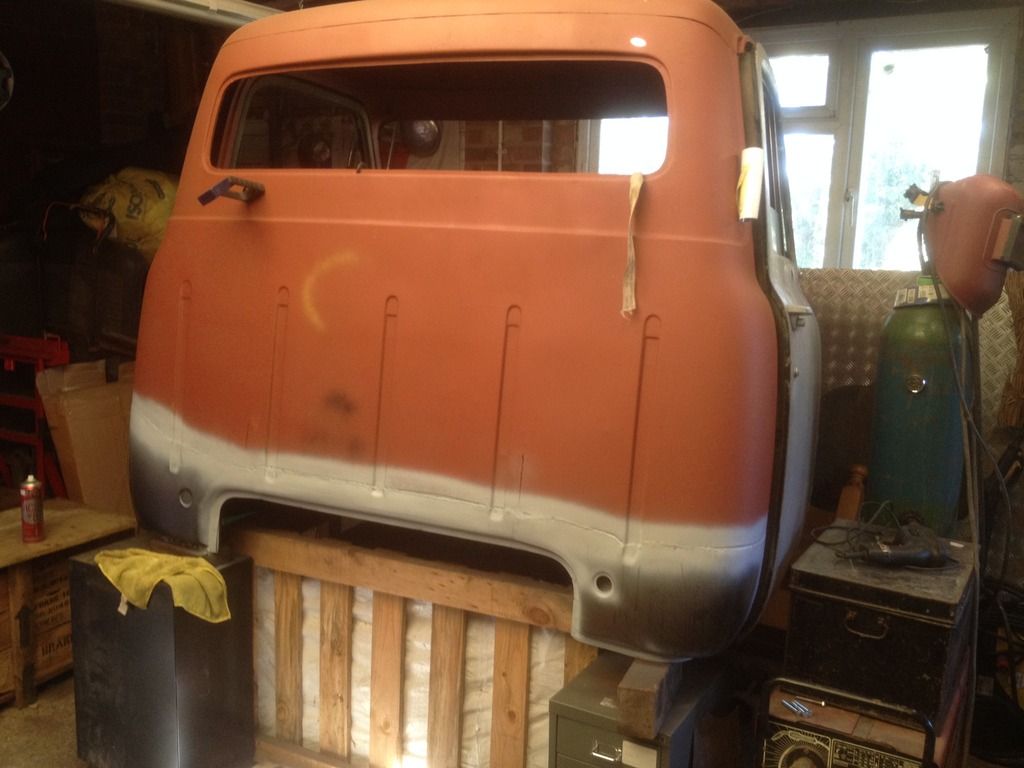
Once I was happy with the welding, the cab was tipped back onto it's front - could do it on my own as a bare cab - and i sealed the welded areas with polyurethane sealer and then stonechipped it all including the rear area of floor.
The front area of floor is rusted through and needs welding and i need to finish the front corners, but i got a bit bored of welding, so my next move now is to set the cab back on the frame and come back to finishing the front floors and corners of the cab later, as i may need to modify the shape of the front floor for the engine and transmission
