1980 - 1986 Bullnose F100, F150 & Larger F-Series Trucks Discuss the Early Eighties Bullnose Ford Truck

Dream & challenge: 82 F100 Resto pic heavy

Thread Tools
 
Search this Thread
 
  #16  
Old 08-23-2015, 08:27 AM
Gary Lewis's Avatar
Gary Lewis
Gary Lewis is offline
Posting Legend
Join Date: Jul 2010
Location: Northeast, OK
Posts: 32,866
Likes: 0
Received 26 Likes on 24 Posts
I agree with Chris - WOW! Good job!

So, remind me where in Germany? I think you told me and I've forgotten.

And, did you have questions in there? I was so absorbed in reading the progress I missed them if you did.
 
  #17  
Old 08-23-2015, 09:26 AM
sengel1975's Avatar
sengel1975
sengel1975 is offline
Senior User
Thread Starter
Join Date: Jan 2015
Location: Ft Benning, GA
Posts: 122
Likes: 0
Received 0 Likes on 0 Posts
Those Germans....

Originally Posted by Gary Lewis
I agree with Chris - WOW! Good job!

So, remind me where in Germany? I think you told me and I've forgotten.

And, did you have questions in there? I was so absorbed in reading the progress I missed them if you did.
Gary, I'm from southwest Germany. Southeast of Stuttgart.

There are questions with regard to the vacuum setup. As mine is not a 4x4, I'd like to erase everything off the vacuum distro. Is the SOL V (Solenoid Valve) on the driver side for the 4wheel drive or for which of the systems is it????
 
  #18  
Old 08-23-2015, 11:34 AM
nikmish's Avatar
nikmish
nikmish is offline
Senior User
Join Date: Apr 2011
Location: San Jose, CA
Posts: 347
Likes: 0
Received 6 Likes on 6 Posts
great progress, thank you for sharing!
 
  #19  
Old 08-23-2015, 12:02 PM
sengel1975's Avatar
sengel1975
sengel1975 is offline
Senior User
Thread Starter
Join Date: Jan 2015
Location: Ft Benning, GA
Posts: 122
Likes: 0
Received 0 Likes on 0 Posts
Thx Craigslist!

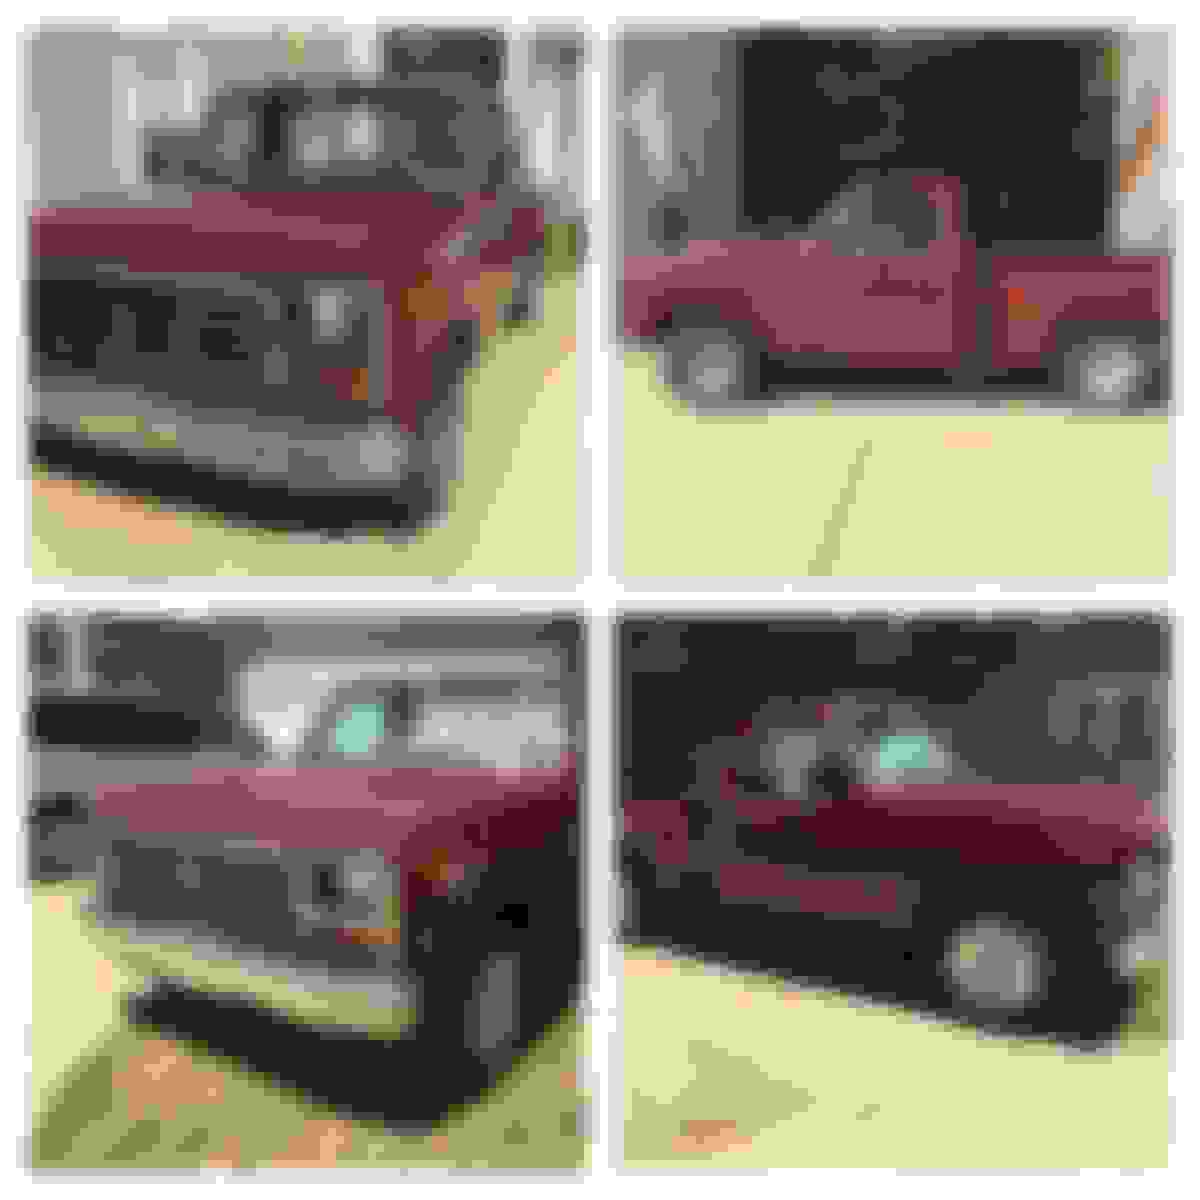
During all the planning and first steps, I looked out for some better rims. That 5x5.5 lug pattern is a little bit more difficult to find then the common 5x4.5 of the smaller axles.
I found those on Craigslist and drove 80miles one way. The guy had them in his garage for about ten years, never mounted them. Scored them for 200$. Happy😃


Will post better pic later...
 
  #20  
Old 08-23-2015, 01:17 PM
WhatsAChevy?'s Avatar
WhatsAChevy?
WhatsAChevy? is offline
Posting Guru
Join Date: Jul 2015
Location: Northeast Ohio USA
Posts: 2,239
Likes: 0
Received 4 Likes on 4 Posts
Head first !

Gotta love Us Germans.....dive in head first !!
KEEP US POSTED !
 
  #21  
Old 08-23-2015, 01:21 PM
WhatsAChevy?'s Avatar
WhatsAChevy?
WhatsAChevy? is offline
Posting Guru
Join Date: Jul 2015
Location: Northeast Ohio USA
Posts: 2,239
Likes: 0
Received 4 Likes on 4 Posts
By the way.....the Wife is a "keeper"!
 
  #22  
Old 08-23-2015, 01:38 PM
Gary Lewis's Avatar
Gary Lewis
Gary Lewis is offline
Posting Legend
Join Date: Jul 2010
Location: Northeast, OK
Posts: 32,866
Likes: 0
Received 26 Likes on 24 Posts
SE of Stuttgart. Well, we will get as close as Nuremberg or Munich in a few weeks.

On the SOL V, I don't know what it is for. Hopefully someone here does.
 
  #23  
Old 08-23-2015, 04:37 PM
sengel1975's Avatar
sengel1975
sengel1975 is offline
Senior User
Thread Starter
Join Date: Jan 2015
Location: Ft Benning, GA
Posts: 122
Likes: 0
Received 0 Likes on 0 Posts
Thanks for the compliments. My wife is indeed a keeper and very supportive of that project....
Here are some more pics of the rims.

Nice rims, not a dent or scratch. Just a little bit dusty...


pics to compare before and after. Compilation made by my wife...


Putting it on first time. Put original size tires on them (235/75 R 15).
 
  #24  
Old 08-23-2015, 04:49 PM
sengel1975's Avatar
sengel1975
sengel1975 is offline
Senior User
Thread Starter
Join Date: Jan 2015
Location: Ft Benning, GA
Posts: 122
Likes: 0
Received 0 Likes on 0 Posts
recoating the frame

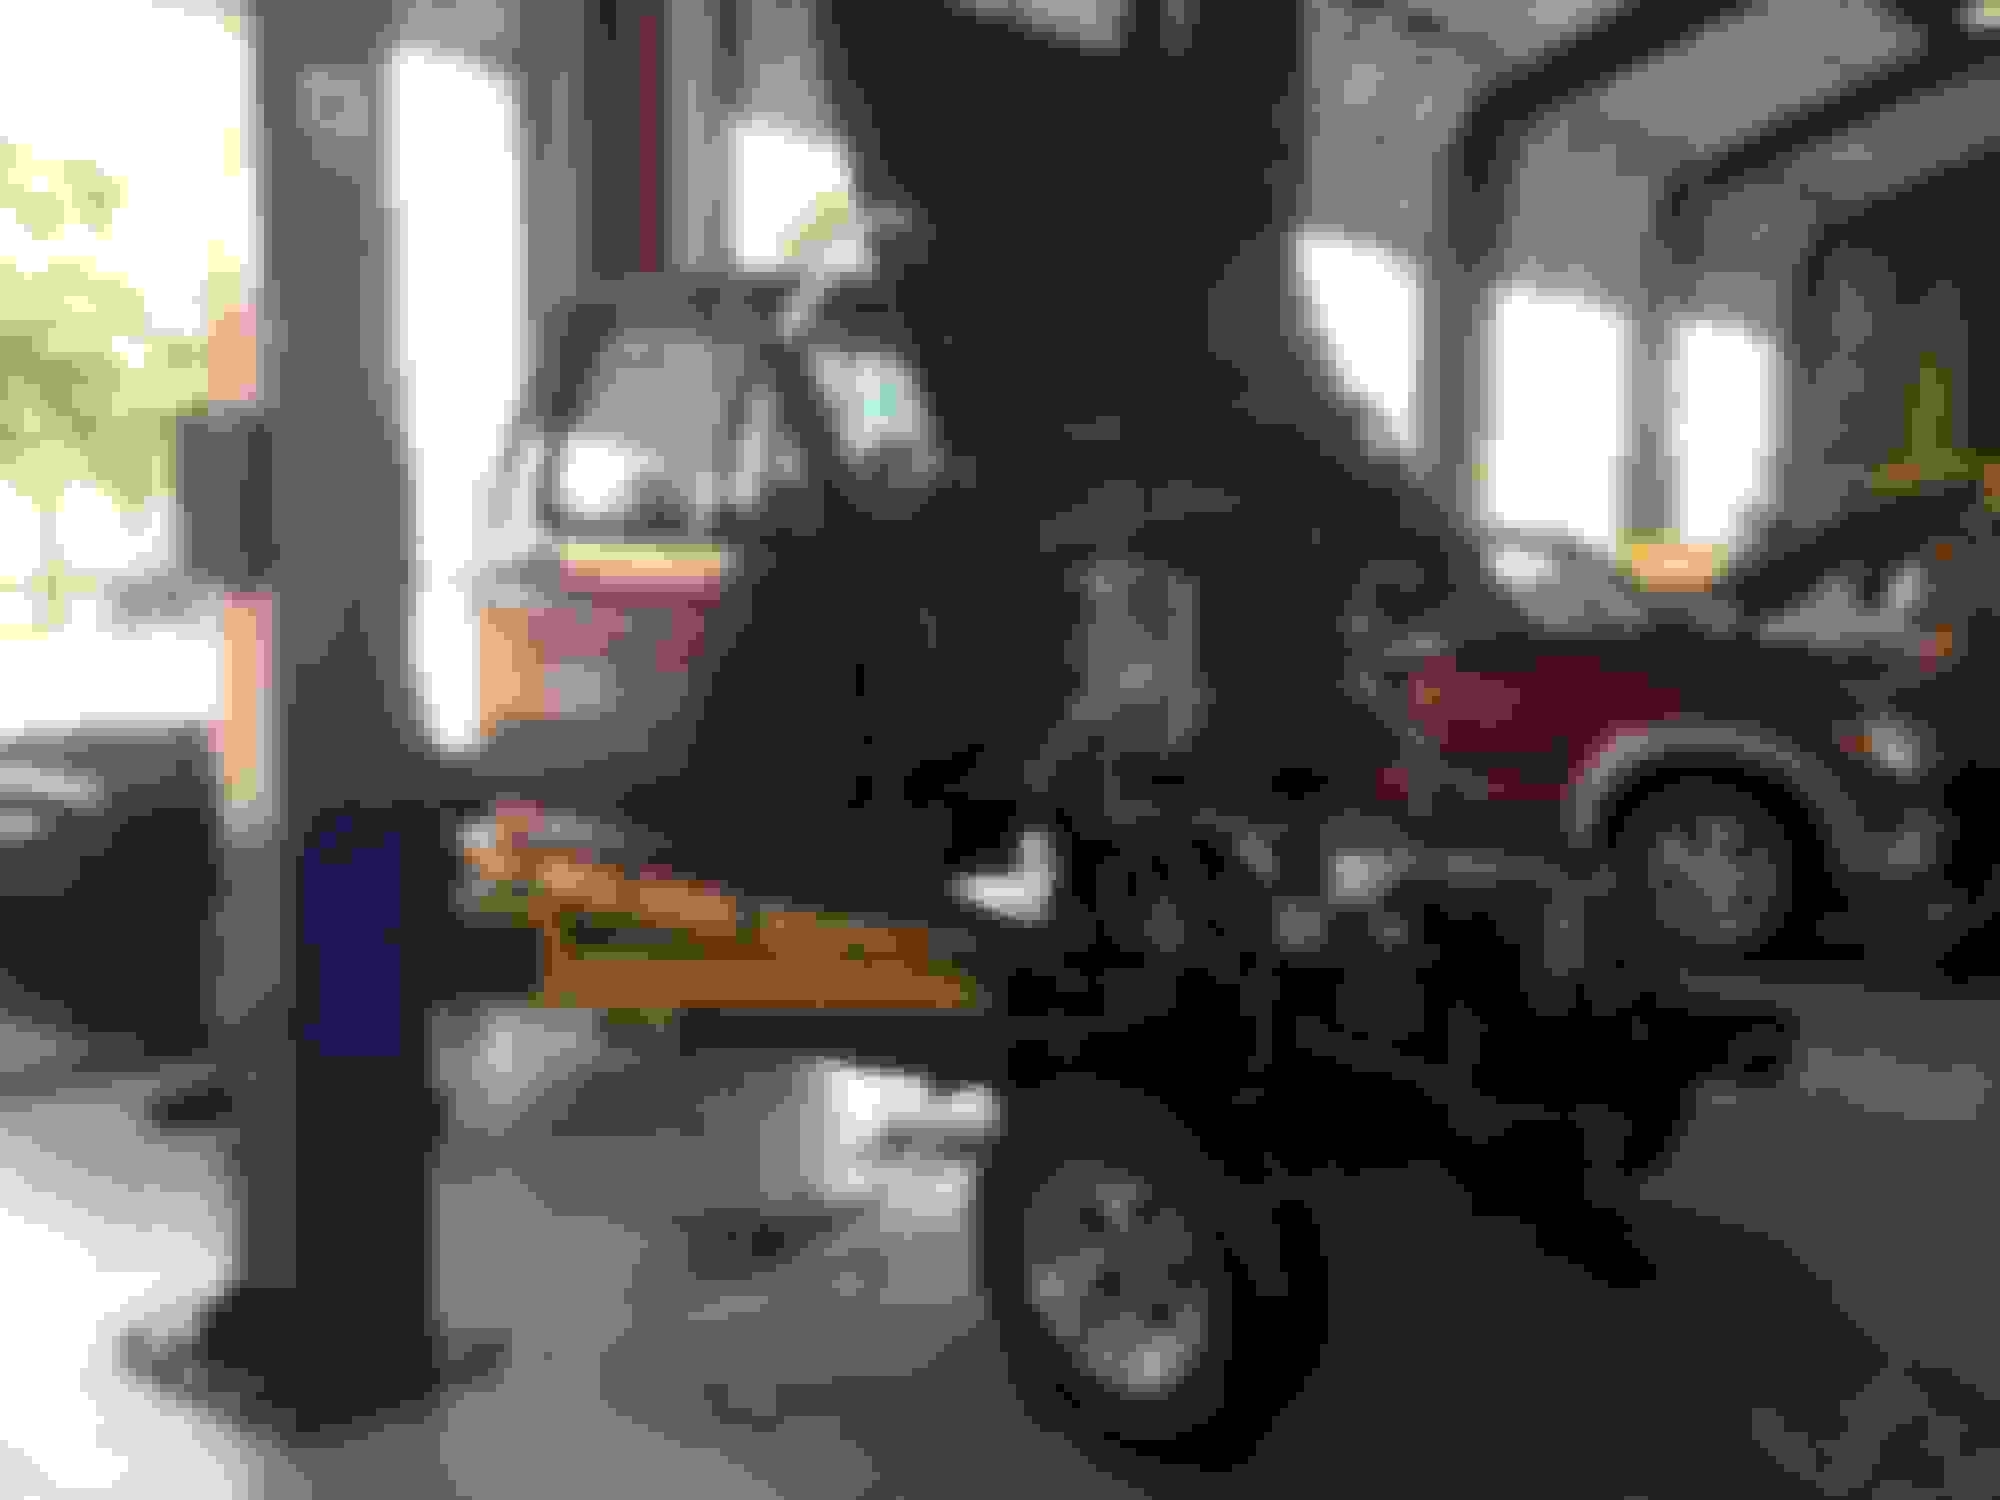
After cleaning out the engine compartment, I painted it in black with Eastwood 2K engine compartment paint. Pretty good stuff and at that time, I hoped not to dissassemble the whole front end (dream on...) Came out good, but would have been the better decision to do it after the frame was recoated and the cabinmounts and radiator support mounts were changed....

cleaned and prepped...


, ...primed....


...and painted.


I wrapped everything in plastic foliage throughout the process to keep the wiring, connectors and other parts in good shape...
 
  #25  
Old 08-23-2015, 07:56 PM
sengel1975's Avatar
sengel1975
sengel1975 is offline
Senior User
Thread Starter
Join Date: Jan 2015
Location: Ft Benning, GA
Posts: 122
Likes: 0
Received 0 Likes on 0 Posts
Recoating the frame (contd)

After having the engine bay painted (decided to do so to due to availablity of paintbooth and had to wait for some parts), I continued to dissassemble the car. took the bed, old exhaust and the gas tank off. Lifted the cabin and with her hangin on the lift, started to clean the frame and recoat it with Chassis Saver in Black. I chose CS, because it is a one step painting process, I can brush it on and the reviews were pretty good. As my experiences with POR 15 for the engine were not perfect, I gave CS the chance to shine. Im good with the outcome, when I tangle with the suspension later, those parts will then get a coating, as well.
Yes, CS will stick to your skin pretty bad. And when your frame is still arolling chassis, you will find yourself in some very uncomfortable positions to get the brush in every spot...
For the paint: I went through the paint in two days. To be able to reuse some, I brought some glasses (originally from pickles, I think). Opened the CS can and immediately filled it in the glass. Never had problems in reopening it the next day....

this is a example of the frame before cleaning and paint


Fenders taken off (pretty easy so far...)


front radiator support mounting. The rubber is gone, so I decided to change it out...


Passenger side didn´t looked much better


..but at least they came off pretty easy!
 
  #26  
Old 08-23-2015, 08:05 PM
sengel1975's Avatar
sengel1975
sengel1975 is offline
Senior User
Thread Starter
Join Date: Jan 2015
Location: Ft Benning, GA
Posts: 122
Likes: 0
Received 0 Likes on 0 Posts
cabin mounts

they were a different story! Kept me busy for a while. The first was burned off to get the bolts out. After the whole shop was covered in smoke, I simply grabbed the Jigsaw with anew blade and cut through the others above the mount....

The radiator support mount had to be bruned off. but as said in my last post, because nothing was close by, easy job. Stinky, but easy....


This is how it looked after removal of the burning pieces. Tip: don´t get burning, fluid rubber on your skin... one more scar!
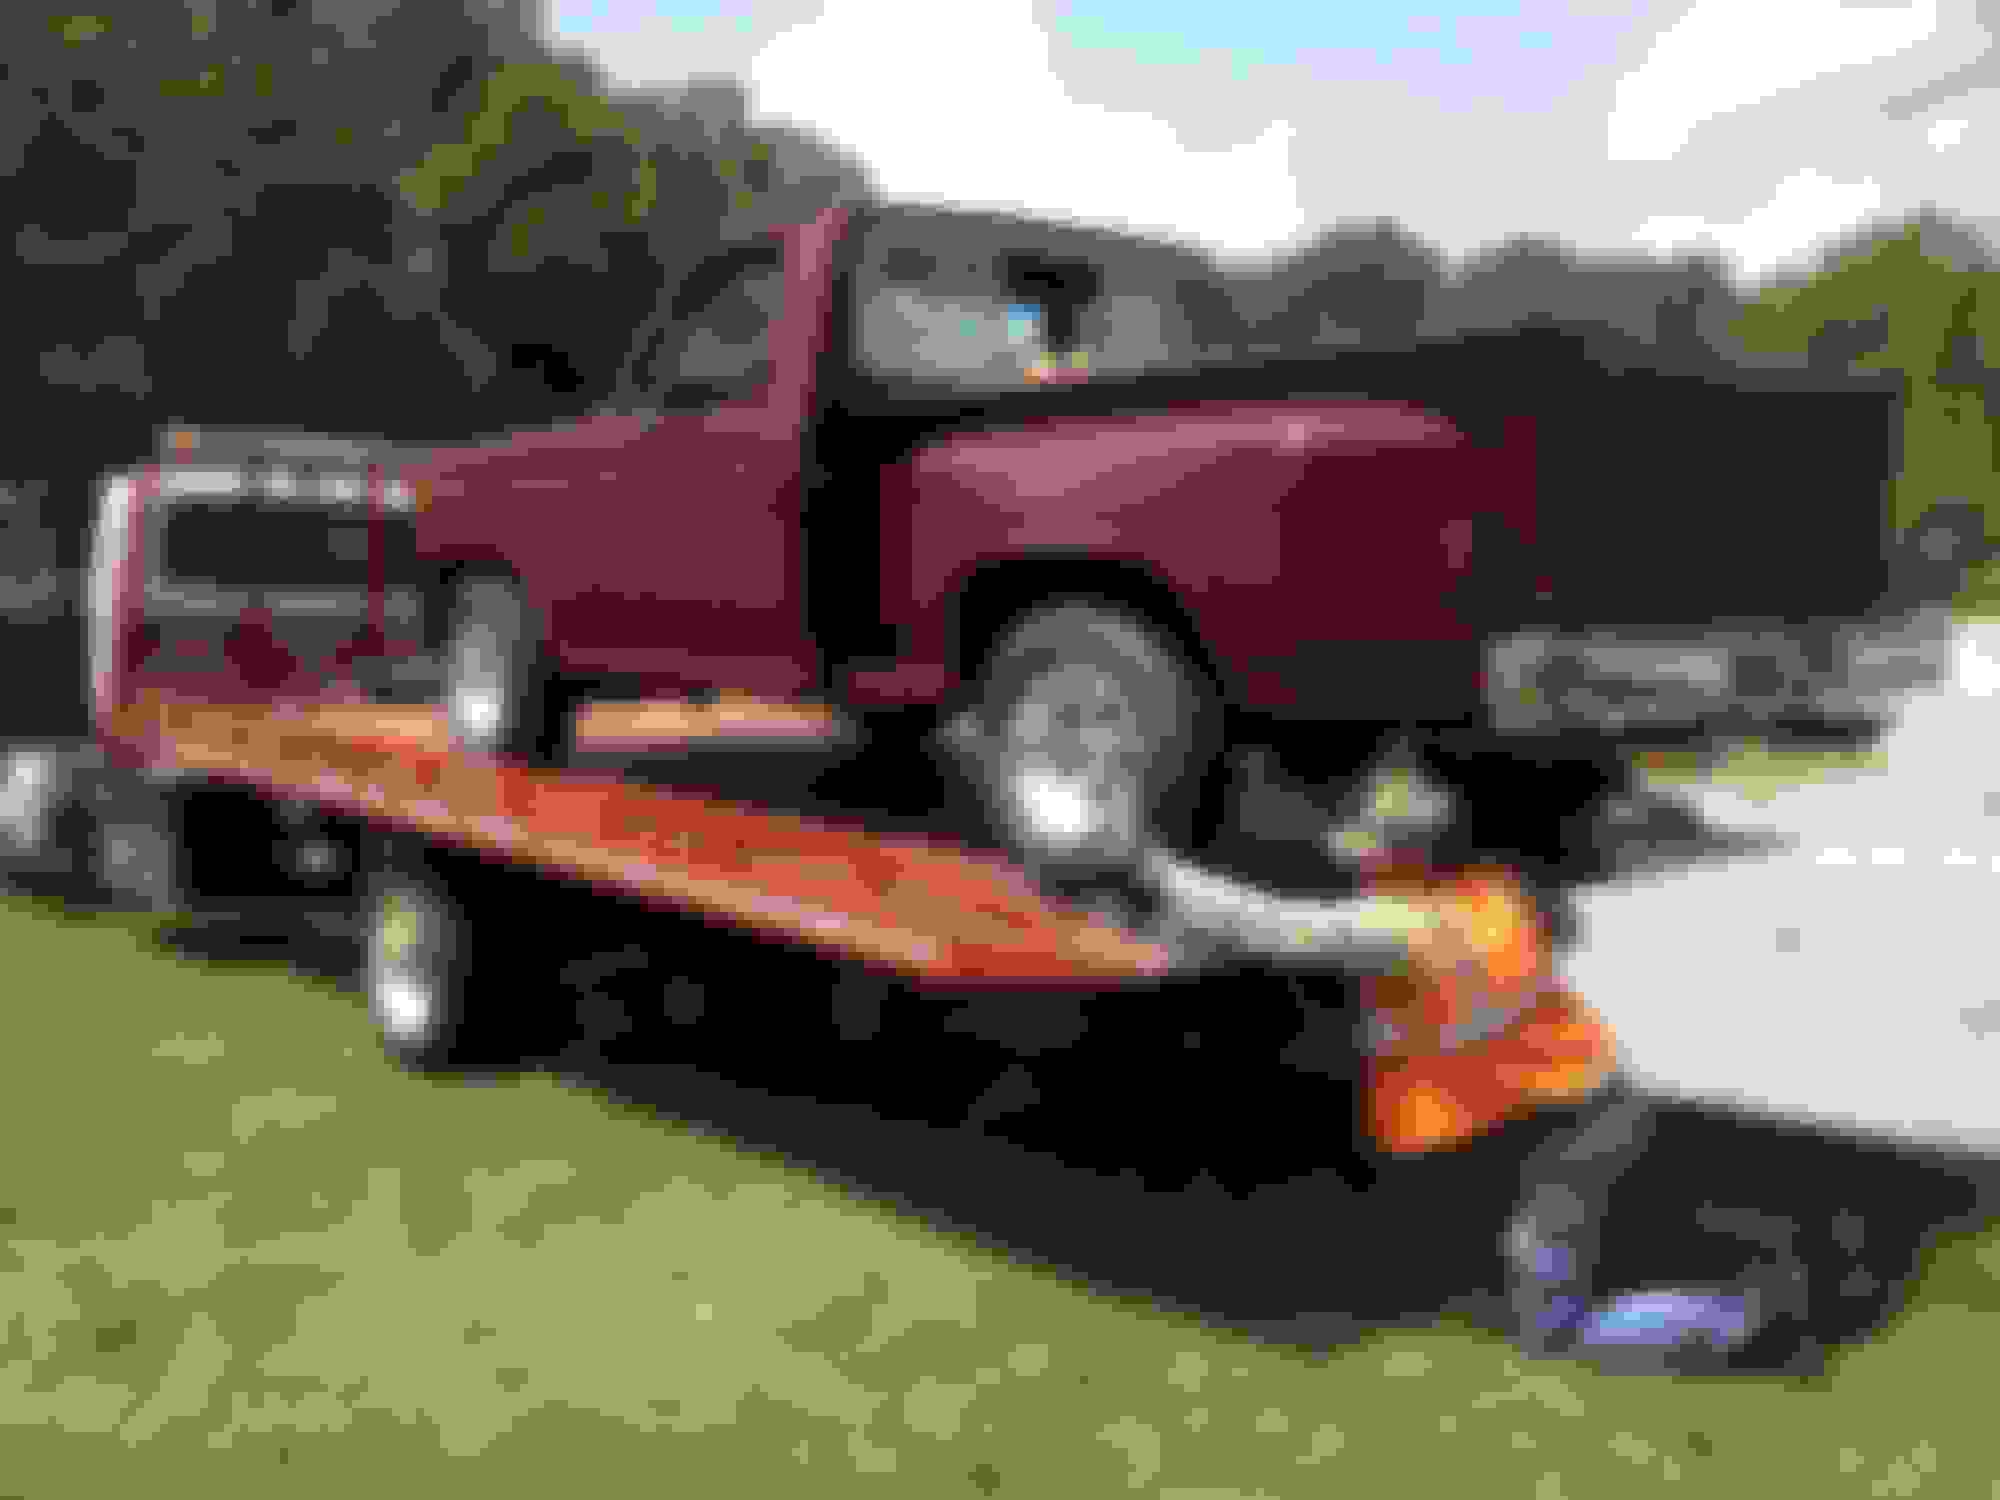
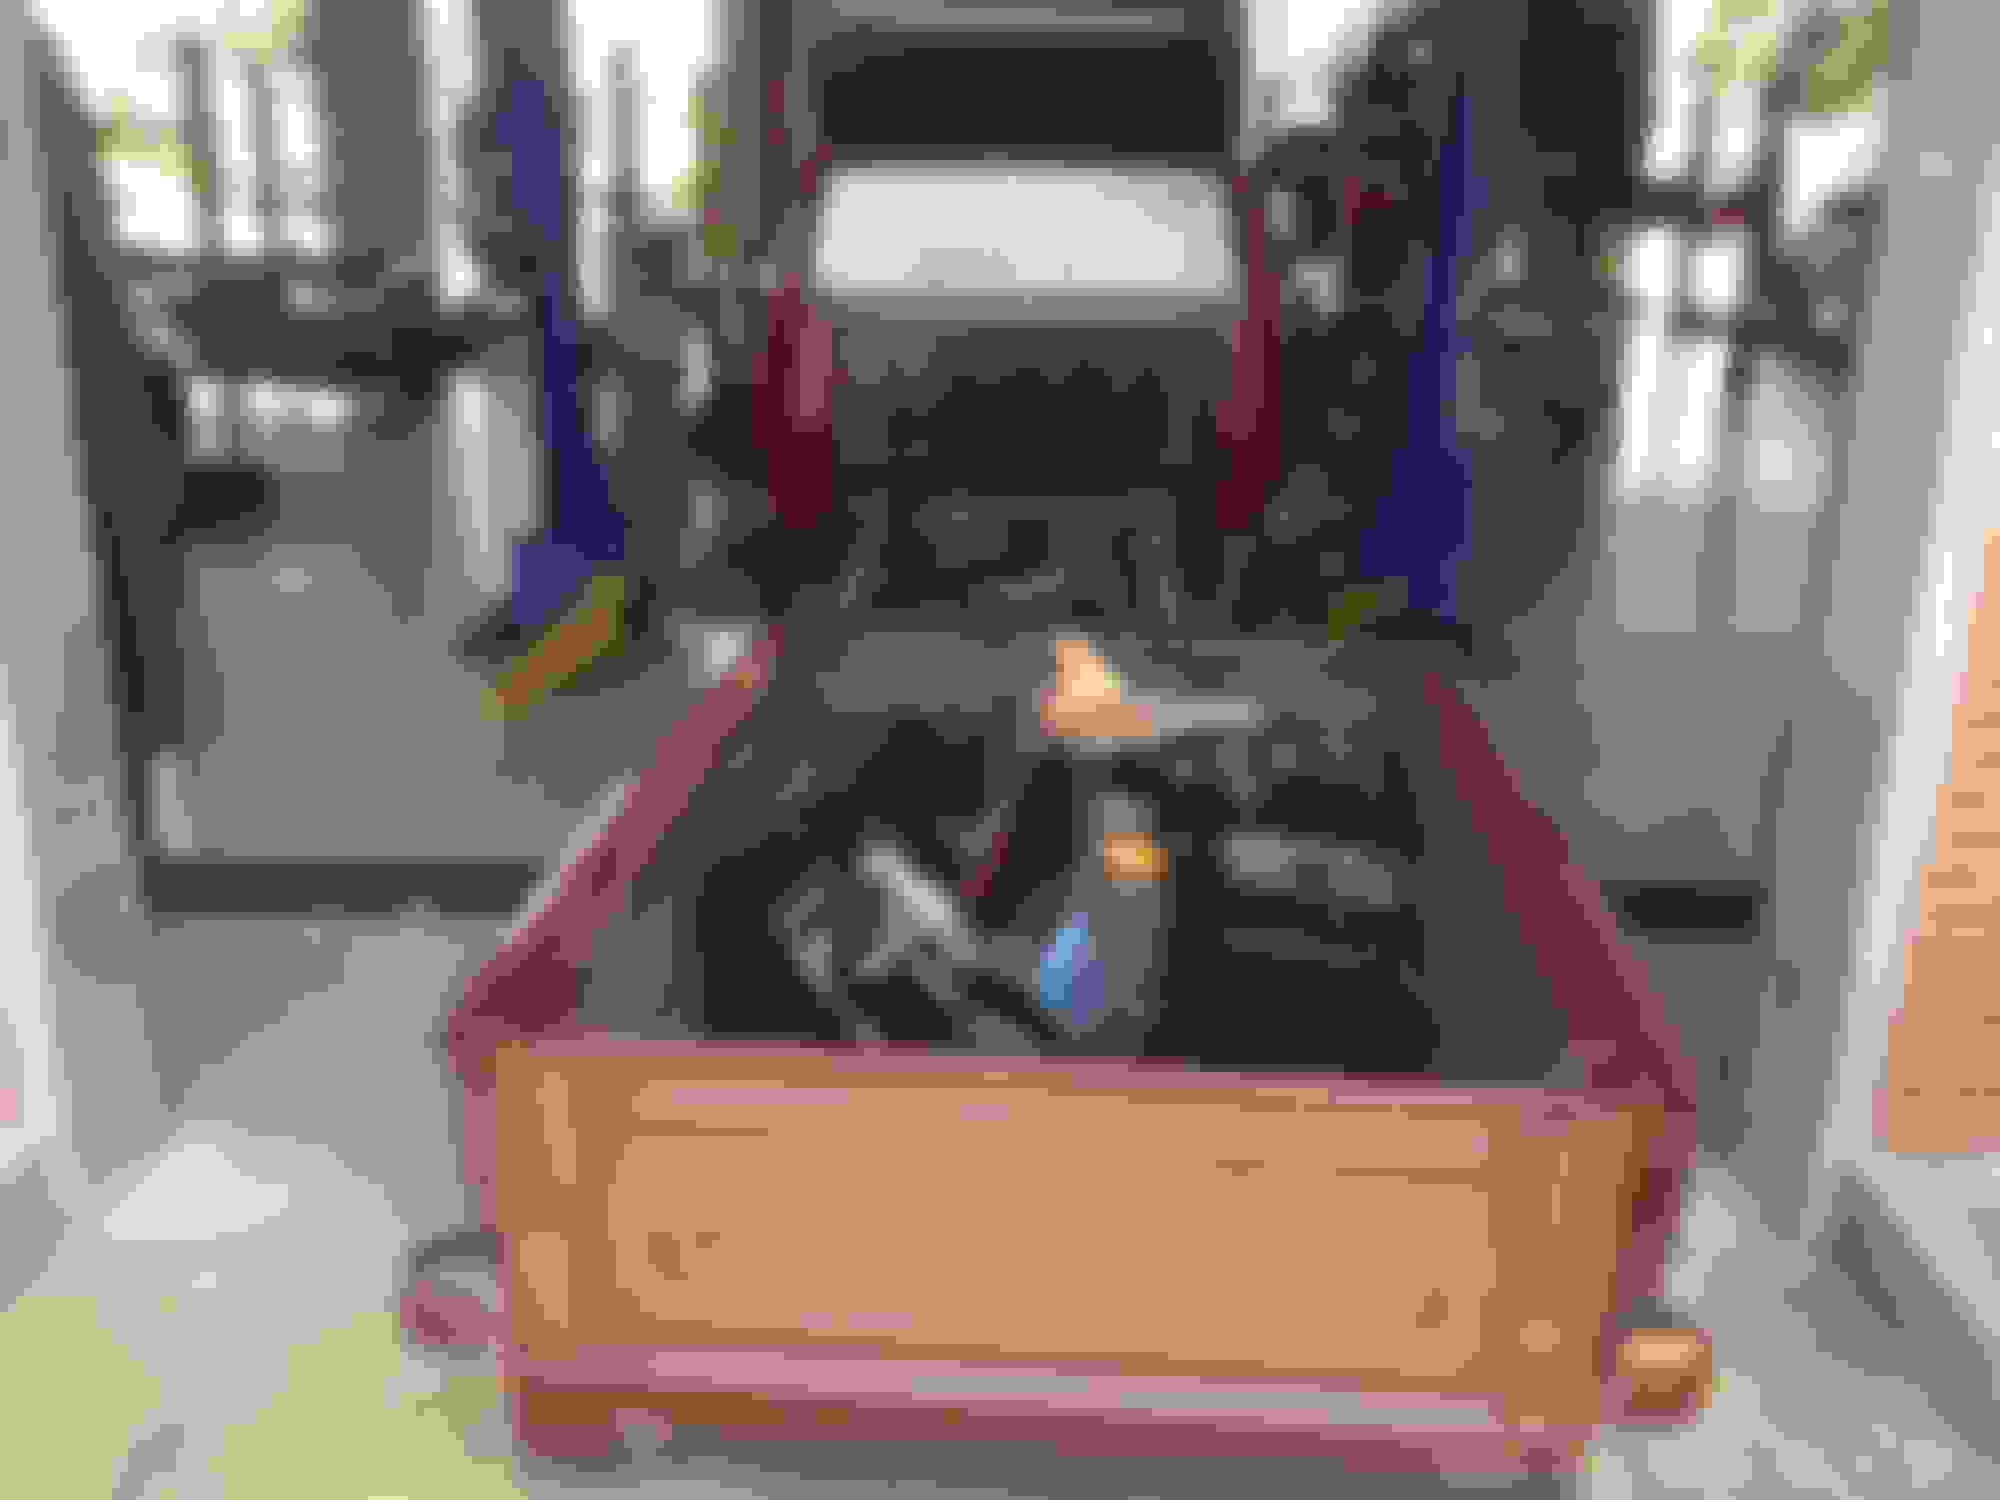


took the bed off...


looked pretty good, no bad surprises!


this is how it was sitting for the recoating of the frame. Not much space under the cabin, but I was not willing to clear every cable connection with the cabin due to get everything back together afterwards. i could reach everything, that was enough for me...


the old cabin mounts after the removal...
 
  #27  
Old 08-23-2015, 08:10 PM
sengel1975's Avatar
sengel1975
sengel1975 is offline
Senior User
Thread Starter
Join Date: Jan 2015
Location: Ft Benning, GA
Posts: 122
Likes: 0
Received 0 Likes on 0 Posts
Coating the frame and the new tank...

some pics of the recoated frame and with the new tank going in...

from the rearend...


.... alle the way to the front. The woodpiles were needed to be able to lift up the cabin. Otherwise the arms would have stretched too far to grab the cabin corners...


the new tank going in and putting all the connections in....


getting the 351W prepared to be dropped in....
 
  #28  
Old 08-23-2015, 08:15 PM
sengel1975's Avatar
sengel1975
sengel1975 is offline
Senior User
Thread Starter
Join Date: Jan 2015
Location: Ft Benning, GA
Posts: 122
Likes: 0
Received 0 Likes on 0 Posts
prep of the engine to go in...

One question was always the flexplate. The old engine had a 164 tooth flexplate. The flexplate coming with the 351W as well, so I was lucky. The size and amount of tooth is the factor needed for your size of teh crankcase and the starter. the weight is for the xternal balance.
Easy thing, so I cleaned the old flexplate from the 351W, gave it a coat of rustoleum and put it back on...

getting the surface rust and old paint off with the wirewheel.


clean it and make it ready for paint.


ready for his new home.
 
  #29  
Old 08-23-2015, 08:20 PM
sengel1975's Avatar
sengel1975
sengel1975 is offline
Senior User
Thread Starter
Join Date: Jan 2015
Location: Ft Benning, GA
Posts: 122
Likes: 0
Received 0 Likes on 0 Posts
dropping the engine in.

A small step for the engine, but a huge step for the project!

was a good drop, using a jack to lift the trans a little bit helped me to marry the two prior to dropping the engine on the new engine mounts.


In that moment changed the leaking hose from th epower steering pump with a new one....


started to put on the brackets from CVF racing and all the necessary hoses (dressed up with a dress up kit).
 
  #30  
Old 08-23-2015, 08:53 PM
Gary Lewis's Avatar
Gary Lewis
Gary Lewis is offline
Posting Legend
Join Date: Jul 2010
Location: Northeast, OK
Posts: 32,866
Likes: 0
Received 26 Likes on 24 Posts
You are a dynamo! Way to go!!!


Quick Reply: Dream & challenge: 82 F100 Resto pic heavy


All times are GMT -5. The time now is 01:15 PM.