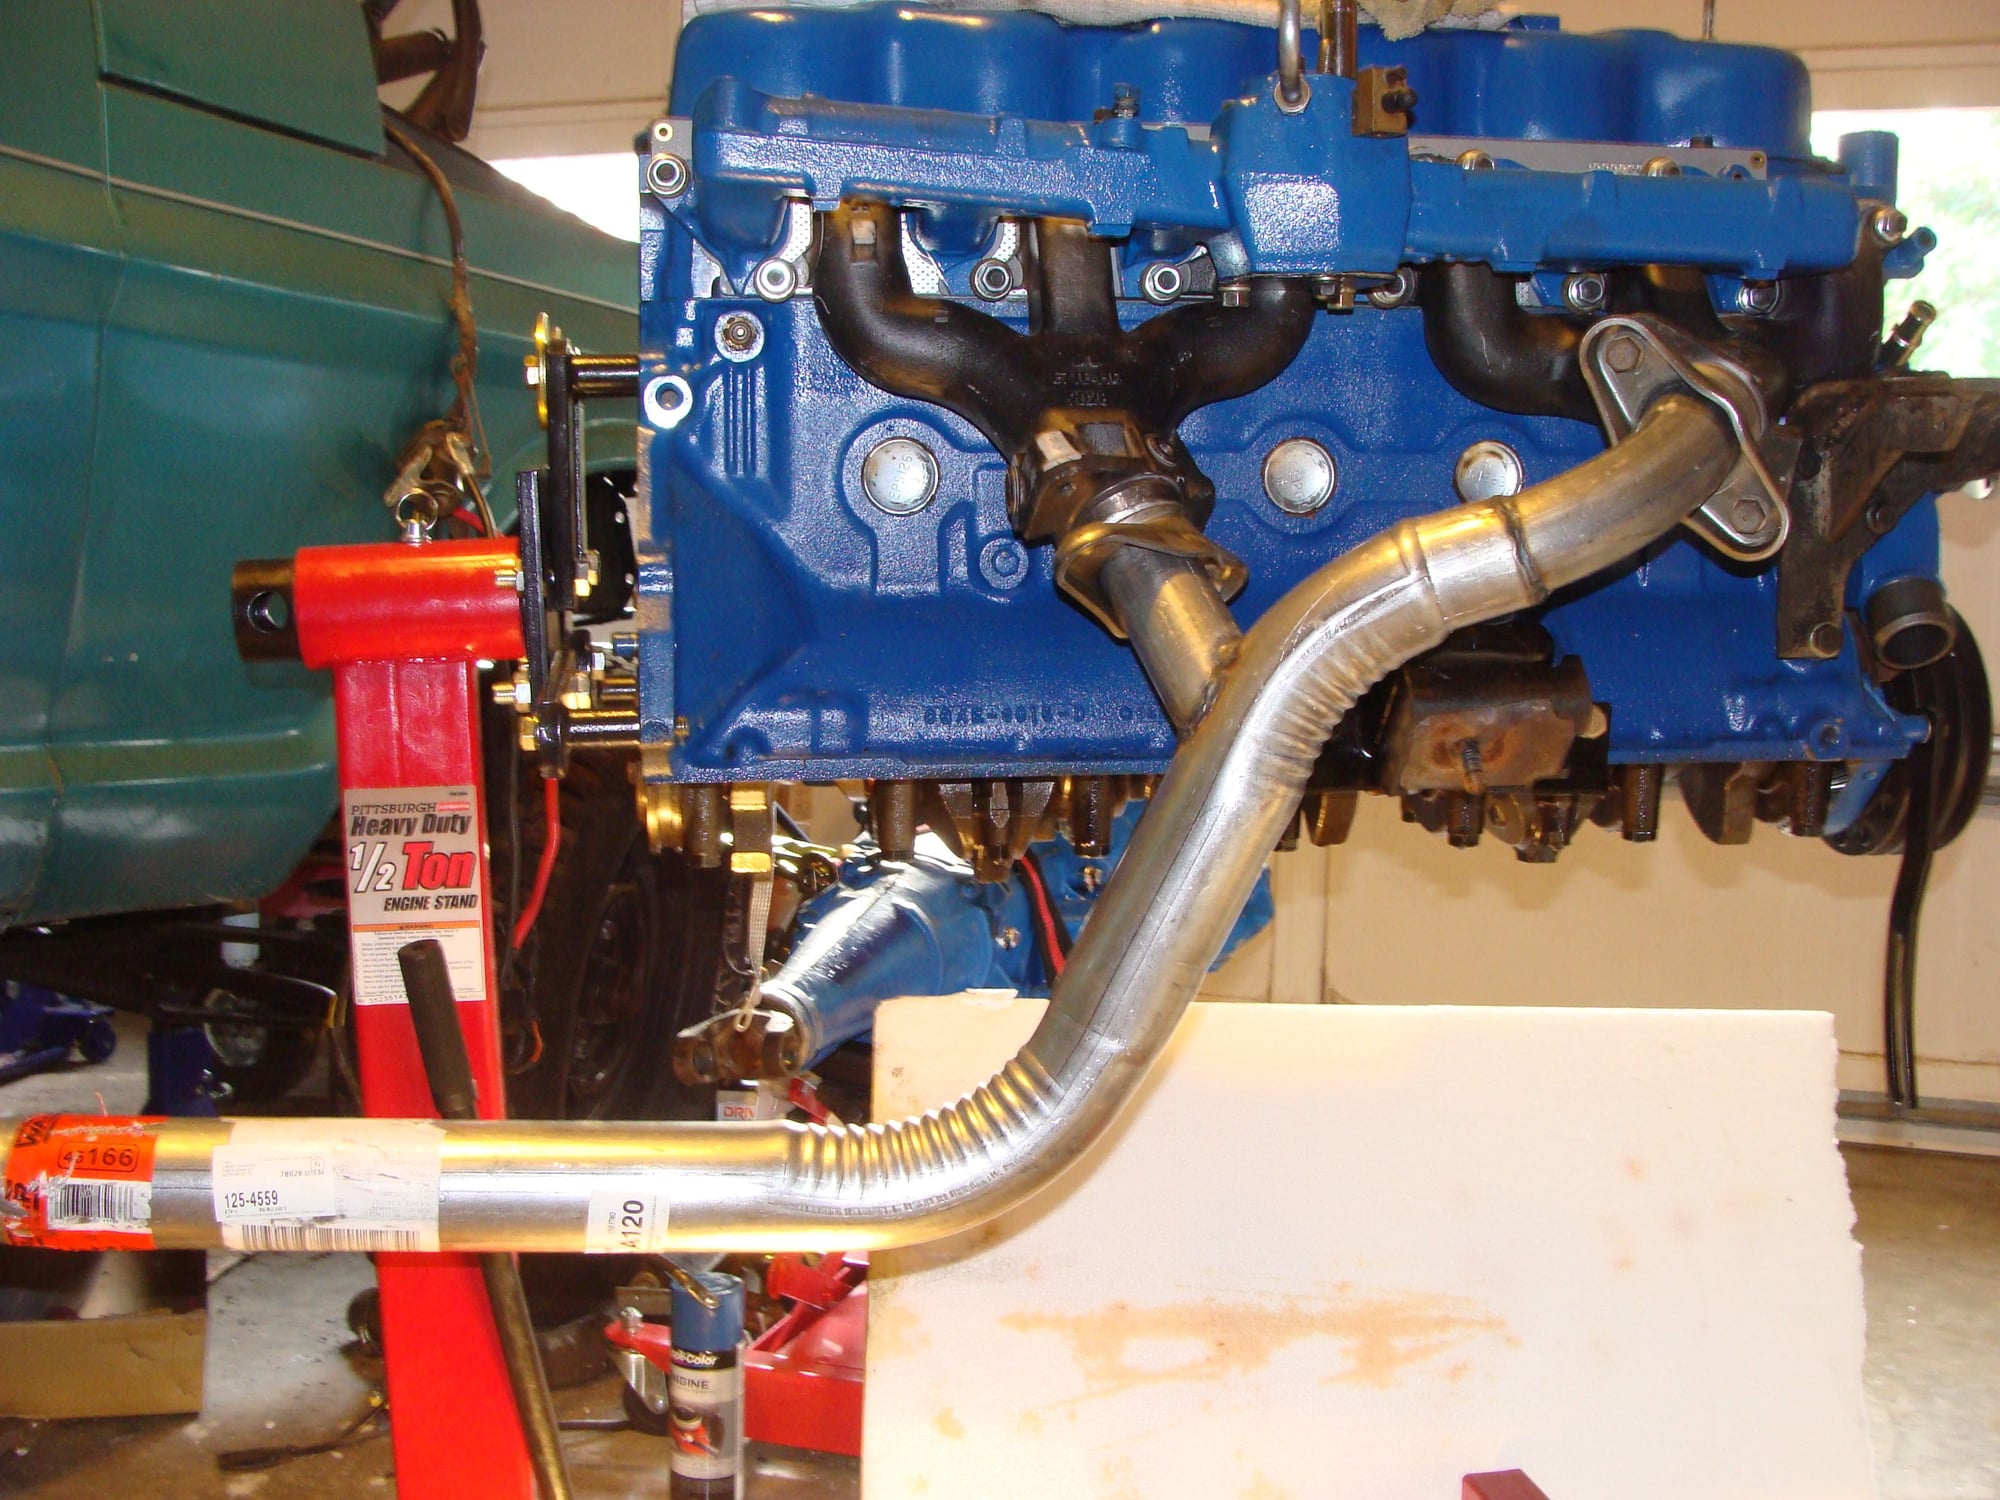
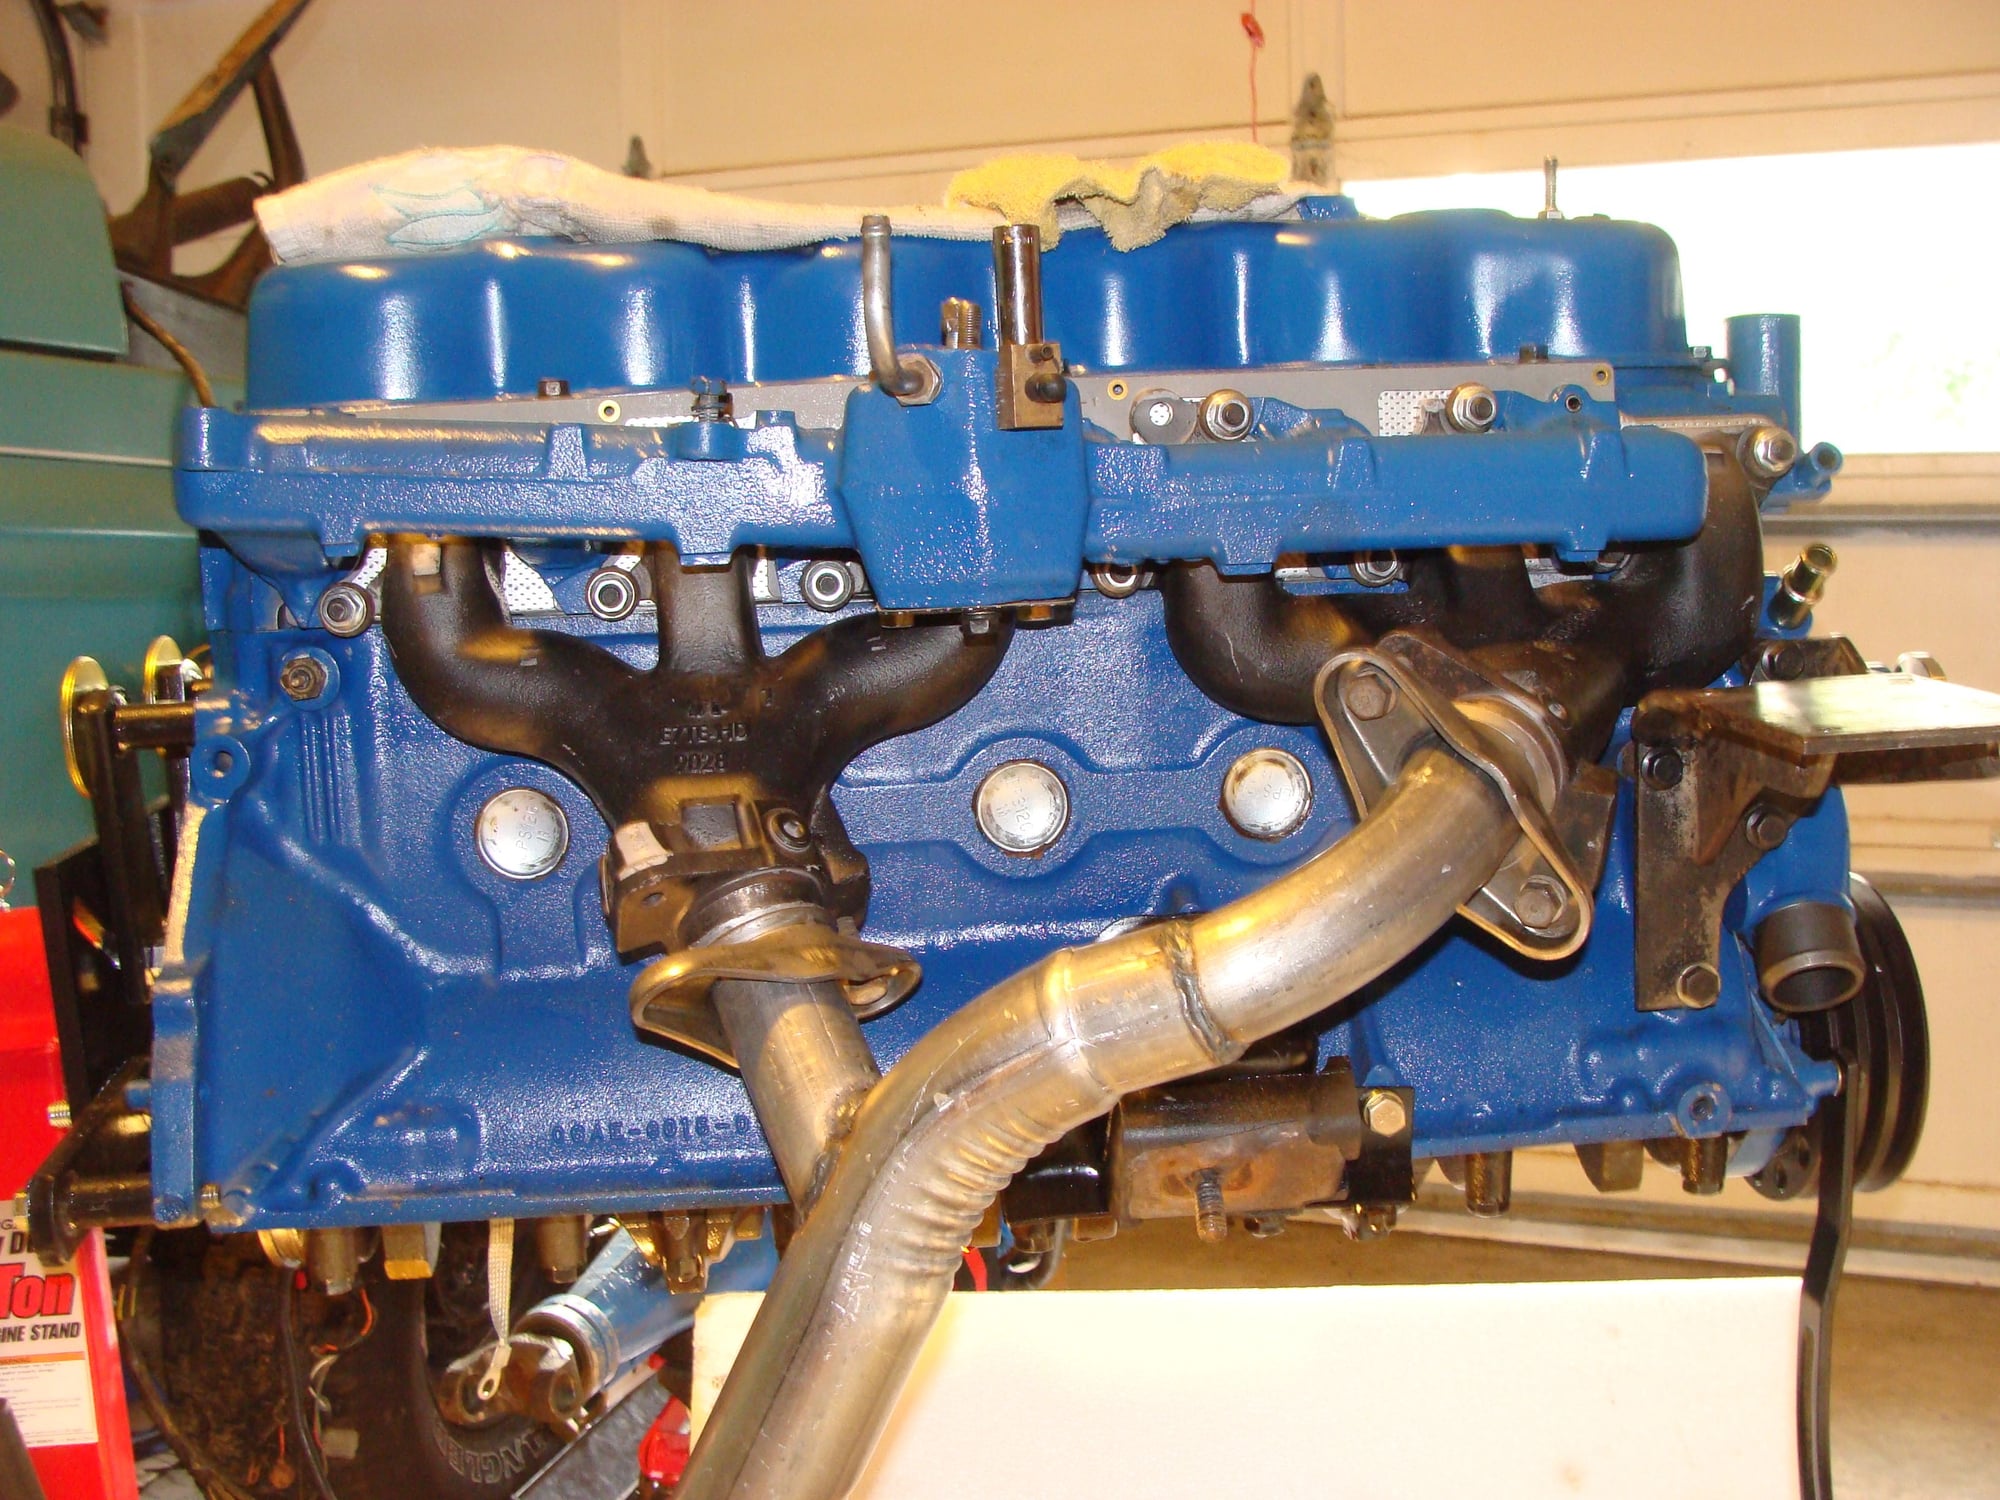
putting it back together advise
#31
Find another block. That one will always be suspect and subject to failure.
Live and learn.
NO that is not sufficient. The press of the balancer against the front face of the cam gear is what keeps the cam gear from turning on the crank (not the keyway). Make sure there is no fretting on either the crank or the balancer hub. Use the stock bolt and torque it to 140 lb-ft.
Live and learn.
NO that is not sufficient. The press of the balancer against the front face of the cam gear is what keeps the cam gear from turning on the crank (not the keyway). Make sure there is no fretting on either the crank or the balancer hub. Use the stock bolt and torque it to 140 lb-ft.
#33
Also, started checking around the state for a block and will ask my rebuilder what that approach would cost?
#34
hill,
I'm not trying to beat you up here but there IS an important lesson to be learned here, summed up by the axiom,
"The Devil is in the details".
Any time I have to extract a broken bolt/stud start small. Cast iron is much softer than steel. If the drill wanders off the bolt it will ruin the iron threads in short order.
Here is how I do it.
Center punch the broken bolt.
Start with a tiny drill or better yet a point center - like 1/16" - and drill into the center of the stud, using body english to keep it roughly centered. Use tapping fluid or cutting oil.
Increase the drill size slightly. More drilling and more oil.
You will get to a point where you break into the minor diameter of the bolt. At this point you can try an Easy Out or tap on the side of the bolt with a small punch.
If that doesn't work increase the size of the drill bit and repeat. At some piont you will remove enough of the bolt material and the bolt will collapse when hit. Or you can try a left-handed helix drill and it may back itself out.
Another method is to MIG weld a nut on it and back it out.
Good luck with your project.
#35
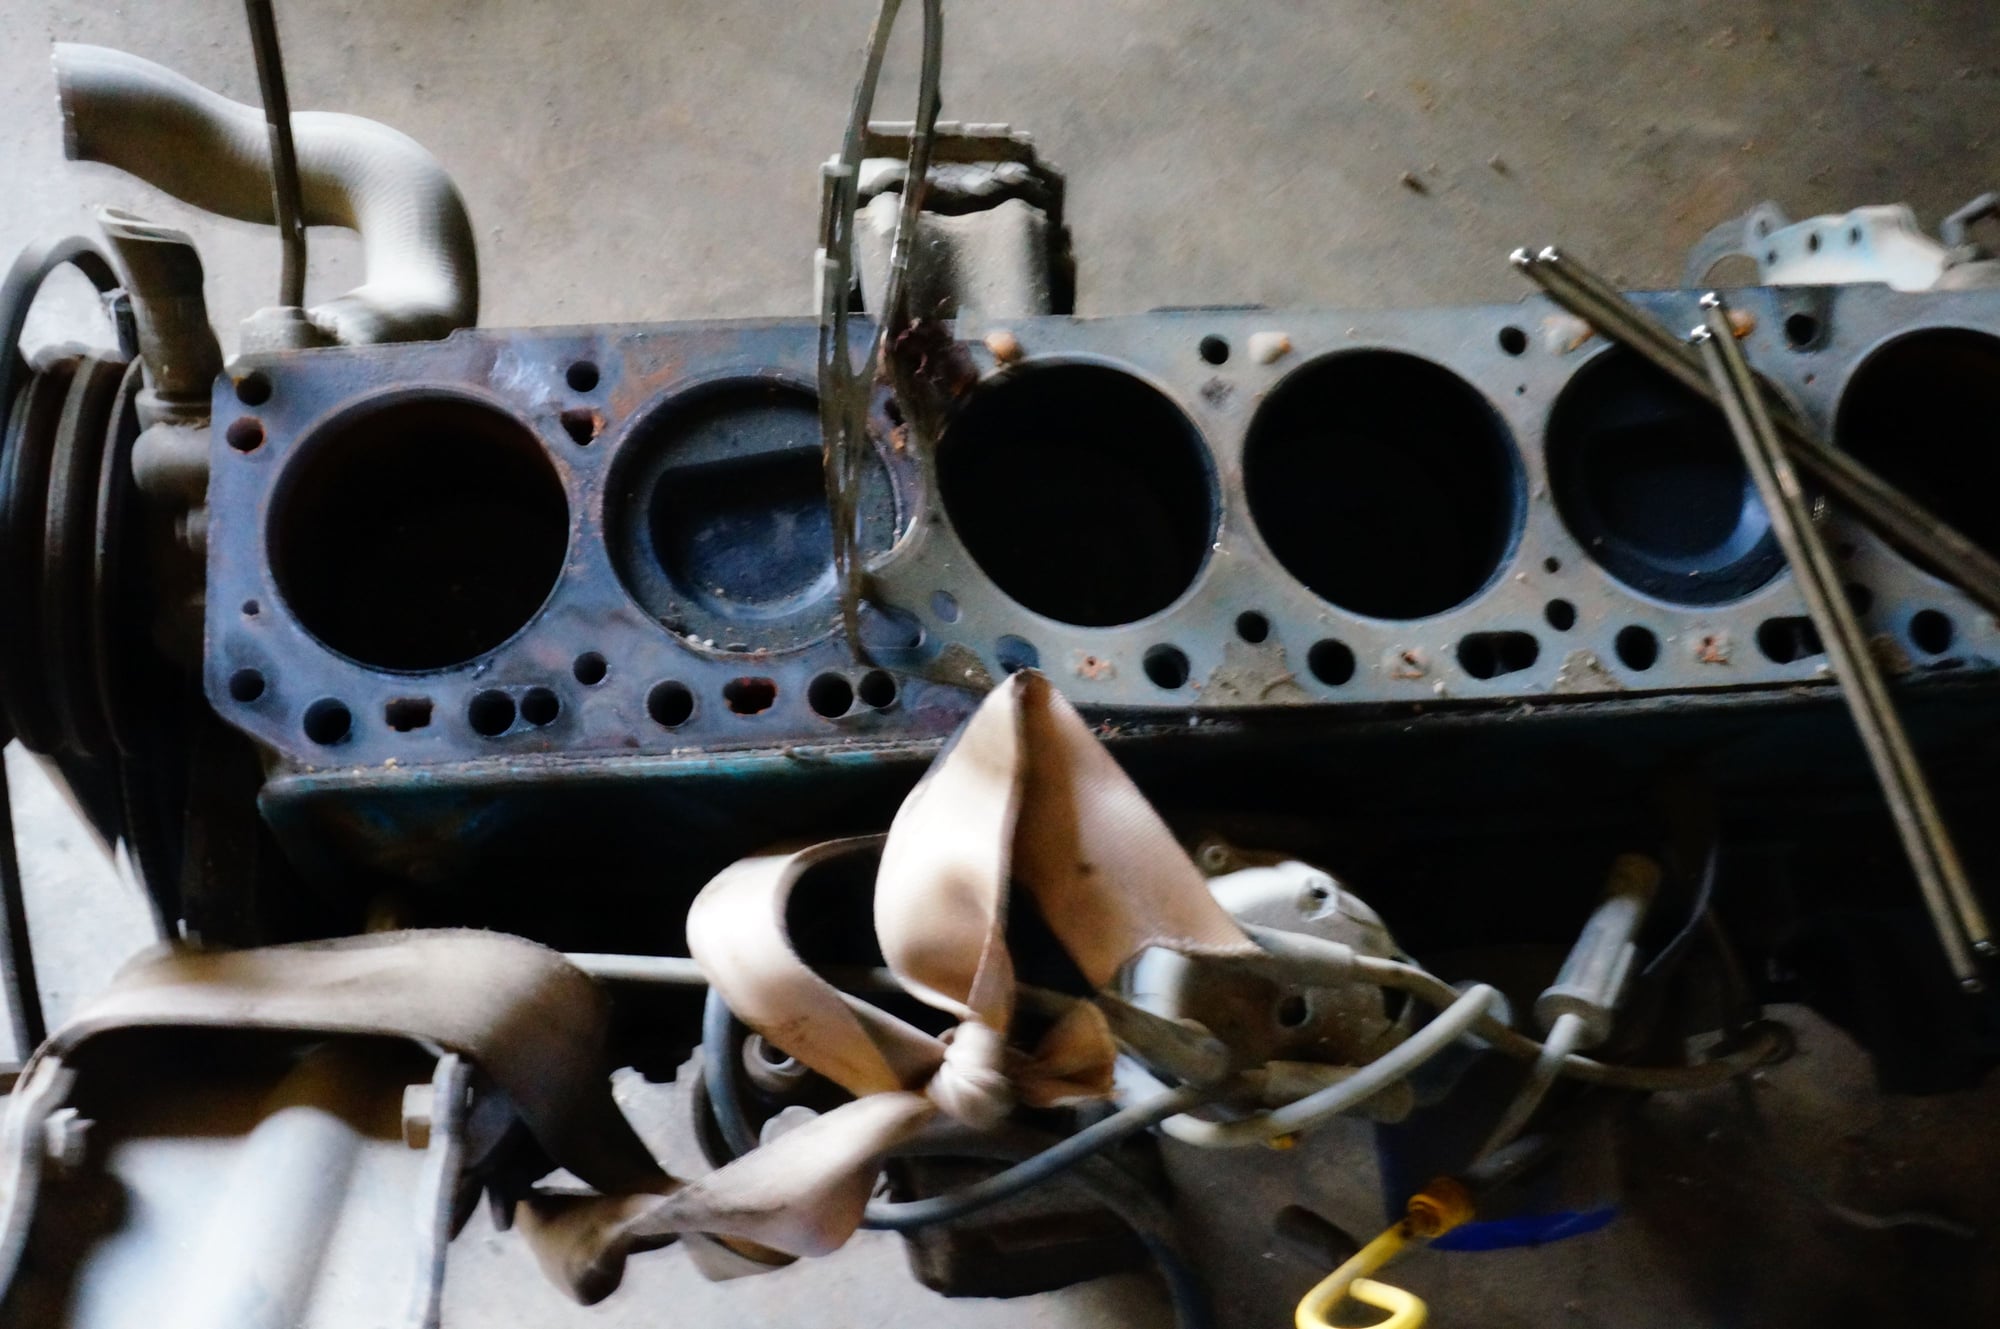
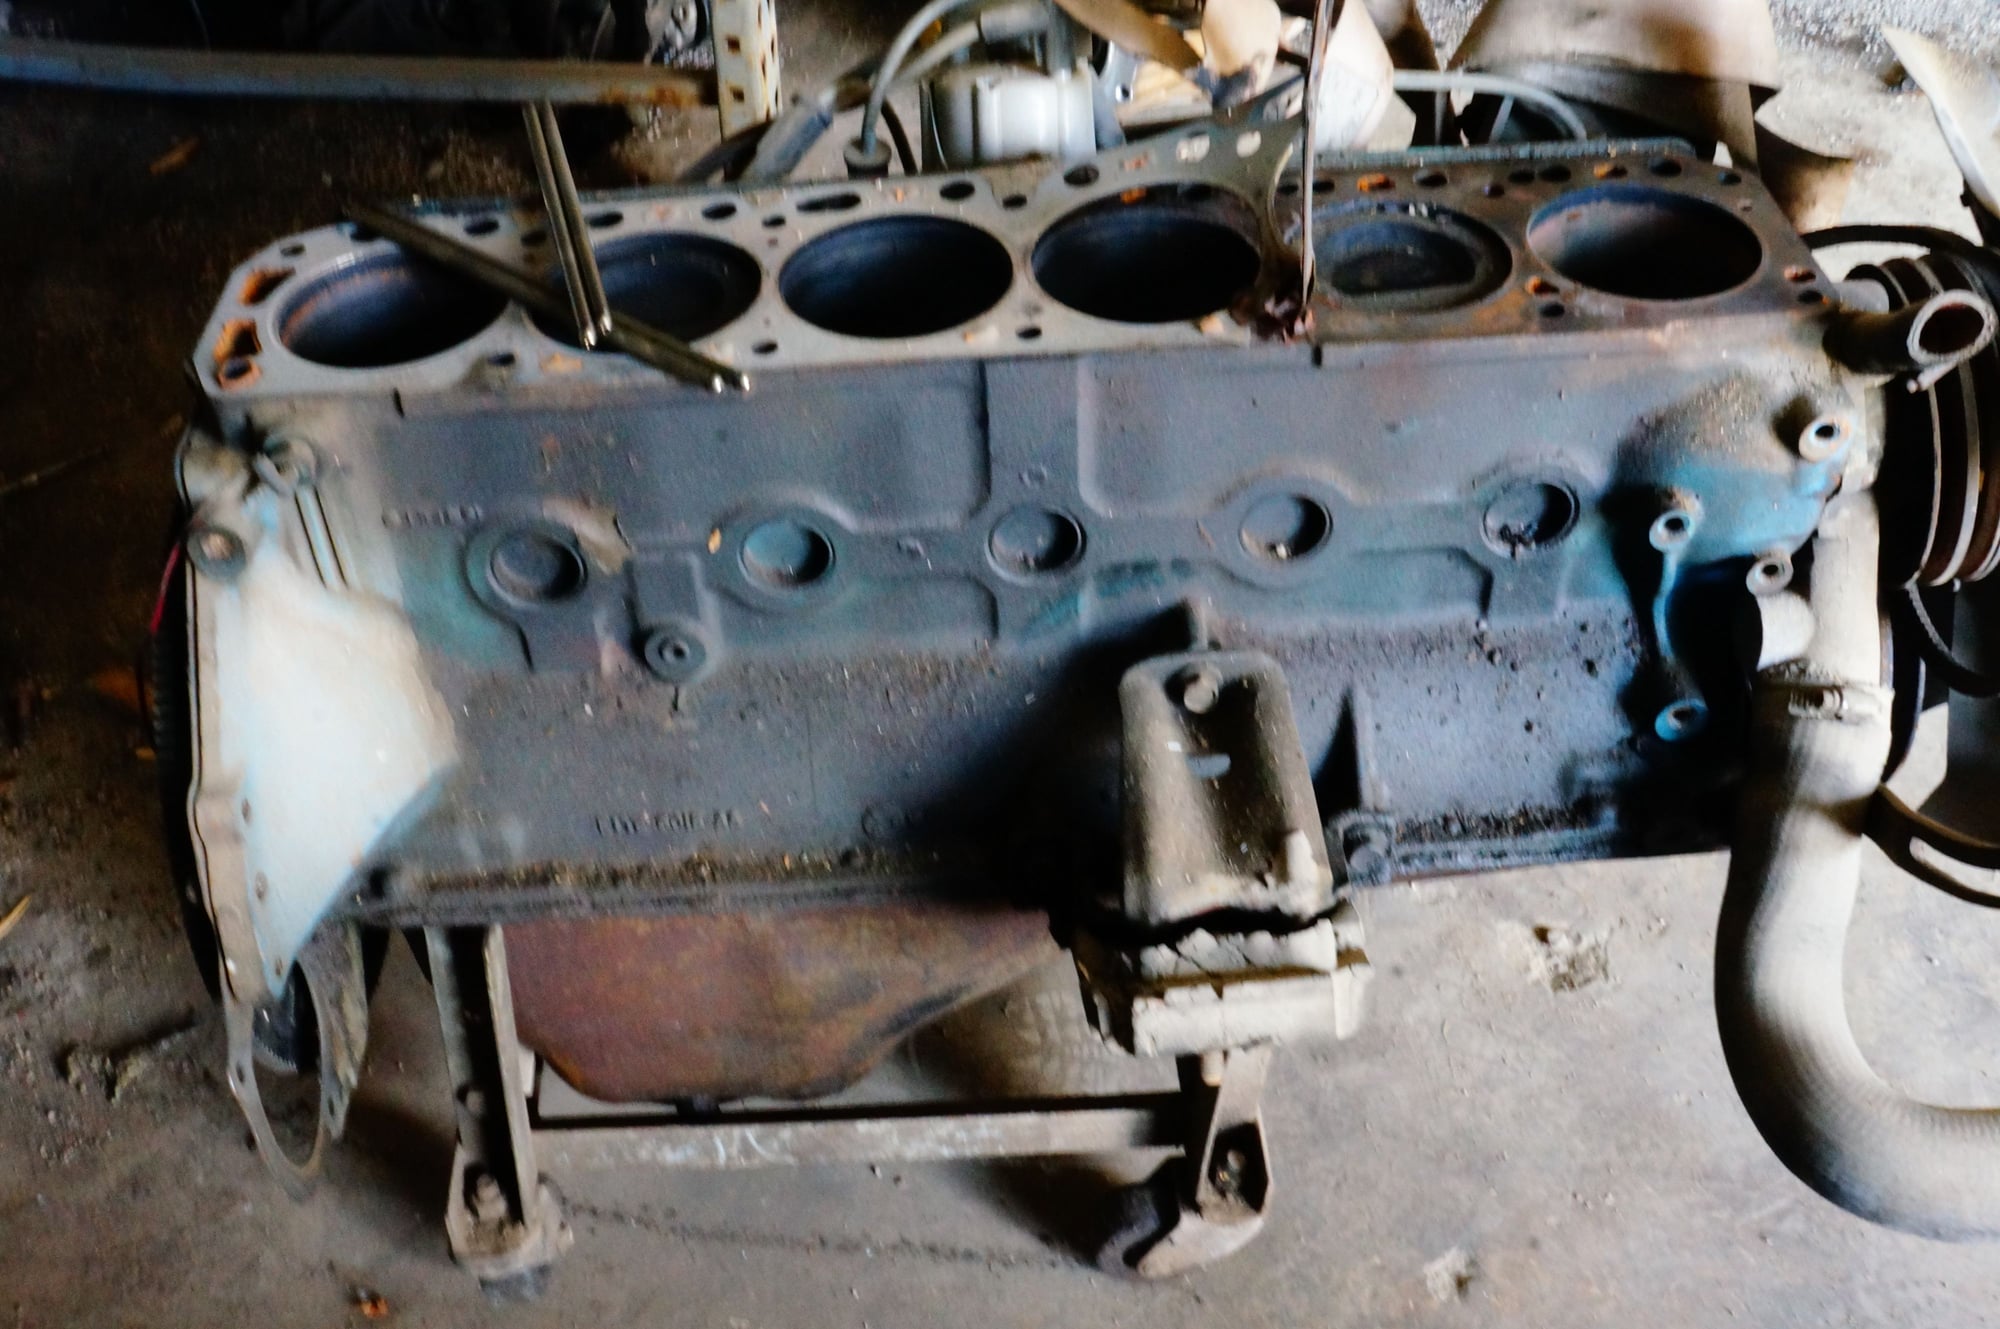
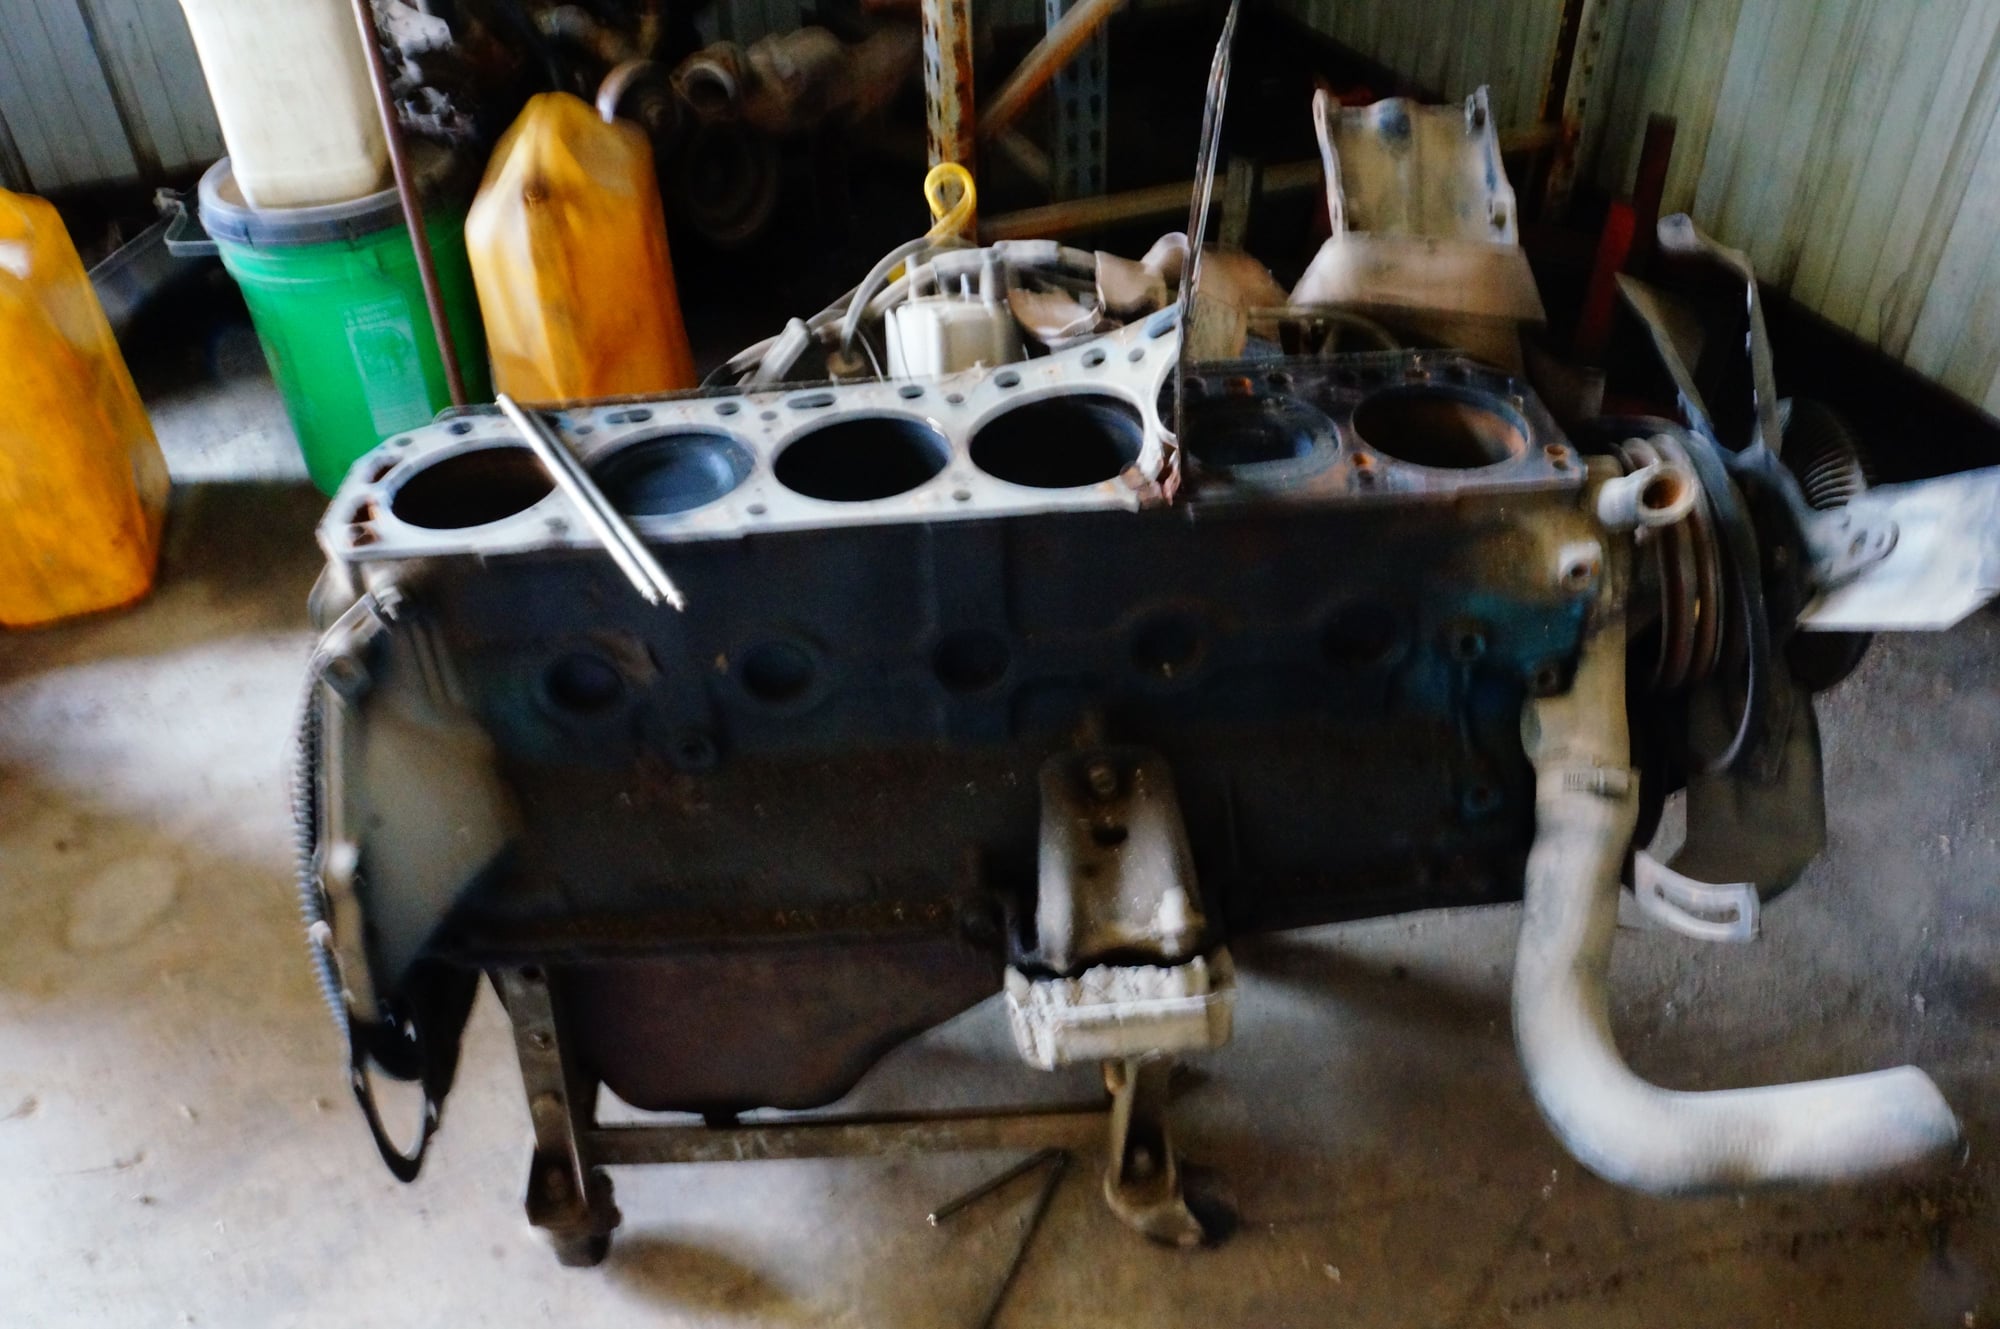
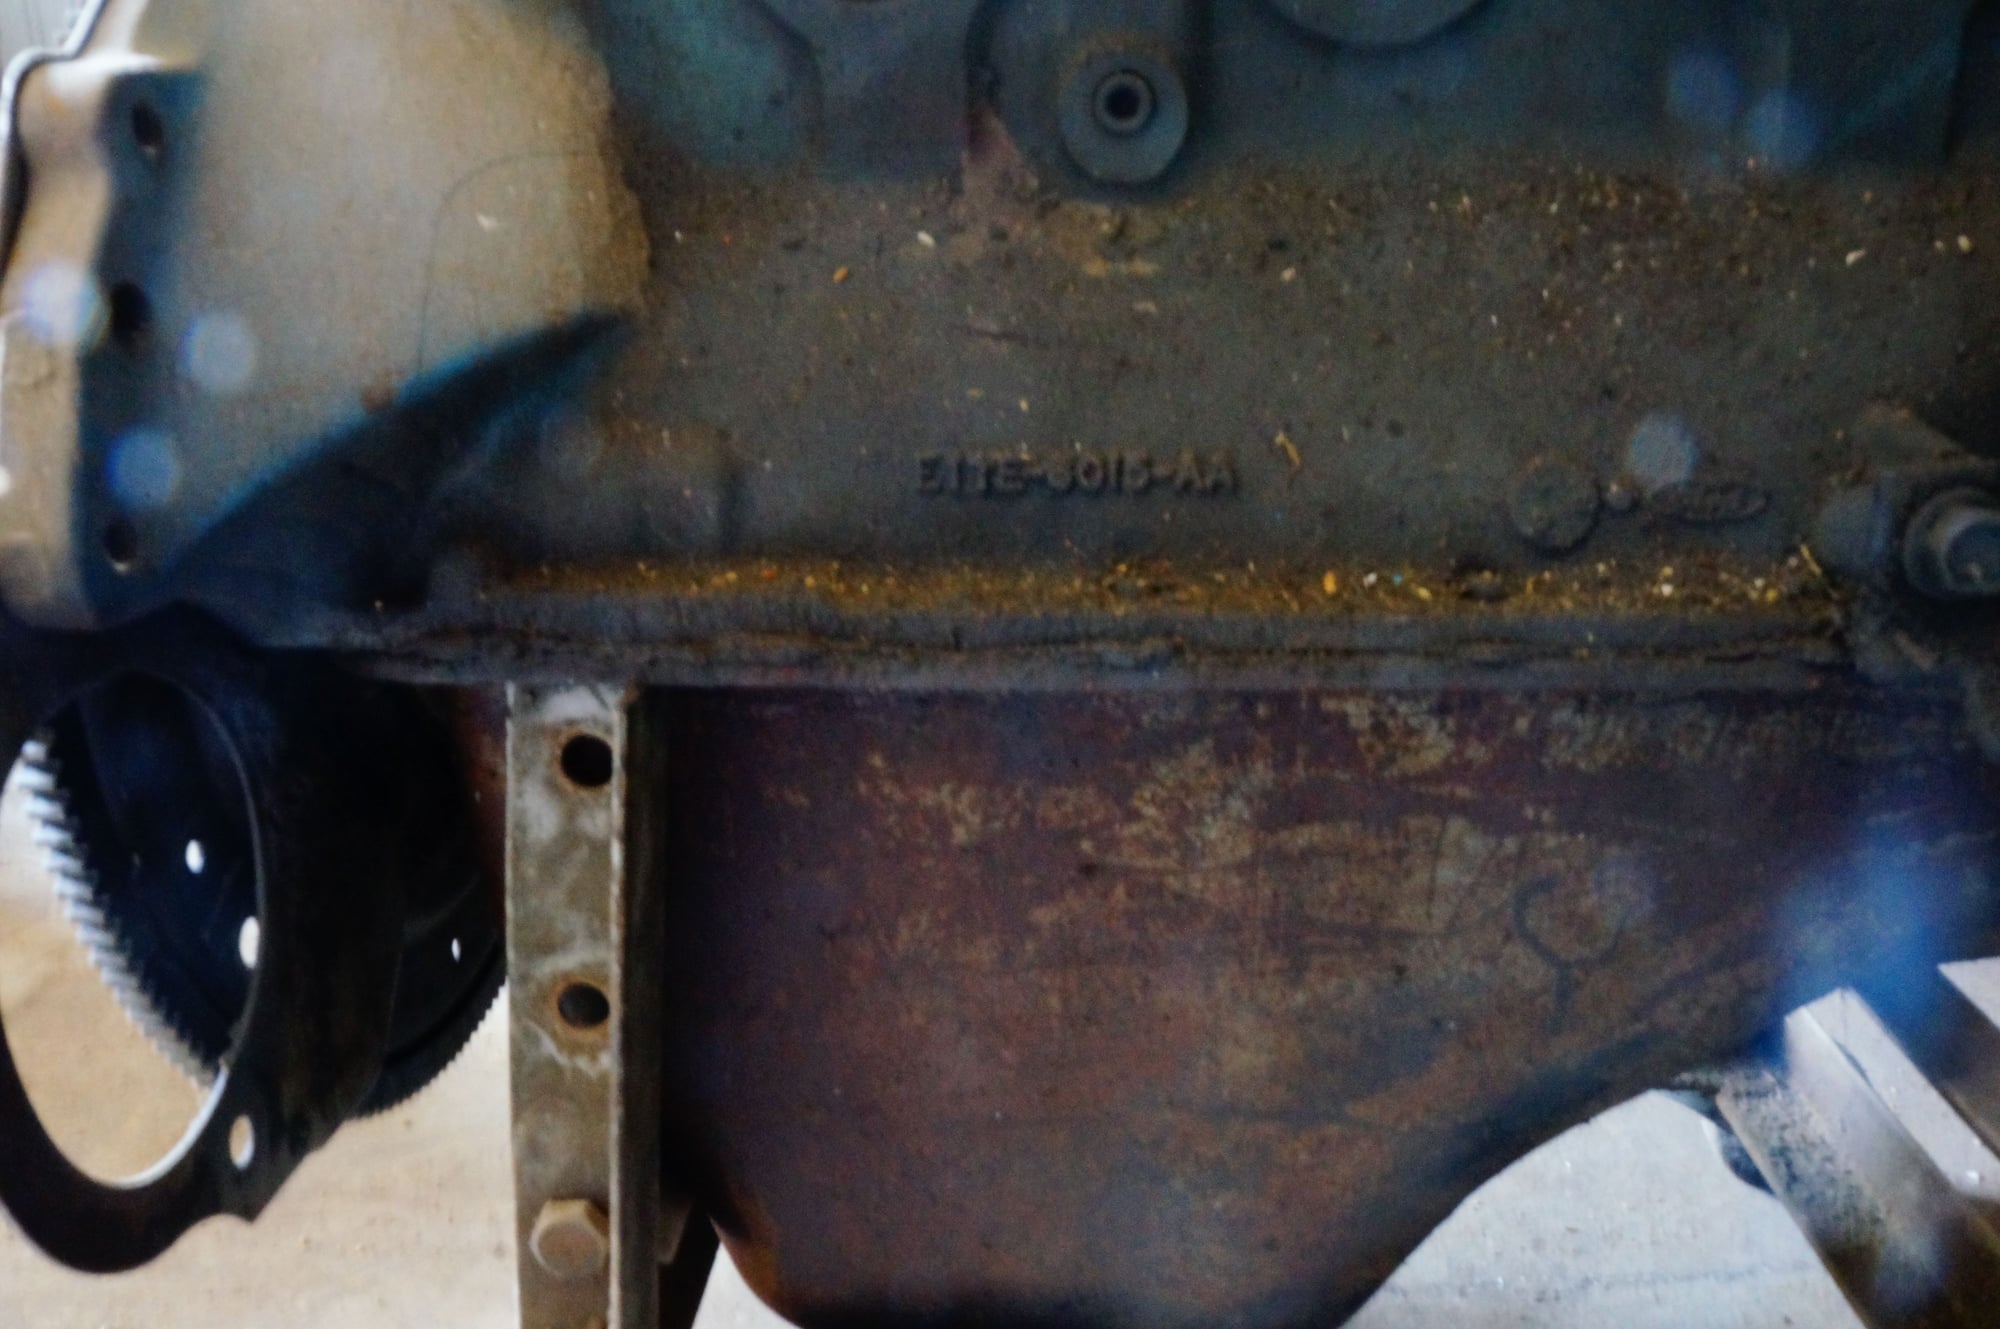
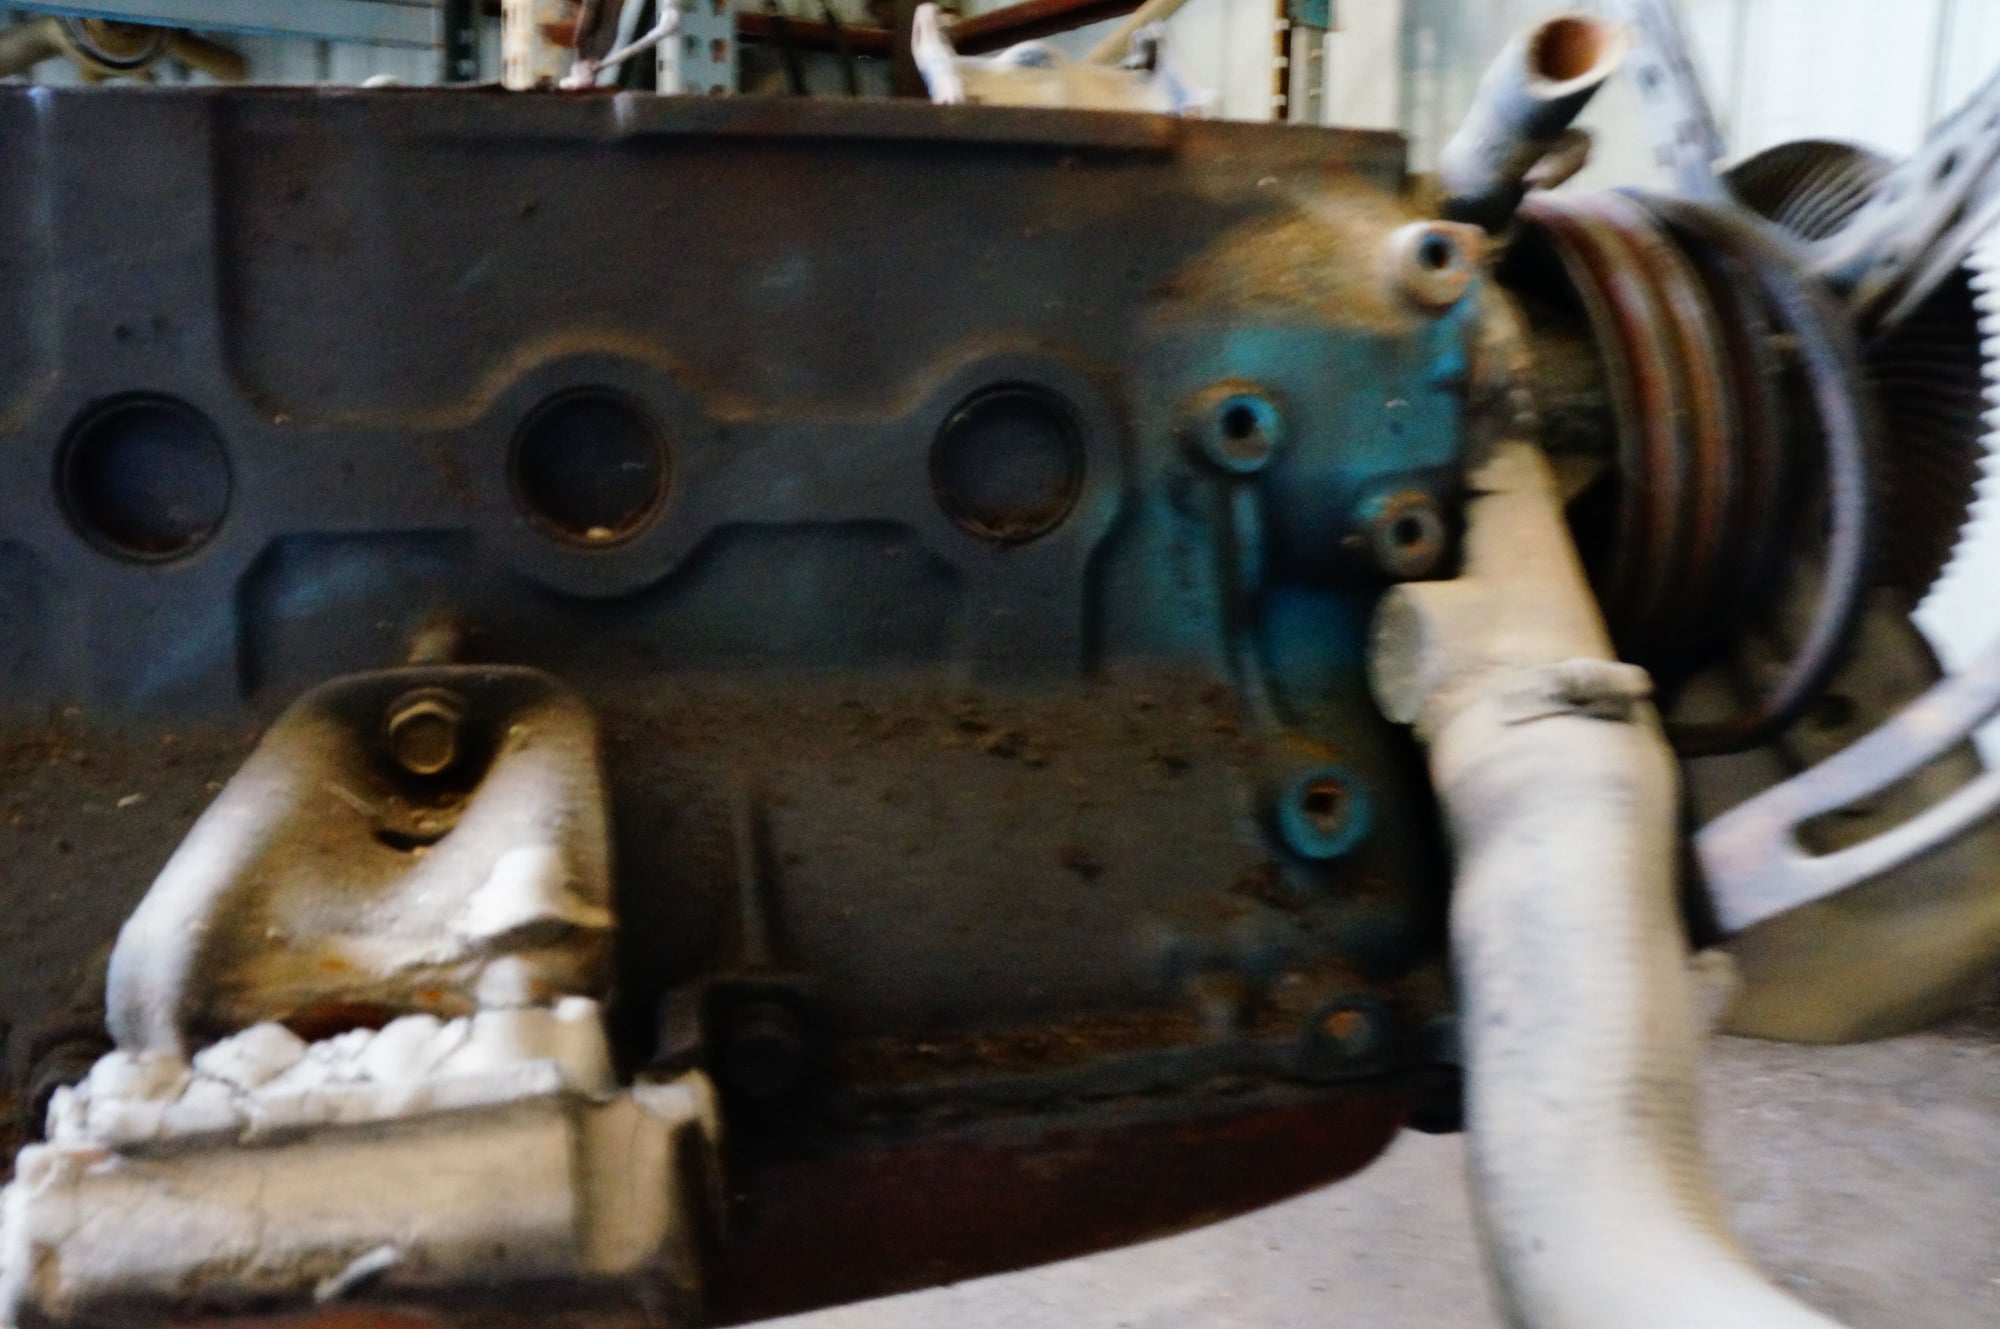
while I await my current repair attempt to set, I drove down to a salvage yard in San Antonio and looked at a block from a 300 straight six:
casting number = e1te-6015-aa which I think is from 81-86;
with a pair of digital calipers I did a quick measure of the diameter of each cylinder - they were all about 4.01 (not sure if that is important or precise enough).
some pictures will follow.
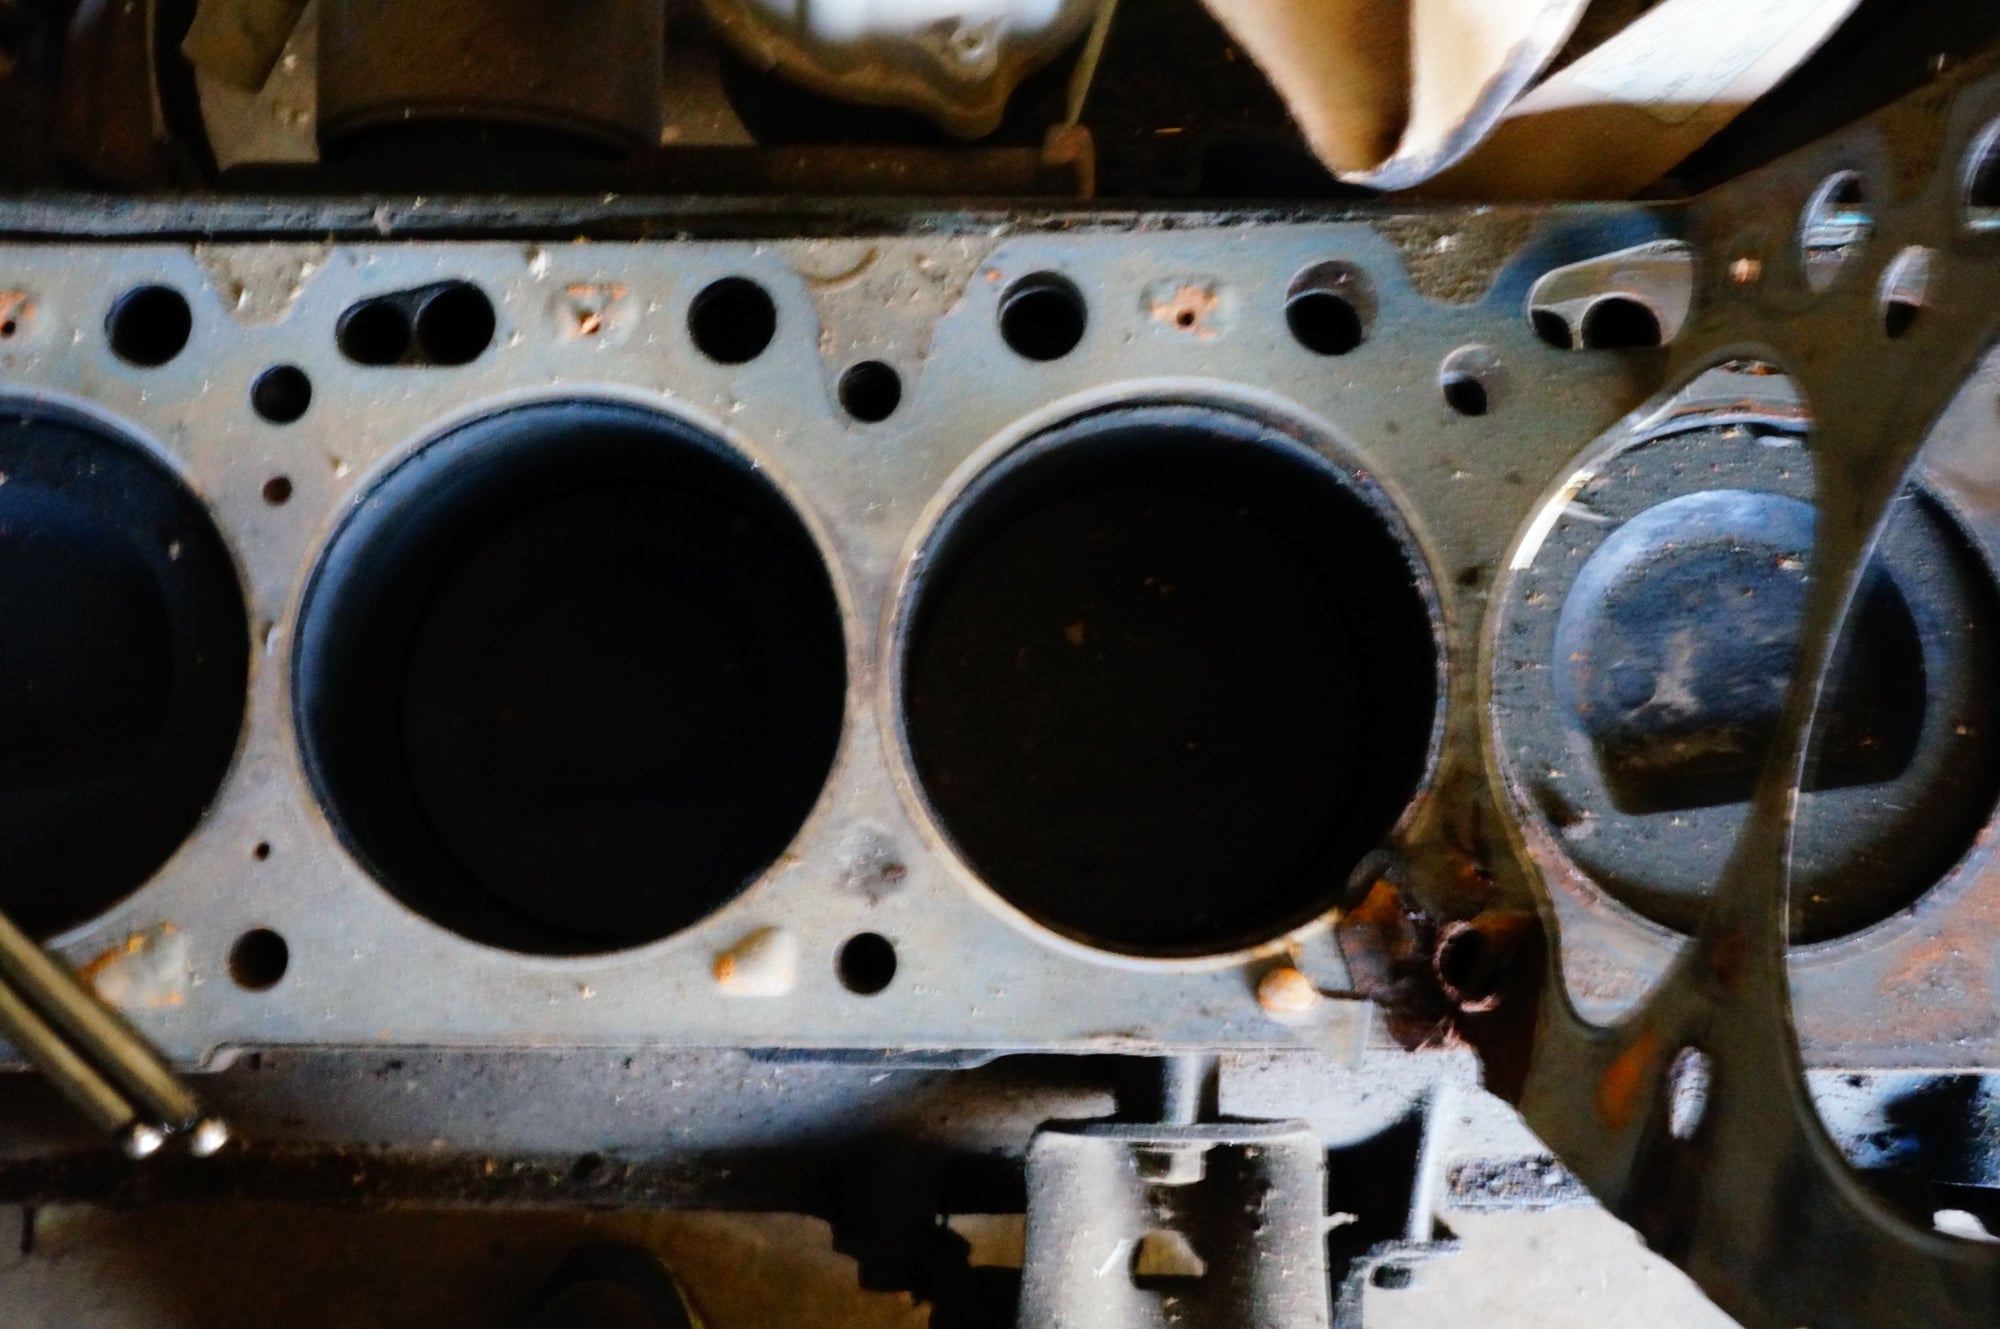
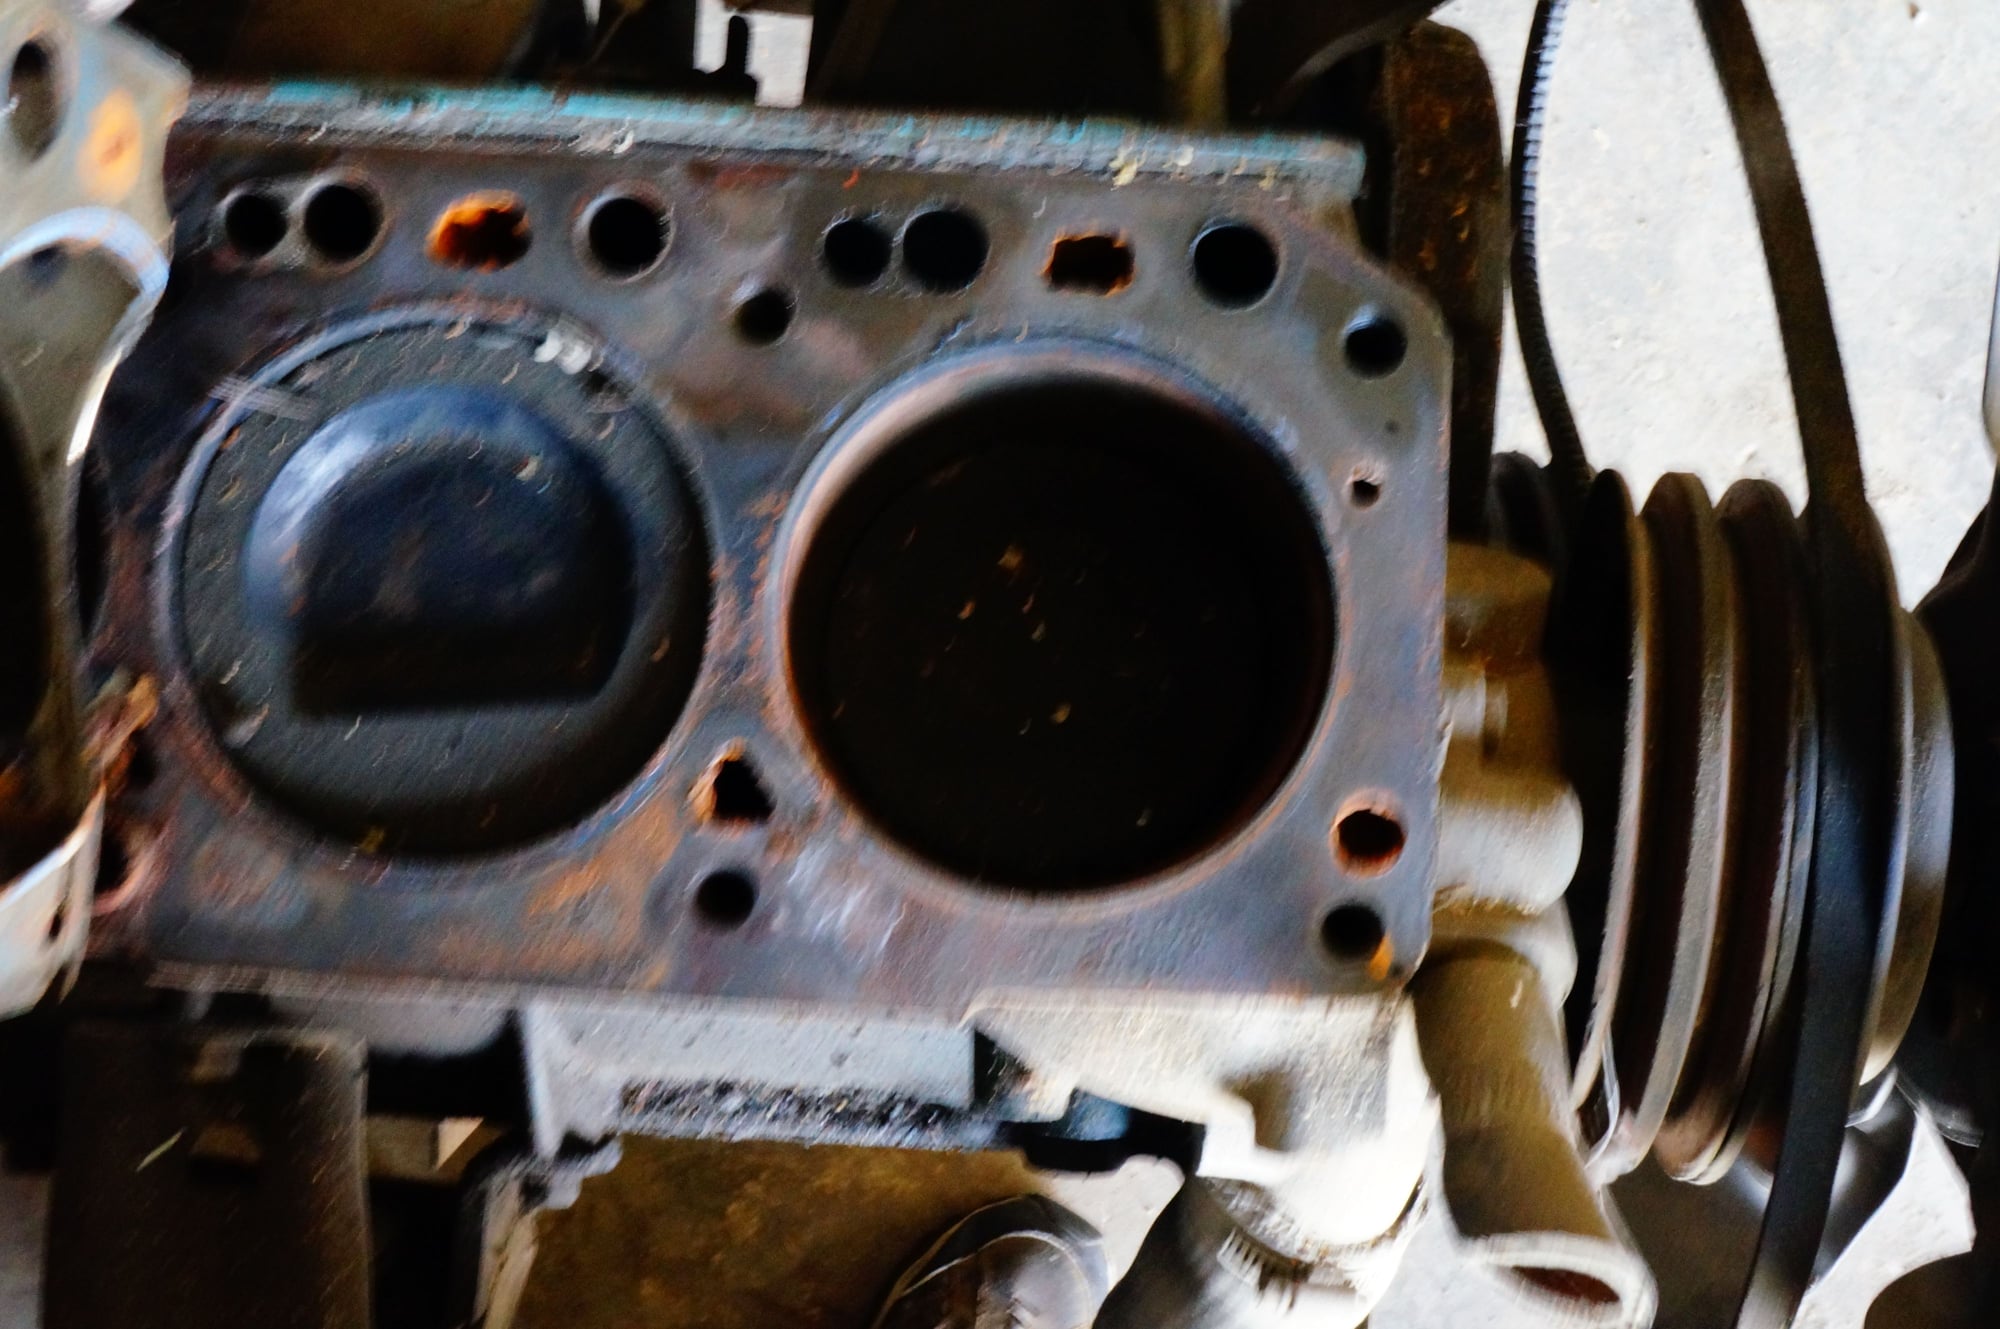
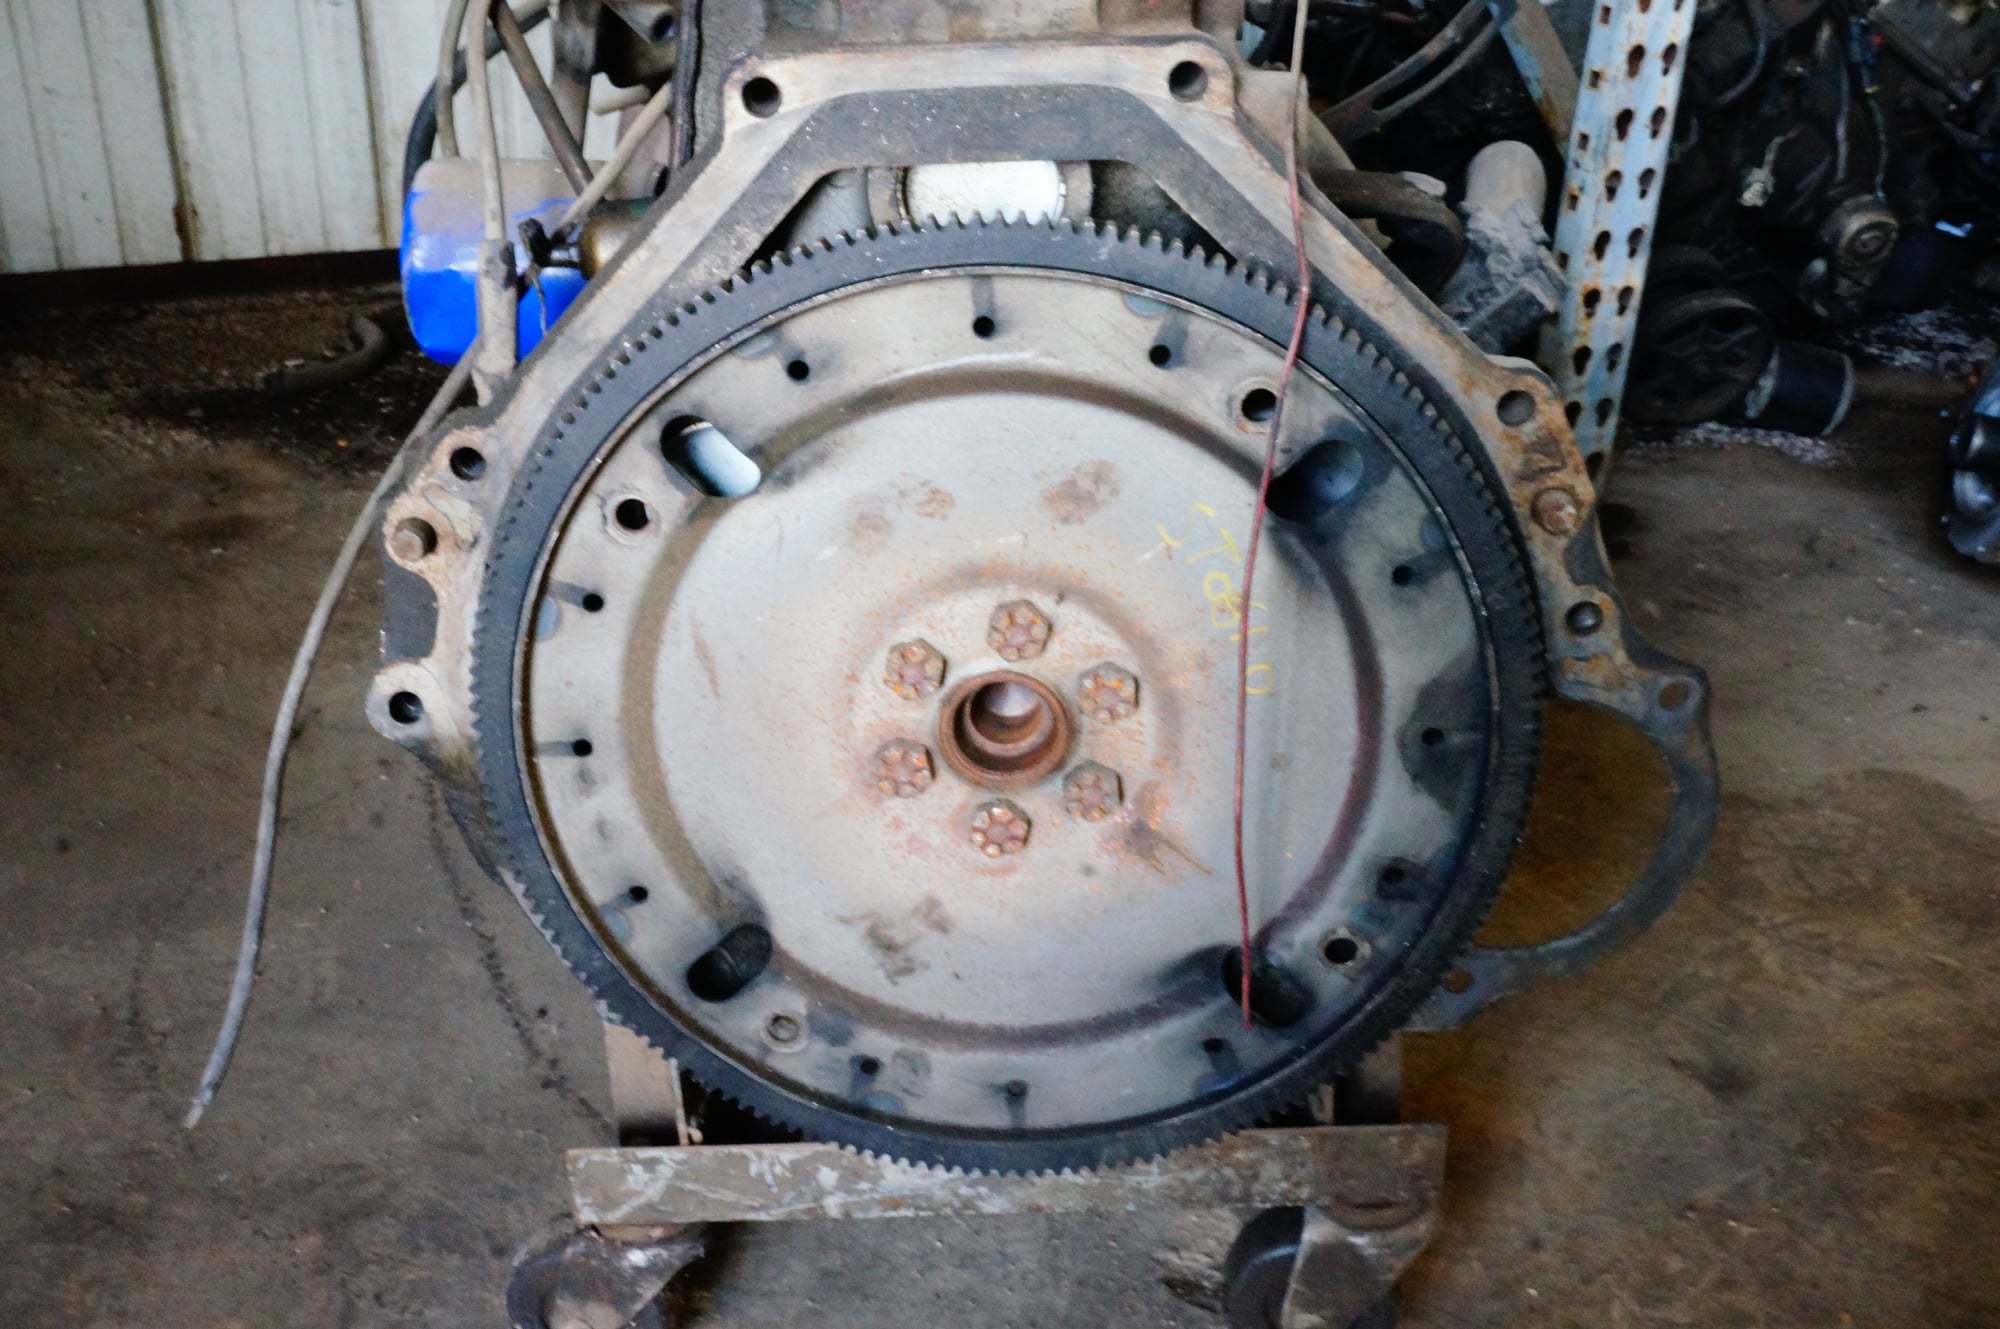
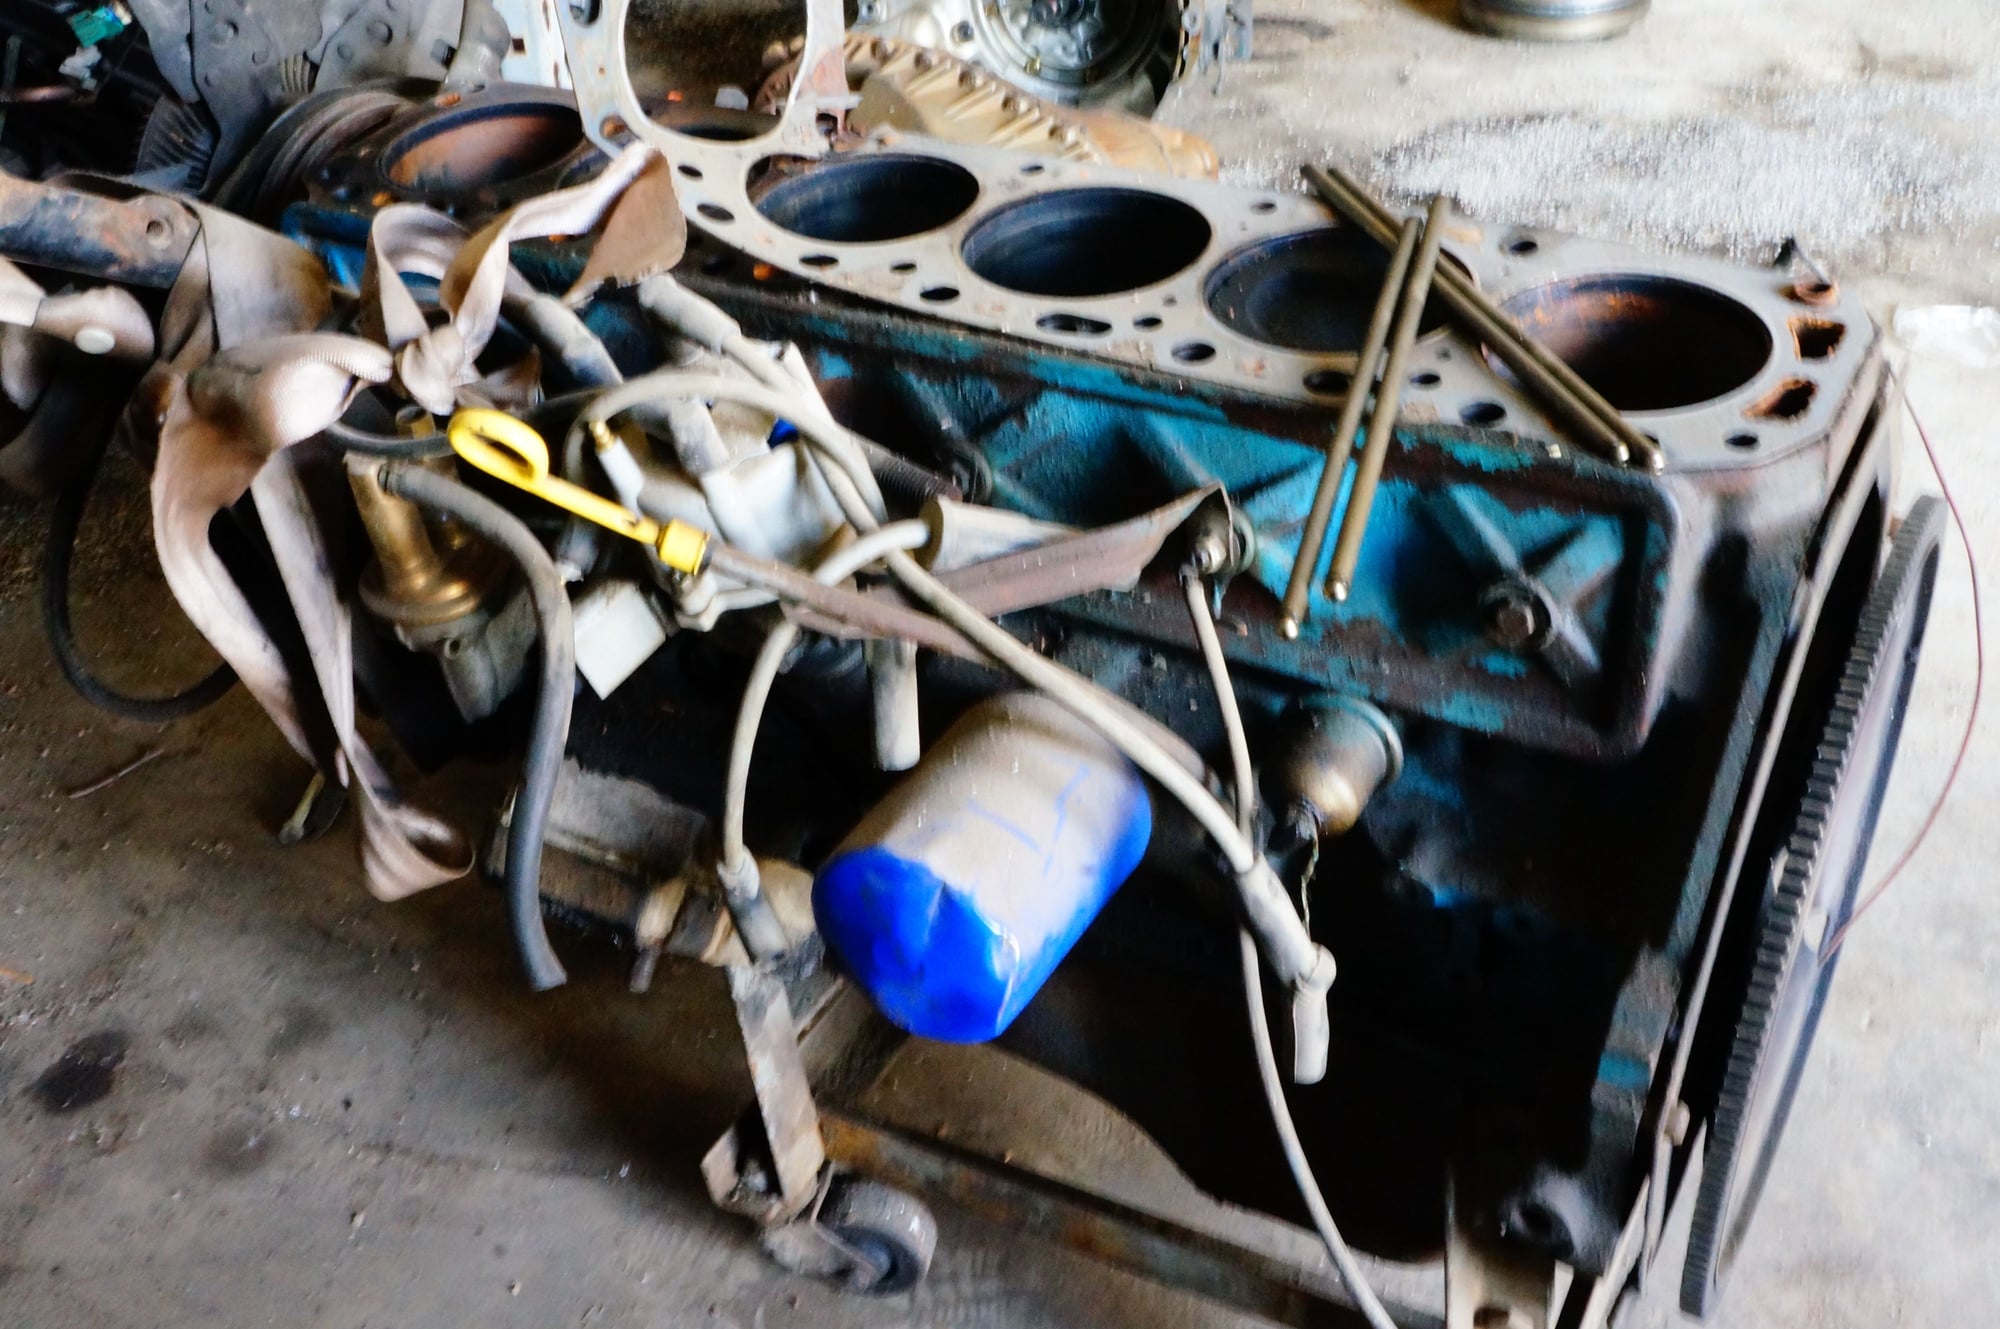
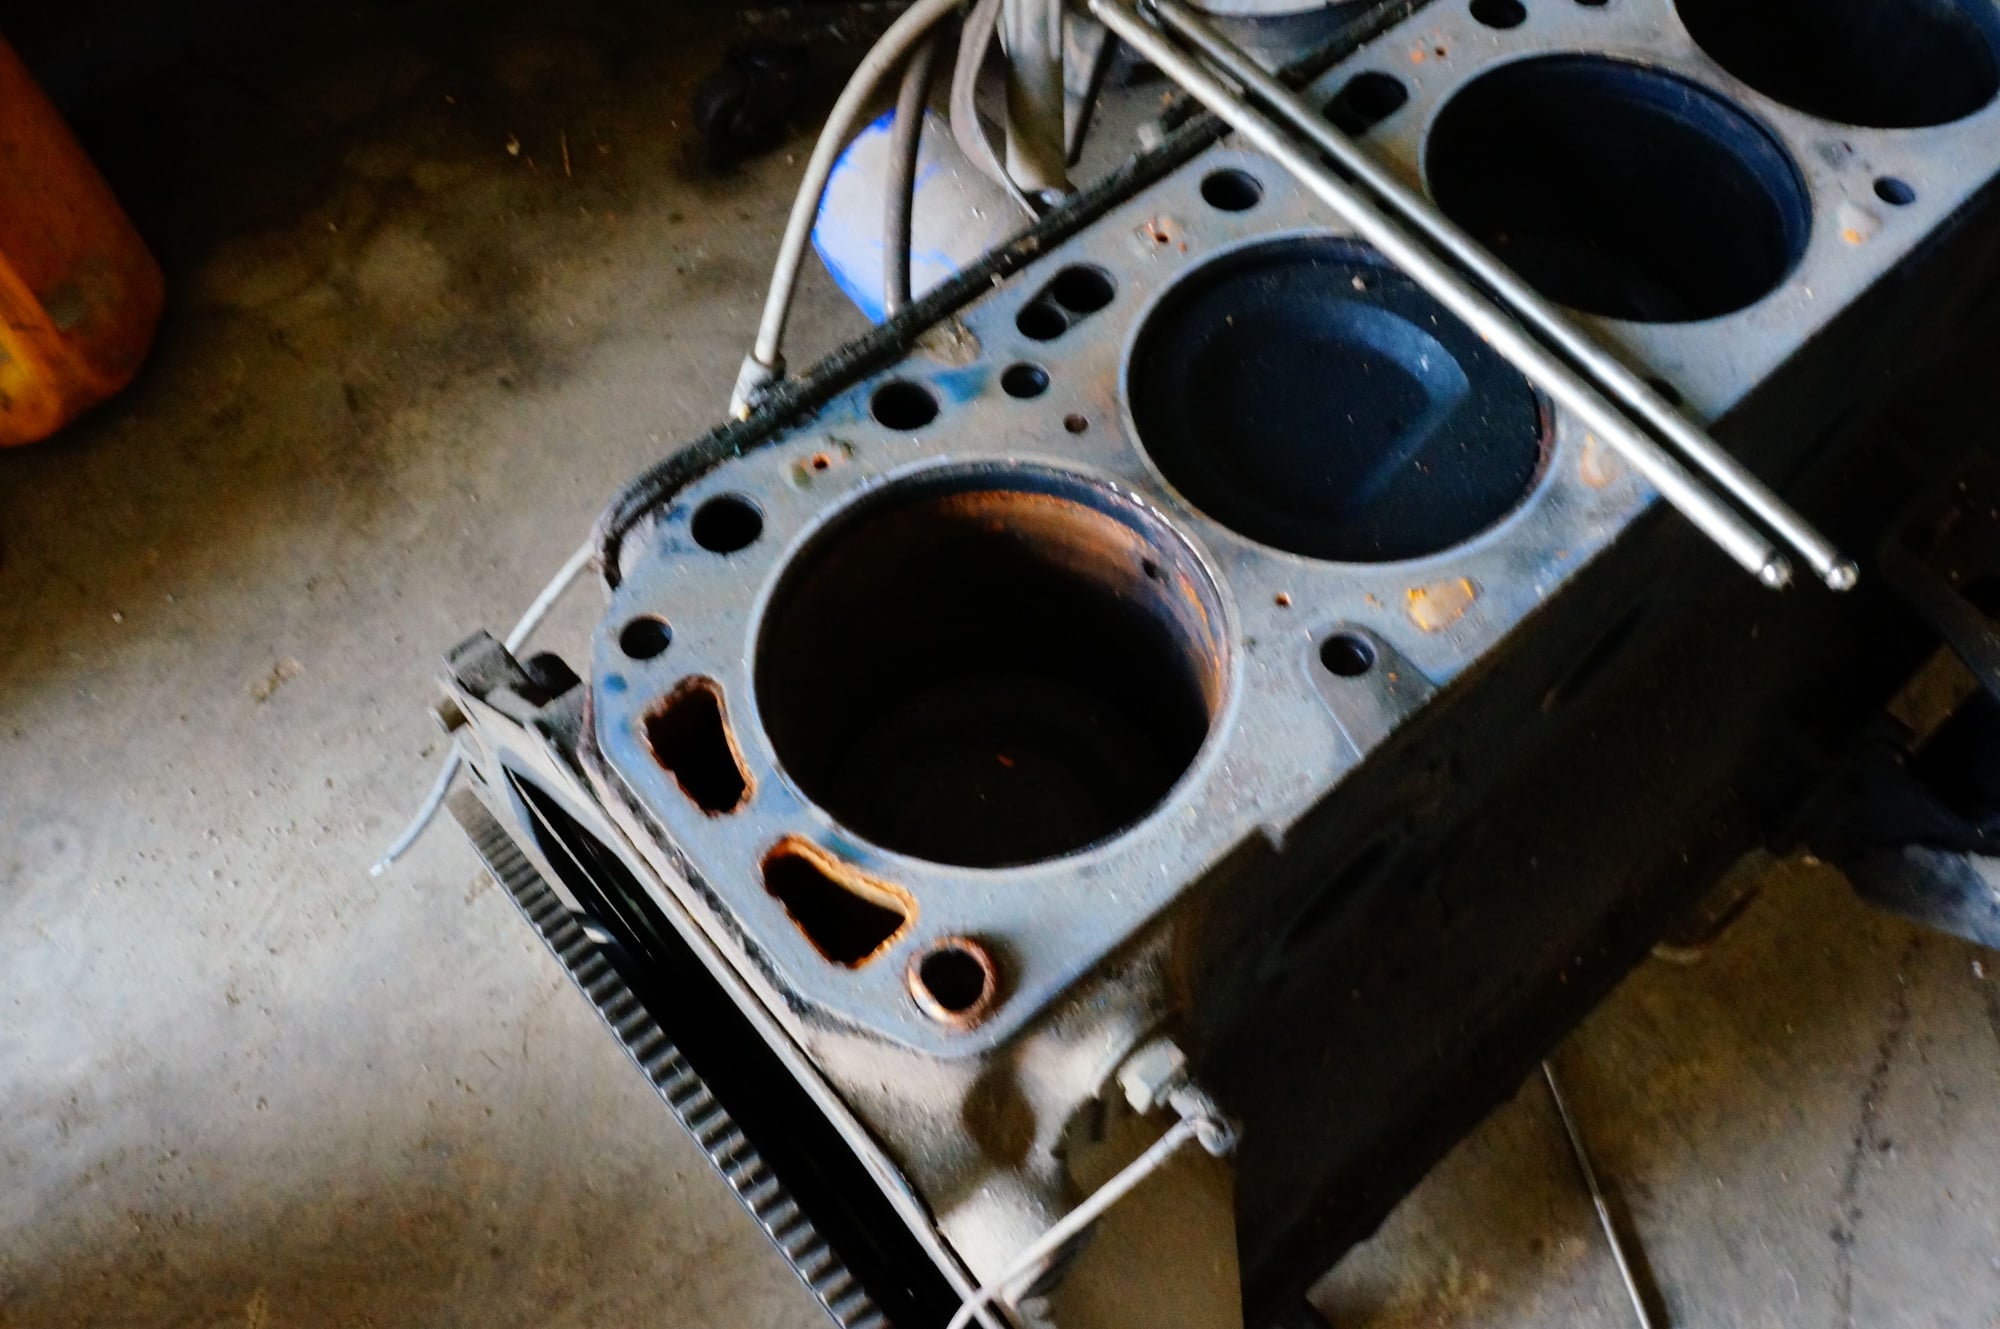
#36
No comments on the engine block I found. Hmmm. Probably can't tell much from photos.
Anyway started puttng torque on the water pump bolts and everything held. Even went a few pounds over specified. Pulled the pump, checked the mounts and all seems OK. Sealed the threads on all of the bolts, filled the problem hole on the water pump with blue rtv, used a wider washer and put it back together.
Yes, I know the proof will be in the pudding when heat and vibration occurs. So I am crossing my fingers for now and lighting a candle.
Re-installed thermostat housing, timing gear cover and harmonic balancer. Still not seating all the way, but does appear to line up with the pulley. Will put some real torque on it when I get the engine in the truck, attached to a transmission.
Also put on the "layered" exhaust/intake gasket provided. Exhaust manifolds and intake installed much better. Just have all bolts to ten pounds right now, following the order suggested previously. I will not be looking forward to having to do this in the engine compartment.
Also, I used the big original washer (wish they were wider in some cases and in one case it would not fit) along with a thick regular washer and flange head nuts. Should I be using lock washers instead?
#37
Made some progress getting things back together slowly. My alternator bracket, which served double duty as a a/c compressor mount has one feature I don't like. It uses one of the water pump bolts (in addition to four other bolts on the side of the engine). But not going to cut off that flange. Just had to use a thick and thin washer to get it to seat properly on the water pump.
Torqued down the exhaust/intake manifold nuts to 30 pounds. Thinking that lock washers might be a good idea there.
Also, was able to get the walker y-pipe connected (loosely) and it seems to line up. I am needing new bolts or studs for the EFI exhaust flanges. None of the bolts I had in my collection fit it (for sizing purposes). The original exhaust flange bolts fit, but are too long and I am wanting to use studs in the EFI exhaust.
Does anyone know the thread size/count for the EFI exhaust off the top of their heads.
#38
hillcountryfit,
It has been awhile since the beginning of this thread, so this may have already been covered, but did you look down the rear most pipe of the Walker Y-pipe to ensure that the opening is the correct diameter? Some have reported needing to enlarge where the hole is cut.
Just trying to be helpful!
It has been awhile since the beginning of this thread, so this may have already been covered, but did you look down the rear most pipe of the Walker Y-pipe to ensure that the opening is the correct diameter? Some have reported needing to enlarge where the hole is cut.
Just trying to be helpful!

#39
hillcountryfit,
It has been awhile since the beginning of this thread, so this may have already been covered, but did you look down the rear most pipe of the Walker Y-pipe to ensure that the opening is the correct diameter? Some have reported needing to enlarge where the hole is cut.
Just trying to be helpful!
It has been awhile since the beginning of this thread, so this may have already been covered, but did you look down the rear most pipe of the Walker Y-pipe to ensure that the opening is the correct diameter? Some have reported needing to enlarge where the hole is cut.
Just trying to be helpful!

#42
Very little progress, but did get the oil pan bolted on (well need to go back with teh torque wrench and blue loctite). Bet it is a lot easier on the engine stand than on the truck. I do like the blue, rubber gasket. Per a recommendation from another forum member I ground down the holes for the oil pan mounting to use the gasket from later years.
Also, as to the oil pump intermediary shaft, does that simply drop in with nothing used to secure it?
I can use washers, but I am looking for some 1/4 inch spacers for mounting the back bracket for my power steering pump.
On the oil pump, to remove the pulley, how does one do that. This one has a large allen head bolt security it. Where do you hold the shaft while pulling the bolt?
Now getting at the point I need to consider my fan setup. The old spacer does not work with the upgraded pump. so thinking about getting a fan clutch and spacer meant for a 85 or thereabouts pickup.
Still to acquire radiator and starter.
#43
Join Date: Sep 2014
Location: like subarctic, brrr man!
Posts: 862
Likes: 0
Received 2 Likes
on
2 Posts
How about an electric setup?
Like a junkyard ford taurus or other junkyard car...
Might not look original, but works much better! ... although you'd have to upgrade the alternator as well, to power that fan... like a 3g .. and uhm... a lot more work than a machined fan spacer or fan clutch from an '85...
Like a junkyard ford taurus or other junkyard car...
Might not look original, but works much better! ... although you'd have to upgrade the alternator as well, to power that fan... like a 3g .. and uhm... a lot more work than a machined fan spacer or fan clutch from an '85...
#44
How about an electric setup?
Like a junkyard ford taurus or other junkyard car...
Might not look original, but works much better! ... although you'd have to upgrade the alternator as well, to power that fan... like a 3g .. and uhm... a lot more work than a machined fan spacer or fan clutch from an '85...
Like a junkyard ford taurus or other junkyard car...
Might not look original, but works much better! ... although you'd have to upgrade the alternator as well, to power that fan... like a 3g .. and uhm... a lot more work than a machined fan spacer or fan clutch from an '85...
#45
The oil pump hex shaft has a small O-ring spring clip that holds it in the bottom of the distributor.
Be careful when removing a distributor from an engine that has been recently run as I have had the shaft stick in the pump due to all the residual oil surrounding it and creating a suction. Then you will have to get a 5/16 socket locked on an extension and slowly withdraw the shaft so it does not fall into the pan.
Be careful when removing a distributor from an engine that has been recently run as I have had the shaft stick in the pump due to all the residual oil surrounding it and creating a suction. Then you will have to get a 5/16 socket locked on an extension and slowly withdraw the shaft so it does not fall into the pan.


