When you click on links to various merchants on this site and make a purchase, this can result in this site earning a commission. Affiliate programs and affiliations include, but are not limited to, the eBay Partner Network.
Used a little plastigauge to check clearances, then torqued down the mains.
Learned all about Total Seal rings today. The "gapless" design is very cool. They are file-fit rings but by some stroke of luck the gap was already within tolerance. I installed them and started installing pistons.
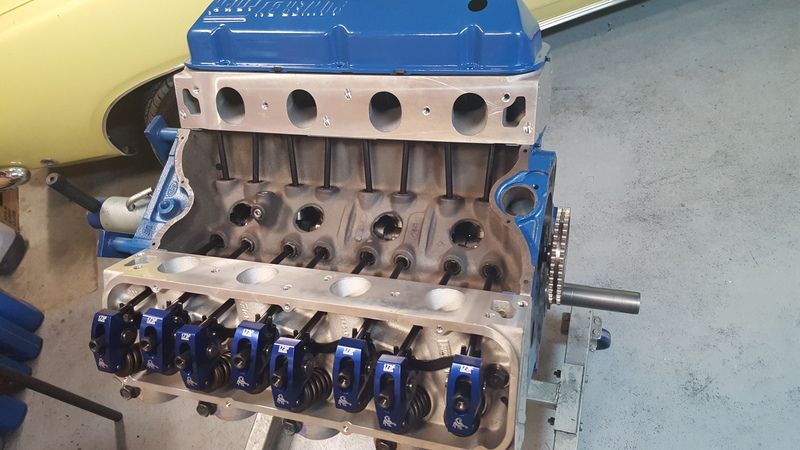
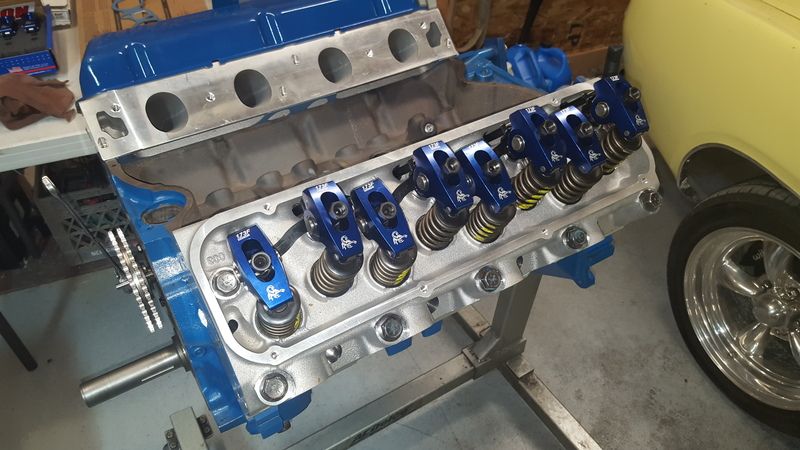
Just for grins, and to make storage easier, I put the heads on with a couple of bolts. She looks shiny now!
Cam arrived today. I can't say enough good things about Scott at MPG/Cam Research. When he discovered that my cam/lifters had not arrived, the very next day he ground a new one and shipped it.
Did a little more today. Since I am waiting for a day or two to retrieve a cam thrust plate, I decided to clean up the timing & valve covers and paint them.
The timing cover was done so quickly I didn't think to snap a picture. The valve covers were a different story. I had to remove the internal baffles so that they will clear the new roller rockers. I banged out a few dents, then I spent a bunch of time with a wire cup brush removing rust & old paint. One was very pitted. So bad that I created a pin hole when I took the flapper wheel to it during the final cleanup before paint.
Once they were cleaned & degreased, I painted them with three coats of Old Ford Blue (Duplicolor Engine Paint) and top coated with the same brand of high gloss clear.
Not too bad for a couple hours of effort. If it saves me $100 for the fancy valve covers, I'll be really happy.
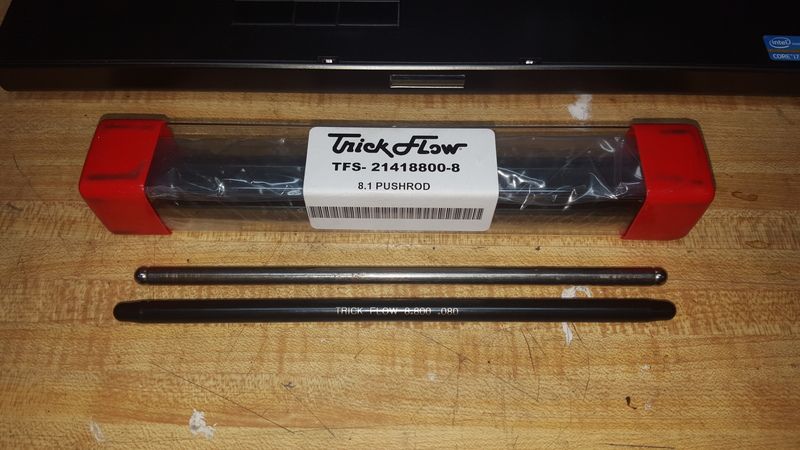
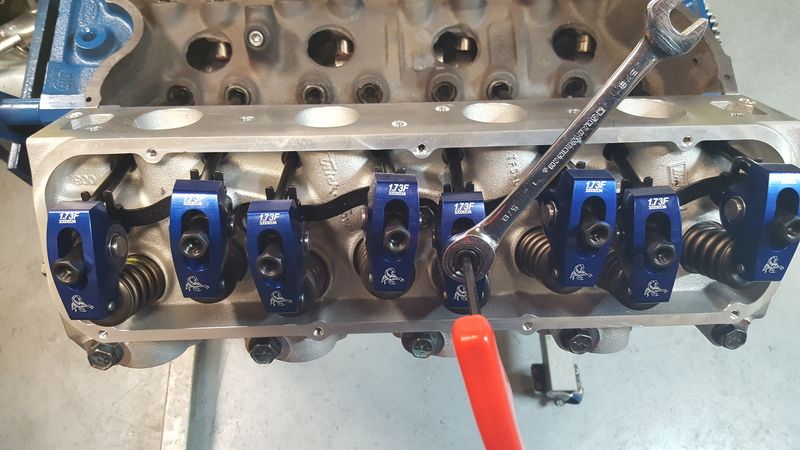
While waiting for parts I decided to work out the valve train geometry and make sure I ordered the right length push rods. Using a Comp Cams adjustable push rod, I determined that I needed a 3/8 oil through, hardened, push rod that was 8.80" long. Summit happened to have two brands in stock so I placed the order for a set of the Trick Flow pieces. They are pretty sweet.
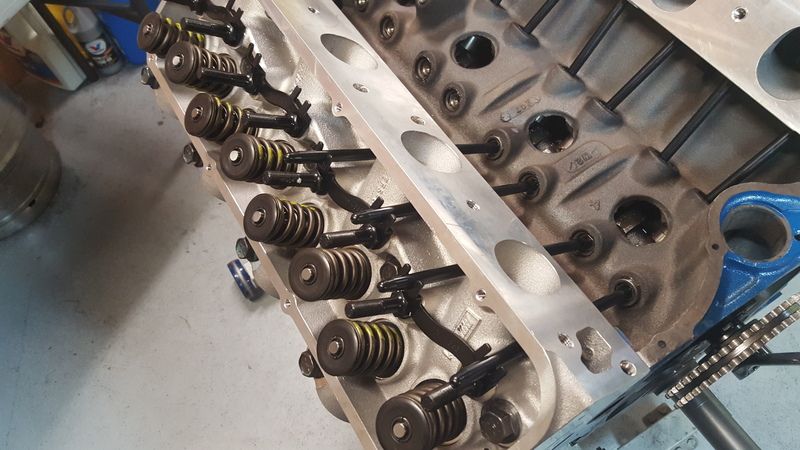
With the new push rods in hand, I was ready to install the rest of the valve train. I finished this chore up last night.
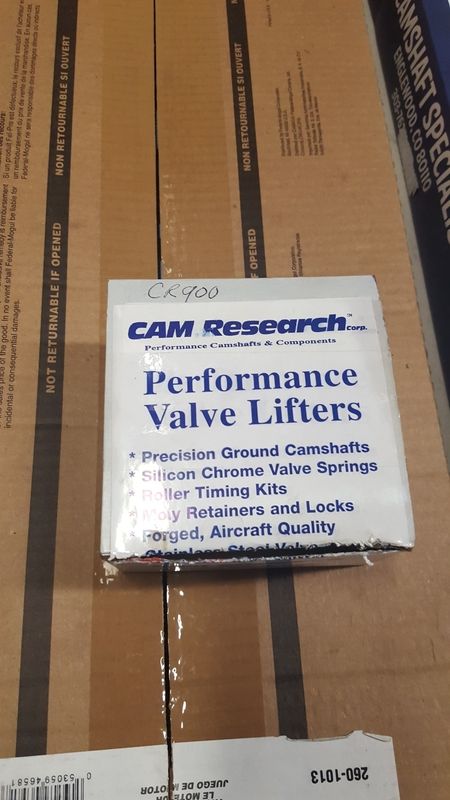
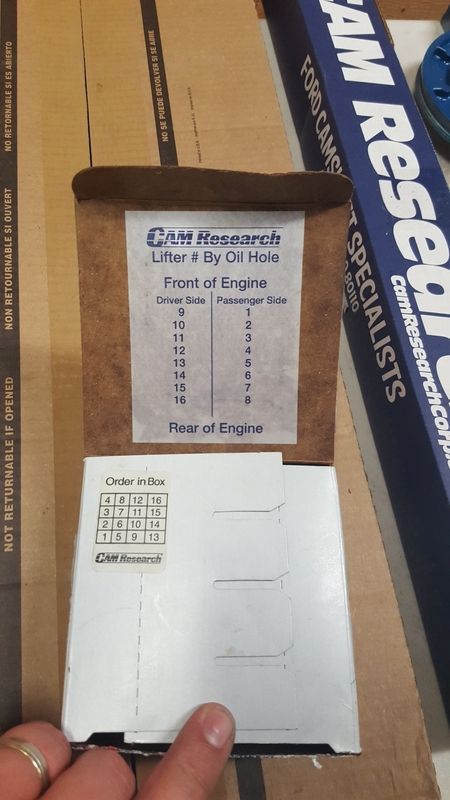
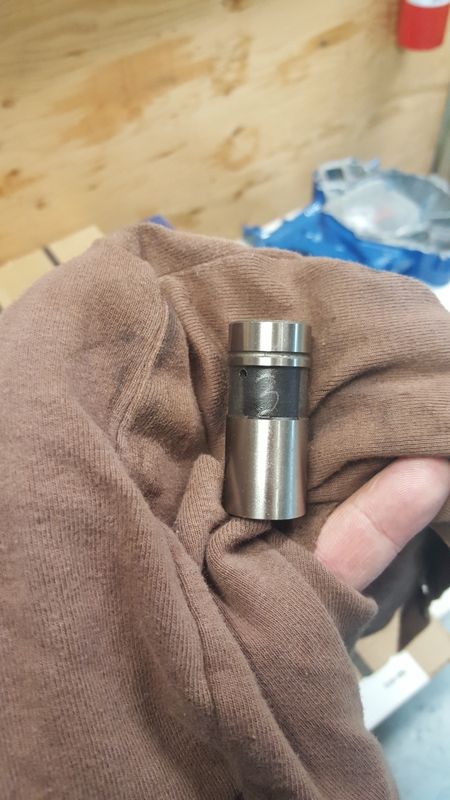
When you order a cam from Cam Research, they give you the option of breaking it in on their Cam King machine. For $30 they break in your cam and send you the lifters in a numbered package, plus each lifter is numbered. Here's how it looks:
Just pay attention to what number lifter goes in each hole. After that I installed the push rods and roller rockers, turning the cam as necessary to set the lash.
Now I get to wait on parts again. Slowly but surely, it's coming together.
.001" clearance isn't enough on the mains. Should be around .003" on the mains and .002" on the rods.
Jess
If you are building a motor for drag racing or will spin more than 6000 rpm regularly, this would be true.
Refer to the Clevite bearing book and look at the tolerances. For this application, the acceptable clearances are 0.0007"-0.0033". My machinist verified this today. He said that the clearance he targets for builds like this that will live the majority of their life at lower rpms.
You can download the catalog and see for yourself at the link below. The data on the 429/460 bearing sets are on page 315.
I wouldn't limit myself to keeping the motor a low RPM unit, especially when there is little or nothing to gain, and much to lose by such close clearances.
Do as you wish. I'll be following along to see how it works out for you.
I wouldn't limit myself to keeping the motor a low RPM unit, especially when there is little or nothing to gain, and much to lose by such close clearances.
Do as you wish. I'll be following along to see how it works out for you.
Jess
I have no doubt that it will be just like the last 4 or 5 motors I've built with the same machine shop Jess. All are still running well. Thanks for your concern.
1.5 to 2 thousandths has always worked well for me on stock-ish builds. I just read your cam card again though. I would not use 20w-50 oil with that tight bearing clearance. 10w-30 or even 5w-30. Valvoline VR-1 racing oil is the best u can get at any parts store with enough Zinc for a flat tappet cam.
Don't know if they make it in 5w-30. I run the 10w-30 in my 77
.001 will work well. A truck engine and modern oils that are the same spec will work good at street RPM. The engine spec used to be SAE50 and 10w30works very well in a 390, 360, 300, 400 and 460.

 11-14-2015, 11:20 PM