When you click on links to various merchants on this site and make a purchase, this can result in this site earning a commission. Affiliate programs and affiliations include, but are not limited to, the eBay Partner Network.
Personally, if the valves are all sealing and it runs good, I'd leave them alone. Doubt the engine would know the difference. Unless it has adjustable lifters, you could open up a can of worms swapping them around. JMO....
The material the intake valves are made of won't last long running at exhaust valve temperatures. If the intake valves would work in exhaust, the factory wouldn't bother with the different exhaust valves.
I have no experience with either Dennis C's or Summit's bolts. I have heard of problems with length but don't remember whose bolts they were.
On 8BA-style engines, leakage isn't as big a deal as the engines with studs, but most of the bolts are "wet" (go into the water jackets). I use copper anti-seize liberally on the head bolts, no leaks, and easy to remove. Lots of people prefer Permatex #2 non-hardening sealant, or the gold standard is GM p/n 012346004, a teflon-based sealant ($18 for 50cc's !!)
Jonathan, I usually paint the heads then paint the bolt heads after installation. The only rust that's a concern is in the threads or the shank under the head, and you don't want to paint those areas.
PS, Most of the flathead gurus on Ford Bard recommend backing down from the factory specs of 65 ft-lbs on the head bolt, to 55. The thin decks on these engines are a concern. With FelPro composition gaskets, no problems with sealing.
Finally got it back together and it sounds great! Cranks right up!! However, the bubbles are still there. I ran it for about 45 minutes and no overheat at idle.
I torqued the bolts to the recommended 55 but am thinking about stepping it up to 65, as I am out of ideas.
You need to do at least two re-torques after getting it up to temperature. Keep doing it until they hold the 55.
I'm skeptical of welding heads. A good used head for an 8BA can be had for $10 most of the time, but shipping is a killer. But for all the work involved, a better solution than trying to weld cast iron.
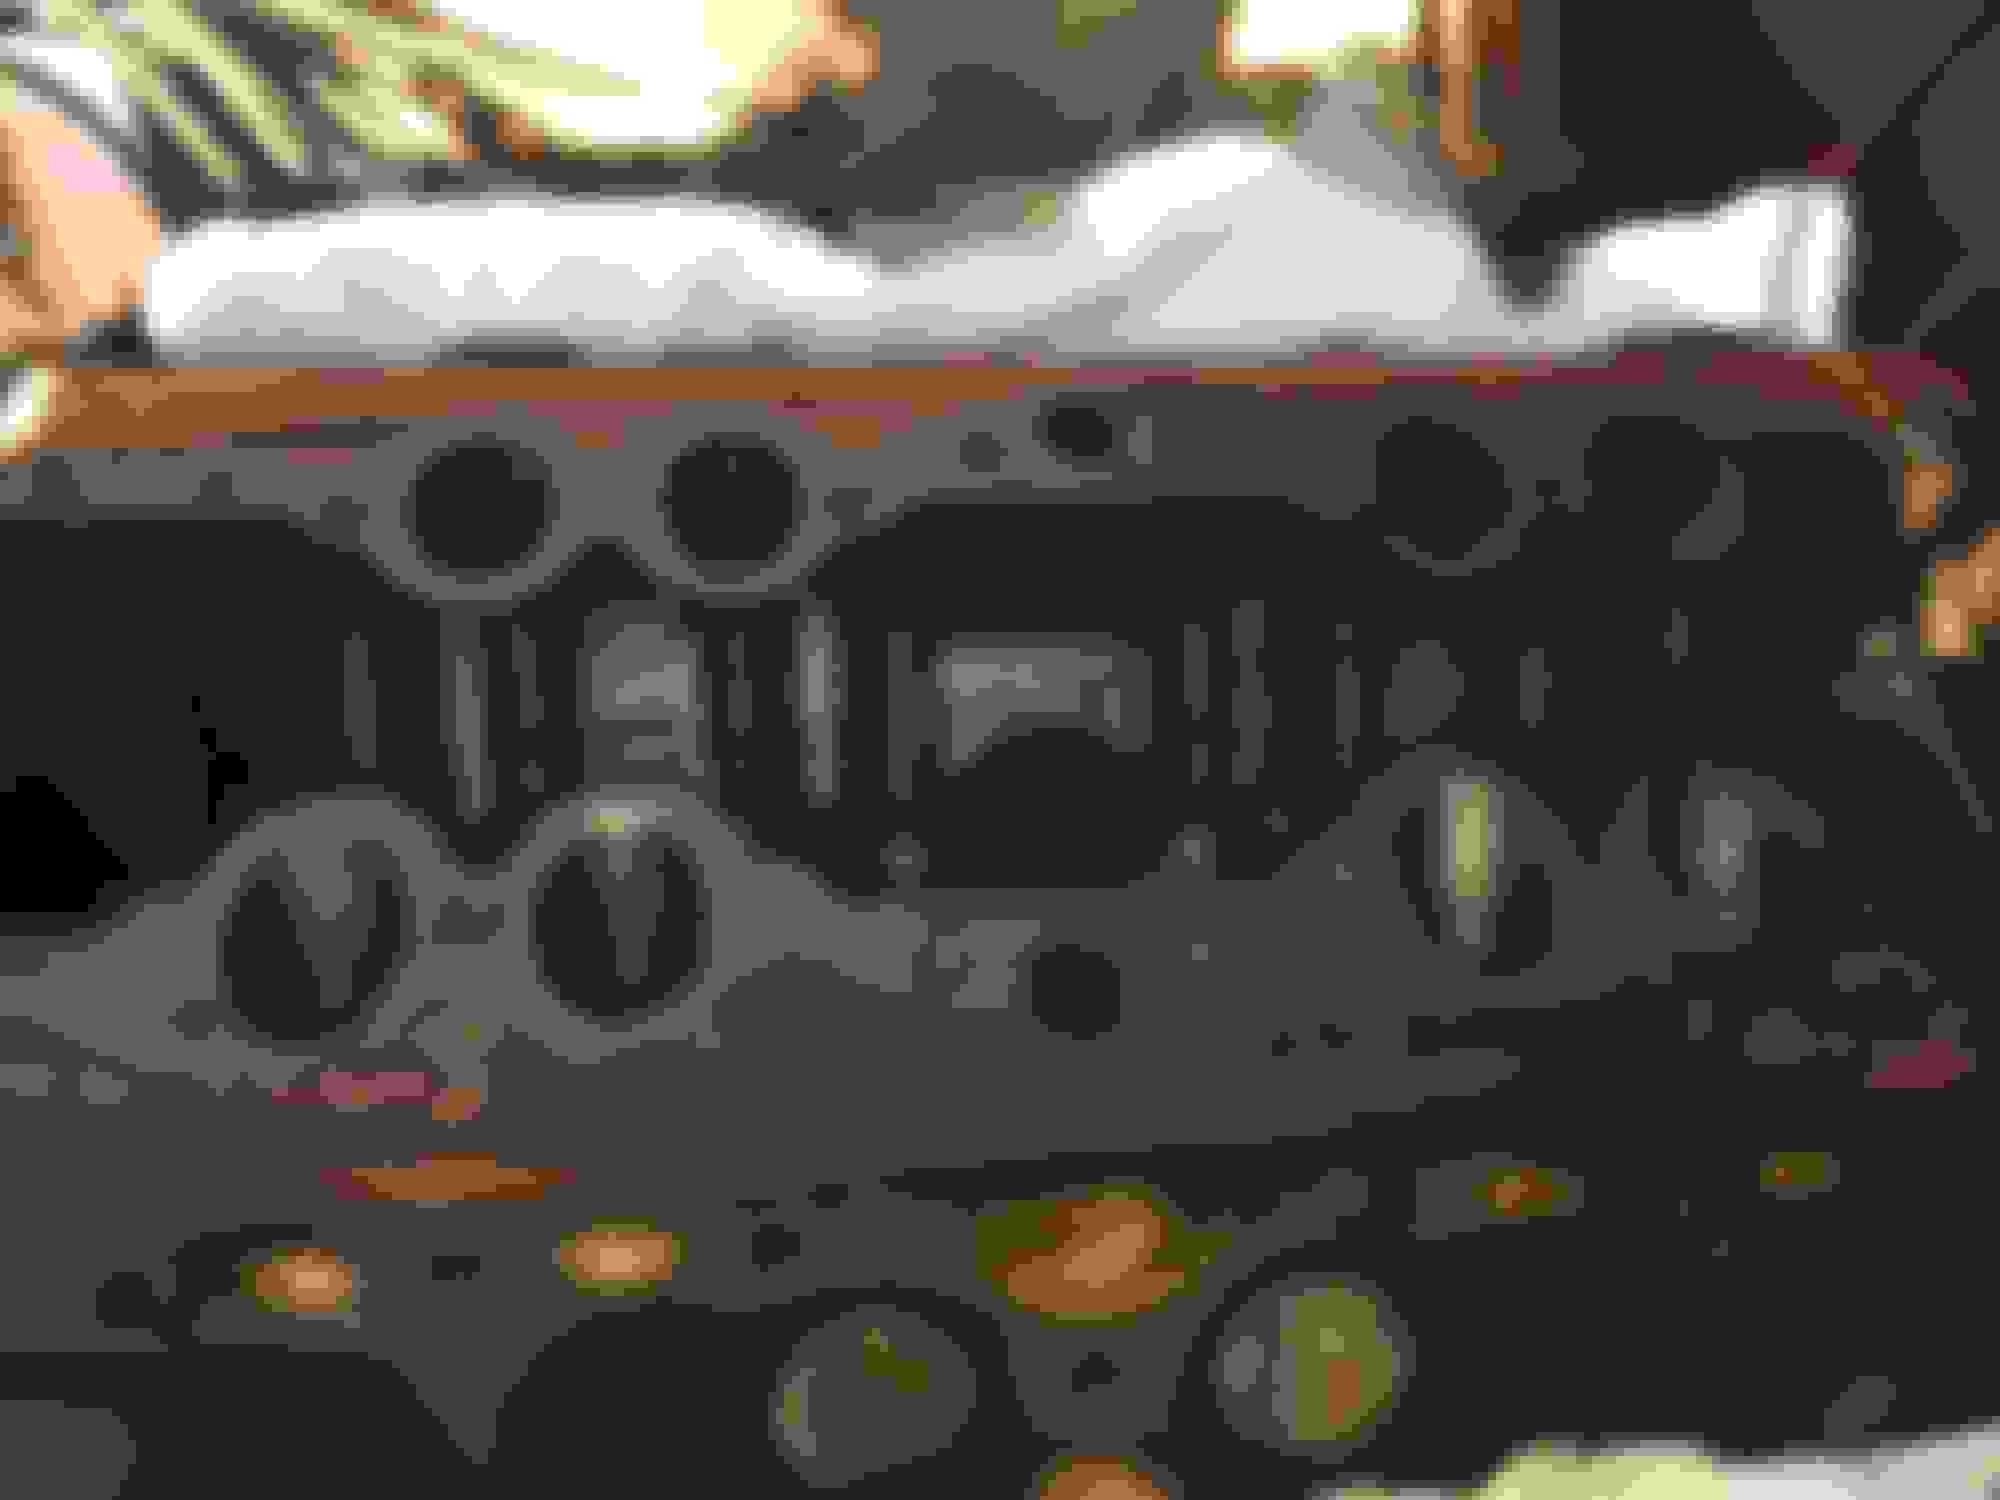
PS was the head crack over #3?
Ok I will retorque it a couple of more times at 55.
The crack and weld were at 4. Top left corner at the firewall.
I retorqued the heads after coming up to temperature two times and they held 55 lbs torque. Did one last time for good measure. Bubbles still there but very faint.
I cannot find where the bubbles are getting in. Oil looks good. Water does not smell like fuel.
Tested the cooling system and it held pressure. No leaks whilst running except at the cap. So I tightened cap and bent in the cap's ledge that hold onto radiator. No leaks at idle or while driving.
Gonna drive it for a whole and hope that the bubbles are just reminsce of multiple flushes and age. Thanks for all of the guidance and support.
 05-18-2015, 06:12 PM