
Fuel tank filler line
#61
 06-21-2015, 09:22 AM

Just as a possible help to you, Here in my garage I keep an old Tractor inner tube for events such as this. It's thicker than a bike tube and big enough that I can cut strips out for days. I used it to mount both of my tanks, no glue. Once I bolted them down, the rubber no longer moves.
Go to a tire shop and see if they have any old tubes. Even a car tube would work.
Go to a tire shop and see if they have any old tubes. Even a car tube would work.
#63
06-21-2015, 12:47 PM
Thanks for the tip on the tubes... Looks like that will have to wait as all the local shops that deal with bigger tubed tires are closed until Monday.
I am not going to sleeve this. I decided thats a solution to a problem that doesnt exist. But the tank itself is zinc coated steel.... Similar to exhaust tubing. So that would work.
I am not going to sleeve this. I decided thats a solution to a problem that doesnt exist. But the tank itself is zinc coated steel.... Similar to exhaust tubing. So that would work.
#64
06-22-2015, 11:27 PM
Tonight's update... Sourced the rubber. Cost about $11 for more than enough. Used some black permatex RTV as an adhesive. It's made for automotive weatherstripping and has worked well for me in the past. Glad I waited until finding the right stuff rather than patching this with inner tubes or something. I feel like after all the effort I have put in to making this nice I couldn't stomach it coming out looking crappy. Finish the bottom tommorrow or the next day.


#65
06-23-2015, 07:18 AM
#66
06-23-2015, 10:46 AM
#67
06-23-2015, 10:57 AM
#68
06-23-2015, 04:17 PM
With the tank unit installed in the tank & connected by wire & ground, invert the tank. The gauge should read near full. Then put the tank in its normal configuration. The gauge should read near empty. If any small changes are needed the wire arm holding the float can be bent carefully. Then recheck. When all is correct be sure the float is not leaking (if it was leaking there would be some fuel inside); then you can proceed with your other restoration steps. It looks good. 
#69
06-24-2015, 12:22 AM
Thanks for the tip... Rather not remove the sending unit since it has been seated into the tank. Will run some wires while its in the bed to test.
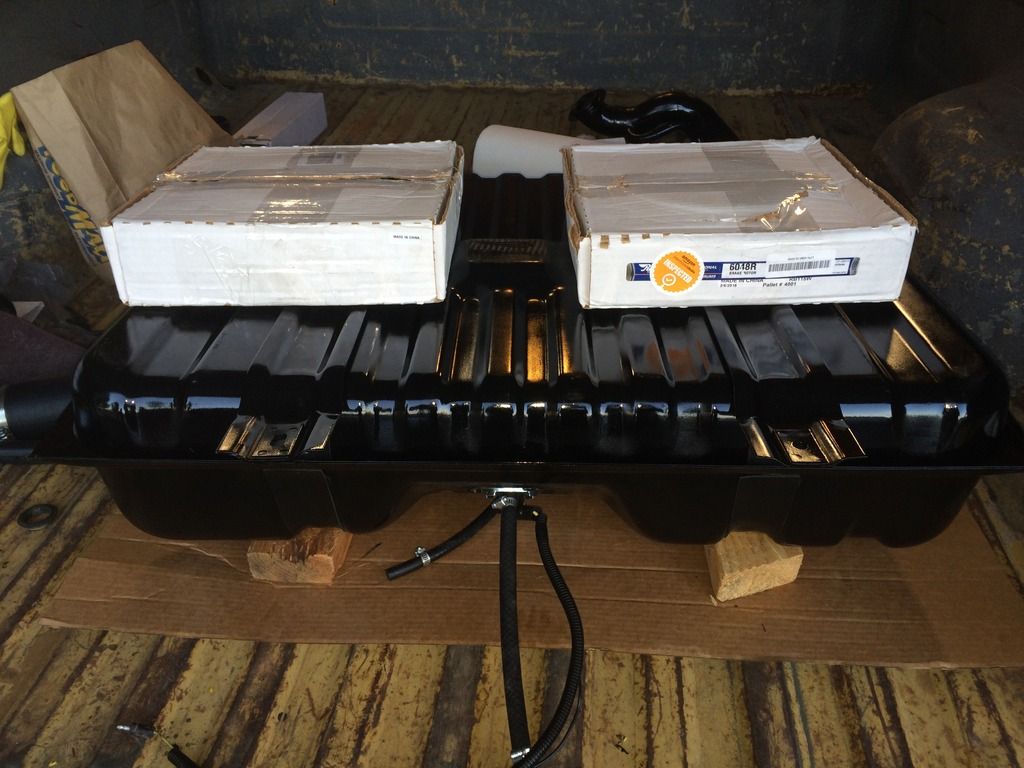
I did the bottom today. Not much to see here other that the repurposing of some new rotors I haven't installed just yet.
Going to touch up the bottom once I get it mounted.
I did the bottom today. Not much to see here other that the repurposing of some new rotors I haven't installed just yet.
Going to touch up the bottom once I get it mounted.

#70
06-24-2015, 01:45 AM
Elder User
Join Date: Feb 2015
Location: south east kansas
Posts: 676
Likes: 0
Received 0 Likes
on
0 Posts
#71
06-27-2015, 05:07 PM
It would take me about 5 seconds to shove a hose down into a tank. Any thief that knows anything about the plumbing on most older vehicles knows this as well.
#72
06-27-2015, 05:09 PM
#73
06-27-2015, 05:12 PM
Final install complete. Can't tell I did anything but paint.
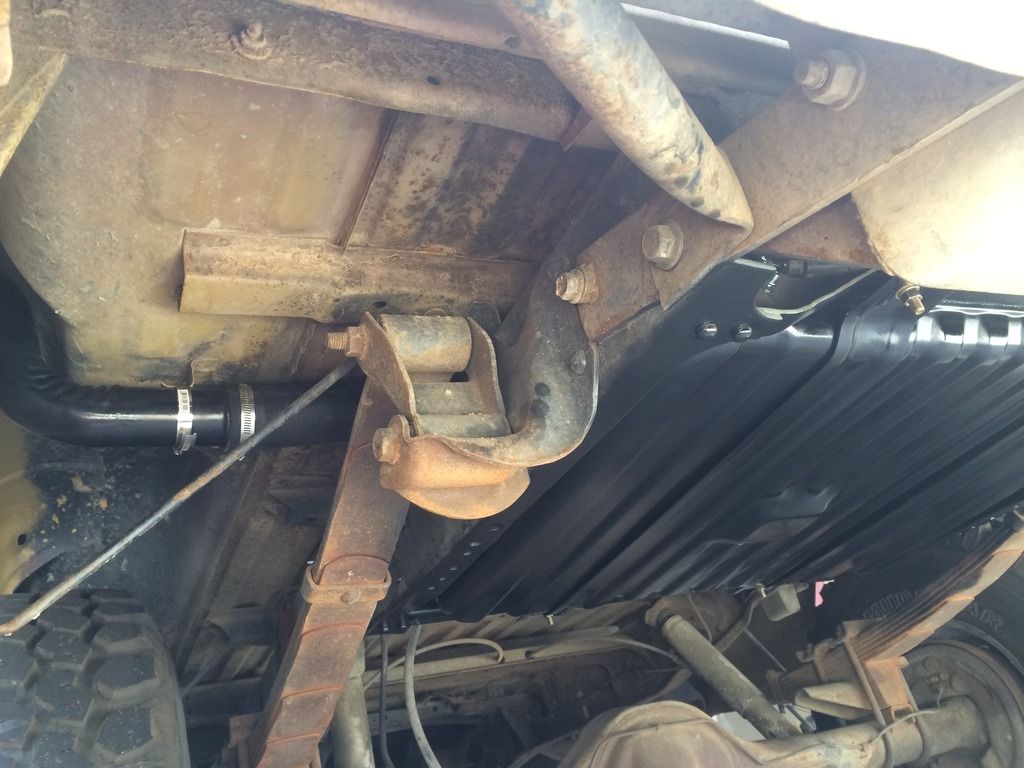
The filler hose is barely squished as it goes through the frame/bed gap. I had been having some back pressure during fill-ups making it a slower process to allow fuel time to drain into the tank. Hopefully with the hose left open a little more than it was this will improved.

The filler hose is barely squished as it goes through the frame/bed gap. I had been having some back pressure during fill-ups making it a slower process to allow fuel time to drain into the tank. Hopefully with the hose left open a little more than it was this will improved.
#75
06-28-2015, 09:36 AM

