When you click on links to various merchants on this site and make a purchase, this can result in this site earning a commission. Affiliate programs and affiliations include, but are not limited to, the eBay Partner Network.
Just for the record I'm originally a jersey guy as well! I have been dealing with Bob for ever he's very knowledgable and a great guy too! I used to pick my stuff up and have coffee with him! He's the best!!!
I'm drooling over that engine and transmission. Do you need them?
Yes I need them to restore the truck and drive it but originally I thought of putting a 7.1 diesel in it but that would take much longer to start modifying stuff and the motor seems all good from what I can tell... will be opening the transmission soon.
Dan, I would just rinse the differential out from the back with a good solvent. A suction spray nozzle for an air compressor works really well. Unless the gasket for the center member has been leaking, I wouldn't remove it. It looks like the pinion seal has been leaking some. There two types of yokes and pinion shafts in the bigger truck axles. Up to sometime around '49-'50 the pinion shafts were tapered, the later ones were splined. The tapered ones can be a bugger to get off. When you remove the yoke, you will probably find that the seal has worn a grove in it. A C/R Speedi-Sleeve or a National Redi_Sleeve is the easiest way to repair it. The pinion nut will need to be torqued to around 350-400 ft lbs. I can look that up and get you the correct torque. I would fill the differential with GL-4 or GL-5 oil, either straight 90W or 140W or a multi weight 90-140. There are no additives needed in the axle. Be sure to pack the wheel bearings with a good wheel bearing grease, don't rely on the axle oil to adequately lube them.
Regarding your transmission, You have the T98 syncro-silent 4-speed. When you change the oil in that. you will need to use a GL-4 or GL-5 with an MT-1 rating also. GL-5 oils are not safe for transmissions unless they specifically state on the label that they are MT-1 rated also. The MT rating is for manual transmissions. Unless you have gaskets that are leaking on the transmission, I would only replace the seals. There is a tailshaft seal and two seals on the PTO. There is NO input shaft seal on any of the 4-speed transmissions. There is a reverse thread machined inside the front bearing retainer that the throw out bearing slides on. The thread keeps the oil in the transmission, but they will leak if the are stood up on the bellhousing end.
I'd be inclined to pull out the axle shafts and make a "rake" to scrape crap out of the axle tubes. I was so advised when I was restoring my truck, and was amazed at how much junk was in there. Plus, since you've been moving the axle around, the oil may have washed that stuff into the center section.
Ok... so I have decided now that I will not go any further into the differential for one, I was very happy with the oil results being their was no metal shavings which was surprising as I expected to see some. Two, Bob who gets all my business now could only get the pumpkin or oil cover gasket which is the only thing I opened so far to get at all the nasty old oil. Three I do not want to open all those other gaskets and mess with it if I don't have to and it would be hard to get the all gaskets anyway if I did open it all up.
I have all the gaskets for the transmission and engine though and plan on going through everything on the transmission myself but am not confident in doing so with the engine.
So I just coated the differential with Jasco and now I'm wondering since I scooped out the majority of the oil if I can flush it out with some Diesel from the top plug and rotate it around to get it nice and clean of any old oil. Just a thought since I'm leaning away from using harsh gasoline that might leave behind harmful chemicals or such that would interfere with the new oil. What do you guys think on that? Where are the experts?
I opened the top plug and saw the oil drained out from up there but I want to flush it out because I saw some gunk. Can I use Diesel?
Finally got the leaf spring locating bolts that align the leafs out of the differential with the drill and plasma cutter set on low to melt them out of the hole carefully.
Had to melt them out since on the farm they put like 6 or 7 tons in the bed and balled out and smushed these locating blots in the holes so bad that when I got one loose It would not pull out!
Why are their holes in the bottoms of the axles where the oil can drain out as their was some around the holes with dirt stuck in it?
Are these holes on other truck axles? Should I weld them shut? The differential has a relief valve on top where oil did accumulate around when pressure rose too high. Whats up with these holes?
Took parking break and transmission housing off to degrease better.
Front leaf springs and the front axle will be dealt with after rear differential and sprigs are done. (Not enough room to work on both at same time, wish I had more room)
Rear leaf springs will now undergo rust treatment and a painting then they will be assembled with new hardware.
The truck project has been going steady unlike the gap in-between my posts here on the form. A lot has happened in almost a year now just about, 9 months to be exact since my last post and I have a lot to show. My sister got married May of 2015 it was a wonderful event, some preparation, and a lot of family diners and gatherings. Since I graduated from high School (summer of 2015) I used most my time to restore my truck and preform some side work when funds were needed, painting, power washing, lawn care, fixing things, moving stuff, automotive repair, scrapping, demolition and almost a long haul to Florida for a lot of cash but my parents would be worried sick and besides my truck would never make it out of state before it ran out of oil or blew up on the parkway Exploder as their called in fact! I even worked for UPS awhile (a little over 2 months) working the night shifts and in the days on my truck until 5pm dinner, sleep, repeat. It was hard work being a loader especially then going into peak on the three hundred belt (R.I.P 300 belt) that's right I did my time. They should start making prison inmates work their instead of civilians, they'd feel right at home in their new environment and be very productive! After all that excitement I buckled down and got busy working on the truck as weather was quite unusual... being one day here and a week there of summer in December! Just go with it right it's not really winter? Anyways less chitchat and more pictures!
After much frustration and many attempts to upload new pictures it turns out my computer was at fault (Dell), not my account nor the 200+ pictures in my album.
So without further ado...
It was leaking from the pinion seal
Putting in new pinion seal
Turns out it was a drainage/overflow hole for the rear grease retaining seal if some were to blew by it would not get in break drum area. But this differential has a relief valve on top where i did find oil around and preserved paint underneath
Brushed the fluid all around inside after i was done cleaning it out so nothing would rust up
Sealed up the axle ends so no water would get in while degreaseing the outside
Had the differential all wire wheeled and smooth at this point
Setting up the buckets one with clean water the other degreaser. Shop-vac was for any water that came on the other side of garage
Plastic tarped the wall so it would not get wet and become moldy sheetrock
I think i degreassed everything three times as i really wanted to have no problems when painting it
It took forever to get this huge frame to this point and painted from when it first started out so caked on with hardened grease and orange dirt where i was using a hammer and chisel at times. I once filled a heavy duty black garbage bag about an 1/8 the way but a decent load and it must have weighed 20-25 pounds when i first started the frame and i had a tarp underneath to catch it all
I was working with the garden hose and it was a hot night 75 or 77 humid probably so it worked out great!
After it dried i immediately coated it and the frame with jasco rust treatment (a thin coat) than i let that dry and it etches the surface too for the paint to grab onto better
2 bolts one on the lower right (not bottom bolts near jack stand) and one above it being the (longer) type bolt near where the axle tube meets the center pumpkin were lose, the lower one being a short bolt was backed out like a 1/4 inch. I worked that one back and forth awhile snugging it back up with them all to the same torque 30 or 35 can't quite remember. But those two near low gear range selector, the longer one going into the low gear housing (as both long bolts there) were in fact loose
This was the first coat and my first time working with this product (POR-15) and i laugh now but i brushed it on so thin because i was told very thin coats and that's what i did but too thin. So I learned after that you just don't want to blob it on heavy thin coats let them dry. Also don't work with more than an hour and a half worth of paint it really thickens up quick being that it's already 80/20
That first coat hardened up really well though and i don't think that paint is coming off for the lifetime of the truck. I did a total of three coats overall and four in some places. I got under in the cross members completely, not a single area left bare or with grease and crutt in a crevasse of sorts
Broke out the red paint and it could not have looked better, all said and done with three coats
Second coat now
What a transformation!
Filling the seam between the outer and inner frame that i cut the rust out of originally and straitened back to seal it up preventing water from getting in again and corroding the metal
So far used one can of red and a bit over half of the black gallon on the rear end and frame
All that washing and degreasing made my drill press rusty
Got these back from R&H Spring, had the spring clips cut off and new ones fabricated to length, drilled and riveted back on to be good as new
Drilled all the brass rivets out of the old linings, coated the linings with oil first i also wore a mask to protect myself from breathing in any asbestos but really didn't disturb any. Wore mask when blowing out and scraping the drums backing plates too
All the rear linings were so thin to the point of breaking on the rivets themselves that attach the lining to the shoe. It really shows that it was a farm truck, more use than maintenance as I've found even springs that broke off were tied or stretched back to function again.
Took a lot of wire wheeling to get these shoes to shine
I laid them all out on purpose this way just for an awesome picture but compact too since they were a lot of pieces to do at one time. I carried pieces over to the other side to have room to work, one front stack or two of the helper stacks rust treating and painting
I scrubbed all the leaf springs here one at a time, all the drums and backing plates, small parts and such
Break drums had rust treatment by this point and the front axle was prepped meaning the bulk of the grease chunks/blobs were off some wire wheeling done, but it was awkward to work on as it would flip over on me and it got me once good on my shin
It was sketchy flipping each leaf over multiple times, once to rust treat then when dry to start painting the side flipped, flipped four more times to achieve two coats and one flip during rust treatment for a total of five (tried to keep flipping to a minimum, a lot... lot lot lot of work to clean up and paint leaf springs then assemble them all together, but i took it a step further as you will see!)
It was crazy how heavy all the leaf springs were combined, as i was able to fit all of them on at once (I like to get a lot done or one type of grouping done in one shot) making this makeshift saw horse epic
From this point all pictures of the trucks frame are three coats of paint or more
Rust treatment after fitting all the leafs on with two or three inches to spare but then everything was spaced further which took up the few inches i had left all said and done
A flip to the backside, rust treated then painting would begin on this side until two coats were applied
Put some weld on the tabs that hold the break shoes aligned to beef them up as one broke completely off and a few were bent
All painted two coats, all small parts got two coats even U-Bolts
Was not sure what color to paint them so they are still bare but now i will paint them black and not red. Also if i painted them before installing them on the new rims they would have been ruined (yes i ditched the widow makers because ether way you look at it i needed new tires $$$ and they weren't going on those deadly rims)
Bucket kept water out of the race area, also had the air hose ready to dry it fast which i used during the frame and differential scrub down. Speaking of which my Husky quiet series (OIL LESS) what do you think is going to happen air compressor died halfway through my project. so I've been using my brothers $80 Harbor Freight oiled one thats been outside for five years and is now 8 years old (running like a champ still). The oiled compressors don't rust the tank out like a non-oiled one
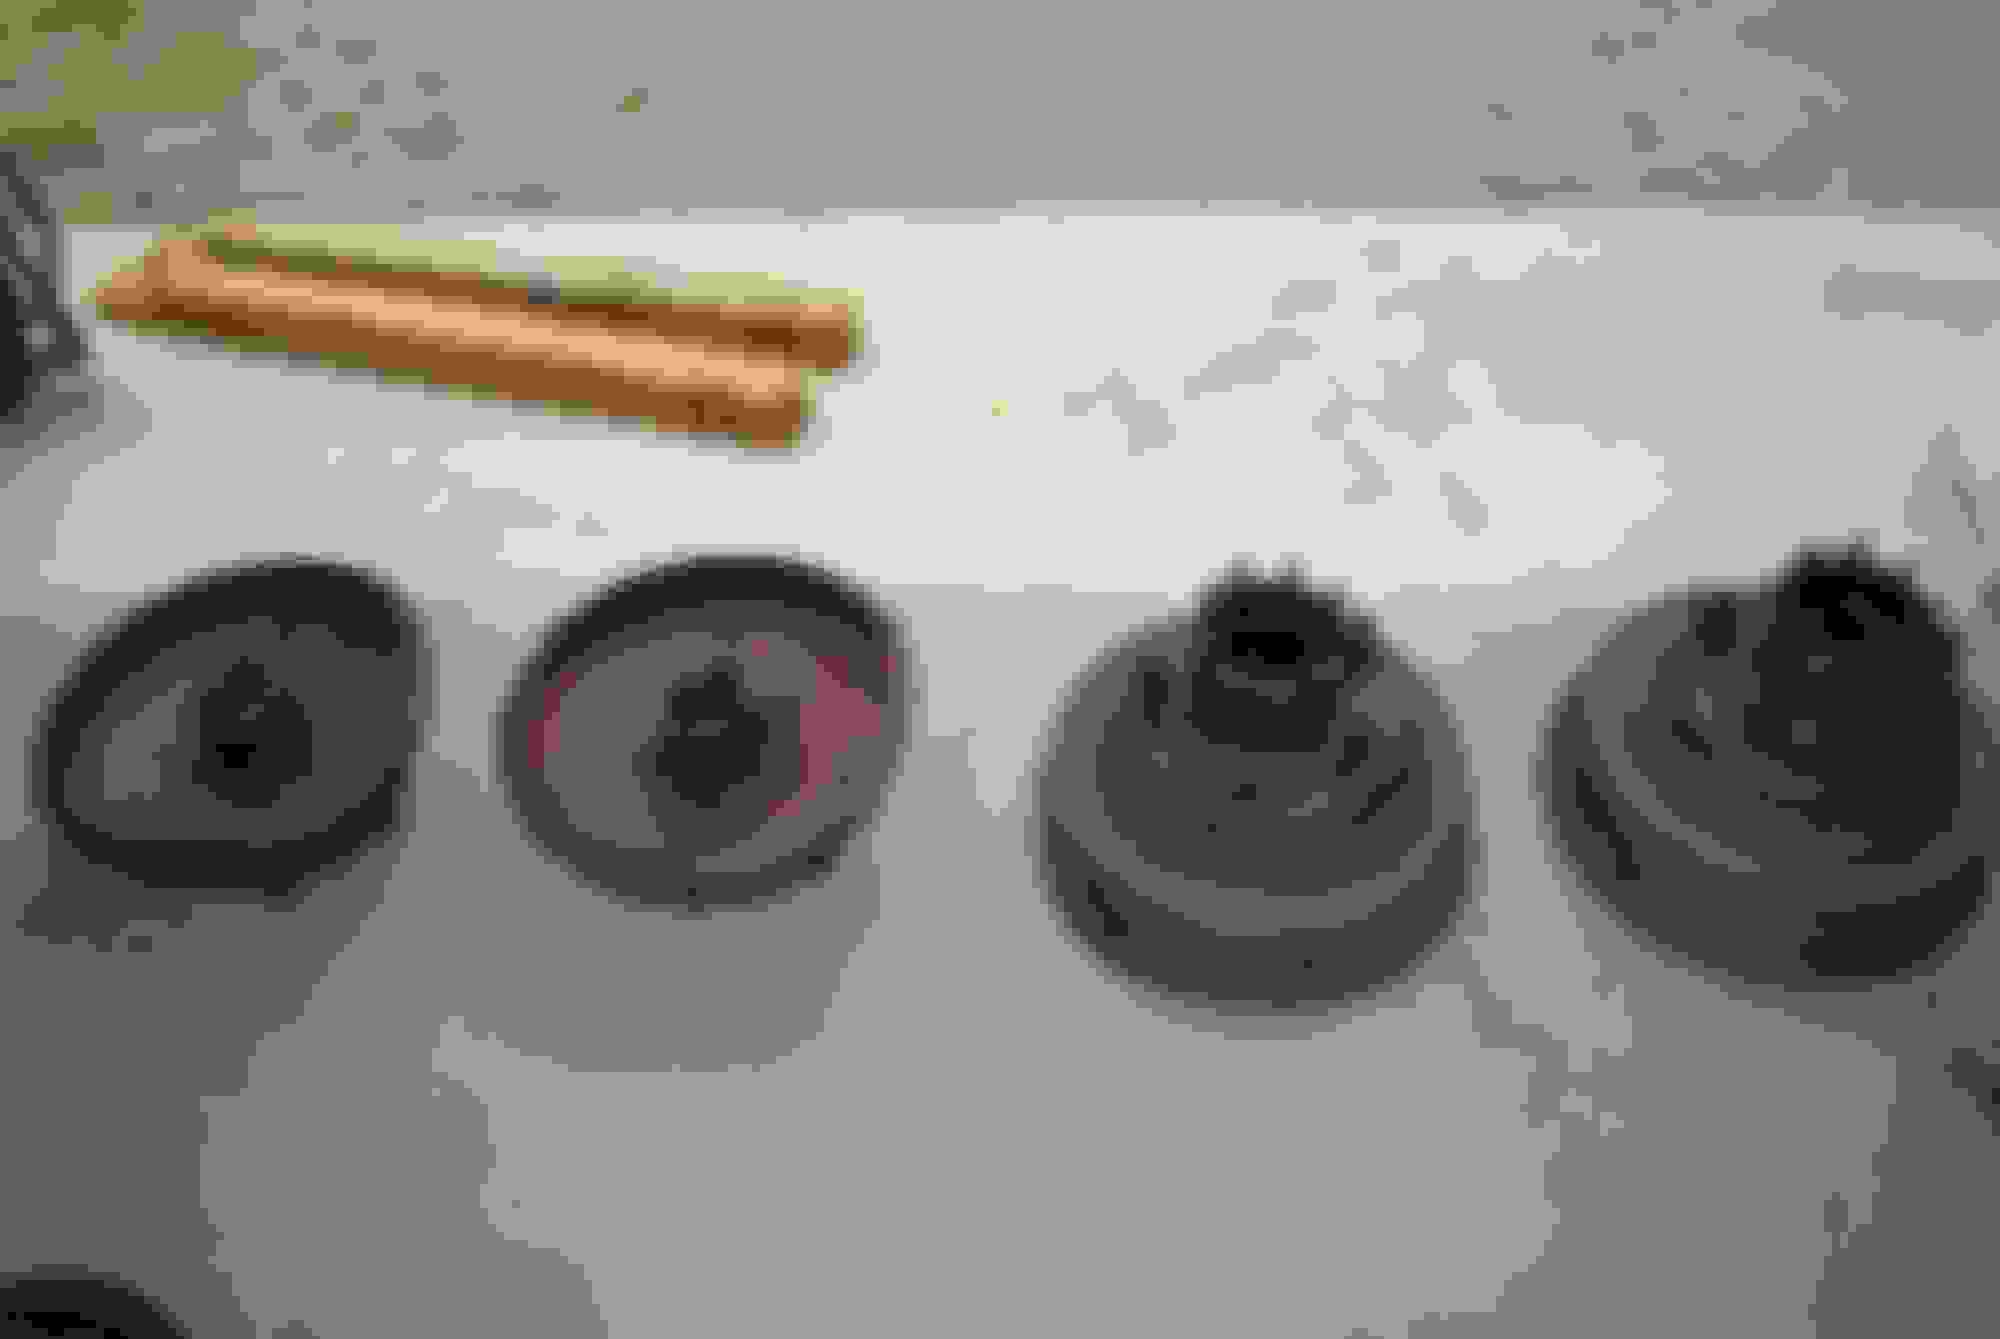
Back races were pitted outer bearings had lines and some pitting so i wound up going with all new races and bearings for all four hubs front and back to be rolling smooth down the road
The grease caps for the front drums were pitted so bad you could not read the ford logo so i got 2 new ones
That's better, need to paint them red now
First coat
Second coat
Layed them out for some awesome tape
Wear from the lower leaf rubbing. I built areas like these up with two or three layers of tape to make them even again
This tape is for industrial use in packaging plants, on convener belts where there is heavy sliding friction, and it is a Teflon UHMW Polethylene tape (better than PTFE) it is puncture resistant more heavy duty and can take a beating and that's why I'm going to put it in between my leaf springs. (Tape ID# XSJ06CM39) cheapest on Ebay!
It should 1: reduce friction allowing leaves to slide past each other smoothly 2: improve suspension response resulting in a slightly more comfortable ride and 3: keep the paint hopefully from grinding off and the leafs from wearing further. Hope it holds up and stays on for the most part because i plan on using this truck a little
Had to cut each end with a razor knife and the center holes for all the pieces i went through two new blades in all cutting through this tape
Hopefully it's all worth it
Leaf spring stacks finally all assembled. It was a workout to get them compressed i think your supposed to have a vice for these
Backing plates received two coats of paint
It's coming to pick you up whether you like it or not!
Got ya!
The front were not nearly as heavy as the rear but why struggle with them to try and bang in the hanger spring pins when this will hold it for you
Now I just needed to get these King pins out, it took 21-23 tons of force on the left side and 32-34 tons on the right steering side which was sloppier. Bearings were all gritty too, glad i did them
This will put some fear into you
Place object here. It'll flatten your pocket change too for example; penny's can be combined into 2 cent coins
Picked this up off of Craigslist for cheap, great unit they don't make them like this anymore
1" inch
1" 1/2 I like having two pieces you can push stuff through them and make adjustments to tailor fit different applications, very handy
No play, no wobble, swings smooth
These clips hold the helper springs together and i was able to slide them off but not back on so i drilled them out.
Turns out there is a limit to how much you can upload at one time, I got this error message and then had to delete a lot of text and like 40 pictures. The text that you have entered is too long (34014 characters). Please shorten it to 30000 characters long. So I found that out but anyways here's round 2 some more pictures!
I welded nuts to them, now they can be bolted in the bottom hole of the leaf spring and unbolted for future removal
Rear leaf spring spacers
I put this tape anyplace wear could occur
I now have spring clip spacers something that wasn't on my truck before
Heavy! Heavy! Heavy!
All strapped in like a baby in a car seat
Believe it or not i got it balanced to near perfect on the first try slinging these straps around it
You can really see how nice and dark the third coat came out in these pictures, sadly now it's all dusty and dirty looking in the garage
Their were decent ware groves here because they never re-tightened the nuts every so often
It seems that's all i can upload for now, or maybe it's just that this page has hit a limit as I can only get to insert four pictures max now (just restarted and cleared browser cache) and i have like a hundred more i want to post in one shot. So tell me guys what you think so far of the pictures, include some comments or questions. Let's get this post to a new page and I'll try again tomorrow because after three hours of getting nowhere till 6:30 in the morning I'm exhausted. Hope to be back on soon and get things straightened out.
I am almost speechless. Your documentation and pictures are great. I'm curious how the ride will be using the PTFE tape between the spring leaves. Possibly more "springy" since there are no shock absorbers? I question the use of that tape on the rear spring U-bolt caps though. And btw, that is just a vent on the differential housing - the cap is supposed to sit down and closed to keep splash water out, and lifts up to allow hot expanded air out (not a relief valve). Keep up the good work.
Dude you have been busting your butt on this truck and it's paying off big time. Very nice work. Looking good! Be proud of what you have accomplished. I'm curious about the tape. Is it pretty slippery? I have a 12 inch planer that the bed is a bit sticky sometimes and the wood doesn't want to feed too well. Sounds that it might work for that app. as well. Loving the pics too. You will be onto the sheetmetal before you know it.

 04-12-2015, 09:33 PM


 Exploder as their called in fact! I even worked for UPS awhile (a little over 2 months) working the night shifts and in the days on my truck until 5pm dinner, sleep, repeat. It was hard work being a loader especially then going into peak on the three hundred belt (R.I.P 300 belt) that's right I did my time. They should start making prison inmates work their instead of civilians, they'd feel right at home in their new environment and be very productive! After all that excitement I buckled down and got busy working on the truck as weather was quite unusual... being one day here and a week there of summer in December! Just go with it right it's not really winter? Anyways less chitchat and more pictures!