Lets do it again! 1951 Ford F1 LT1 supercharged, 4L80E, EFI, jag IFS, etc..
#61
 09-08-2014, 10:22 PM

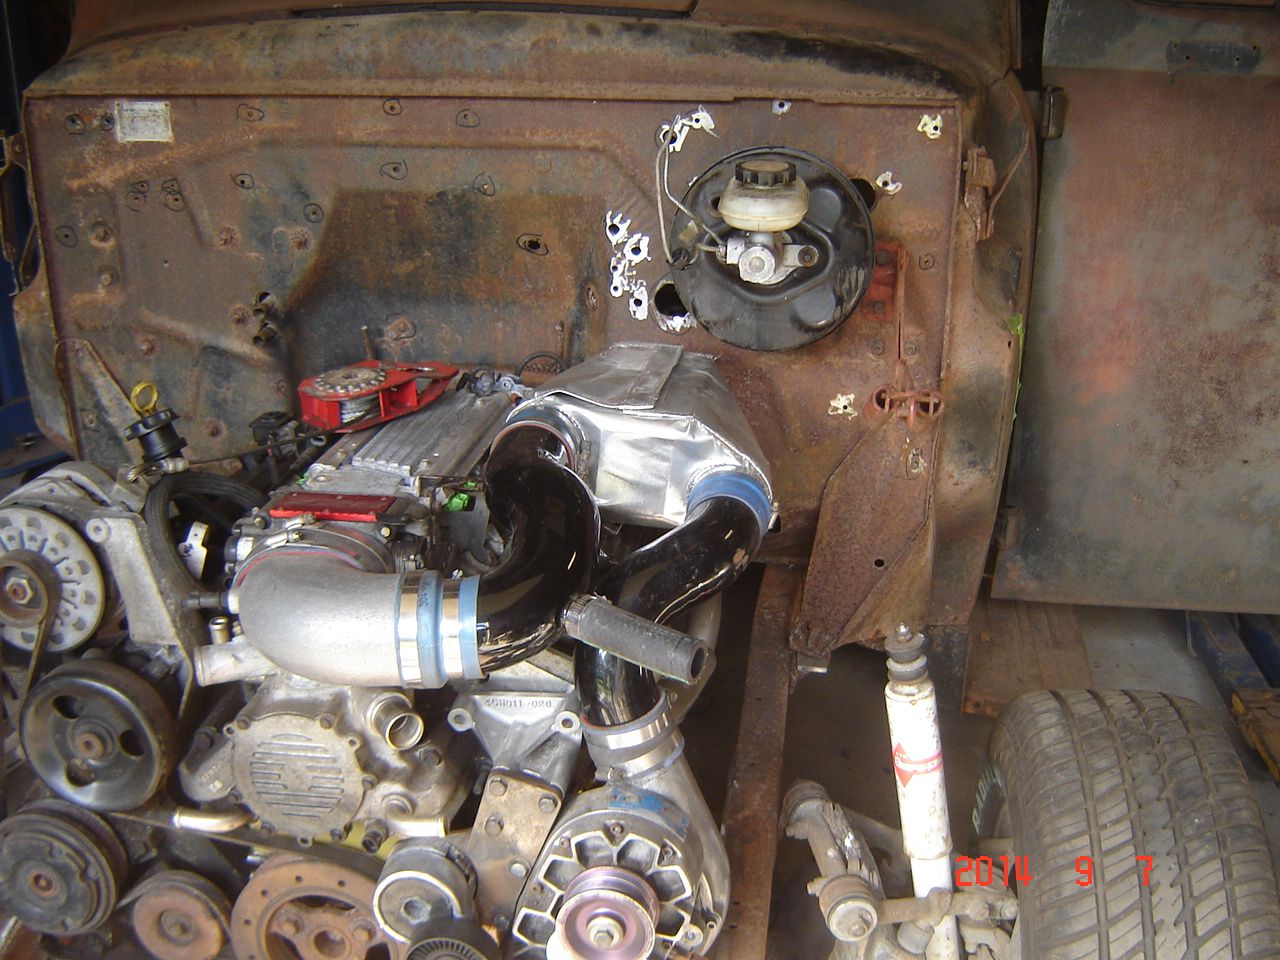
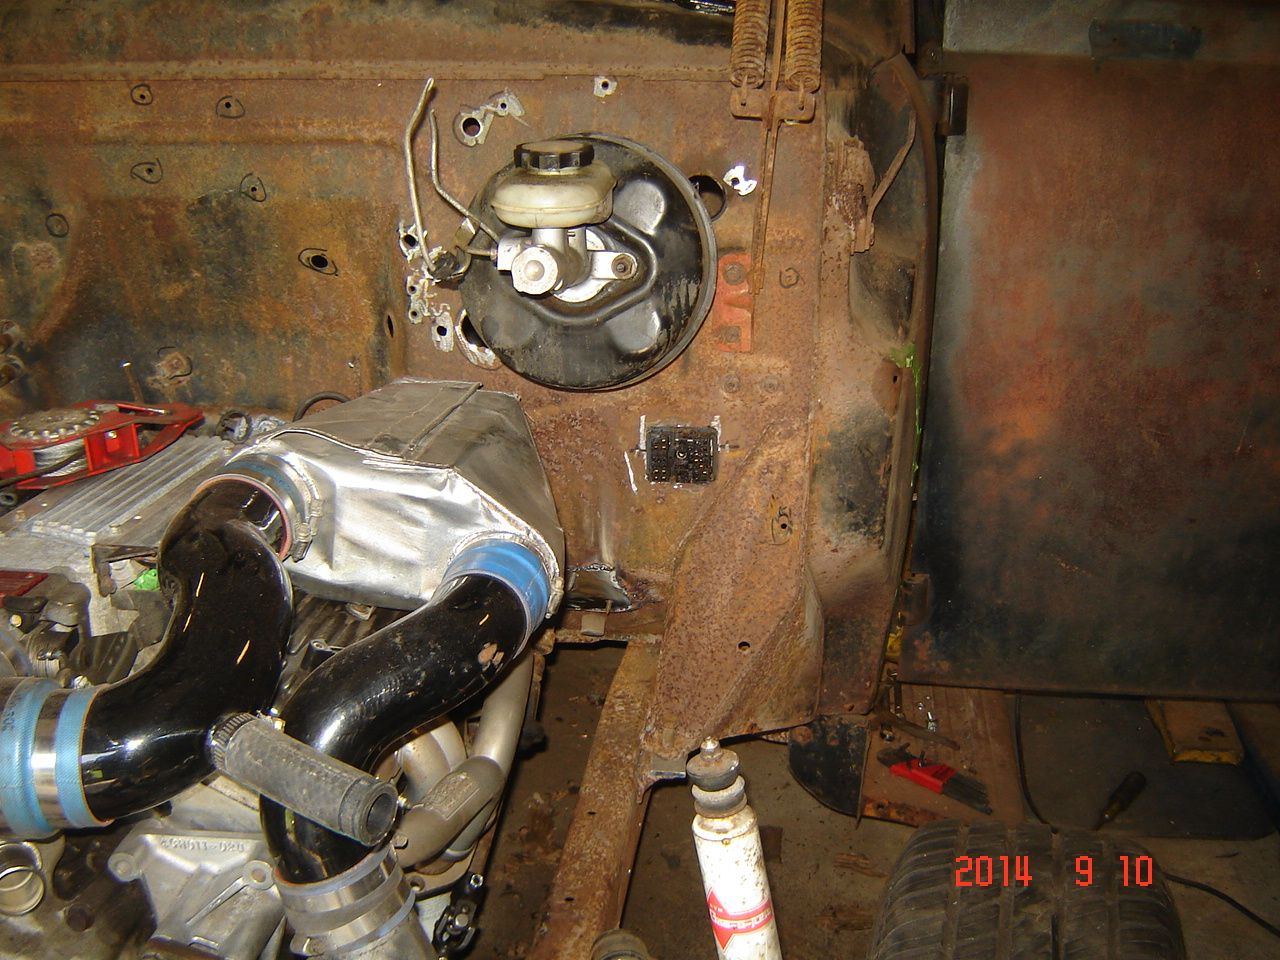
Back at it..time to mount the power brake booster somewhere with enough clearance for the intercooler and hood hinges. Using a 1993-1997 camaro unit and pedal mount.
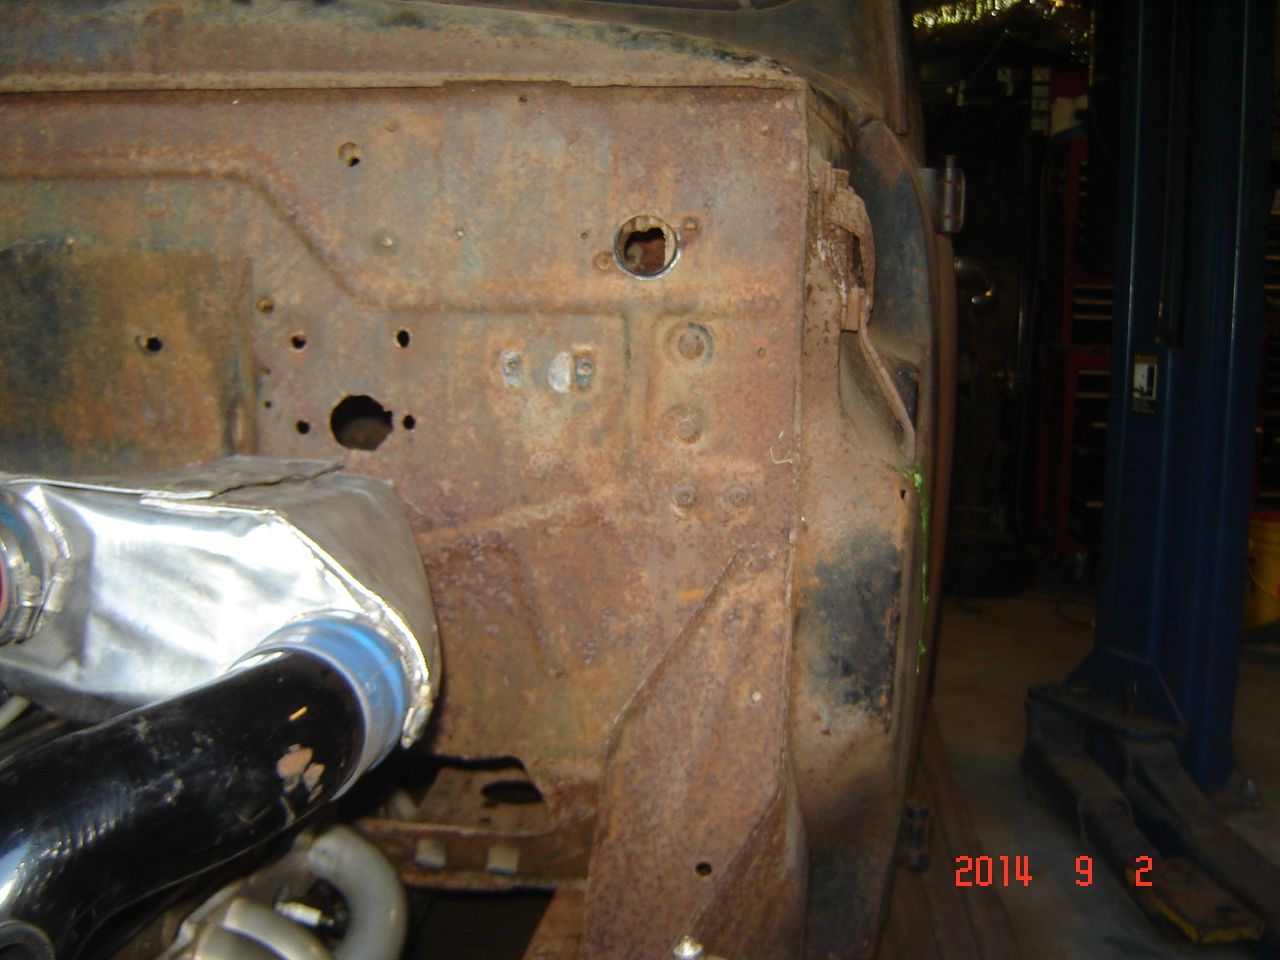
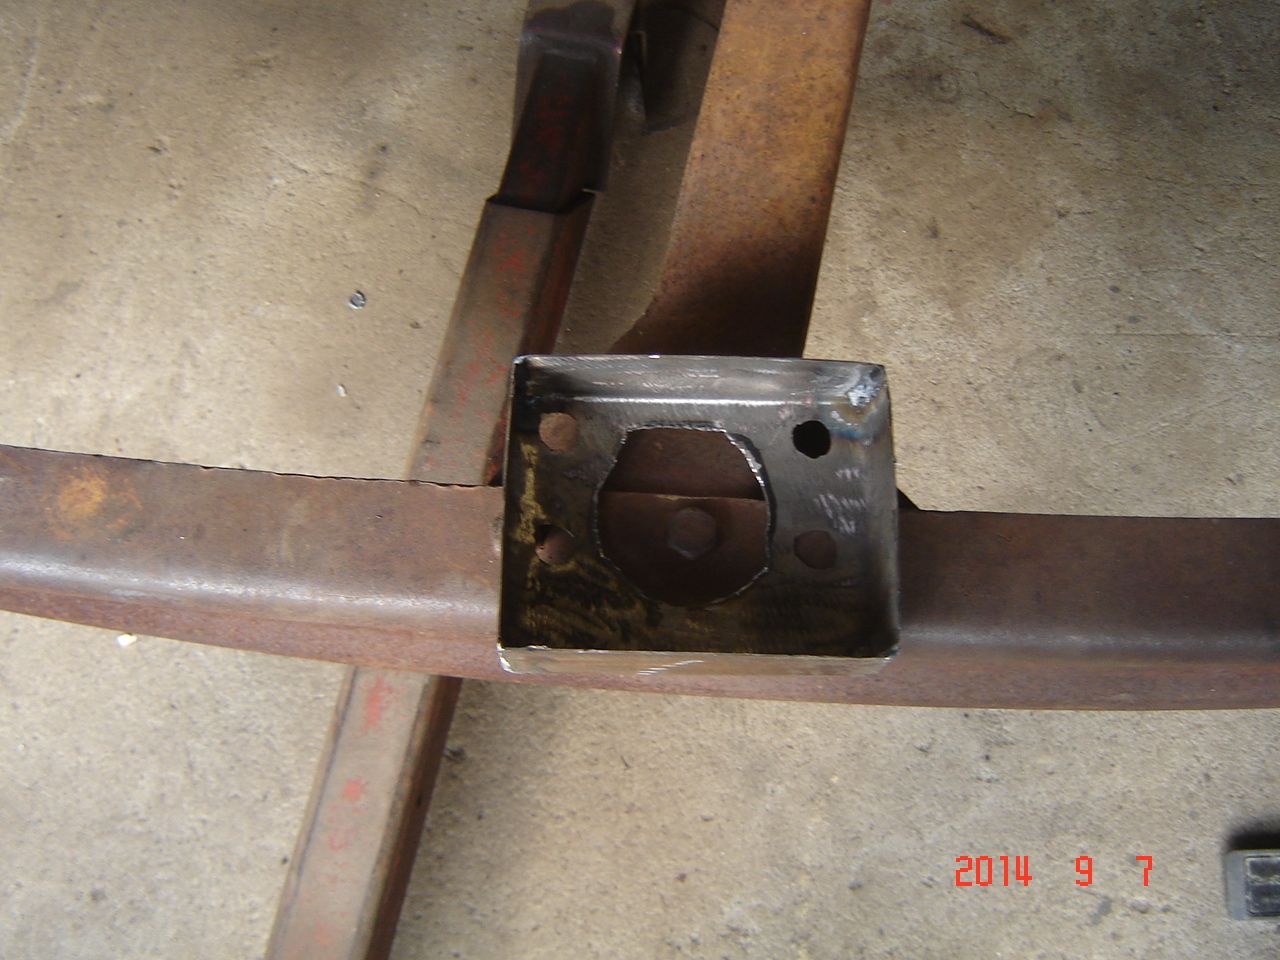
welded up a quick box to recess the booster mount into the firewall to keep the booster tighter against the firewall.
Rough measurements put it here. Plenty of clearance all around.
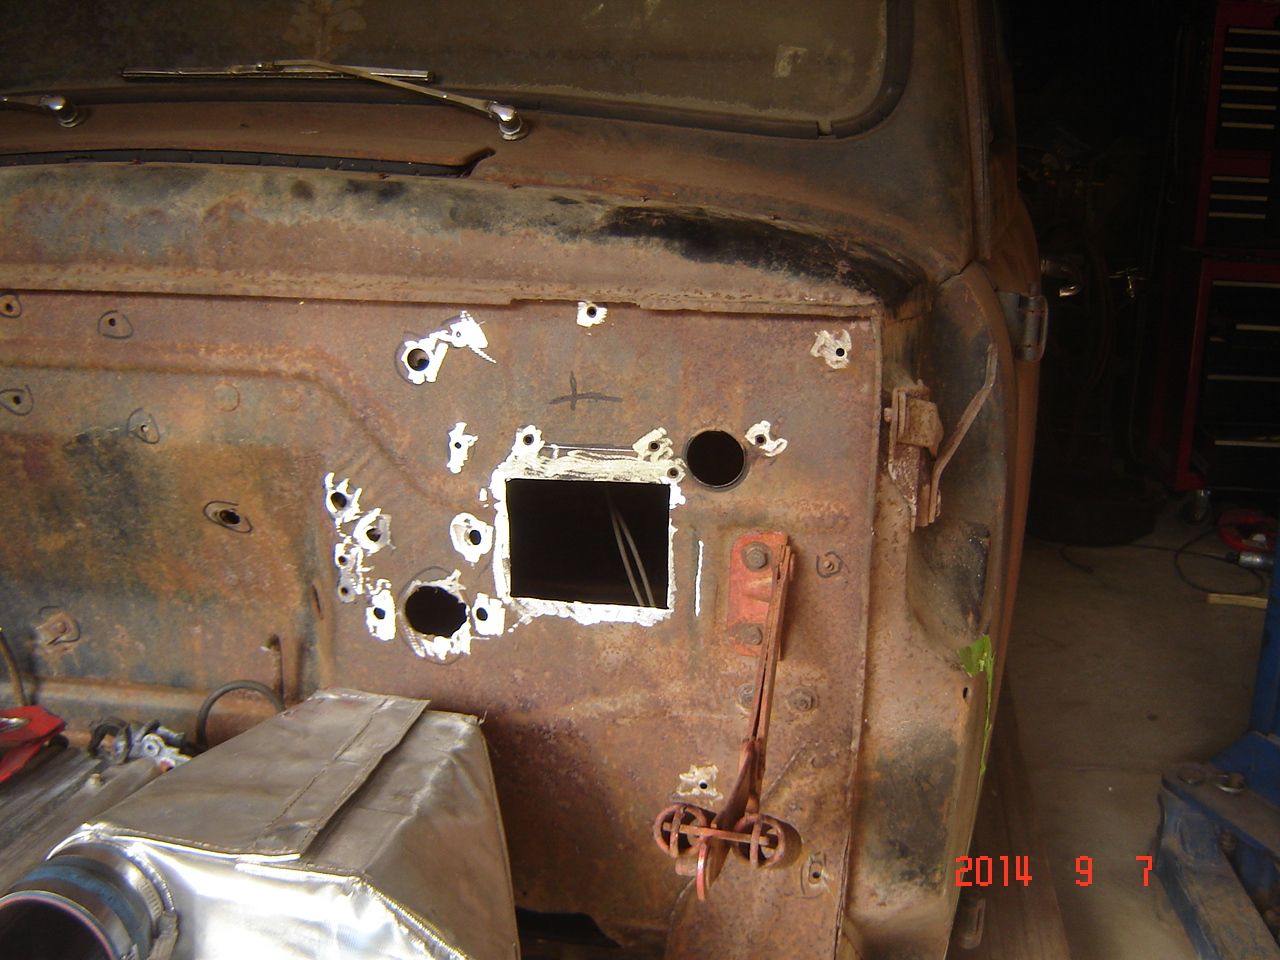
and welded in
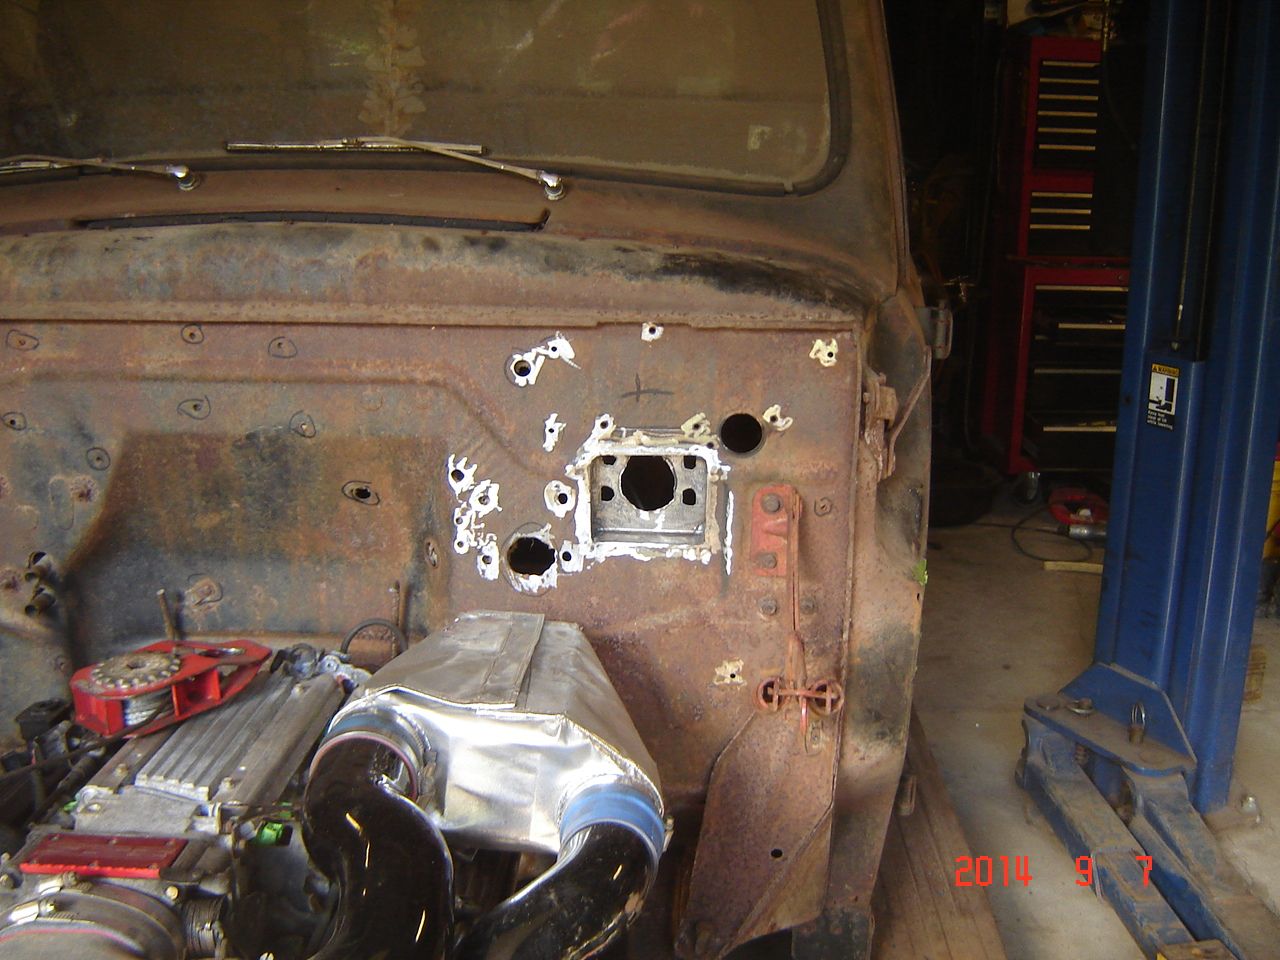
and mounted
Steering column should be next.

welded up a quick box to recess the booster mount into the firewall to keep the booster tighter against the firewall.

Rough measurements put it here. Plenty of clearance all around.

and welded in

and mounted

Steering column should be next.
#62
09-10-2014, 08:23 PM
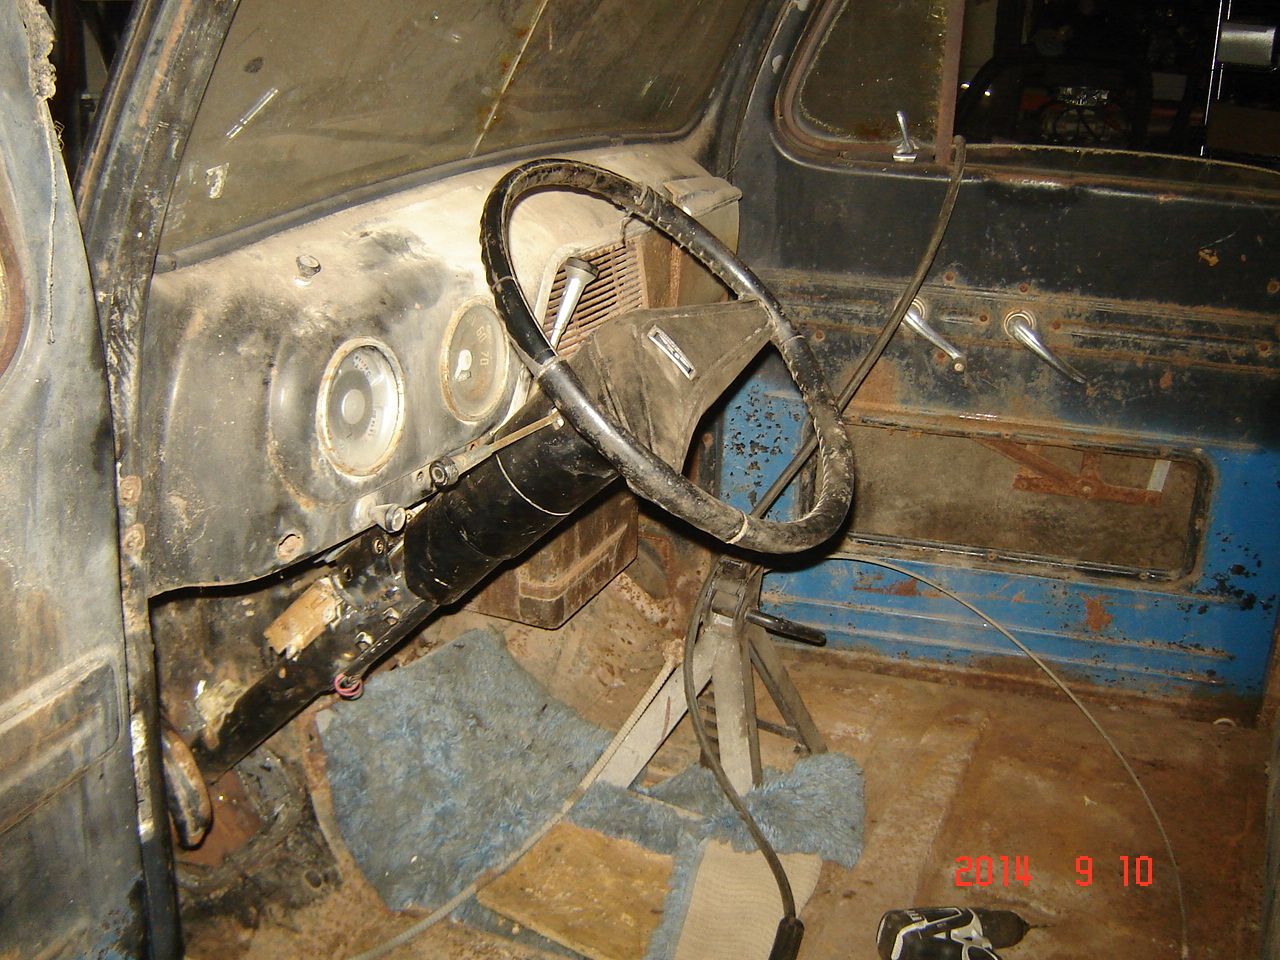
Steering is done. I am out of mid 60s steering columns that would work and I also struck out at my favorite junk yard, so I had to go with a 71-72 cutlass column that was on the shelf. Not as skinny a tube as the older stuff but not too modern looking. Not sure whether I am going to keep the ignition on the column or move it to the dash, I think I am going to keep the column shift.
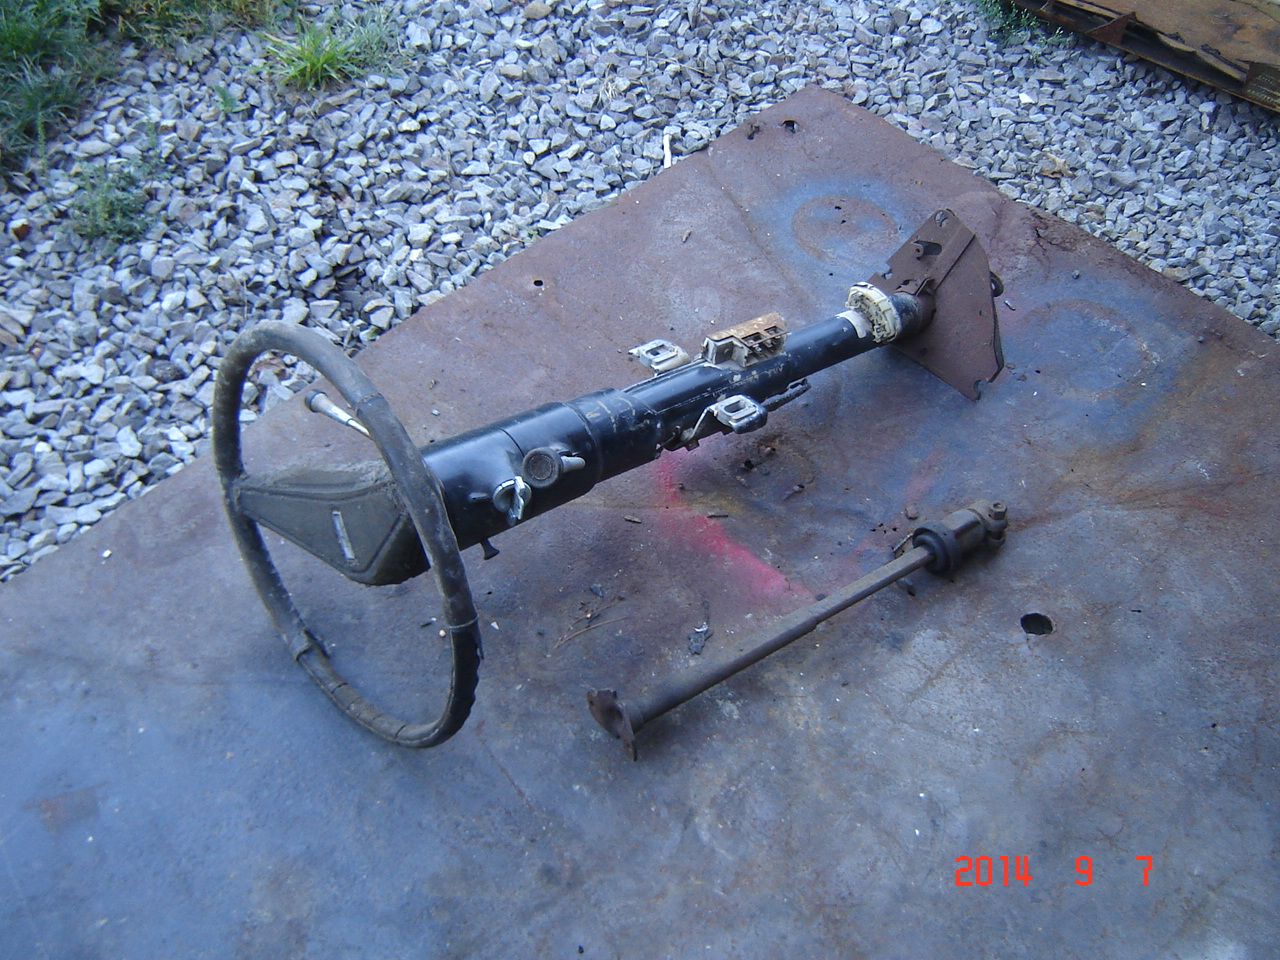
Initial mockup, jack stands are for more than holding up cars!
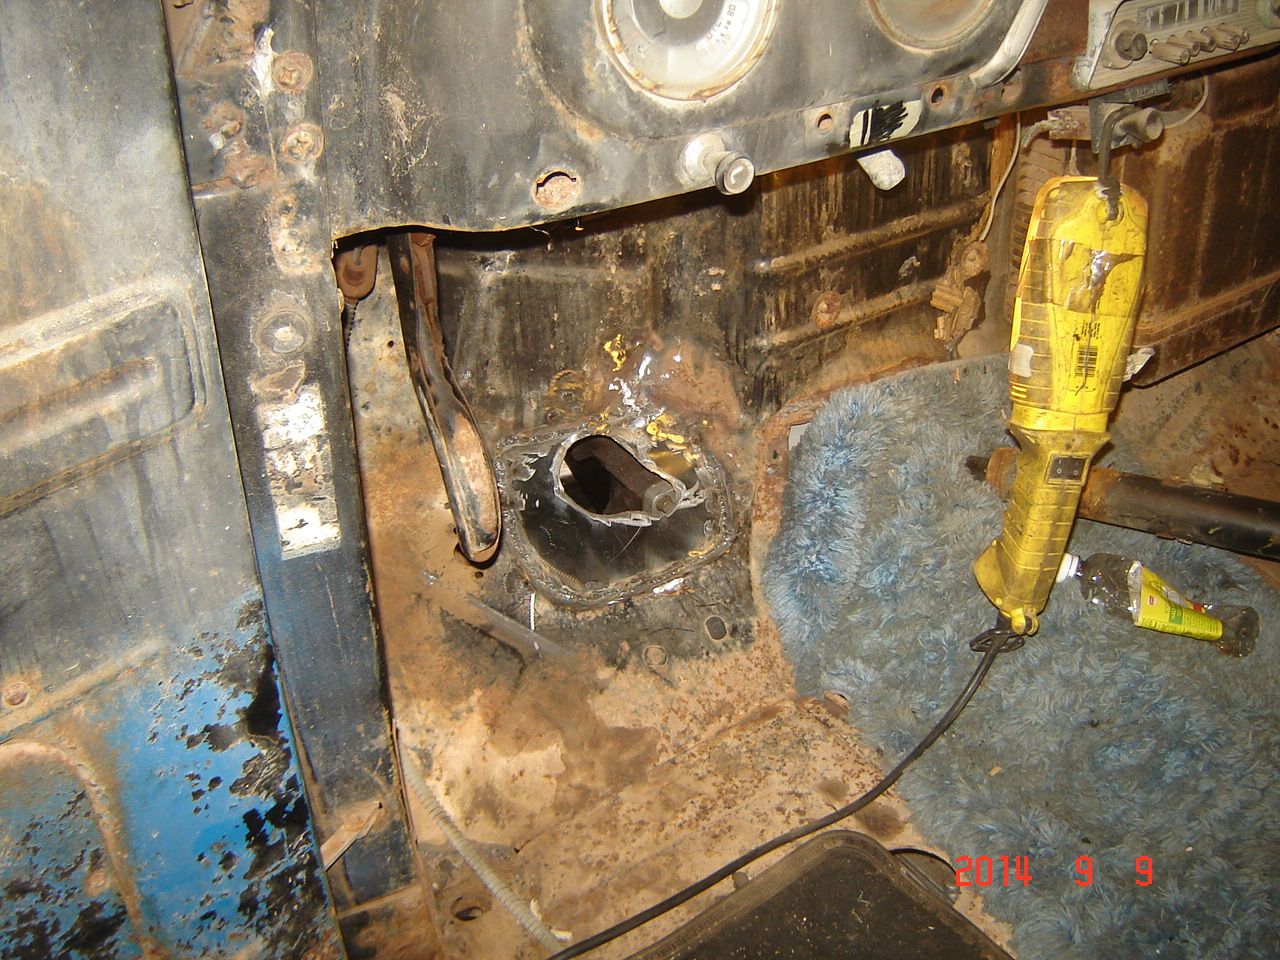
Floor hole filled and cut for this column.
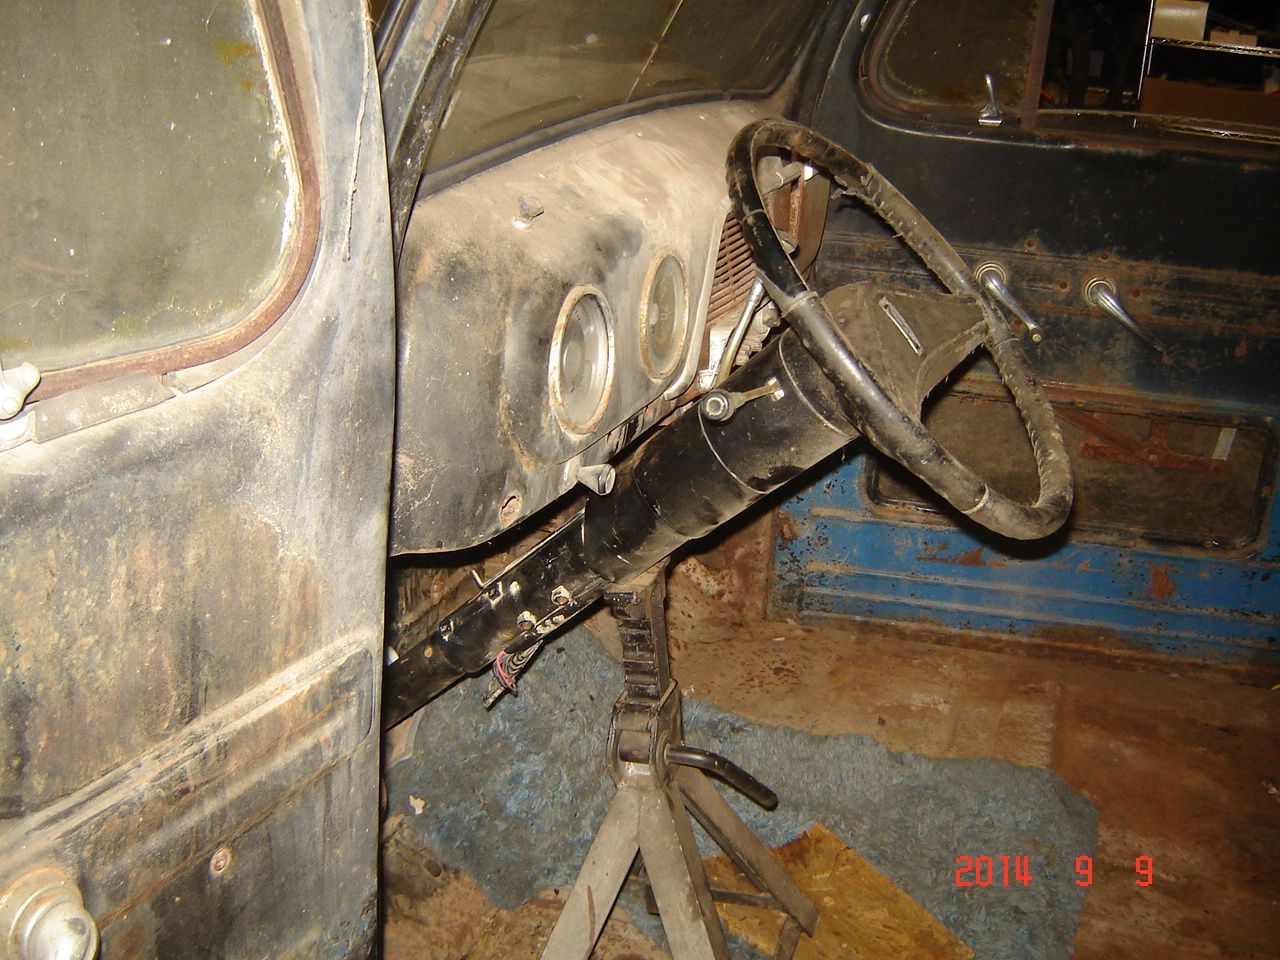
Steering angle is ok, still truck like but this is a truck.

Lower steering column hooked to the jag rack, fit great. GM lower shaft has a u joint at the column end and 3/4" DD shaft at the other so it worked out great. Set screws were tightened to leave a mark on the shaft, when I remove it I will drill slight indentations for the set screws to seat into.
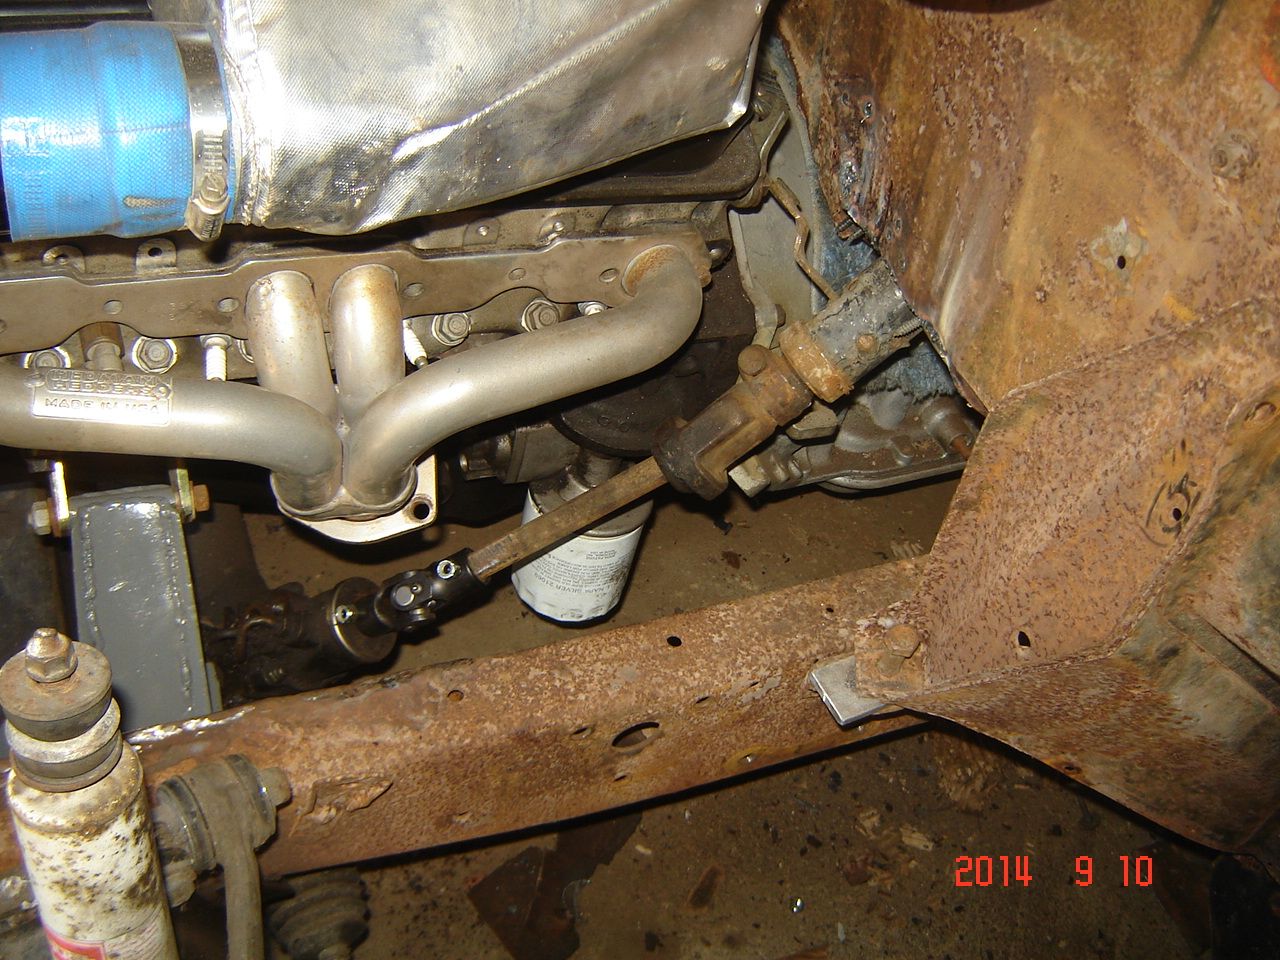
Mounted. Hard to see but I took the factory GM column mount, cut the ends off and flipped it upside down and welded it to the upper part of the column tube. Then made a bracket to tie that bracket to the lower dash.
If anyone wants to see it I will get pics when I take it apart, cab should be coming back off next week. Few more things to get done while the cab is mounted but I need to get this chassis painted soon before the weather turns cold.

#63
09-13-2014, 02:21 PM
Minor updates, but hey everyone loves pictures.
Now 5 weeks into the build
Firewall cut for wiring bulkhead
Trans cover sliced and peeled back to clear the new trans, welding in new metal. I am going to keep the cover removable, I doubt it will ever need to come out but you never know.

I think all I need to do before taking it apart to paint the chassis is the rear running board mounts, gas tank mounts, front shock mounts, and driveshaft build. I am going to try and have all of that done by the end of the week. I am probably forgetting something, need to make a list.
Oh yeah and for Ben I still have not opened the passenger side door!
You guys bored yet?
Now 5 weeks into the build
Firewall cut for wiring bulkhead

Trans cover sliced and peeled back to clear the new trans, welding in new metal. I am going to keep the cover removable, I doubt it will ever need to come out but you never know.

I think all I need to do before taking it apart to paint the chassis is the rear running board mounts, gas tank mounts, front shock mounts, and driveshaft build. I am going to try and have all of that done by the end of the week. I am probably forgetting something, need to make a list.
Oh yeah and for Ben I still have not opened the passenger side door!
You guys bored yet?
#64
09-13-2014, 04:53 PM
Hey Dave,
You probably open your Christmas presents on Easter!!
I see you are using a '70's Cutlass steering set up - My college car was a '78. Ahhh the memories. Hopefully you didn't get my steering wheel!
(Attached a pic so you can get the visual - maybe you can paint your truck to match?)
Ben in Austin
1950 F1
#65
09-13-2014, 09:47 PM
#66
09-15-2014, 10:44 AM
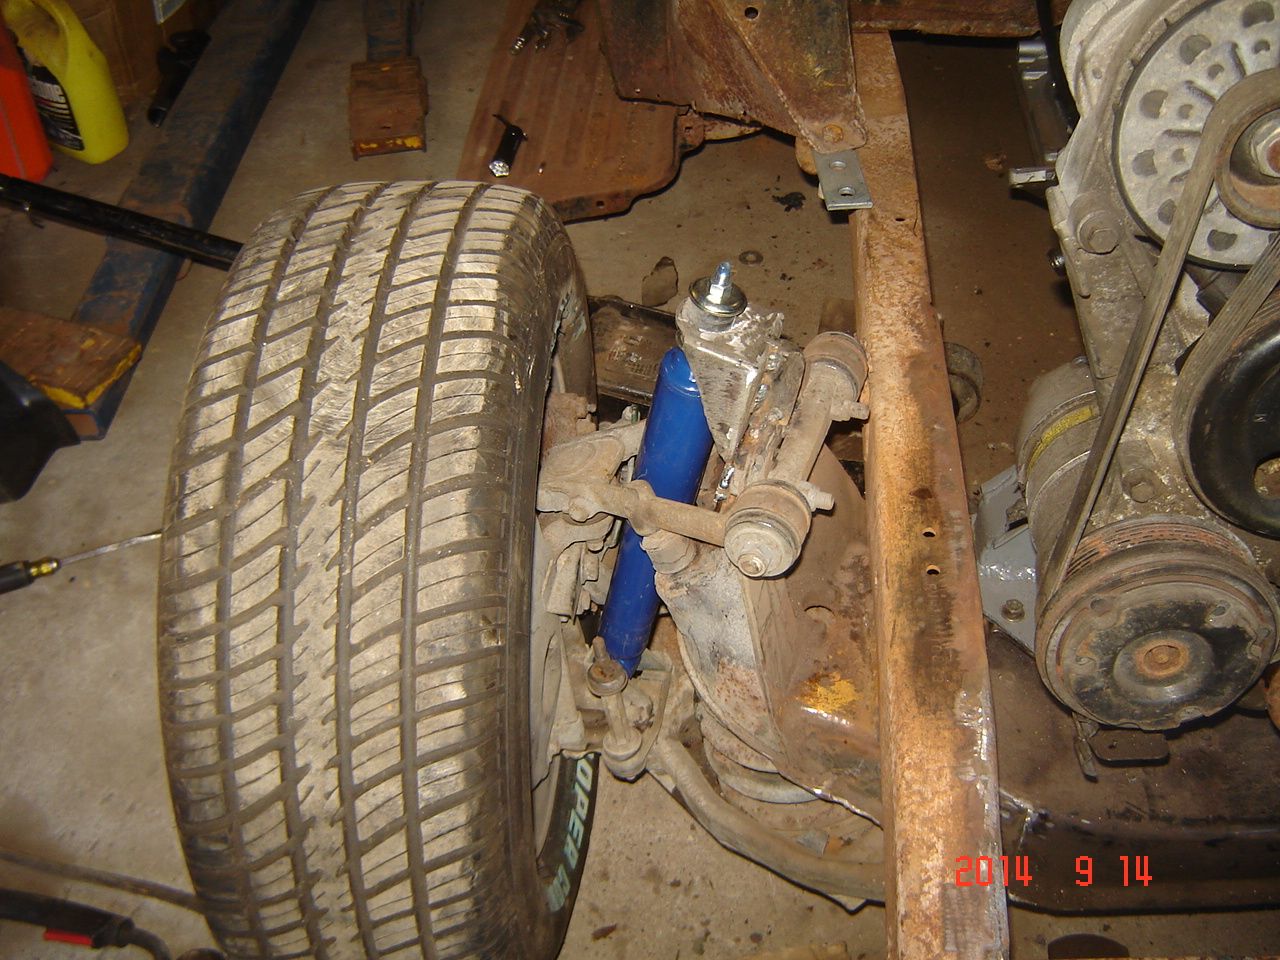
Front shock mounts done.
I use these shocks, similar style to the factory jag but shorter. I like them because everything stays outside the frame rail.
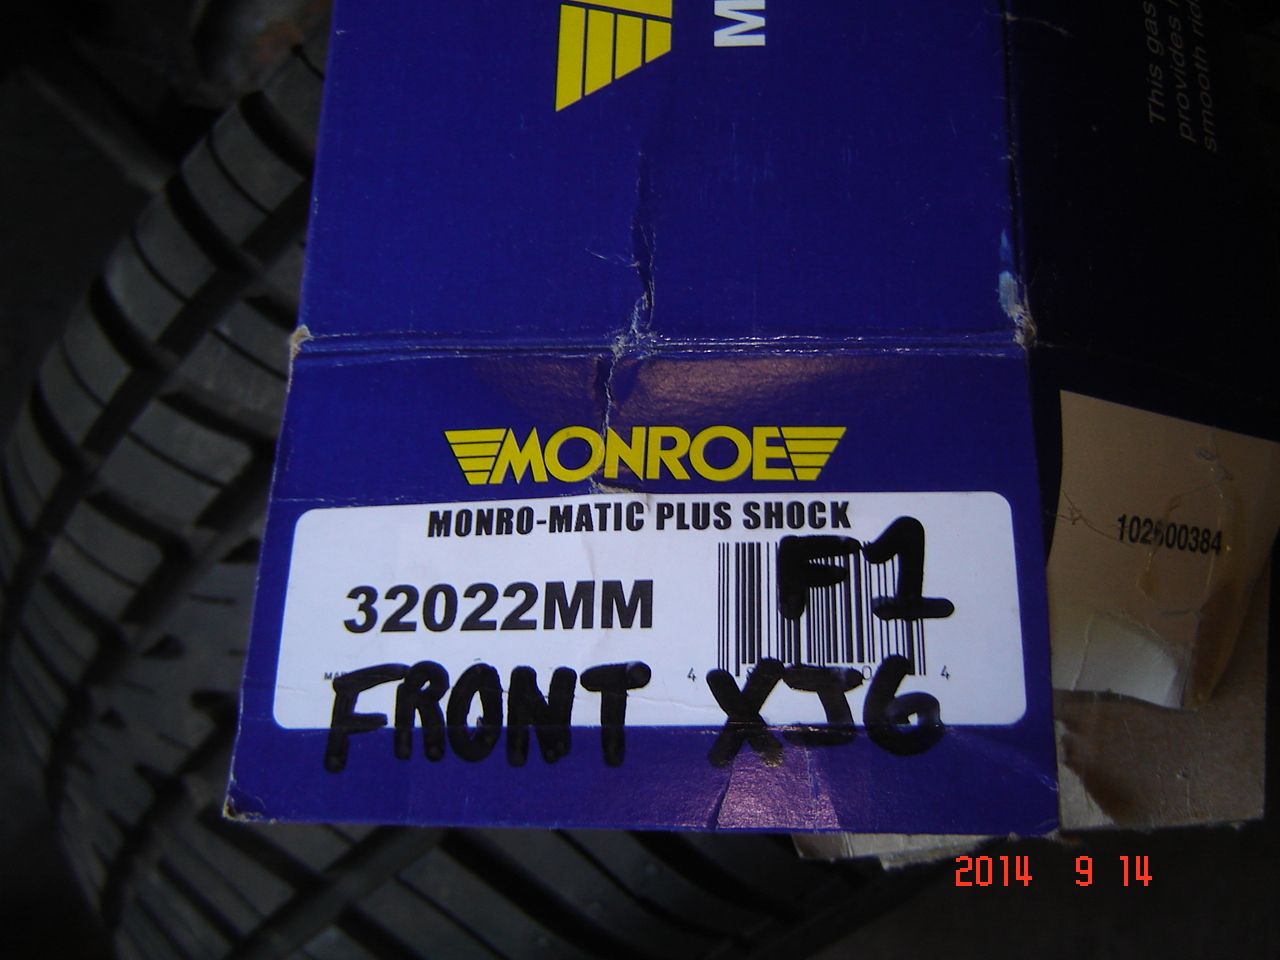
Made up a couple of these out of 1/8" steel. They stick up 2 1/2" above the crossmember.
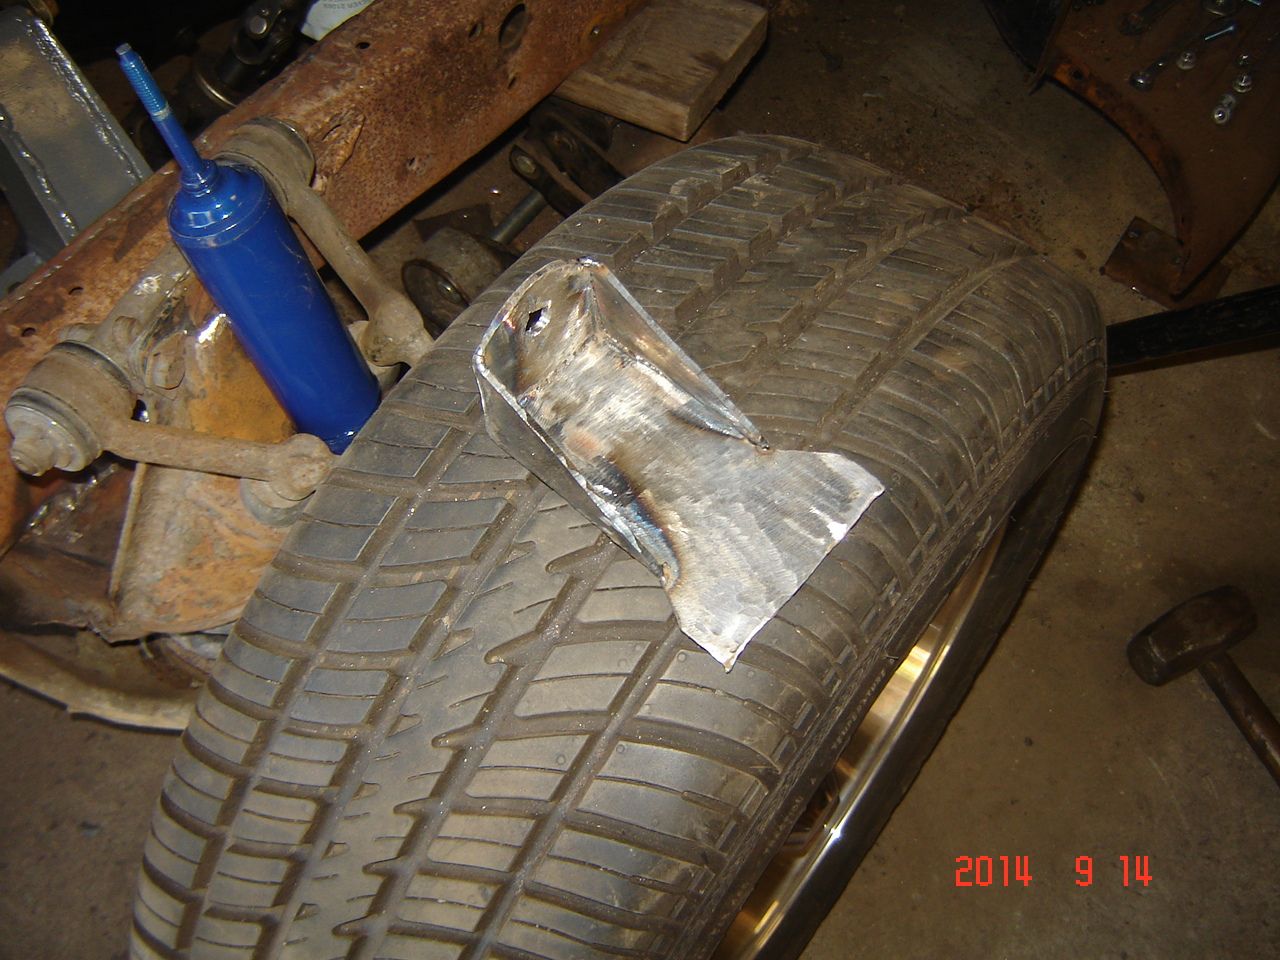
Tacked in place, not enough room for full welding with the front end assembled.
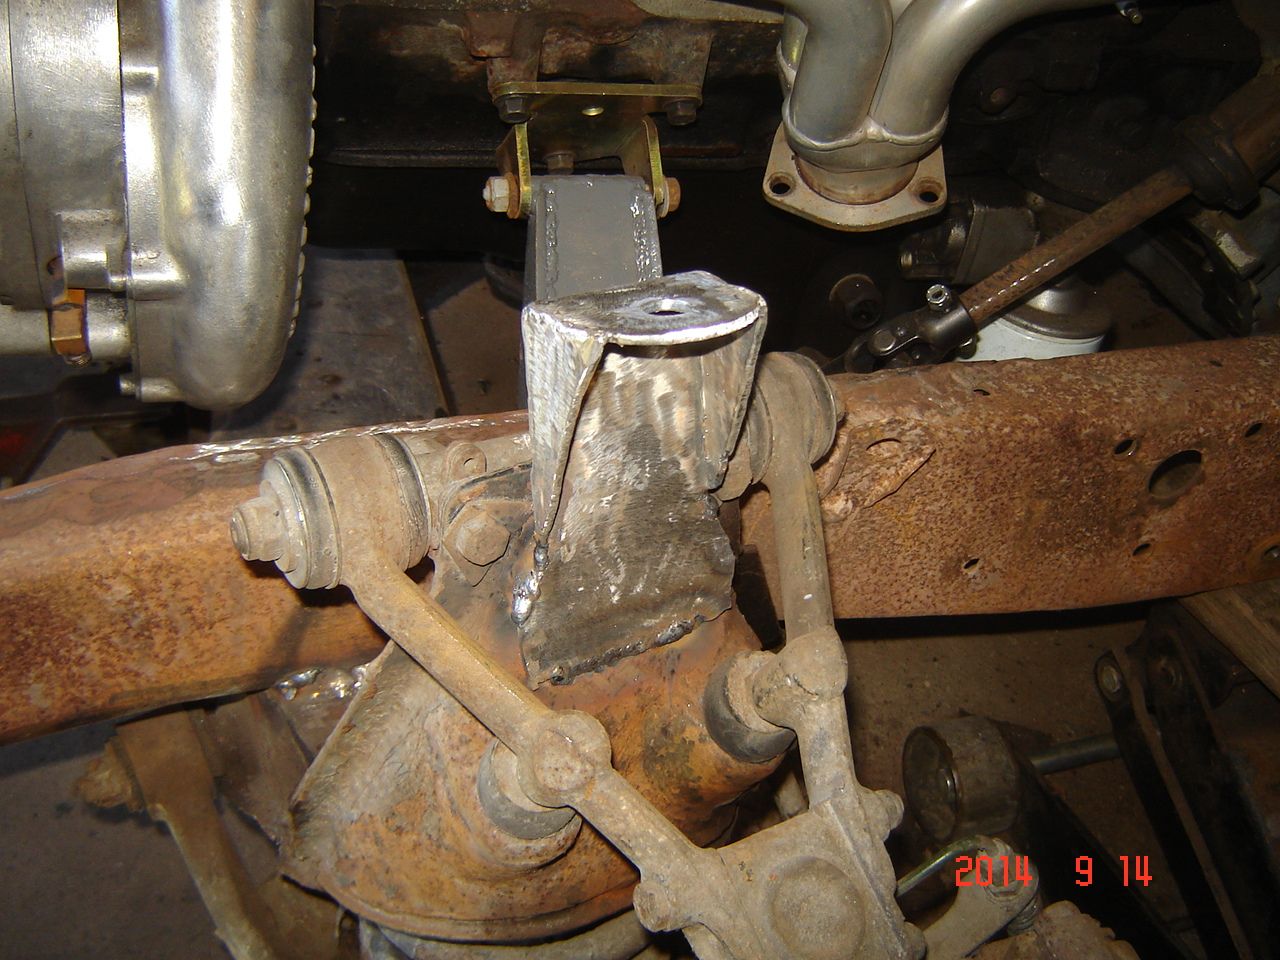
3/16" steel backbone welded to the back of the mount for support.
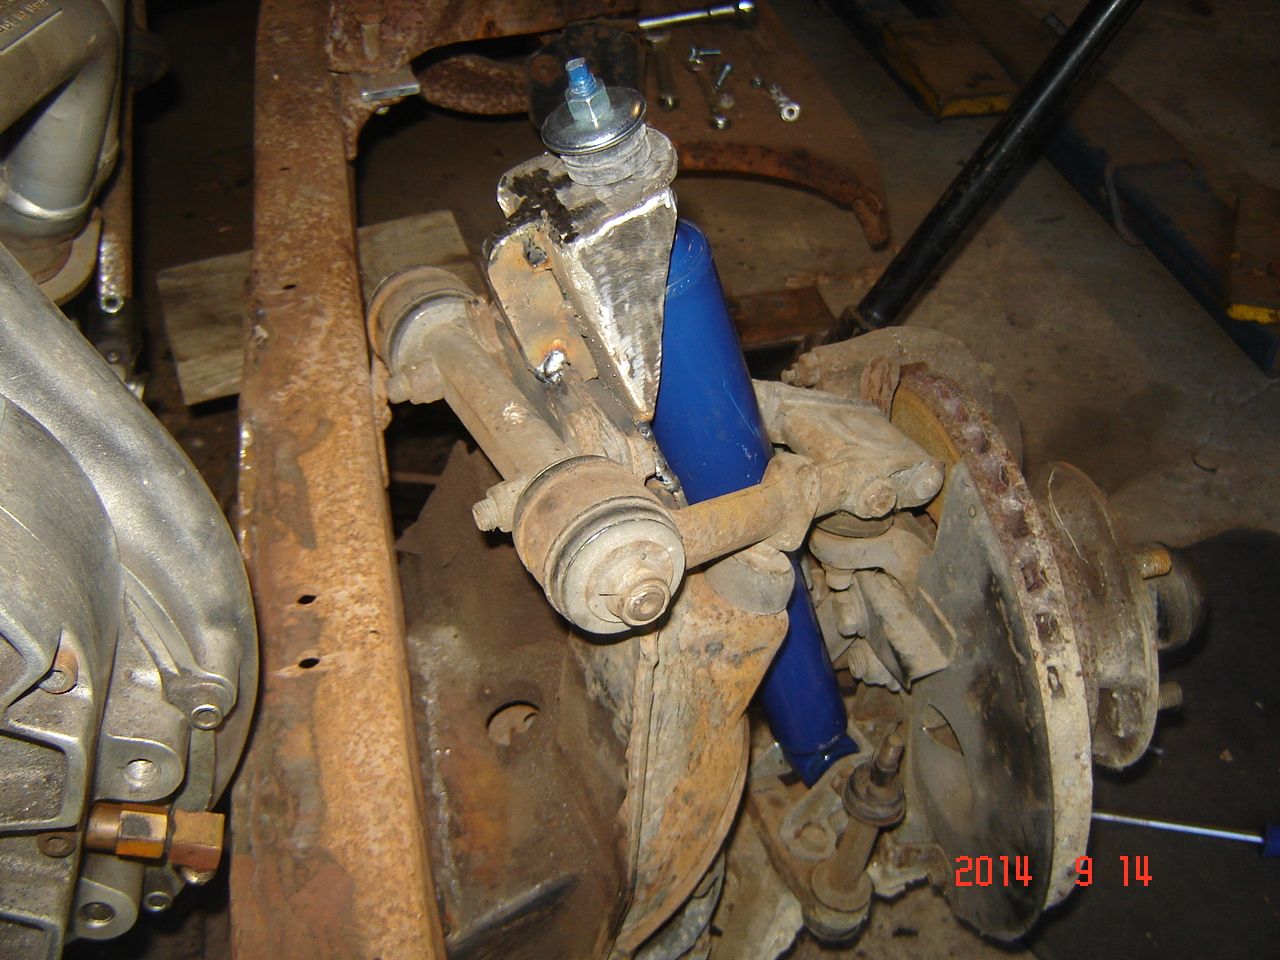
passenger side done.

#68
09-15-2014, 01:49 PM
#69
09-15-2014, 07:46 PM
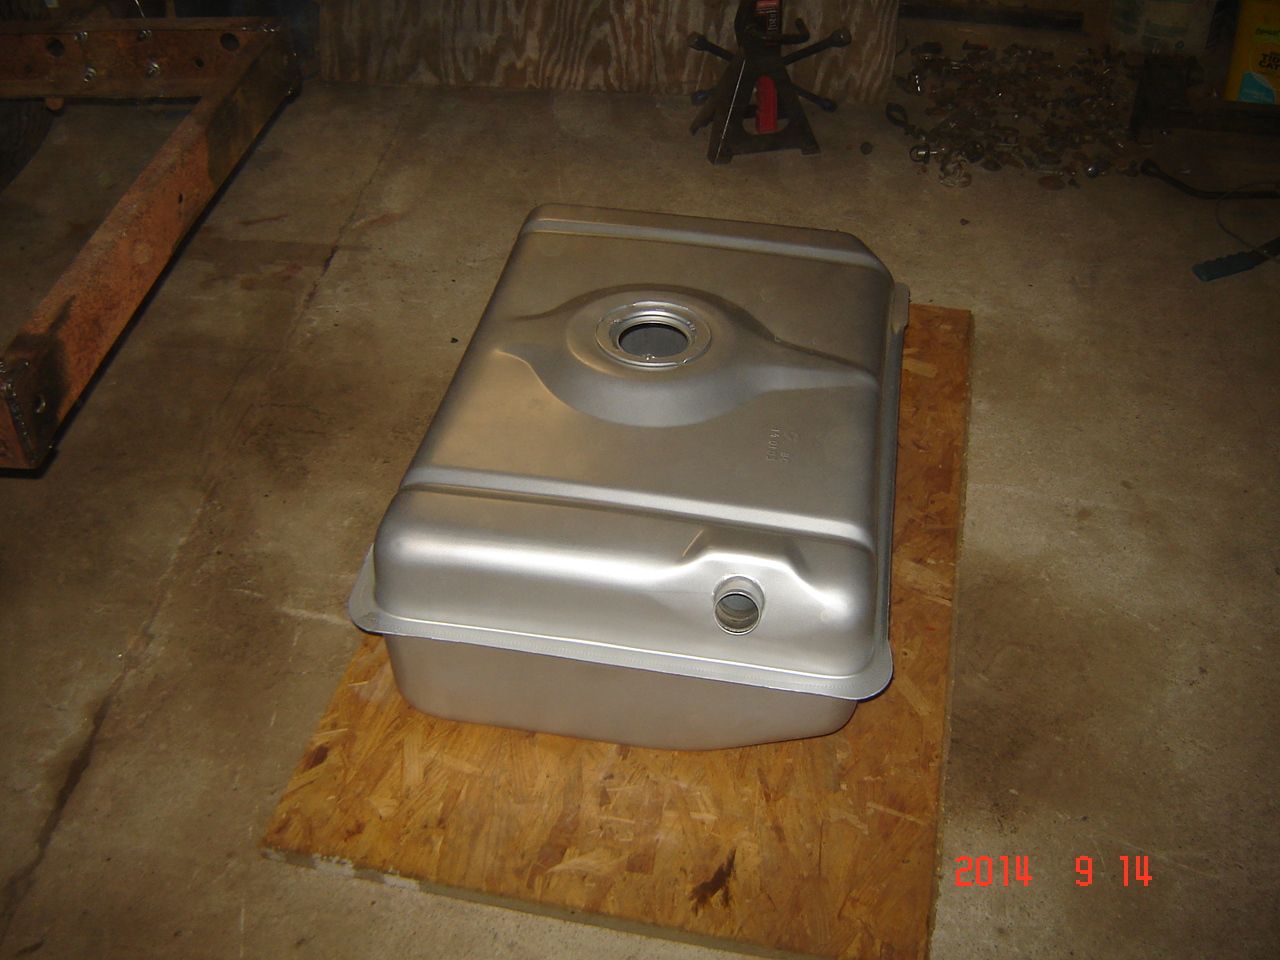
On to the gas tank.
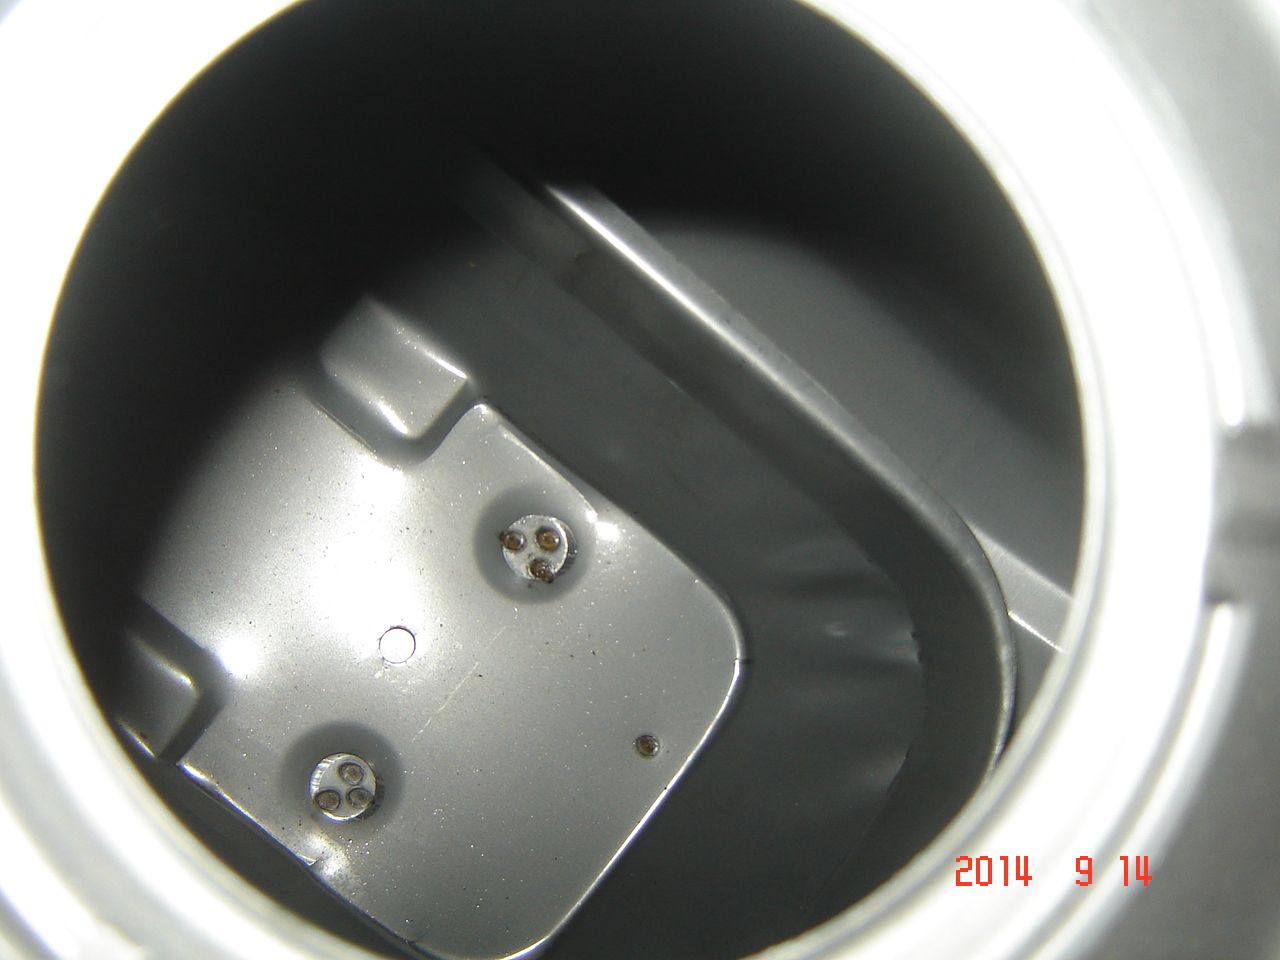
This is the tank I am using, 22 gallon 1995 chevy G20 van. 95 used fuel injection so the tank has an internal pan to keep fuel from sloshing away from the fuel pickup.
With the tank all the way in the back it will be impossible to get to the bed mounting bolts, so I put in tubing speaders at the 4 rearmost mounts and will run the bolts all the way to the bottom of the frame.
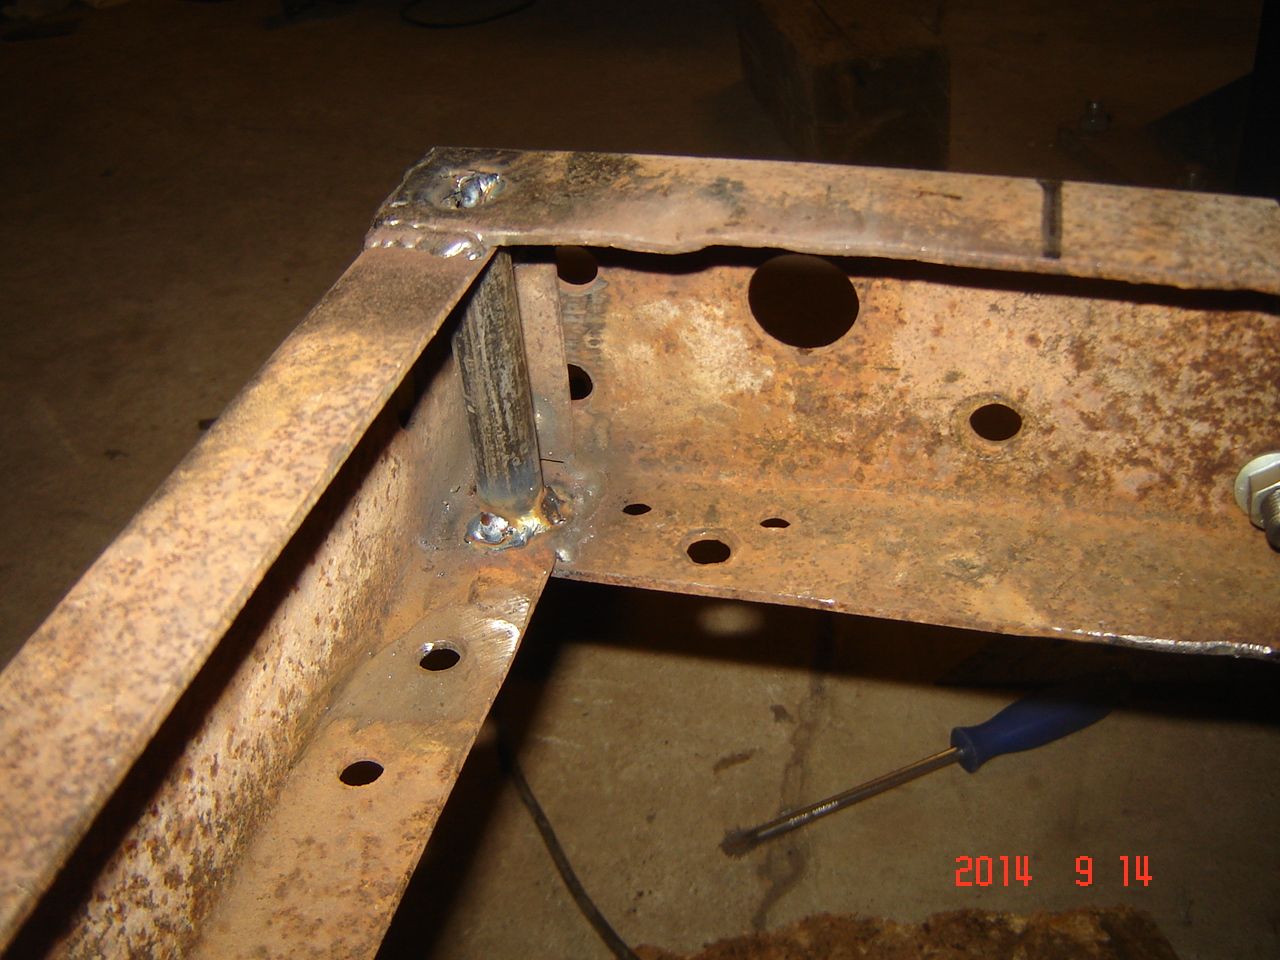
Original small crossmember welded in place to hold one end of the tank straps
Rear crossmember cut for T slots for carriage bolts
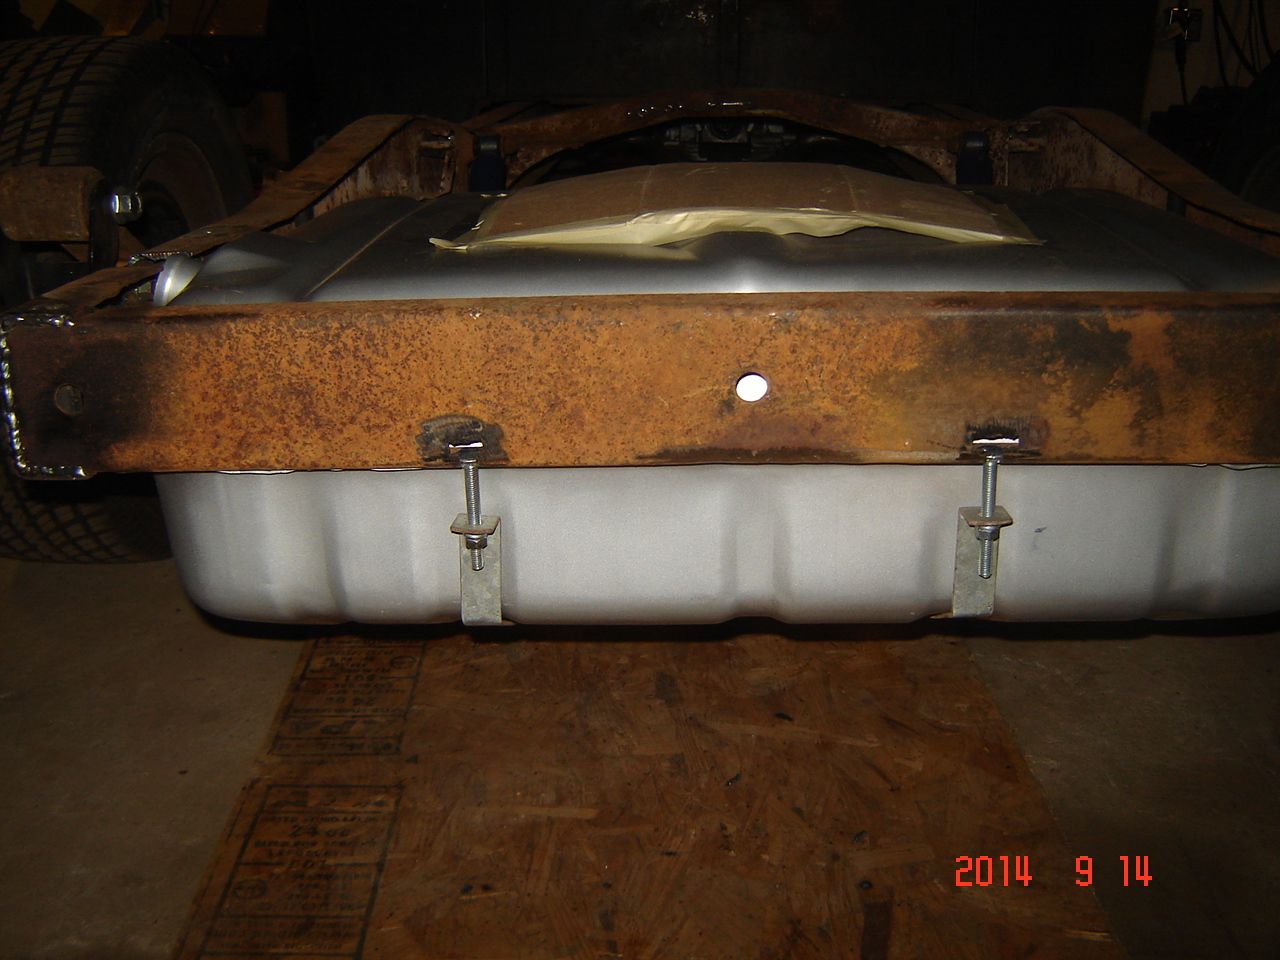
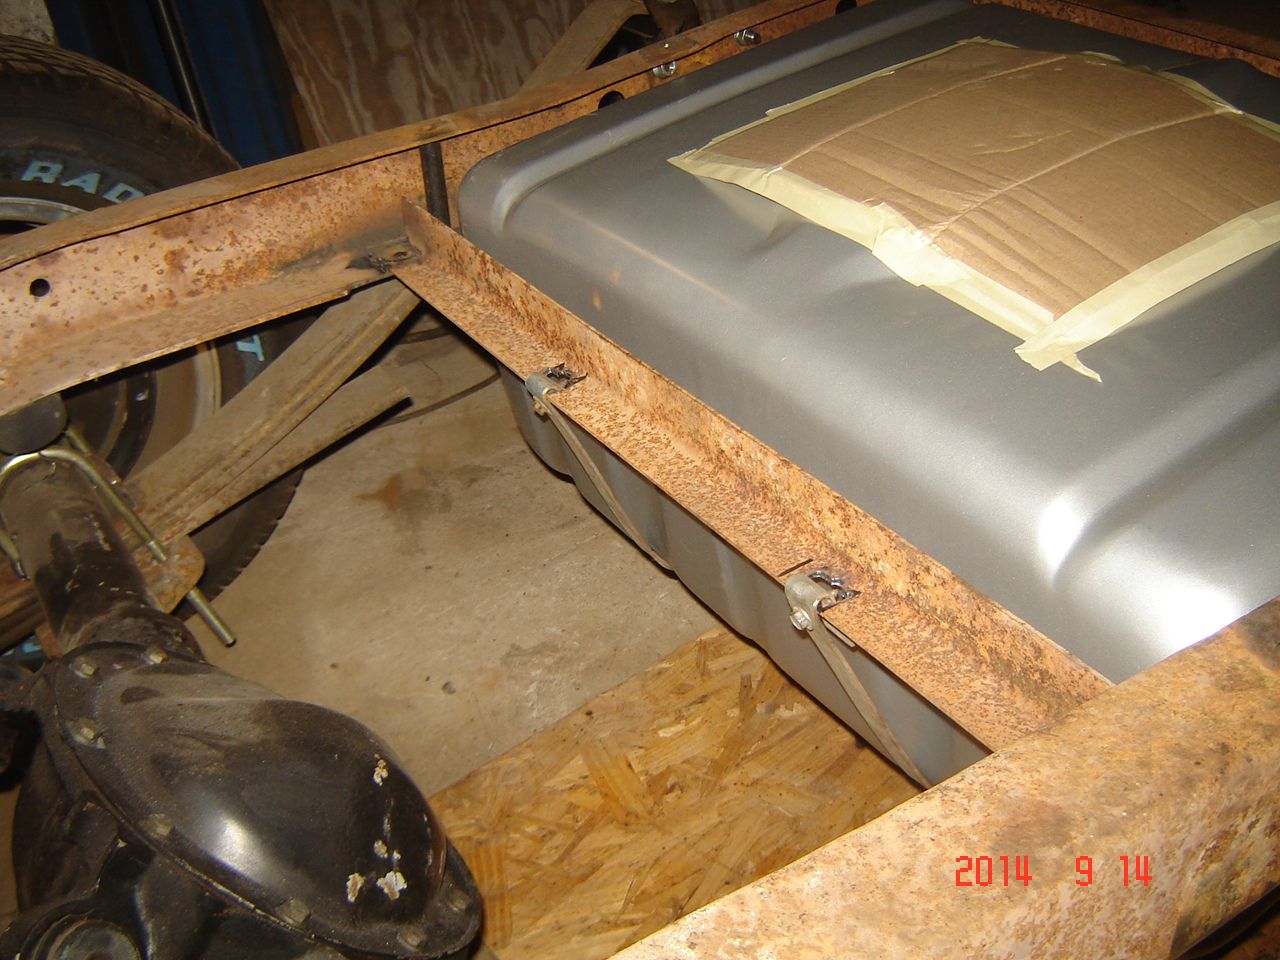
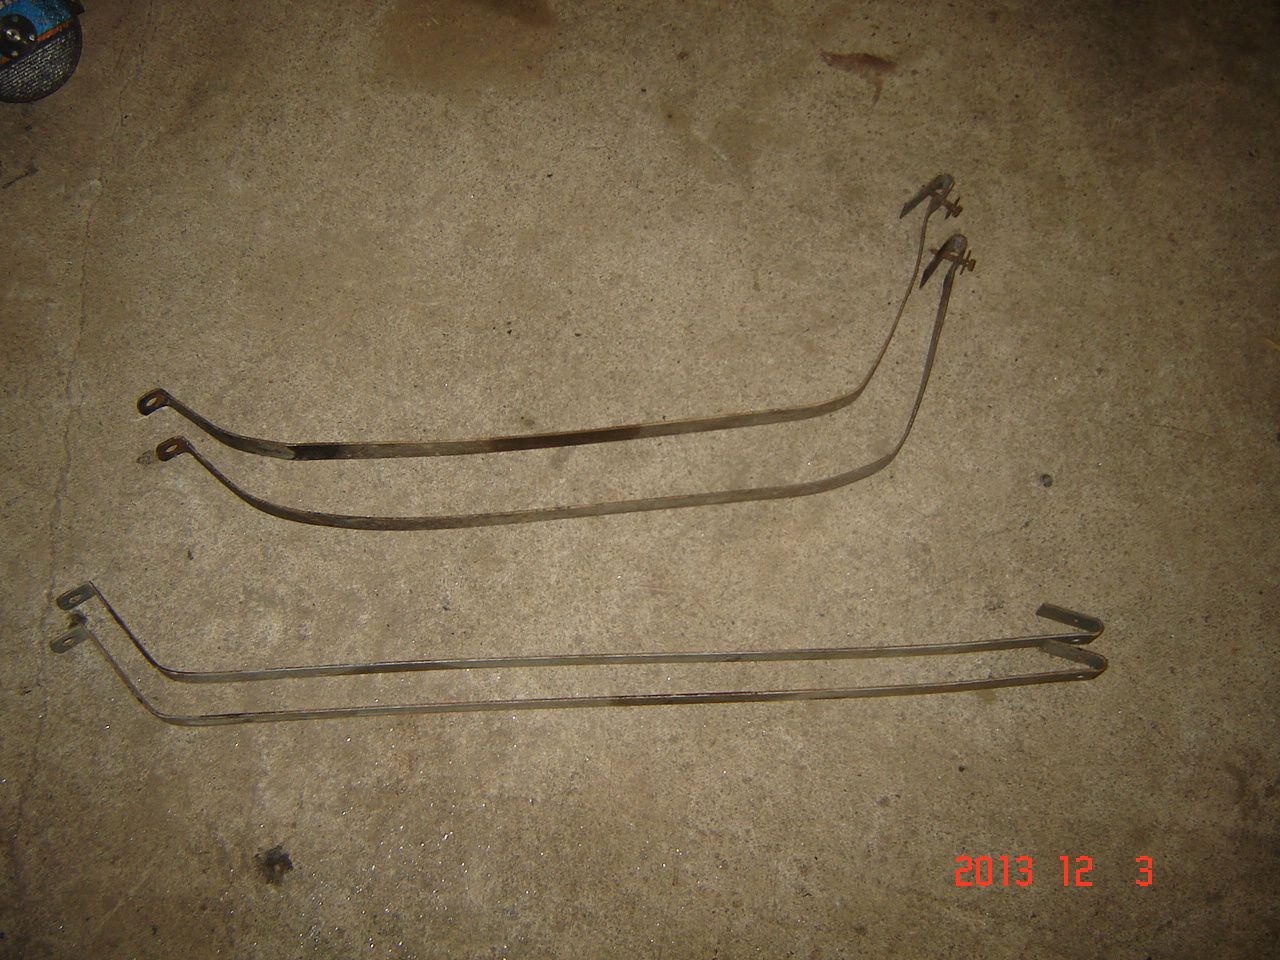
Frame notched for the filler neck and that is it for mounting. Still have to box the inside rail where the notch is. Straps are from a 68-72 chevelle and are the perfect length, here is a pic of them after bending to fit the tank (top pair, bottom are stock).
This is the tank I am using, 22 gallon 1995 chevy G20 van. 95 used fuel injection so the tank has an internal pan to keep fuel from sloshing away from the fuel pickup.


With the tank all the way in the back it will be impossible to get to the bed mounting bolts, so I put in tubing speaders at the 4 rearmost mounts and will run the bolts all the way to the bottom of the frame.

Original small crossmember welded in place to hold one end of the tank straps

Rear crossmember cut for T slots for carriage bolts

Frame notched for the filler neck and that is it for mounting. Still have to box the inside rail where the notch is. Straps are from a 68-72 chevelle and are the perfect length, here is a pic of them after bending to fit the tank (top pair, bottom are stock).

The following users liked this post:
#70
09-16-2014, 09:20 PM
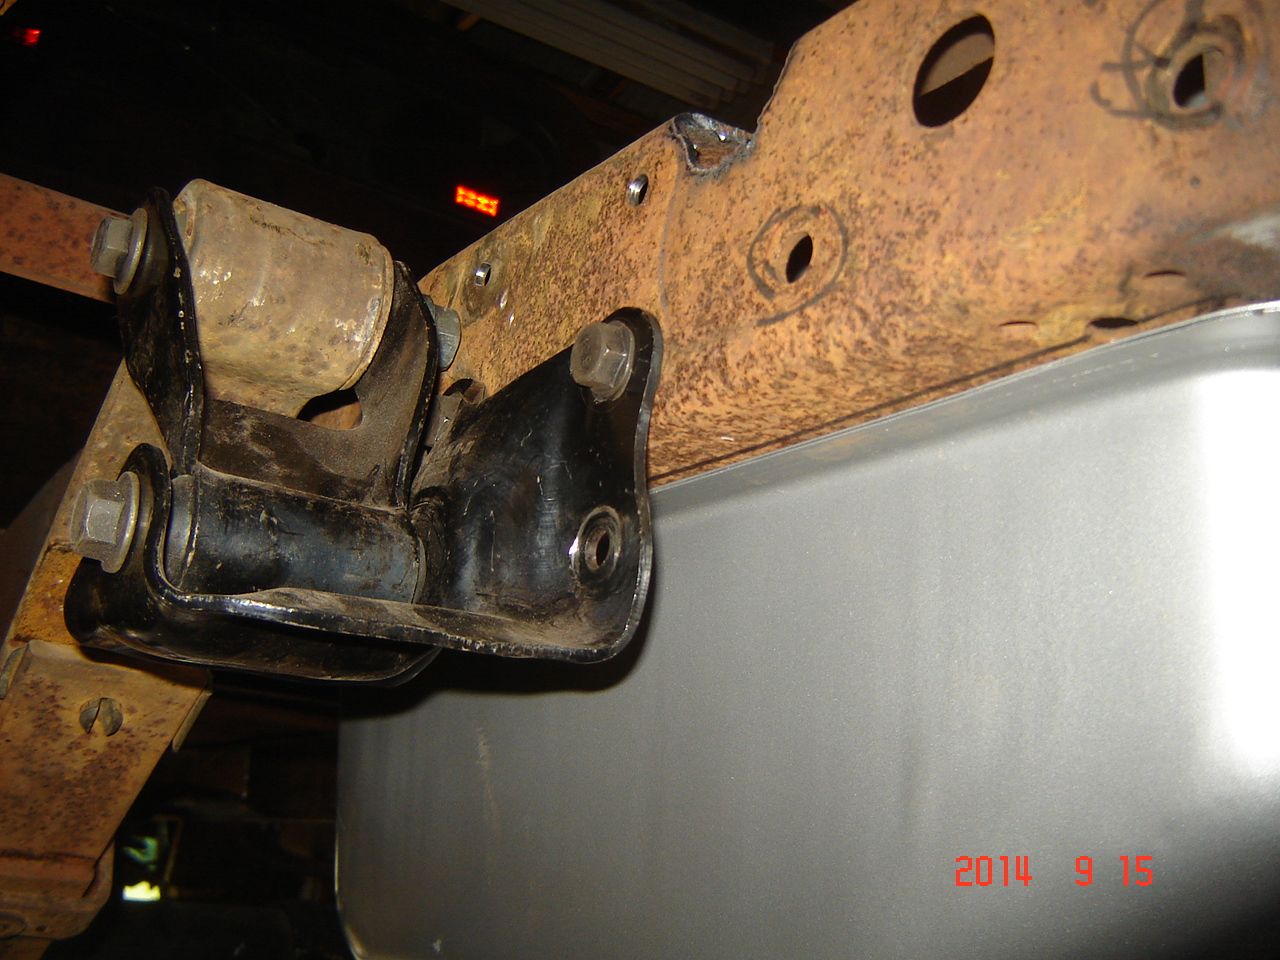
With more weight on the truck the rear was coming down to final ride height with no weight in the bed which would be too low, I dont need the truck so low to not be useful. So getting back a couple inches by lowering the rear perches, I will extend the frame rail lower to pick up the other two mounting points.
Low buck driveshaft build done, length was already determined and cut earlier, finally got my conversion ujoint in and finished up.
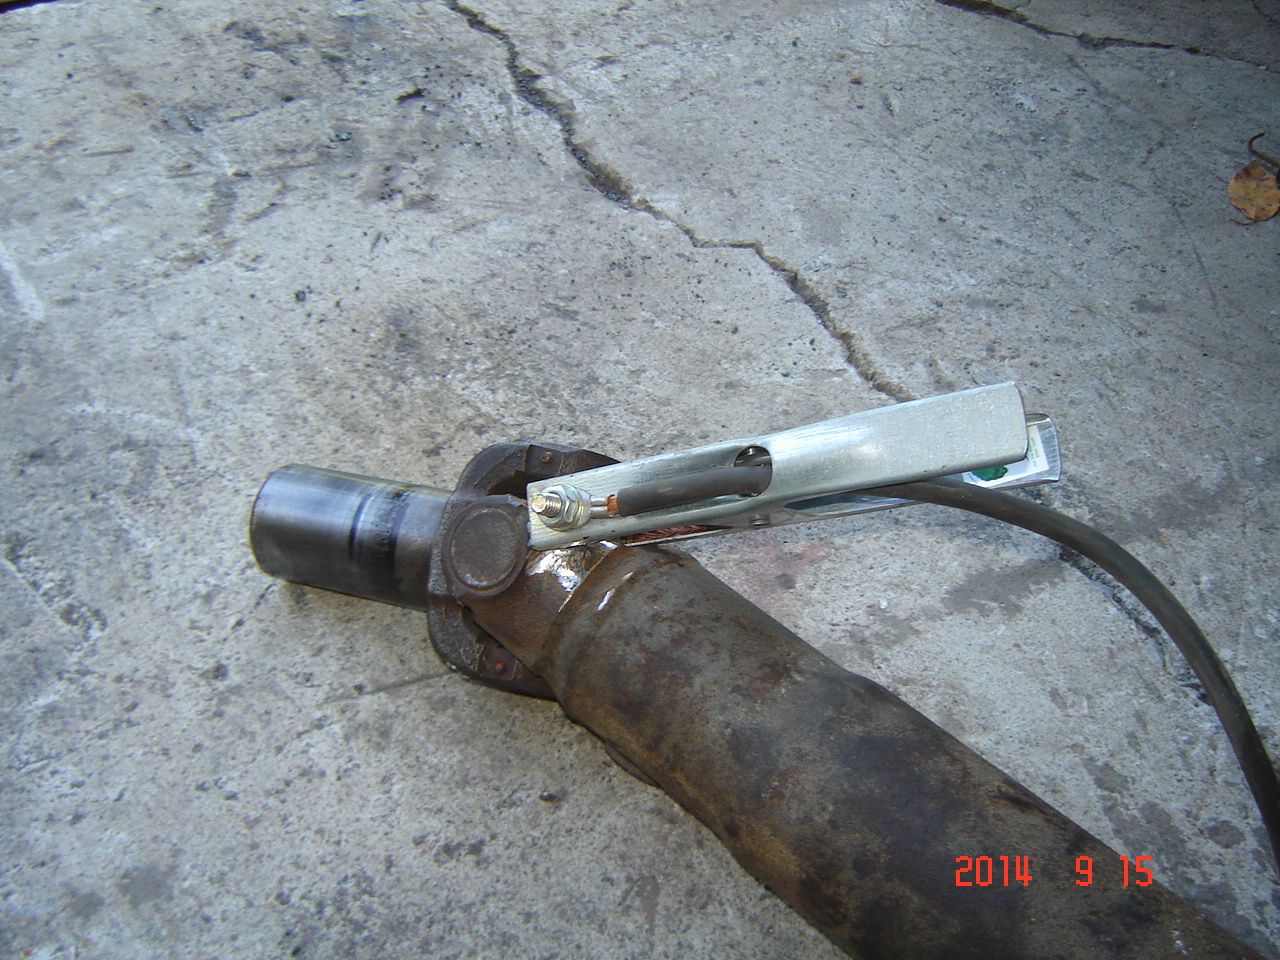
Installed the driveshaft with the joints in phase and clamped a piece of steel close to the end with a slight gap as a reference.
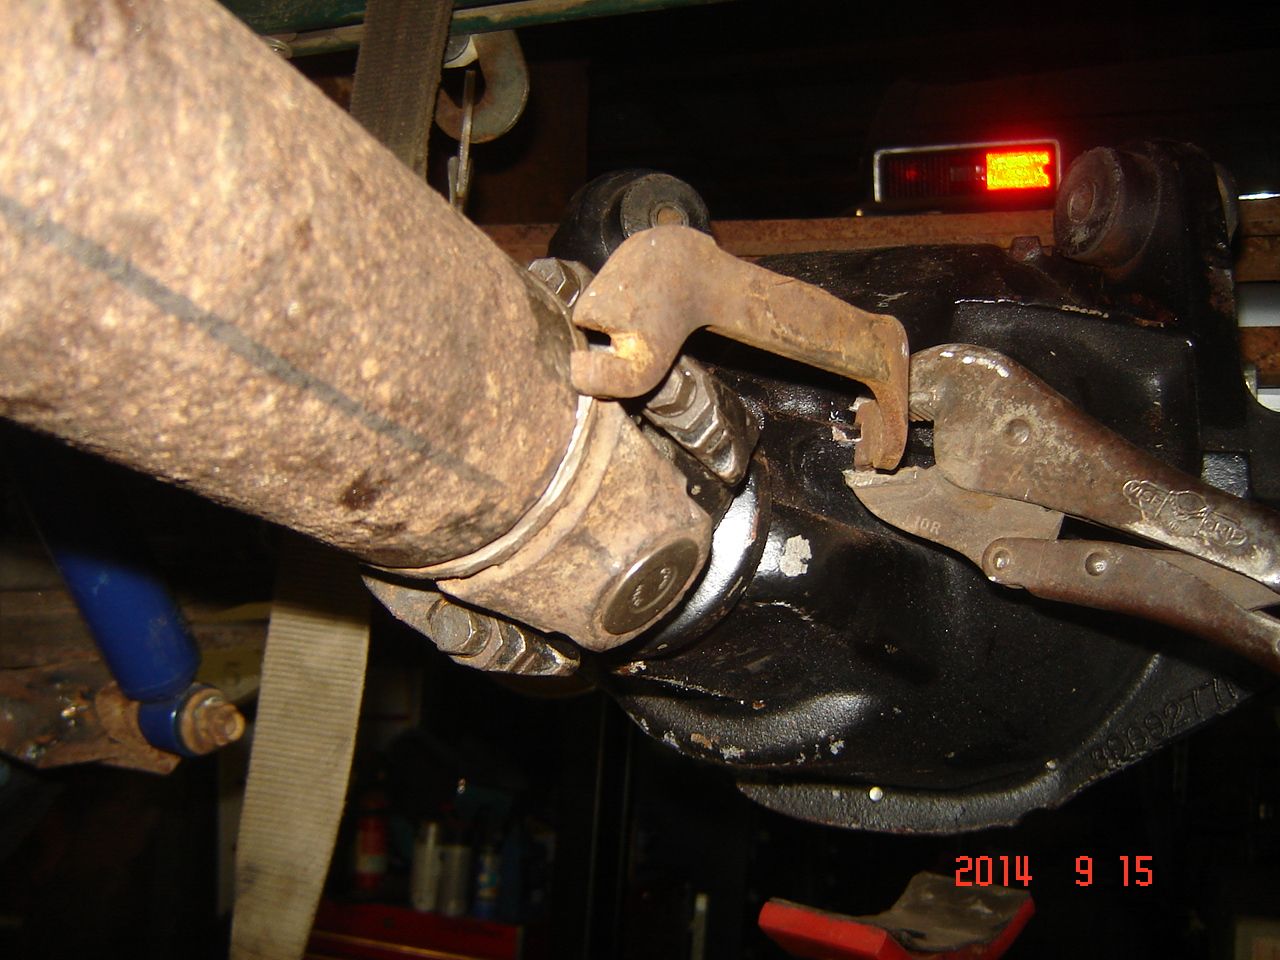
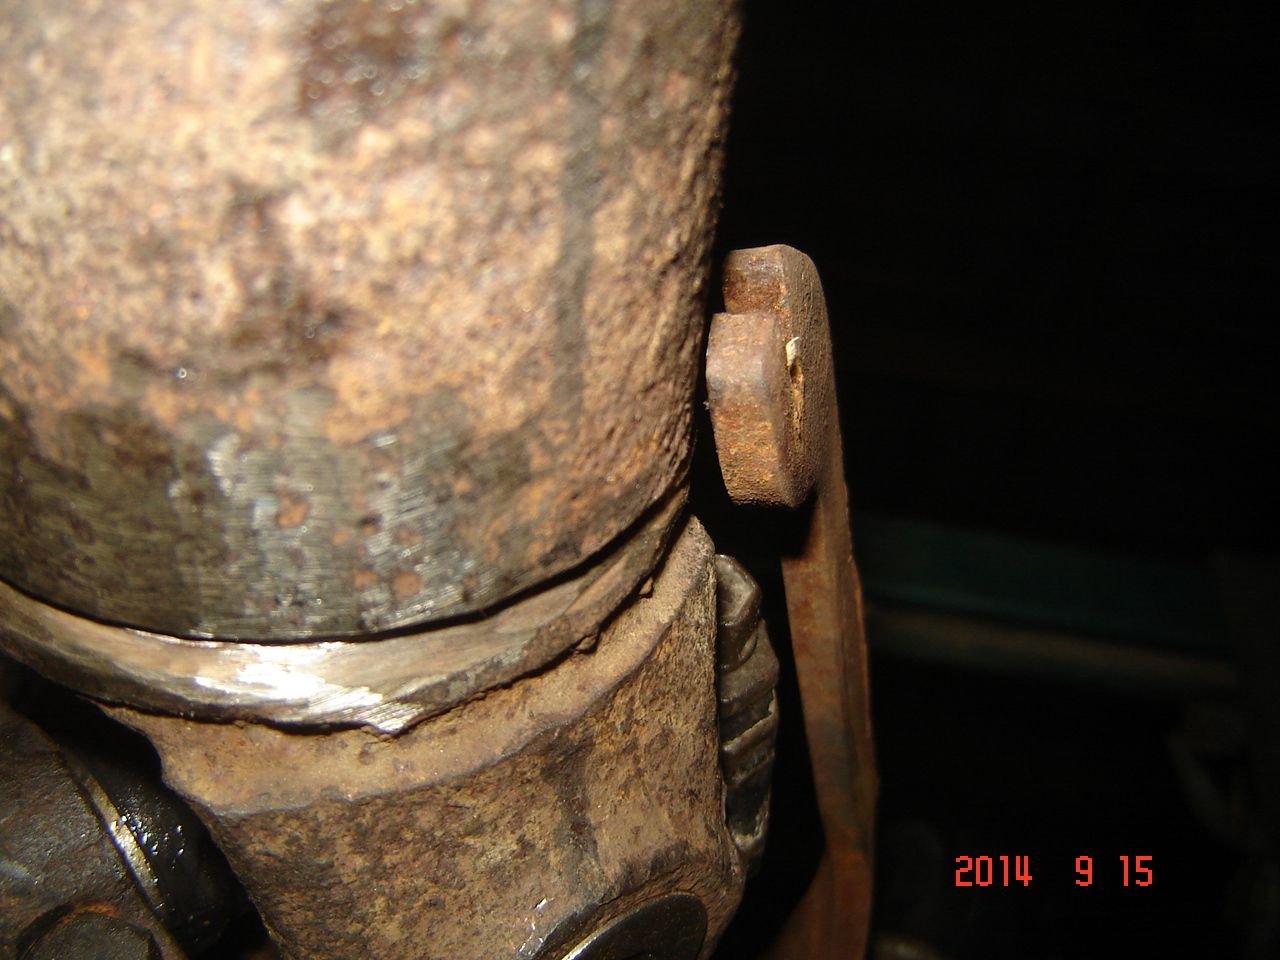
I then spun the driveshaft while watching the gap and tapped the yoke as needed so the gap was the same through a full turn. Tack welded, double checked, and removed for welding.
Welding ground should be on the yoke or tube, dont want to send electricity though any joint bearings.
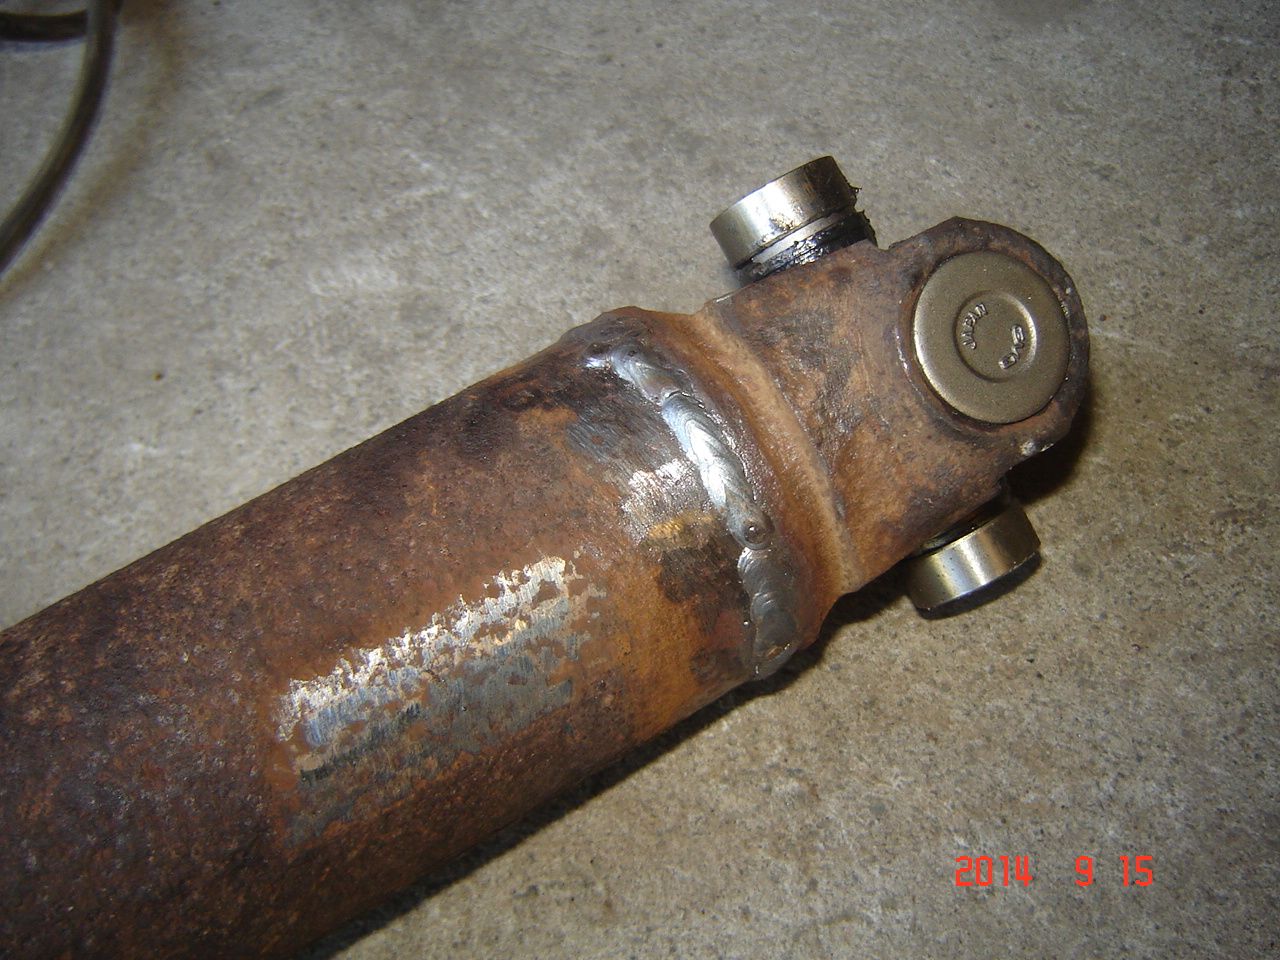
Welded up and we have a driveshaft.

Low buck driveshaft build done, length was already determined and cut earlier, finally got my conversion ujoint in and finished up.
Installed the driveshaft with the joints in phase and clamped a piece of steel close to the end with a slight gap as a reference.


I then spun the driveshaft while watching the gap and tapped the yoke as needed so the gap was the same through a full turn. Tack welded, double checked, and removed for welding.
Welding ground should be on the yoke or tube, dont want to send electricity though any joint bearings.

Welded up and we have a driveshaft.


#72
09-17-2014, 02:24 PM

#73
09-24-2014, 08:31 AM
Fighting for time to work on the truck lately but got a couple things done.
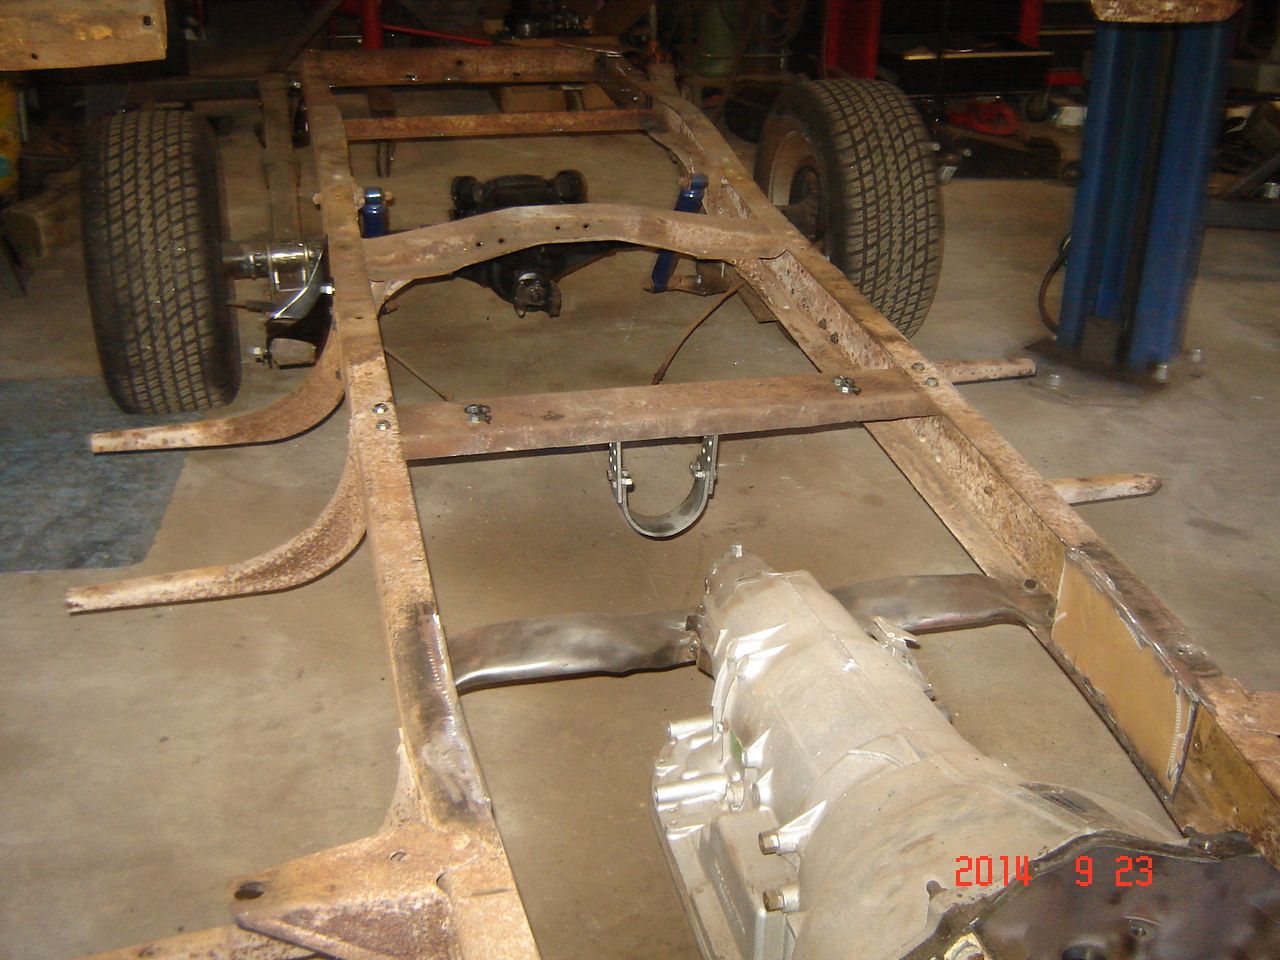
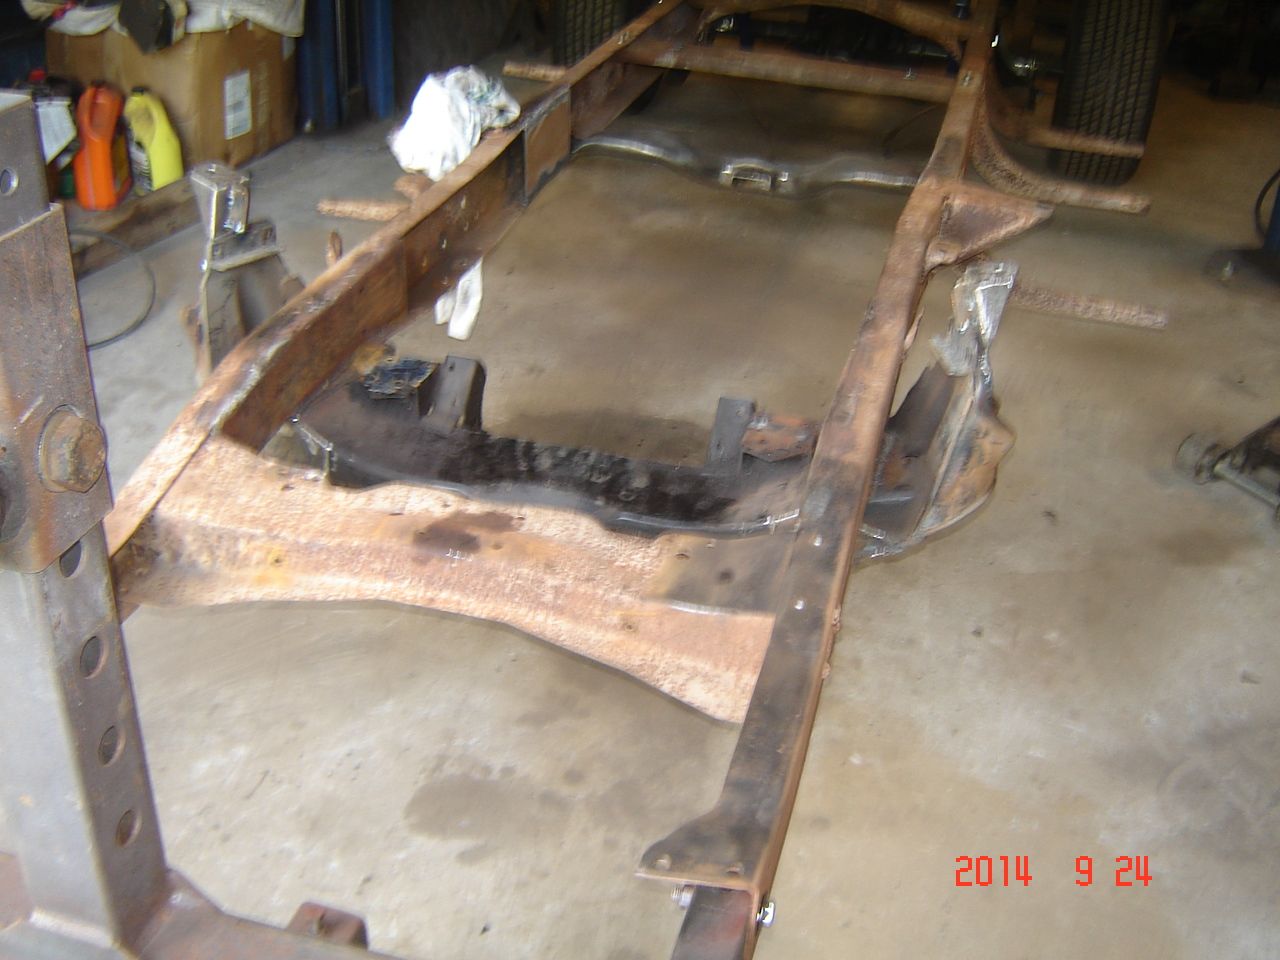
Added a crossmember made from a section of 2x4 tube steel, 3/16" thick wall, that I cut down in height to clear the driveshaft. So now it is a piece of "U" channel. Adding this really made a difference in removing the twist from the rails. Since the original trans crossmember was gone you could step on a running board mount and make the frame rail twist with little effort. With this installed the suspension now compresses and there is no rail twist.
Also added a driveshaft loop with it as well.
Used the frame as a stand and tore down the engine most of the way, I am going to use this block for the engine build since the original one is cracked.

Added a crossmember made from a section of 2x4 tube steel, 3/16" thick wall, that I cut down in height to clear the driveshaft. So now it is a piece of "U" channel. Adding this really made a difference in removing the twist from the rails. Since the original trans crossmember was gone you could step on a running board mount and make the frame rail twist with little effort. With this installed the suspension now compresses and there is no rail twist.
Also added a driveshaft loop with it as well.

Used the frame as a stand and tore down the engine most of the way, I am going to use this block for the engine build since the original one is cracked.

#74
09-28-2014, 10:41 PM
Chassis coming apart for paint.
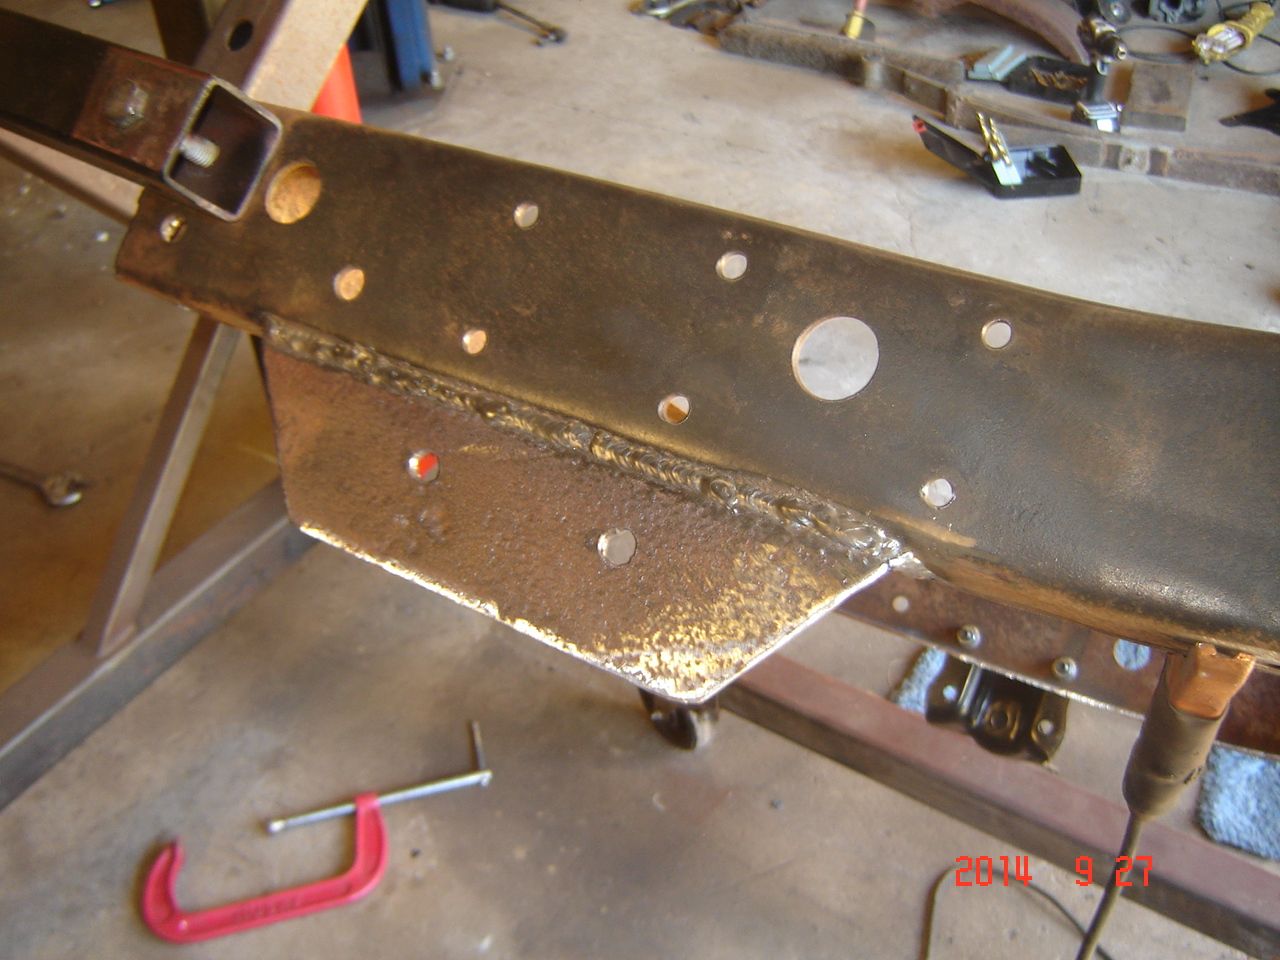
Had to make extensions for the rear hangers to get the ride height up a bit. Cut these from box steel and tacked them on.
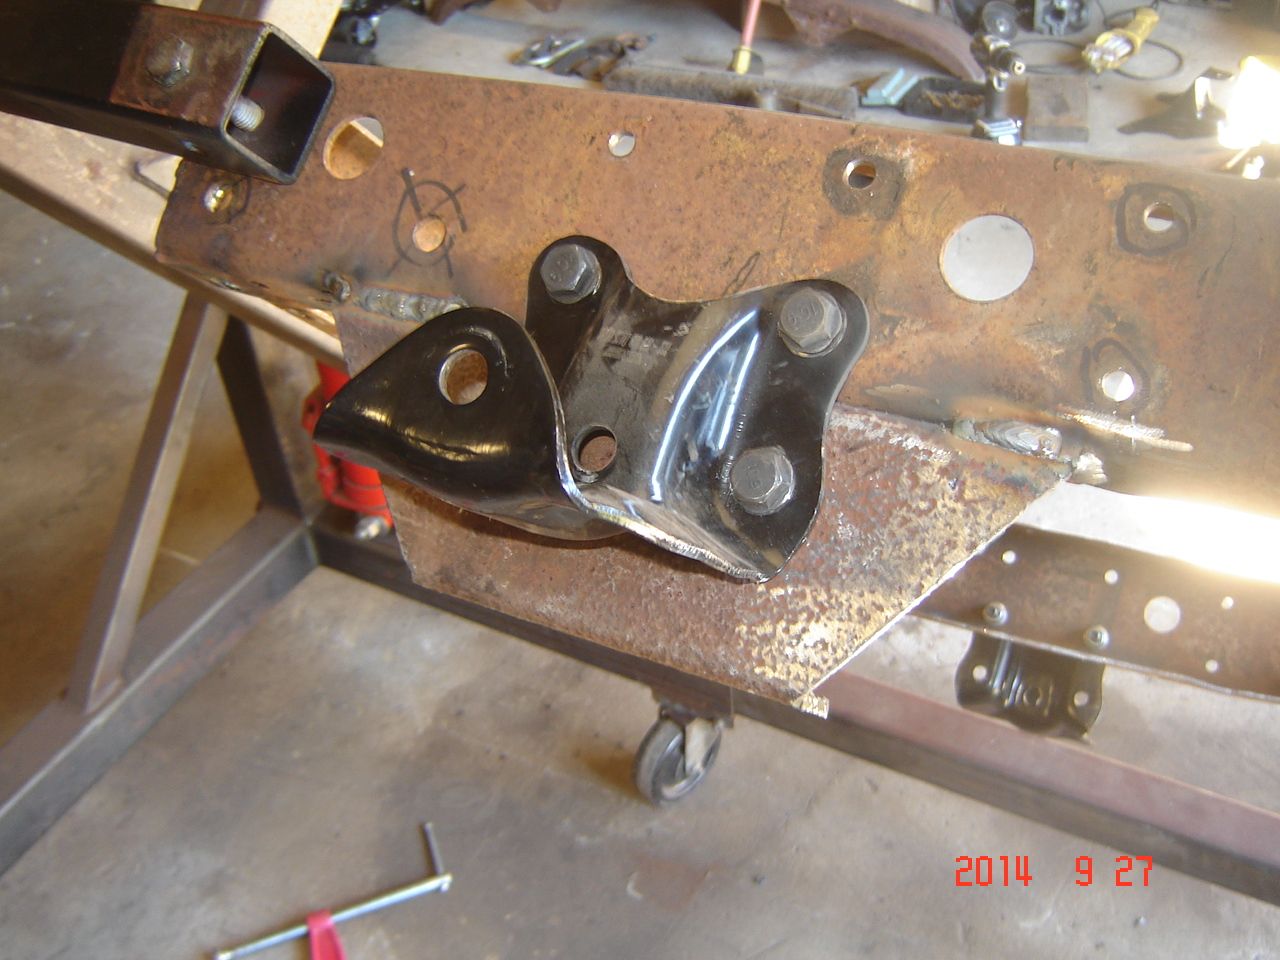
Plug welded and put two bolts in as well for future tow hitch mounting points.

I was going to make the extensions boxed but that would of blocked access to the bolts that I wanted to save for the hitch, so trimmed off to flat extensions. With the hanger bolted to both the frame and the extension I dont think flex will be an issue.
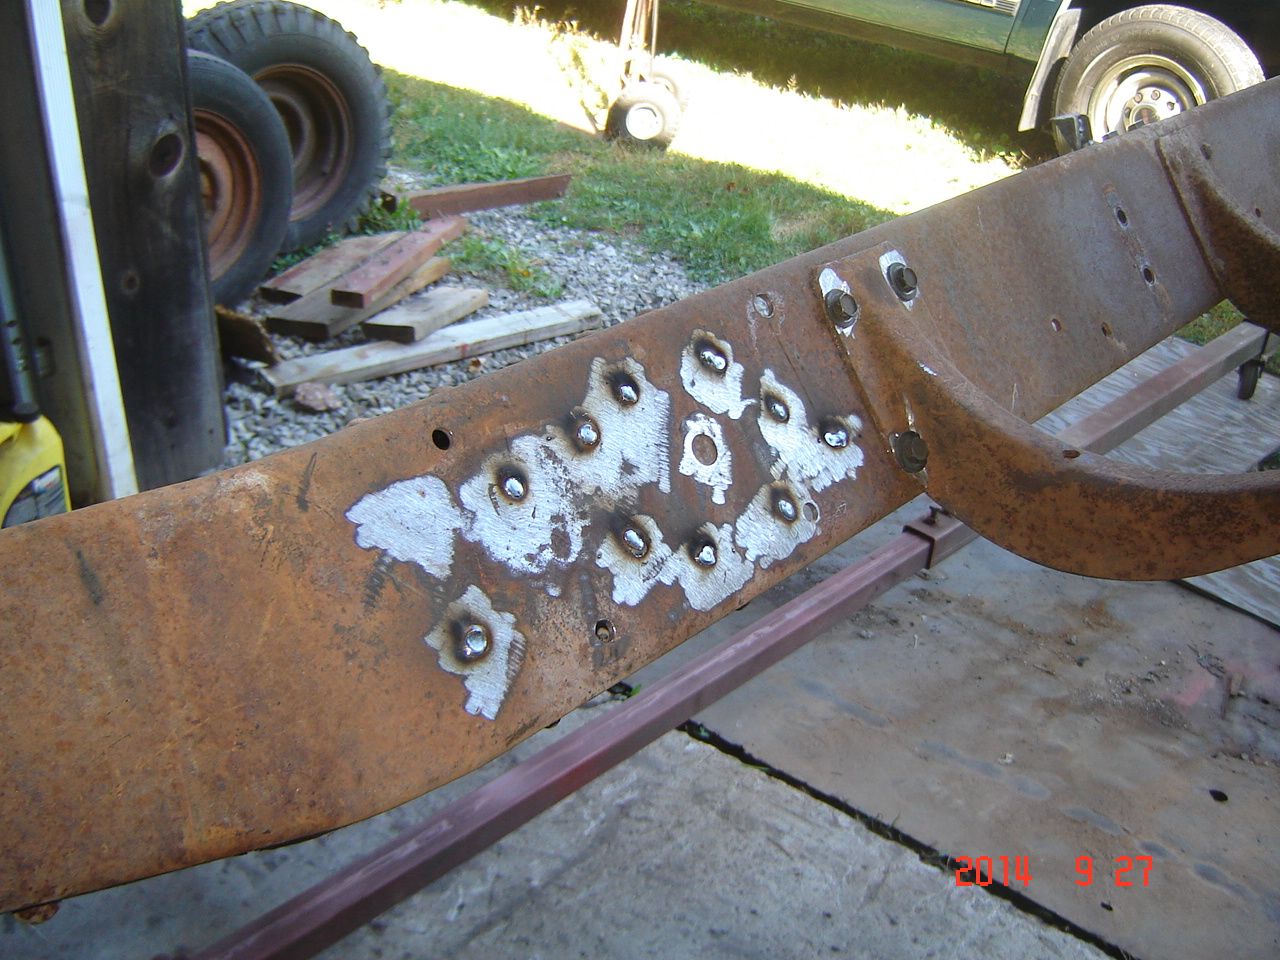
Welding up extra holes, will be painting soon!

