When you click on links to various merchants on this site and make a purchase, this can result in this site earning a commission. Affiliate programs and affiliations include, but are not limited to, the eBay Partner Network.
You need to do something about that droopy drawers gas tank
Ha, that has been bugging me for a while. I made a big decision this past weekend. I wanted the truck lower in the rear so I decided to C notch the frame. Unfortunately the Third member would then hit the bed floor. To gain clearance I am going to Raise the bed floor. While I am at it I will run the exhaust up over the frame cross members. I can then raise the fuel tank at least 3".
That's a very deep C notch. My rule of thumb is when the notch is = > 1/2 the frame height, additional material needs to be added to the frame above the notch to restore the strength.
That is a very deep C notch. My rule of thumb is that if = > 1/2 frame height the frame needs to be built up above the Notch to restore strength like this:
Just using thicker wall notch liner tubing does not add any significant strength.
That is a very deep C notch. My rule of thumb is that if = > 1/2 frame height the frame needs to be built up above the Notch to restore strength like this:
Just using thicker wall notch liner tubing does not add any significant strength.
I remeasured once I had the axle was at ride height. I actually moved it down to approximately half the frame height.
[QUOTE=c91x;15811386]What color is the filler piece going to be? Have you thought about reshaping the bumper?[/QUO
I may try satin black. If I don't like it I'll paint it body color. I will be reshaping the bumper while the truck is being sprayed. I made some templates while it was mounted on the truck. I'll fit it one more time before it's painted. I am also looking into a 56 panel truck rear bumper. It has a 9' radius so I need to make a template to see if it matches the gravel pan better.
I thought the stock hood latch/grill support looked too bulky so I fabricated a new one out of 1/2 inch flat bar. Once it is painted satin black it will disappear into the radiator .
I am running dual intake tubes to the throttle body so I cut holes in the radiator support and took a pair of turbo down pipes to make intakes. You won't see them behind the radiator cover and grill but I know they're there.
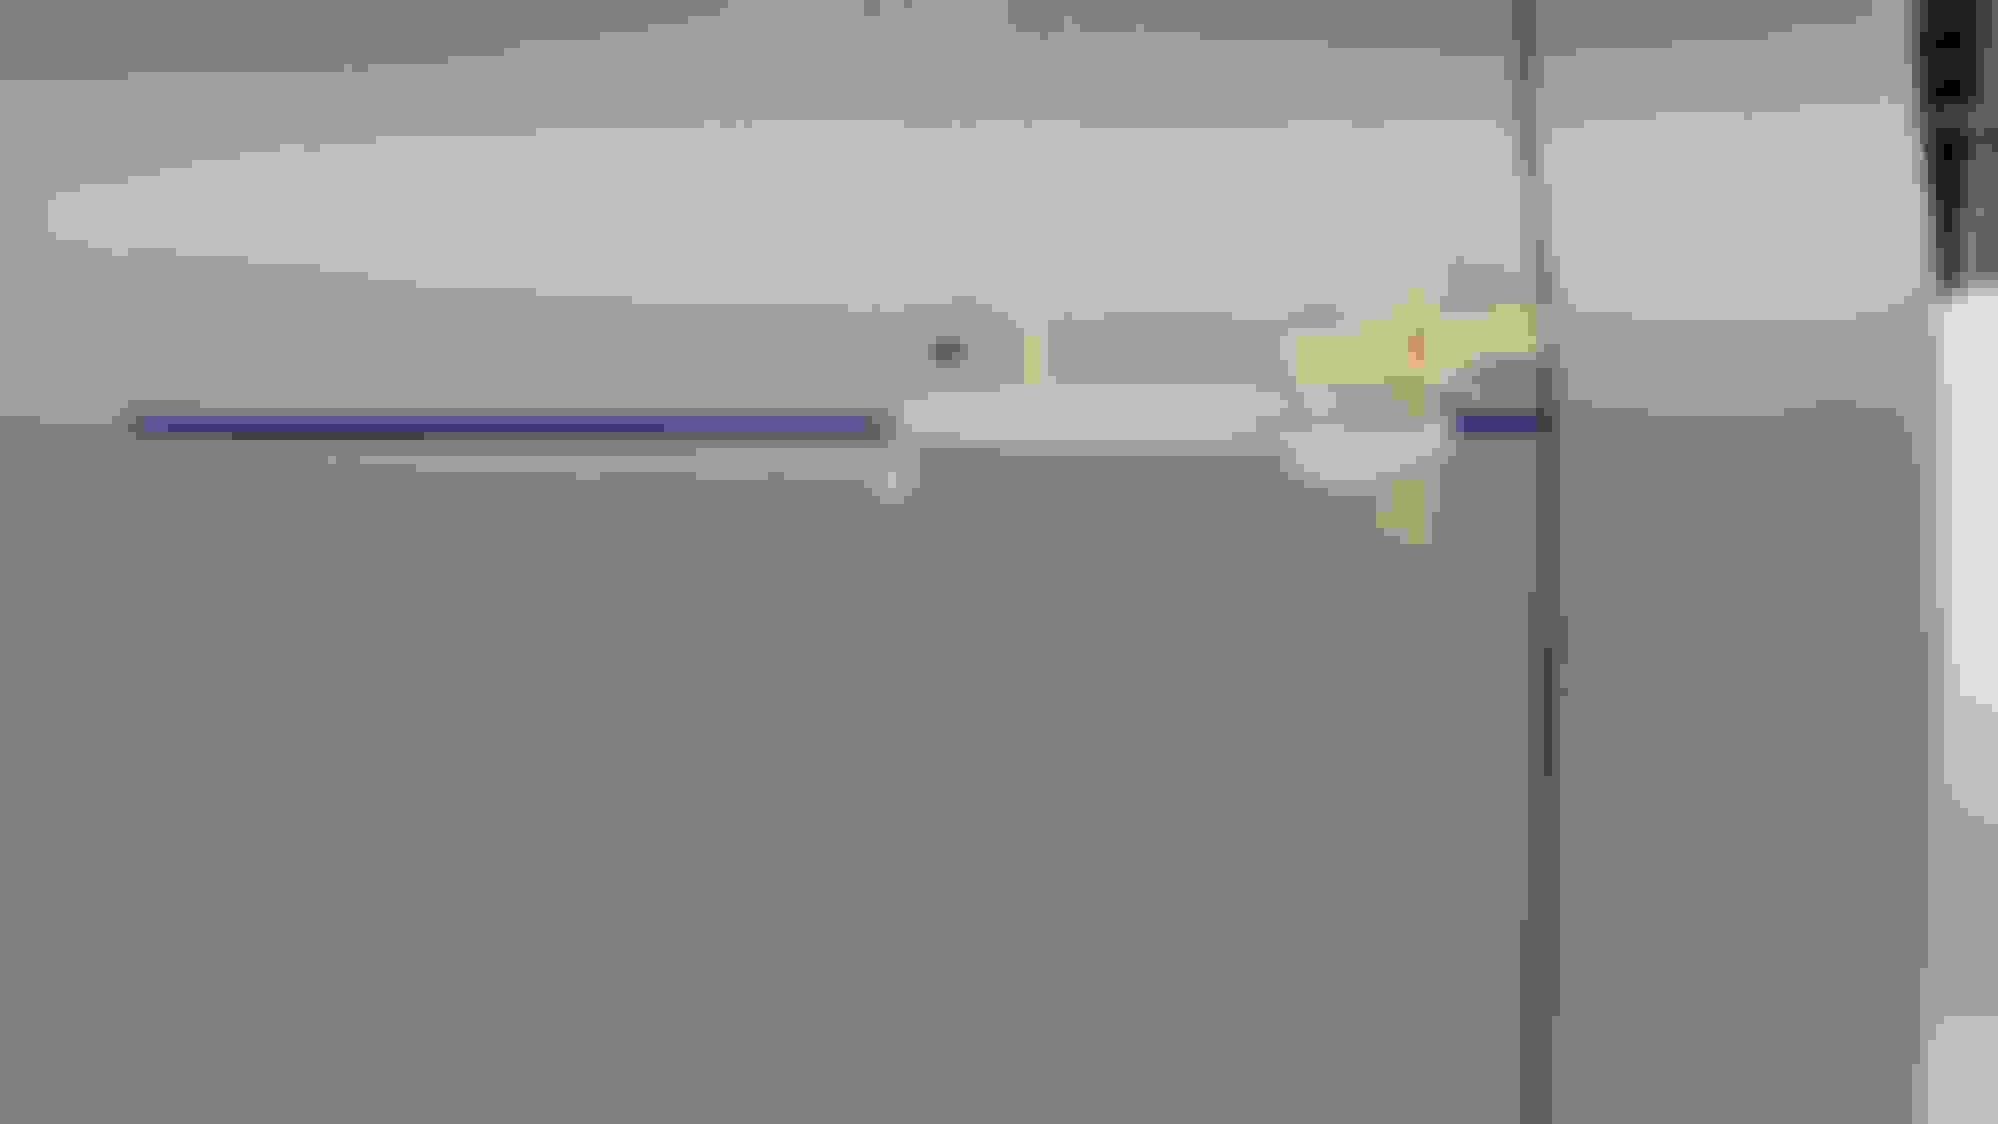
Before final sanding I decided to test fit the door handles. They look OK but just didn't match the rest of the truck. Everything is nice and tucked and smooth.
Before final sanding I decided to test fit the door handles. They look OK but just didn't match the rest of the truck. Everything is nice and tucked and smooth.
I decided to take the plunge.
Sweet! I really enjoy your updates, thanks for sharing.
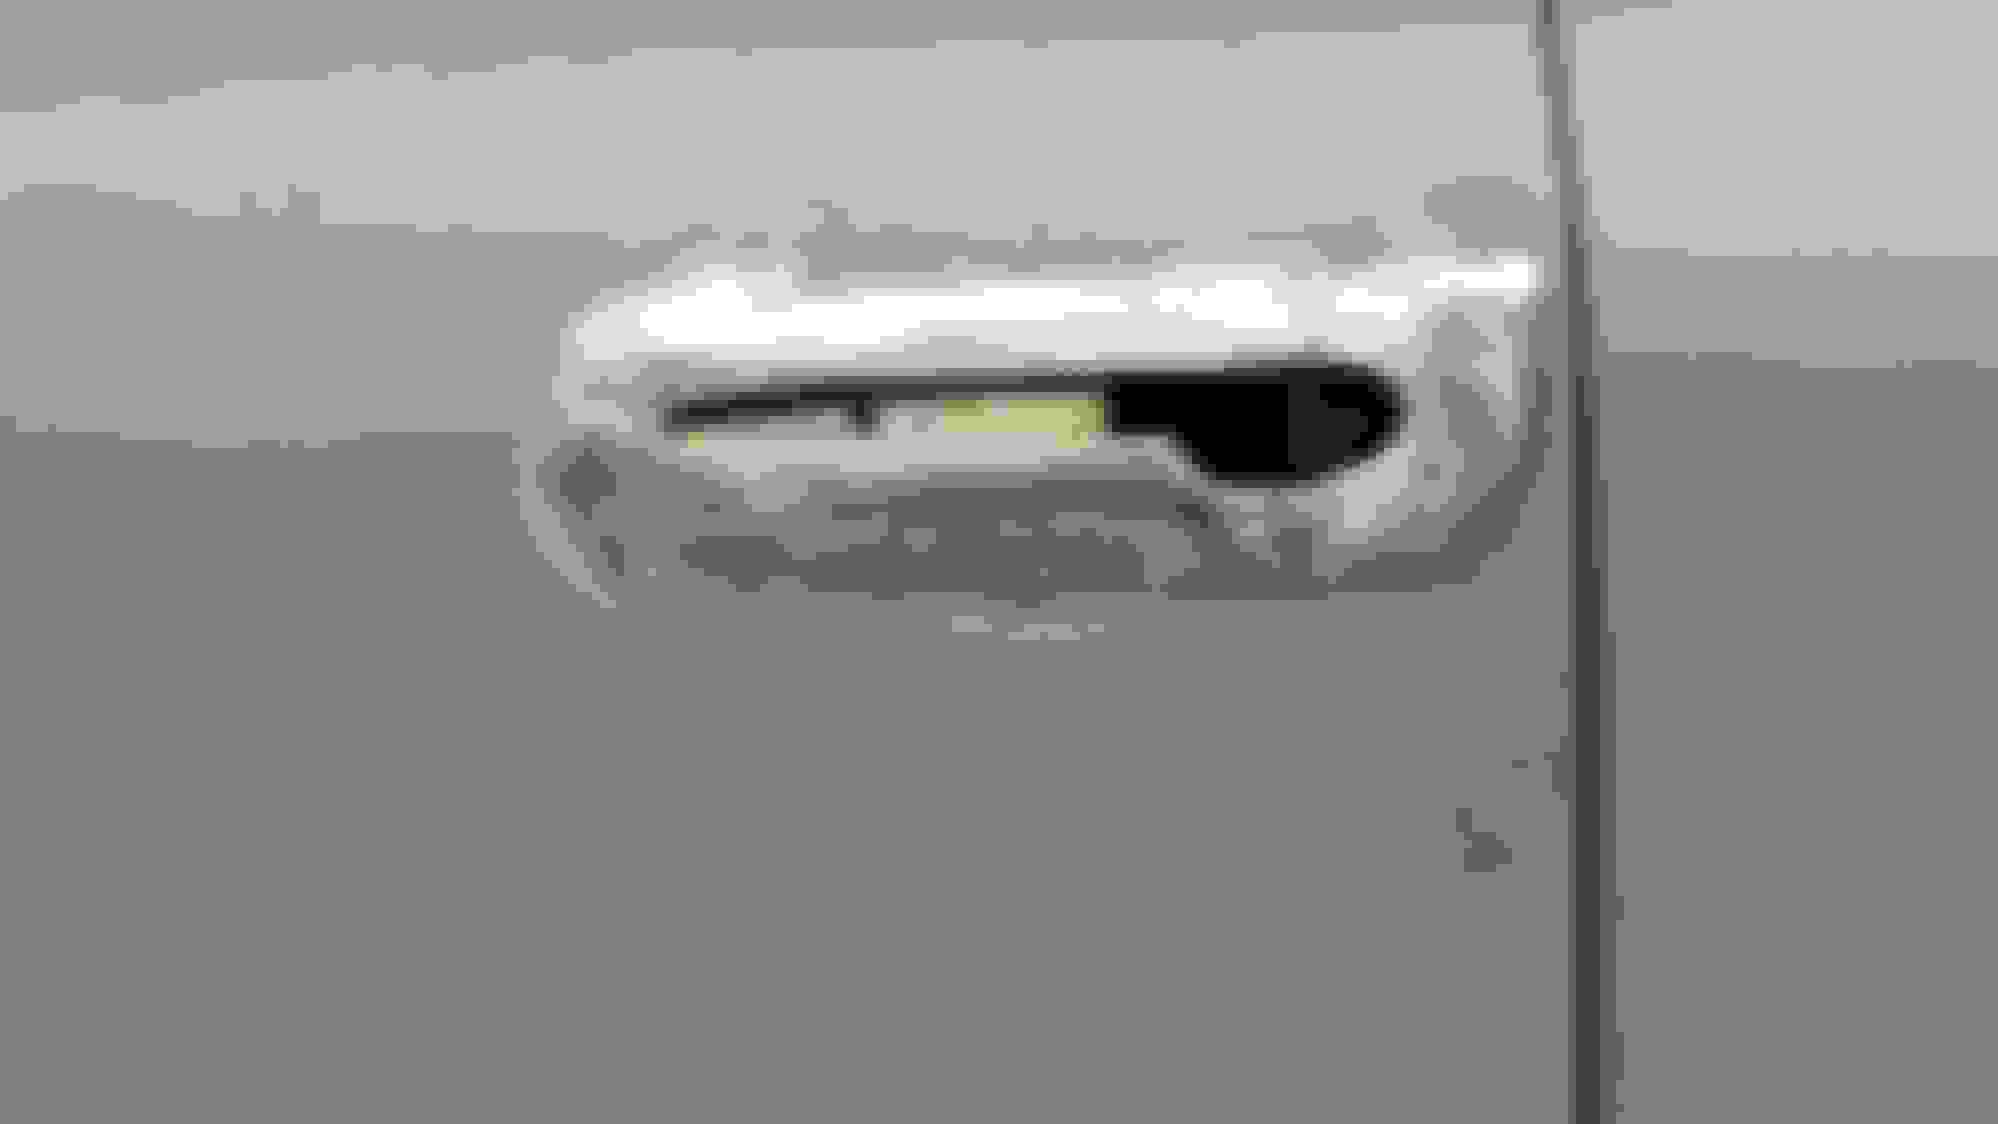
We got the Kendig handles in today. They work great and after some finish welding and body work will look awesome.
Found the angle and placement for the handle using the provided template and made a pattern to fill void left by original handle.
Traced handle on door using pattern.
We used some all thread to hold in place until the edges were masaged to make room for welding.
Welding done and ground back. I will need to do a little clean up work before body is done .
Handle re installed.
Works great. We installed a jamb nut on the door latch stricker to adjust the handle pull. I was scared sh##less before we started as these doors were near perfect. Seeing the finished product I'm glad I did it.


 11-21-2015, 08:03 PM