When you click on links to various merchants on this site and make a purchase, this can result in this site earning a commission. Affiliate programs and affiliations include, but are not limited to, the eBay Partner Network.
I dont know if I ever posted it but I got the motor on the frame. I am waiting for Monster Transmission in FL to finish my transmission and ship it my way. 4-5 week build time on it.
Also, Here are a few more pictures of the finished door seam with it being painted now. Let me know what yall think.
515 dusty ponies waiting to get let loose.
Shaved drip rails and cab corner seams are finished up!
This is the fabricated inside door seam I had to make. Its nice and smooth unlike the crimped piece that comes with the replacements.
Ive on Friday I bedlined the underside of the cab against since it had some good nicks and spots that still needed work where I had sanded of the liner. Ill get pics up soon of that.
Yesterday and today I have been working on my rear disc conversion that i got from bronco graveyard. Seems like a good kit but the holes on all of the mounting brackets for my truck are a tad off and dont fit so I was forced to file them down. I am doing the driver side now and for the passenger side I think I am going to film it and put in on youtube for anyone who wants to do the conversion.
I knocked the RUSTY t bolts out and I am going to shave down the side of some grade 8 bolts and put them in. Also, the factory t bolts are barely long enough to hold all of the new steel that is going in place.
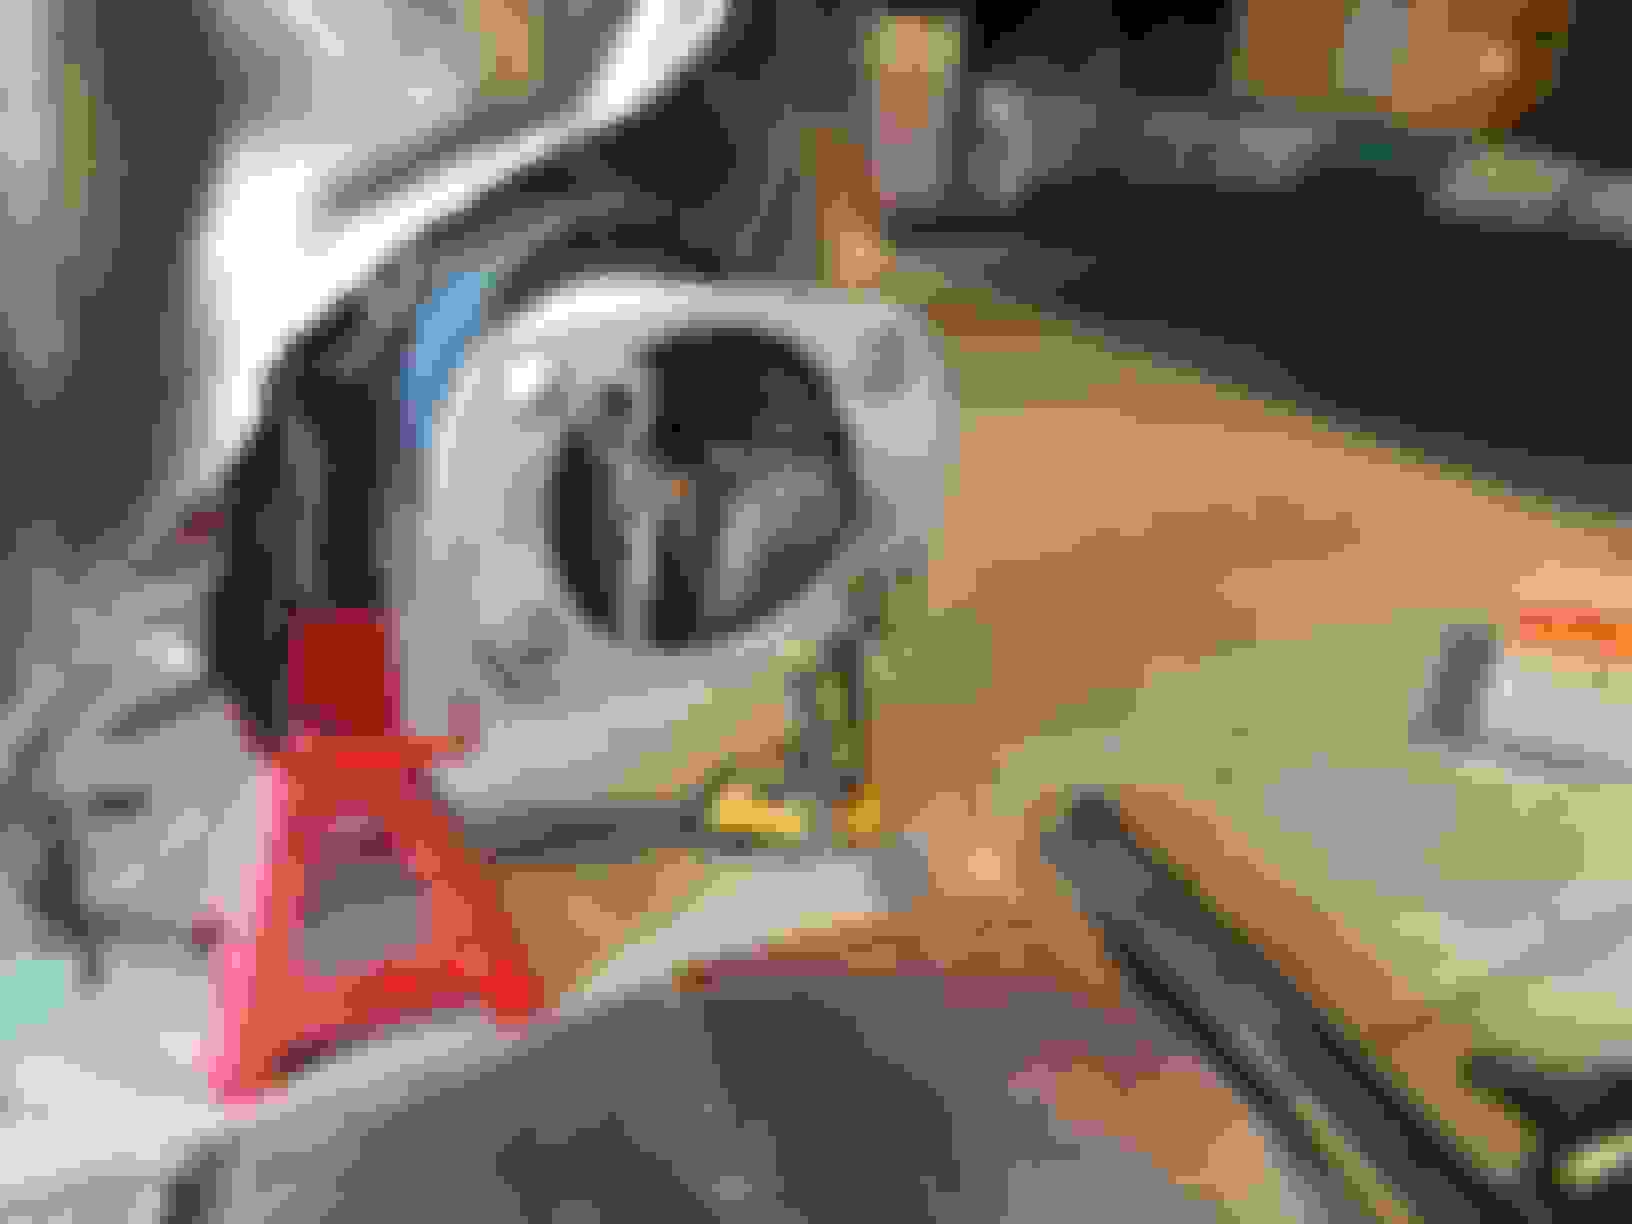
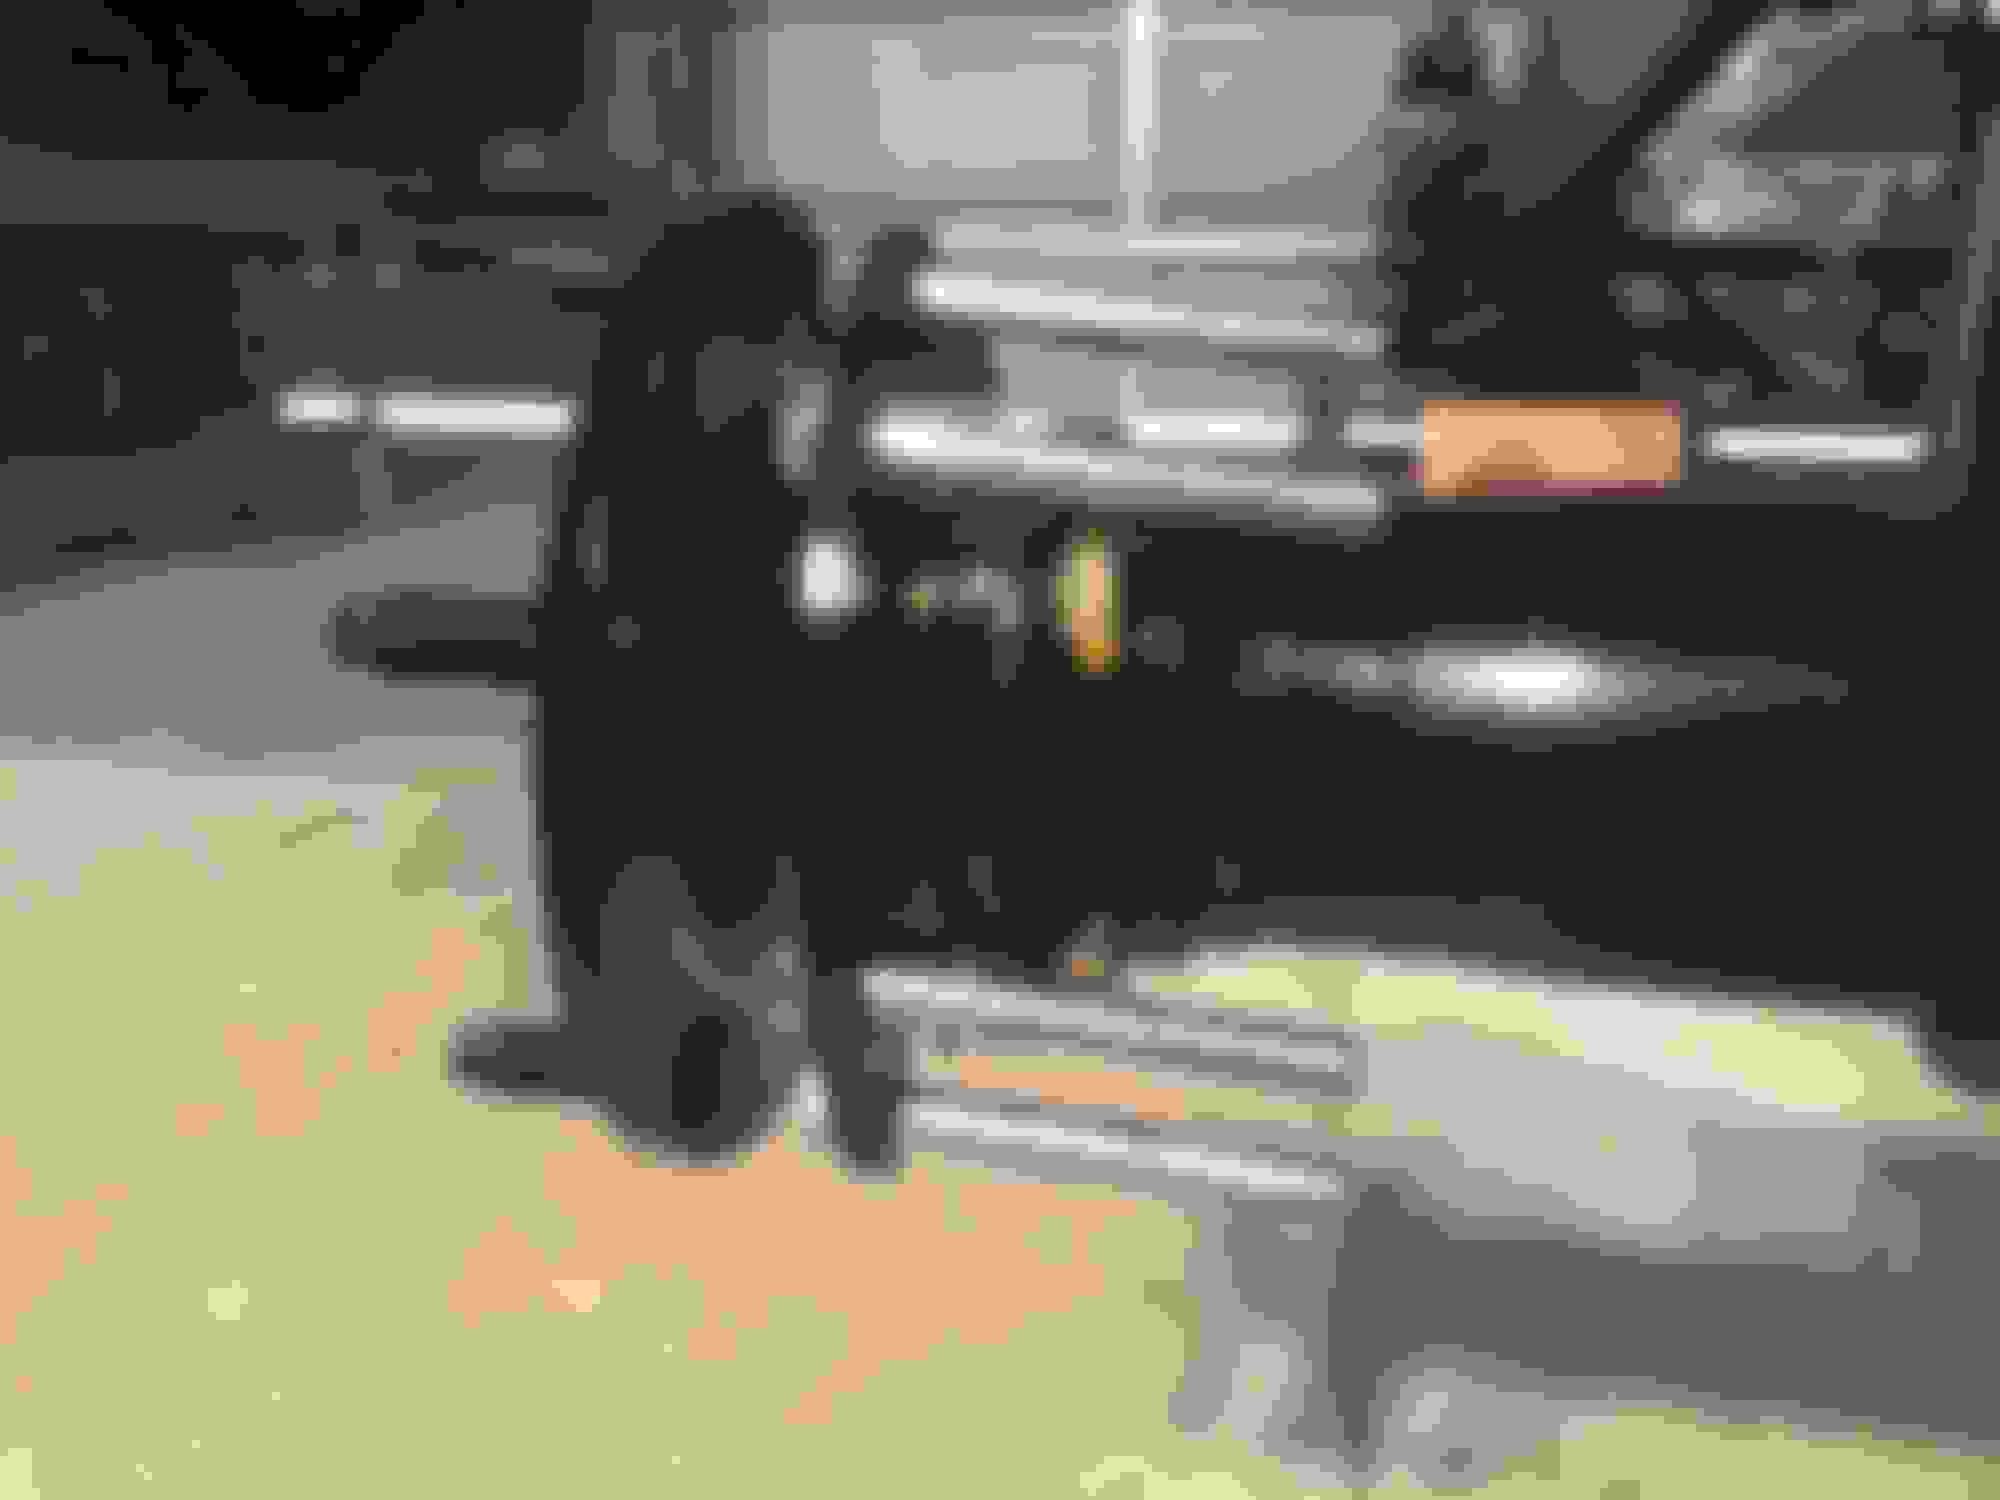
Front disc brake kit on the left rear disc conversion on the right.
So this kit is not exactly cookie cutter. You better have some good tools including a quality set of files, grinders, drill bits. Lastly you need to know how to figure something out with bad directions. Anyways I got a little further today.
Left to right you have: <br/>-axle<br/>-metal insert from kit (did not fit right and the bolt holes had to be filed)<br/>-axle shaft retainer
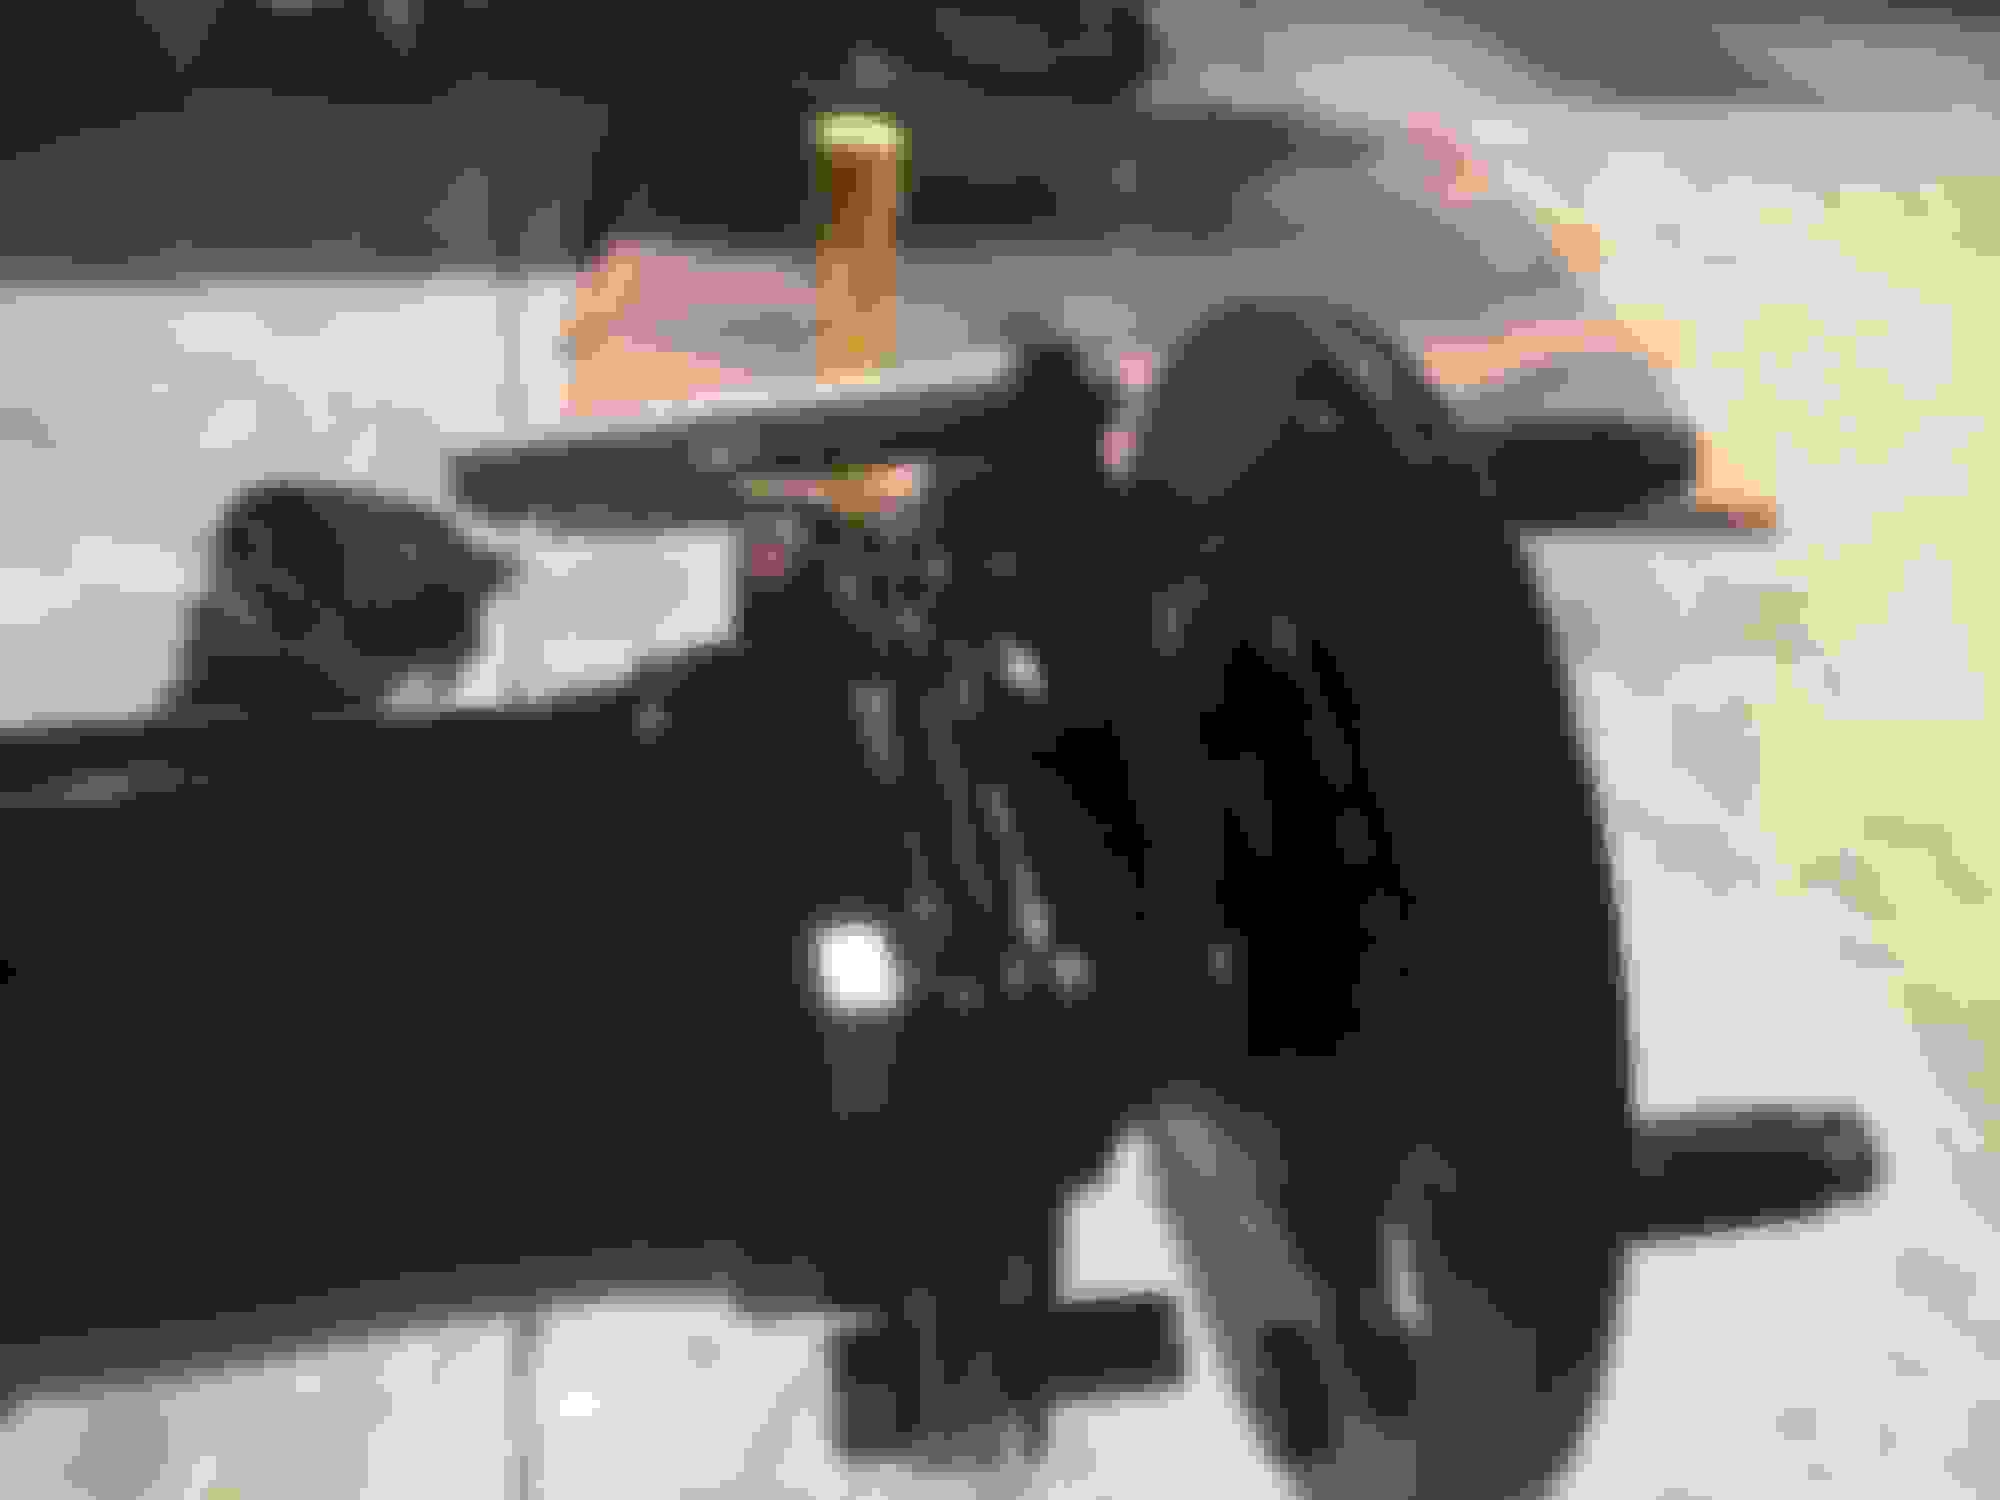
Here is the bracket on the right of the retainer that bolts to the caliper bracket. I had to pull it back off and put the bolts on first. This is a good shot of all the components that tie into the axle. <br/>I knocked out the original t bolts and bought some inch and half long grade 8s that I shaved the side down on to fit properly. The T bolts were on their last thread when you put the bolt on after all the added metal.
Another view of the bracket. It also had to be filed as the bolt holes did not line up correctly.
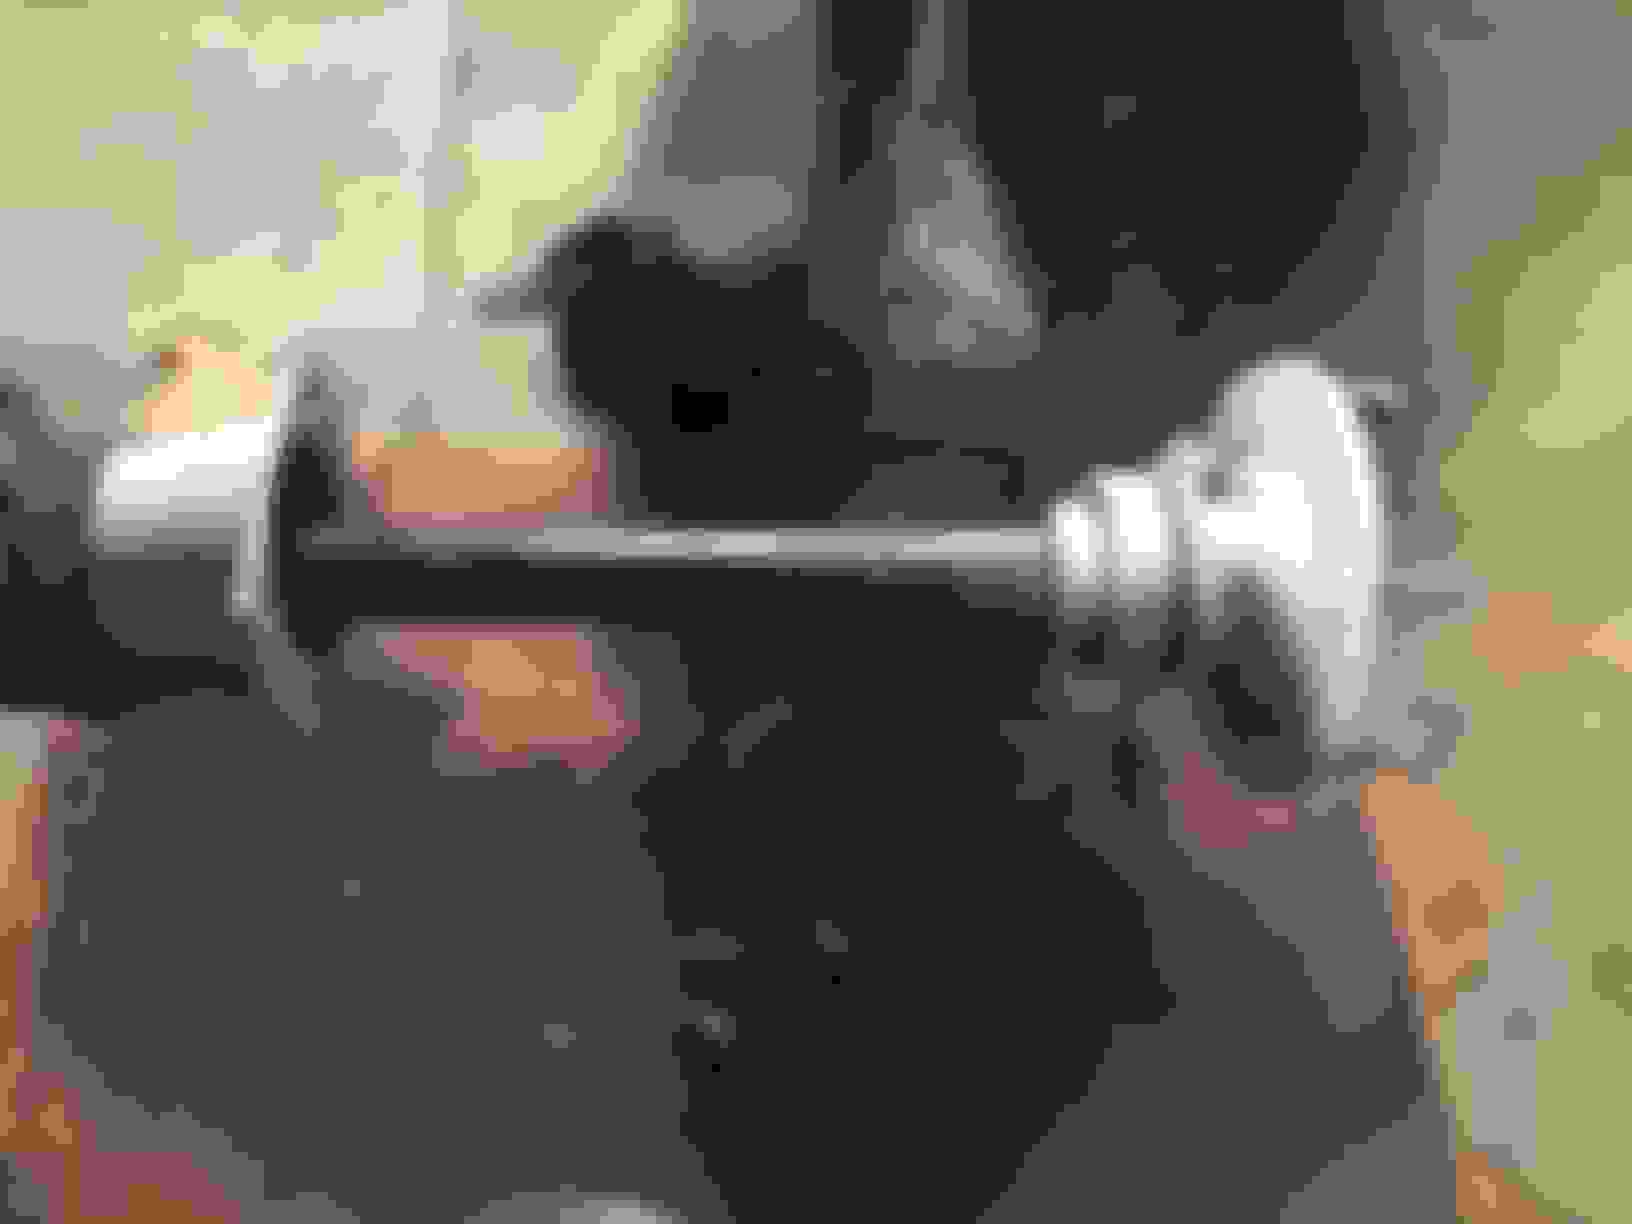
Backside of the axle
Only about a 1/4 inch left on these new 1 1/2in 20 grade 8s. This gives me peace of mind that the nut won't back off as easily.
You can see that the top spacers barely fit without modification and the bottoms were modified to fit.
The right spacer is the original and the left three are the bottom spacers I had to modify to fit around the axle and bolts. <br/>Also take note that the caliper bracket bolt holes for the spacers on the bottom did not line up correctly and I had to file all of the spacers holes on the inside to make them work.
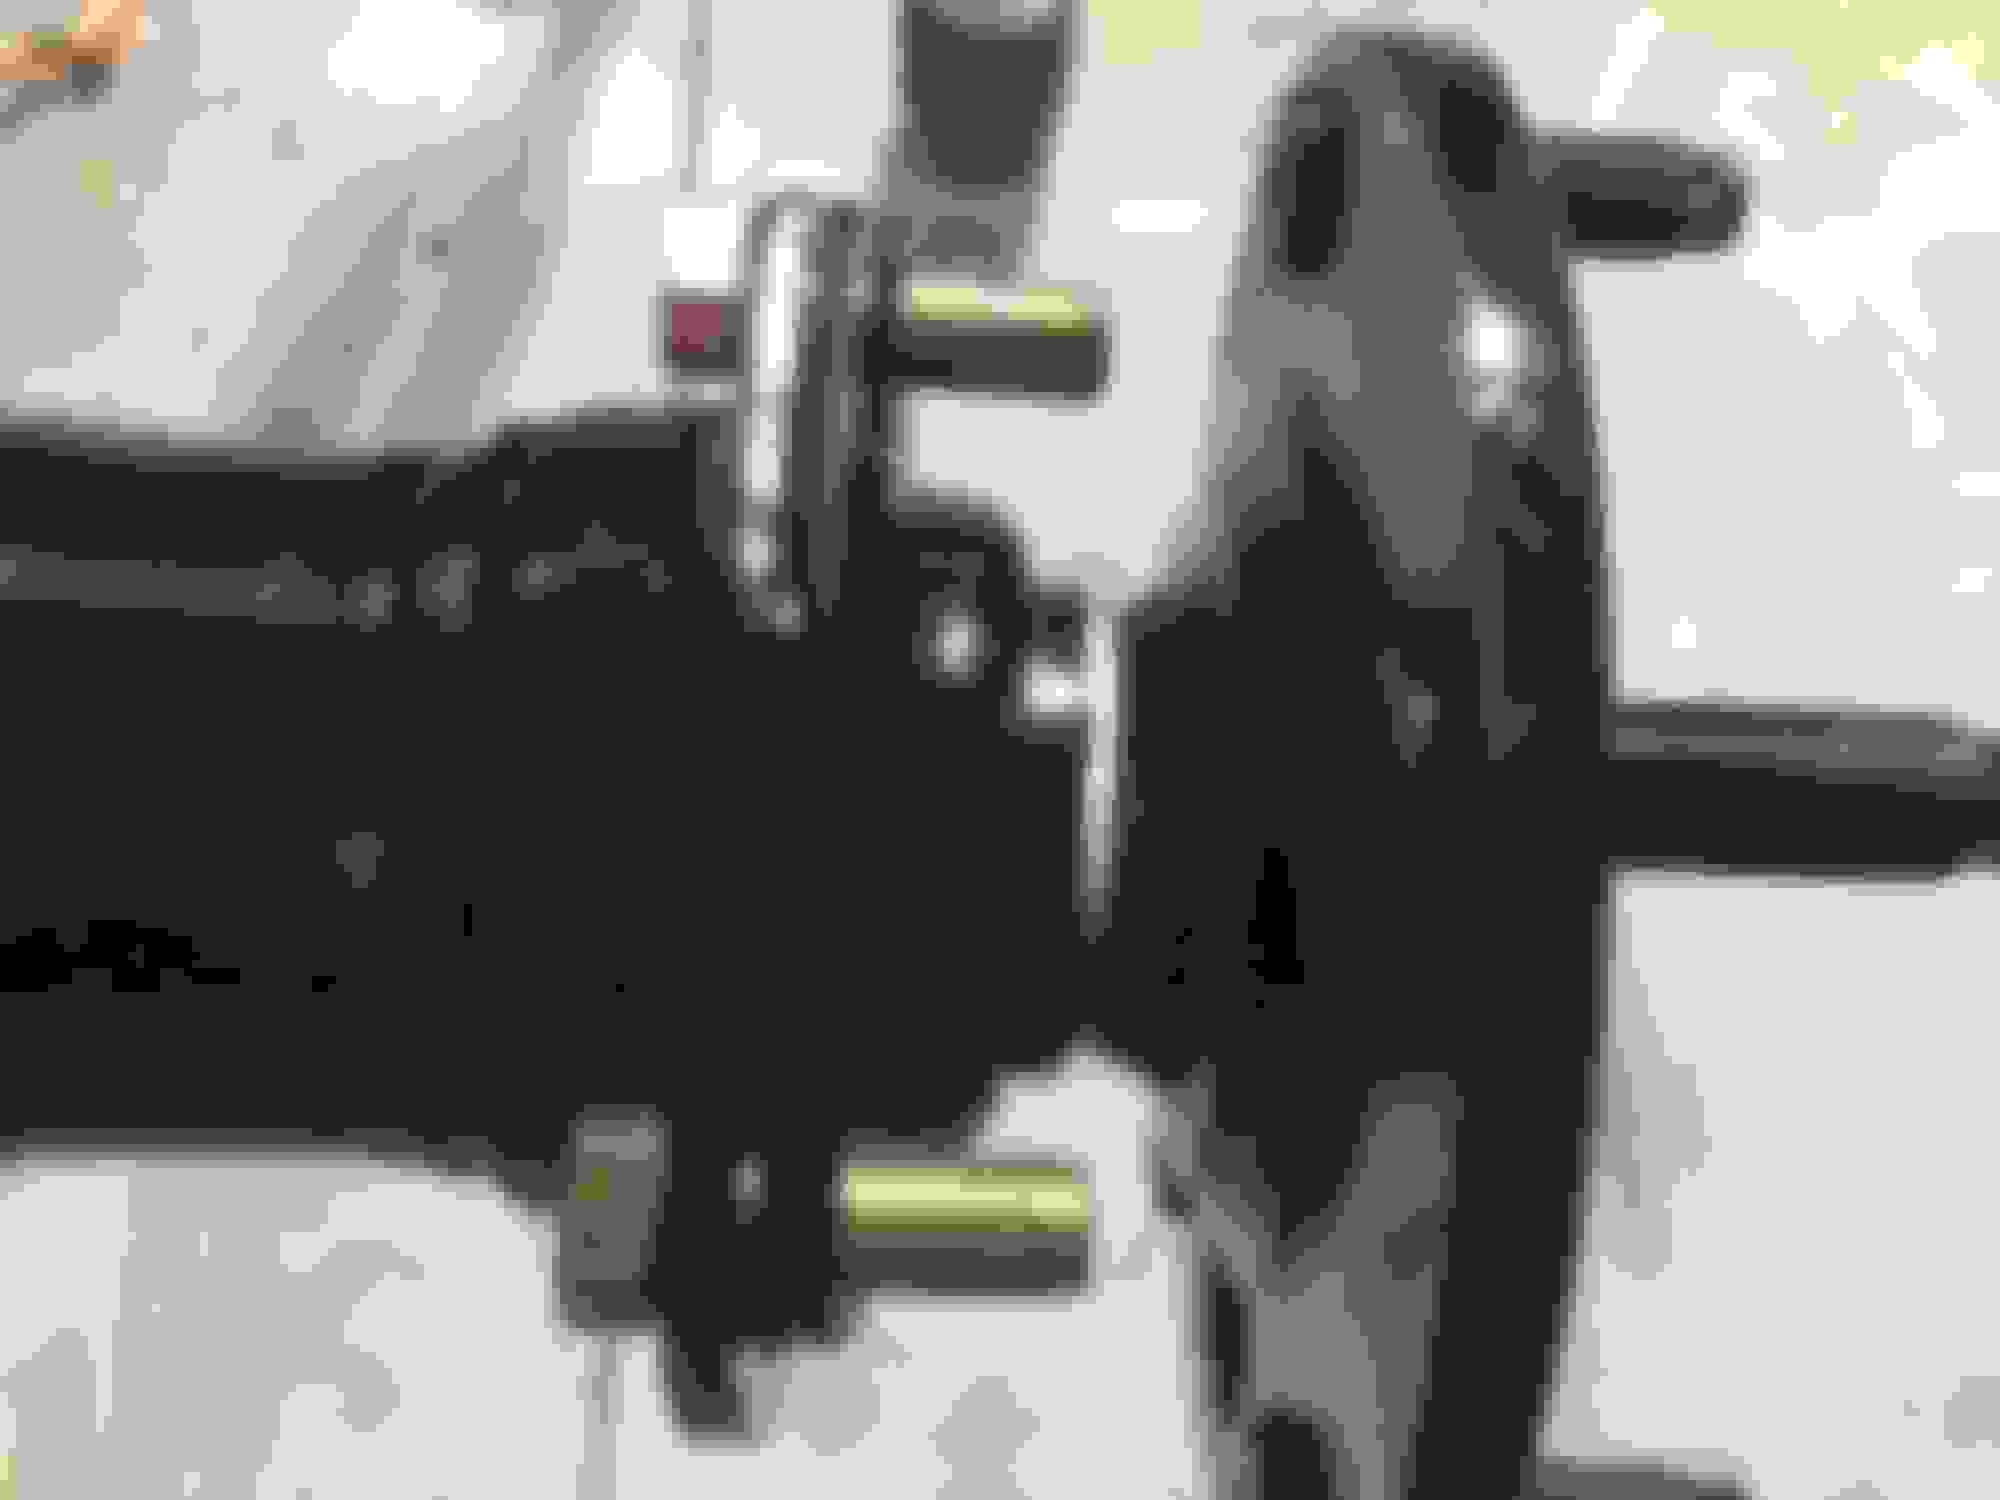
Caliper bracket is installed and bolted on after about 3 hours of modifying the different pieces.
I need some serious help. So my new c6 auto transmission is coming in tomorrow from Monster Transmission in Fl. I just have one problem... I have no clue how to set up a divorced transfer case (which ill have to buy) or use the NP205 that is married to my old c4 that was original bolted to the motor.
From what I understand and at the fork in the road I am at, it would be easiest to get a divorced (i think they are different from the married and cannot buy the parts to switch??) NP205 and fabricate the brackets and such.
Would this conclusion be correct or does someone believe it would be easier, cheaper, better to take my married NP off my c4?
From what I understand I will have to buy an adapter for the c6, a new tailshaft, and some short of line inside the tranny to make it married as well as pull the c6 completely apart to do this? If that is in fact what will have to be done i would prefer the divorced method since it is a brand new, custom built transmission and has a really nice warranty.
So, Does anyone have any tips, advice, how-to info, or article they can fill me in on? I would greatly appreciate the assistance!
So I am not sure if I had mentioned it but I am actually lining the entire truck with bedliner. I am using Durabak bedliner to coat it. I mix 2 parts smooth black with 3 parts textured green to get the color I want. I measure it in volume and not in weight.
I originally was using a Schutz gun the but the durabak is thinned so much that it causes a ton of runs and really uneven coverage. So instead I found a 3.5mm nozzle tip spray gun and and it A-FREAKING-MAZING!
Due to the Weather getting cold up here in North Dakota I put off finishing my rear disc conversion and focused on getting all my parts painted (except for the doors and hood) before winter came. Ill get back to that stuff later since it can be done in any weather.
After the first time I sprayed it here. It had a few runs but nothing major. I thought it was the air flow but after the second time i coated it I realized it was the Schutz gun. Its just not good for spraying durabak... At least not for me. The durabak comes out in massive clumps and it just doesnt look good. I am going to sand the exterior down smooth and spray it with the 3.5mm tip I am using now.
The engine bay and under carriage will be black and the rest will be the customer green I mixed.
Interior bottom portion of the cab is done with textured green and the top portion will be done in smooth durabak so it wont take the skin off your knuckles.
that 3.5mm nozzle tip works wonders! The consistency and smoothness are impressive.
I wanted to do everything with Durabak but I already had 2 full gallons of Xtreeme liner black sitting around that was already a year old. I wanted to save the money for other stuff on this build and just use what I had. The Xtreeme is an epoxy I believe and is a complete nightmare to work with. It is a two part mix and the resin is more viscous than honey. It creates a mess and I believe I spent more time on clean up than anything. Epoxy should be the strong so I wont complain too much since it is only going on the under carriage and the engine bay.
Anyways, I cleaned, prepped, primed with epoxy, and then sprayed the radiator mount, fender aprons, and the inner part of the fenders with the black epoxy bedliner I had.
Here are my donor trucks! 78 F150 (green) and a 77 f250 (tan).
Everything prepped for primer.
Eastwood Epoxy primer is what I used
And the Black epoxy bedliner is one! Looking clean
That is definitely different and I like it. Gives me a lot of ideas.
If you use Durabak go on amazon and find a 3.5mm nozzle tip spray gun. Mine is still gravity feed but looks like a normal spray gun. Thin the durabak 10% or less with xylene and start spraying. It makes a world of difference on how smooth and consistent your liner looks. My gun is a green one on Amazon. I can find the name if you plan to do it the way I did.
If you use Durabak go on amazon and find a 3.5mm nozzle tip spray gun. Mine is still gravity feed but looks like a normal spray gun. Thin the durabak 10% or less with xylene and start spraying. It makes a world of difference on how smooth and consistent your liner looks. My gun is a green one on Amazon. I can find the name if you plan to do it the way I did.

 09-05-2016, 12:11 PM