When you click on links to various merchants on this site and make a purchase, this can result in this site earning a commission. Affiliate programs and affiliations include, but are not limited to, the eBay Partner Network.
Its been a while since I have worked on my truck but I finally started back up again. I changed jobs and my truck was in the previous employers shop so I had to make due with a single car garage. I had to save up and buy some new tools so I could in the new garage since it only has a single 110v outlet. I ended up buying a truck mount 30 gal gas powered air compressor and an Eastwood MIG 135 since I didnt own a MIG only a TIG. The MIG from Eastwood works like a champ. Anyways, below are a few pictures of what I have done recently.
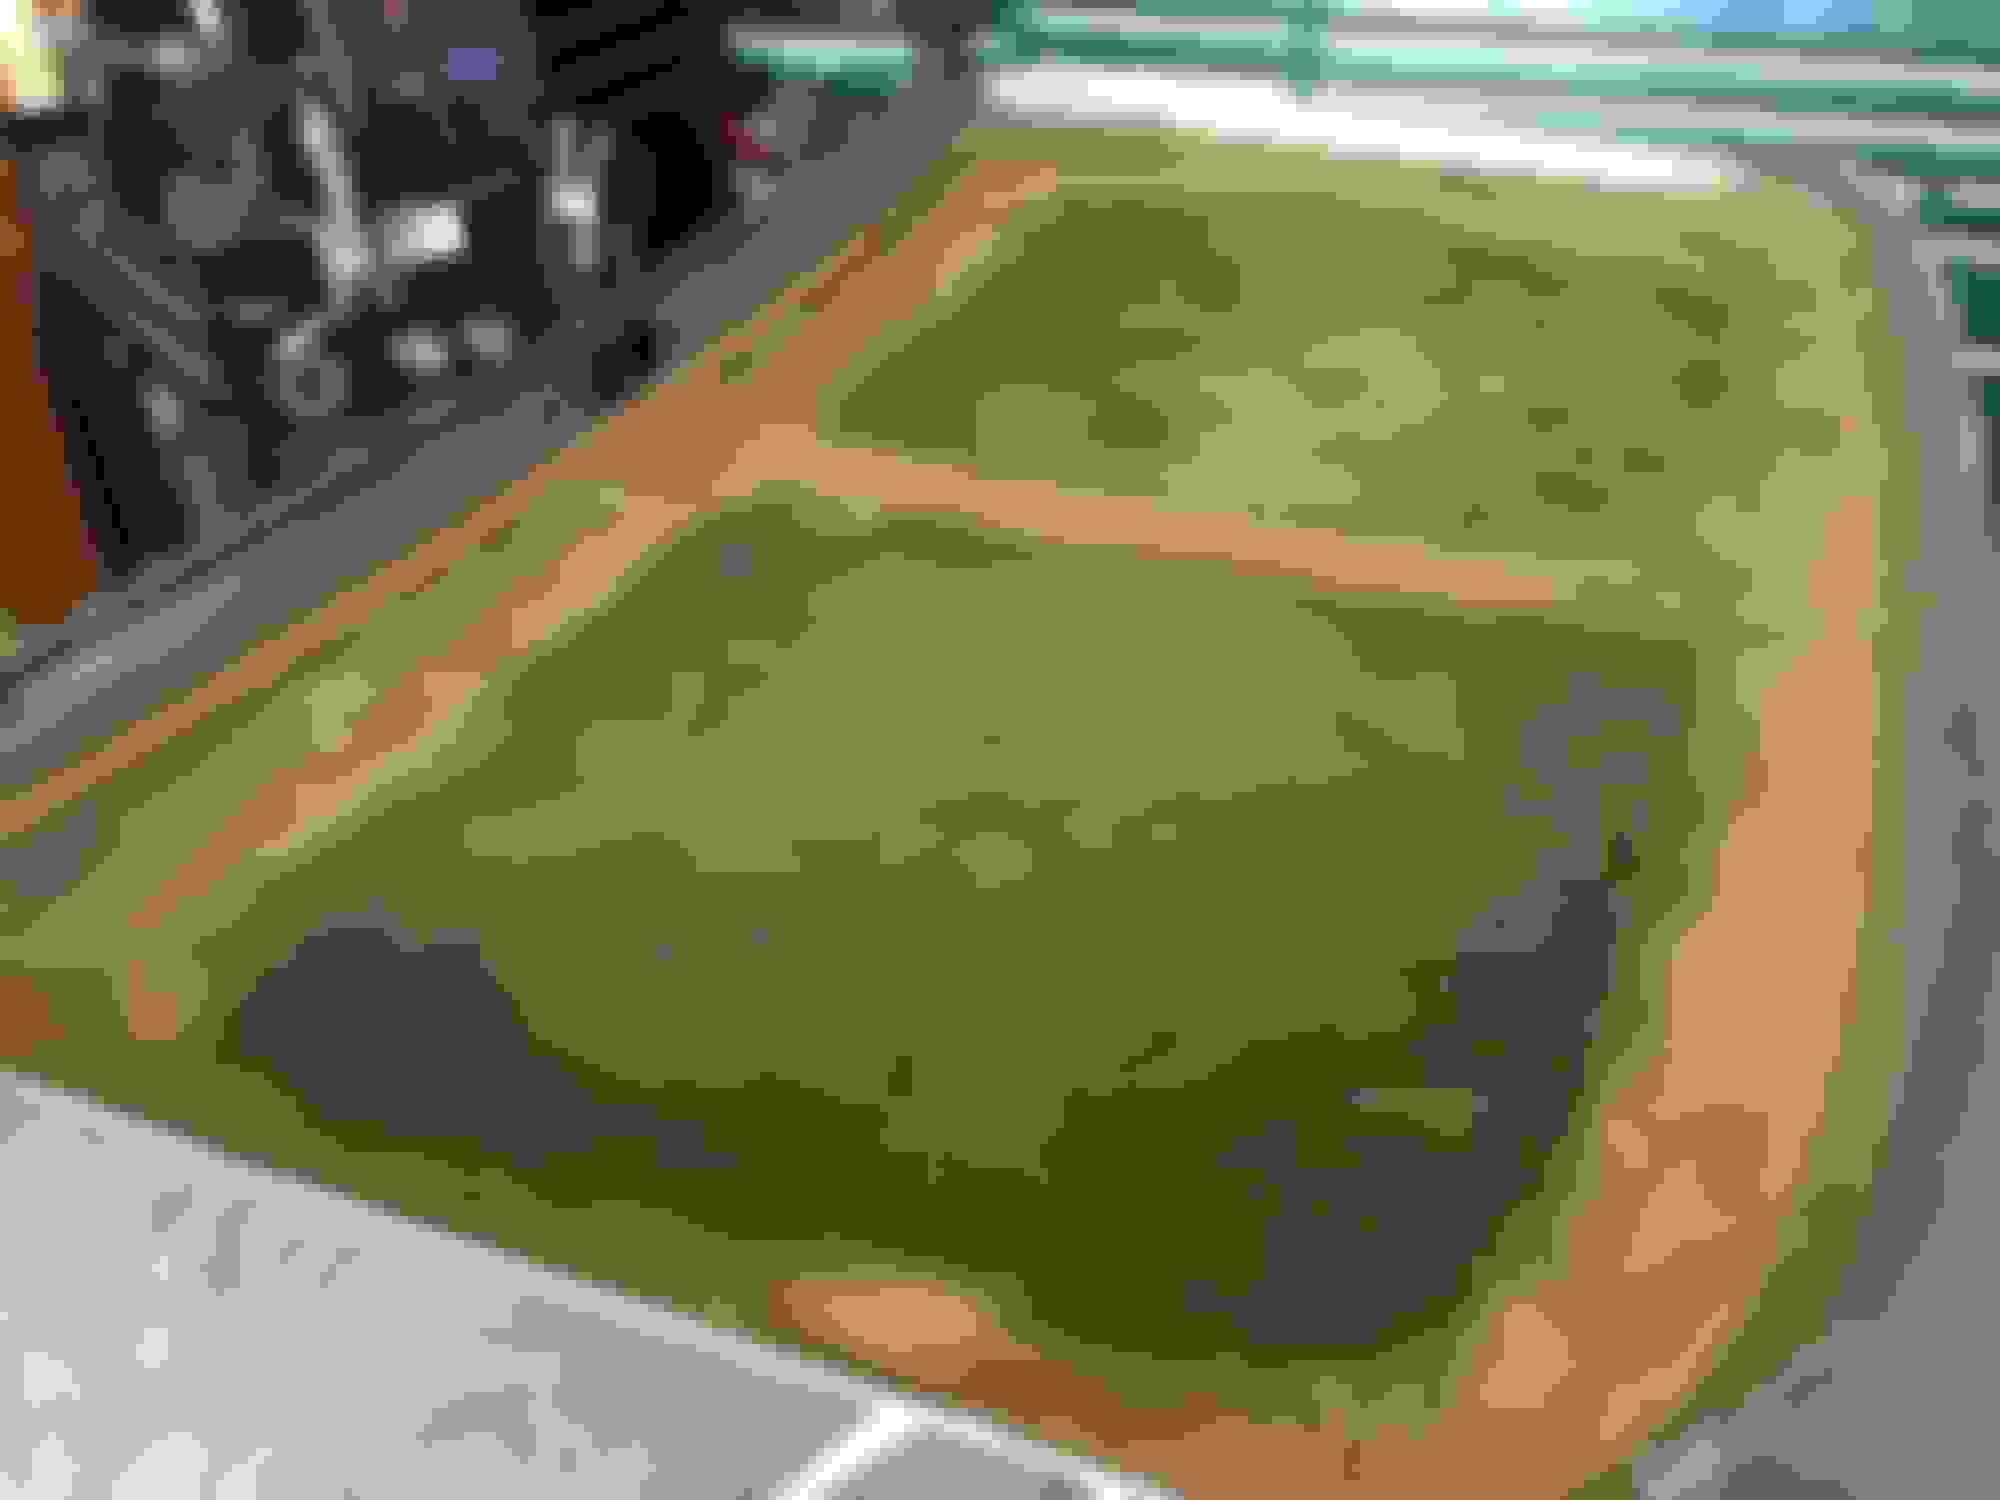
sand blast = rust gone
I decided that I did not trust the por 15 under the bedliner so i sanded it all back off. Then I decided I didnt want the indent and hole from the original heater on the firewall so I cut it out and replaced it.
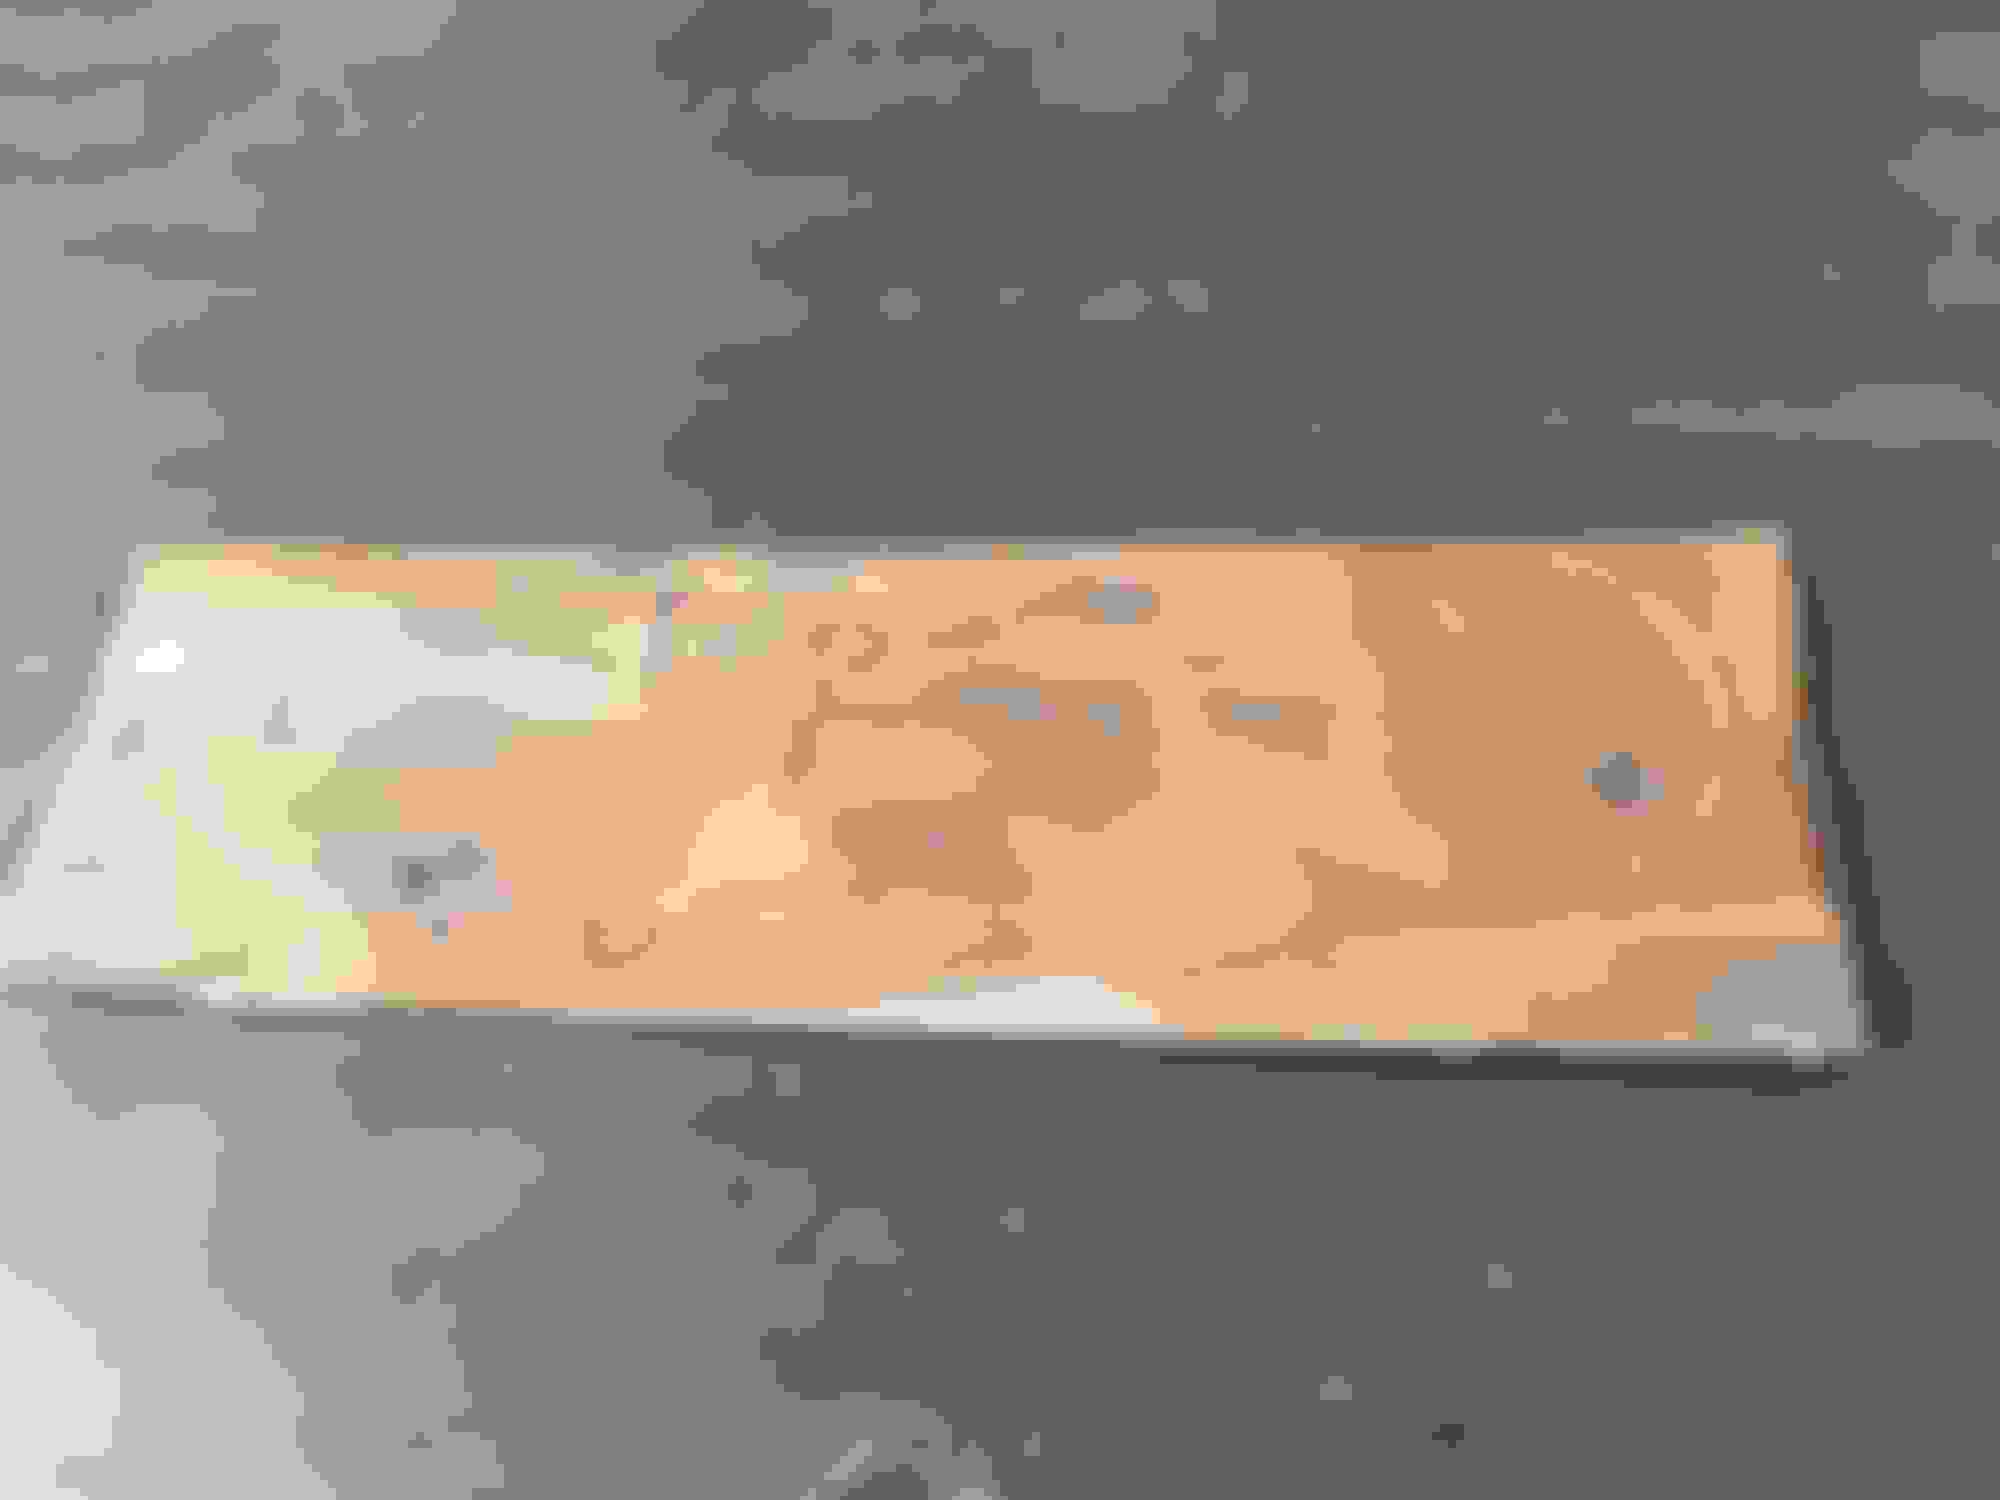
cutout lines marked
had to sand down the sides too.
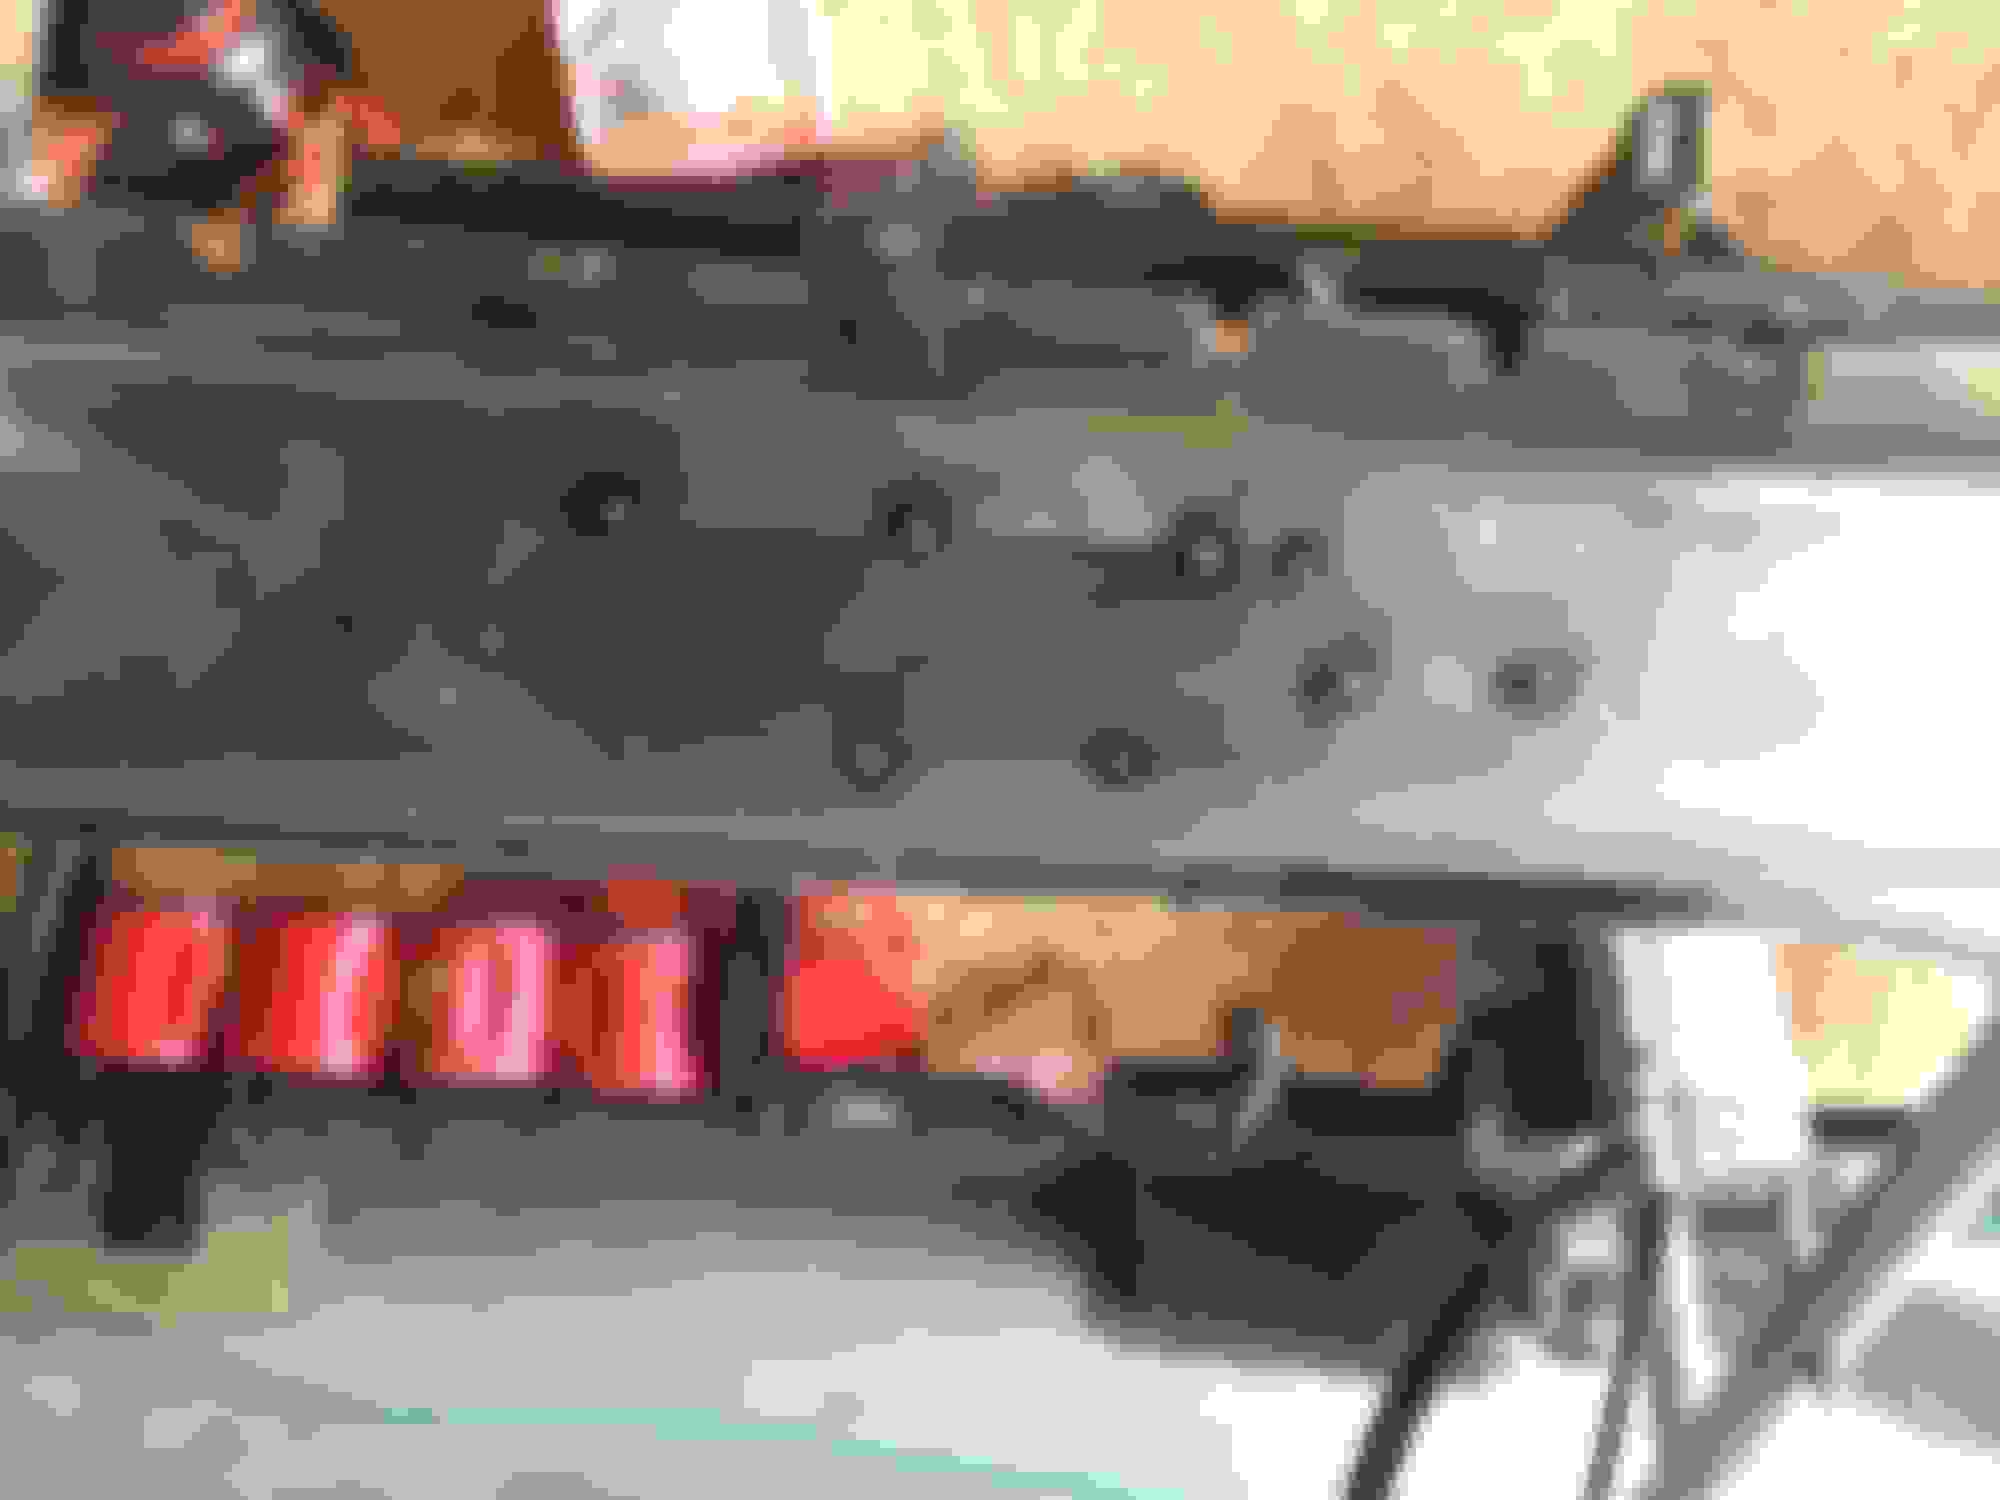
sheet metal cut in and the panel has been fit.
tacked up
just wanted to show that to prevent warping I go in 1-2 inch welds lines and move around the panel.
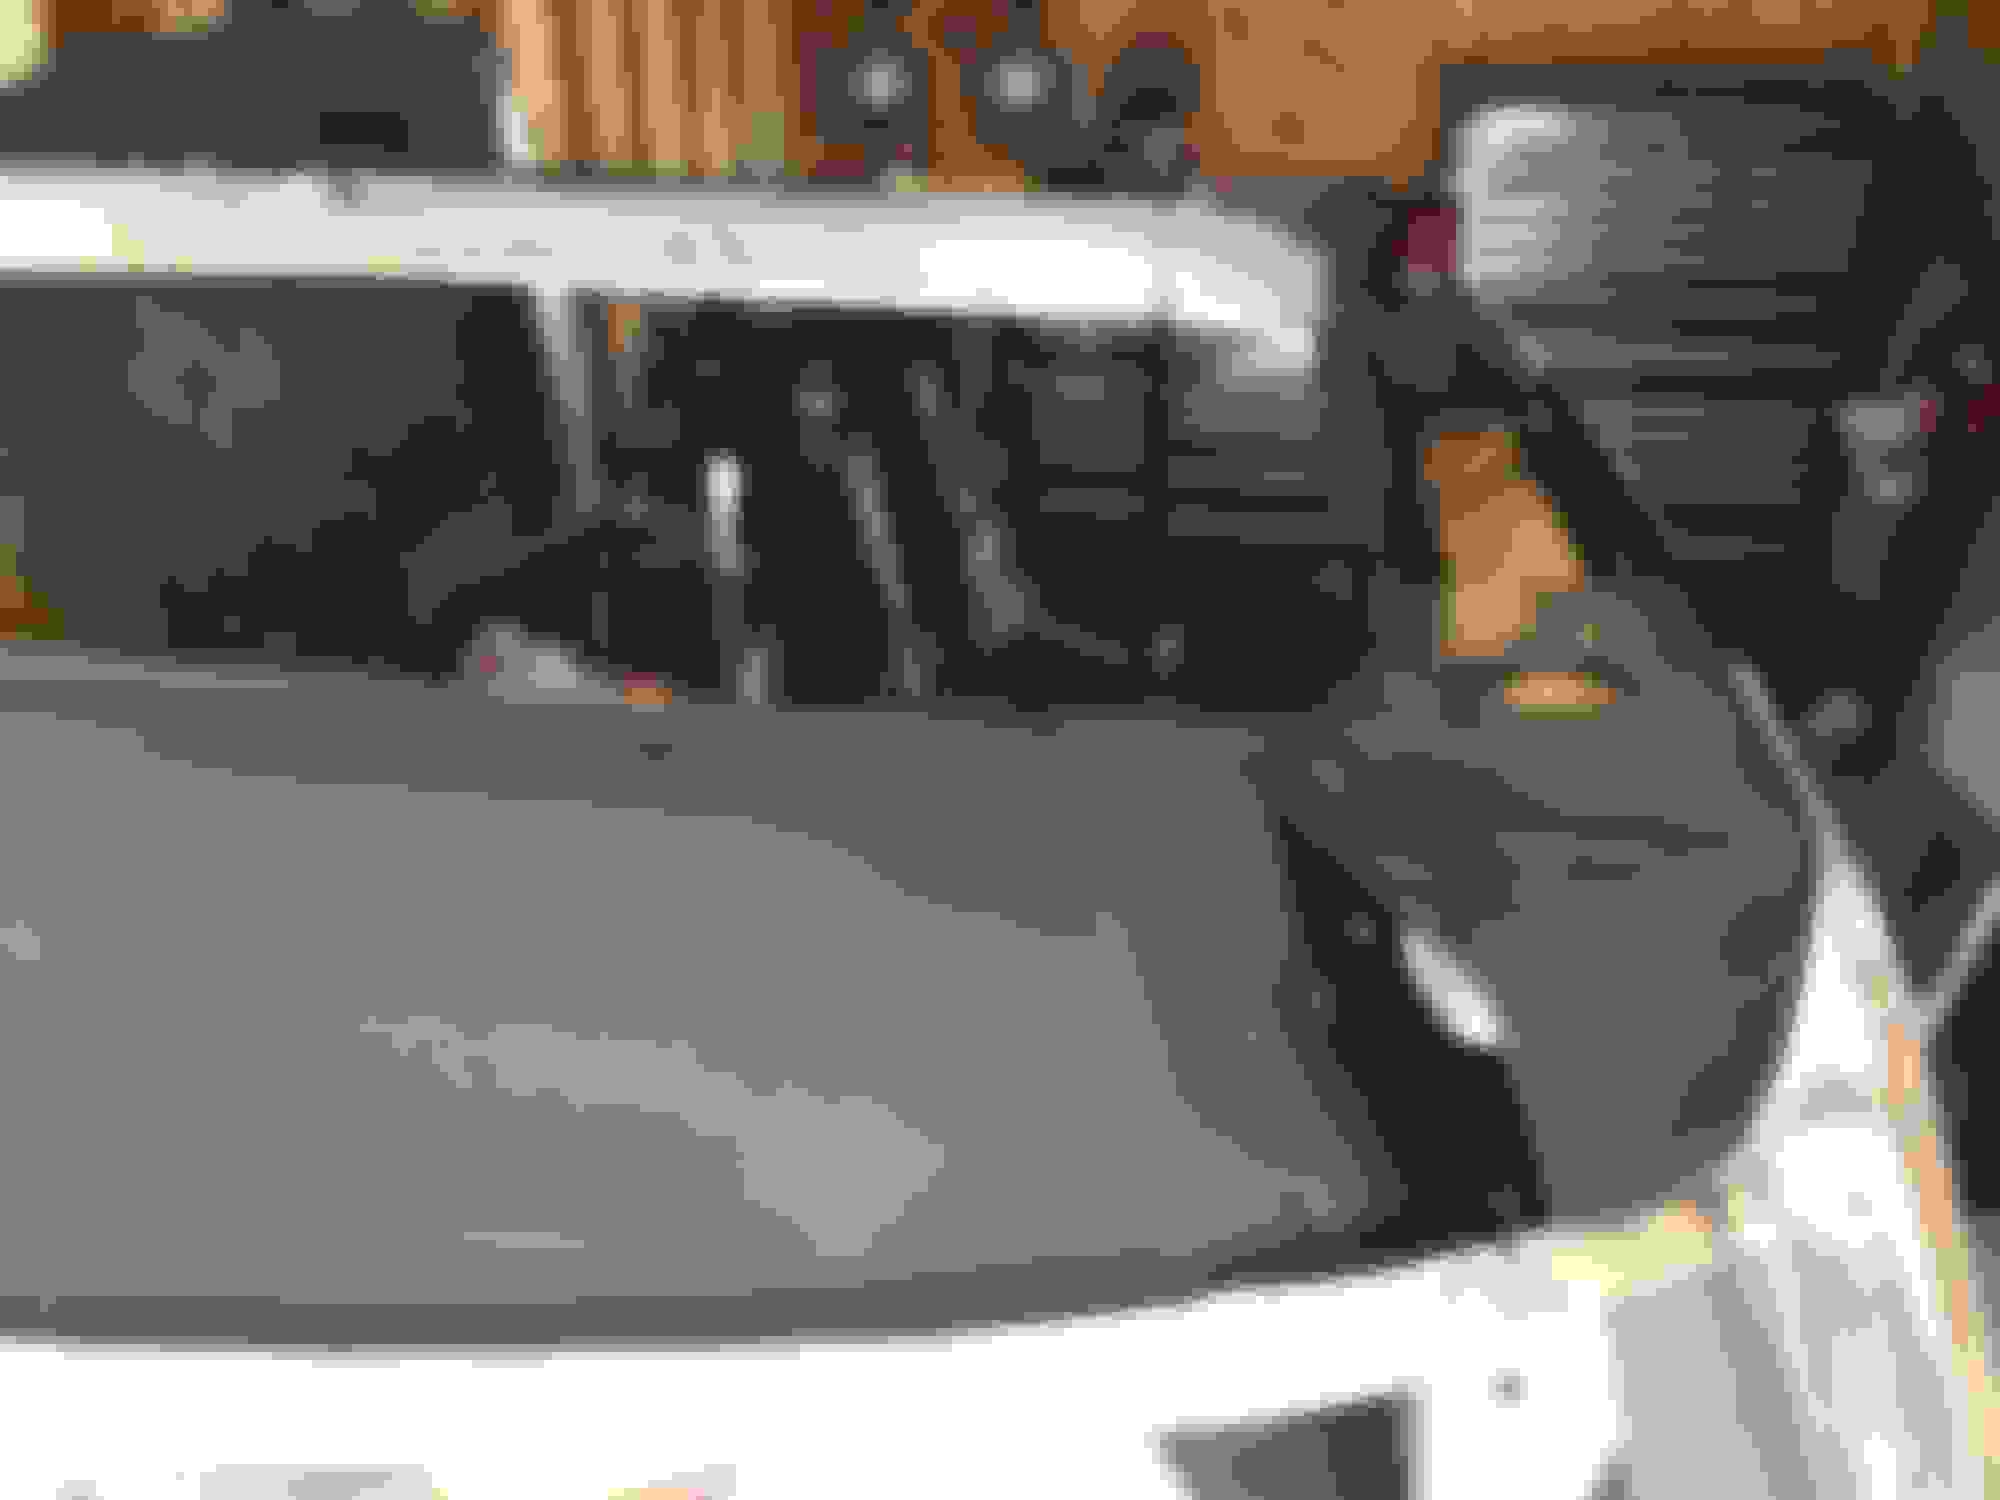
welds grinded down and ready for paint. Although I havent decided if I want to cut and smooth out the 2 holes for the heater hoses. I plan to go with a vintage air kit but now sure what all it needs.
I forgot that I finished up the cab corners too. Pics below
I didnt take my time here and got in a hurry welding. It ended up shrinking the metal and sucking in the flat area around the weld.
I cant find the photos after this part. after putting in the self tap screws I drill a few small holes in between and then tack welding the holes I drilled. Once I was finished, I took out the screws one by one and tacked the holes to the cab. This was the easiest way I found to keep the cab corner in place without have 6 arms.
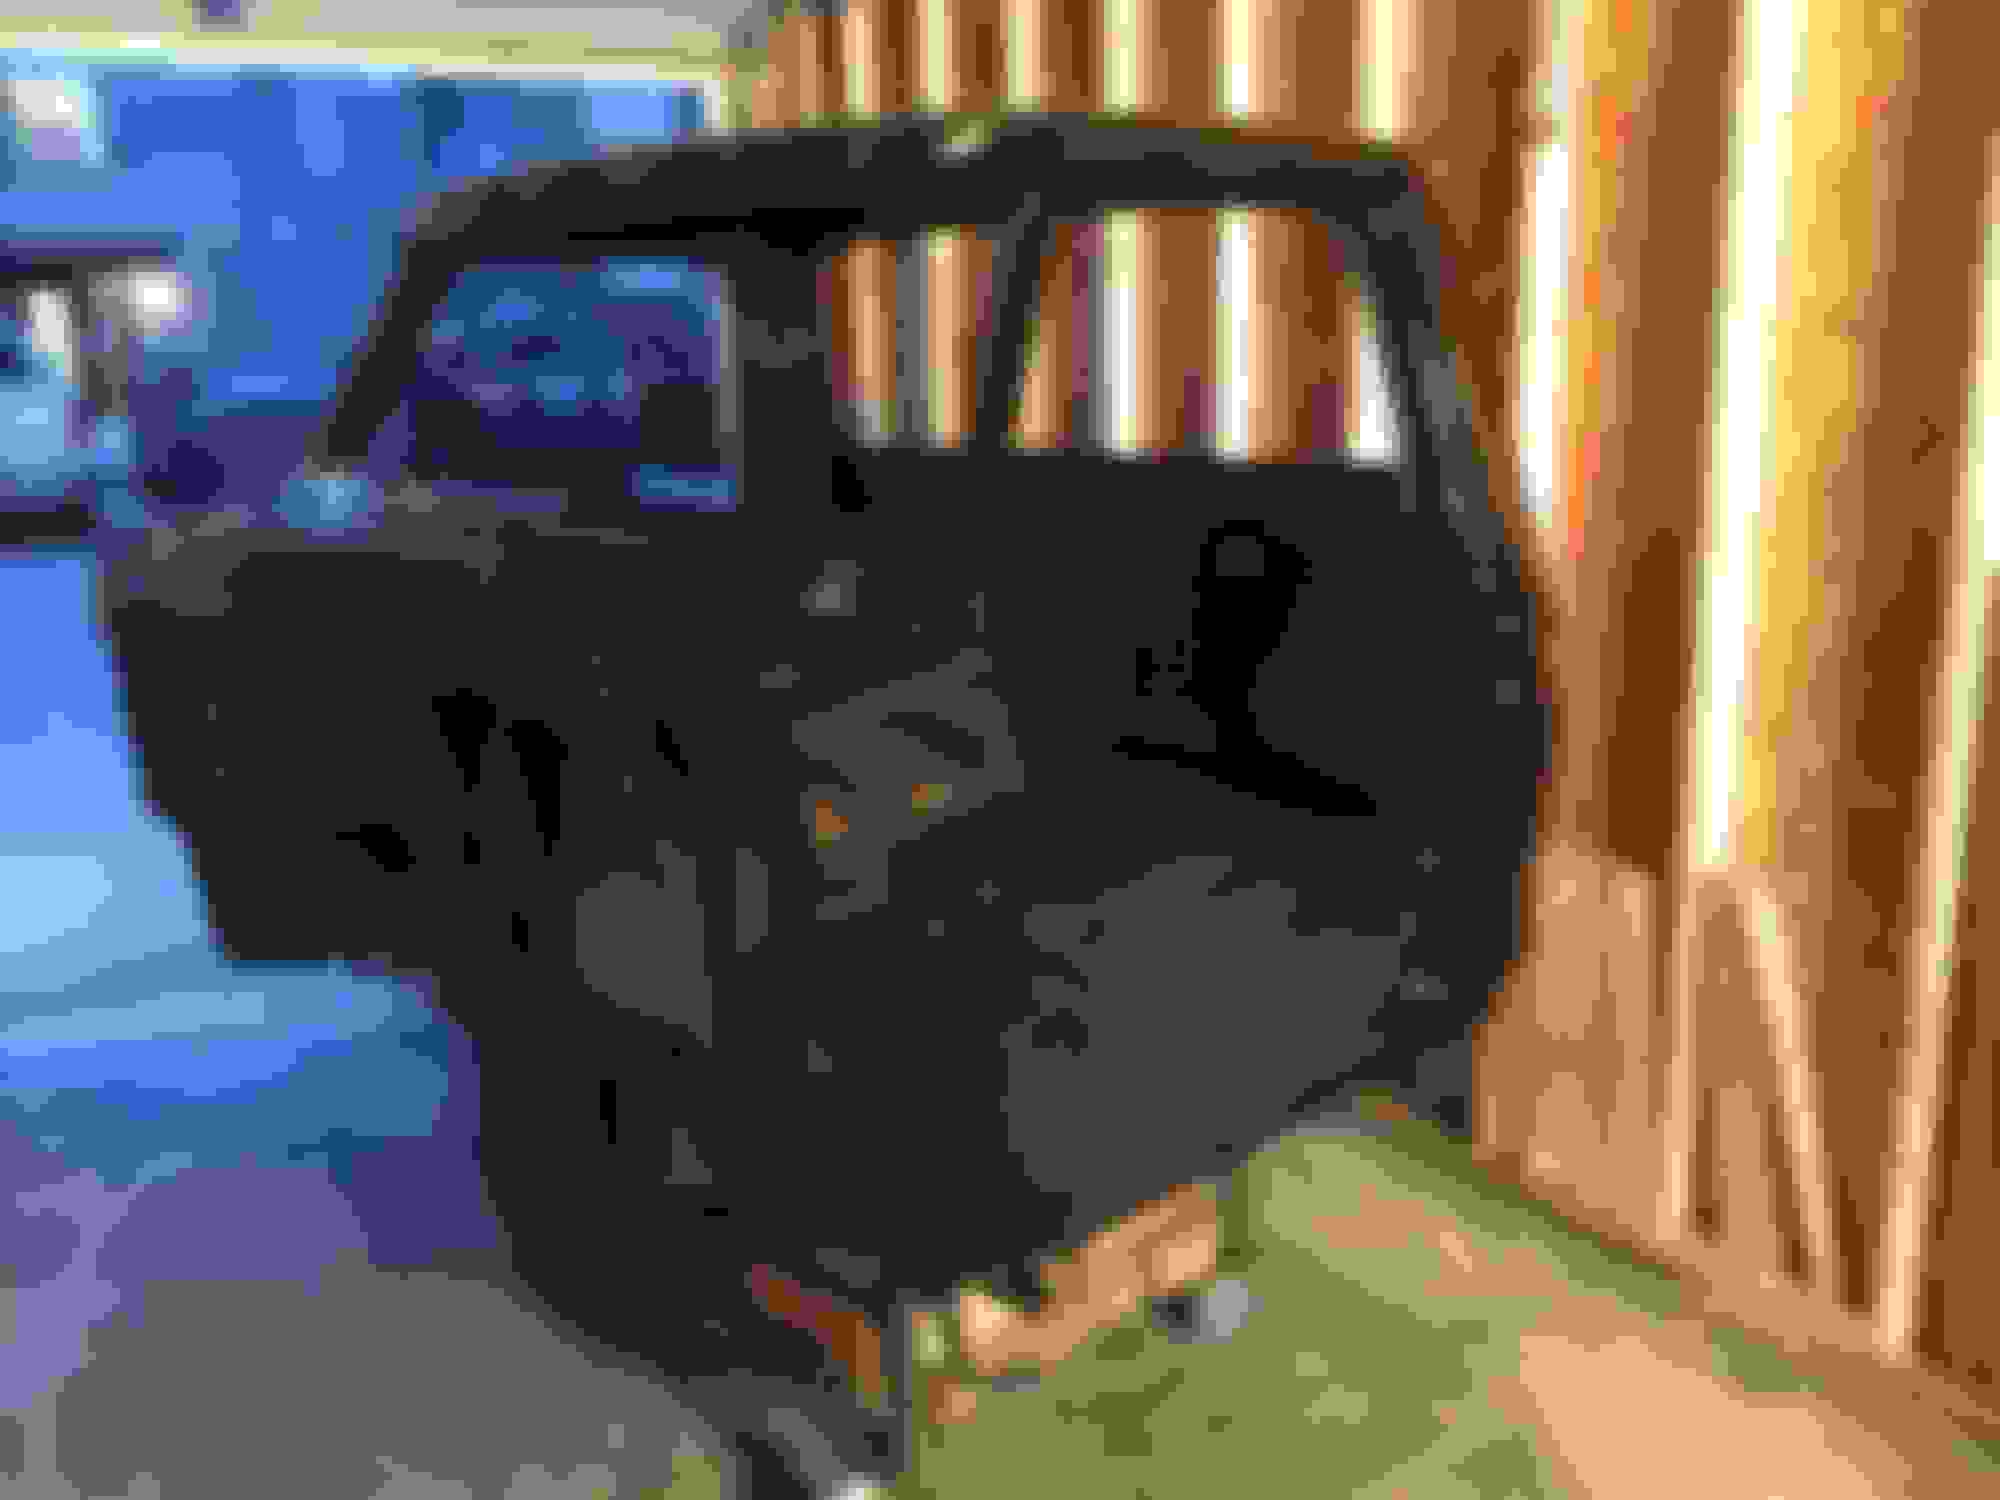
Thanks Heliguy! Im hoping in the next week or two Ill have the roof back on and then lay some primer down! For my first restoration this has been one serious project. If you plan to replace the roof, be very very careful. my original roof was dented beyond repair and my second roof was practically flatten by someone who was a sandblast "professional". on the third roof I was very very careful and took my time. It warps and dents so easy. If you have any questions on anything I've done let me know. Thanks again
This is our first resto too, we are lucky that our roof only has one small dent. We have been somewhat lucky that we don't have a lot of the rust that other do. The floors are good and so are all the cab mounts. We are going to remove cab in the next couple weeks and start on that project. Good luck!
got off work early today and decided to get a little more done. Im shooting for having the roof put on this weekend. Today I smoothed the holes for the heater hoses in the firewall, smoothed out the third brake light on the roof, and bedlined the inside of the cab where the headliner attaches. Ill get pictures of that tomorrow.
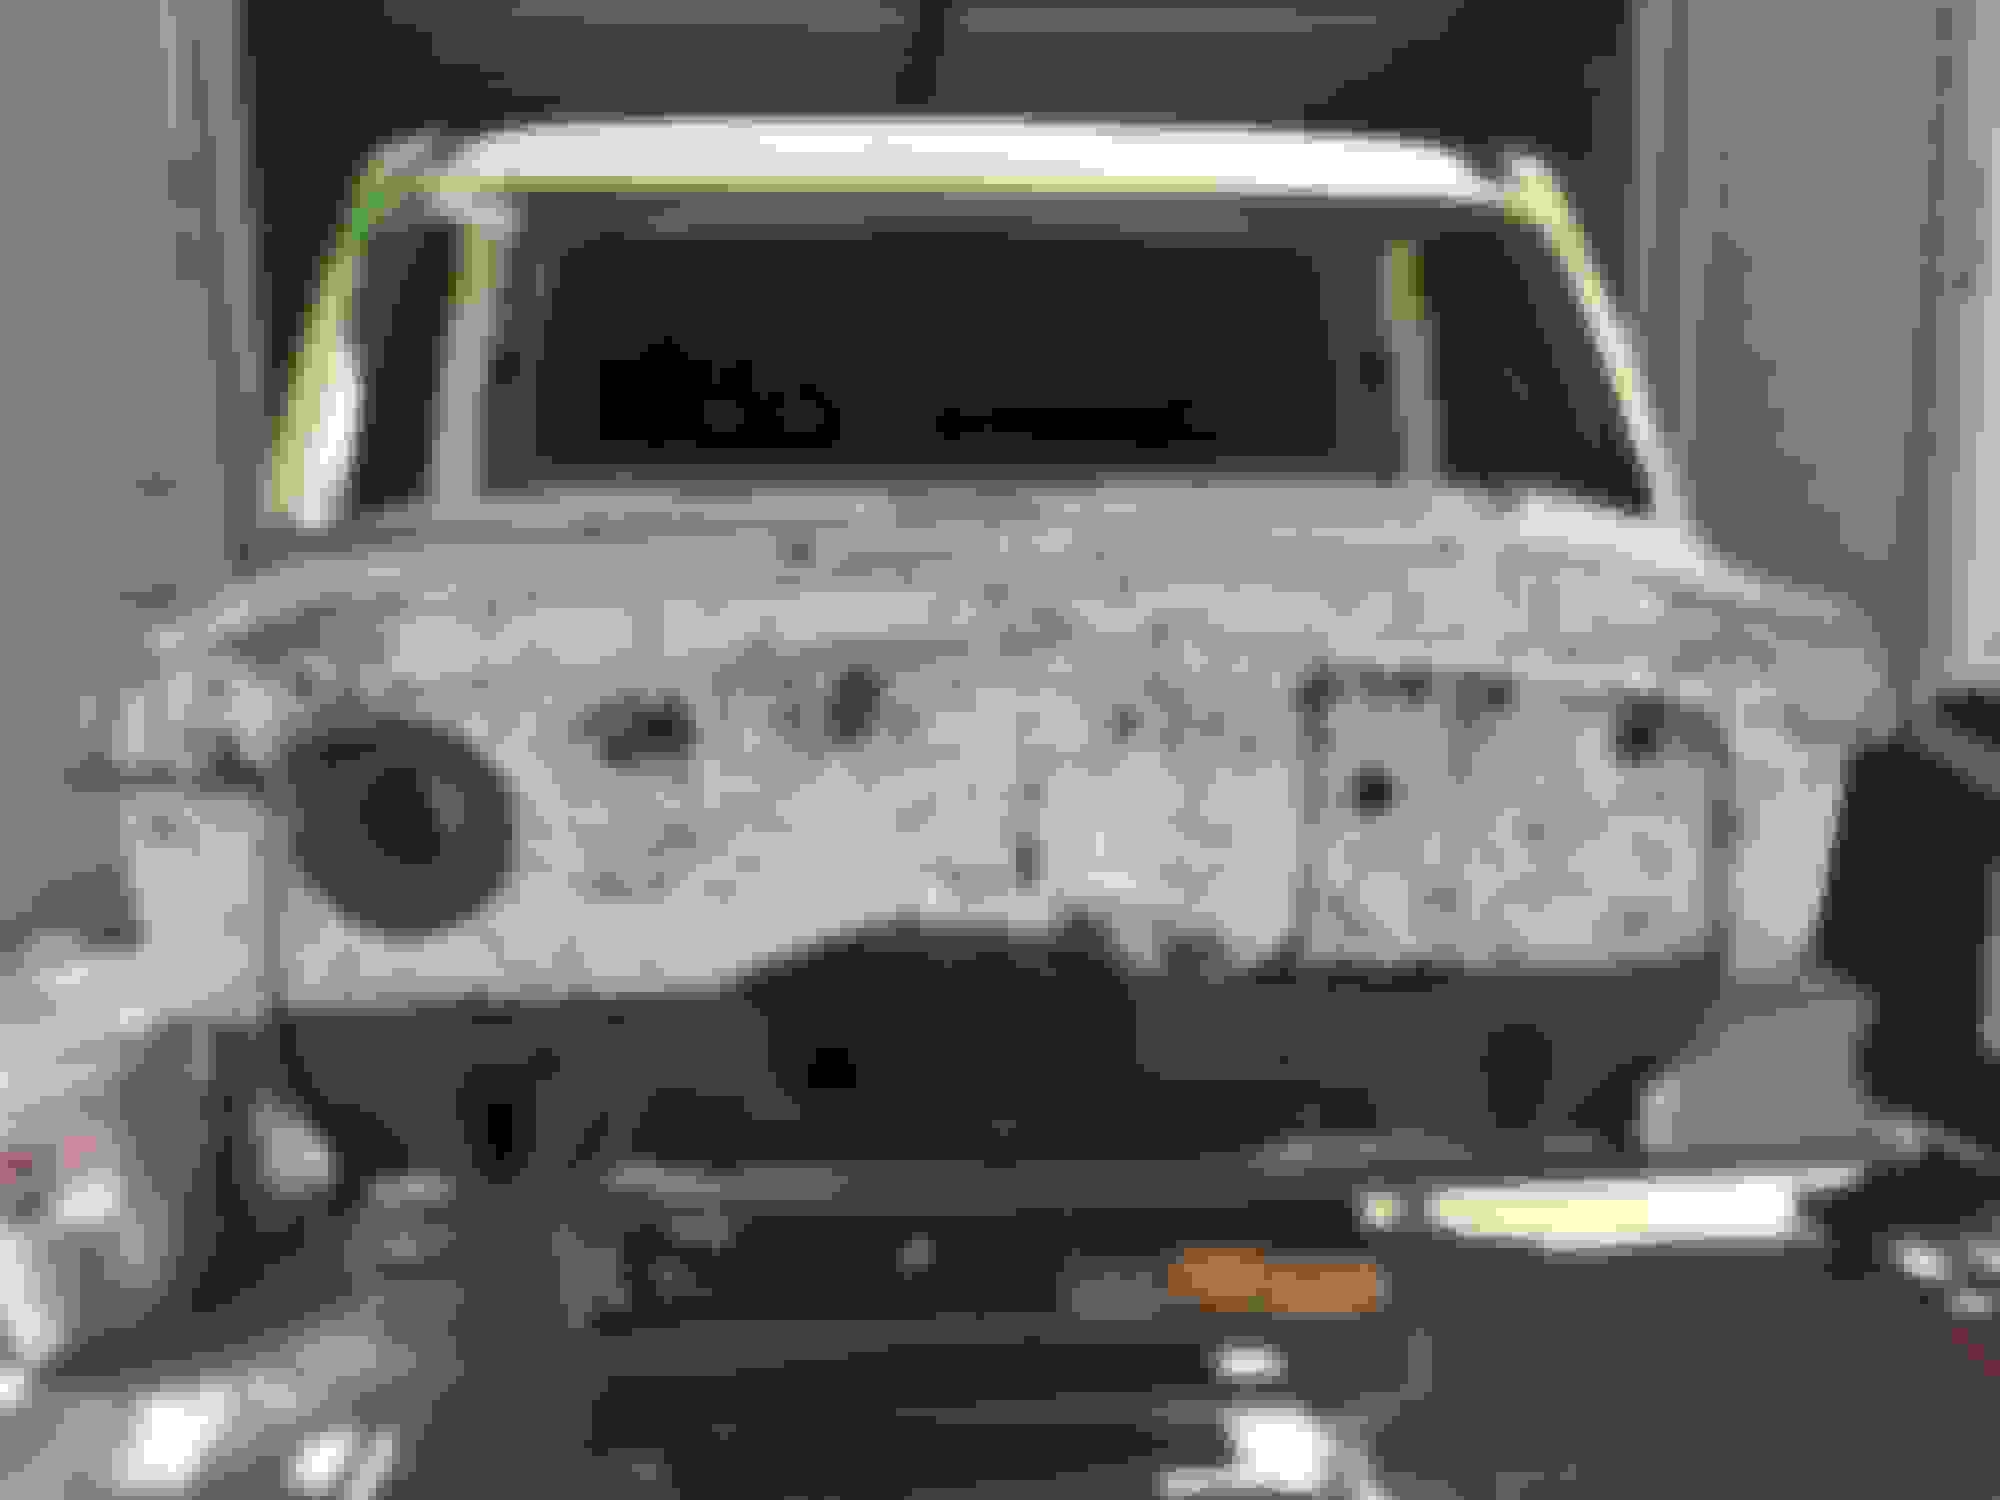
goodbye heater hose spots
fitting the piece
I wanted to show Eastwood some love. I use their MIG135 and TIG200. Both units can run on 110v so they have become my go to choice. I was using a millermatic for MIG but I actually like the Eastwood MIG Better. Anyways, this is my menards brand tool cart turned weld cart with my homemade shield gas bottle holder.
tacked in
going around so it doesnt warp
all tacked up and ready to be ground smooth
third brake light ready to be filled
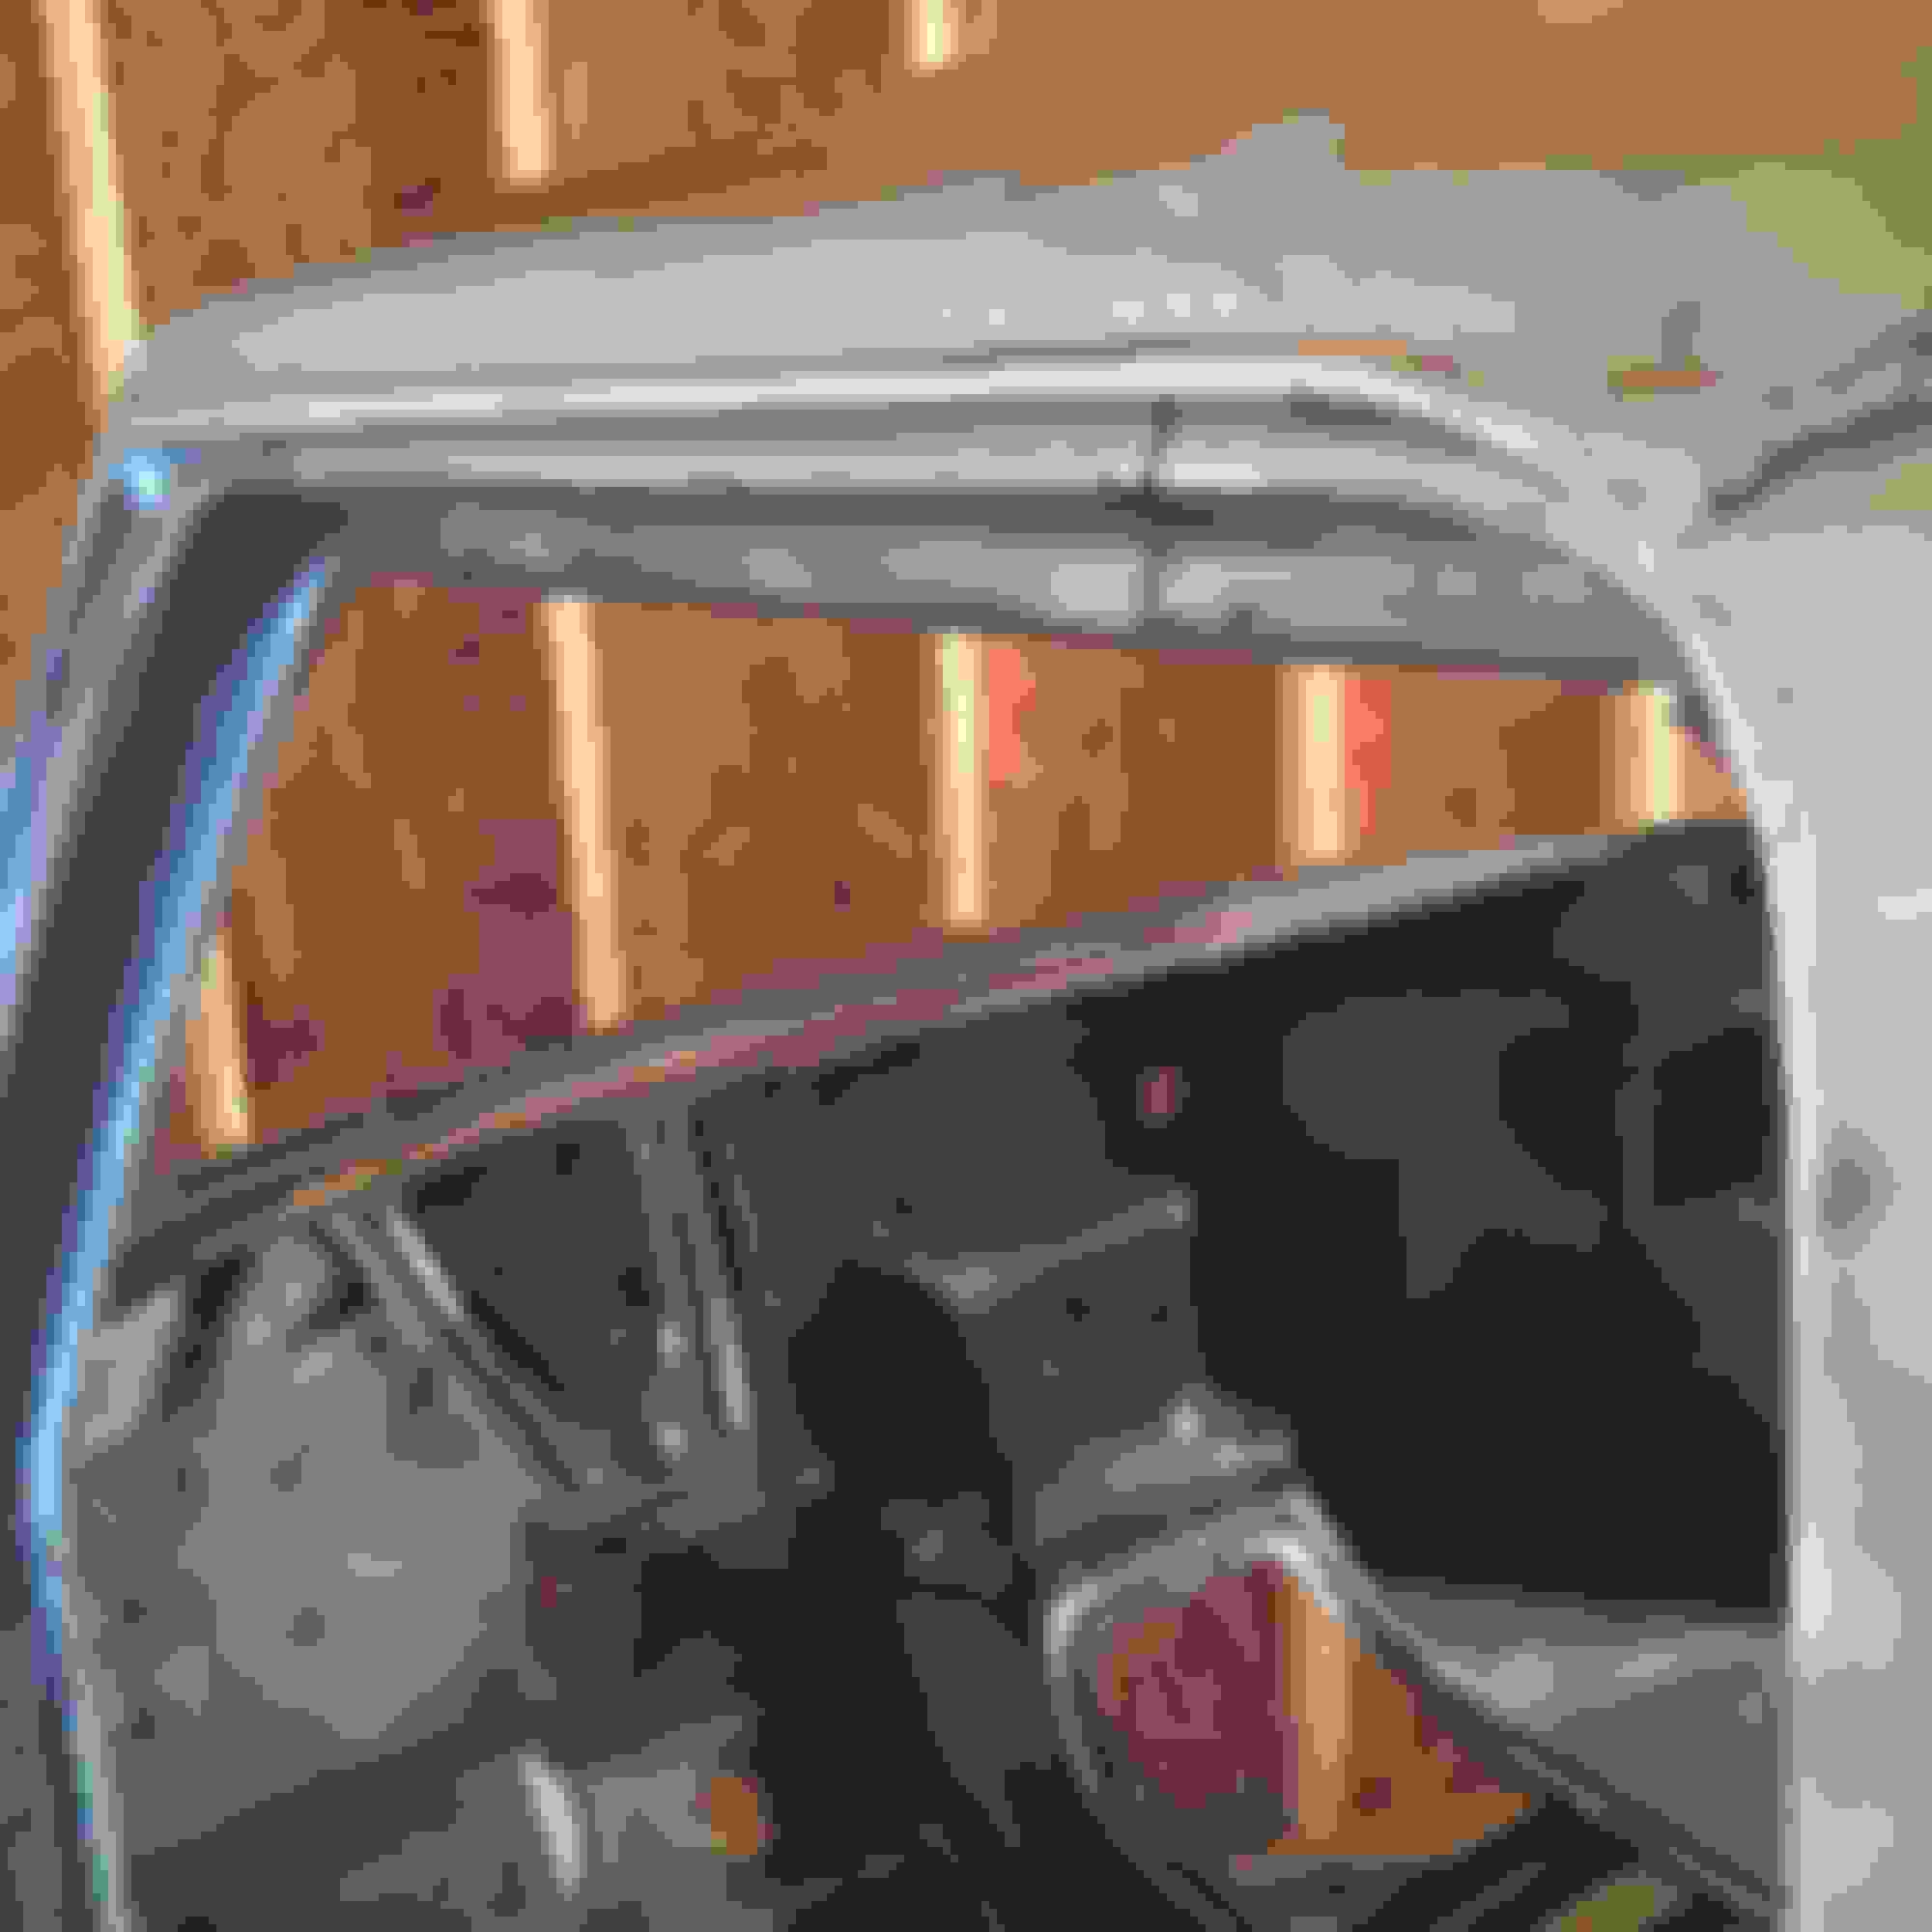
inside of the roof
donor roof.
etched out
prefect fit. Took about 10 minutes with a dewalt grinder with a cutting blade.
Great progress! I have a Eastwood Mig 175 and Eastwood Plasma VersaCut 40 and love them both. Im not very good at welding the body panels yet but Im sure Ill get better before this project is done.
I learned to weld when I started on this truck a year and change ago. man the time I spend re-tacking from blowing through or grinding down built up welds from low heat. I probably would be done already lol.
I hear that! I just came in from welding in the outer rear fenders. They dont look very good at all. I have been using weld through primer and it splatters and makes the welds look terrible. I think Im done using that stuff. This truck is going to need lots of bondo!
take a pic for people to see. Are the welds building up on the metal, are they melting all the way through the metal... I used to have problems like that all of the time and I found it was me not having the welder set up properly.
I love how this is going. You are giving me a lot of ideas, not only for my truck but for my tools as well. Awesome job so far. I know how it feels to go from a nice sized shop to a little single car garage. F-ing sucks!
I put some bedliner on the inside cab roof pieces so hopefully there will never be any rust again inside of the cab roof. I also grinded down the third brake like patch that I put in. A little more hammer and dolly work and it'll be perfect.
bedliner sprayed on.
Third brake light path smoothed out. A little more hammer and dolly and it'll be perfect!
Managed to sand down everything and get the epoxy on. It showed a few more spots that need work but I'm happy with how it came out.
Shaved drip rail
Driver side drip rail shaved
Going to weld up the antenna hole.
I was over the metal lip on the firewall where all the panels are welder together so I cut it off and smooth out the metal. I think it makes the firewall much cleaner.
No metal lip.
SPI epoxy laid down. I ended up getting some bad fisheyes on the roof. Not sure what caused it but I'll be sure to go over the truck multiple times next time.

 09-20-2015, 07:17 PM