
75 Highboy Resto-Mod Build


#273
 09-11-2014, 07:52 PM
Join Date: May 2013
Location: Arkansas
Posts: 394
Likes: 0
Received 0 Likes
on
0 Posts
After seeing the completed depth on them, I think I will have to cut a hole in the back of the headlight bucket and let them go back through the core support.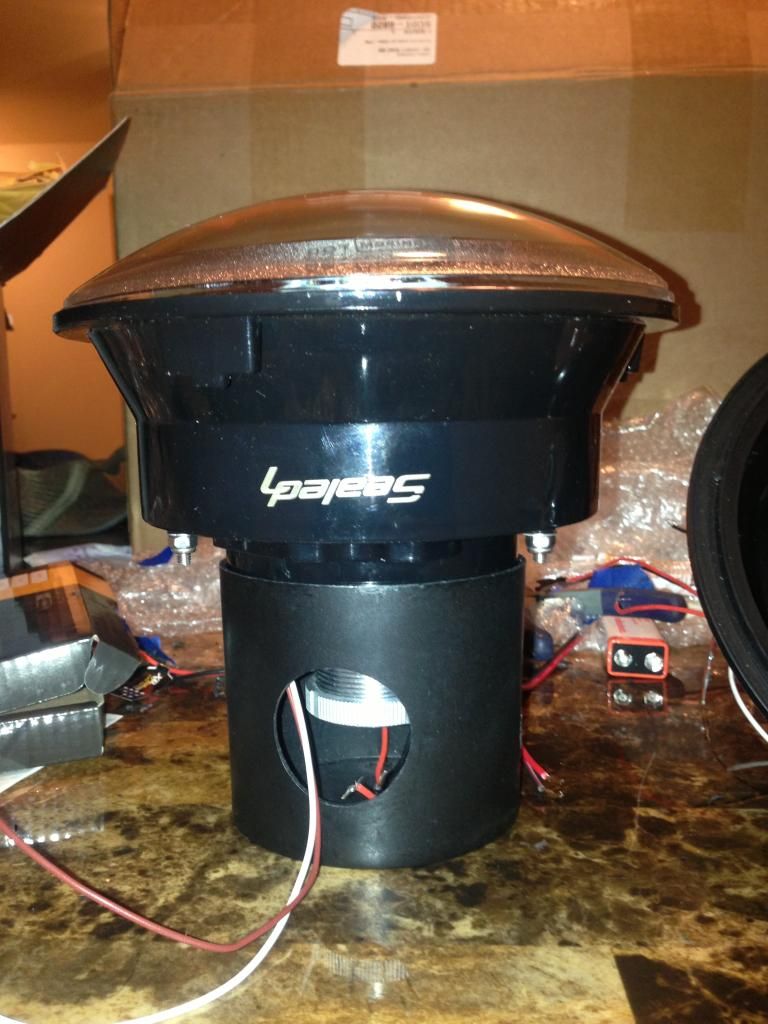
I finished everything up on them tonight but sealing the lenses up, and and installing the bulbs. I'm going to wait and do that this weekend when I'm at home and have an oven with a more accurately controlled heat setting. But I will say they're the best looking set of headlights I've ever seen for one of these trucks, if I do say so myself lol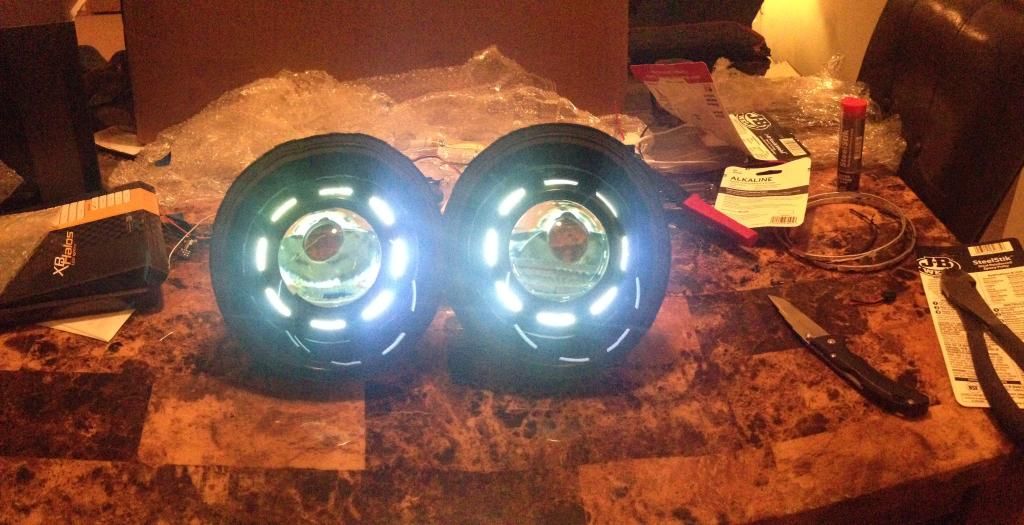
To give you guys an idea of what kind of lighting upgrade this is, here's the similar set of projectors I have on my 01 F-150. This is on high beams lol and the D2S projector for the 75 is supposed to be better than that!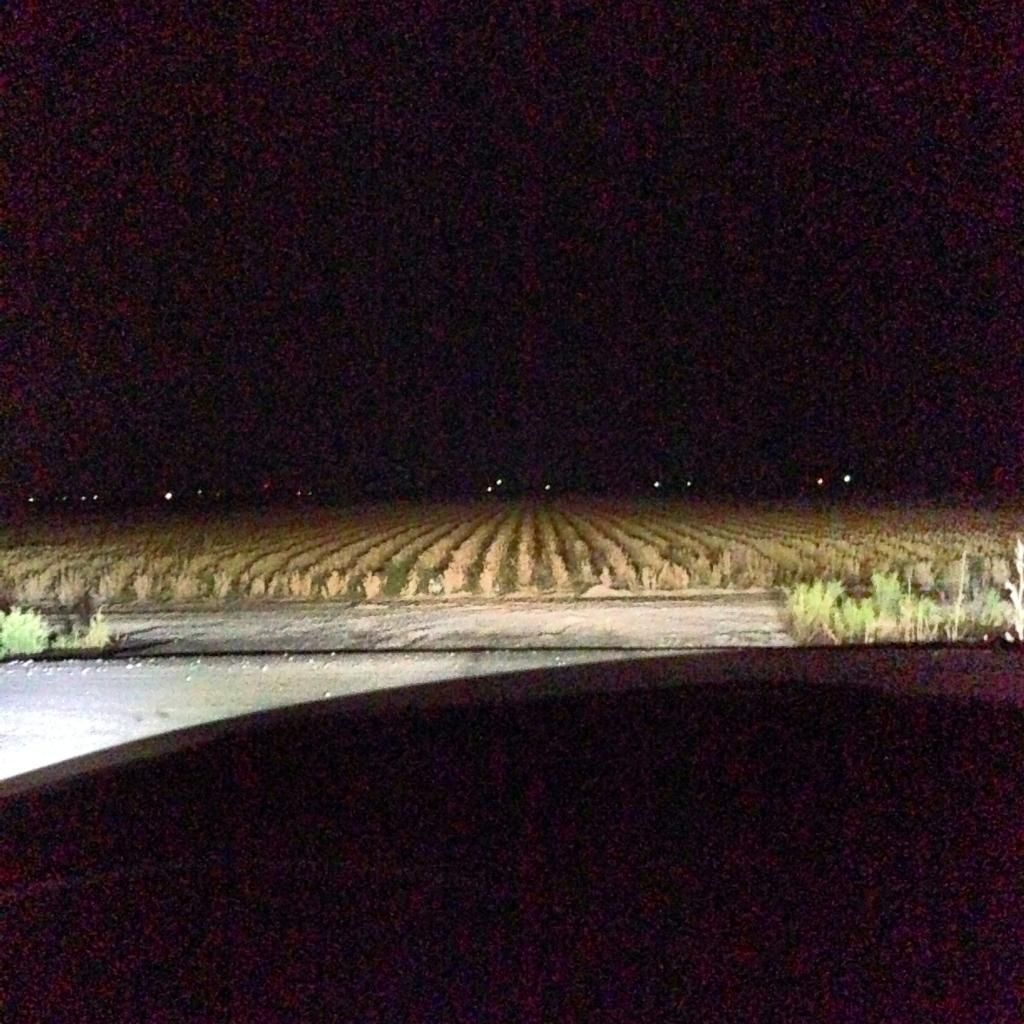

I finished everything up on them tonight but sealing the lenses up, and and installing the bulbs. I'm going to wait and do that this weekend when I'm at home and have an oven with a more accurately controlled heat setting. But I will say they're the best looking set of headlights I've ever seen for one of these trucks, if I do say so myself lol

To give you guys an idea of what kind of lighting upgrade this is, here's the similar set of projectors I have on my 01 F-150. This is on high beams lol and the D2S projector for the 75 is supposed to be better than that!

#274
09-11-2014, 07:56 PM
Join Date: May 2013
Location: Arkansas
Posts: 394
Likes: 0
Received 0 Likes
on
0 Posts
They are projectors, so they have a lens that focuses the beam of an HID bulb and makes it come out in a tight pattern with a stair step in the middle. This completely eliminates the glare from HID's I'm sure everyone is used to and hates. There's a small flap that opens up when the high beams engage that takes the stair step away and lets the full power of the light out. I went with a 6000K HID bulbs for that cool white, with a hint of blue, look, and to match the LED bars I will be using for fog lights. The plastic dome on top is mainly to protect the projector lens and make it waterproof.
#275
09-11-2014, 11:21 PM
Senior User
Join Date: Jul 2013
Location: Isla de Muerta
Posts: 307
Likes: 0
Received 0 Likes
on
0 Posts
#276
09-11-2014, 11:22 PM
Join Date: May 2013
Location: Arkansas
Posts: 394
Likes: 0
Received 0 Likes
on
0 Posts
#277
09-14-2014, 12:09 AM
Join Date: May 2013
Location: Arkansas
Posts: 394
Likes: 0
Received 0 Likes
on
0 Posts

#282
09-14-2014, 04:10 PM
Join Date: May 2013
Location: Arkansas
Posts: 394
Likes: 0
Received 0 Likes
on
0 Posts


 more detail please
#284
09-14-2014, 06:33 PM
Join Date: May 2013
Location: Arkansas
Posts: 394
Likes: 0
Received 0 Likes
on
0 Posts
You also have to cut a 3 1/2" hole in the core support behind the bucket. Where the raised area is. I also used a BFH and a piece of capped pipe to push back the edges some. It still needs a notch cut in the bottom to fully seat the light. I also cut off the extra spring bracket, and bent the used one down
Front view

View from inside the fender well. It's pushed up because I don't have the notch for the plug cut yet

Here you can see where I mounted the ballasts and moto control box. It is just like installing a regular H4 relay harness, but there's just a couple extra plugs

Where the harness plugs up

#285
09-15-2014, 06:08 AM
Thanks Tyler .. So you have to pull the grille, fender aprons and front tires ?
and on a frame off restoration would it be better to do the core support and light bucket work on the core support before it is installed ?
How much of the back of the light (inches) actually is beyond the core support into the fender well after install ?
On the beam adjustment (left right up down) on the bucket any thoughts on what might be the best way to do that now that you've done the install ?
On the OEM bucket set up there is a ring to hold the bulb in, how is the new projector held in ?
Can't wait to try this .. Here where I live, after dark, any advantage in seeing the deer is a plus .. This looks like a great way to go .. Thanks