When you click on links to various merchants on this site and make a purchase, this can result in this site earning a commission. Affiliate programs and affiliations include, but are not limited to, the eBay Partner Network.
1. @ TylorF100, I used a wire brush and a drill, took a while, but was all worth it!!
Regarding my misfire issue I had, followed the advice I got from the experts here, it seems like it might have been the ignition module that was busy failing. I replaced the module and i could here the truck was running better! But still had a idling issue and the carb kept me busy.
I then went to the UK for 2 weeks and the truck stood with no progress, when I returned I only had 1 week left before our big trip down to a yearly car show we attend, and we planned this trip long before, so after a few late nights/early mornings and with the help of my girlfriend we managed to get the 38 Weber fitted, installed a return line to the tank, made a custom intake for the carb so I can still run original filter and take the truck around the block a couple of times to get it tuned. I must say the carb mod was a big improvement, but then again, everything was replaced from fuel lines, fuel pump, vacuum hoses, ignition module, plugs, leads ect. The truck drives better than ever before! all of that fault finding was worth the it! Gives you that convinces that everything has been checked.
So after finishing the truck the Thursday, got it all cleaned and ready for the trip, we left the Friday early morning joining up with some other local cars. taking on the 400km to our destination, the truck went great, so smooth and solid I enjoyed every second of the 10hours...Yes, our average was at 80km/h as the other cars were a bit slower on the up hills..haha
I even had to tow the 1 car for a few kilometers because his gearbox got stuck it 4th, so the truck really performed well. We all made it to the show and was a great weekend. had a safe trip back and one great weekend.
I missed driving the old truck while it was out of action, but i think with all the time spent it will be enjoyed for the next few years to come!!!
Here are some pics:
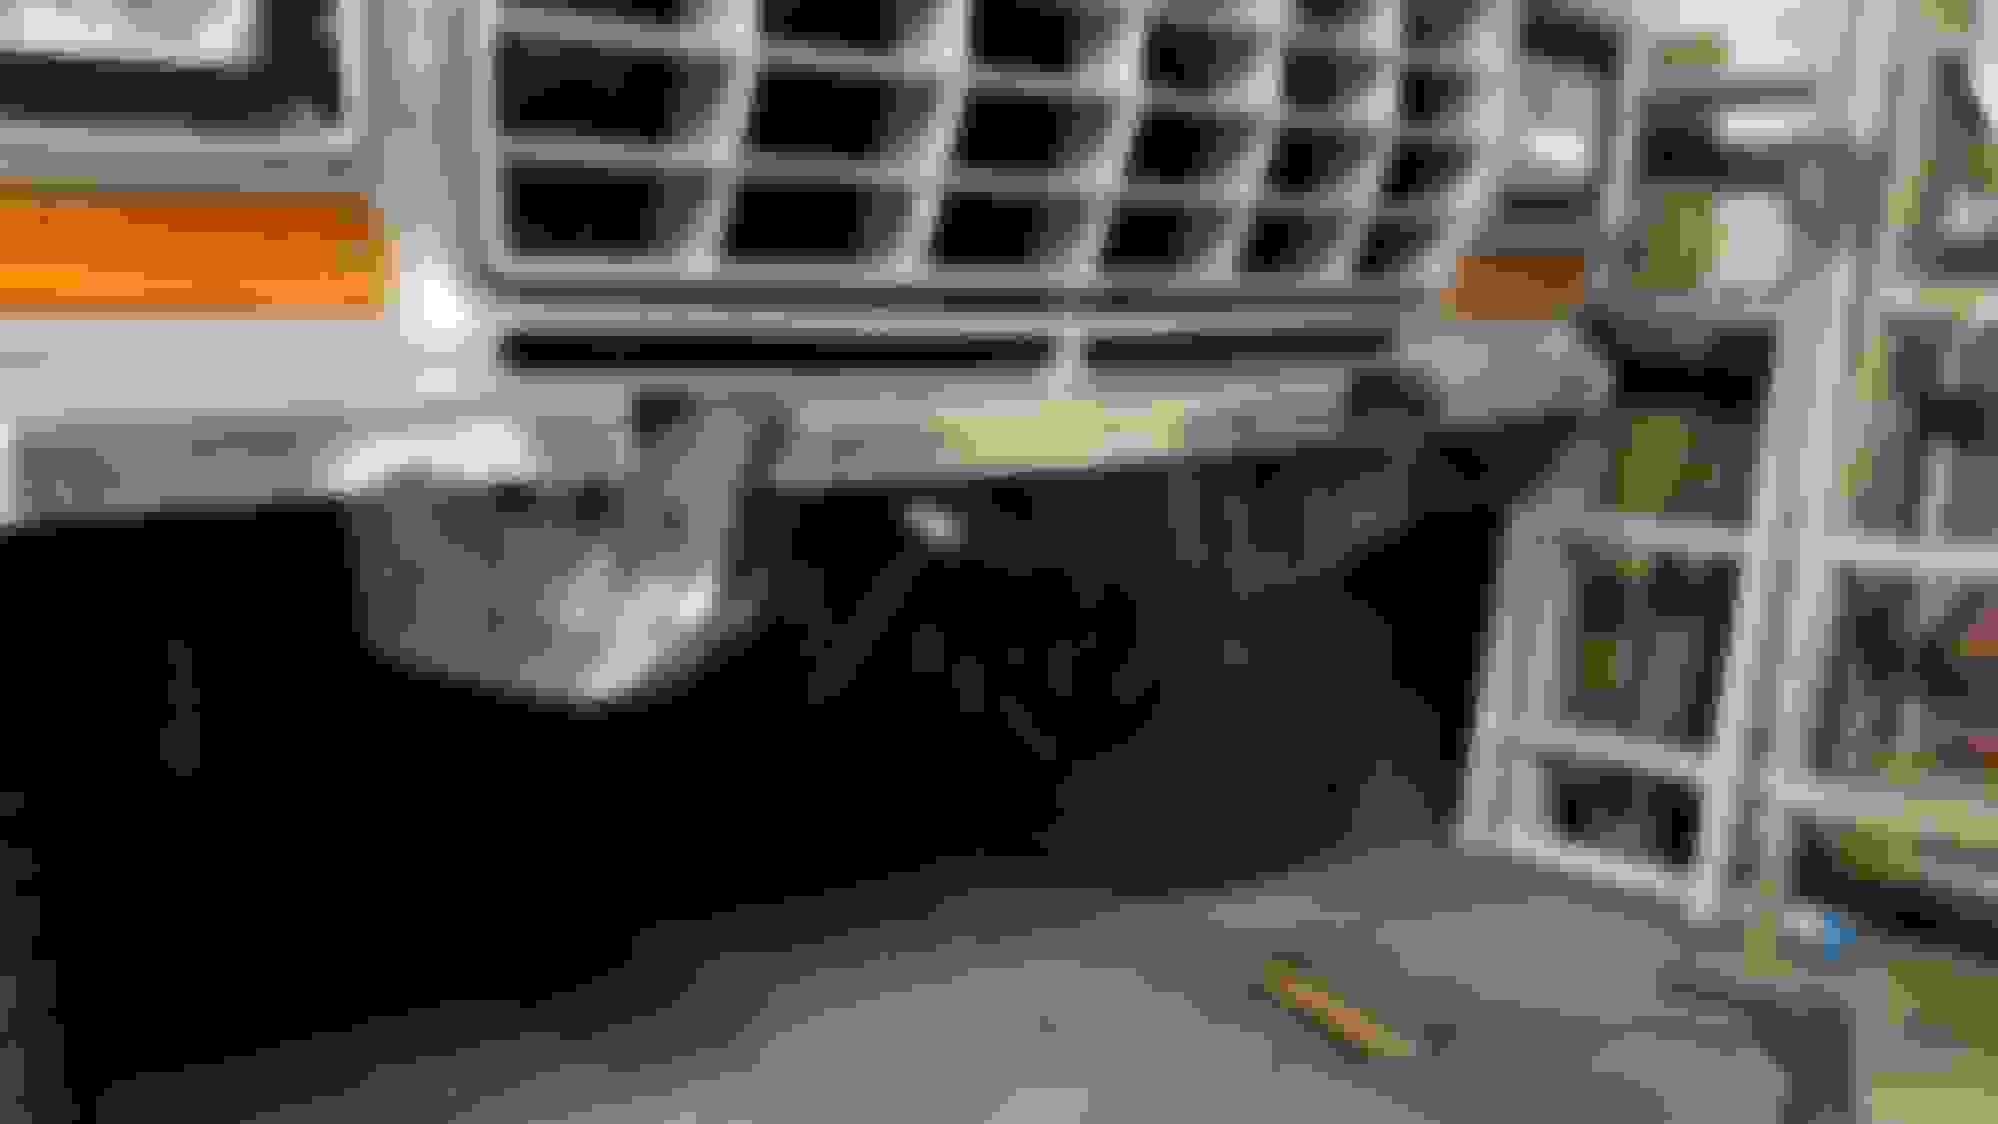
The Weber fitted and custom carb intake we had to make. Apologies for the bad photo quality.
Pit stop for some spares
This was the convoy of cars. All locally restored by the owners...
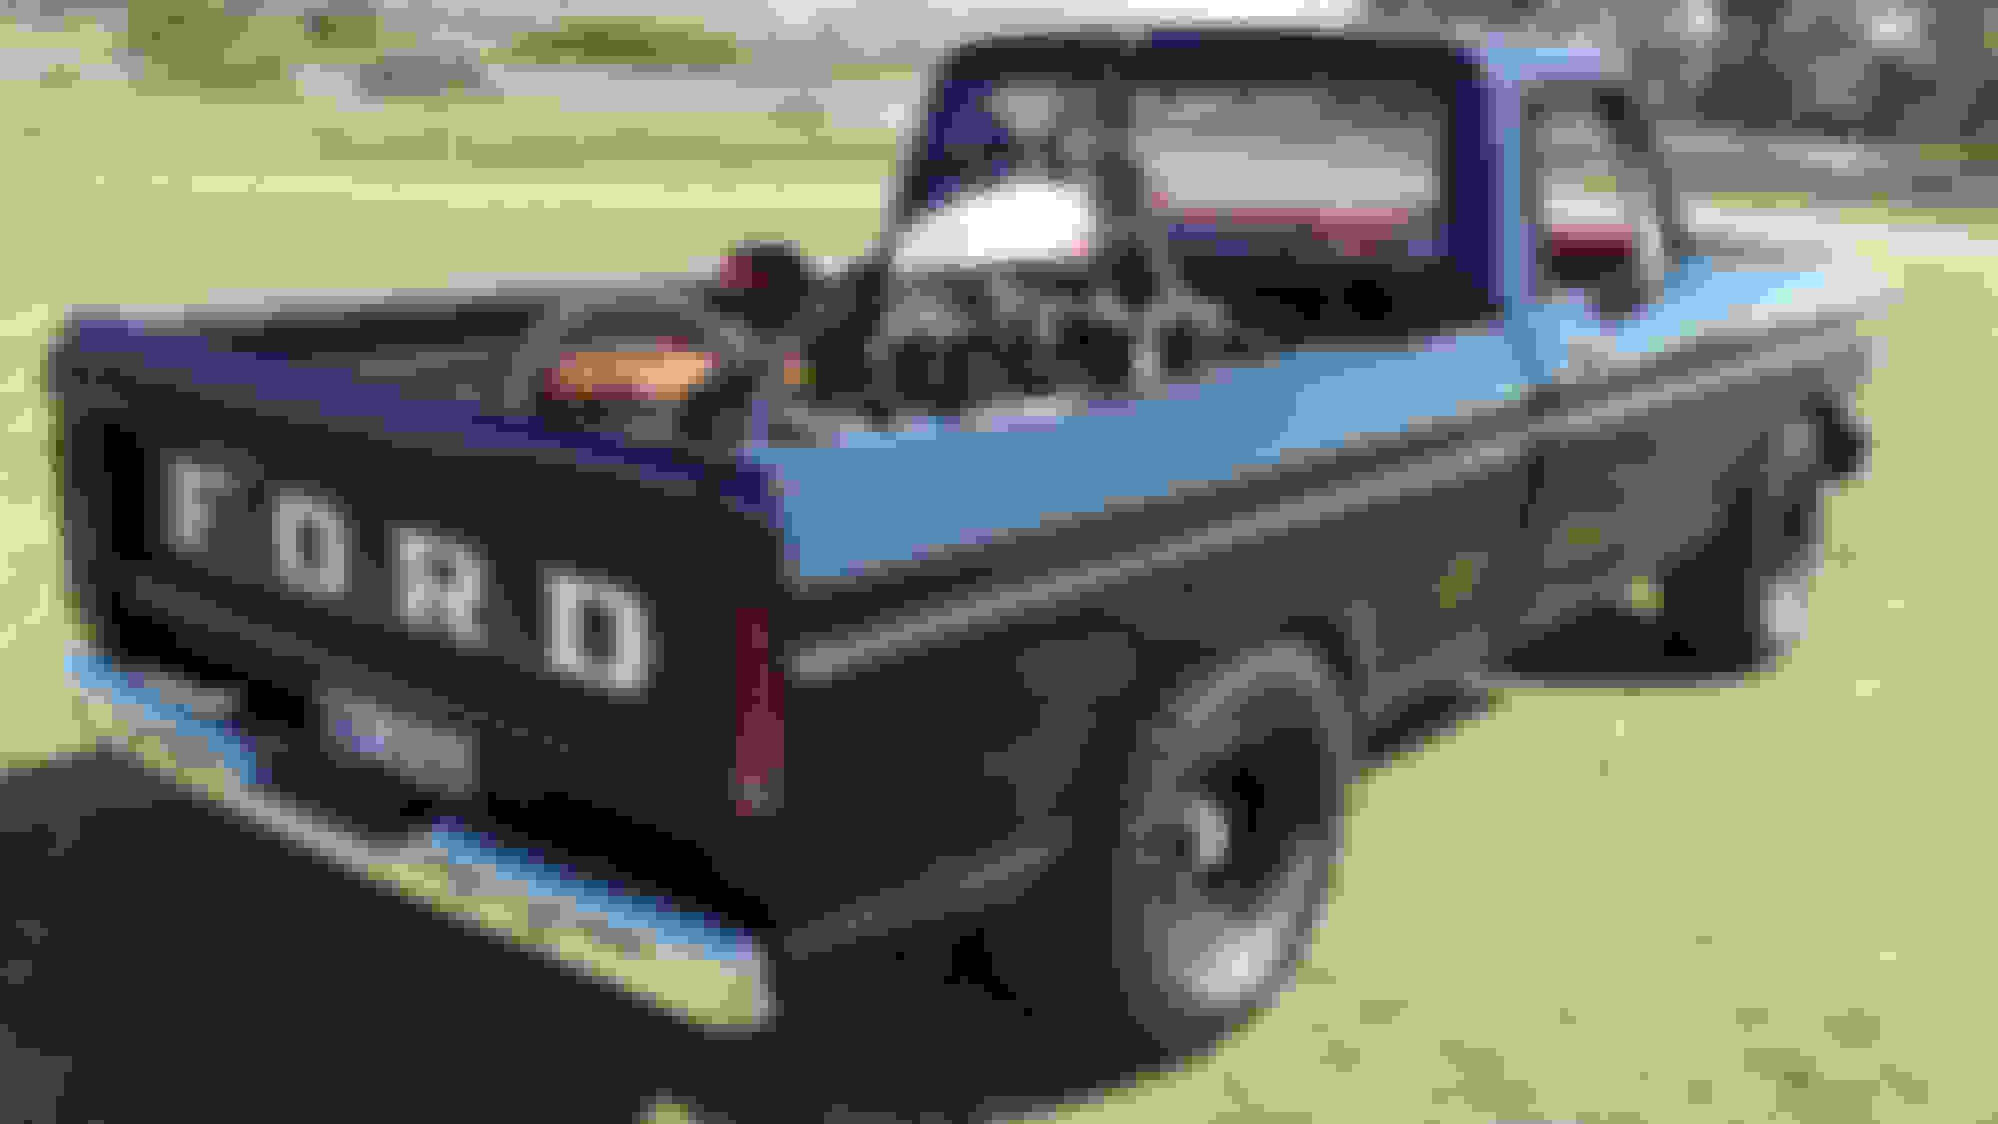
My truck at the show, the only dent out of 1000 cars. And a total of 3 Ford trucks..
My truck was performing very well the last couple of weeks. Really enjoy it. The other day my starter solenoid gave some issues so pulled it in the garage to replaced the solenoid and ended up redoing the entire suspension...the fun of having a project looking for the smallest excuse to do more upgrades.
I removed rear leafs and front coils, took it in to get tension, I also added two leafs in the back and longer U bolts and set of new shocks. Removing everything was quite simple and just getting some old rusty bolts loose was probably the biggest concern. Surprisingly the fitment was just as smooth and all in a few hours. completed the installation yesterday so have not net test drive the truck. but over all the stock height did improve a bit. I am in the process of doing a 2" body lift. getting everything in place for that. Also planning a custom roll bar to accommodate the spare wheel.
Other than that I just want to share my progress with all you guys.
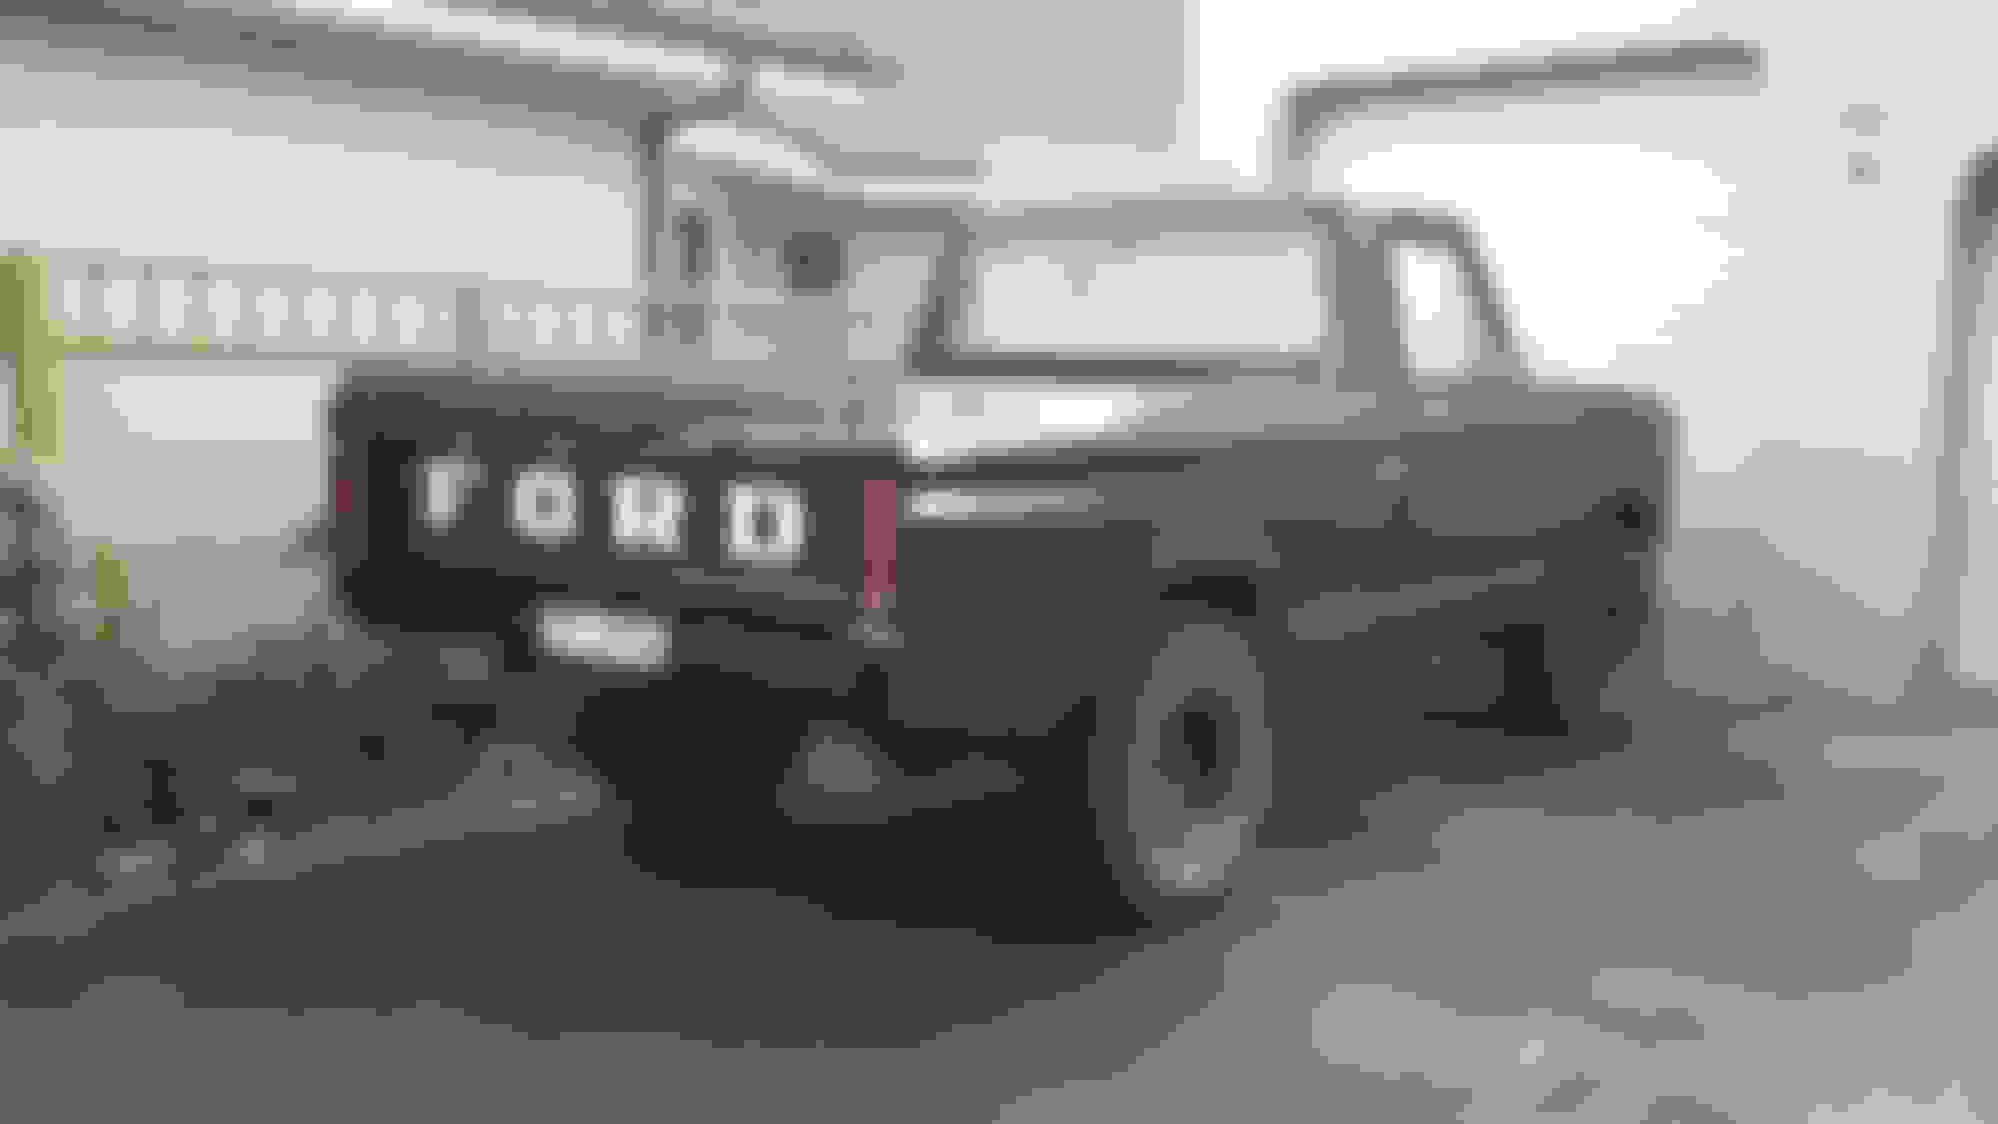
Mufasa and Nala with the F100 in the back. That was the height before the upgrade.
Installation...
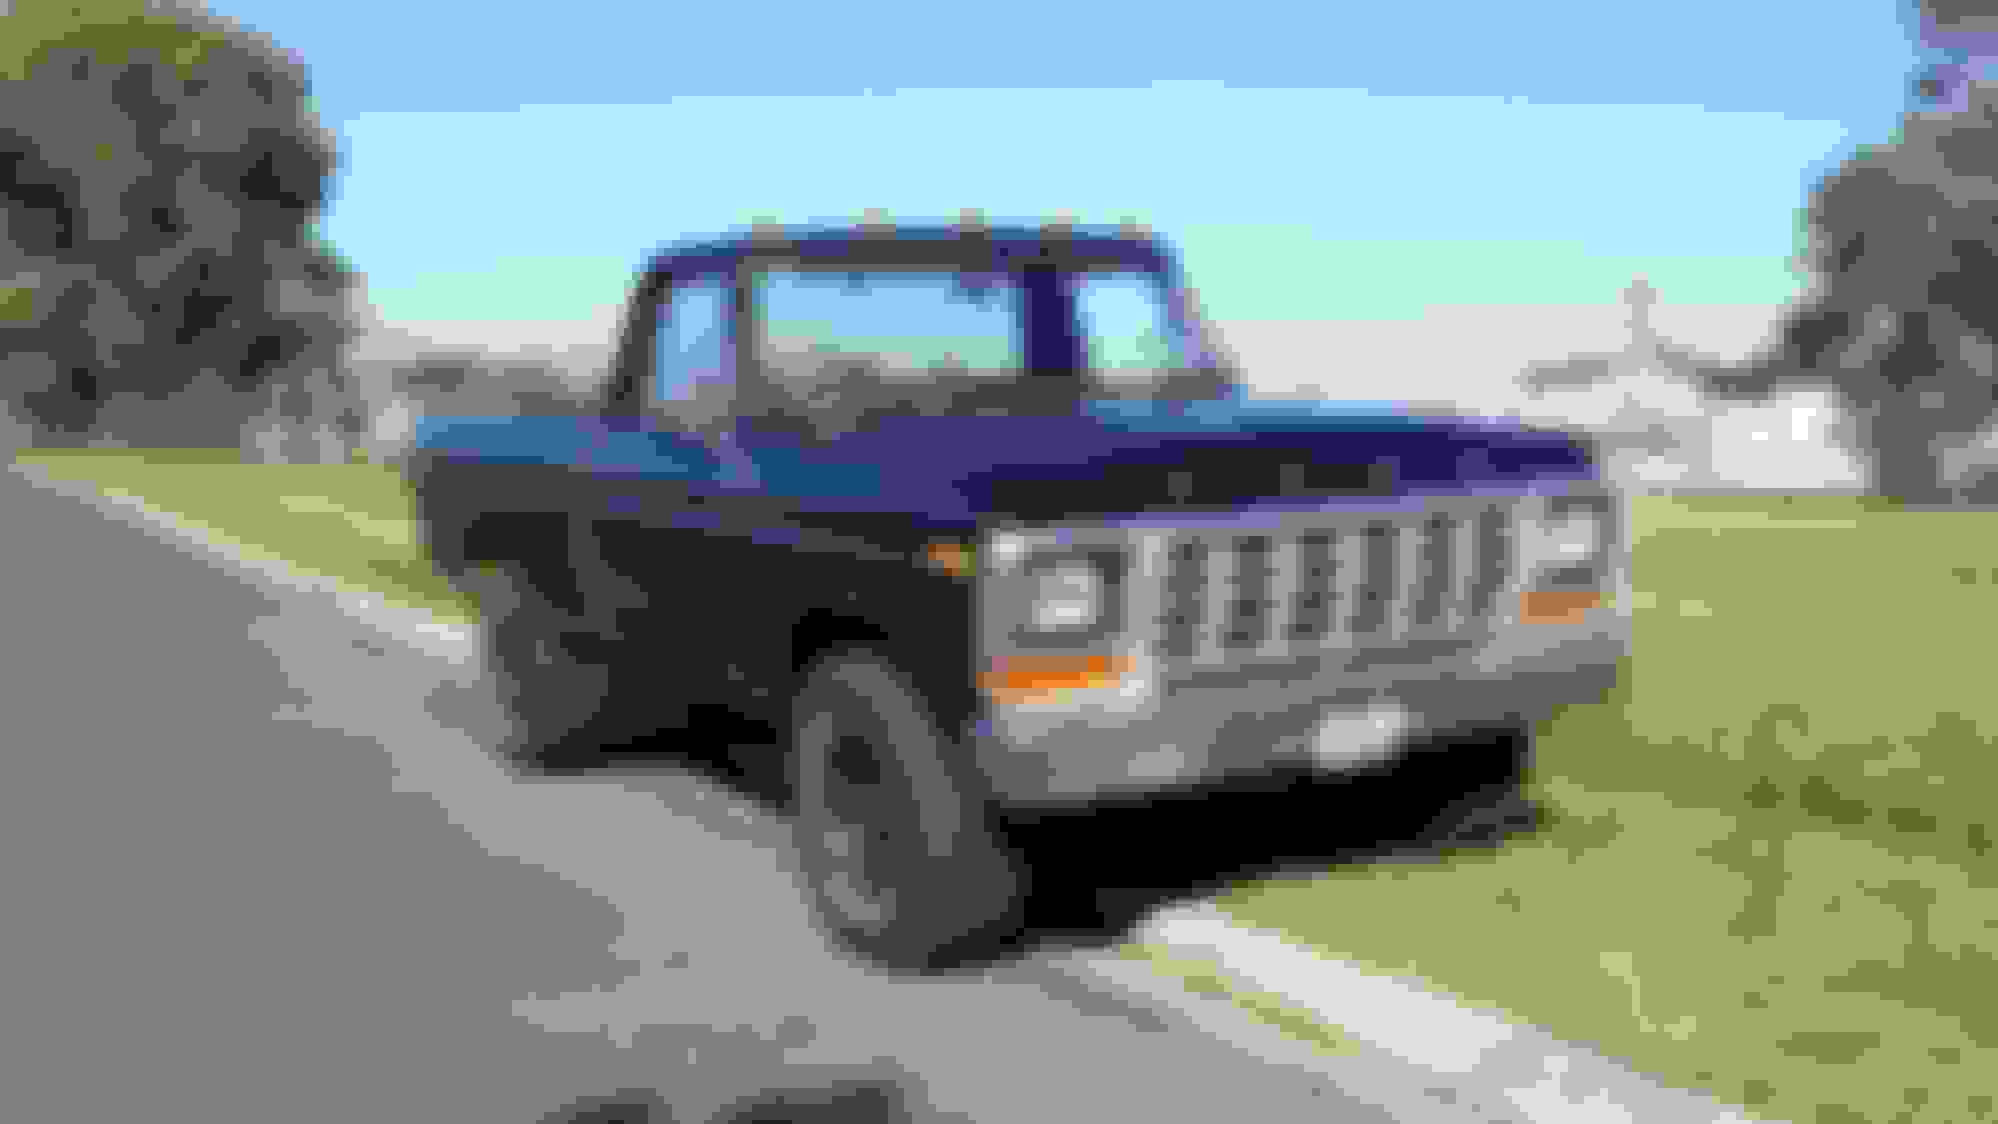
The ride height after the new leaf and springs. still need to fit the body lift in the next week or so.
Here are some more pics of my restoration process. This was the cab and chassis after removing the load bin. Space was limited so I have the truck parked at my girlfriends place and had to move the rest to my place.
So heres how the cab looked like...
Using my dads boat trailer to transport the bin made the job easy!
Removing the little bit of rust from the bonnet and bin... Taking up all the space in our yard. Parents where not to happy about the grass dying haha
So I first cleaned the chassis, gave it a anti-rust coating and resprayed it.
Primer the Cab. I am planning to make it gloss black again. Have to choose between Matt and Gloss...think the gloss is just more original!
Here is the load bin, bonnet and tail gate a sprayed the first primer coating. I will be taking it back to the cab when it comes to spraying the color.
The tailgate was badly rusted but I could not find a better second hand one and the new ones don't have the FORD logo on it.. which I Like so I fixed this one up...
Will keep you guys updated with the progress. thanks for all the comments and advice!
Justin
I'd love to see more pics and info on the tailgate.that Ford script sparks an idea
@Ernie thats the stock tail gate used on the South African built models. Finding a good one here in SA its quite difficult. So making the best of whats available. But let me know what info and pics you need and ill take it for you
I have a question... I am currently in the process of fitting a 50mm body lift to get more clearance between the arches and the tyres. Anyone that has done this before that can give some advice on what to do with the steering column that is a bit miss aligned with the steering box.
So I have attempted the 2" body lift on my truck. After reading most of the comments on this site i get the hole lifting a 2wd thing, but seeing that im not a fan of a lowered truck. i did the body lift to get the truck more balanced regarding wheel and body size, as the stock hight did not fit the 33" tyres.
For me im happy with the end result. all worth it. truck drives nicely. Here is what i had to do to get it fitted.
1. Made 14 x 50mm spacers from a 75mmx1000mm nylon rod.
2. Got 6 x 150mm x M12 bolts for the cab and 8 x 120mm x M12 bolts for the bed.
After installing the mounts I had change the following few things.
3. The front chassis that holds the bumper I moved up with 50mm
4. the steering column did not line up with the steering box, so i cut 50mm down on the fire wall to eliminate any strain on the steering linkage. I then added a small spacer where the column bolts to the dash to keep alignment in place. After that the steering was perfect.
5. Regarding the shifter, I have a floor shift conversion kit, so was not really effected, I just had to trim the one side (closer to the seat) with about 10mm to ensure it does not touch the floor when in 2nd gear.
6. I did not fit the rear bumper as im going to custom make one with the roll bar im busy with.
With the stock suspension refurbished i gained about a 2" lift in the rear and 1" lift infront, adding the 2" from the body lift I managed to get about an overall 3" lift
Here are some pics
final mounts made with a M13 centre hole
50mm cut out for steering column
spacers to keep steering column aligned
stock hight for bumper mounts on chassis after the lift
I met up with some other Ford guys in town for the 1st time. We went for a drive and was great meeting other Ford owners and sharing the experience. They had awesome trucks and looks like we will be doing a lot more events. Really enjoyed seeing other F-series on the road. I did about 200km today and truck was running better that ever. Then got home. Went down to the beach for a surf. As a prked the truck...snap and no steering...sounded like the box. Got it on a flat bed and back home again. Out of all the km's travelled it could not have happend at a better time. Very lucky.
So new box on its way and hopefully in by the weekend.


 02-17-2016, 02:00 PM