When you click on links to various merchants on this site and make a purchase, this can result in this site earning a commission. Affiliate programs and affiliations include, but are not limited to, the eBay Partner Network.
Here are some more detailed pictures of the new bed. It needs some work, but the front panel is solid, the tailgate is solid, 2 out of 4 of the stake pockets are solid and there is minimal rust on the bed sides and fenders. This will save me some money and a lot of time in rust repair.
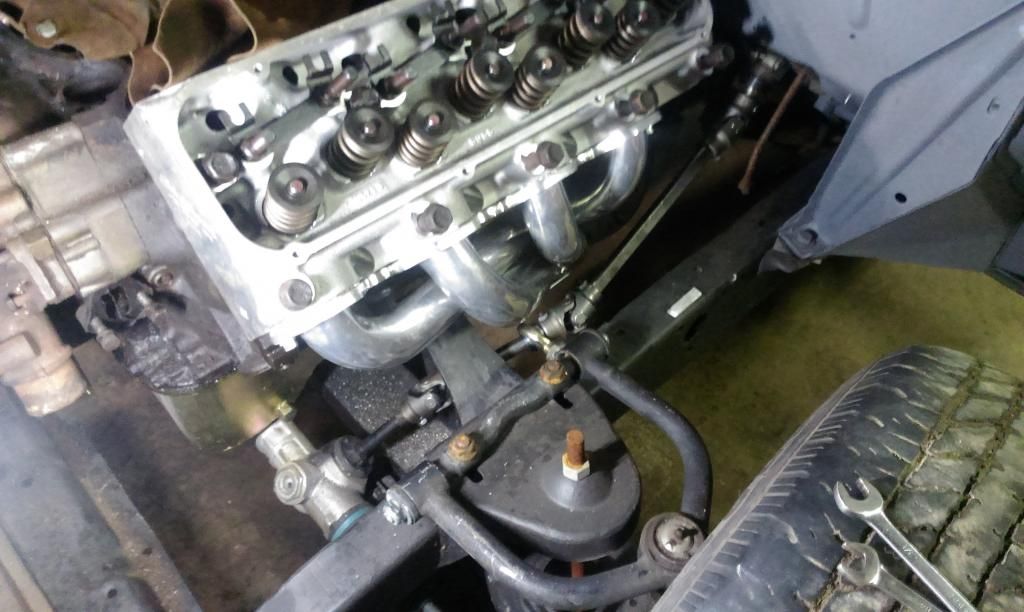
So i got the steering shaft situation sorted out now. One of my teachers from high school helped me turn the double d shaft down to the inside diameter of the steering shaft and then perimeter welded and plug welded them together.
Truck bed floor looks like it's rusted some... and sounds like your replacing it with something else. Is any of the floor in good enough shape to use as patch panels, I'm looking for patch panels for mine? Please let me know.
Truck bed floor looks like it's rusted some... and sounds like your replacing it with something else. Is any of the floor in good enough shape to use as patch panels, I'm looking for patch panels for mine? Please let me know.
I'll have to take a look tomorrow, but im pretty sure its solid other than around the edges and one or two other spots.
The steering linkage is now pretty much done. Next time i pull the motor i will finish welding the nut that is holding the support bearing to the frame. I only have the top half welded now.
One thing i found that kinda pissed me off is that the rack mount bushings are already dry rotted and need replaced. The truck hasn't even been on the road yet! I think i might try some urethane bushings instead of rubber. Anybody have any experience with those?
Next up will be brakes. I got all the brake hoses and hardware needed to route my lines, so i'm gonna get that done next. The one thing im still deciding on is where to mount the proportioning valve. It is adjustable so i wouldnt mind having it somewhere that is easily accessible, but i don't want to mount it so far away from the master cylinder that i need a bunch of extra lines.
Started on the brake lines. Got the proportioning valve mounted and the lines bent from the master cylinder to there. I also started looking at how i wanted to route the front hoses.
Got most of the brake lines done today but ran out of line. I did the line to the right front caliper, the line to the rear brake hose and the line from the t on the rear to the left rear caliper. I also got my rear calipers painted. I'm very glad my dad got a hydraulic flaring tool. It is so much easier. Just waiting on the brake line to get here now.
Brake lines are now done. Just waiting on a replacement front caliper as it had the wrong inlet size. Next I have to decide how i want to fill the master cylinder. Should I cut a hole in the floor for access or run a remote fill reservoir? I'm leaning towards remote reservoir but I kind of wanted to find a vintage looking reservoir but I can't find many and the ones I do find are way more than i want to pay. Should the reservoir be a specific brake/clutch reservoir or could I custom make something that looks vintage?
looks good!
You can use anything that can be made air tight, brake fluid absorbs moisture so you dont want air to be able to get in. Your call on remote or not, if all is good you should not have to access the fluid very often other to check on the level.
Not vintage, but the 92 Camaro with T56 tranny used a hydraulic clutch MC (uses brake fluid) with a remote rez that is small and translucent white plastic. Here's a pic of the entire assembly:
Rez is the whitish part in the lower right corner with the black tube leading to the Black nylon MC.
Not vintage, but the 92 Camaro with T56 tranny used a hydraulic clutch MC (uses brake fluid) with a remote rez that is small and translucent white plastic. Here's a pic of the entire assembly:
Rez is the whitish part in the lower right corner with the black tube leading to the Black nylon MC.
I might end up using something like that (I'm using the same Camaro master cylinder) but I was hoping to find something that looked a little more vintage. Something that isn't plastic, even though plastic is more convenient.
 12-08-2014, 06:30 PM