5.9 Cummins in 56 C.O.E.
#16
 07-30-2012, 01:44 AM


Hi Josh  ,
,
It's great to here from you. I hope this info helps.
I don't think I'll ever get it together. Your little saying at the bottom of your posts fits me to a tee. Over 10 yrs. ago I took my 1940 Harley apart to repaint it. Then I thought I had a use for the coe so started working on it, the Harley is still in pieces. Then I decided I needed my 54 M-350 on the road more so than the coe so now I have three projects on the go and not enough time for one. Oh, I forgot about the 56 F-100 buried some where in my shop.
I am not at all familiar with pre 53 coe's but the amount of room I have for the gas pedal in my 56 I think it would be a real problem in a 52 or earlier coe. If one could get the DD mounted low enough to get the valve covers below the floor boards I think it would solve many problems. Looking at 48fordcoe's picture of the 350 I would consider removing the air cleaner and making a 90 degree snout and mount the air cleaner on the fire wall like they did on the 53-56's. Maybe the 52 and earlier ones had the same set up, if so that would be even better.
As far as what chassis to use I guess there's pros and cons which ever way one goes and personal tastes. With the original frame power steering is a major problem. I will post some pics and explain what I did later. Using the Chevy frame and running gear one would have newer and matching components, of coarse you have probably already thought this out.
Later- Rod
,It's great to here from you. I hope this info helps.
I don't think I'll ever get it together. Your little saying at the bottom of your posts fits me to a tee. Over 10 yrs. ago I took my 1940 Harley apart to repaint it. Then I thought I had a use for the coe so started working on it, the Harley is still in pieces. Then I decided I needed my 54 M-350 on the road more so than the coe so now I have three projects on the go and not enough time for one. Oh, I forgot about the 56 F-100 buried some where in my shop.
I am not at all familiar with pre 53 coe's but the amount of room I have for the gas pedal in my 56 I think it would be a real problem in a 52 or earlier coe. If one could get the DD mounted low enough to get the valve covers below the floor boards I think it would solve many problems. Looking at 48fordcoe's picture of the 350 I would consider removing the air cleaner and making a 90 degree snout and mount the air cleaner on the fire wall like they did on the 53-56's. Maybe the 52 and earlier ones had the same set up, if so that would be even better.
As far as what chassis to use I guess there's pros and cons which ever way one goes and personal tastes. With the original frame power steering is a major problem. I will post some pics and explain what I did later. Using the Chevy frame and running gear one would have newer and matching components, of coarse you have probably already thought this out.
Later- Rod
#17
07-30-2012, 02:10 AM
More Turbo
Join Date: Jan 2007
Location: Wichita, KS
Posts: 538
Likes: 0
Received 0 Likes
on
0 Posts
#18
07-30-2012, 02:21 AM

#19
07-30-2012, 07:07 AM
The motor would had fit with plenty room it the radiator and air cooler would to be custom made to fit in 25 inch . I have try everything to post picture on the diamond t, I just can't learn how it works on there form. Garry has alot of work make his coe tow truck to make work and you will need a sport car to keep up with him on the back roads around his home . All the people on here and all form that have car or truck builder are incredible. Back ago I post a link of a guy making a 3 door and widen the cab 6 inches on both side it so of the best metal work I have ever seen, the roof with no paint on it shine better then most new car.I wish I had put the cummins in my 52 F-7 ..
#20
07-30-2012, 11:39 PM
I have been doing this thread because I was asked how much room the 5.9 took up in the cab. That is why I started this thread in the cab but this only tells half of the issues so I should start at the beginning of the engine installation. Sorry I don't have many pics of the beginning as my camera went for the big one. I took a number of pics but when it came time to retrieve them they were junk so I will do what I can without them.
The first thing I did was temporarily mount the rad. To do this I cut the coe rad support so that I only had the bottom and the front of it remaining. Then I welded a plate into the bottom with holes for the rubber mounts on the Dodge rad to sit into. I then put the rad and shroud onto the support and bolted the air deflectors on.
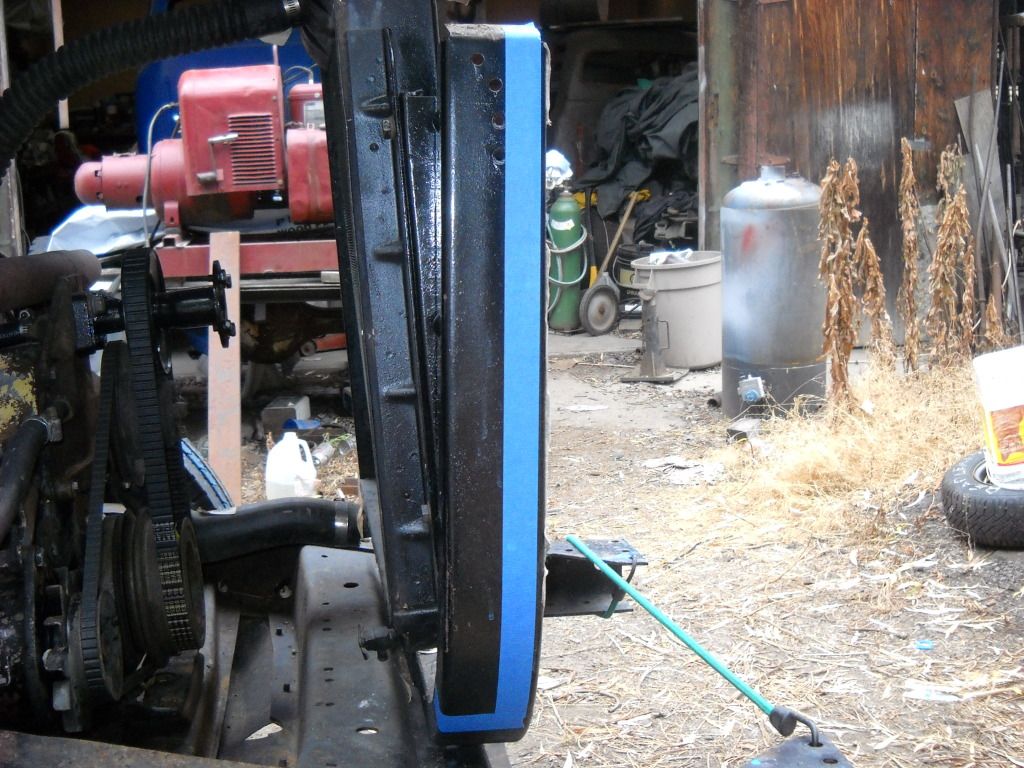
This is not the coe rad support but it hopefully shows how I cut it. By doing this it brought the rad at least 3 in. forward.
The first thing I did was temporarily mount the rad. To do this I cut the coe rad support so that I only had the bottom and the front of it remaining. Then I welded a plate into the bottom with holes for the rubber mounts on the Dodge rad to sit into. I then put the rad and shroud onto the support and bolted the air deflectors on.
This is not the coe rad support but it hopefully shows how I cut it. By doing this it brought the rad at least 3 in. forward.
#21
07-31-2012, 12:04 AM
#22
07-31-2012, 12:17 AM
so is that blue masking tape marking where you cut the coe rad support? I think I understand what those pics show.
I also can see what 48fordcoe is saying about fitting the radiator.
I measured the width of the radiator on my p-20 stepvan with the 6.2l the dang thing is near 41" wide... I think the original 52 coe rad is near 28'
the donor 5.9 radiator fit in there? that radiator may be an option for me,
thanks, looking forward to more
#24
08-01-2012, 12:25 AM

New User
Join Date: Jun 2012
Location: Graham Wa USA
Posts: 10
Likes: 0
Received 0 Likes
on
0 Posts
48fordcoe I would like to contact you. Could you e-mail me? I have a couple of questions about your awsome green COE.
Thanks- Steve
nwcascades@yahoo.com
Thanks- Steve
nwcascades@yahoo.com
#25
08-02-2012, 10:34 PM
so is that blue masking tape marking where you cut the coe rad support? I think I understand what those pics show.
I also can see what 48fordcoe is saying about fitting the radiator.
I measured the width of the radiator on my p-20 stepvan with the 6.2l the dang thing is near 41" wide... I think the original 52 coe rad is near 28'
the donor 5.9 radiator fit in there? that radiator may be an option for me,
thanks, looking forward to more
I also can see what 48fordcoe is saying about fitting the radiator.
I measured the width of the radiator on my p-20 stepvan with the 6.2l the dang thing is near 41" wide... I think the original 52 coe rad is near 28'
the donor 5.9 radiator fit in there? that radiator may be an option for me,
thanks, looking forward to more
Yes the blue masking tap is where I cut the rad support leaving only the very front and bottom. The one shown is actually my M-350. The over all width of both rad supports is 30''. The parts book shows different part numbers but I have no idea what the difference is. Both rads are 26'' wide over all. Keep in mind these are 1954 and 1956 rad supports. The 1992 Dodge (5.9) rad is 30 1/2" wide, 4 1/2" wider than the rad support. I will try to find a top view pic.
I do not have a pic of what this looked like originally. If anyone has a pic please feel free to post it.
I originally thought the one on a conventional would be similar but it isn't.
I also need to recheck the measurements in the above statement as it contradicts its self. Sorry.
OK - I did some editing and hope it makes more sense, forgot the word rad in the one measurement statement.
I should also mention that I welded wings onto the top outside of the rad support for the Dodge rad mounts. Sorry but I don't have pics of these and can't really get a good pic because of their location. It's been about 8 yrs. since I did this so I'm at times working with a poor memory. Sorry.
I still need to add braces from the fire wall to the air deflectors, similar to the ones on a conventional that go from the front of the fender area to the firewall, to stiffen things up. I will try to use the rods and brackets off a conventional.
Cutting the rad support and air deflectors the way I did does concern me quite a bit. Hopefully I haven't taken to much strength away. If it was a conventional I think it would be more worry some.
More to come, I must leave for awhile.
Last edited by old ugly; 08-10-2012 at 10:29 PM. Reason: I reread the post and realised I goofed in a few places.
#26
08-07-2012, 11:43 PM
#27
08-07-2012, 11:45 PM

Lead Driver
You can edit your posts immediately, and for some amount of time after posting. But, at some point (maybe a moderator can tell you how long) the edit button is gone, and it is what it is.
#28
08-07-2012, 11:46 PM
#29
08-11-2012, 12:57 AM
OK - I hope I got the last info edited so it makes better sense.
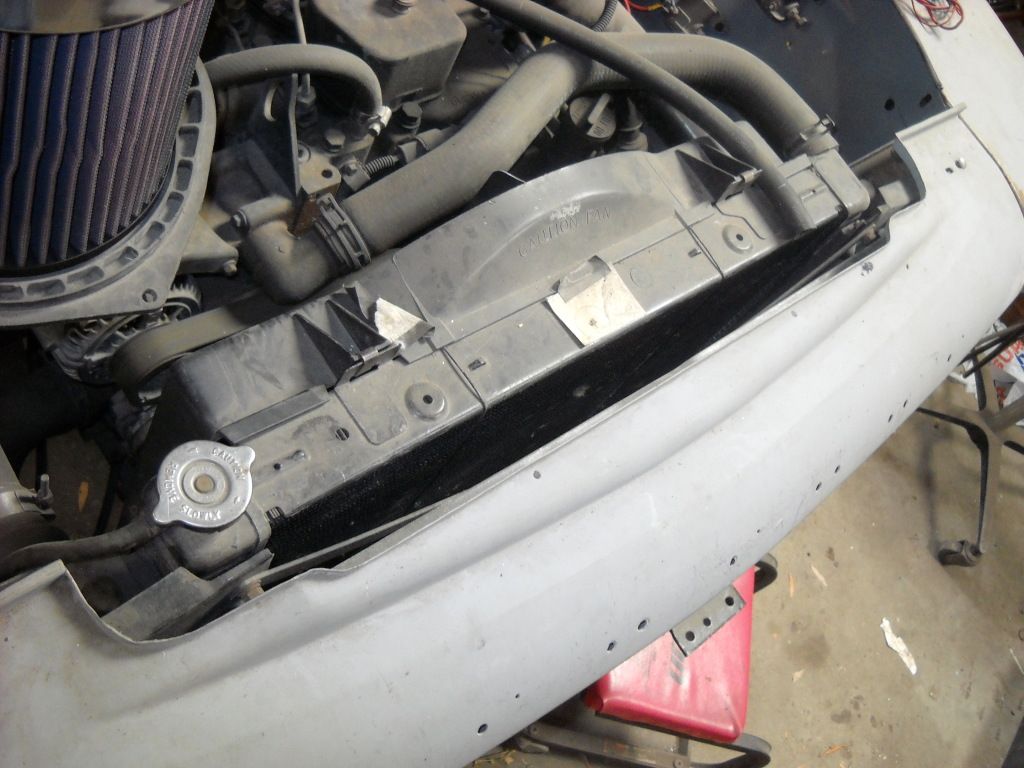
I also had to remove this area of the air deflector as it would have come in contact with the rad. (the area that I have masked off) Again this is not an air deflector from a coe, just an example.
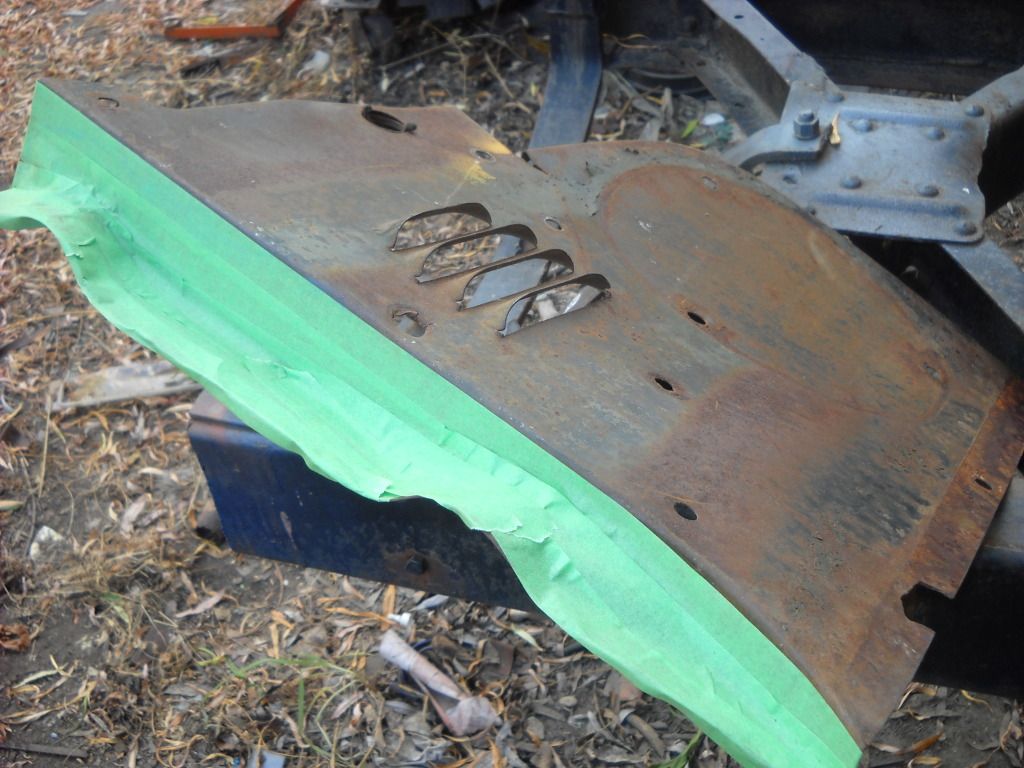
I think that's about all the modifying I did in the rad area.
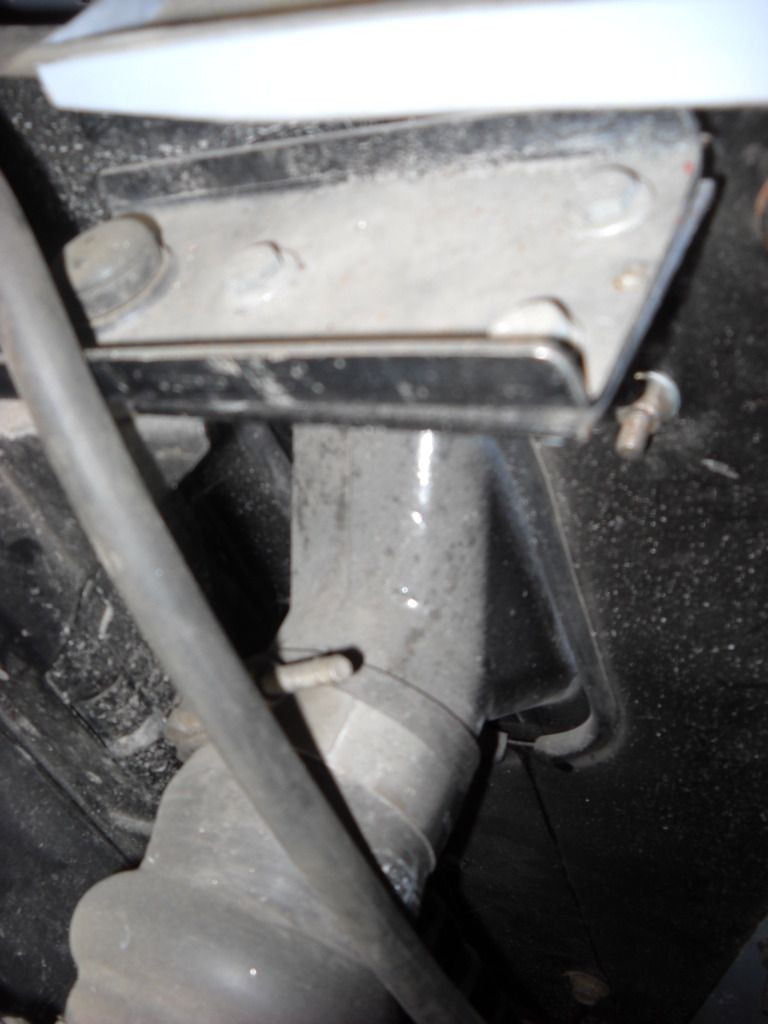
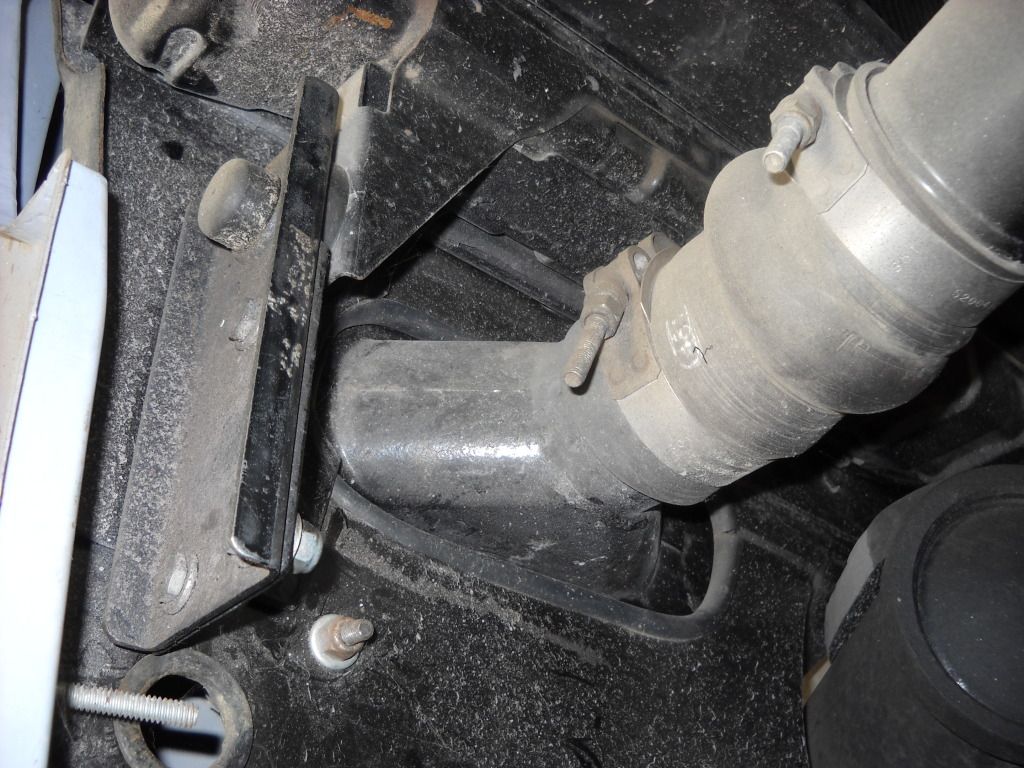
With the cab and sub frame removed I then hung the 5.9 in the engine bay, mounted the rad support, rad, shroud and inner fenders and got the rad sitting in the proper location, then got the engine orientated so the fan sat properly in the shroud. Sorry I have no pics of this. Once this was satisfactory I built and installed a cross member- engine mount.
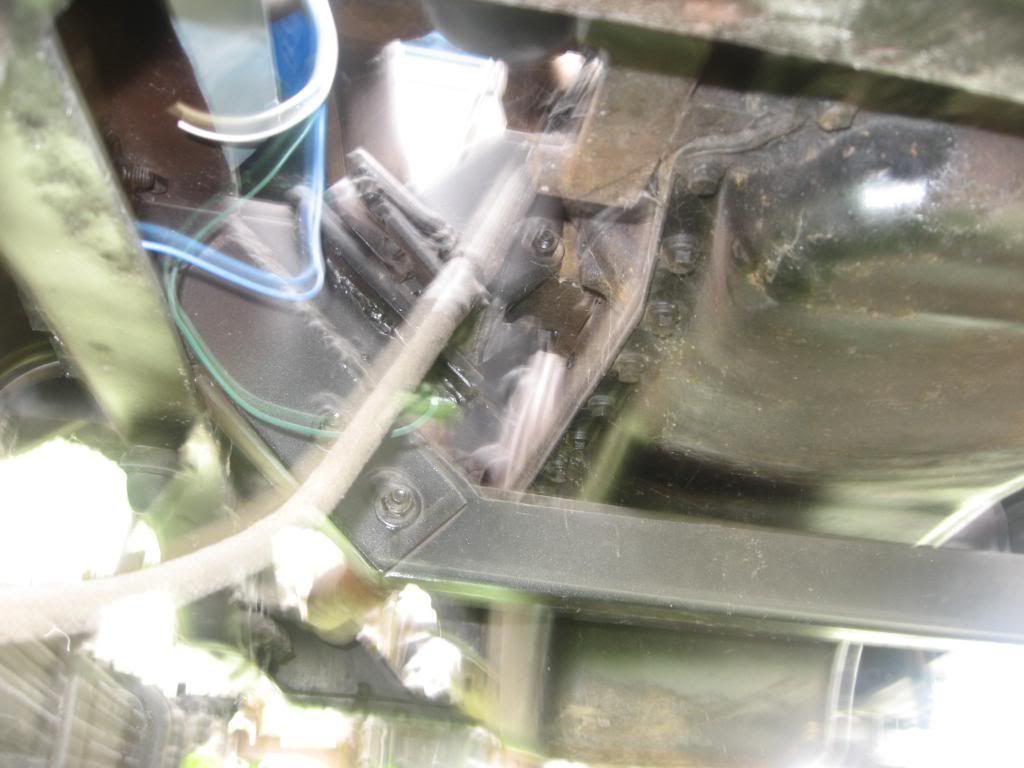
Left side (sorry it's blurry)
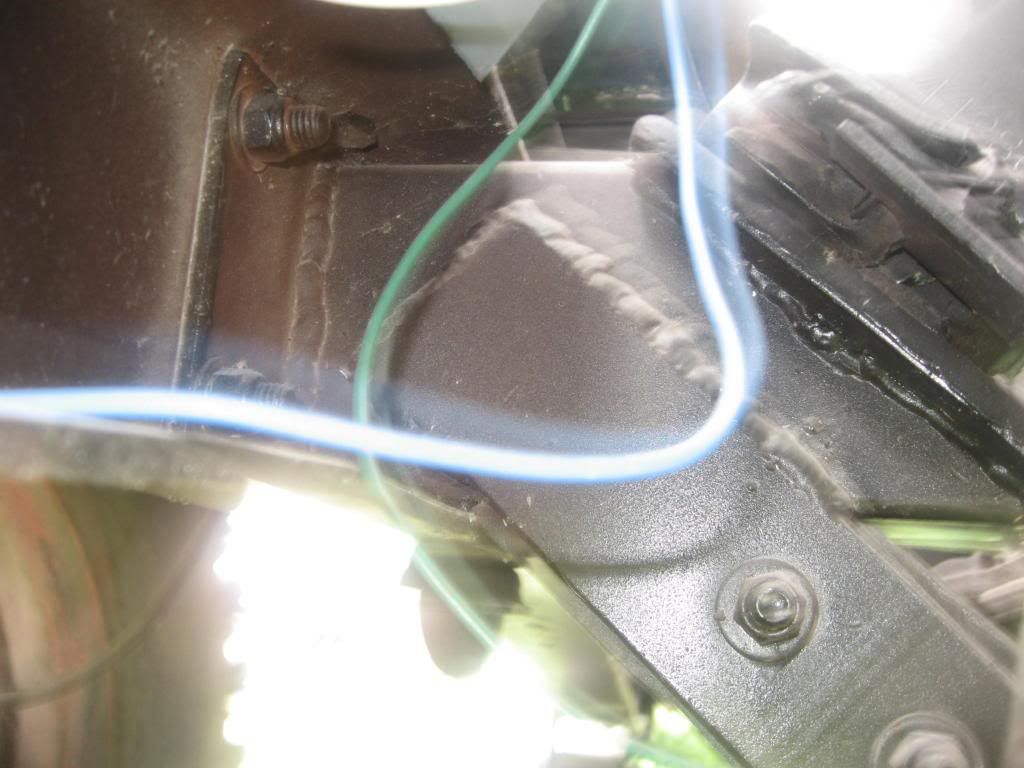
Left side again
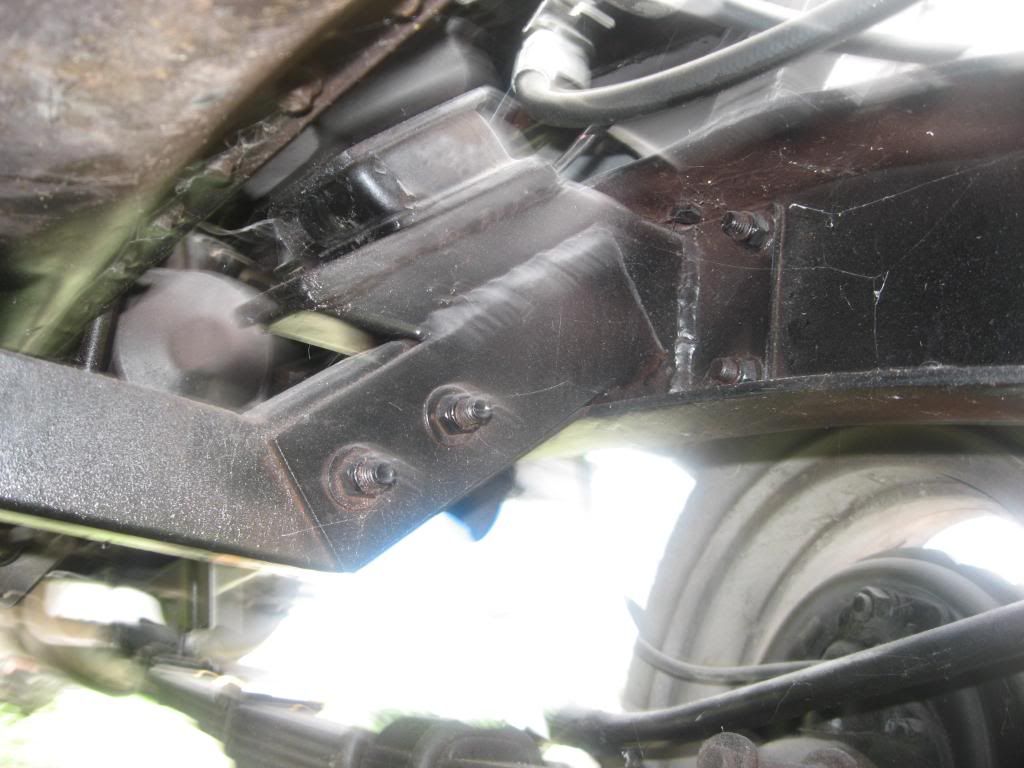
Right side
I built this out of 2"x2"x1/4" box tubing and other misc. 1/4" material with grade 8 bolts. If I need to remove the engine the cross member can be taken apart to make more room.
Where does the time go. Work tomorrow so I must go now. Will be back later.
I also had to remove this area of the air deflector as it would have come in contact with the rad. (the area that I have masked off) Again this is not an air deflector from a coe, just an example.
I think that's about all the modifying I did in the rad area.
With the cab and sub frame removed I then hung the 5.9 in the engine bay, mounted the rad support, rad, shroud and inner fenders and got the rad sitting in the proper location, then got the engine orientated so the fan sat properly in the shroud. Sorry I have no pics of this. Once this was satisfactory I built and installed a cross member- engine mount.
Left side (sorry it's blurry)
Left side again
Right side
I built this out of 2"x2"x1/4" box tubing and other misc. 1/4" material with grade 8 bolts. If I need to remove the engine the cross member can be taken apart to make more room.
Where does the time go. Work tomorrow so I must go now. Will be back later.
#30
08-14-2012, 11:52 PM
Hi - back again,
The next thing was the rear cross member and trans mount.
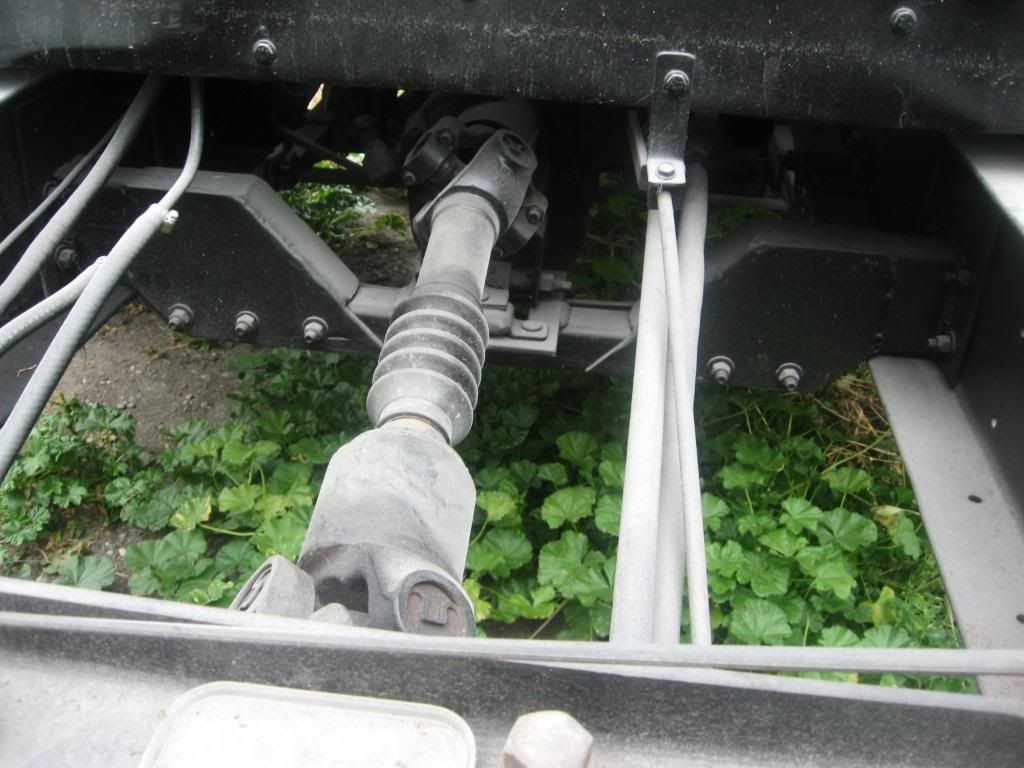
Again all 1/4" material with grade 8 bolts and lock nuts. As the engine came with a 5 spd. o.d. Getrage that is what I used. Some people say they are a good trans and others say they are a piece of garbage. I guess time will tell someday. The picture also shows the shift rods and short shaft between the main and the "A" box. I made the shift rods as straight as possible for easier shifting and less wear. The rear of the main trans is only a few inches from the rear of the cab. This is the reason I tried to get the engine as far ahead as possible. Even though the truck is a fairly long wheel base by the time the "A" box was installed there wasn't a lot of room left.
The 5.9 came with a hydrolic clutch which I absolutely hate so that went into the junk pile. It was very easy to adapt the cab overs clutch linkage. All that was needed was to drill a hole in the Cummins clutch arm. I can't remember if I had to shorten the cab overs clutch rod or if I made a longer one. Sorry I don't have a picture of this.
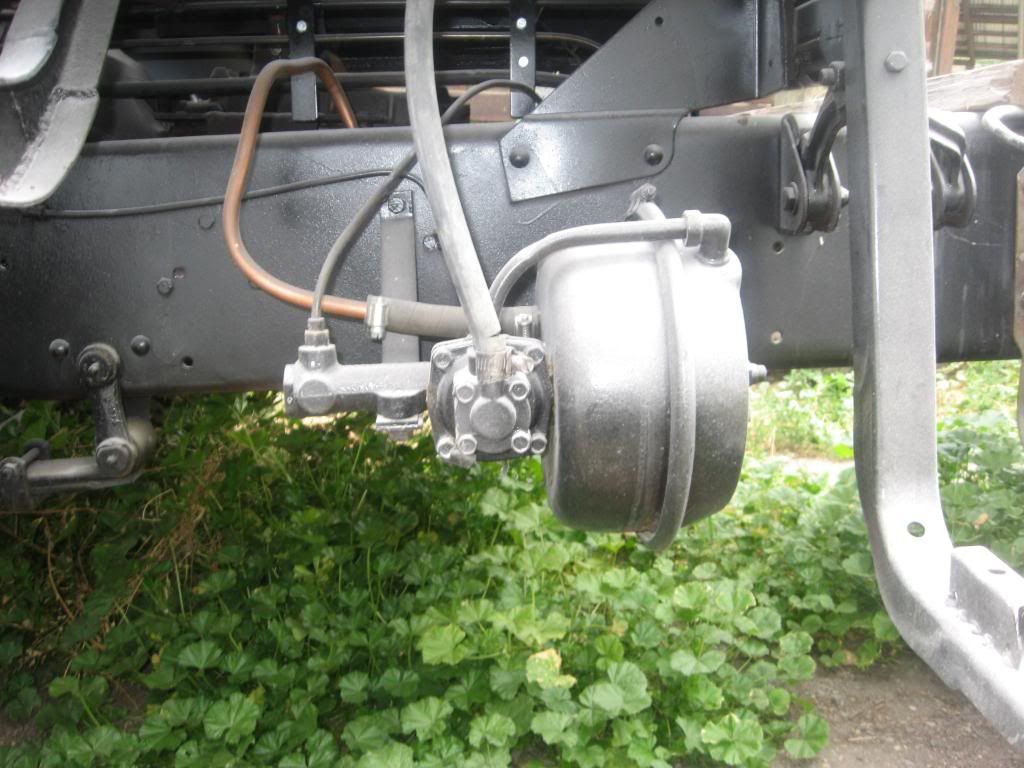
I also moved the hydro-vac to the outside of the frame as there is nothing else in the area between the frame and the left step. This gave more room for the trans and fuel lines ect.
I have to go again, will be back later.
The next thing was the rear cross member and trans mount.
Again all 1/4" material with grade 8 bolts and lock nuts. As the engine came with a 5 spd. o.d. Getrage that is what I used. Some people say they are a good trans and others say they are a piece of garbage. I guess time will tell someday. The picture also shows the shift rods and short shaft between the main and the "A" box. I made the shift rods as straight as possible for easier shifting and less wear. The rear of the main trans is only a few inches from the rear of the cab. This is the reason I tried to get the engine as far ahead as possible. Even though the truck is a fairly long wheel base by the time the "A" box was installed there wasn't a lot of room left.
The 5.9 came with a hydrolic clutch which I absolutely hate so that went into the junk pile. It was very easy to adapt the cab overs clutch linkage. All that was needed was to drill a hole in the Cummins clutch arm. I can't remember if I had to shorten the cab overs clutch rod or if I made a longer one. Sorry I don't have a picture of this.
I also moved the hydro-vac to the outside of the frame as there is nothing else in the area between the frame and the left step. This gave more room for the trans and fuel lines ect.
I have to go again, will be back later.