1970 F250 4x4 Cummins Conversion Build Thread - Lots of Pics!
#211
 07-27-2015, 07:10 PM

Cargo Master
Join Date: Nov 2005
Location: La Ribera, Baja, Mexico
Posts: 2,694
Likes: 0
Received 43 Likes
on
25 Posts
Looks similar, but junior sized, compared to the Spicer/Dana 24 in my rig. Does it have a low range? Your shafts look like they need some cleaning up, perhaps turned on a lathe? The gears appear to be fine, how's the bearings? I recommend new, since you have it completely apart. Nice work on the fan shroud...
Baja
Baja
#212
07-28-2015, 11:15 PM
Join Date: Oct 2011
Location: Willard
Posts: 207
Likes: 0
Received 0 Likes
on
0 Posts
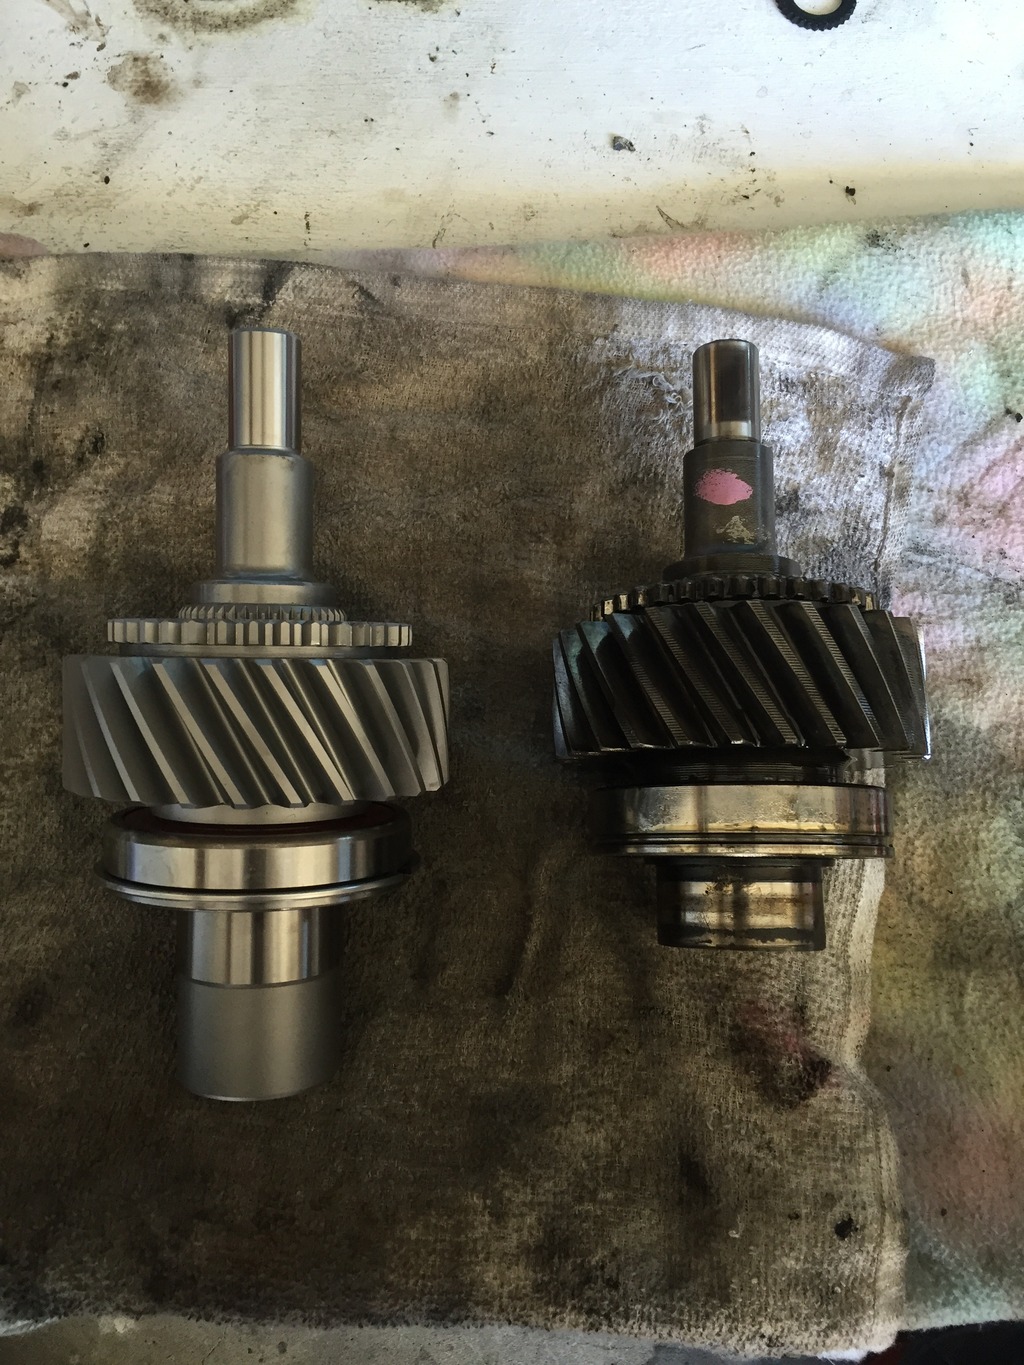
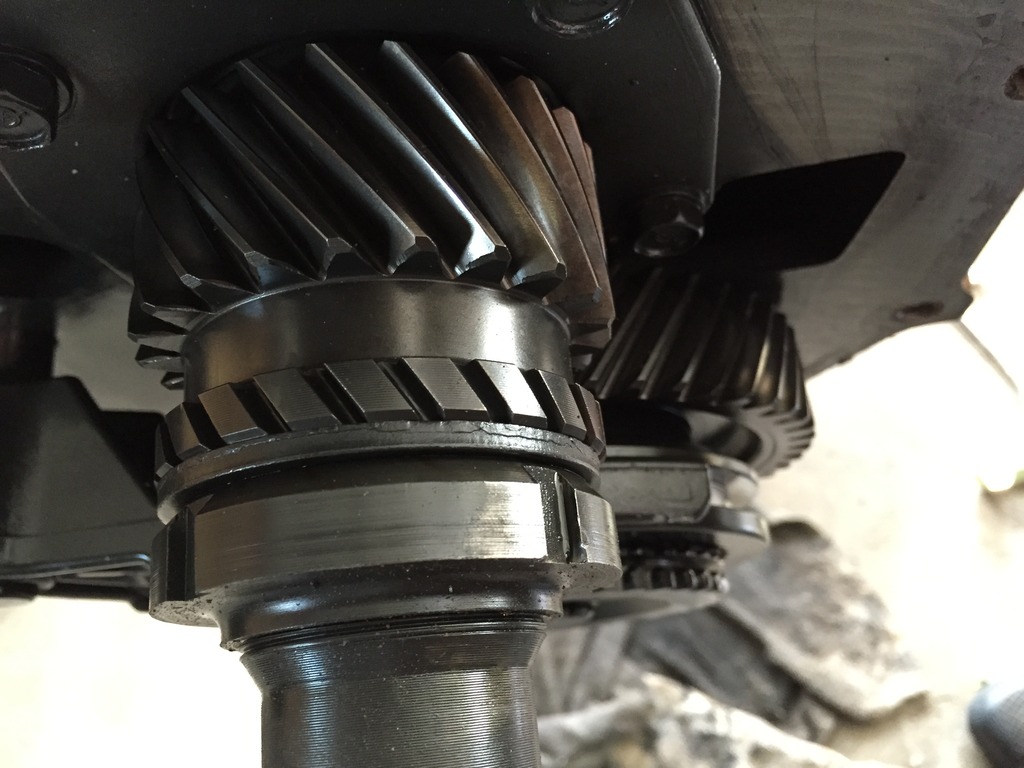
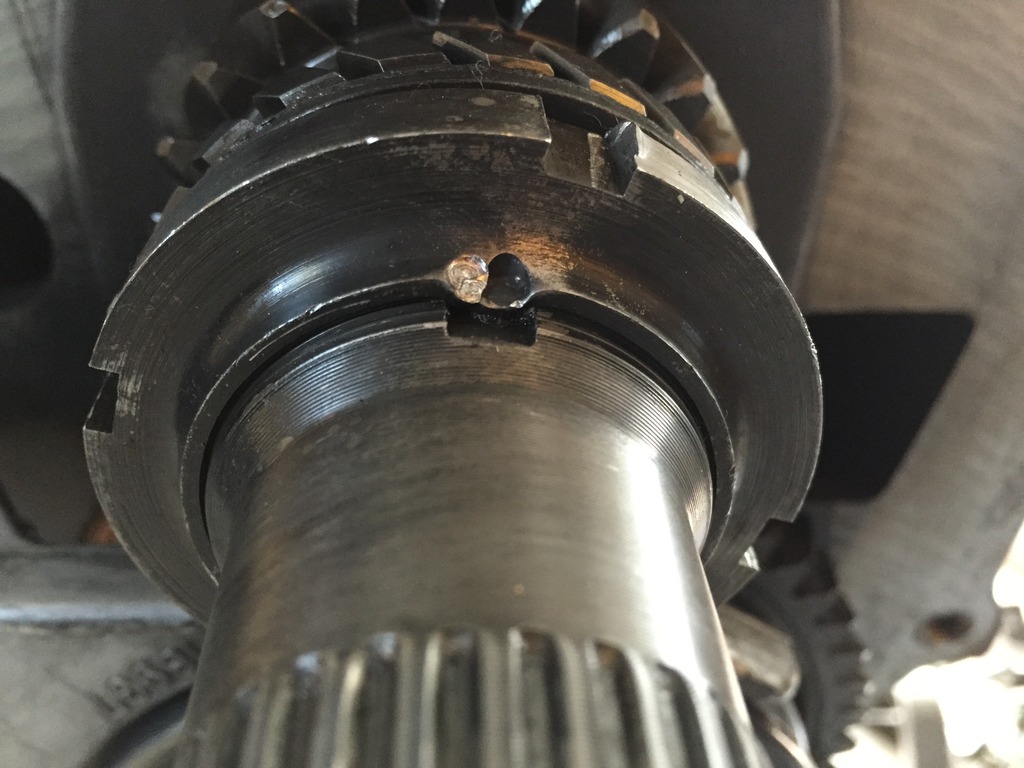
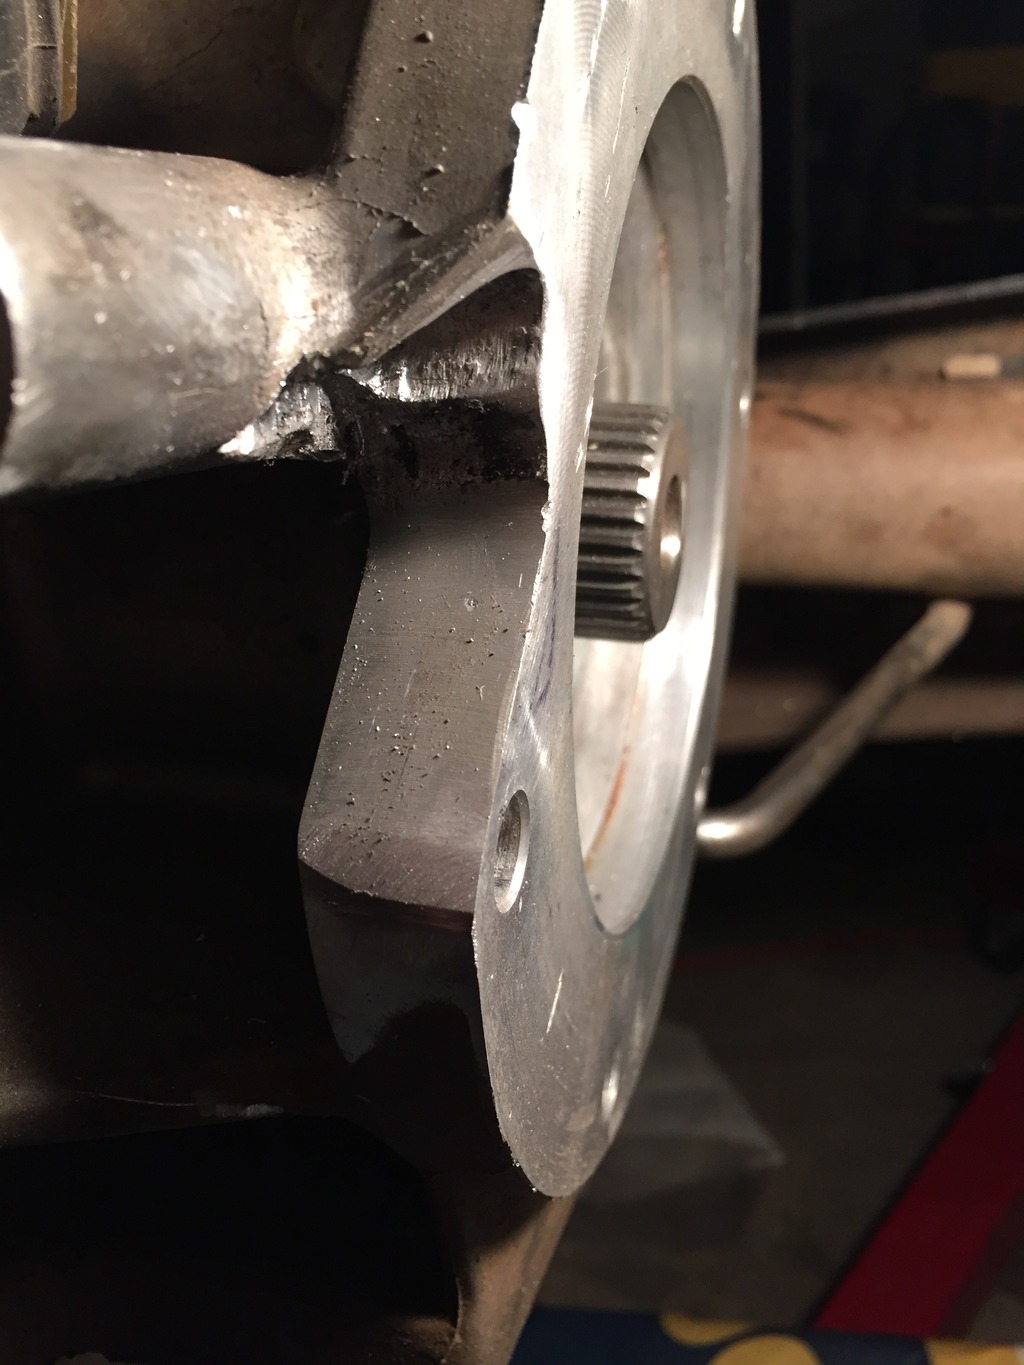
I had a second NP205 siting in my garage, so I removed the idler shaft from that unit for inspection. It looked the same as the shaft in the unit I am rebuilding. Everything I can find is suggesting that this type of wear on the shaft where the spacer rides is normal and shouldn't be a problem. I cleaned up the area with some emery cloth and and prepared for installation.
I installed new bearings in the idler gears and slid everything in place with the original spacers in the same locations.
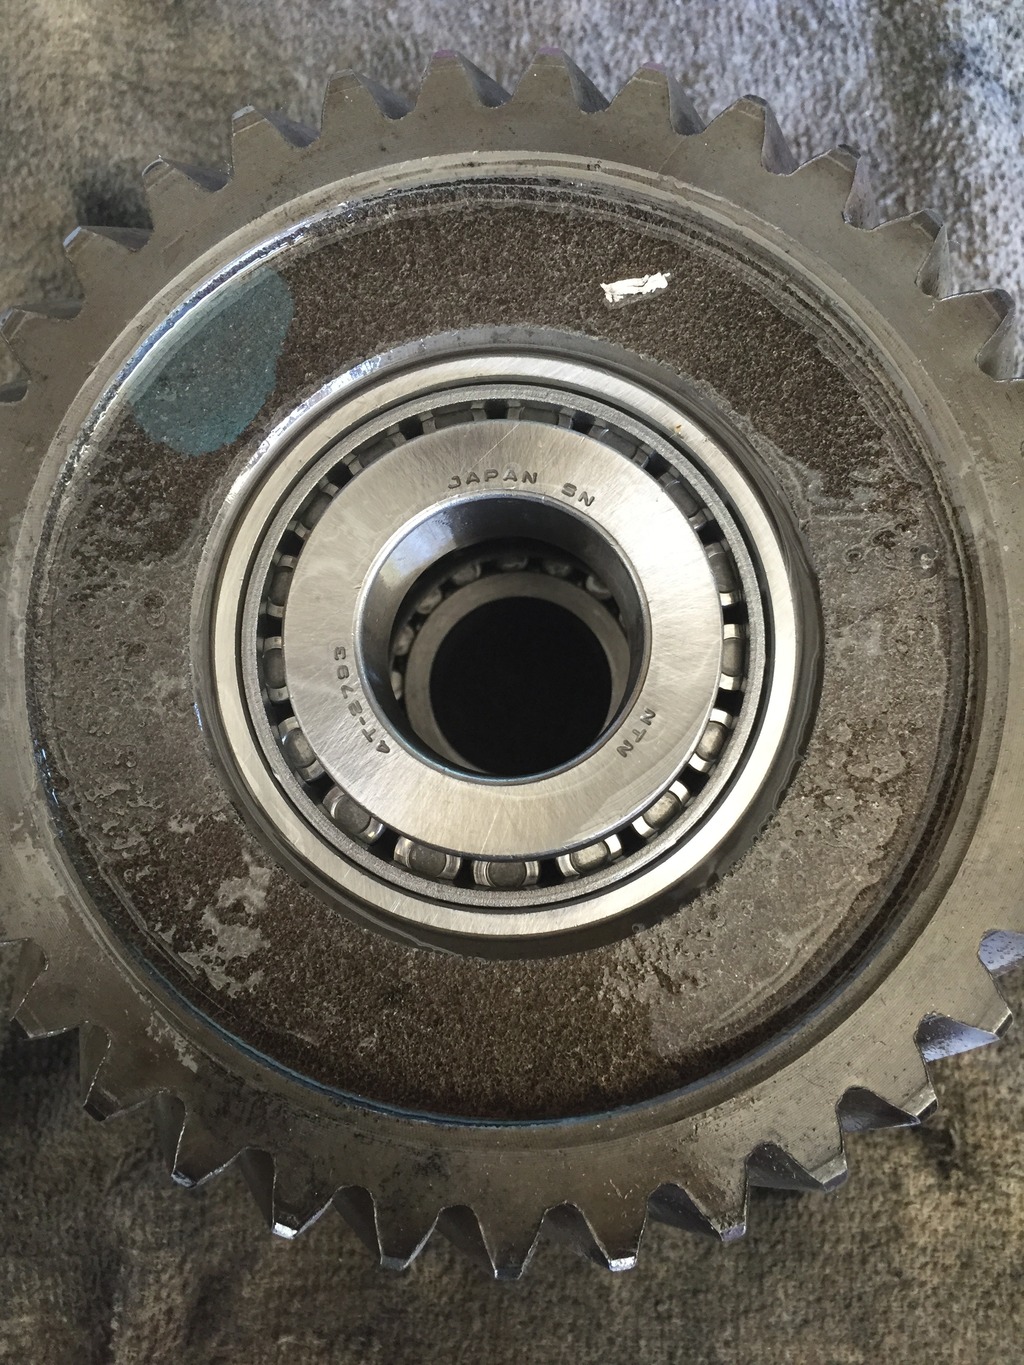
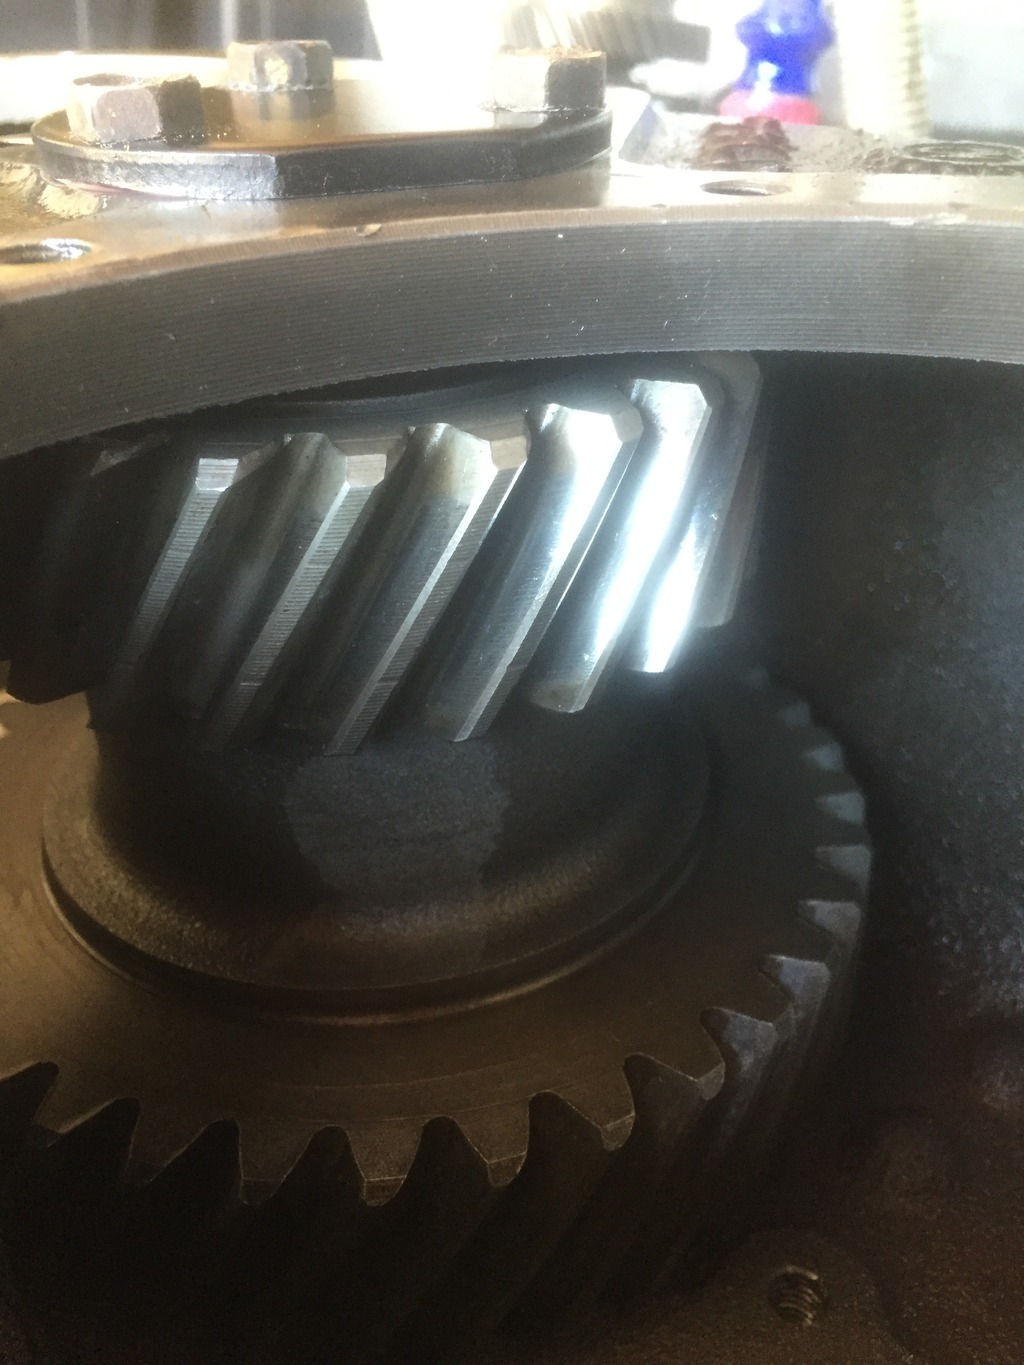
I drove the shaft in and torqued the nut to 120 FT LBS. The endplay looks great and the gears spin freely.
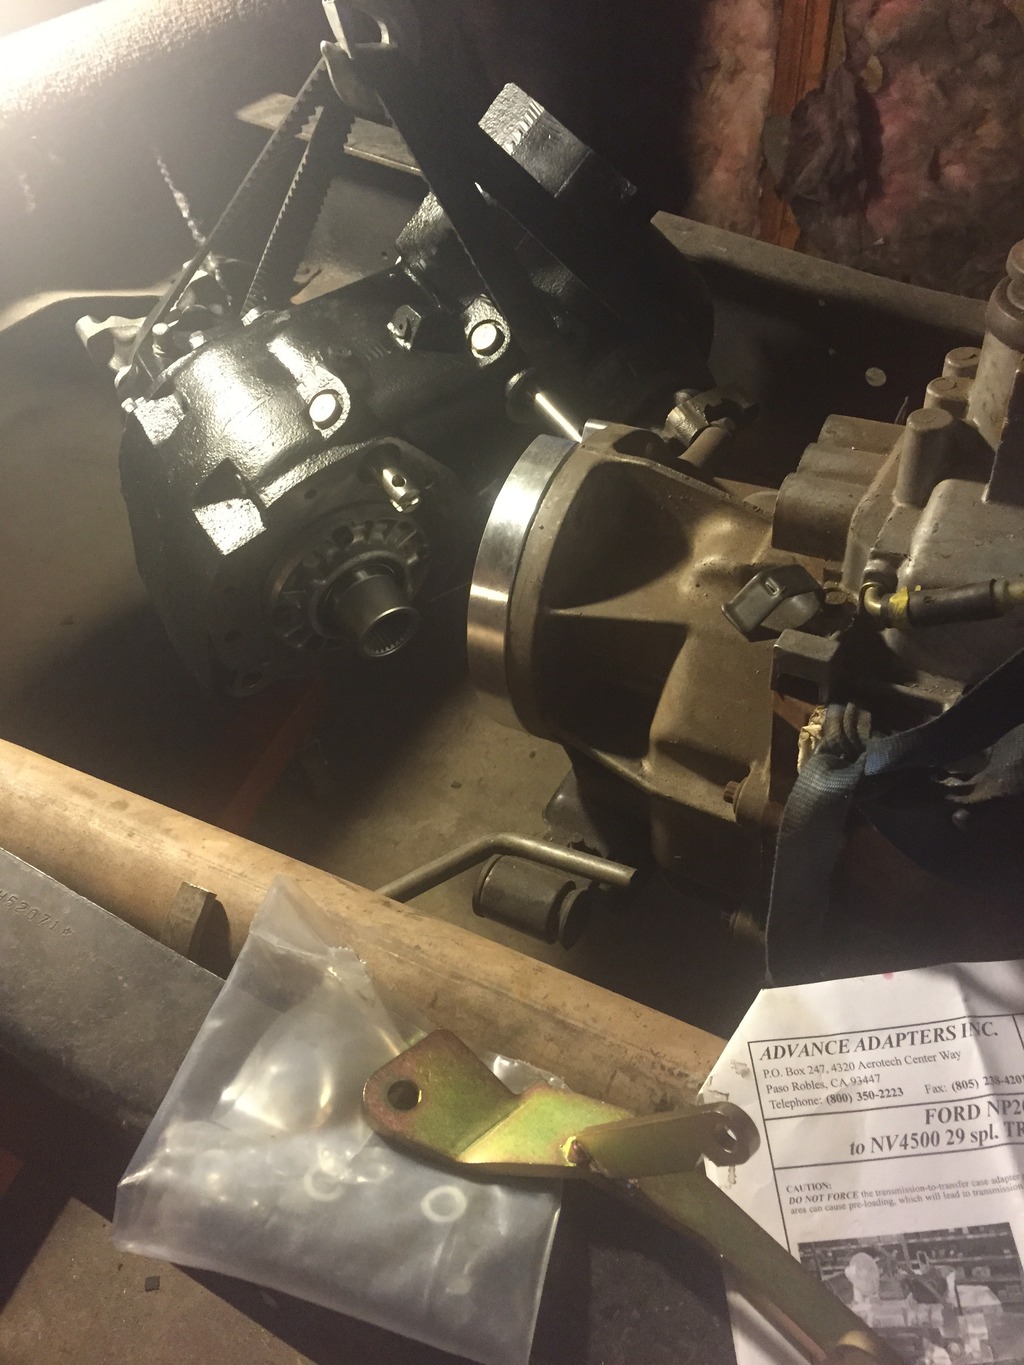
Next I turned my attention to the new Advanced Adapters output shaft that will couple the NP205 to the NV4500.
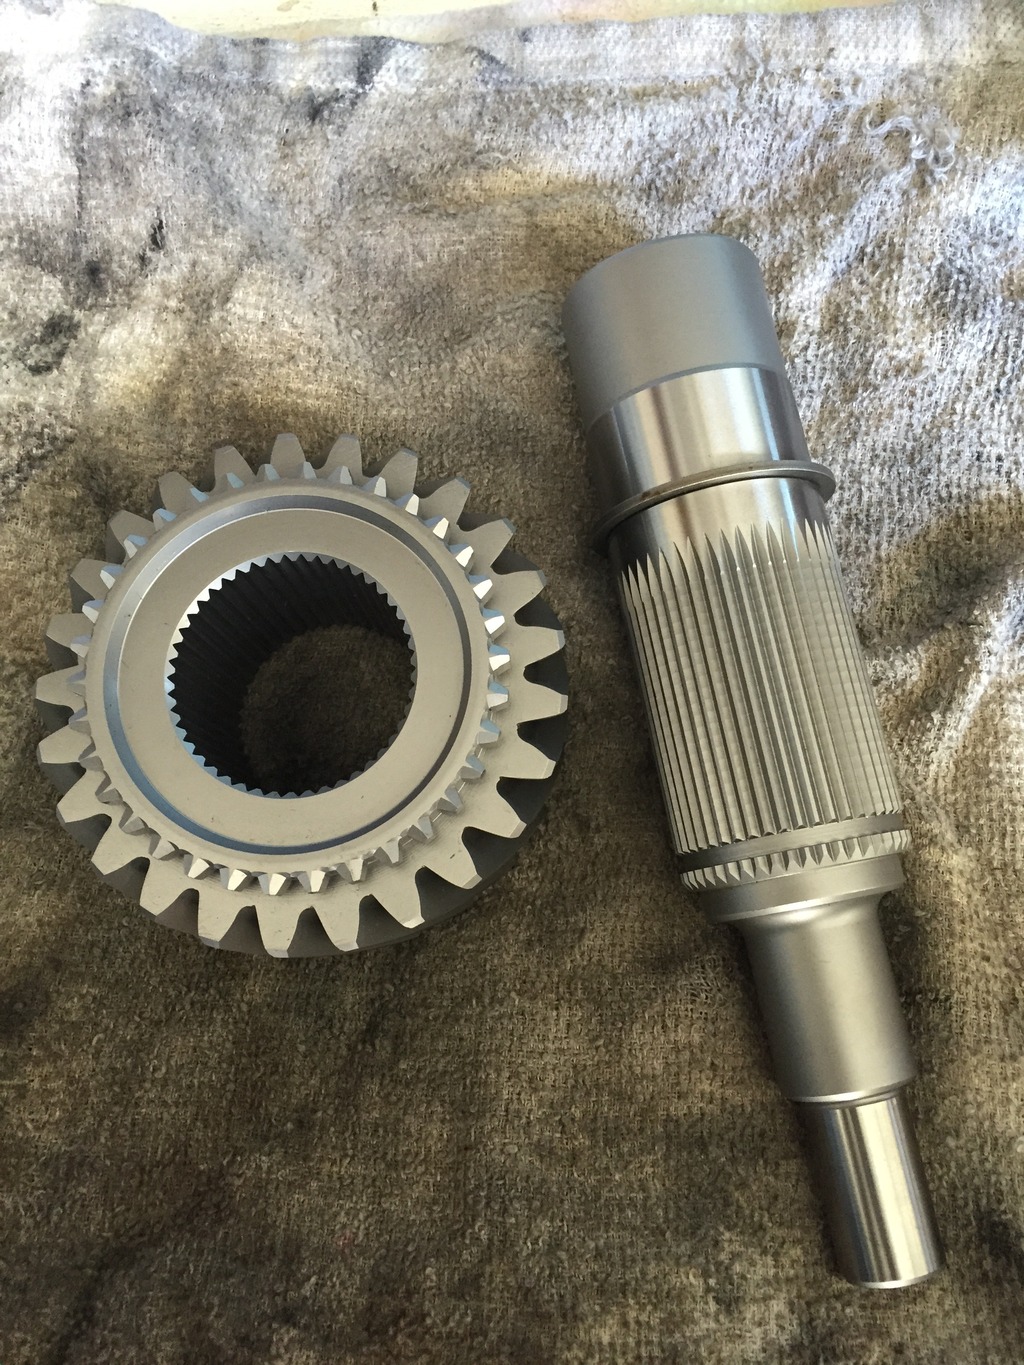
Putting the unit together was a breeze. No pressing required. Both the bearing and the gear are held in place by splines and 2 snap rings.
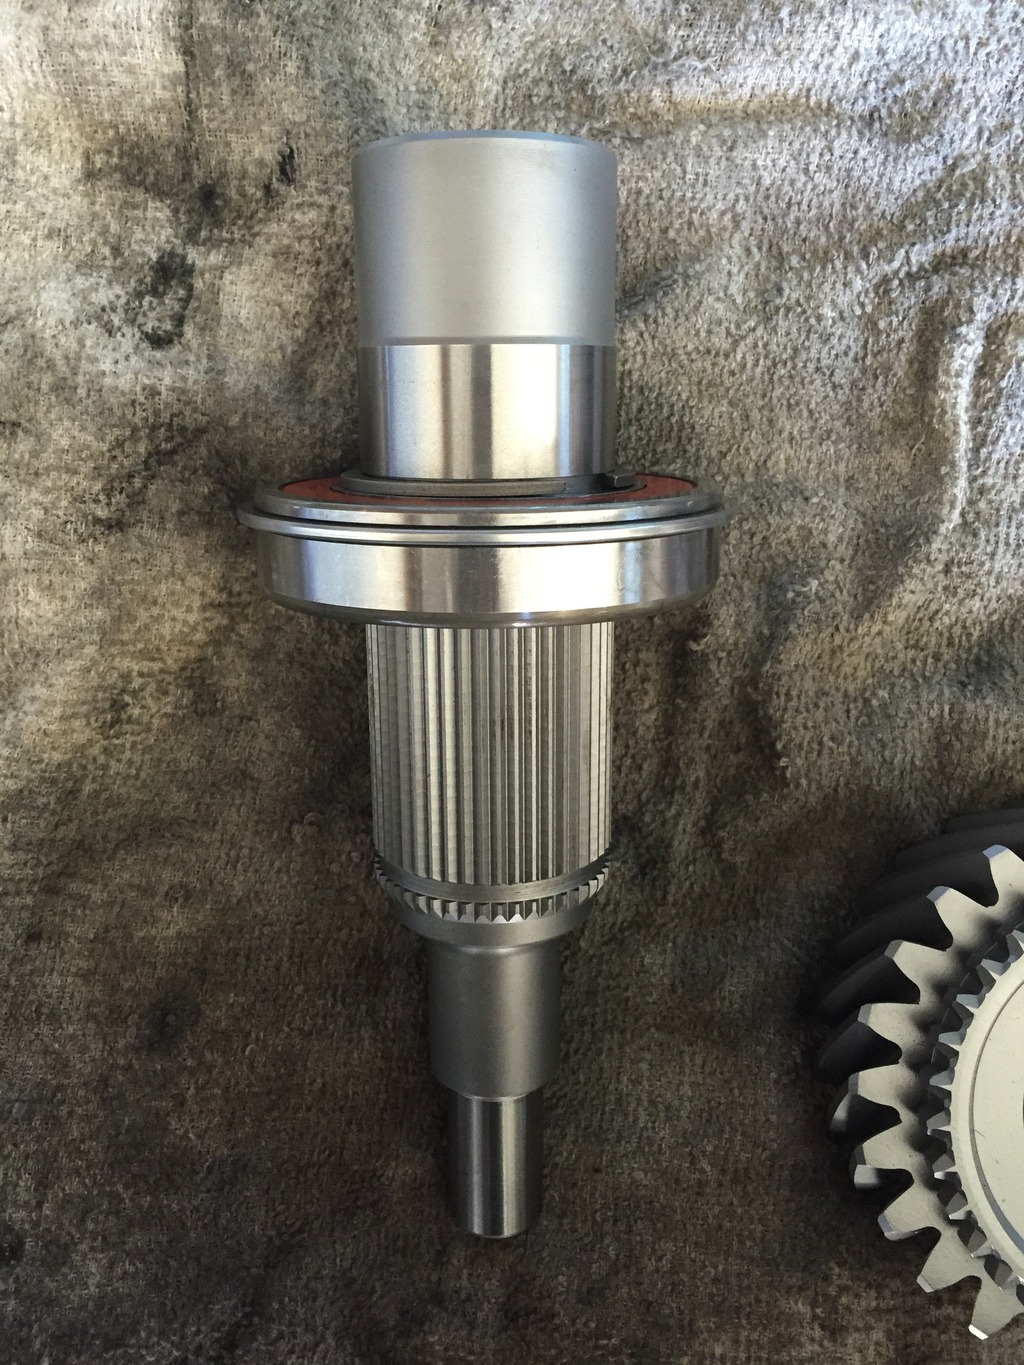
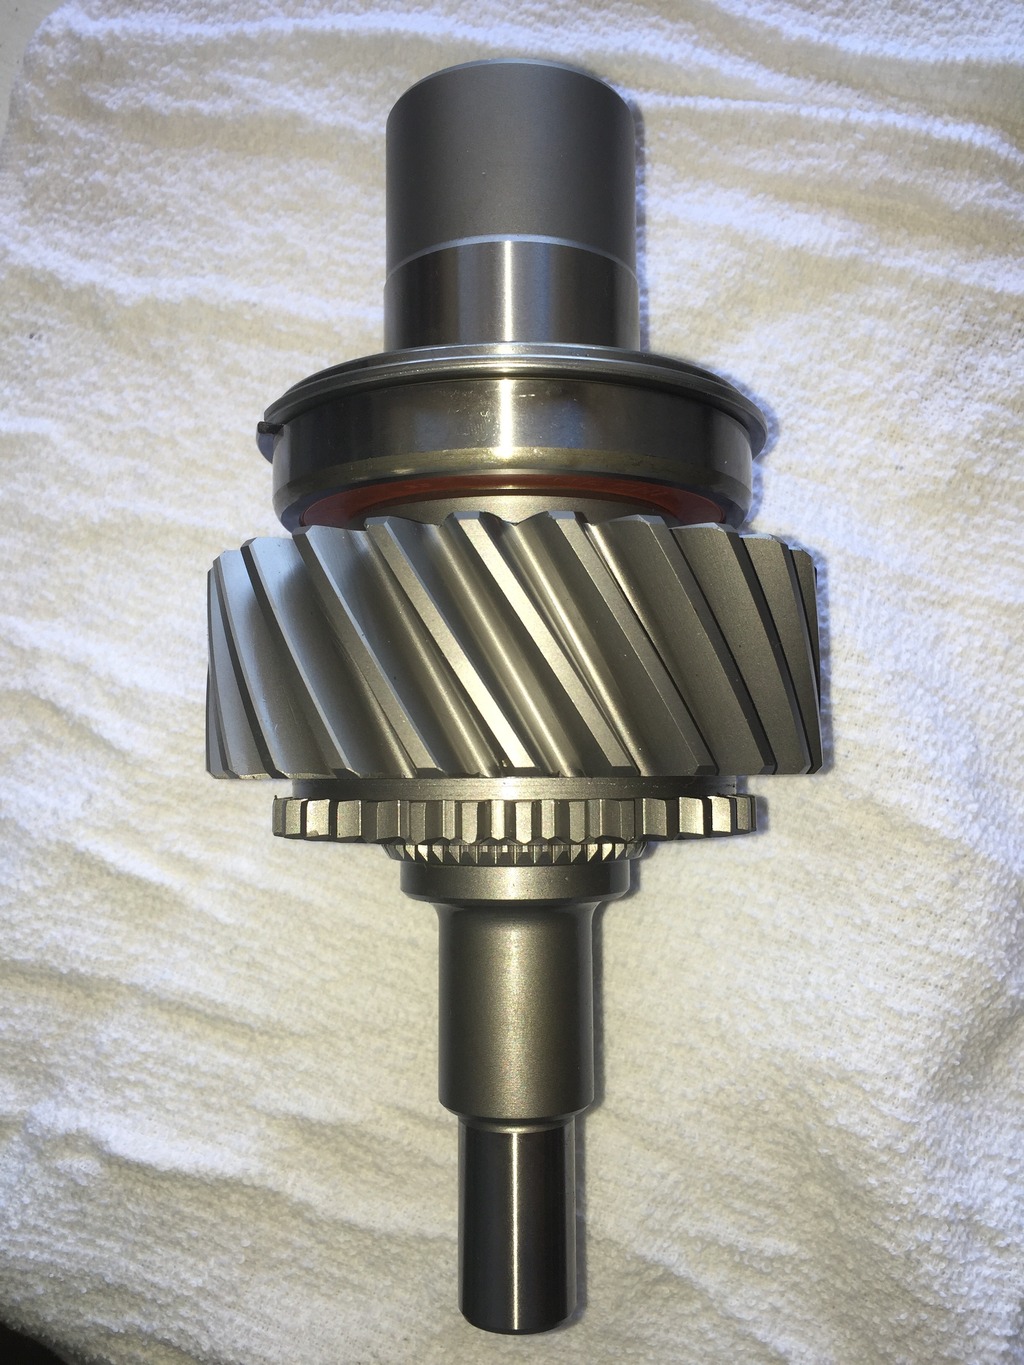
The new unit is a bit longer than the factory one, but Advanced Adapters sent a spacer with the kit that will make up the difference.
Finally, I assembled the output assembly. I topped it off with a 1410 yoke.

Now I just have to wait for my twin stick sift rails from JB Custom to finish putting the case together.
I installed new bearings in the idler gears and slid everything in place with the original spacers in the same locations.


I drove the shaft in and torqued the nut to 120 FT LBS. The endplay looks great and the gears spin freely.
Next I turned my attention to the new Advanced Adapters output shaft that will couple the NP205 to the NV4500.

Putting the unit together was a breeze. No pressing required. Both the bearing and the gear are held in place by splines and 2 snap rings.


The new unit is a bit longer than the factory one, but Advanced Adapters sent a spacer with the kit that will make up the difference.
Finally, I assembled the output assembly. I topped it off with a 1410 yoke.

Now I just have to wait for my twin stick sift rails from JB Custom to finish putting the case together.
#213
08-02-2015, 11:41 PM
Join Date: Oct 2011
Location: Willard
Posts: 207
Likes: 0
Received 0 Likes
on
0 Posts
The NP205 is all buttoned up and ready to install. It was a pretty easy rebuild. No press or super special tools required. I installed twin stick shift rails from JB Custom and Spicer 1410 yokes on both front and rear. Given that I was rebuilding the transferase anyway, the Advanced Adapters kit was very easy to install. I didn't document every aspect of the rebuild, because there are plenty of resources out there that cover the NP205 rebuild process. Over all this looks to be a very solid unit.
Now I need to order a clocking ring so that I can improved the drive shaft angle on the front a little bit. I'm not sure how the clocking ring will work with the spacer included in my Advanced Adapters kit. My guess is I will have to order the clocking ring and modify things a bit to get everything to work together. Anyone have any wisdom to add regarding the use of clocking rings?
I am planning on using a twin stick cable shifter from North West Fabrication. At $345, I am waiting a week or two before ordering...


Now I need to order a clocking ring so that I can improved the drive shaft angle on the front a little bit. I'm not sure how the clocking ring will work with the spacer included in my Advanced Adapters kit. My guess is I will have to order the clocking ring and modify things a bit to get everything to work together. Anyone have any wisdom to add regarding the use of clocking rings?

I am planning on using a twin stick cable shifter from North West Fabrication. At $345, I am waiting a week or two before ordering...


#218
09-26-2015, 11:17 PM
Join Date: Oct 2011
Location: Willard
Posts: 207
Likes: 0
Received 0 Likes
on
0 Posts
#219
09-26-2015, 11:39 PM
Join Date: Oct 2011
Location: Willard
Posts: 207
Likes: 0
Received 0 Likes
on
0 Posts
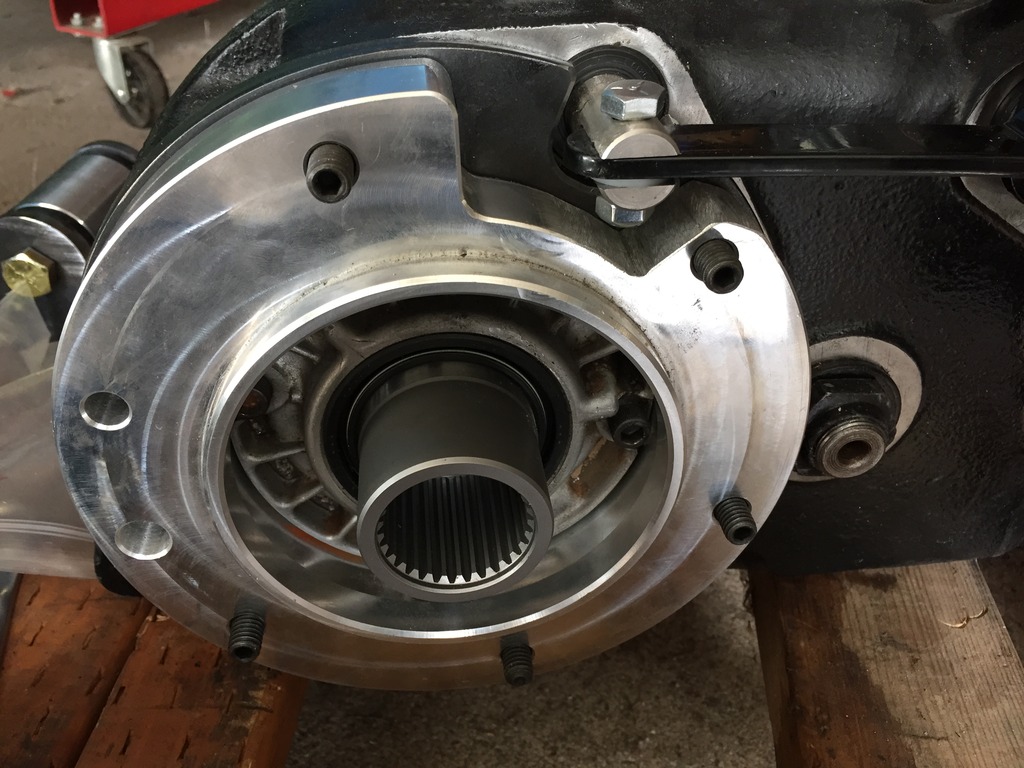
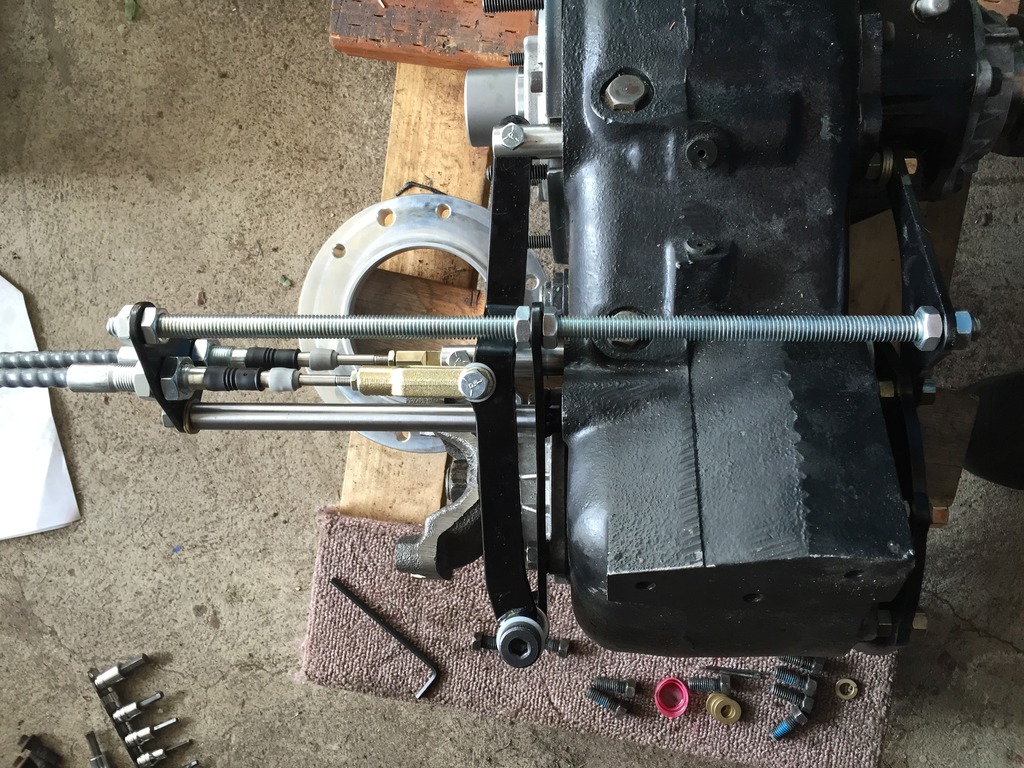
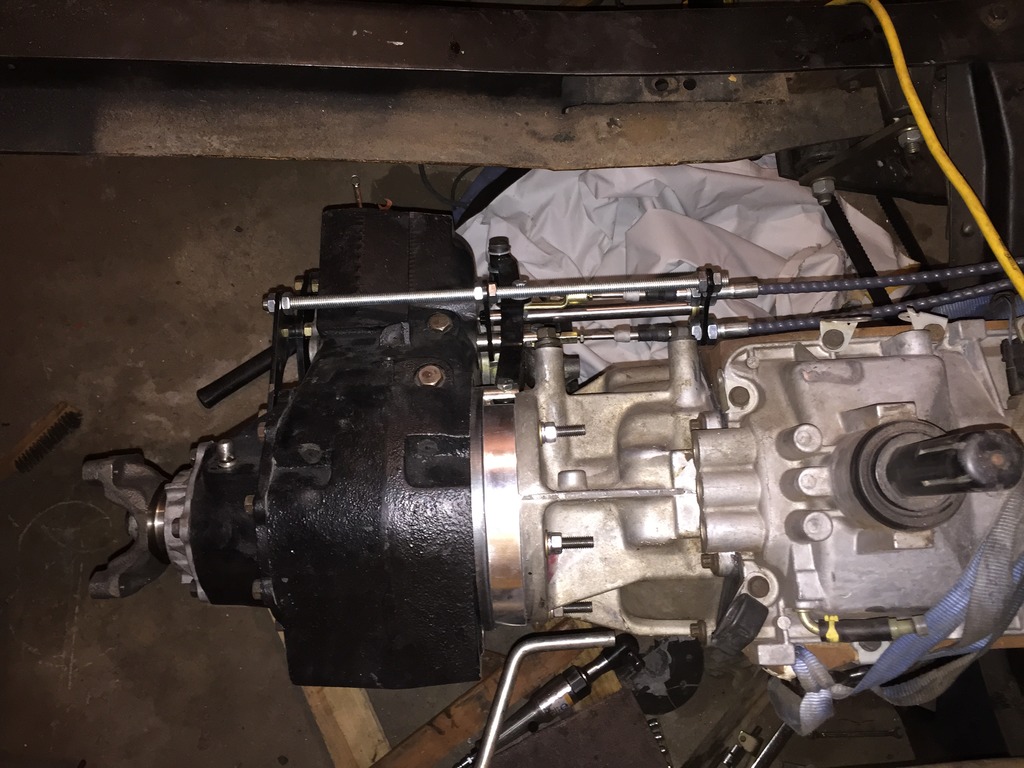
I am back focusing on the transfer case again. I ordered a cable shifter kit from Northwest Fab along with a clocking ring. I also ordered a rear support kit from TTF. I had to modify everything a little bit to get everything to work together.
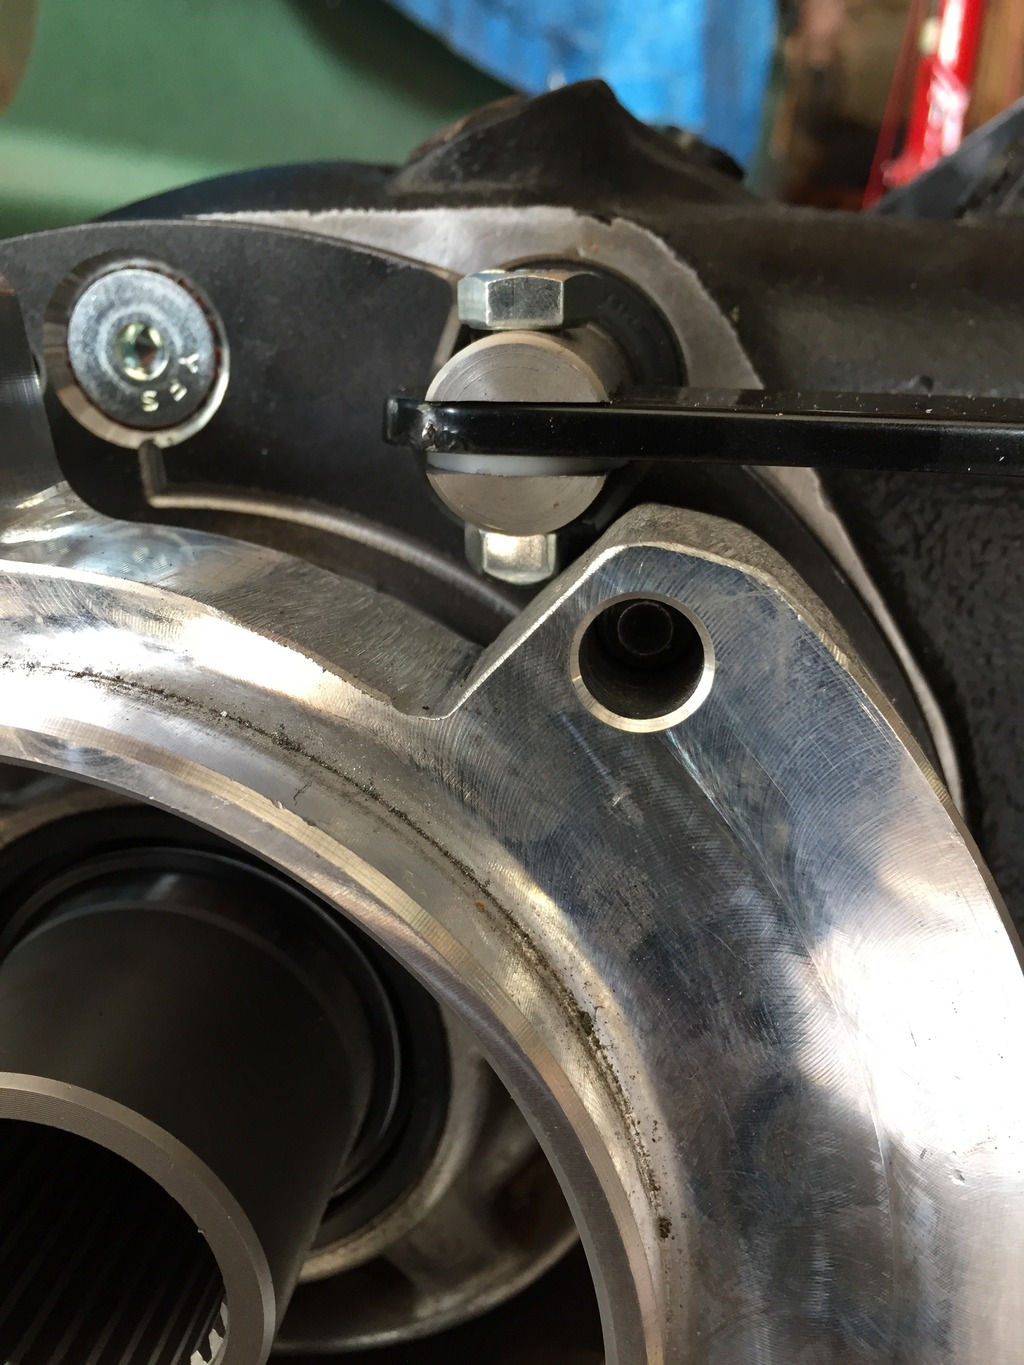
First I installed the clocking ring. It was obvious that I would need to modify the aluminum adapter plate that came with the advanced adapters kit to make everything work. In fact, it looks like I can only utilize the 1 1/2" clocking position with this set up because of clearances.
The guy from Northwest Fab said that he had the same type of kit that I bought from Advanced Adapters, but without the big spacer plate. If I did it over again, that is likely what I would do. It would be more versatile and work better with the NWF shifter.
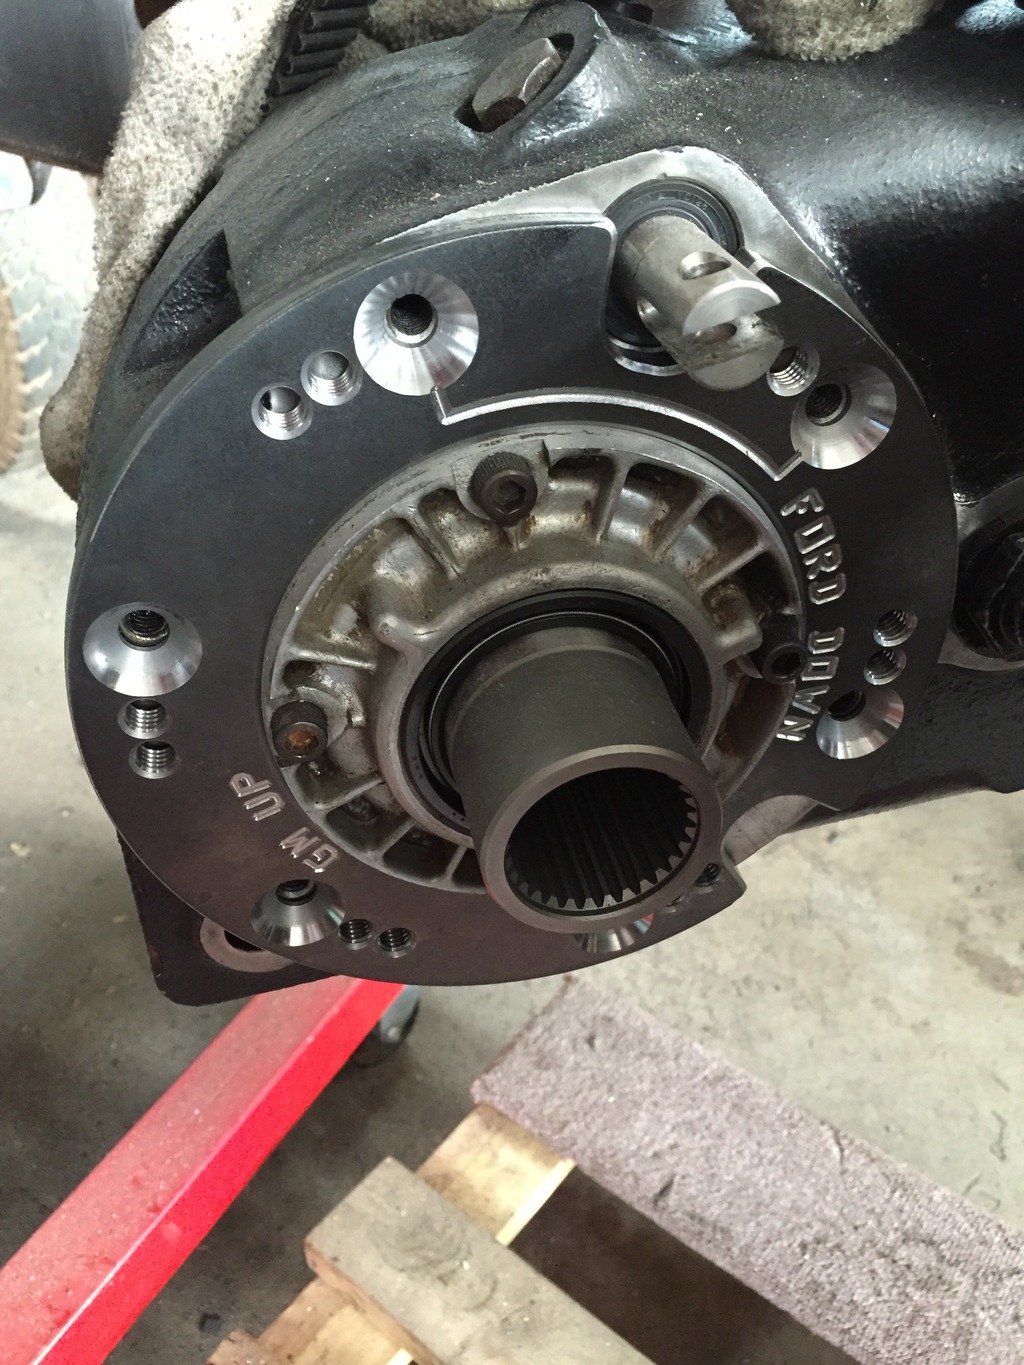
I had to modify the advanced adapters spacer plate to make it work with the shifter kit.
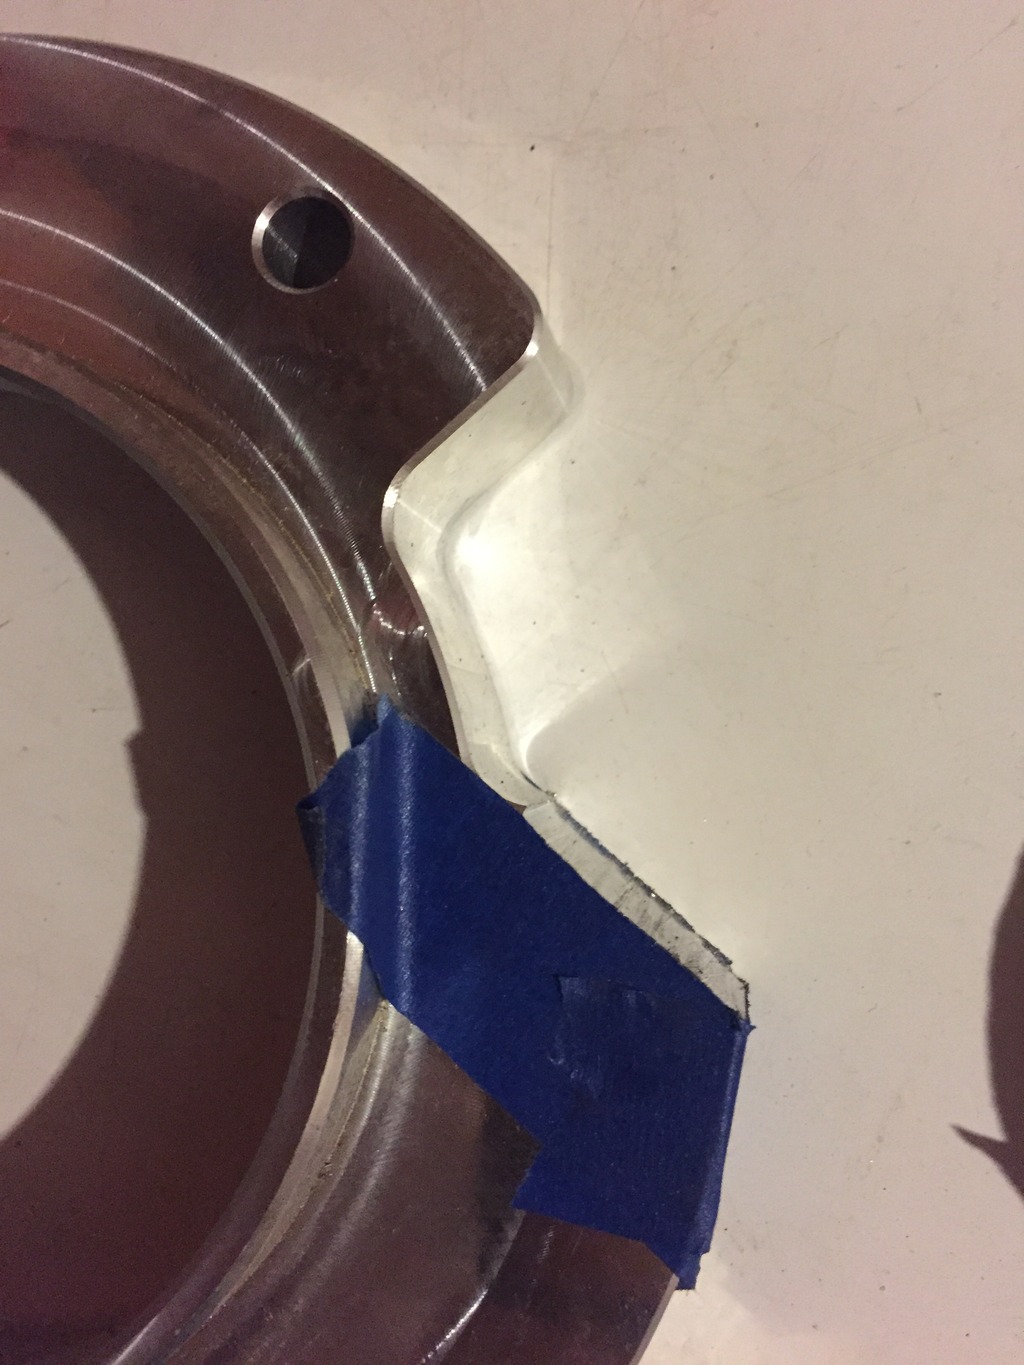
The 3" down clock position seemed to cut things too close with this set up.
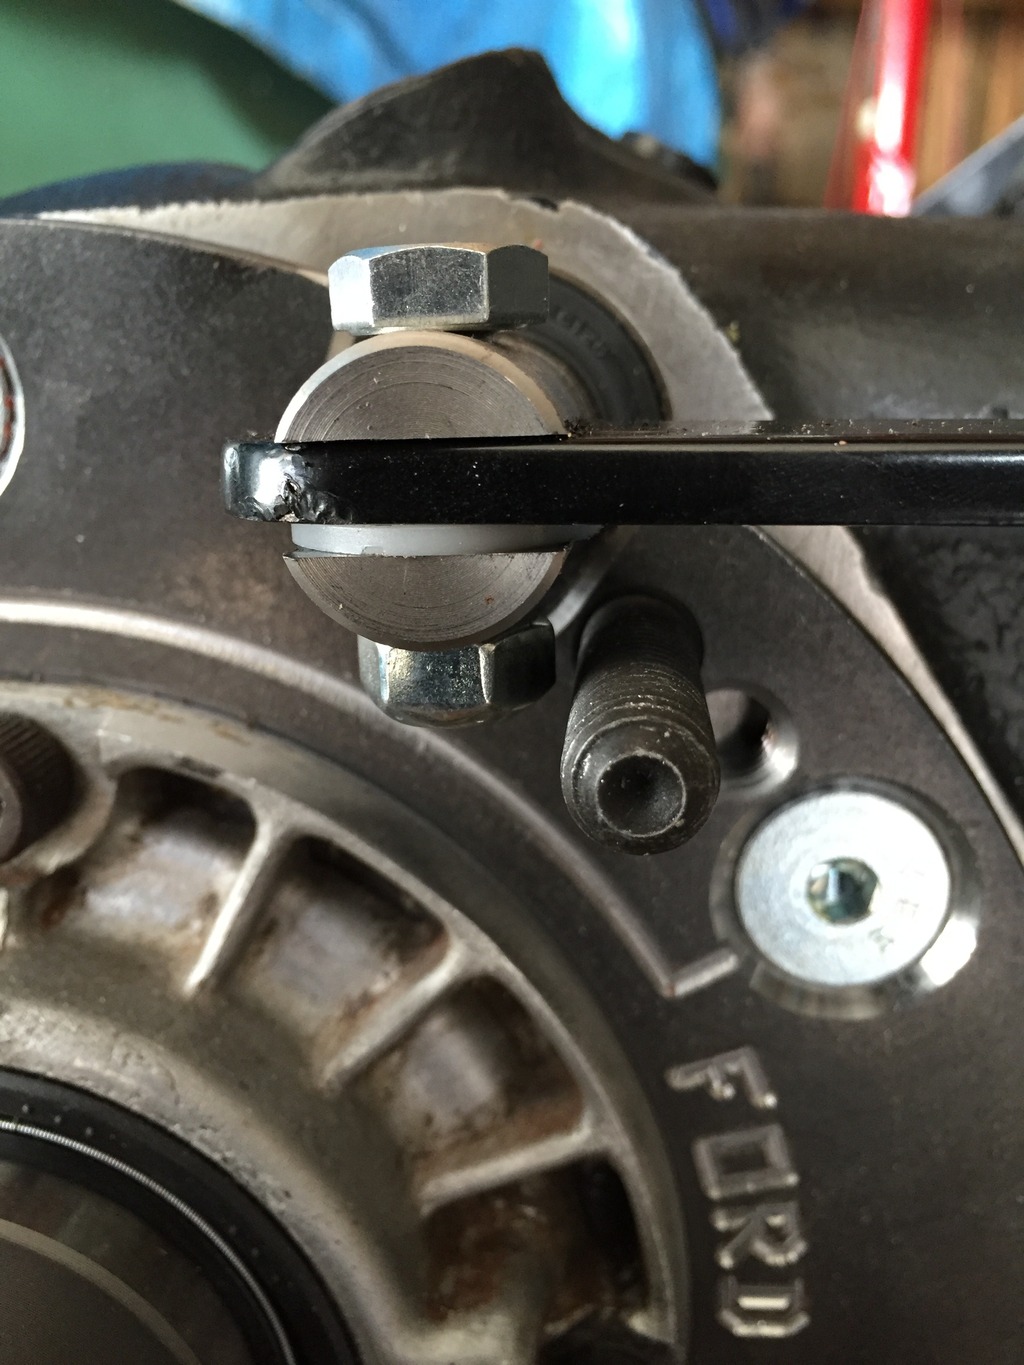
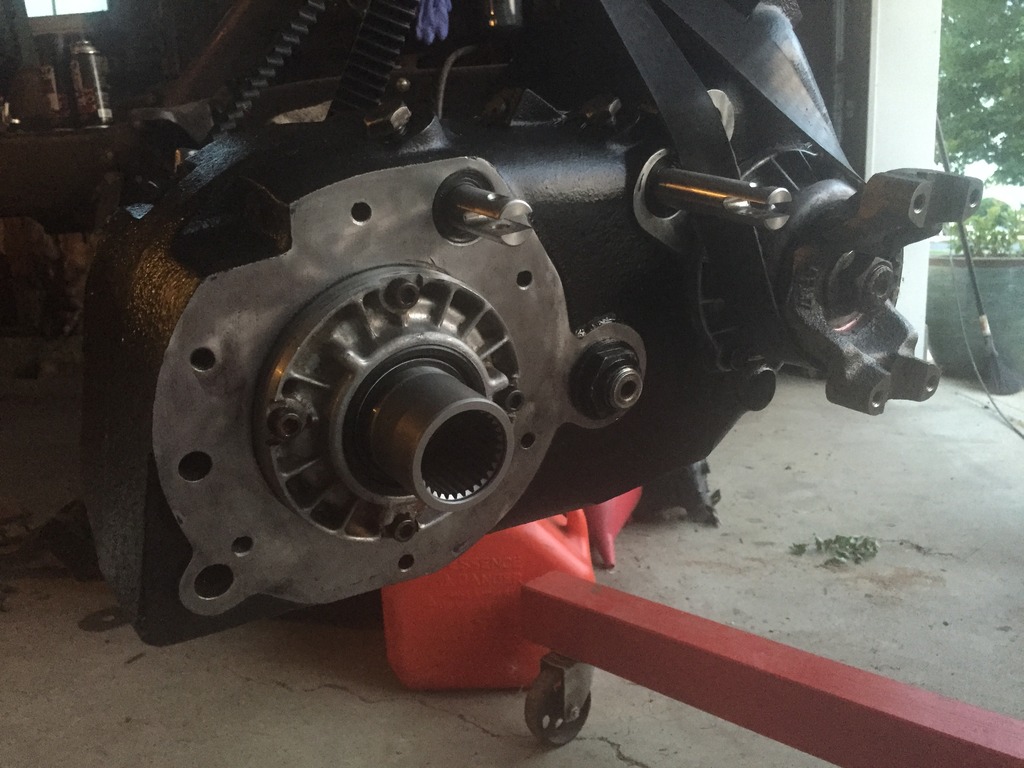
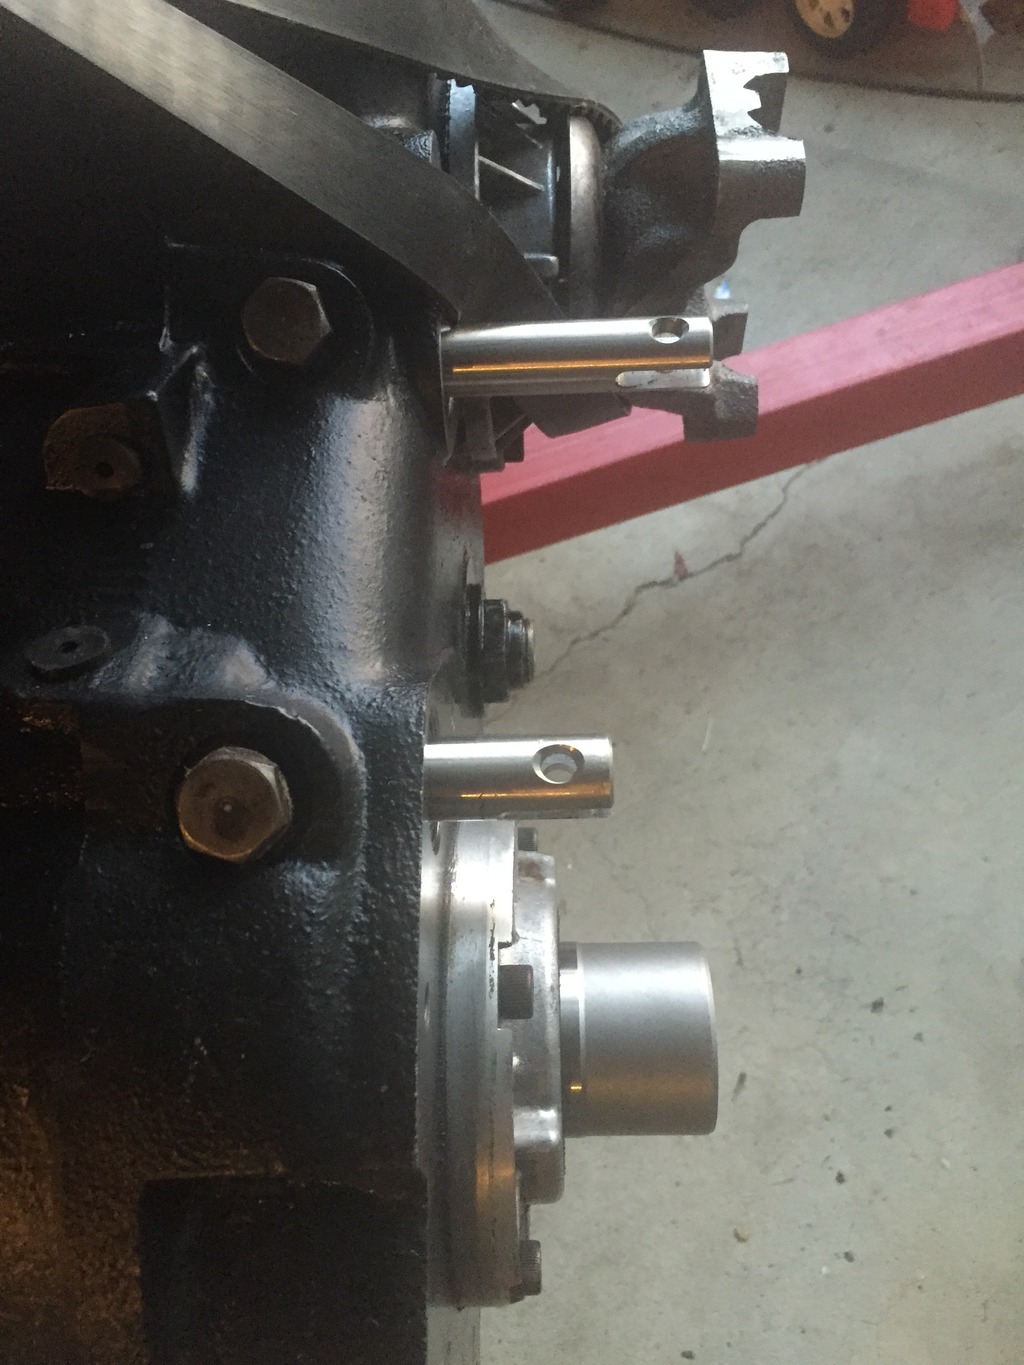
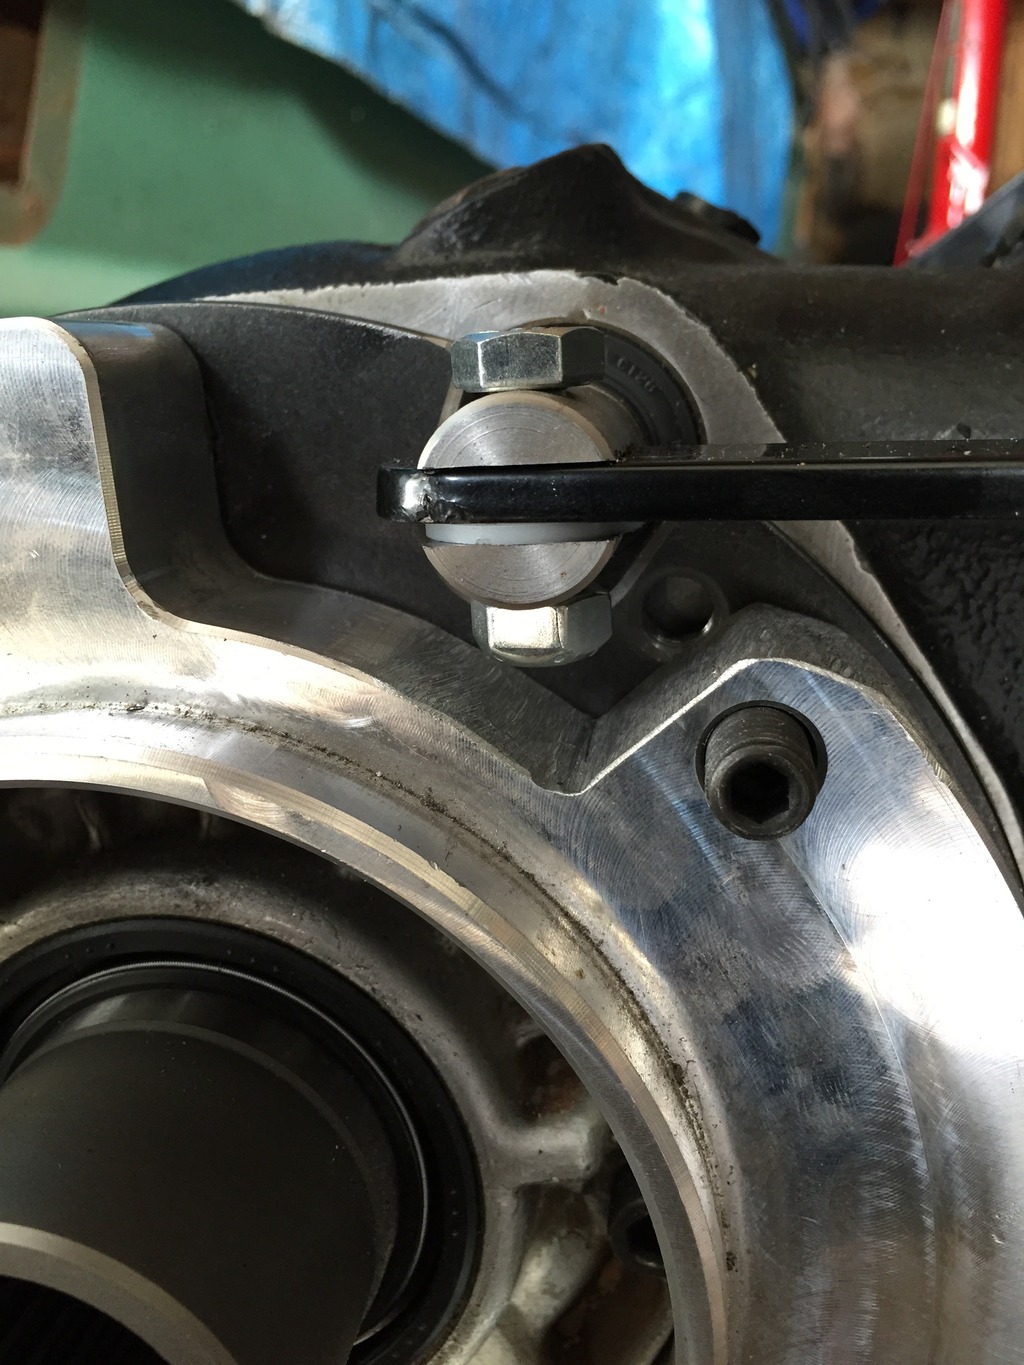
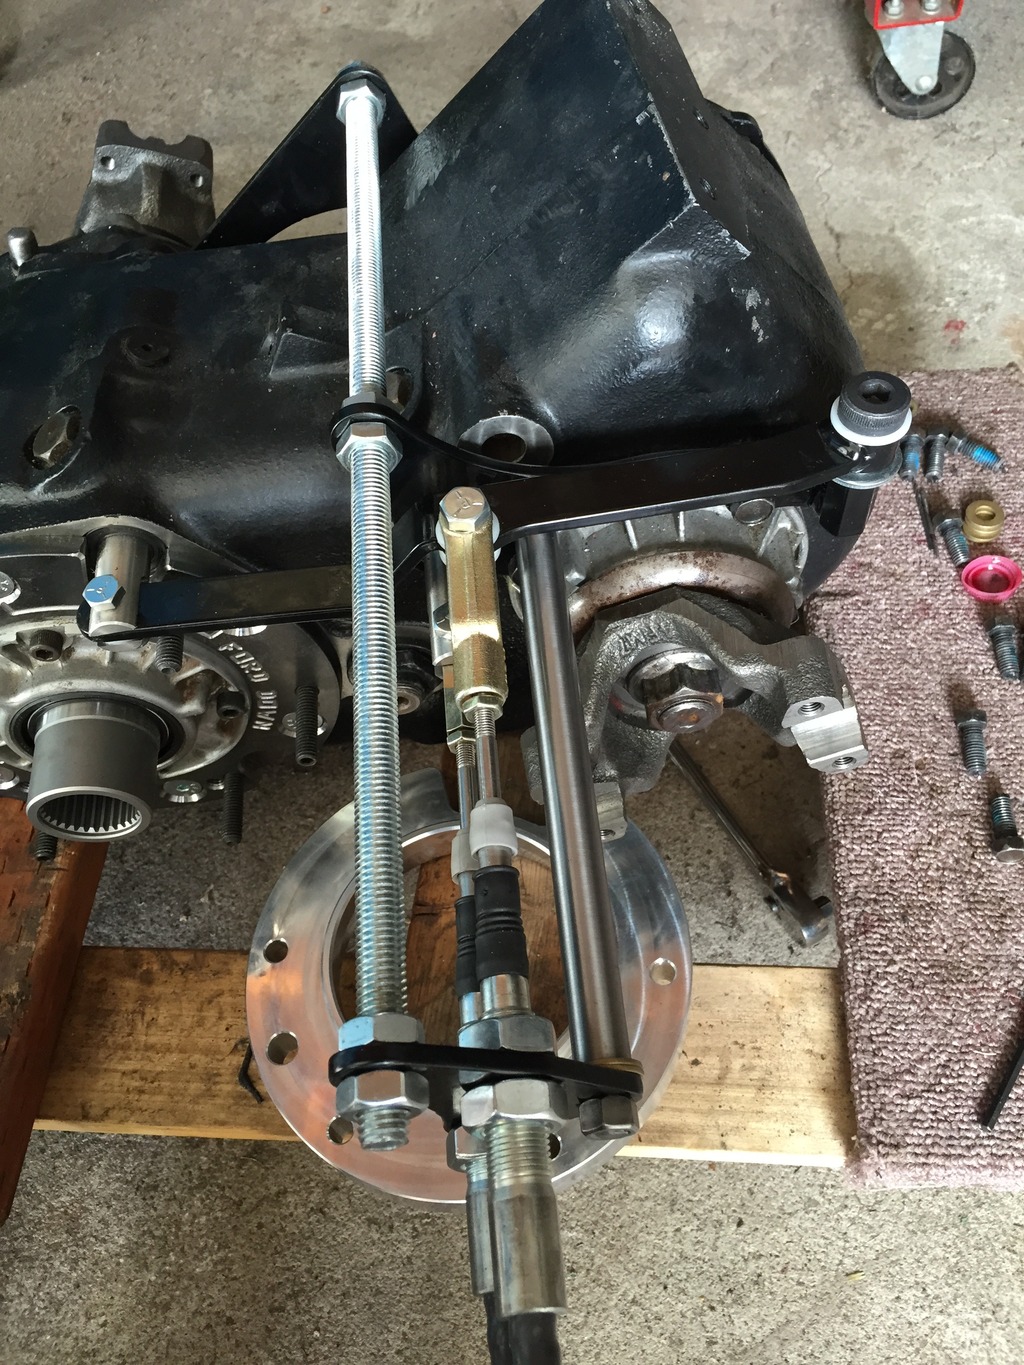
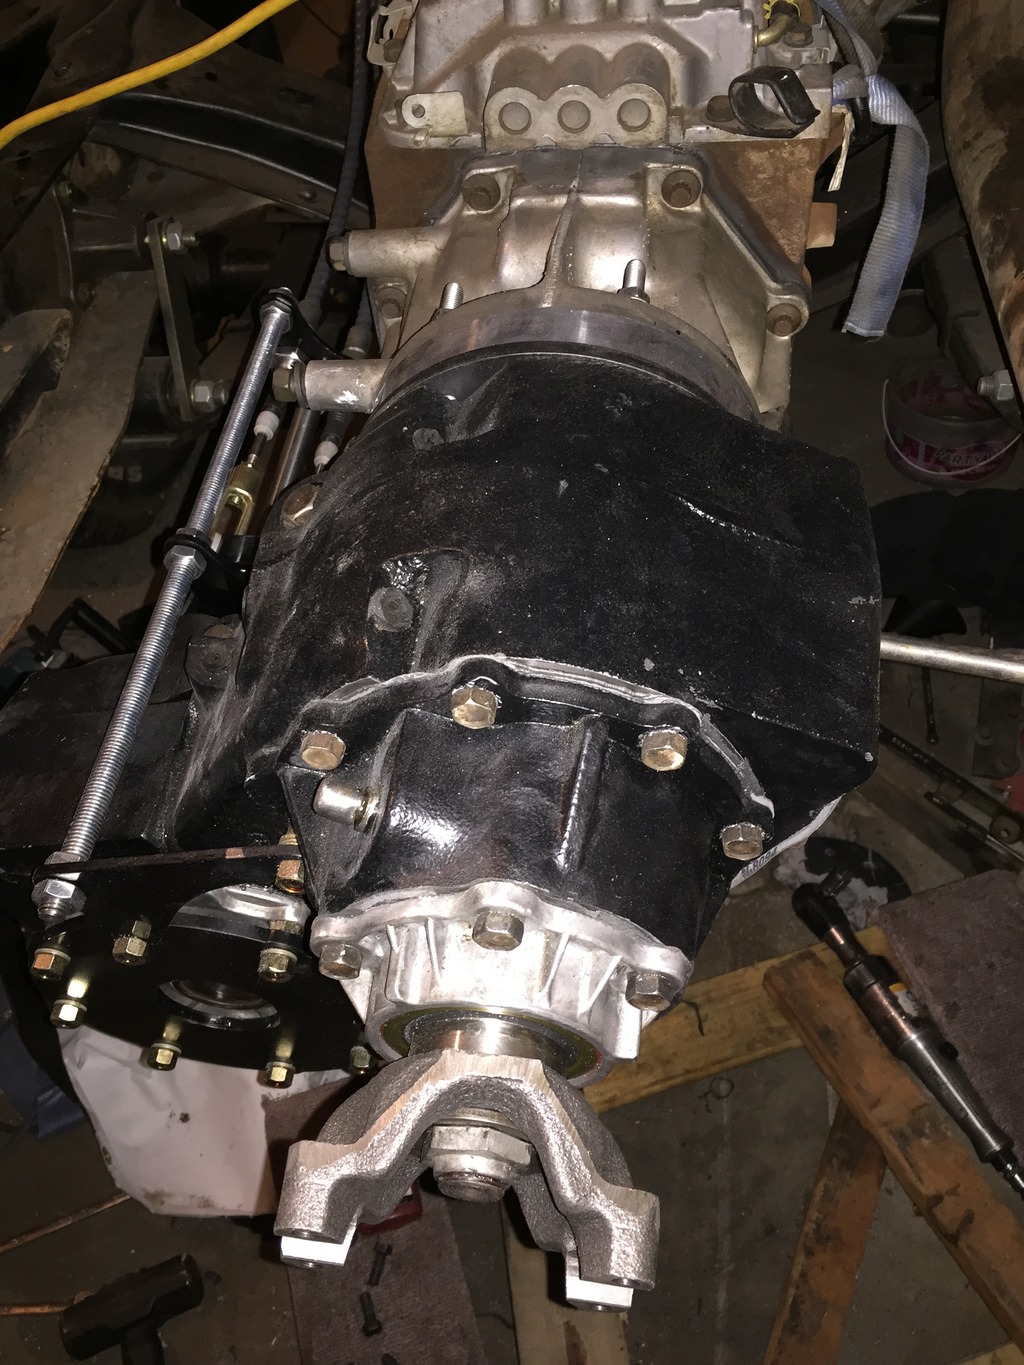
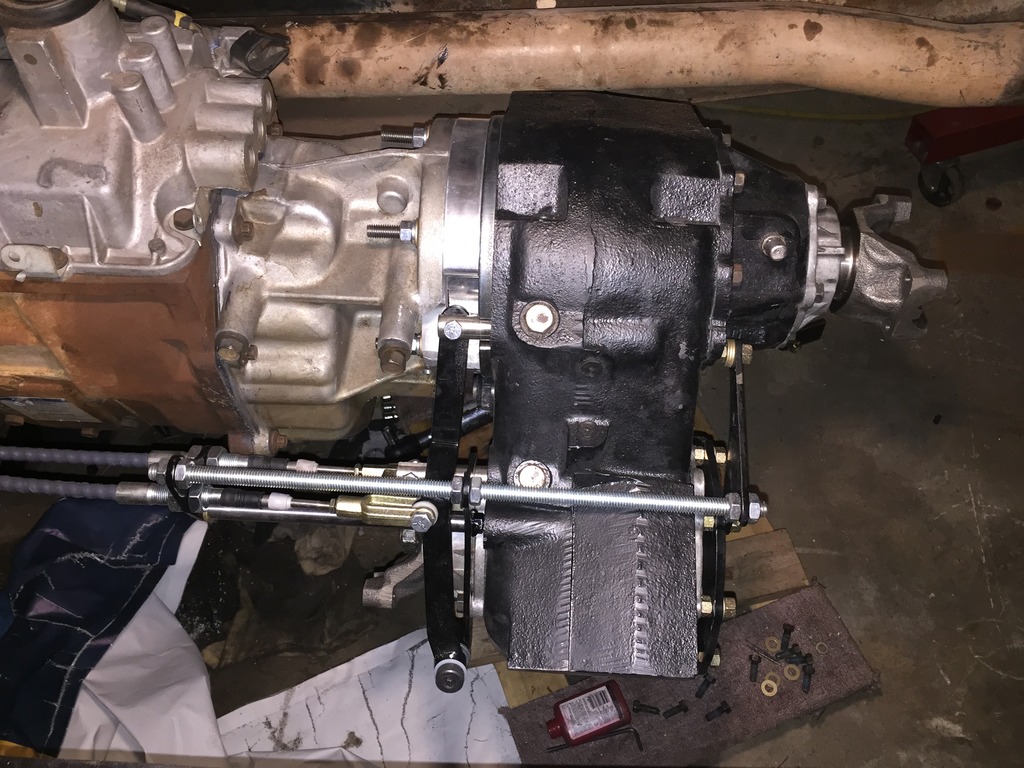
I installed the rear mounting plate from TTF.

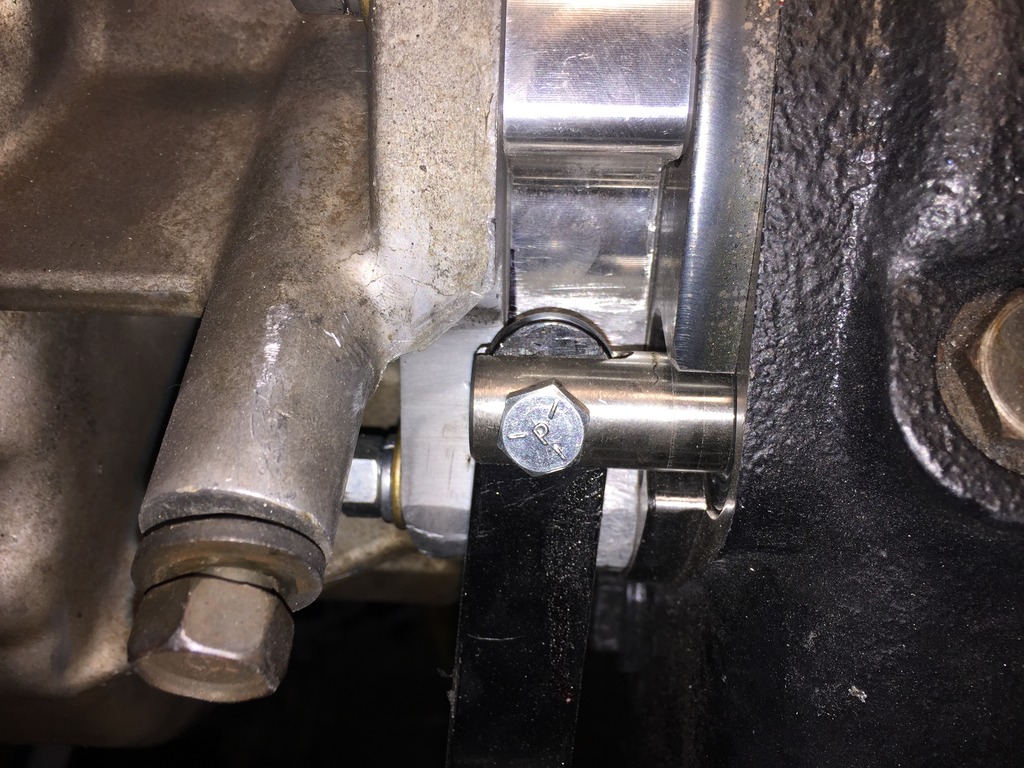
I had to be a little creative to make the NWF cable shifter kit work with the TTF rear mount kit to make everything work.
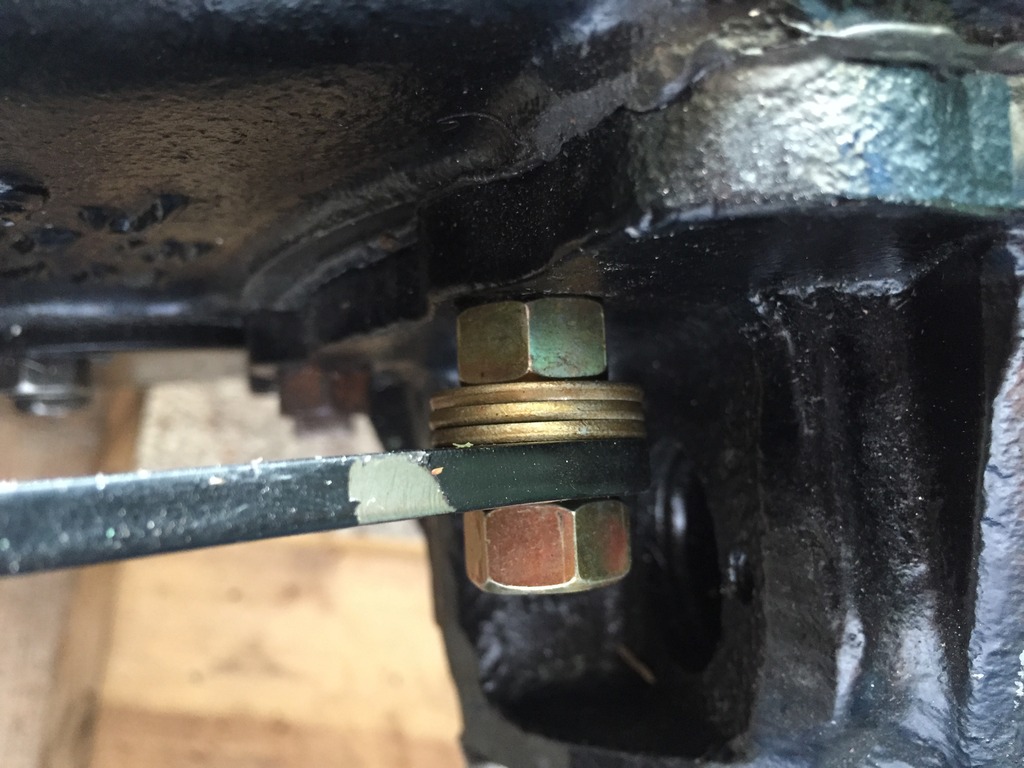
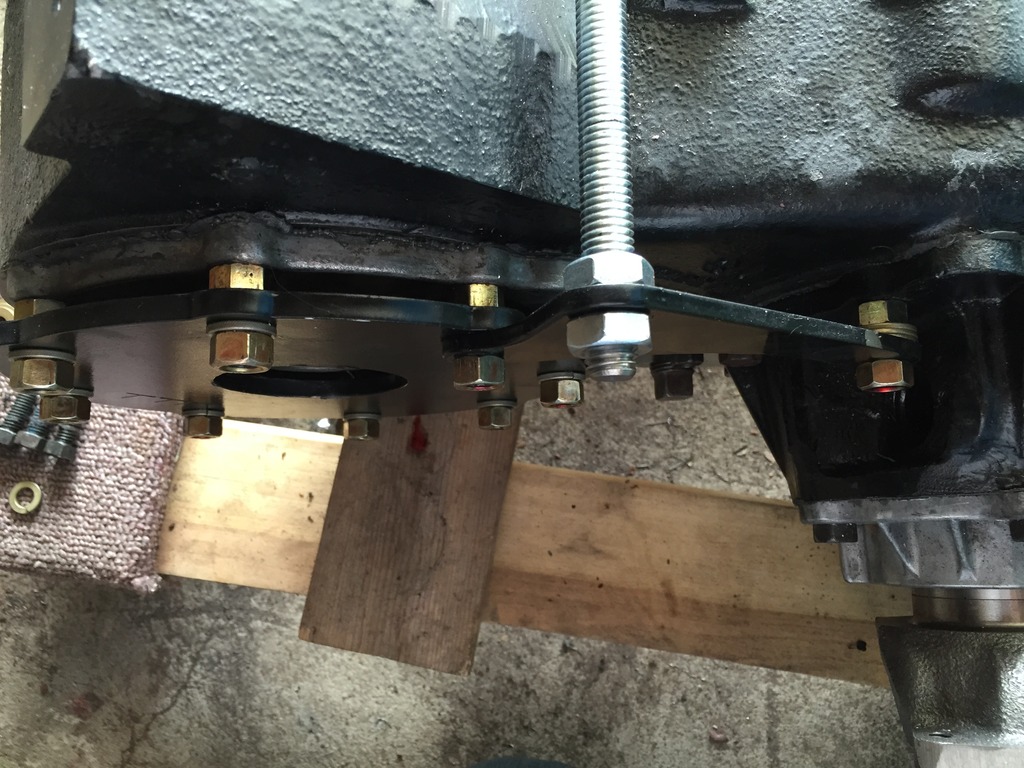
The NWF shifter kit looks petting good and installed relatively easily. Time will tell how this set up holds up.
I then turned my attention to the notorious 5th gear nut. I pulled the tail housing off of the transmission. Everything looked really good and clean, but it is better to take care of this issue now, and not later. I ended up ordering a $150 part off of eBay that engages the splines and guarantees that the nut won't come loose.
First I installed the clocking ring. It was obvious that I would need to modify the aluminum adapter plate that came with the advanced adapters kit to make everything work. In fact, it looks like I can only utilize the 1 1/2" clocking position with this set up because of clearances.
The guy from Northwest Fab said that he had the same type of kit that I bought from Advanced Adapters, but without the big spacer plate. If I did it over again, that is likely what I would do. It would be more versatile and work better with the NWF shifter.

I had to modify the advanced adapters spacer plate to make it work with the shifter kit.


The 3" down clock position seemed to cut things too close with this set up.


I installed the rear mounting plate from TTF.

I had to be a little creative to make the NWF cable shifter kit work with the TTF rear mount kit to make everything work.


The NWF shifter kit looks petting good and installed relatively easily. Time will tell how this set up holds up.


I then turned my attention to the notorious 5th gear nut. I pulled the tail housing off of the transmission. Everything looked really good and clean, but it is better to take care of this issue now, and not later. I ended up ordering a $150 part off of eBay that engages the splines and guarantees that the nut won't come loose.

#221
09-28-2015, 12:40 AM
Join Date: Oct 2011
Location: Willard
Posts: 207
Likes: 0
Received 0 Likes
on
0 Posts
Well I ordered one of those fancy 5th gear nut solutions that uses the splines to keep the nut locked in place. The problem is, that those nuts require that you have stock engagement tolerances from the transferase input shaft onto the transmission output shaft. The transfer case input shaft holds the thing in place. Since I don't have stock tolerances, that little contraption wouldn't work. I have to return it.
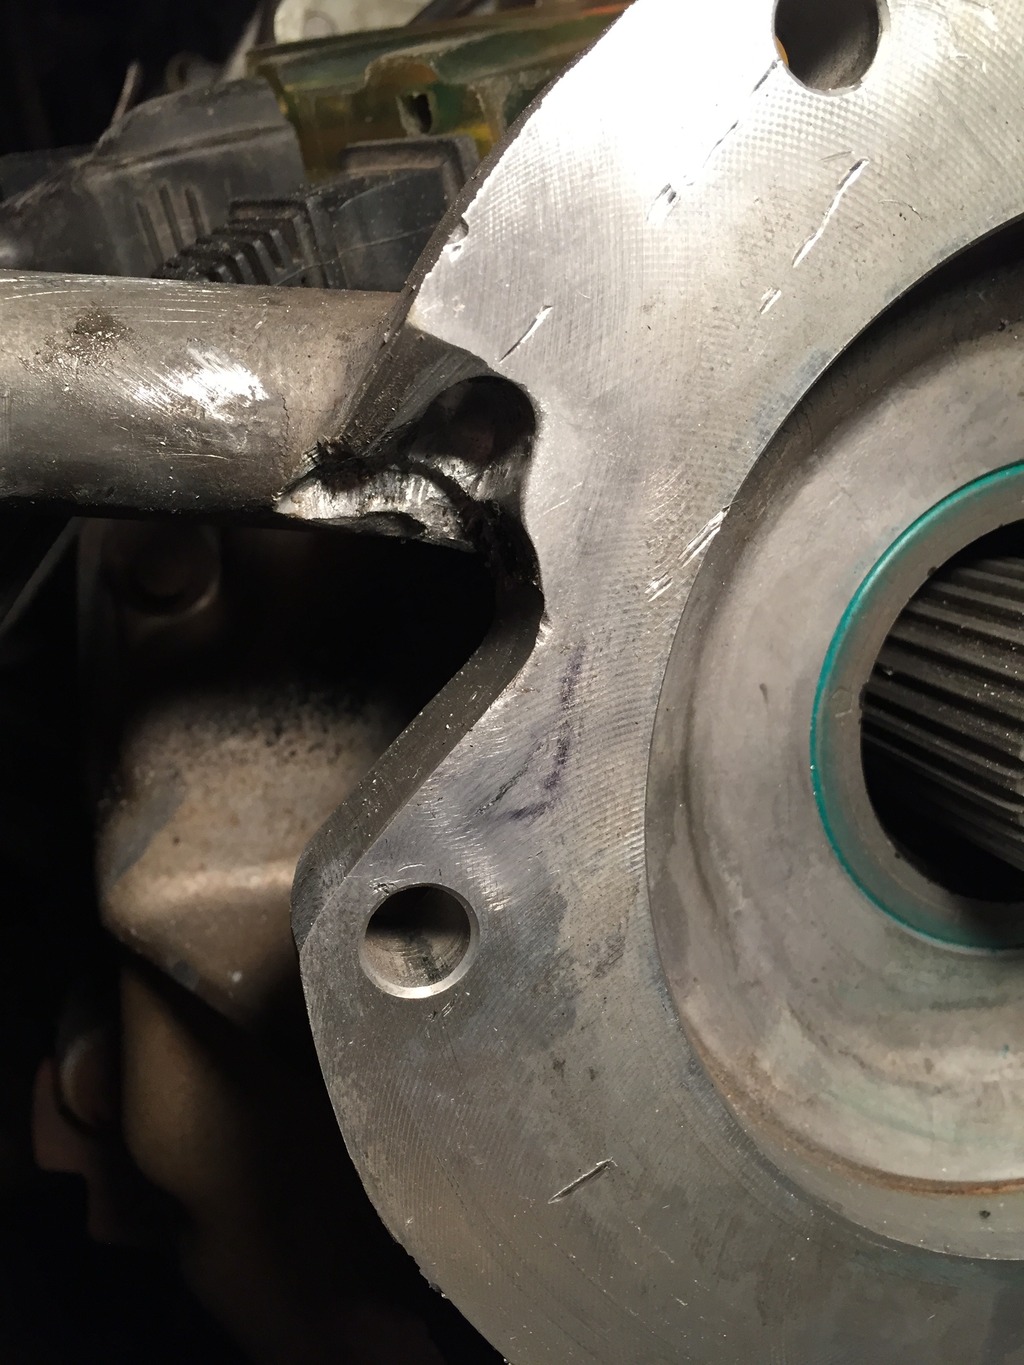
After inspecting the nut a little further, I noticed that there is slot on the output shaft where the nut is dimpled with a punch to lock it in place. I can't imagine that it could loosen with that kind of physical barrier to stop it. I tightened it down a little more, and dimpled it a little more to lock it in place.
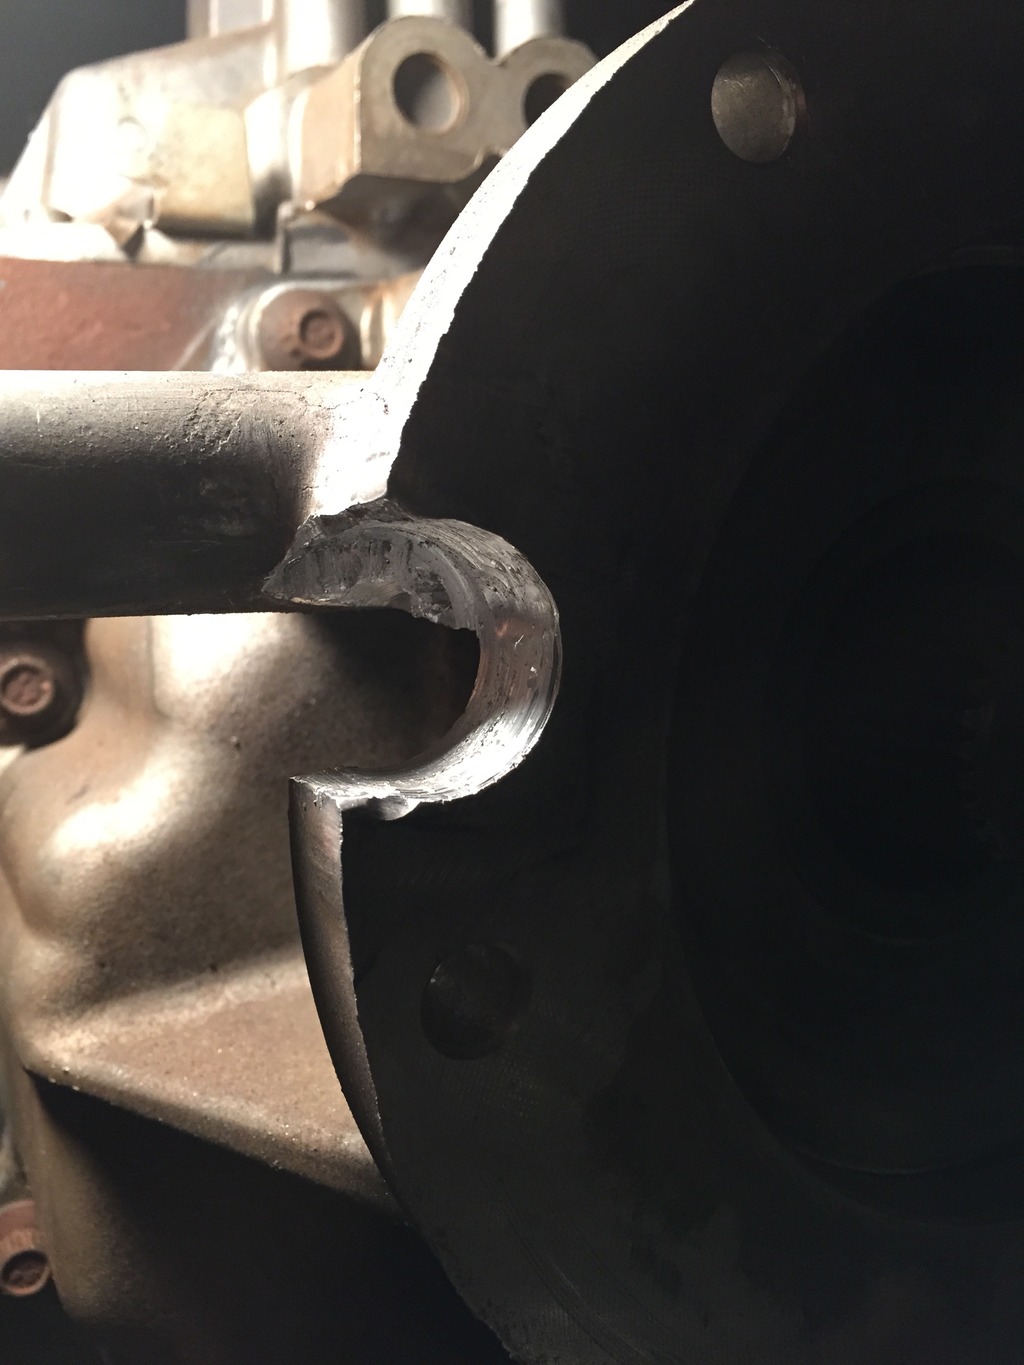
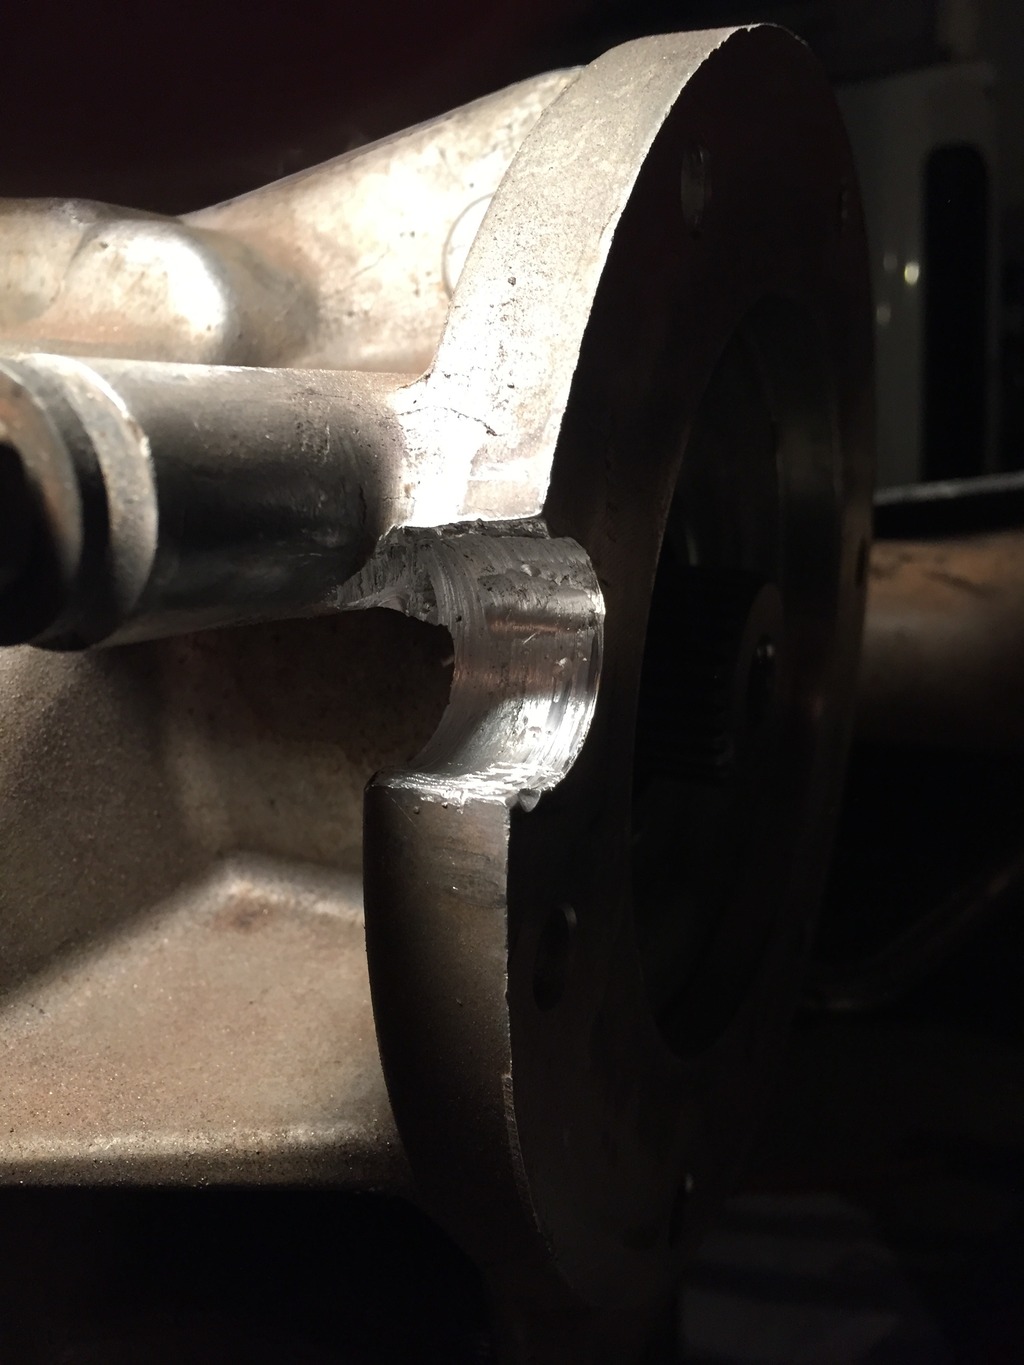
Next I turned my attention to modifying the transmission tail shaft housing so that the NP205 could mount to it. I drilled, cut, chiseled and sanded to make good clearance for the shift rail to operate while trying to leave as much beef for strength. I definitely am going to have to make sure my cross members support the weight of the transmission and transferase so that the connection between the two does not see a lot of stress.
Now my attention shifts to getting the cab painted before it gets too cold to paint. I have been stripping the cab down to bare metal, but it is a tedious process and is taking forever. I got to have the cab painted in the next month so that I can keep moving forward with this build during the winter.
After inspecting the nut a little further, I noticed that there is slot on the output shaft where the nut is dimpled with a punch to lock it in place. I can't imagine that it could loosen with that kind of physical barrier to stop it. I tightened it down a little more, and dimpled it a little more to lock it in place.

Next I turned my attention to modifying the transmission tail shaft housing so that the NP205 could mount to it. I drilled, cut, chiseled and sanded to make good clearance for the shift rail to operate while trying to leave as much beef for strength. I definitely am going to have to make sure my cross members support the weight of the transmission and transferase so that the connection between the two does not see a lot of stress.


Now my attention shifts to getting the cab painted before it gets too cold to paint. I have been stripping the cab down to bare metal, but it is a tedious process and is taking forever. I got to have the cab painted in the next month so that I can keep moving forward with this build during the winter.
#223
10-04-2015, 09:35 PM
Join Date: Oct 2011
Location: Willard
Posts: 207
Likes: 0
Received 0 Likes
on
0 Posts
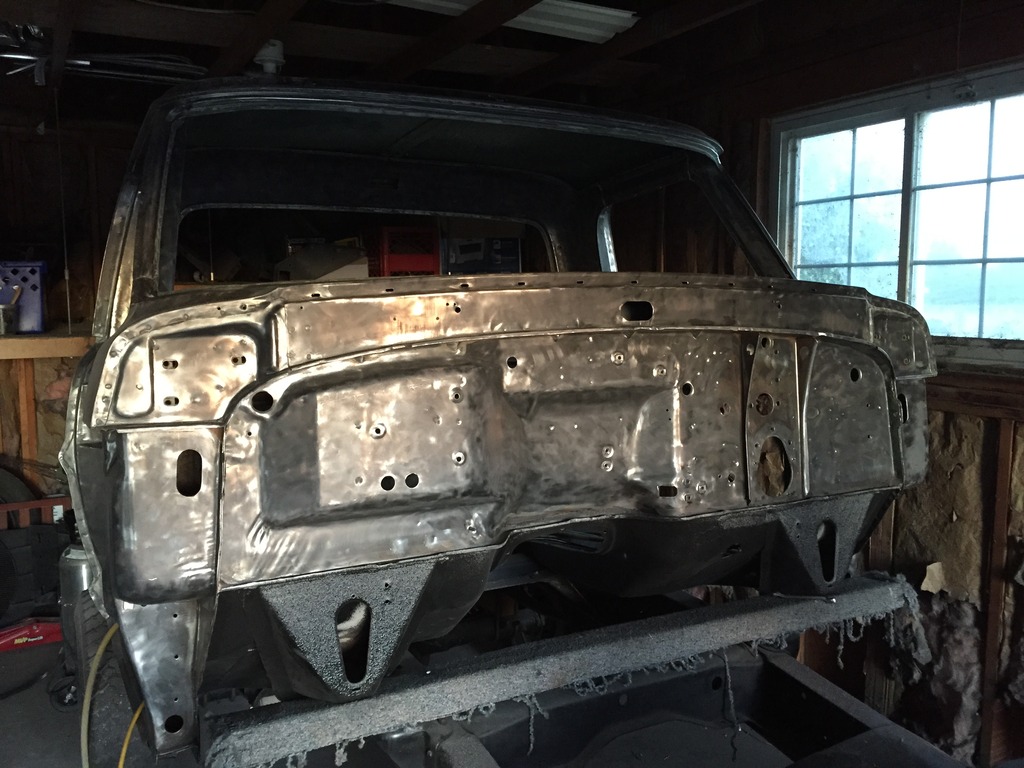
I have put in countless hours bringing the cab down to bare metal  I hate bodywork, but I am in the home stretch now. I have to get this thing painted soon before it gets to cold to paint.
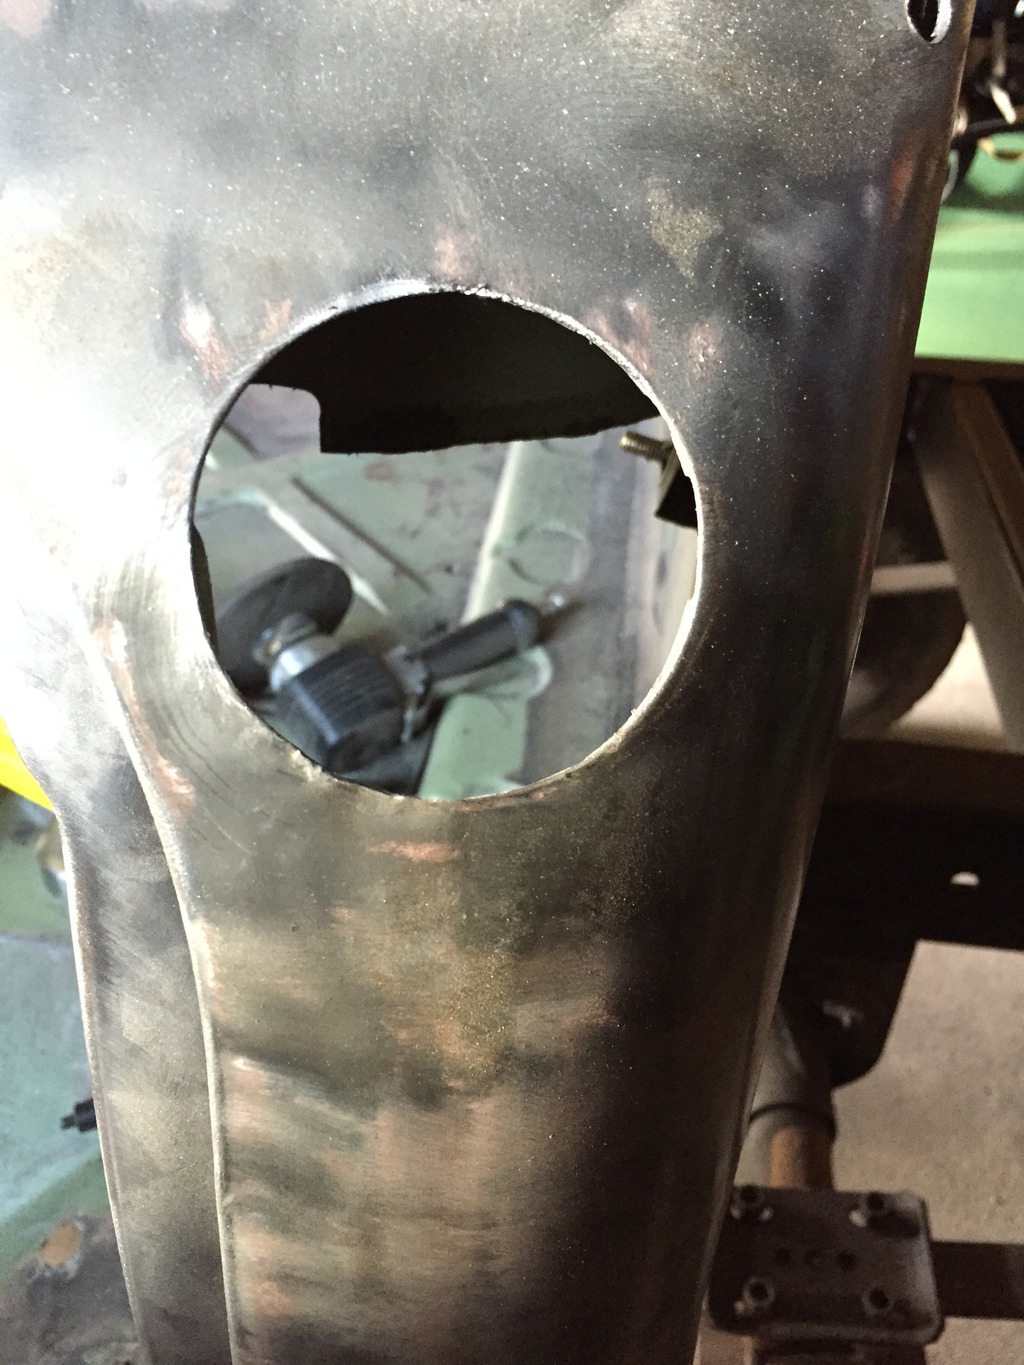
I covered the stock fuel fill hole since my tank will be located in the rear of the truck instead of the cab.
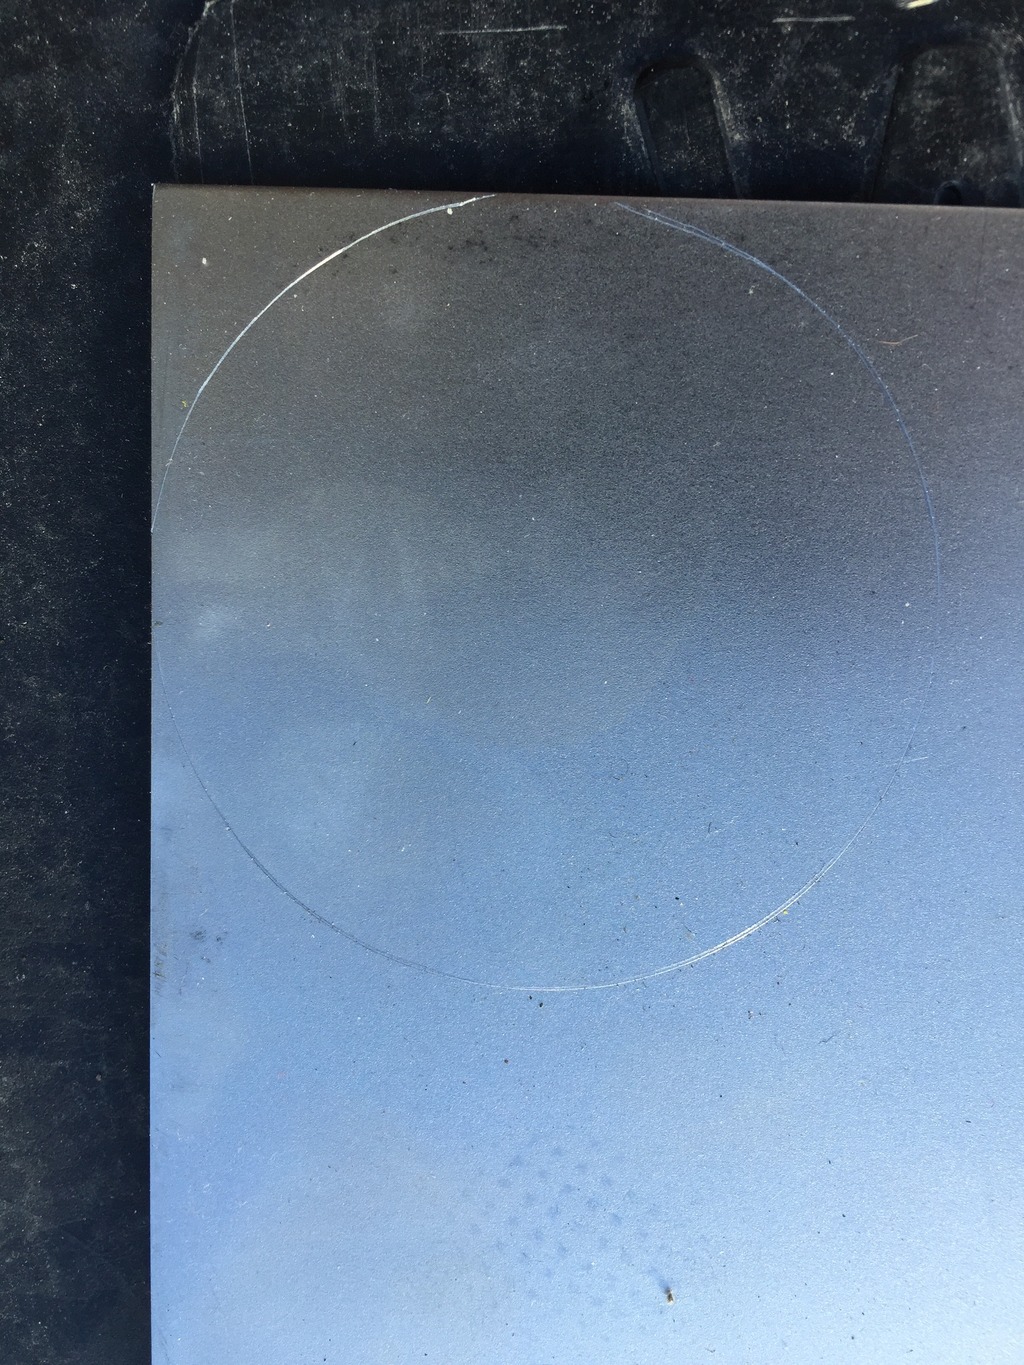
A small mason jar opening was the right diameter. I used it as a template. Surprisingly it didn't take that long to get a good circle using a portable band saw and a grinder.
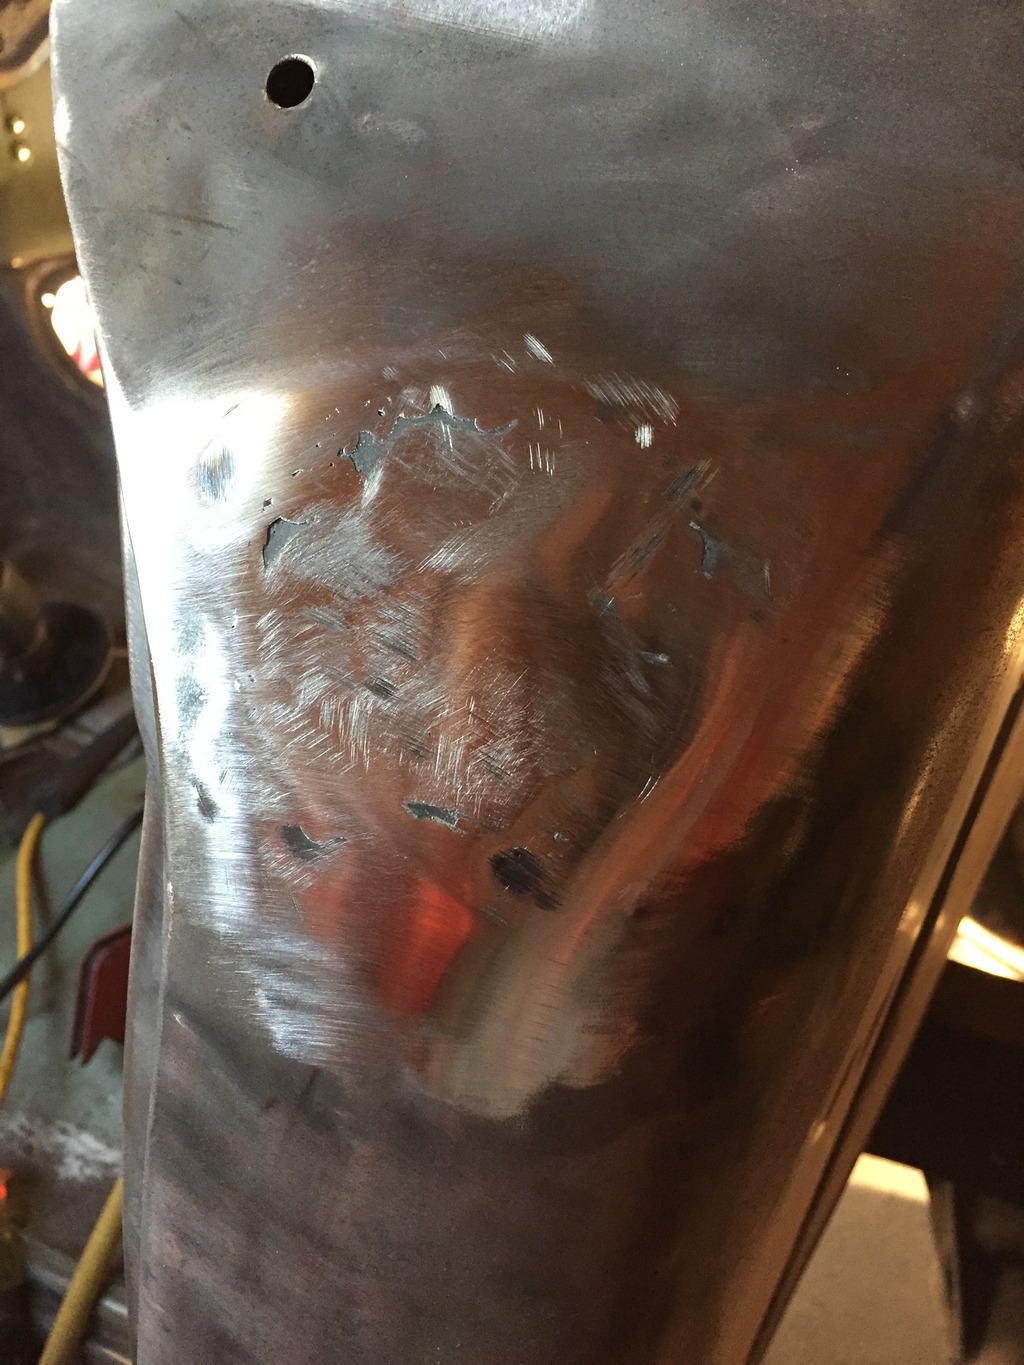
Well, its not the prettiest job in the world, but a little body filler and some sanding will make it look like it came from he factory that way.
I am trying to get this thing painted in the next two to three weeks. Once the cab is panted, I will have plenty of stuff to do all winter long. It will really start coming together. Could this thing be on the road next summer??? I wish.
I hate bodywork, but I am in the home stretch now. I have to get this thing painted soon before it gets to cold to paint.
I covered the stock fuel fill hole since my tank will be located in the rear of the truck instead of the cab.

A small mason jar opening was the right diameter. I used it as a template. Surprisingly it didn't take that long to get a good circle using a portable band saw and a grinder.


Well, its not the prettiest job in the world, but a little body filler and some sanding will make it look like it came from he factory that way.
I am trying to get this thing painted in the next two to three weeks. Once the cab is panted, I will have plenty of stuff to do all winter long. It will really start coming together. Could this thing be on the road next summer???
I wish.
#224
10-05-2015, 03:29 AM
#225
10-05-2015, 07:51 AM