1956 F100 Crew Cab Project Started - LOTS OF PICTURES
#346
 01-10-2017, 09:20 PM

Freshman User
Join Date: Jan 2002
Location: Jamestown USA
Posts: 44
Likes: 0
Received 0 Likes
on
0 Posts
#347
01-10-2017, 09:23 PM
FTE Legend
Join Date: Oct 2005
Location: northwestern Ontario
Posts: 263,022
Received 4,135 Likes
on
2,657 Posts
#348
01-10-2017, 10:51 PM
Freshman User
Join Date: Jan 2002
Location: Jamestown USA
Posts: 44
Likes: 0
Received 0 Likes
on
0 Posts
#350
01-11-2017, 07:23 PM
FTE Legend
Join Date: Oct 2005
Location: northwestern Ontario
Posts: 263,022
Received 4,135 Likes
on
2,657 Posts

#351
03-18-2017, 07:45 PM

Well gang, I finally feel like I made some progress and wanted to share.
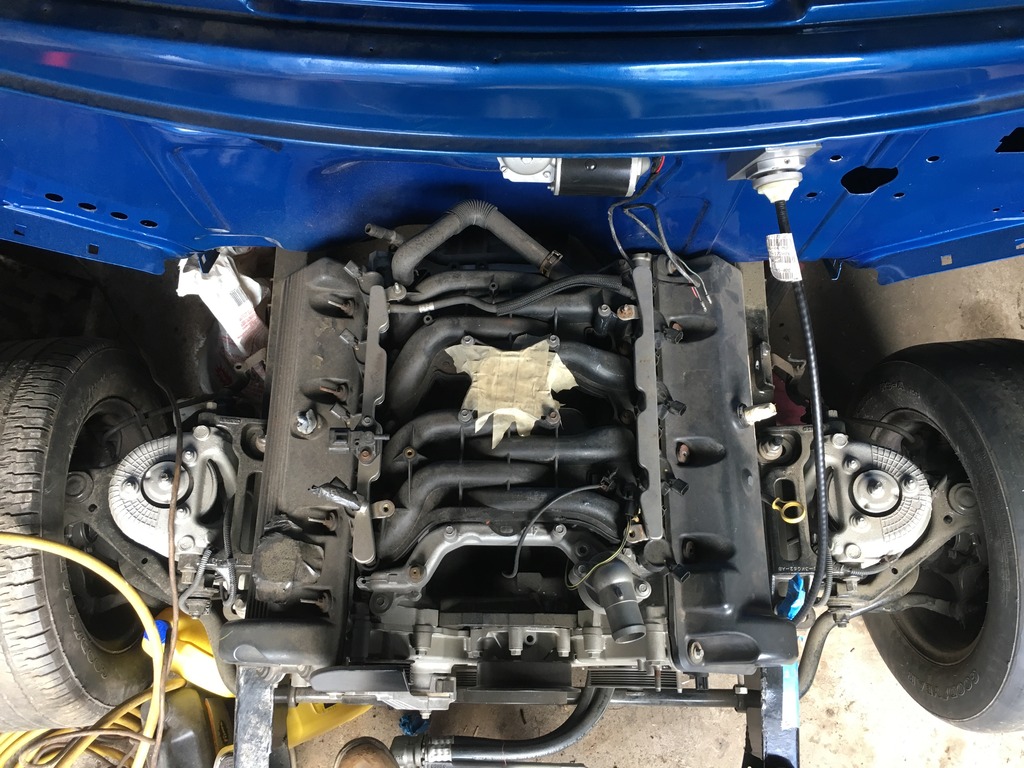
If you have read through my build, you know I am making my truck a 5 speed. In order to do so I am modifying an aftermarket pedal box and making the box a cable clutch box.
In order to route the clutch cable and get enough space from the clutch cable quadrant and the fire wall I needed to make a spacer. After making a couple test pieces out of wood it was time to transfer my idea to a chunk of aluminum.
I started with a 2-1/2" Chunk of Aluminum
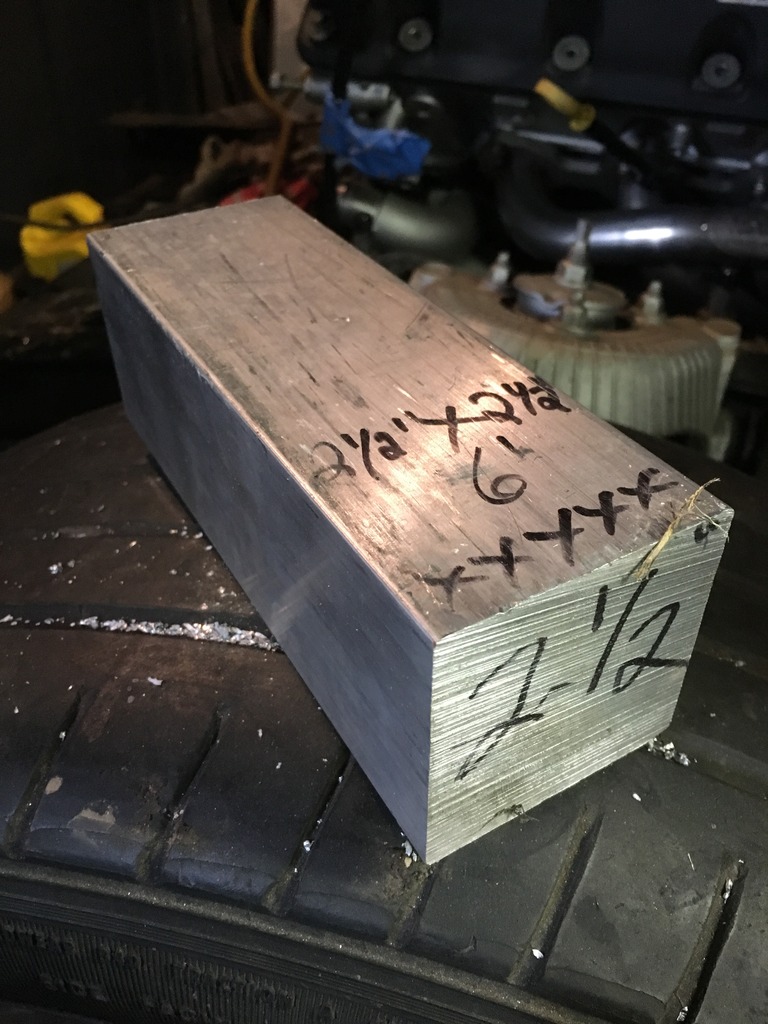
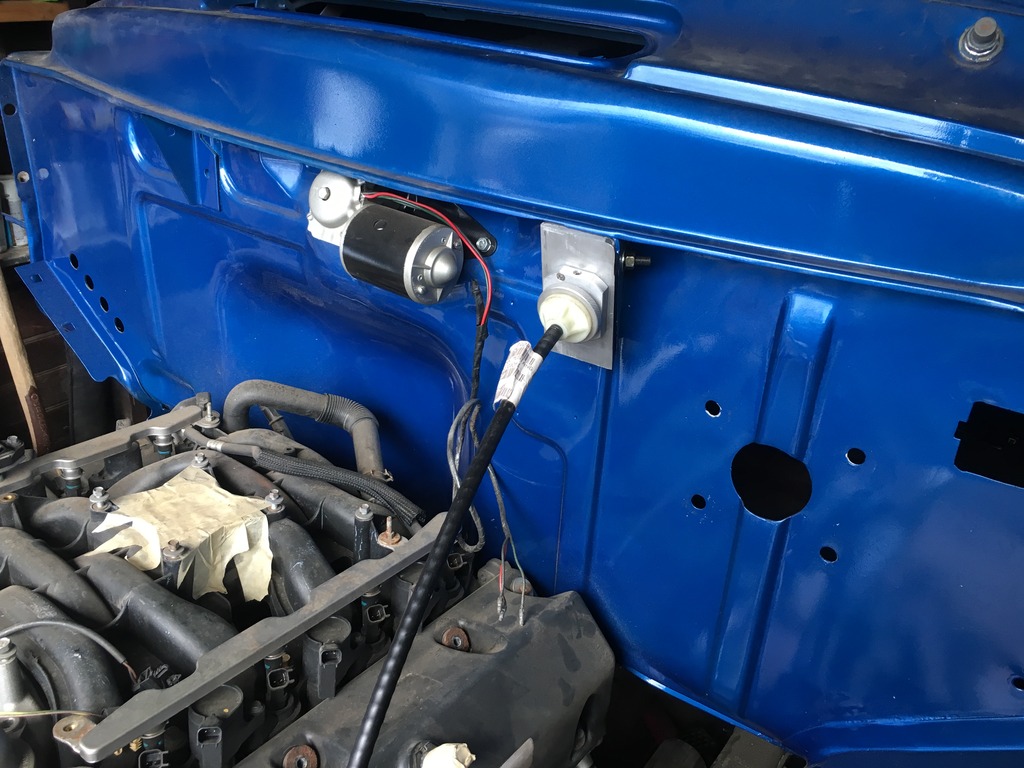
Cut the piece to size and cut the curve on top so the spacer sits tight up against the firewall and cowl. Then I made an angle jig for my Horizontal/vertical band saw so I could get the spacer to sit tight against the fender alignment rod bracket.

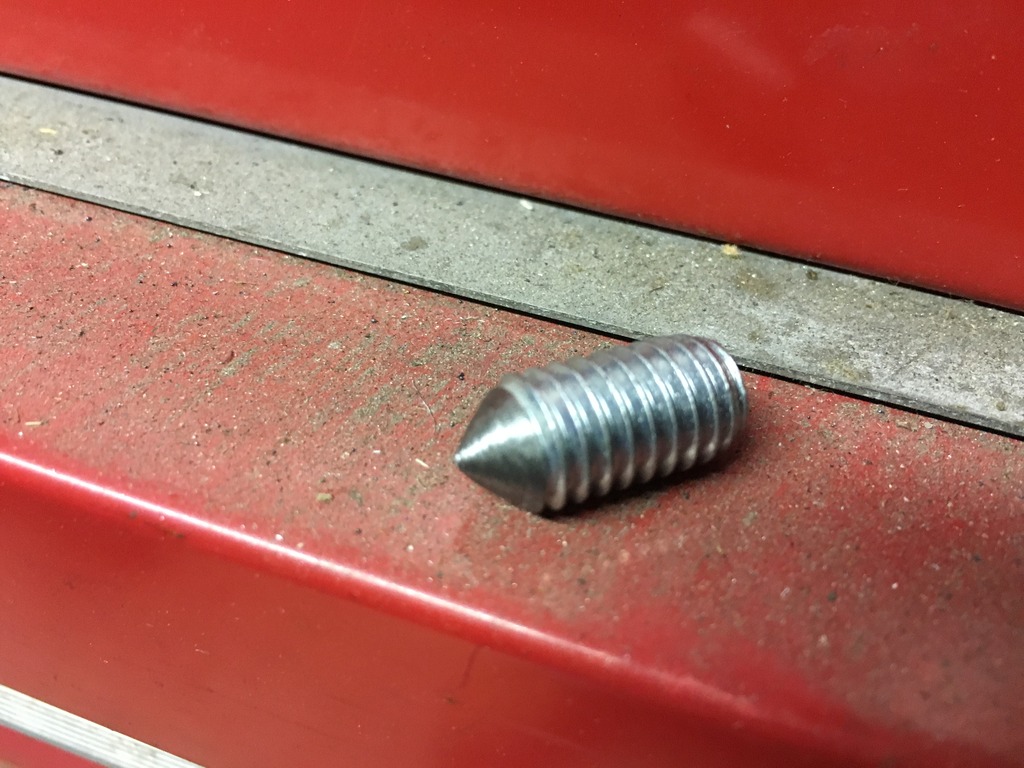
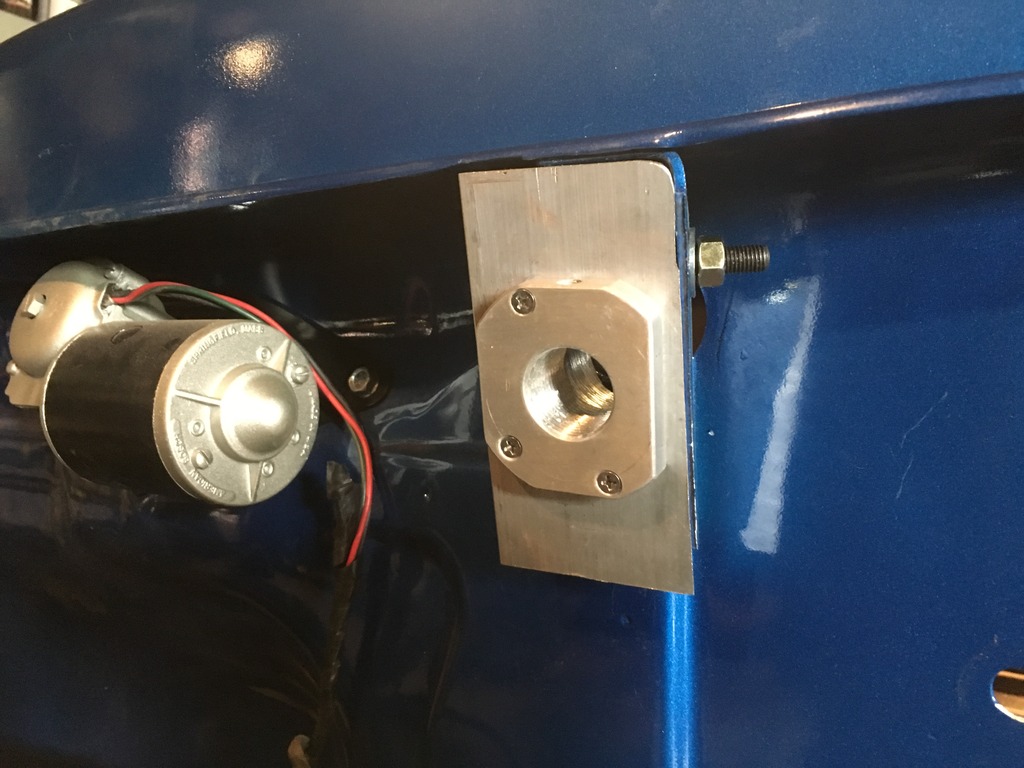
I taped a hole at the top of the spacer so I could bolt it to the cowl. I used a cut and pointed bolt to locate the correct spot to drill.
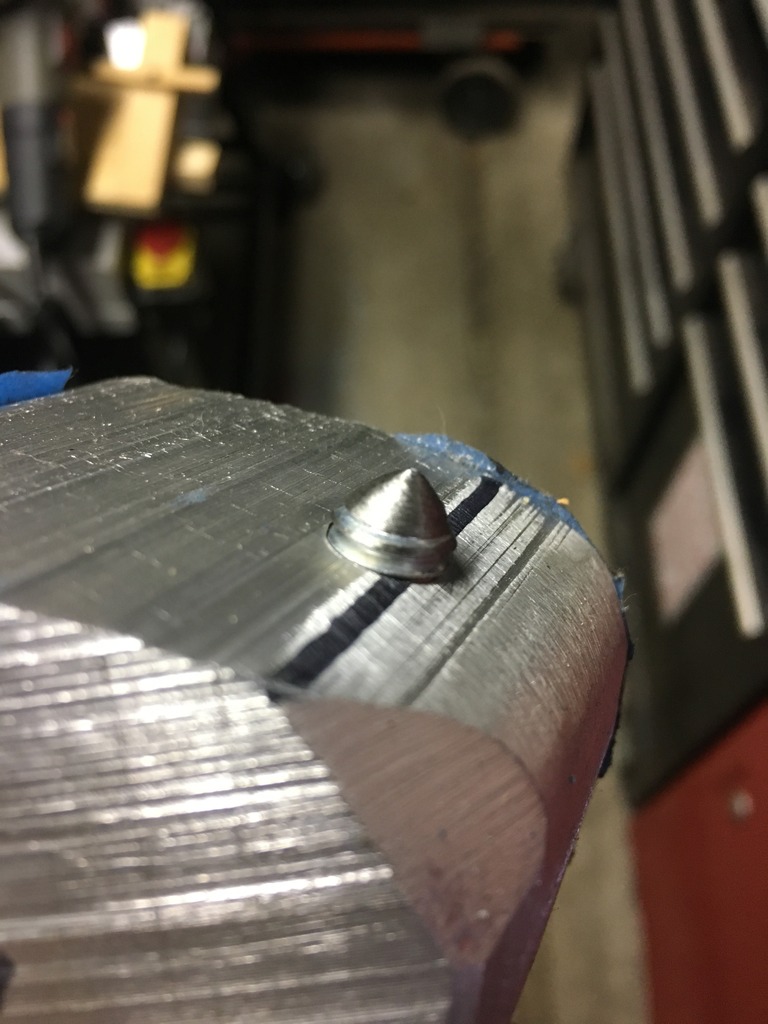
Once I installed the first bolt I was able to figure out the angles and locations of the additional mounting holes.
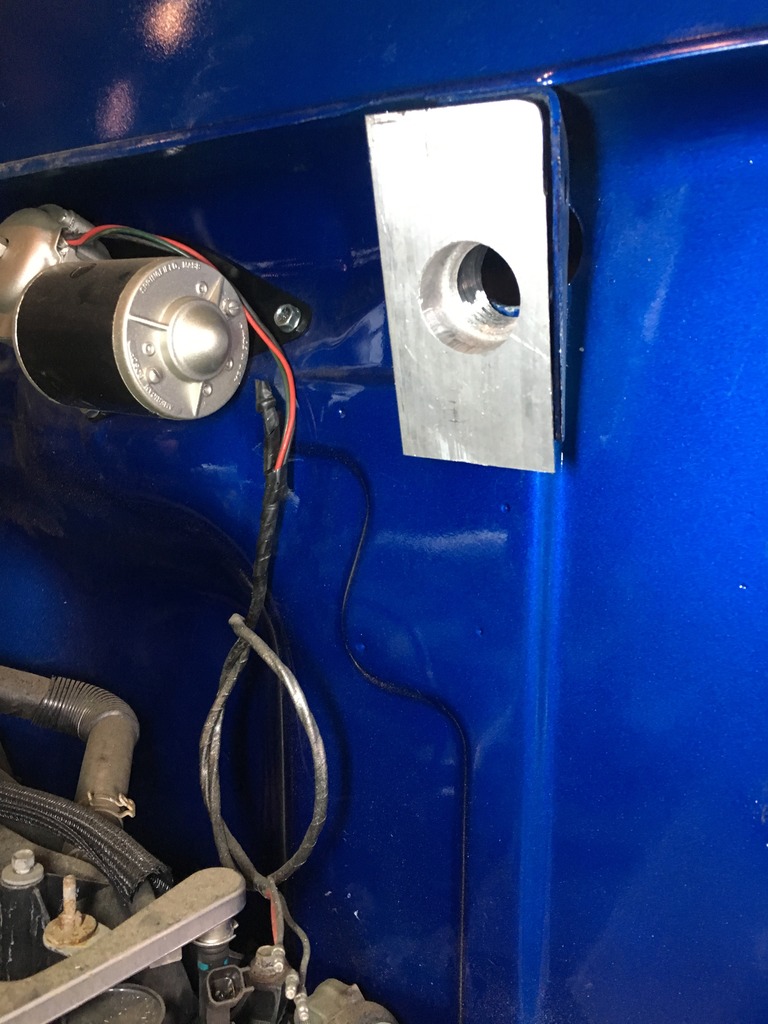
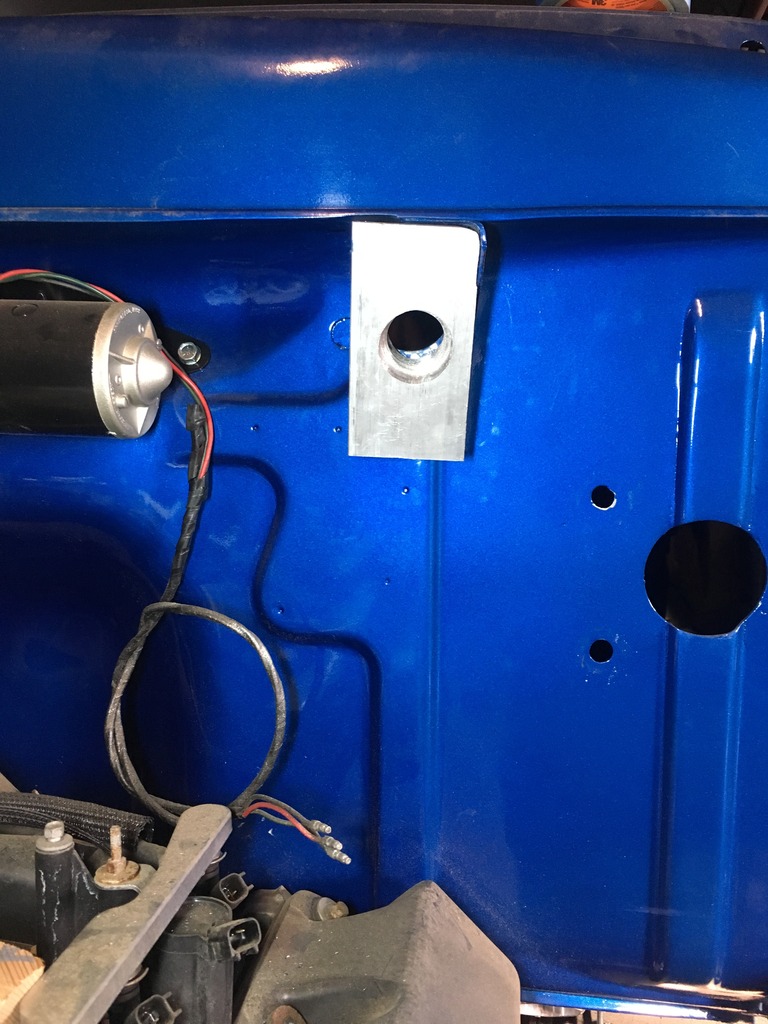
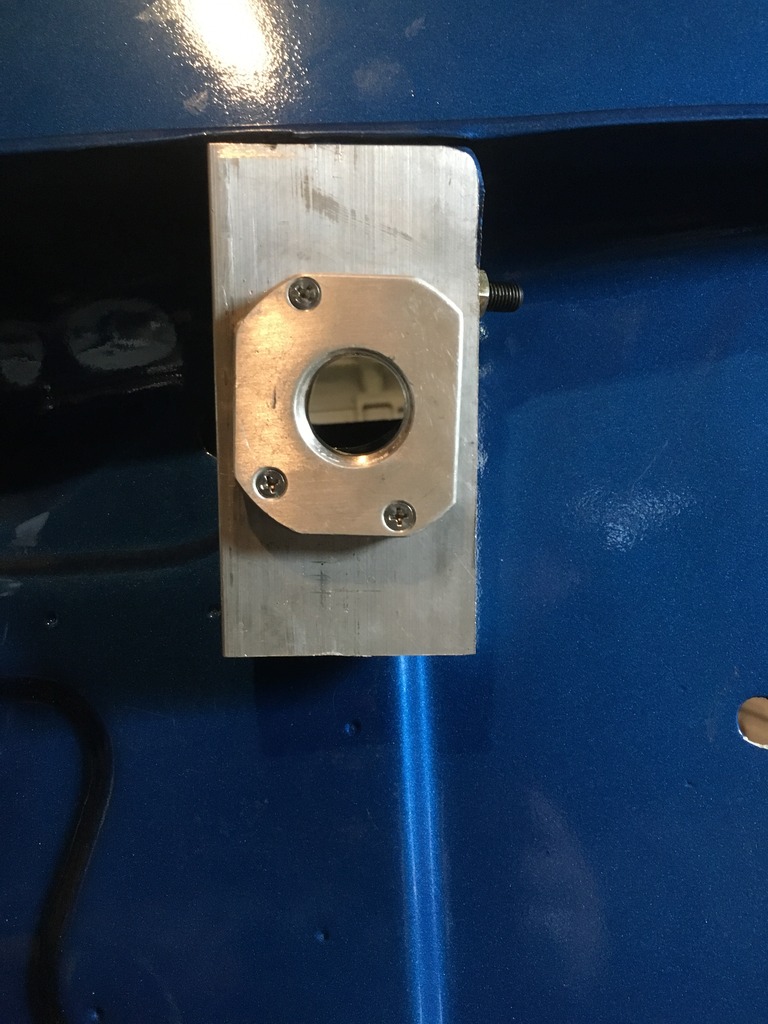
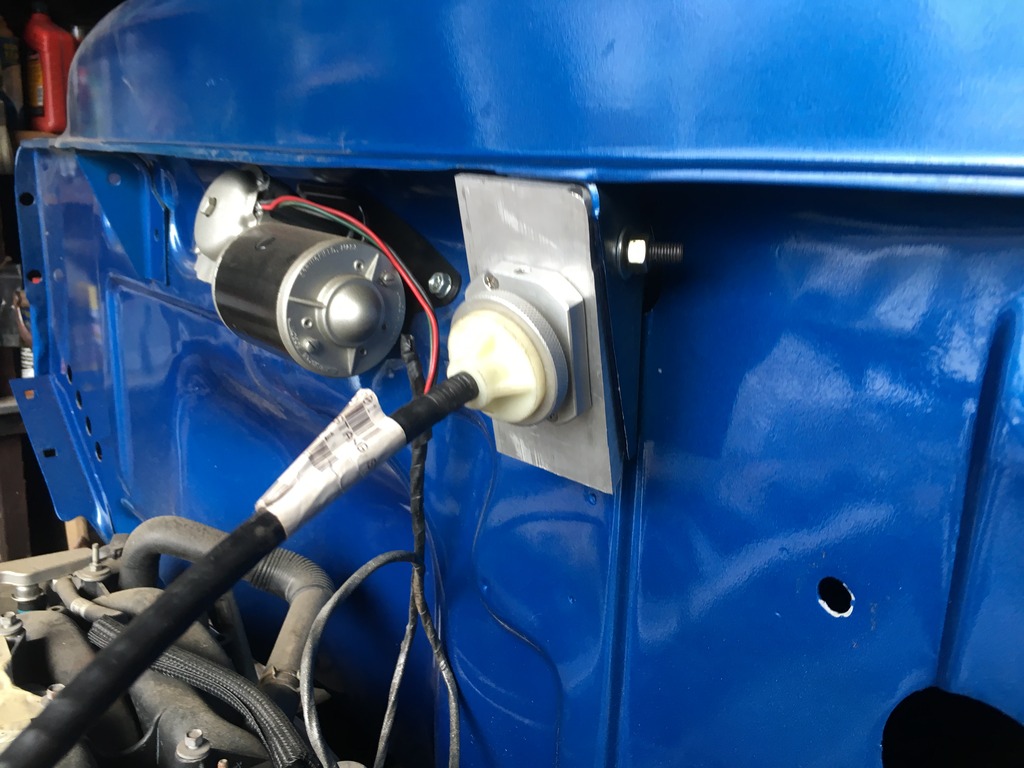
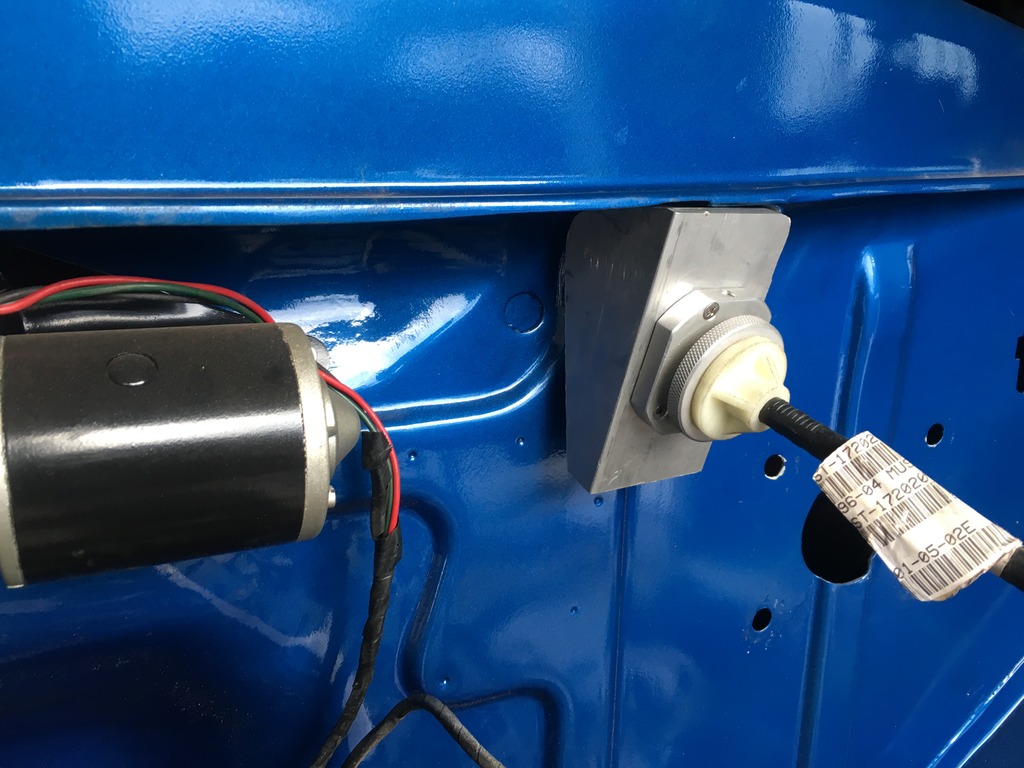
As you can see from the photos I also bored a hole into the center of the spacer for the firewall adjuster to sit in as well as allowing the cable to pass through.
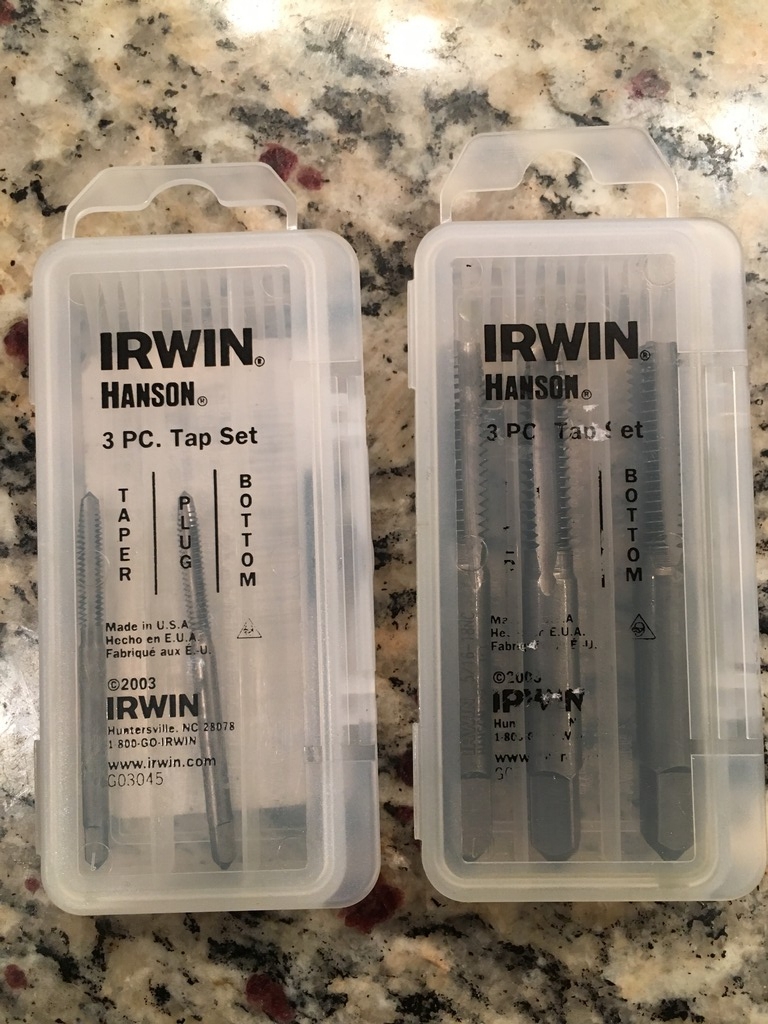
I Had to purchase two additional tap sets so I could mount the stud for the fender alignment rod as well as securing the firewall adjuster to the spacer.
Once everthing was taped I was able to install the bracket and stand back to admire my work.
and with the clutch cable.
If you have read through my build, you know I am making my truck a 5 speed. In order to do so I am modifying an aftermarket pedal box and making the box a cable clutch box.
In order to route the clutch cable and get enough space from the clutch cable quadrant and the fire wall I needed to make a spacer. After making a couple test pieces out of wood it was time to transfer my idea to a chunk of aluminum.
I started with a 2-1/2" Chunk of Aluminum

Cut the piece to size and cut the curve on top so the spacer sits tight up against the firewall and cowl. Then I made an angle jig for my Horizontal/vertical band saw so I could get the spacer to sit tight against the fender alignment rod bracket.

I taped a hole at the top of the spacer so I could bolt it to the cowl. I used a cut and pointed bolt to locate the correct spot to drill.


Once I installed the first bolt I was able to figure out the angles and locations of the additional mounting holes.


As you can see from the photos I also bored a hole into the center of the spacer for the firewall adjuster to sit in as well as allowing the cable to pass through.
I Had to purchase two additional tap sets so I could mount the stud for the fender alignment rod as well as securing the firewall adjuster to the spacer.

Once everthing was taped I was able to install the bracket and stand back to admire my work.


and with the clutch cable.


#352
03-18-2017, 07:57 PM
FTE Legend
Join Date: Oct 2005
Location: northwestern Ontario
Posts: 263,022
Received 4,135 Likes
on
2,657 Posts

#353
03-19-2017, 06:31 AM
Fleet Mechanic
#355
07-25-2017, 06:36 AM
Its been a slow summer for the crew cab and an even slower summer for the Coe.
I got side tracked with the purchase of a 92 Mustang GT Convertible for the Wifey.
Hopefully their will be progress come the fall/winter but right now those two projects are on hold until I get the mustang on the road and get rid of the 2nd parts car for the mustang.
#357
10-03-2017, 03:44 PM
I will need to spend spend some time investigating a new photo host vs the extortionists over at Photobucket. I was hoping to hold out long enough for them to come back to reality. It's not looking good.
It it really sucks to have these lengthy builds go pictureless after all this time and energy put into it

#359
10-04-2017, 06:15 AM
#360
01-06-2018, 06:26 PM