
My truck got a new accessory!!


#32
 08-03-2011, 10:54 AM
#34
08-03-2011, 12:59 PM
#35
08-03-2011, 06:33 PM
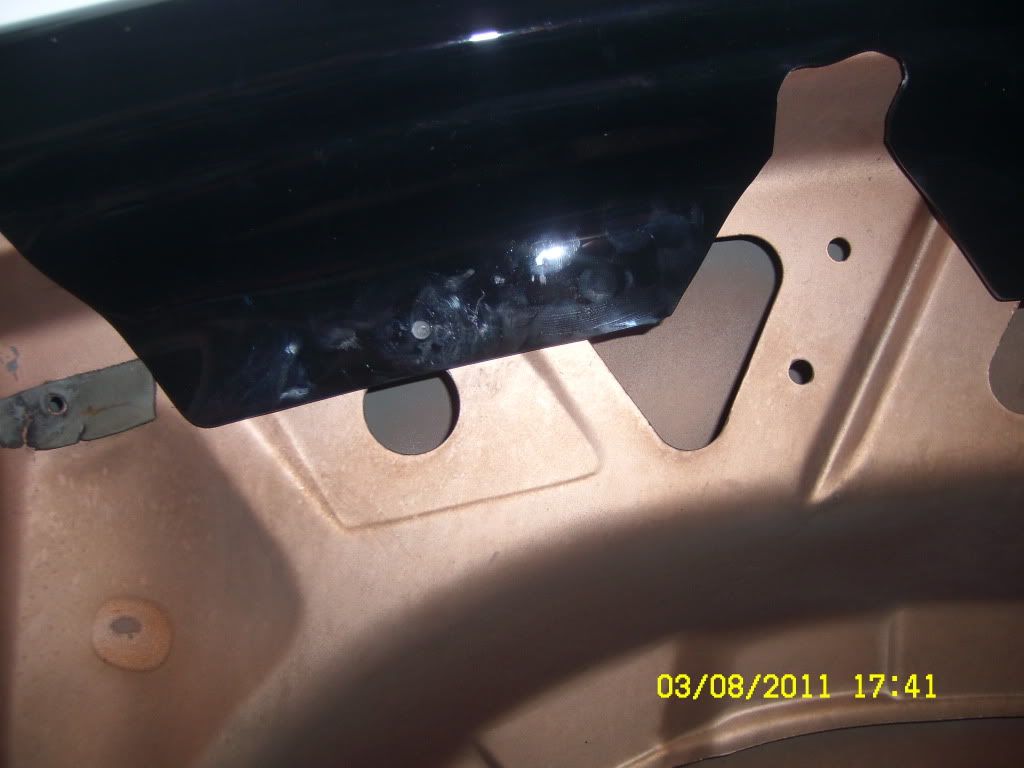
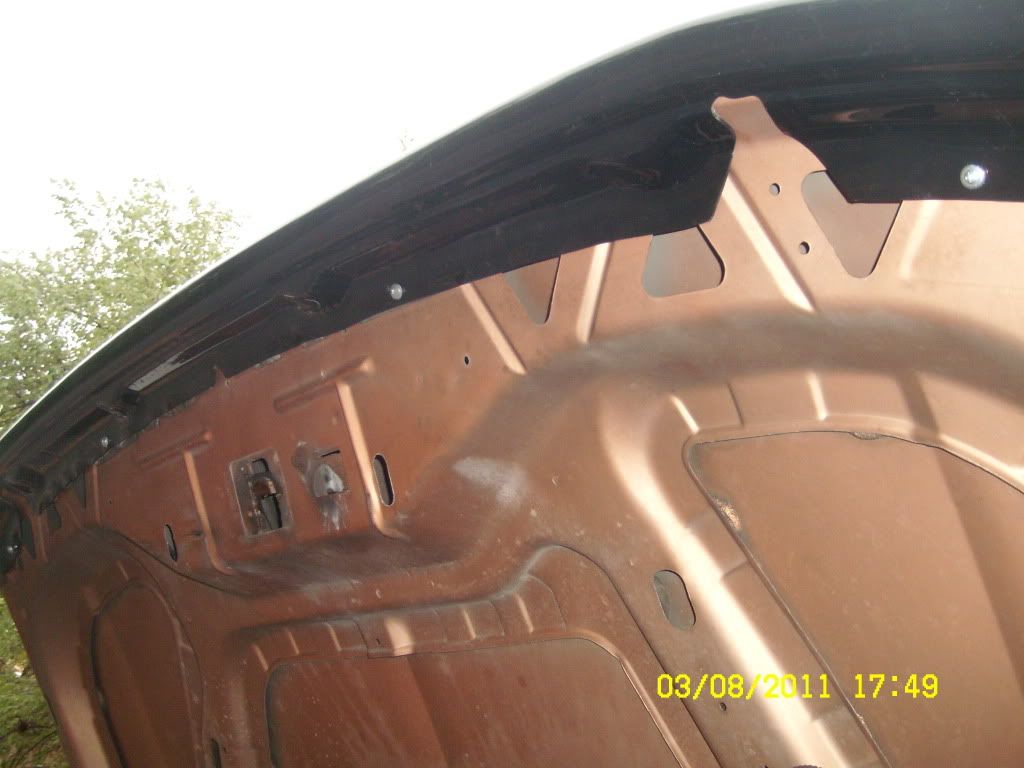
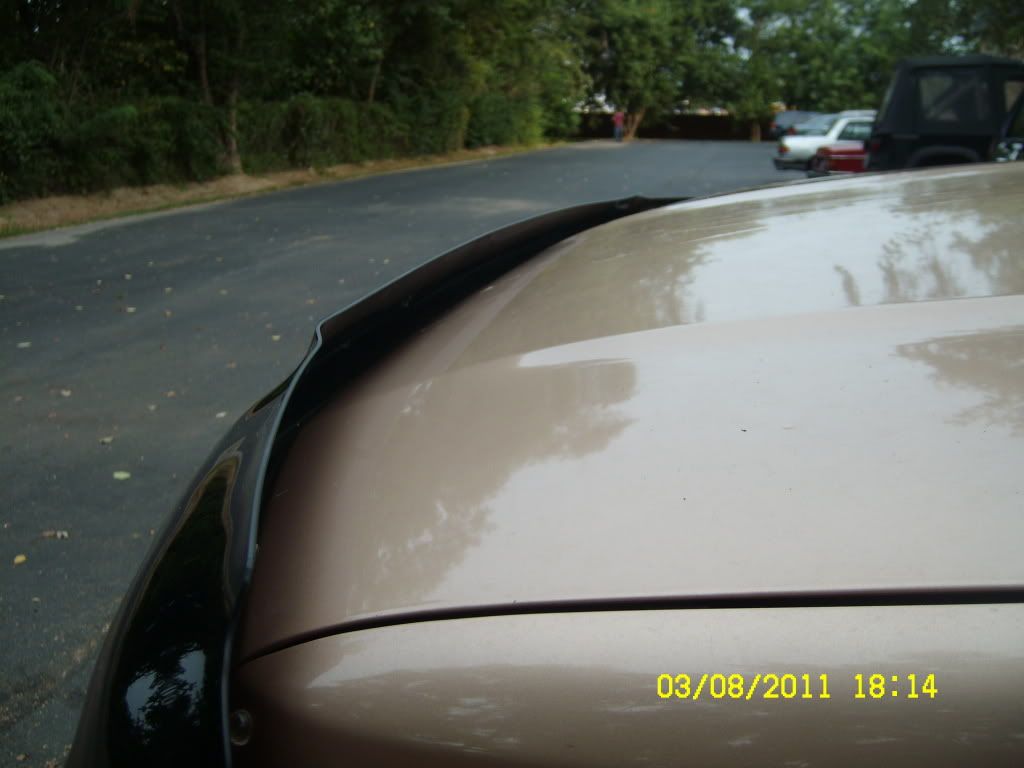
ok heres an update I went ahead and popped the hood open and decided that it was pretty good and square and put the first screw in (yay) so it could be held in place as I check it and readjust if needed (which only the pass side had to be pushed forward a tad) heres some pics for you all to enjoy!
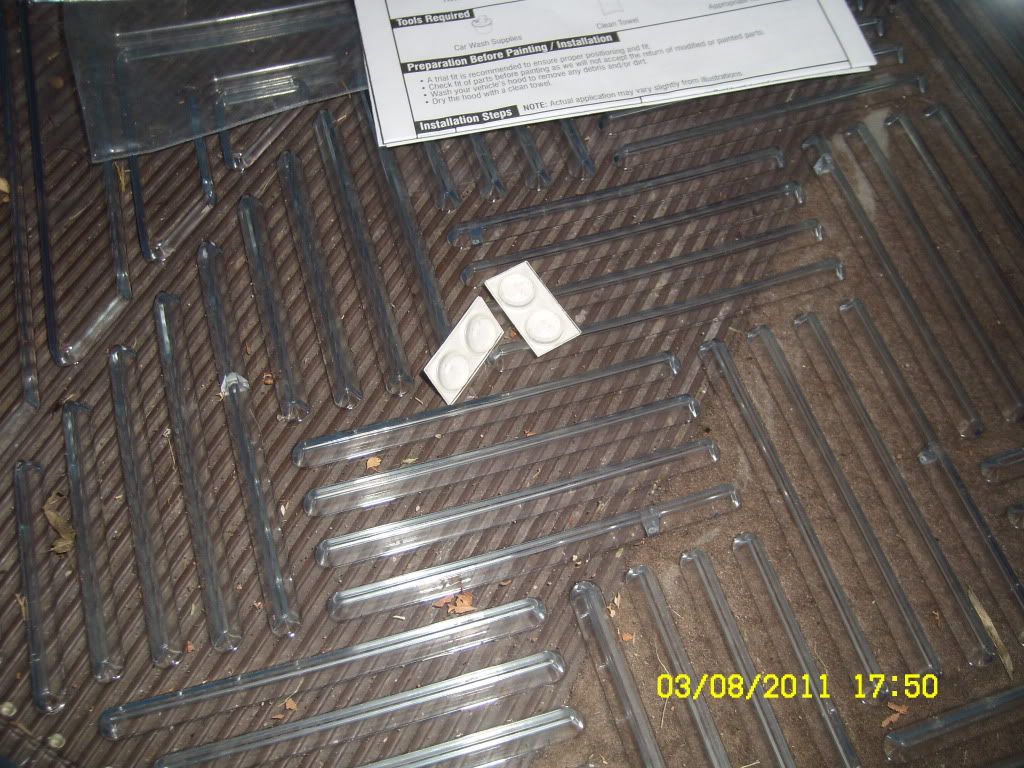
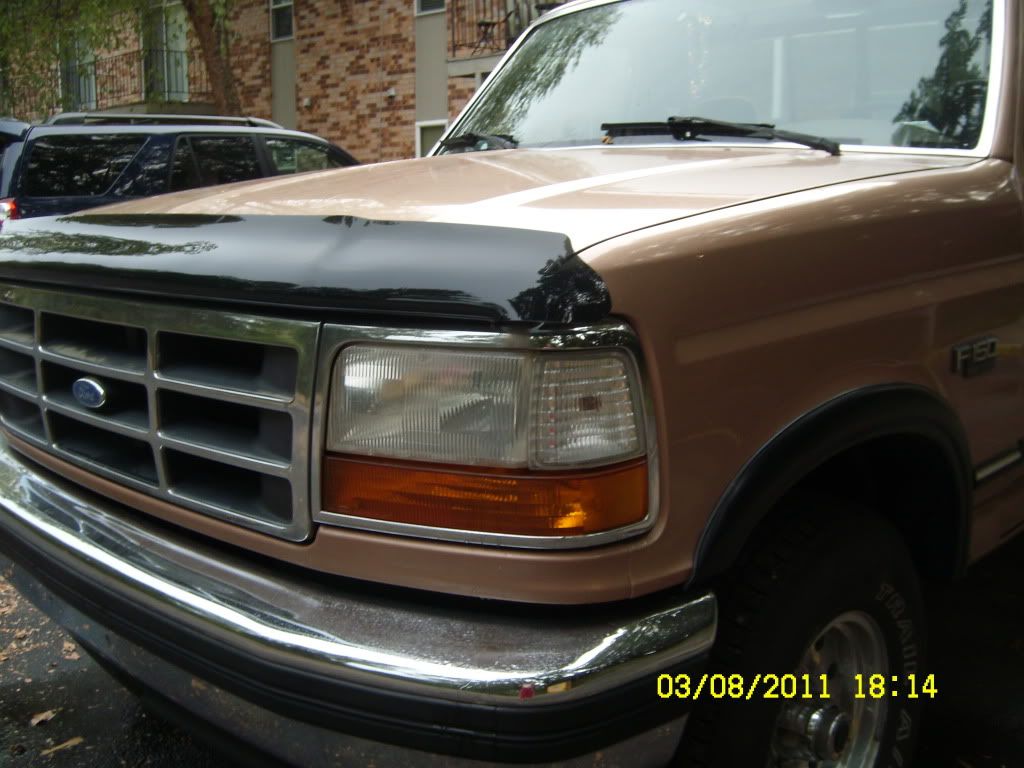
after i got the bumper pieces on the hood (only really needed two but i put them all on just incase) I was done finially (make sure you clean the hood before installing honestly but i like to do things my way lol)
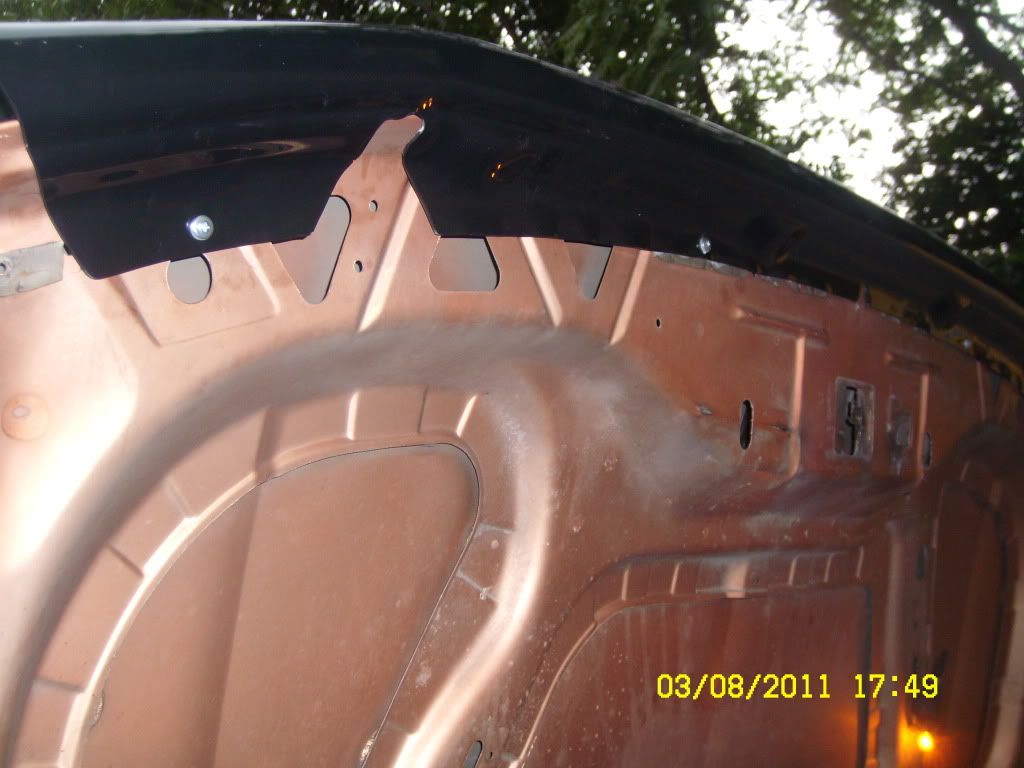
Before screws
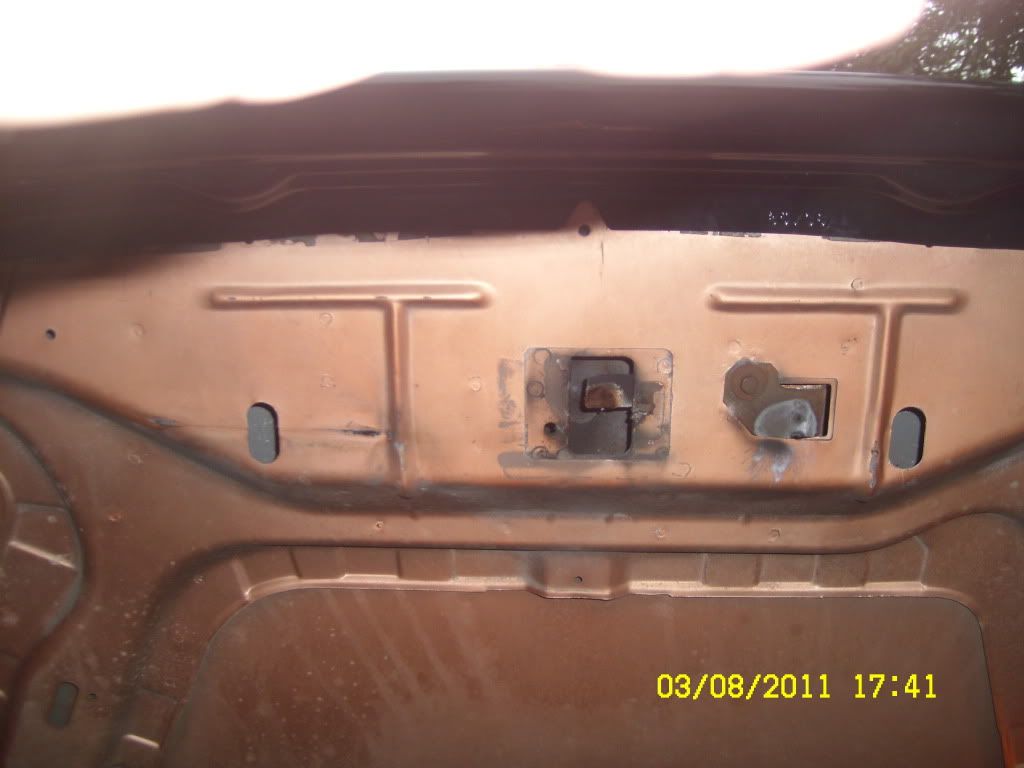
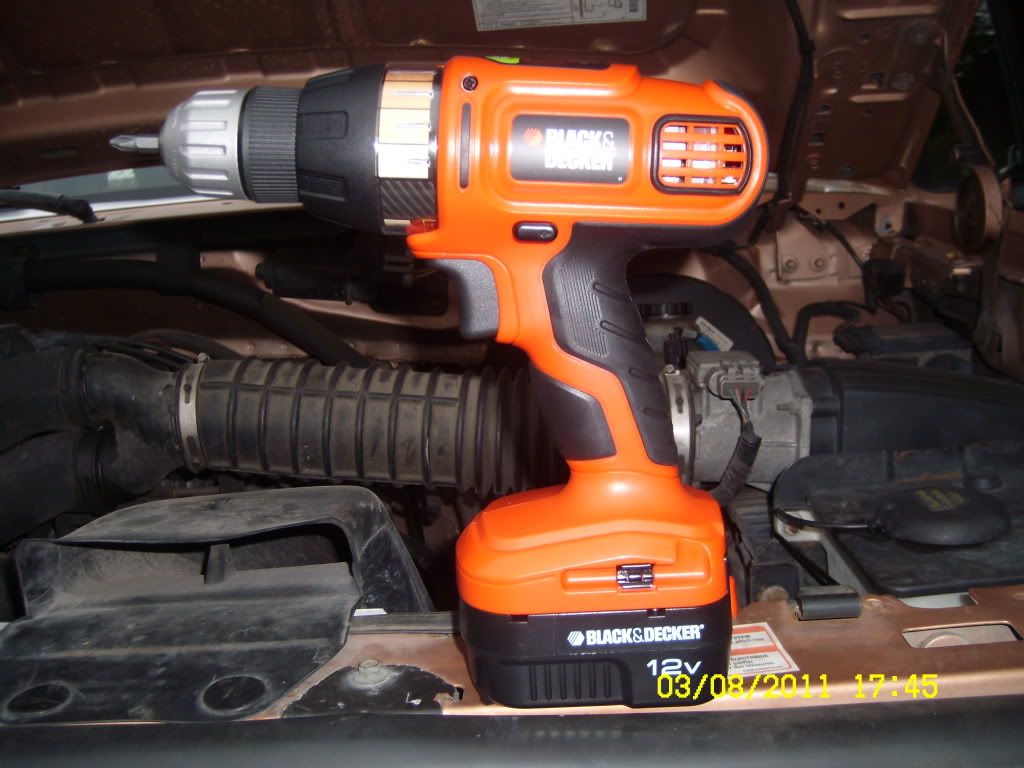
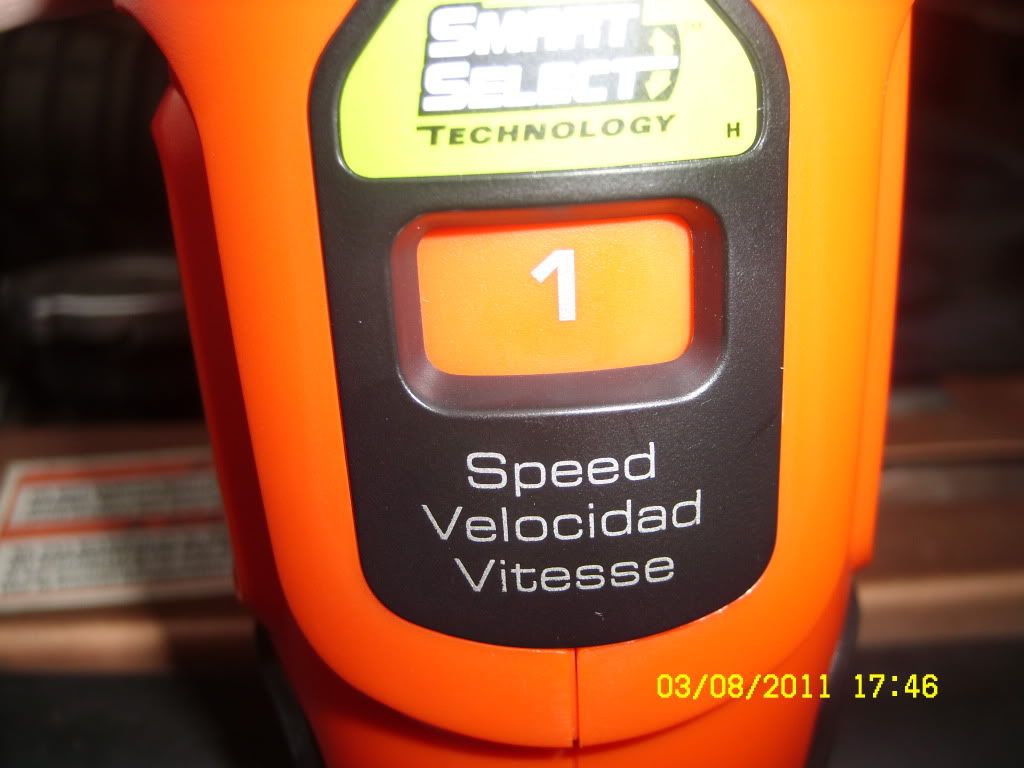
the tool you will need (a drill), I recommend the smart select drill but if you dont have one like mine I would suggest velocity #1 (low) and the lowest setting on the forward piece that rotates (the piece with the various pictures on it) #1 should do just fine for both settings as your screws arn't very long.
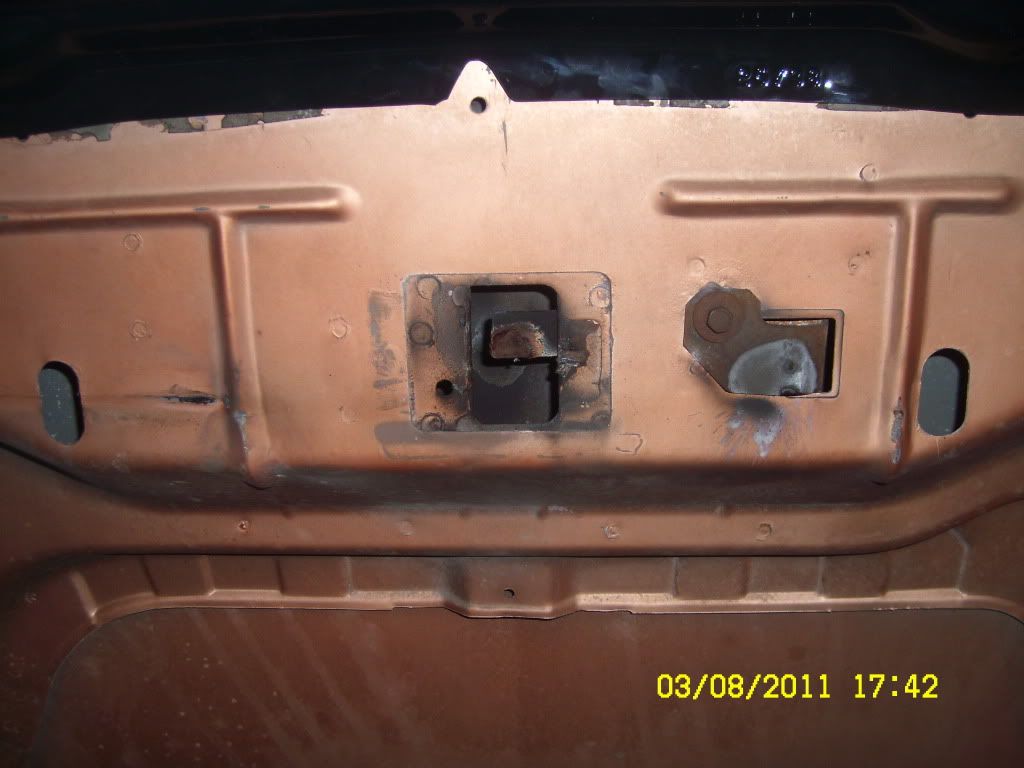
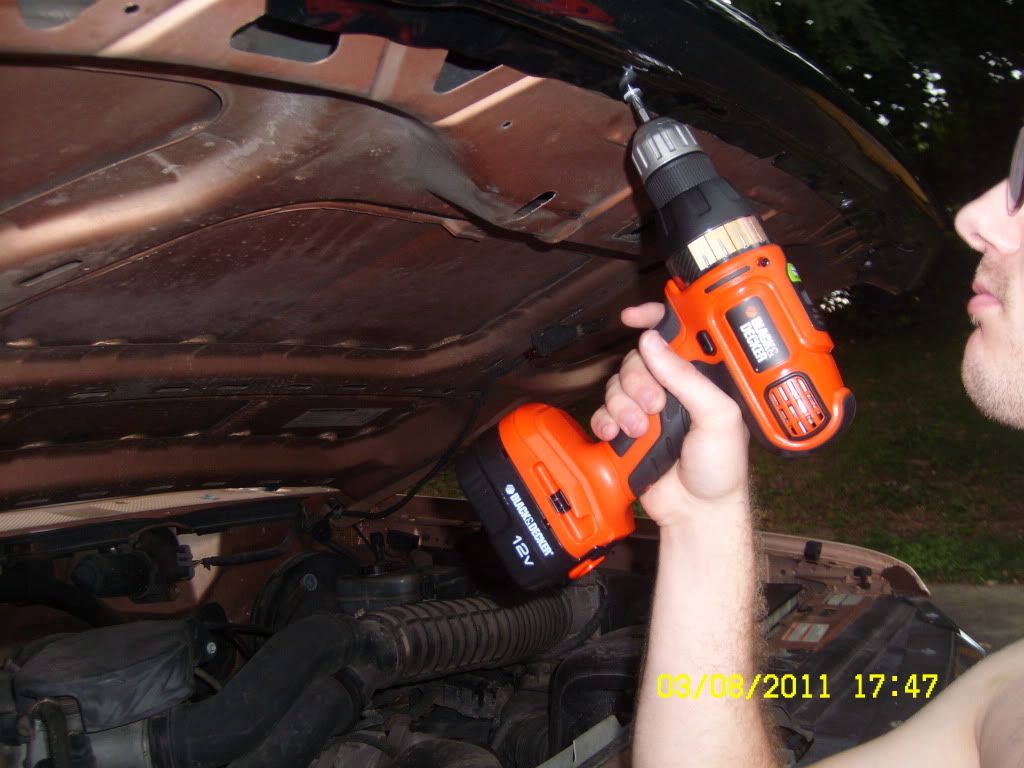
Heres how I made the hood work for me (hey why not?), just rest your arm/elbow on the cross member and lower the hood so its weight is on the screw and the drill is pushing the screw up
finially all screws in (all of 5 - 10 minutes)
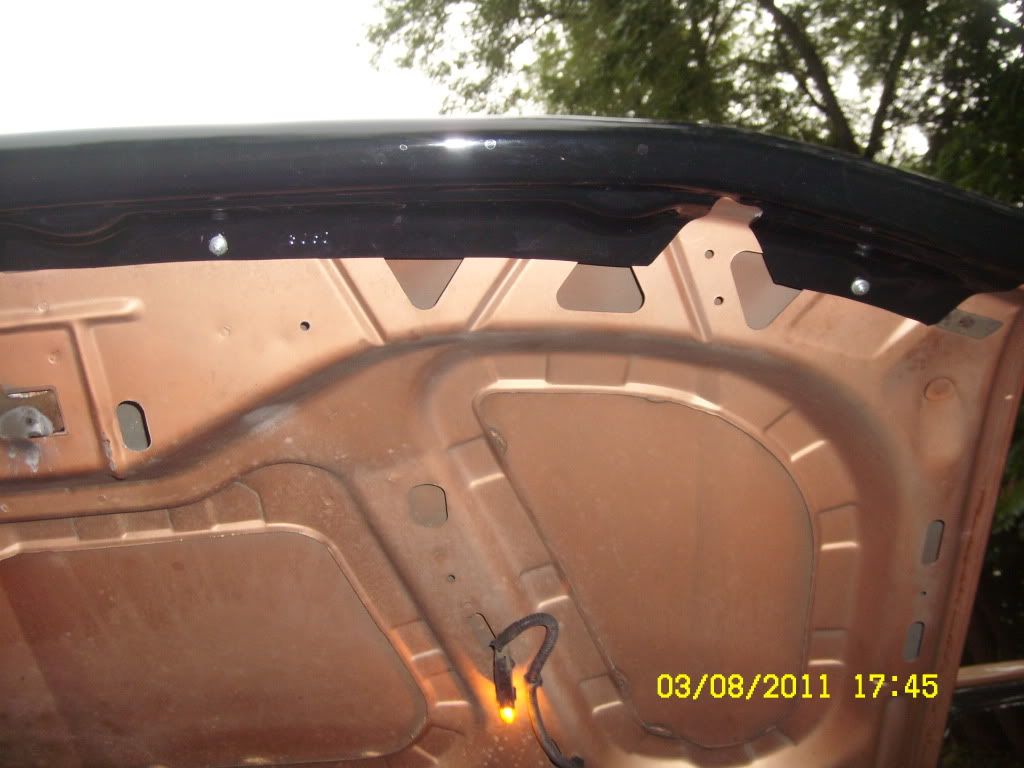
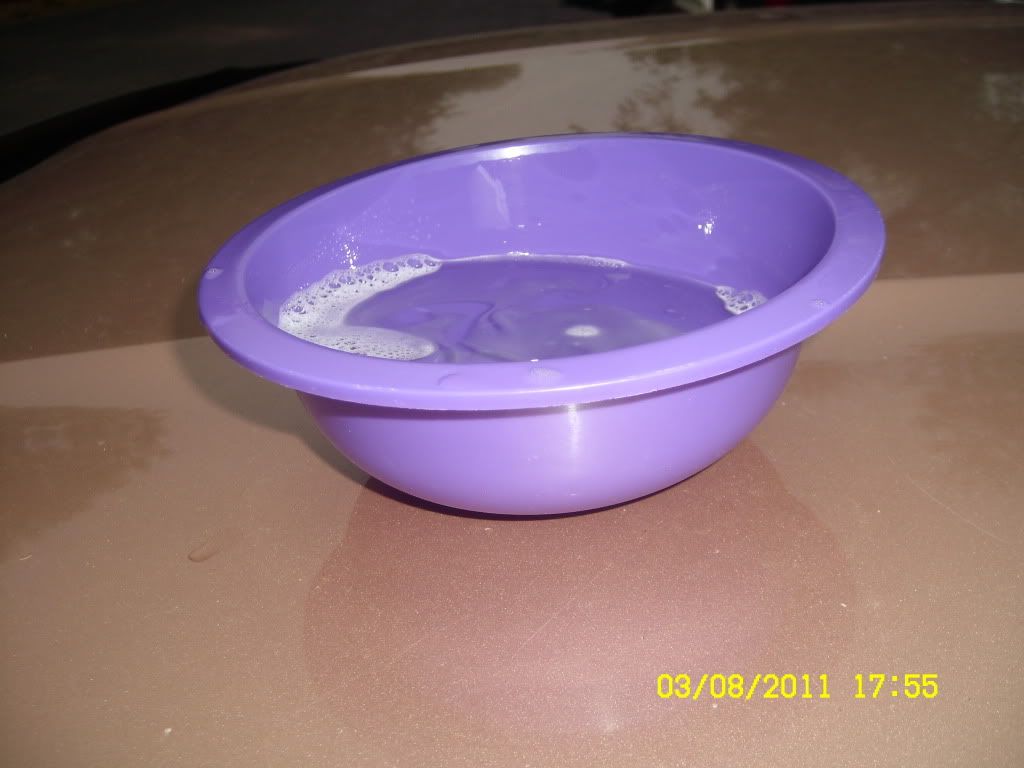
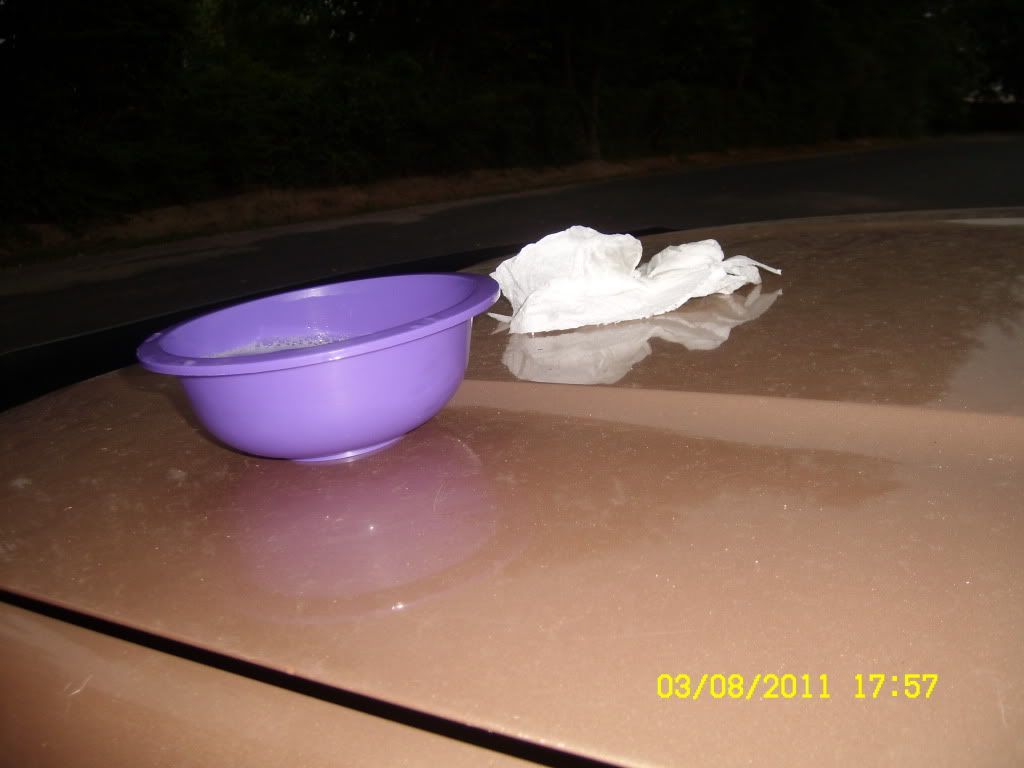
then it was time to clean up (mild soap and water shoud do the trick and is recommended for use on the bug guard anyways)
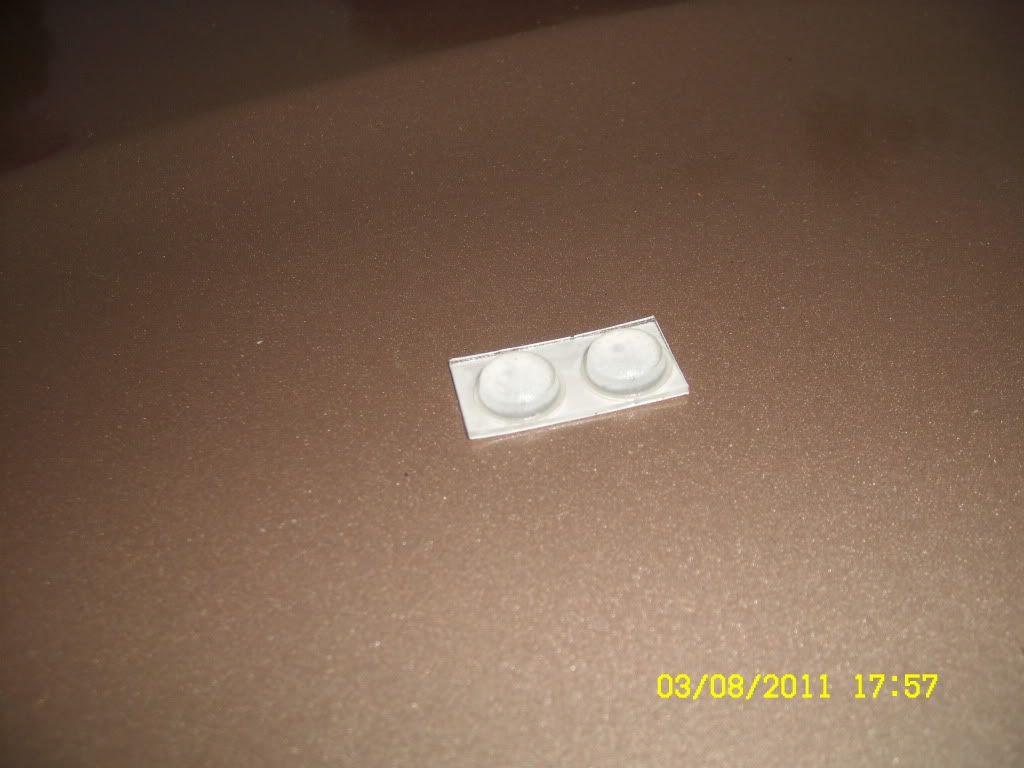
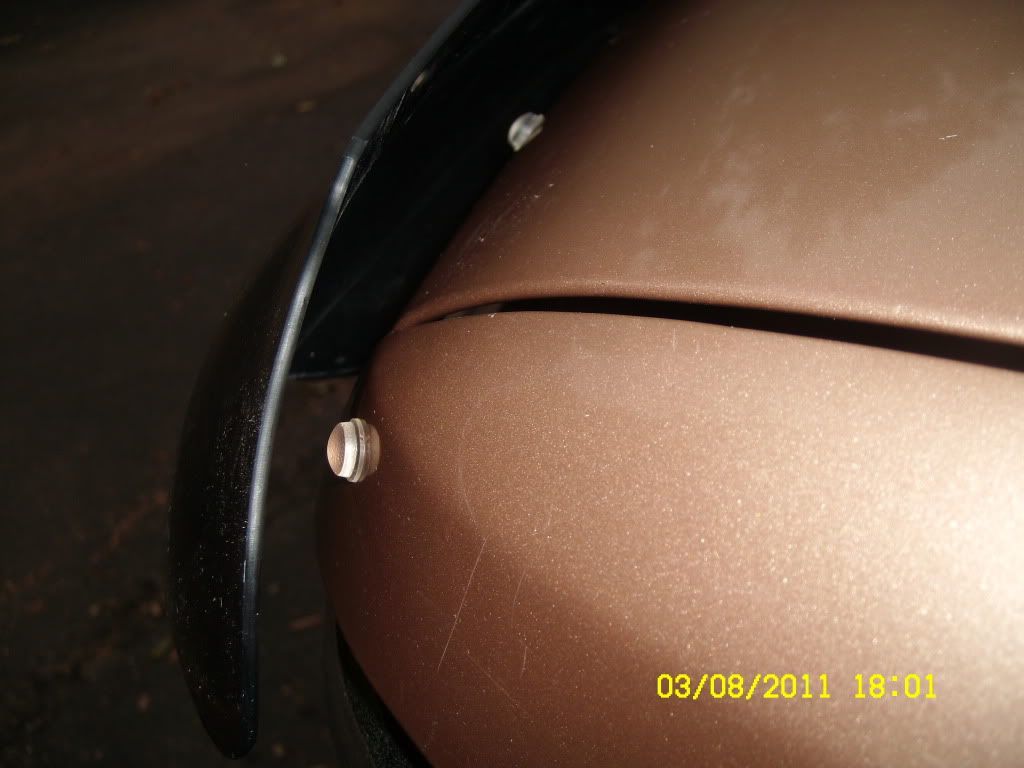
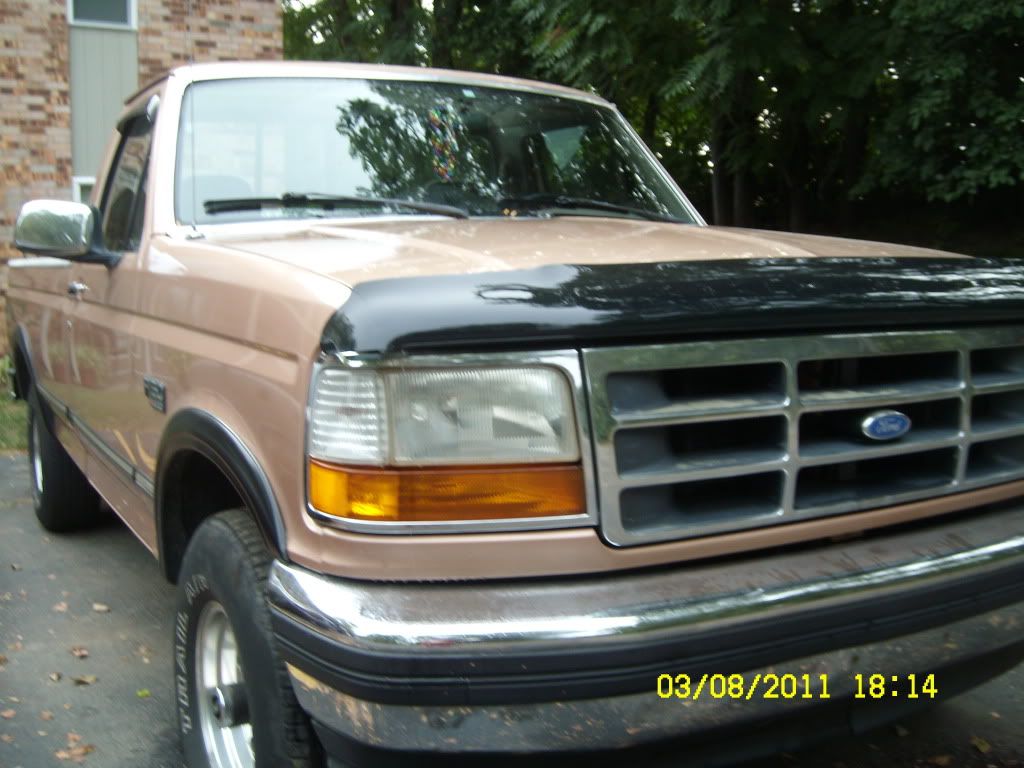
the bumper guards (bump offs) I put one on each corner (press on the bug shield to see if any parts can potentally touch the vehicle then place accordingly as needed)
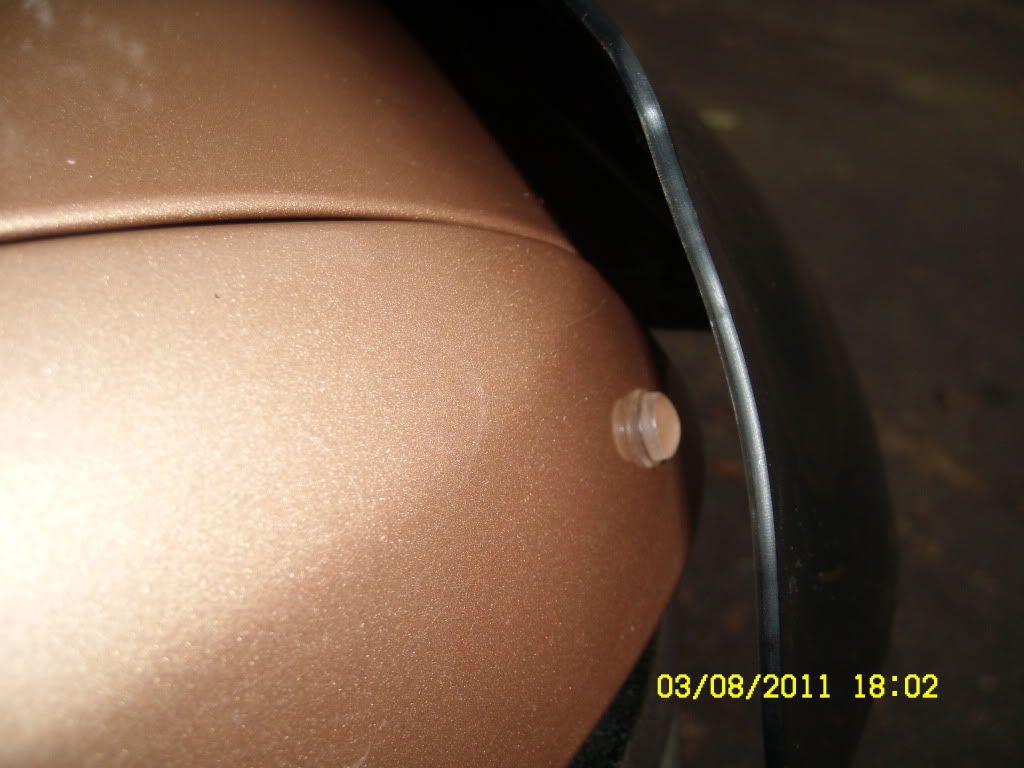
Finally completion!! Im showing the truck off LOL!! I dont care I worked hard to win the battle (dead charger/battery syndrom hit my first drill so i had to run out and buy a new one to complete this, so yea im gonna gloat and be proud of my work LOL!)
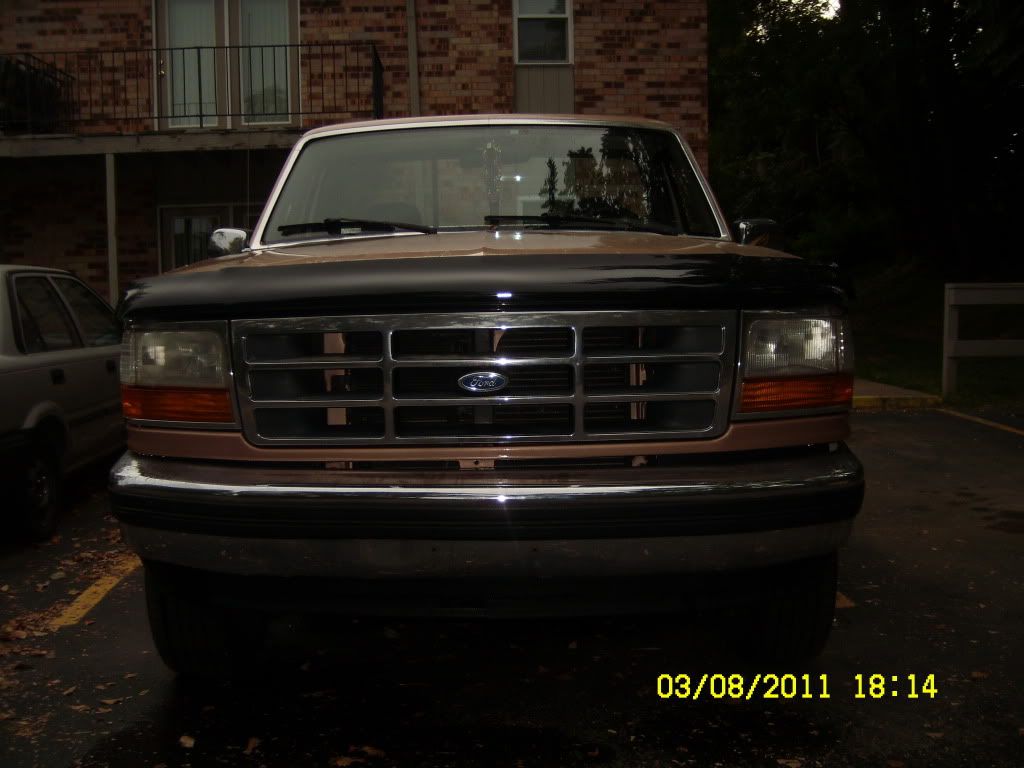
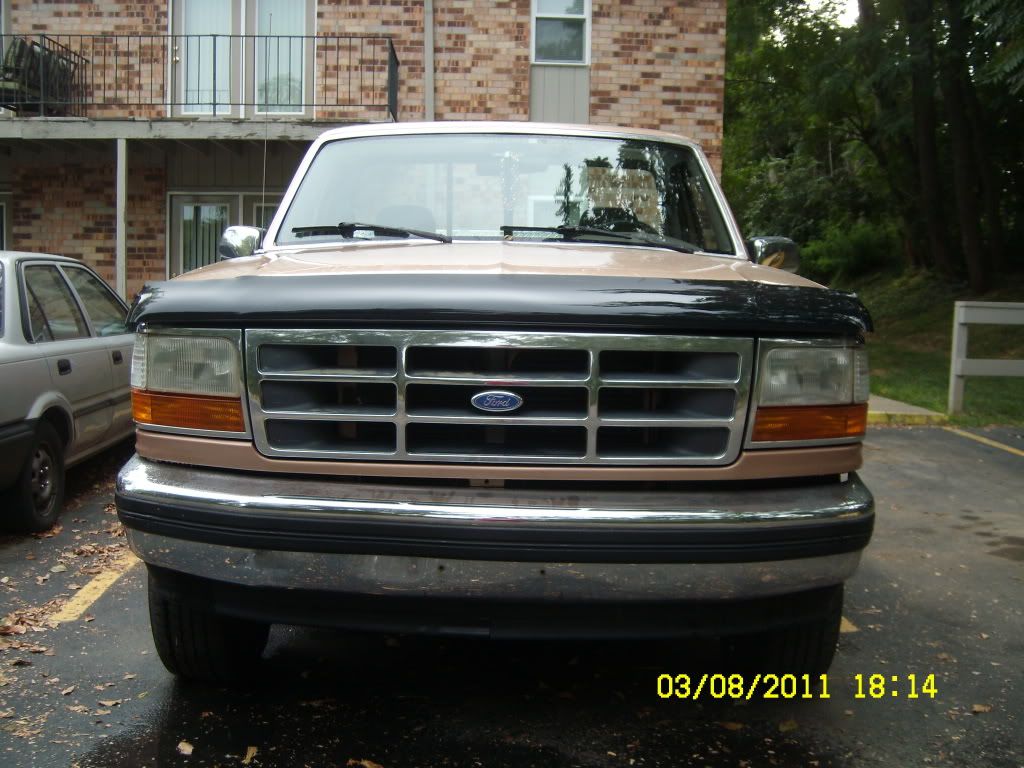
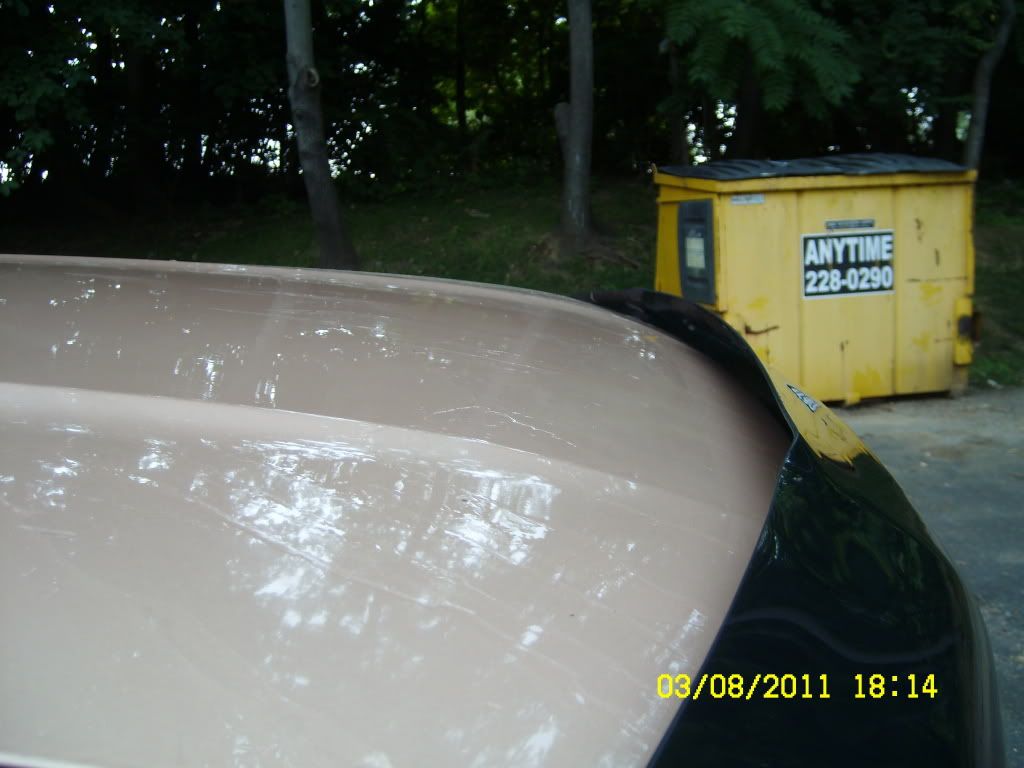
YAY now i can sit back and feel proud now
after i got the bumper pieces on the hood (only really needed two but i put them all on just incase) I was done finially (make sure you clean the hood before installing honestly but i like to do things my way lol)
Before screws
the tool you will need (a drill), I recommend the smart select drill but if you dont have one like mine I would suggest velocity #1 (low) and the lowest setting on the forward piece that rotates (the piece with the various pictures on it) #1 should do just fine for both settings as your screws arn't very long.
Heres how I made the hood work for me (hey why not?), just rest your arm/elbow on the cross member and lower the hood so its weight is on the screw and the drill is pushing the screw up
finially all screws in (all of 5 - 10 minutes)
then it was time to clean up (mild soap and water shoud do the trick and is recommended for use on the bug guard anyways)
the bumper guards (bump offs) I put one on each corner (press on the bug shield to see if any parts can potentally touch the vehicle then place accordingly as needed)
Finally completion!! Im showing the truck off LOL!! I dont care I worked hard to win the battle (dead charger/battery syndrom hit my first drill so i had to run out and buy a new one to complete this, so yea im gonna gloat and be proud of my work LOL!)
YAY now i can sit back and feel proud now
#37
08-03-2011, 07:18 PM

#39
08-03-2011, 07:50 PM
haha at least when I do the super charger install (wether its me or the shop) there will be lots of pics and details
lol!!! what would you suggest turbo or super charger (are there others?) im considering dual super chargers if i can squeeze them under the hood hehe and delete a few unneeded items (c*ap IMO) may have to take it by wes one weekend and just work with him to delete what ever i can like he did to his truck hehe
#40
08-03-2011, 07:54 PM
 . ill be 80 and wont remember a thing.
#41
08-03-2011, 08:02 PM
LOL well besure to let me in on that budget turbo set up as im gonna try to do mine on a budget also

#42
08-03-2011, 09:10 PM


#43
08-03-2011, 09:24 PM
#44
08-03-2011, 10:53 PM
Join Date: Dec 2008
Location: Sterling, Va
Posts: 1,007
Likes: 0
Received 0 Likes
on
0 Posts
#45
08-03-2011, 11:52 PM