When you click on links to various merchants on this site and make a purchase, this can result in this site earning a commission. Affiliate programs and affiliations include, but are not limited to, the eBay Partner Network.
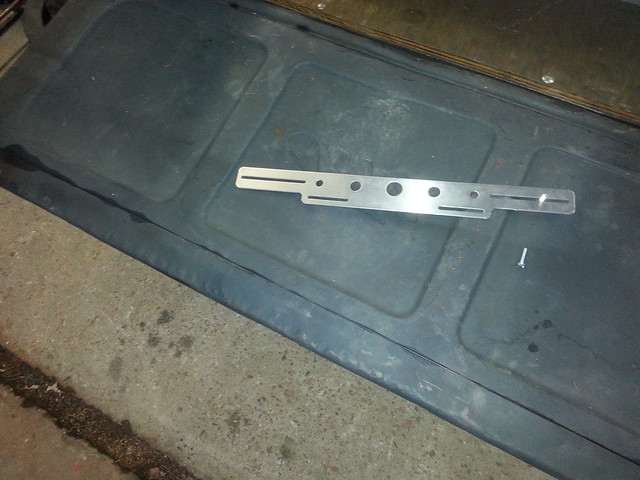
Way less time, lol. The problem with it when I searched and searched the internet I couldn't find the right length measurement. Once I had that, it didn't take long to make the part I needed.
I also picked up a set of different rims before I left the house. I know I will need adapters for them but for the price I couldn't let them walk on by.
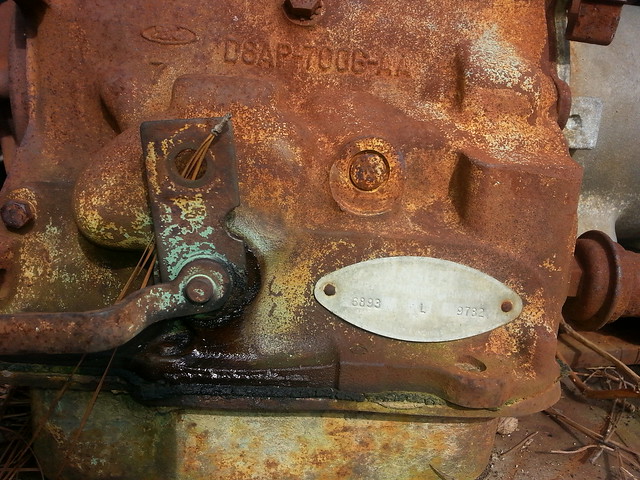
Been messing around with the truck again the last two days. I started by fitting the shift arm to the trans yesterday. Good thing I decided to test fit the shifter parts to it as the hole for the shift arm had to be enlarged to accommodate the spacer.
There are at least 3 FMX shift arms that I know of now. Two that point up for floor shift applications and one that points down for column shift applications. The kit was made for the arm that points up that I didn't have. The center to center distance is the same, but it is bent and closer to the trans. I had to use a spacer to get the arm in line correctly.
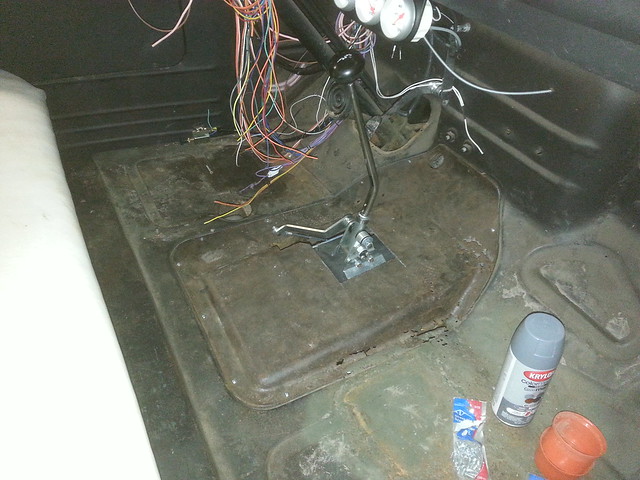
Once the adapter I made was modded and welded into place I called it a day as I am also working on remodeling the bathroom.
Day two after lunch I decided to go ahead and finish the simple install. Well 5 hrs later I got the install done. Re-engineering always takes time, but I wasn't expecting that much time. I was thinking the L arm was suppose to move some not be solid, like a cam lever type shifter. The shifter would shift into gear correctly, but not go back into park. After a call to tech support and many, many adjustments. I found out it was suppose to be solid.
I decided to tighten the hell out of it. It still moved. I am guessing that other shift arm style is thicker because it was only just a hair the spacer for the hole stuck though the hole so I was tightening into the spacer, not the trans arm to tighten it down. After removing the spacer I took a quick pass with it on a grinder and cleaned it back up with a file. It was recessed just a little in the hole then.
The second attempt went very well, after a little playing with L arm angles I got it where it shifted though all the gears correctly. I even took the drag arm off and shifted the shifter to the next position, then shifter the trans manually before reconnecting the arm in each gear to make sure it was still all aligned up.
Tomorrow I will be back on wiring to get the head lights, tail lights and turn signals straight.
After the shifter I went back to bolting up the rest of the fenders into place, then got ready to crank the truck. Turned the key and the started came to life but I didn't hear the fuel pump. Turns out the fuel pump was dead after much testing on the truck and on a bench. I ran and got a holley blue pump and got it in last night after having to mod my install location to fit the bigger pump.
Today I charged the battery back up and went to crank it, fired it up and adjusted the regulator I had on it to around 6.5 psi. Went back to check the oil pressure and temp it all looked good. Back to the fuel pressure it was pegging out the gauge at over 15 psi. I went to crank the pressure back down some but it wouldn't work. I killed the truck and caught it before it started really flooding gas out of the carb.
It turns out the regulator I had on the truck couldn't handle the blue pump. The blue pump comes with a regulator but I though the one I had already mounted would be fine. So after two trips to the parts store I got the new regulator installed and adjusted out and seems to be running good. I did find one leak on the cooling system I am going to fix in the morning and top it and the trans off with fluid before the first test drive.
Back at it again today. Finally got the leaks on the cooling system fixed (I think) After it ran a while and shifted though the gears it sucked more fluid out of the pan so it was off to town again to pick up some more type F ATF.
After that it acted cold start, but I finally got it going choking the hell out of it and took it out of the shop under it's own power. I will be tearing into the brakes. They work some but don't hold like they should. I still think the 7/8" master cylinder is under sized for the 12" brakes I put on the truck.
The seat didn't want to go back all the way so to get my knees out of the dash I stopped and yanked the seat back out. Turns out the bolts I used were too long. and were stopping it from going all the way forward. After that and a little WD40 it worked fine.
Didn't update anything before I headed off to work, now I am back again so let me catch up this thread.
Got the wood in the bed done and installed, revamped the temp gas tank lines and had the rest of the exhaust ran out of the back from the rear of the mufflers. Cut the trans cover so it would fit around the Gennie Shifter.
Back screwing with it again, lol. Last time home I didn't do any fresh pictures but I did get my fuel delivery problem kicked in the butt.
Originally was using a Mr Gasket cheap parts store pump, it ran fine when first put on. Went to work, came home a month later. The pump wouldn't work. Seems if they aren't used everyday they have problems or just don't work. So my new pump was DOA. Trashed it and went to over kill mode and got a Holley blue pump. Figured with the regulator I could get the psi I wanted.
First time I cranked it I used the universal regulator I already had on the unit and the holley blew it out. Another part for the trash pile. So I put the supplied regulator that came with the Holley on there and turned it down as far as it would go, about 6 to 7 psi.
I have a Edelbrock 600 on it that I got used and from what I have read the Edelbrocks don't like that high of a pressure even though Edelbrock says they are fine at that pressure. It kept flooding out, problems etc. With that combo and the pump was loud as hell.
I swapped out to a Carter p4070 electric pump that puts out 4-8 psi and left the Holley regular on it. With the two I got the pressure down to where the Edelbrock like it.
Now that is out of the way and the truck will run as needed I am back to addressing the brakes.
I originally used a conversion kit that used these parts.
OTORS:
73-93 f-100/f-150 (or ford equivalent)
CALIPERS:
71-87 gm 1/2 ton truck (or gm equivalent)
and a Ford 7/8" master from a 88 T bird with a three bolt to 2 bolt adapter on the original ford under the floor pedal assy. This seemed to work at first, but didn't last though bleeding. During bleeding something happened and it just didn't work as good as it did as first. Pedal felt funny, but the brakes could be trusted for in the yard moving of the truck.
Since then I have removed the master and the rear drum brake side of that 7/8" master would not work when I tested it in the vice. The disk brake side would work. So I swapped it for a 1-1/8" master that worked on bothsides when bench tested. I have that under the truck now and got to bleed it out over the next couple of days to see if that will work. If it won't give me what I want out of the brakes I am going to swap to a firewall setup from a F150/250.
On the kit I have on the truck now.
11.75" rotors
calipers have 2.935" piston, I was thinking it was a 2.5" piston so my master cylinder was way under sized before, a fullsized chevy truck of the correct year model had a master cylinder with a 1.181 or 1.125" piston bore. So with the Ford 1-1/8" master I seem to be on the right track for the calipers I have now. The GM calipers were used with 11.86" rotors on their trucks. Fords that used the 11.75" rotors used a 2.872" piston caliper with 1.125" master.
Just have to see how well this new combo works out.
Make sure that you have a residual pressure valves built into the master cylinder that you selected? Your master is roughly at the same height as the wheel cylinders and calipers. If the drums retract too fast when you let off, air can get sucked past the cups in the wheel cylinders. It can happen on the disc side too, but it's not usually that big of an issue. If your master doesn't have them built in, you can get add-on parts. Here's a summit link for one: http://www.summitracing.com/parts/wi...3279/overview/
I am running wilwood residual pressure valves on the ft and rear brakes already. I have had them on there since I completely re-plumed the brakes system. The only original brake part I am using the the T on the rear end on the Hydraulic side.
That is why I was exploring pedal ratio/master cylinder Bore sizing as my possible problem now.
I already have a master cylinder and booster off of a F250 with valving if this swap I am working on now doesn't work.
I got brakes, I haven't tested them under driving in the yard but I will tomorrow.
Tomorrow I am digging back into the wiring harness. Wiring in the electric fan to see if the one fan is enough, and get the rest of the little stuff on the harness sorted out.
Then on to the in yard test drive.
From there I will be looking to mod my current seat frame by removing the original slides and making a new base. I am making the seat where it leans up so I can store stuff under the seat. Then take measurements of what room I have where the original gas tank was and make me a case to fit back there as well.
 02-16-2015, 09:06 PM

 20150114_133347 by safjist_nipnog, on Flickr
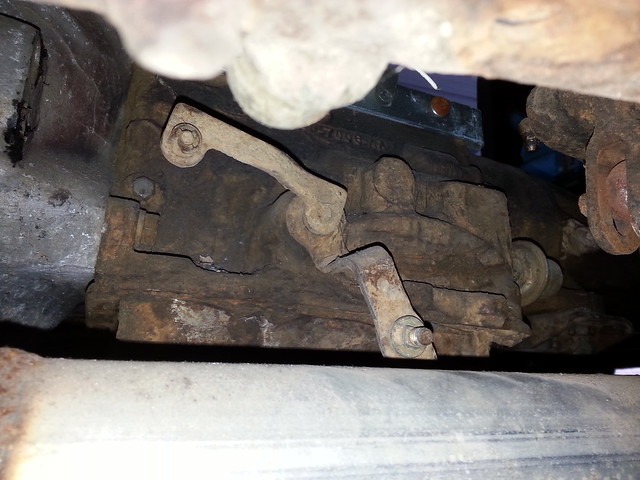 20150119_163628 by safjist_nipnog, on Flickr
 20150119_163555 by safjist_nipnog, on Flickr
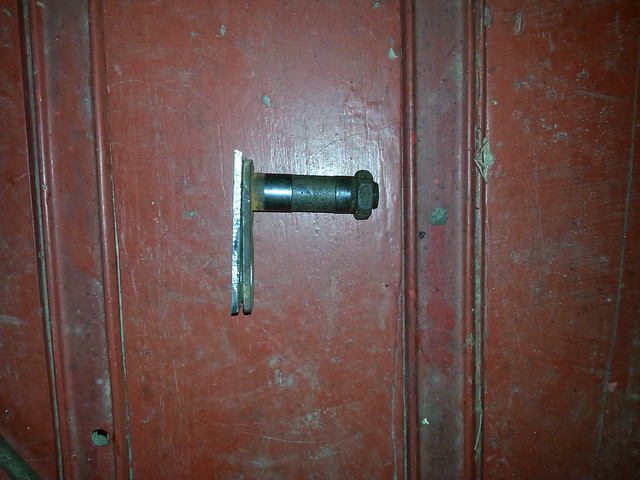 20150119_163215 by safjist_nipnog, on Flickr
 20150119_163203 by safjist_nipnog, on Flickr
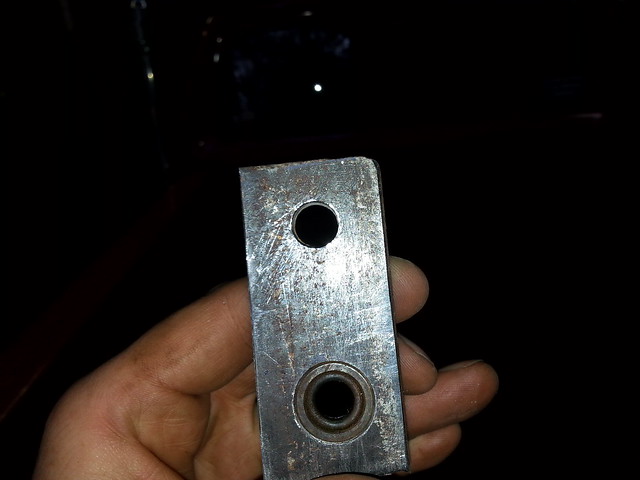 20150119_163237 by safjist_nipnog, on Flickr
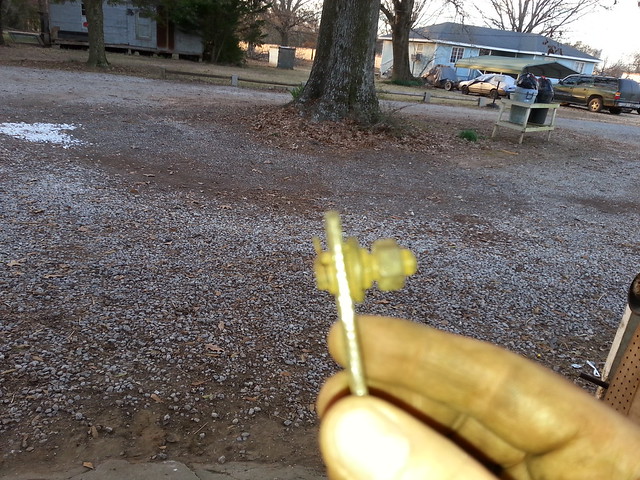 20150119_164753 by safjist_nipnog, on Flickr


 20150314_180004 by safjist_nipnog, on Flickr
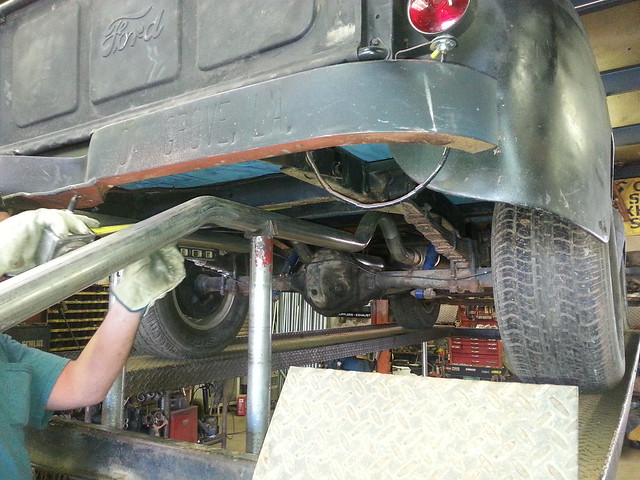 20150316_160631 by safjist_nipnog, on Flickr
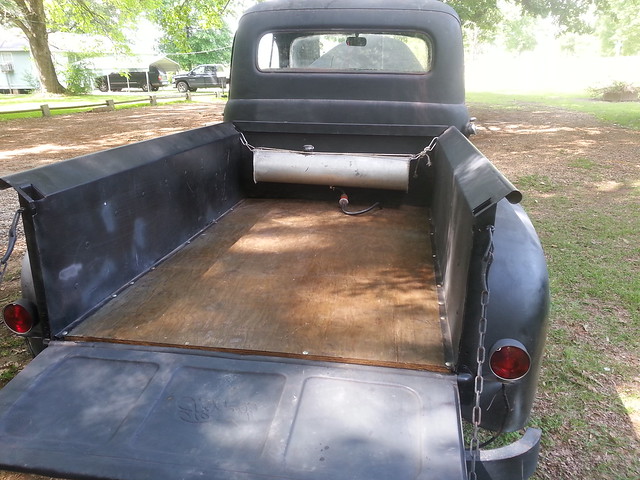 20150422_150428 by safjist_nipnog, on Flickr
 20150422_150437 by safjist_nipnog, on Flickr
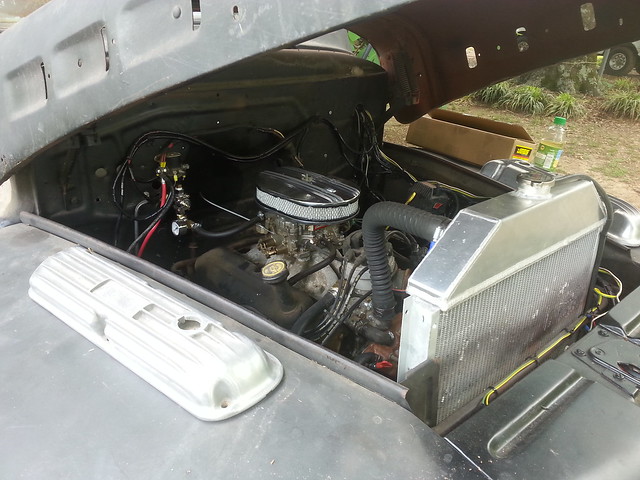 20150422_143849 by safjist_nipnog, on Flickr
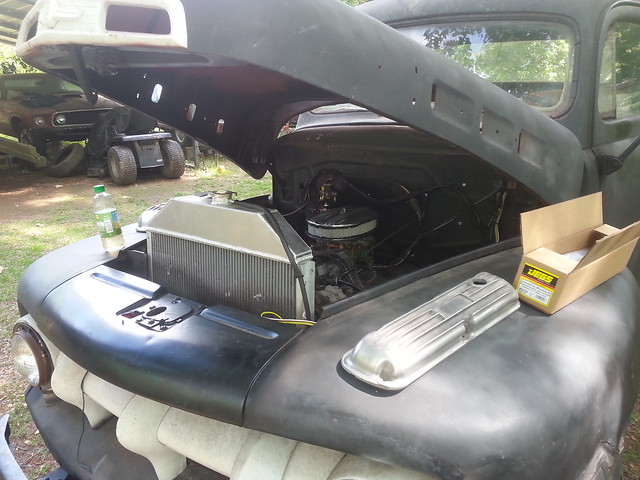 20150422_150446 by safjist_nipnog, on Flickr
 20150422_150452 by safjist_nipnog, on Flickr
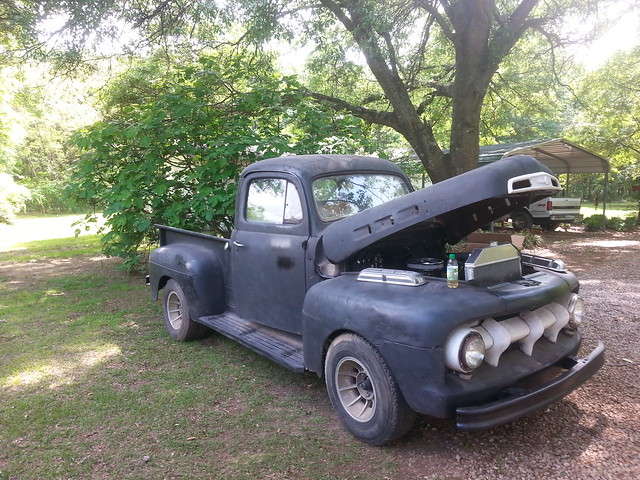 20150422_150459 by safjist_nipnog, on Flickr
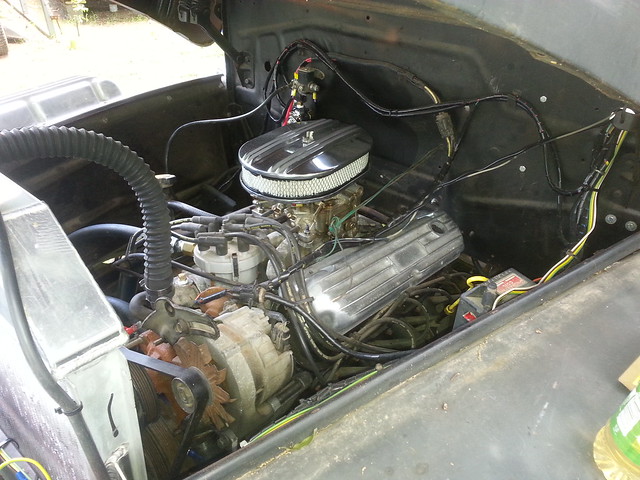 20150422_143914 by safjist_nipnog, on Flickr
 20150422_172315 by safjist_nipnog, on Flickr
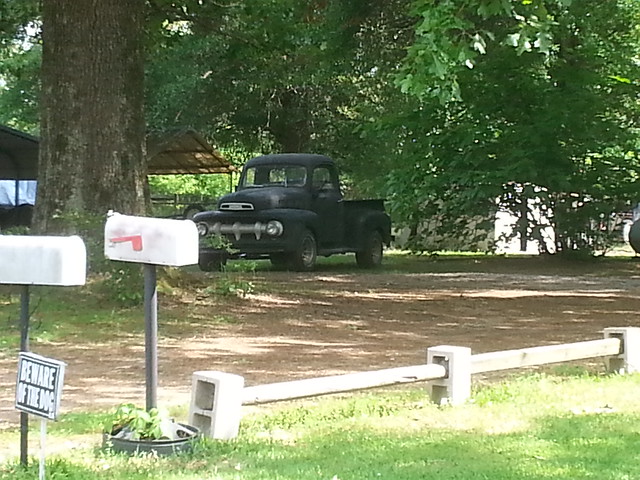 20150422_153002 by safjist_nipnog, on Flickr
 20150423_174831 by safjist_nipnog, on Flickr
 20150423_174821 by safjist_nipnog, on Flickr
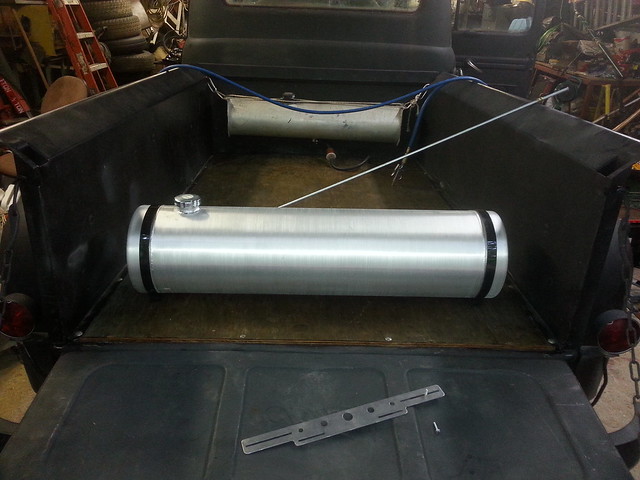 [/url]20150423_174804 by safjist_nipnog, on Flickr
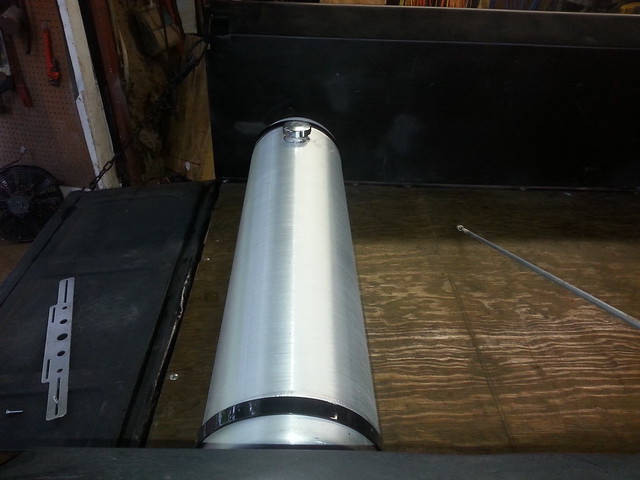 20150423_174811 by safjist_nipnog, on Flickr