1994 Ford F350 Project Build
#61
 07-01-2012, 09:17 PM

Join Date: May 2011
Posts: 339
Likes: 0
Received 0 Likes
on
0 Posts
Here's some updates. I didn't get as much done as I wanted to, but when does that ever happen!? Right!? But I wanted to get this whole thing done and ready to be installed in the truck this week, leaving only the rca's, ground, power, remote, and speaker wires to be ran, and the head unit to be swapped and do that on Wednesday, I'm off for the 4th holiday. But I'm not so sure that's gonna happen.
I had a crazy busy weekend and the time that I thought maybe I could squeeze in a couple more hours last night but what we thought was going to be a couple hour day turned into a full day. Didn't get home till 11:30 last night. Today we traveled again!
But, here's what I did get done! I started Friday night since I got off early and my wife had the kids. I did have the dogs and they needed some play time as well as I needed some work time. So I drug everything out back from the side of the house and decided I'd do two things at once.
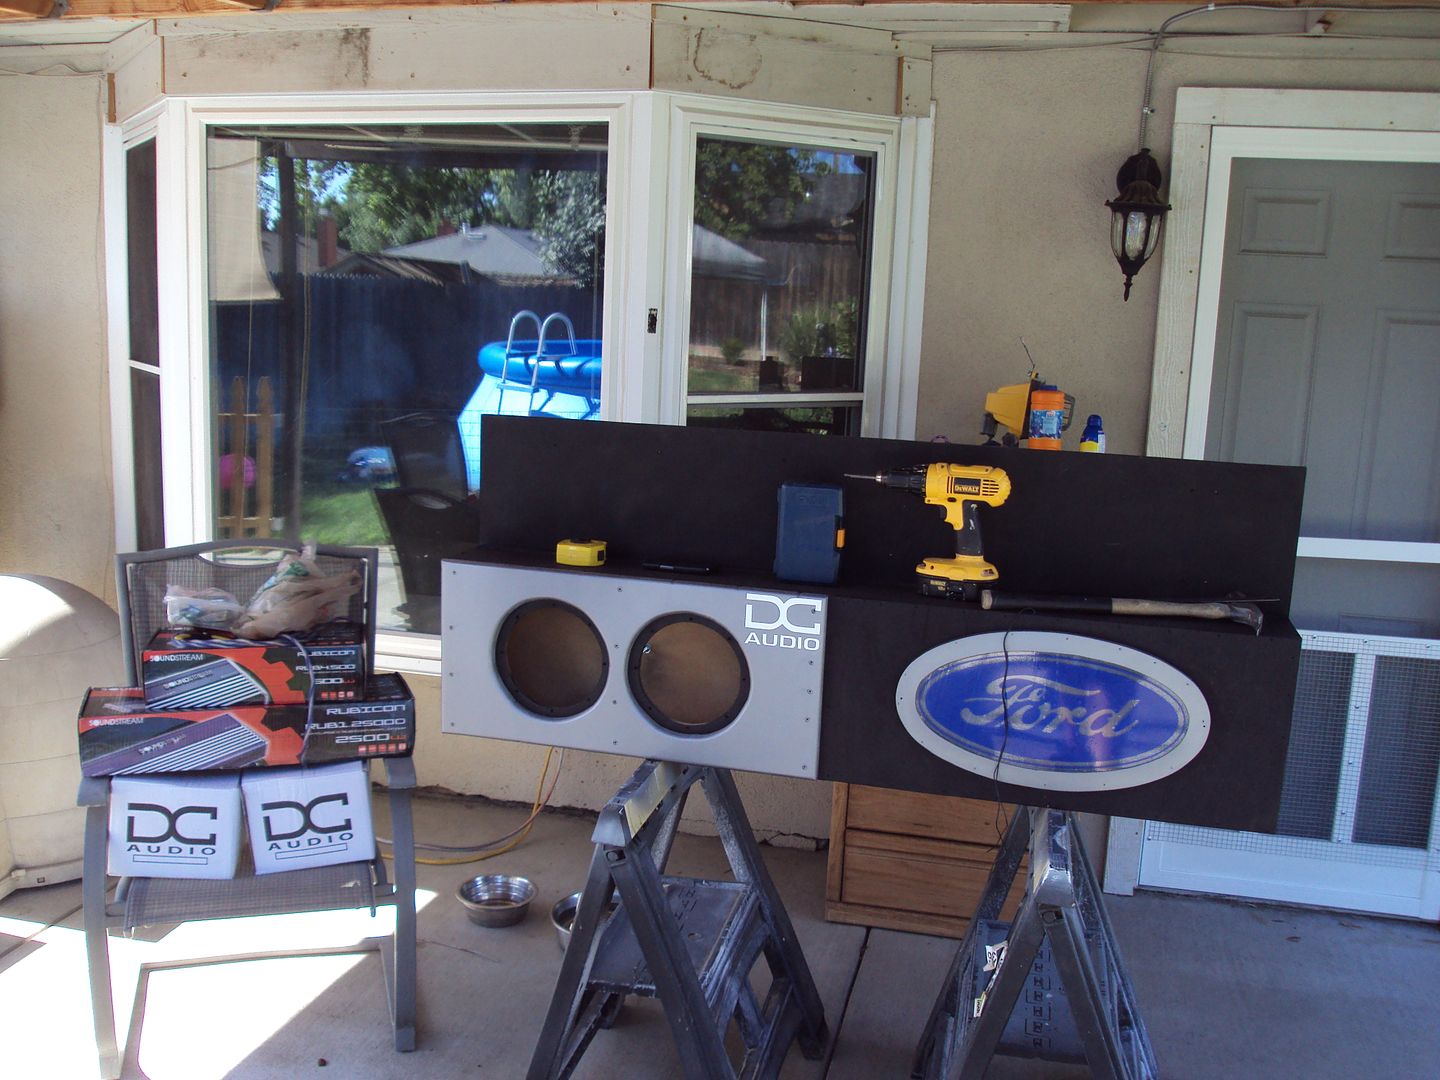
It was pretty warm so I got my mister fan I made, and my misters going on the patio.
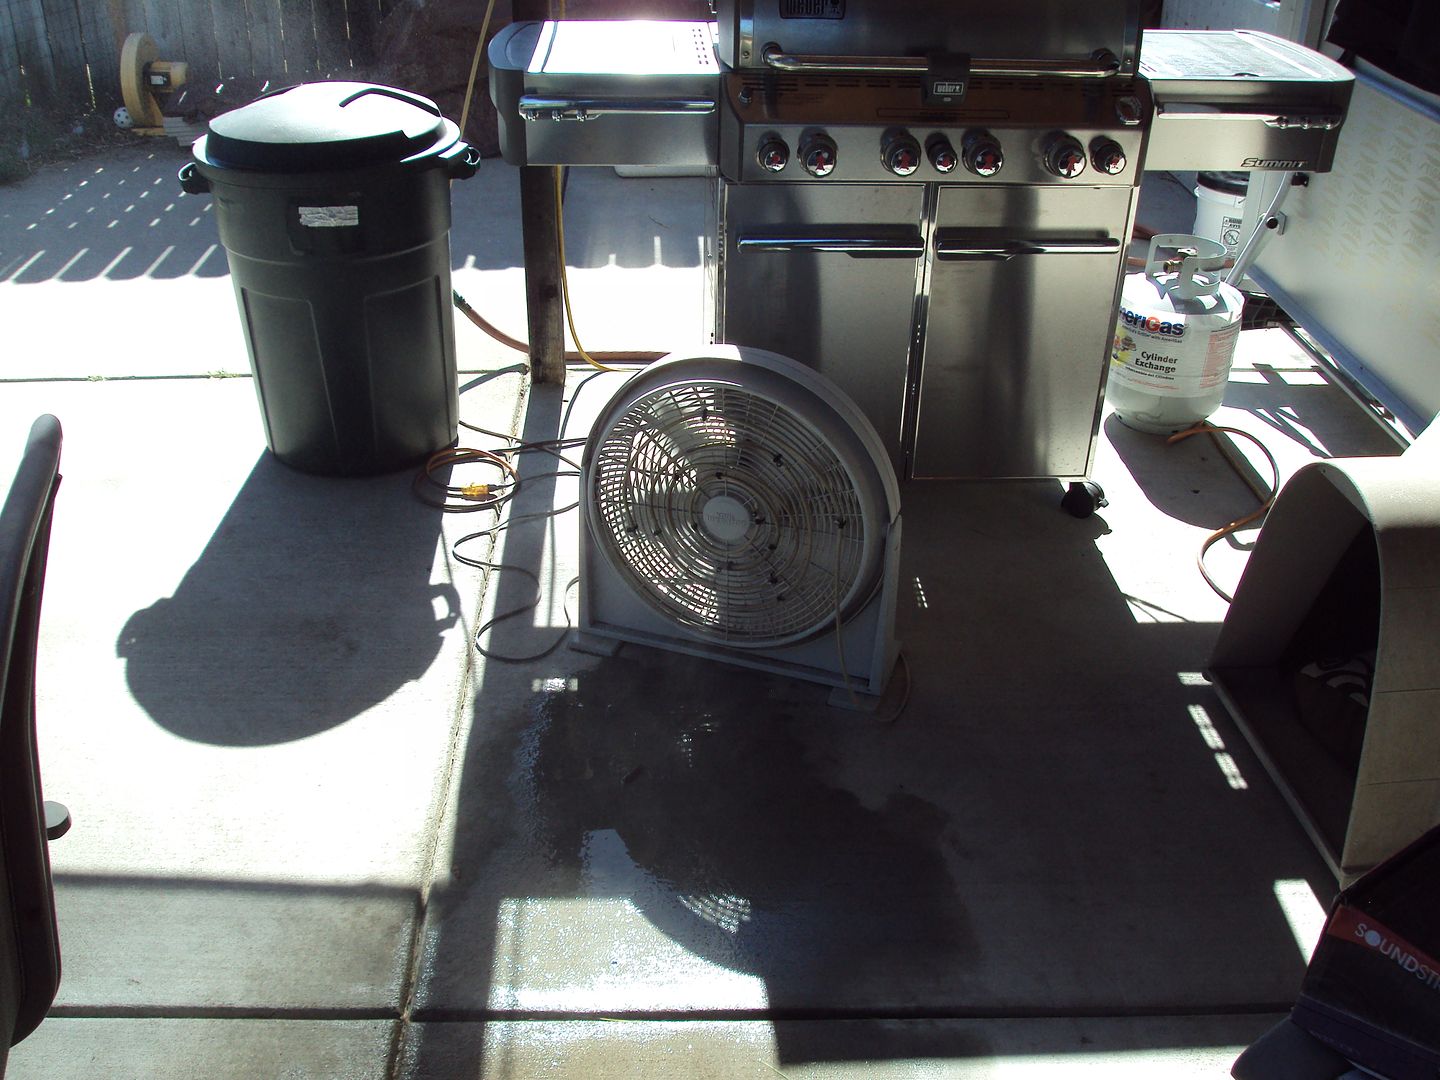
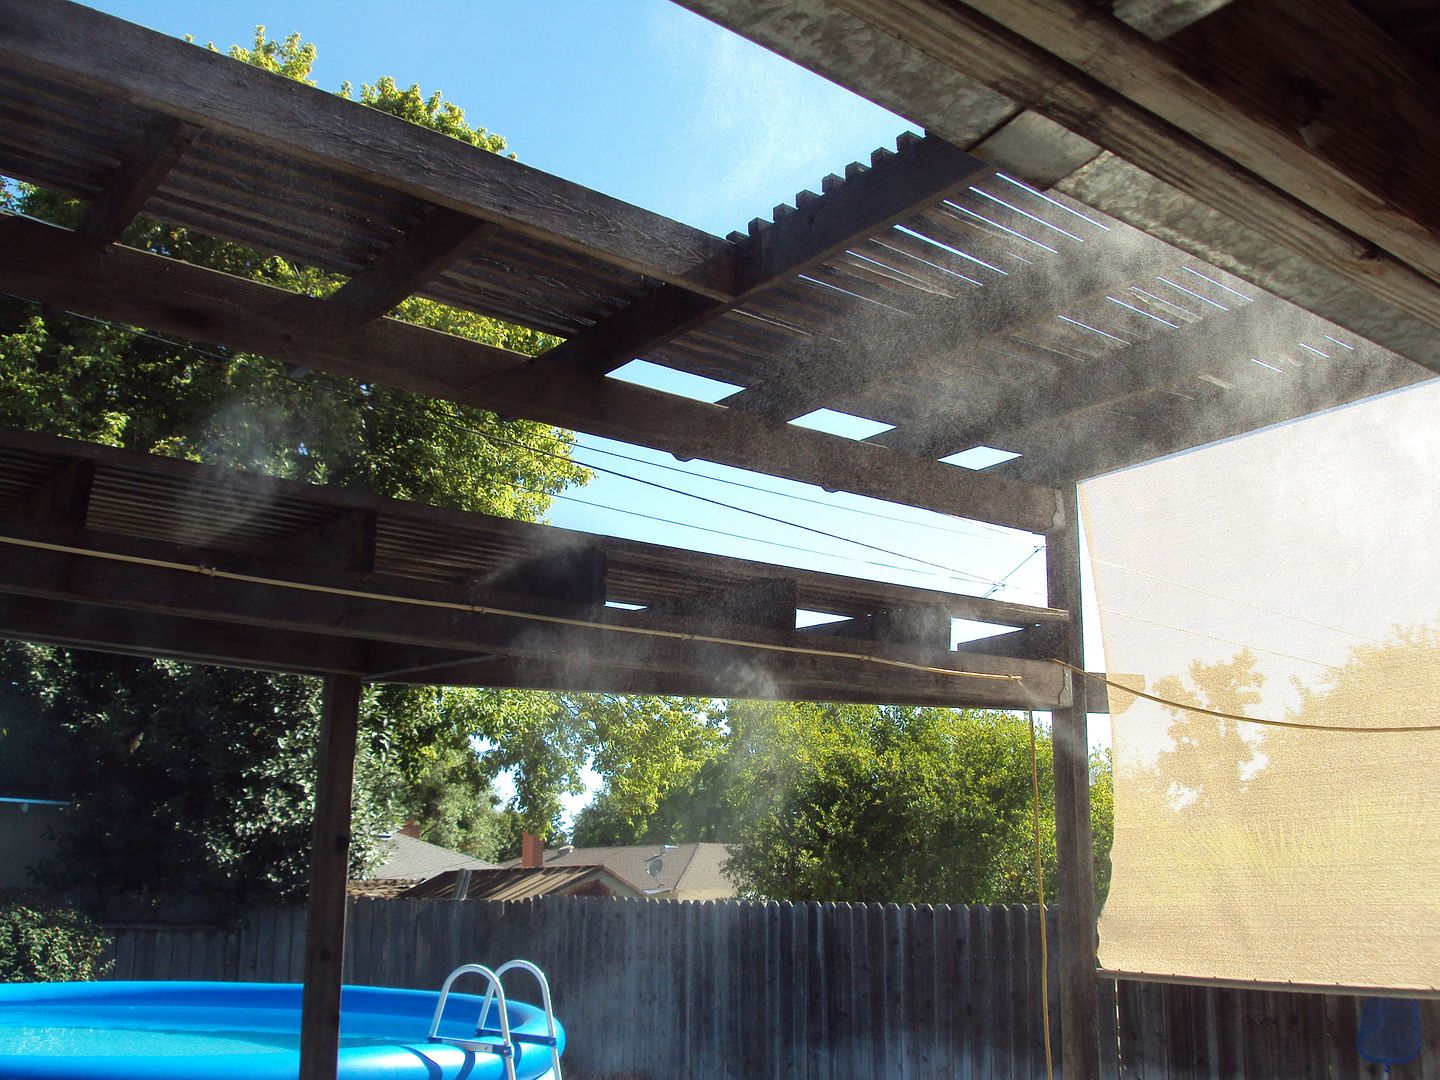
Now that comfort was achieved, it was time to get busy!
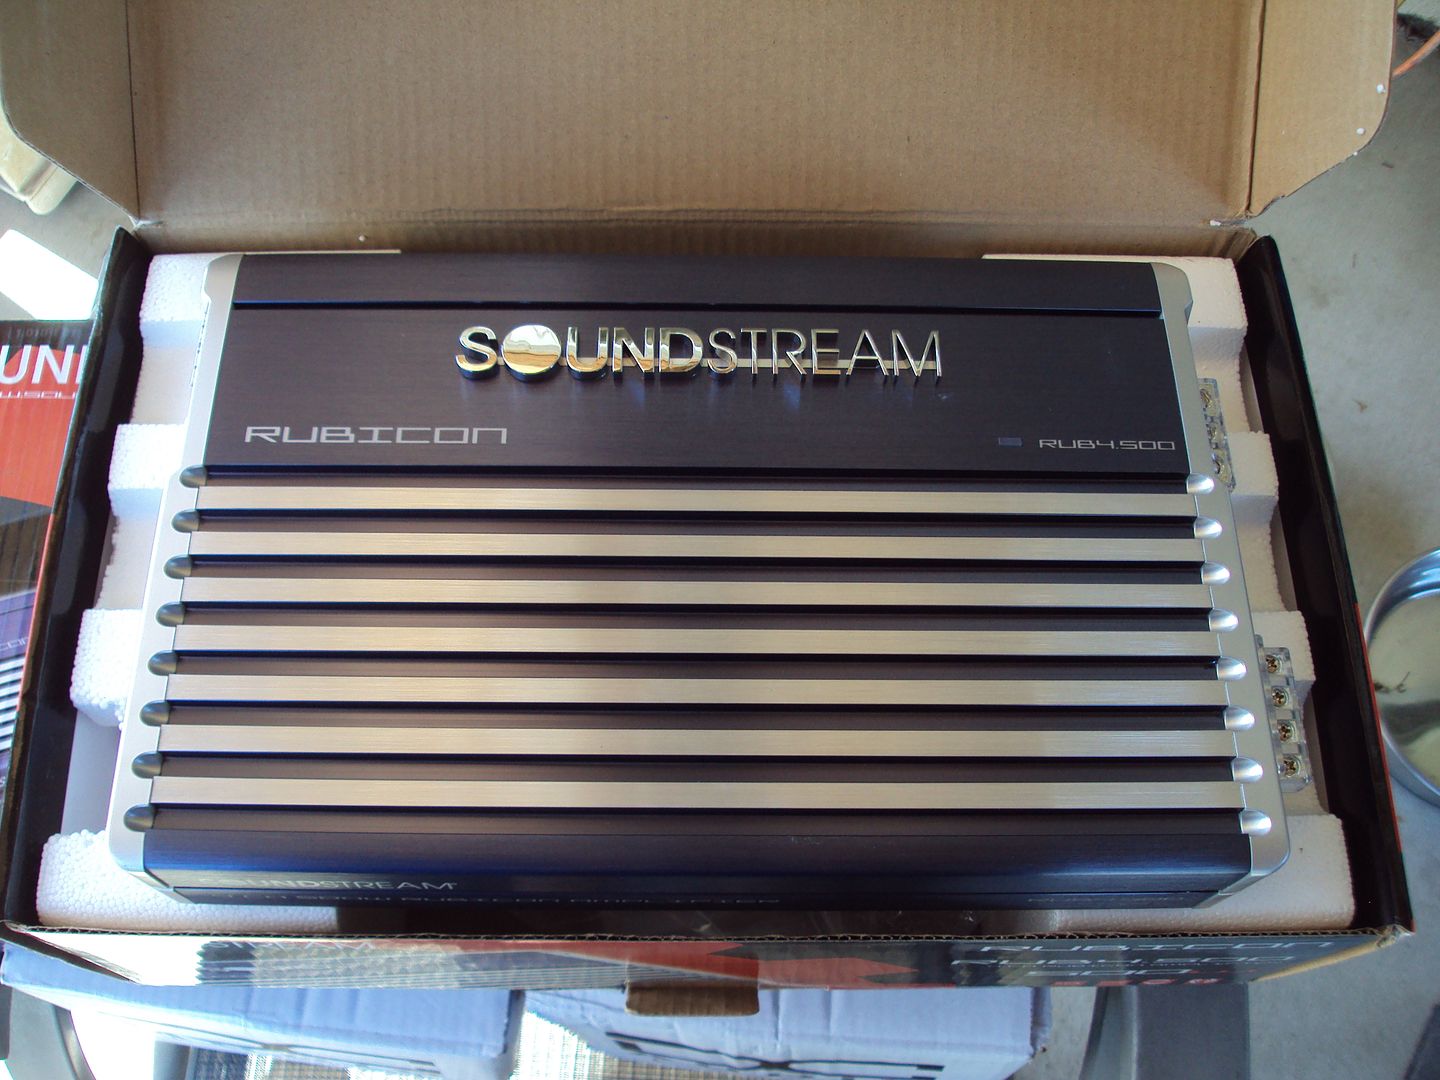
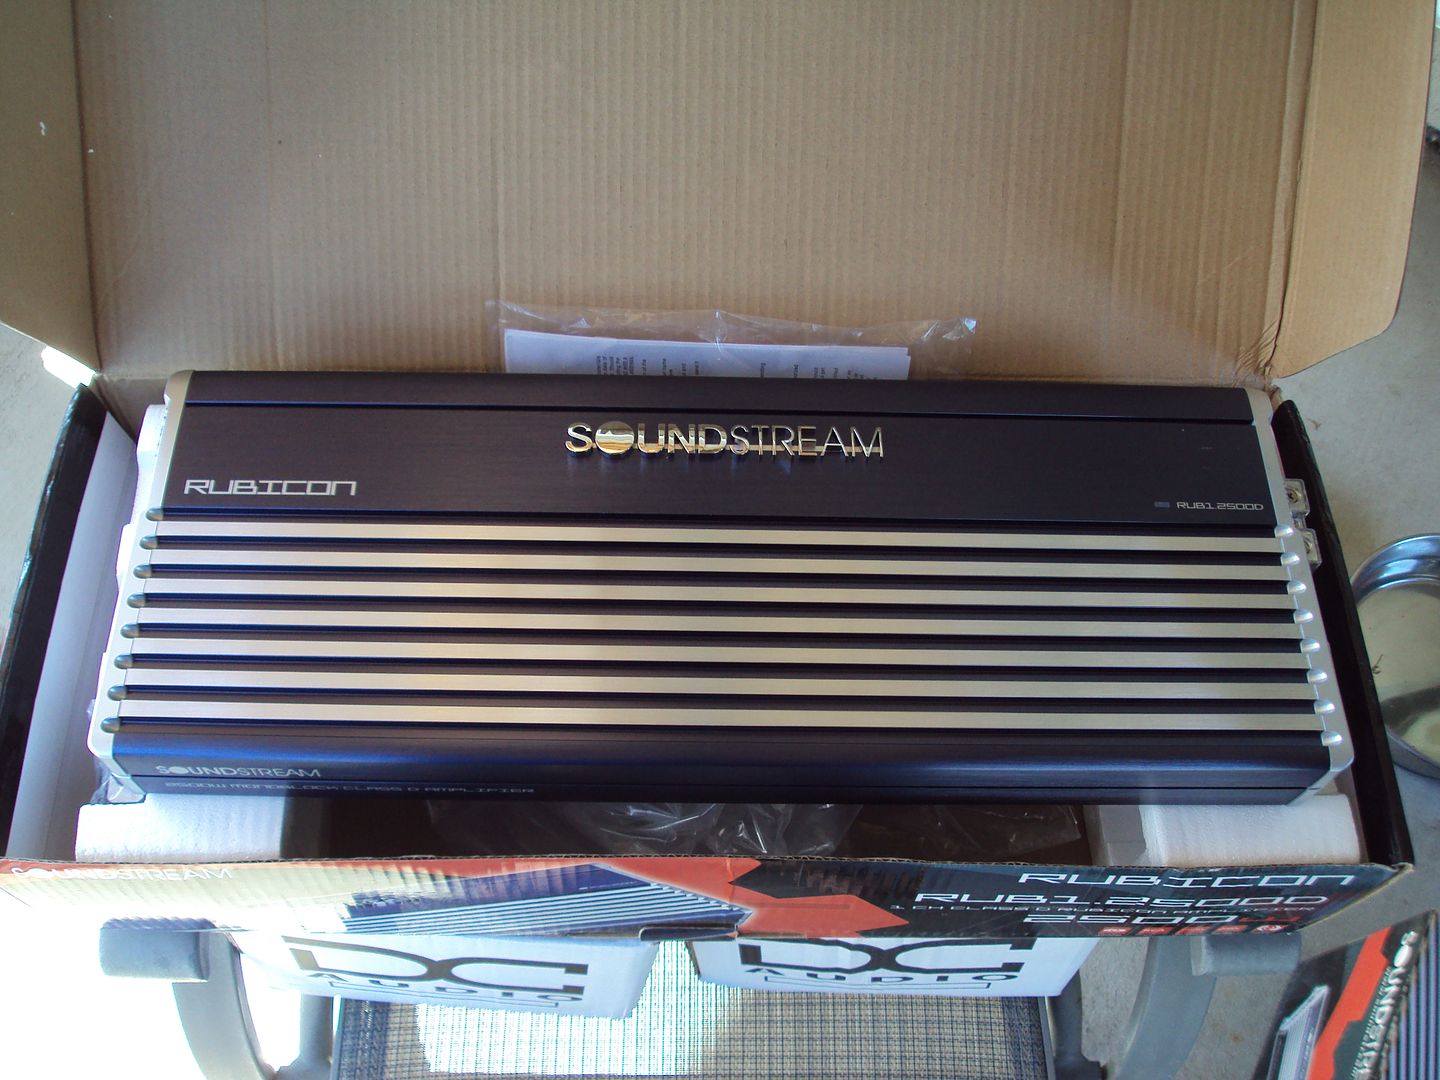
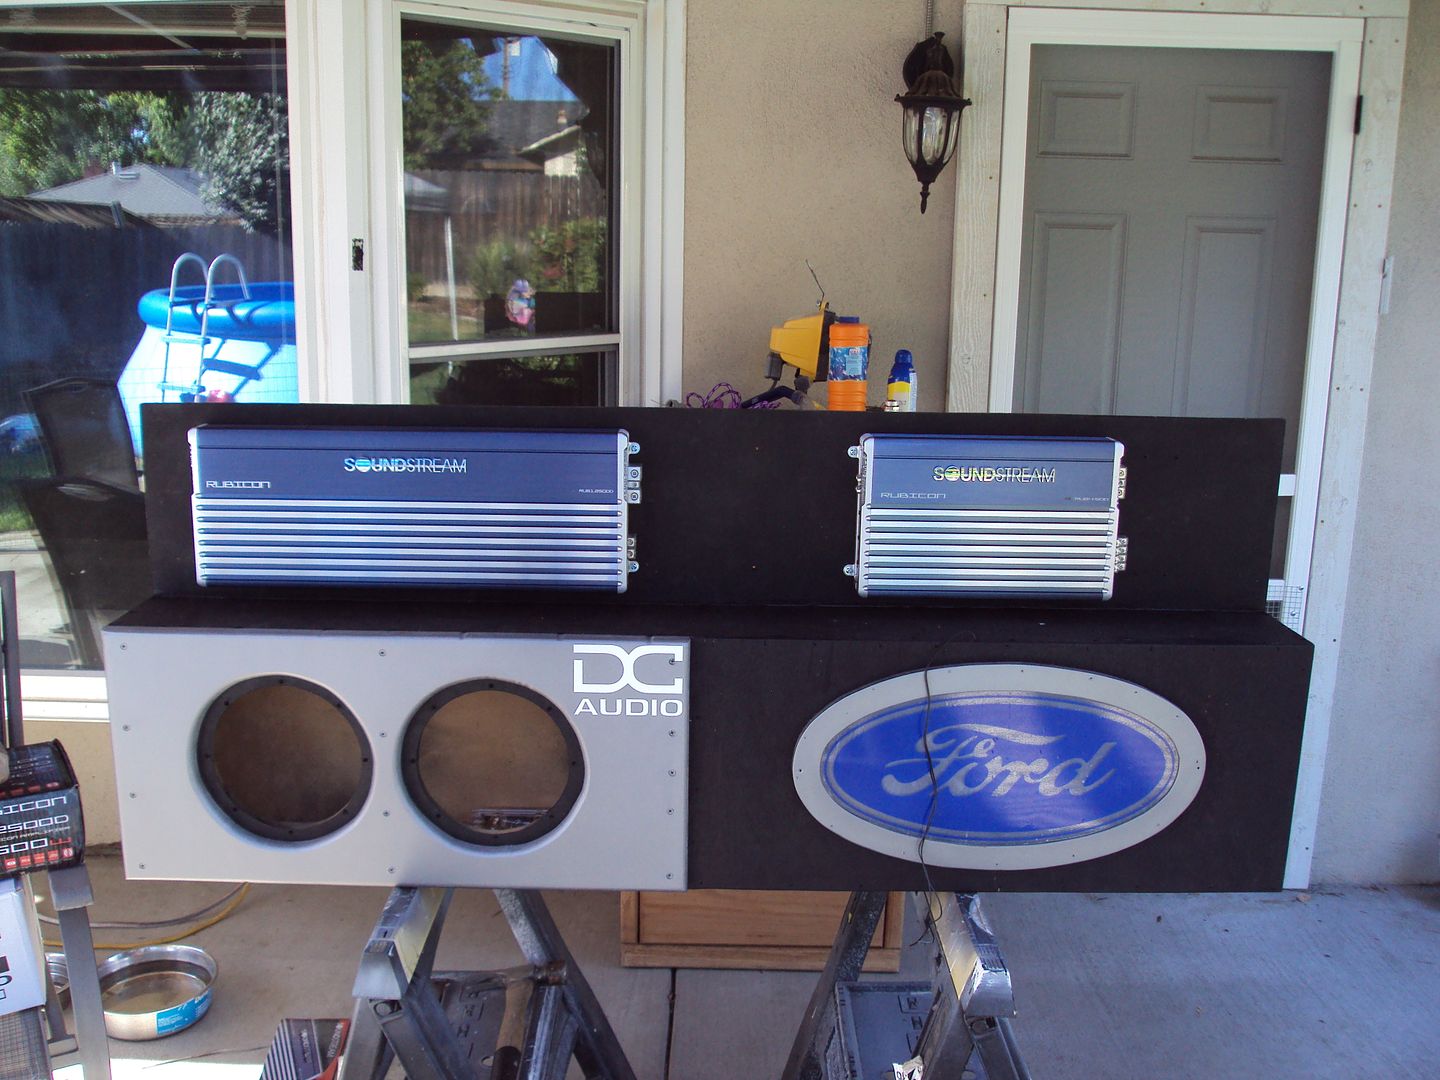
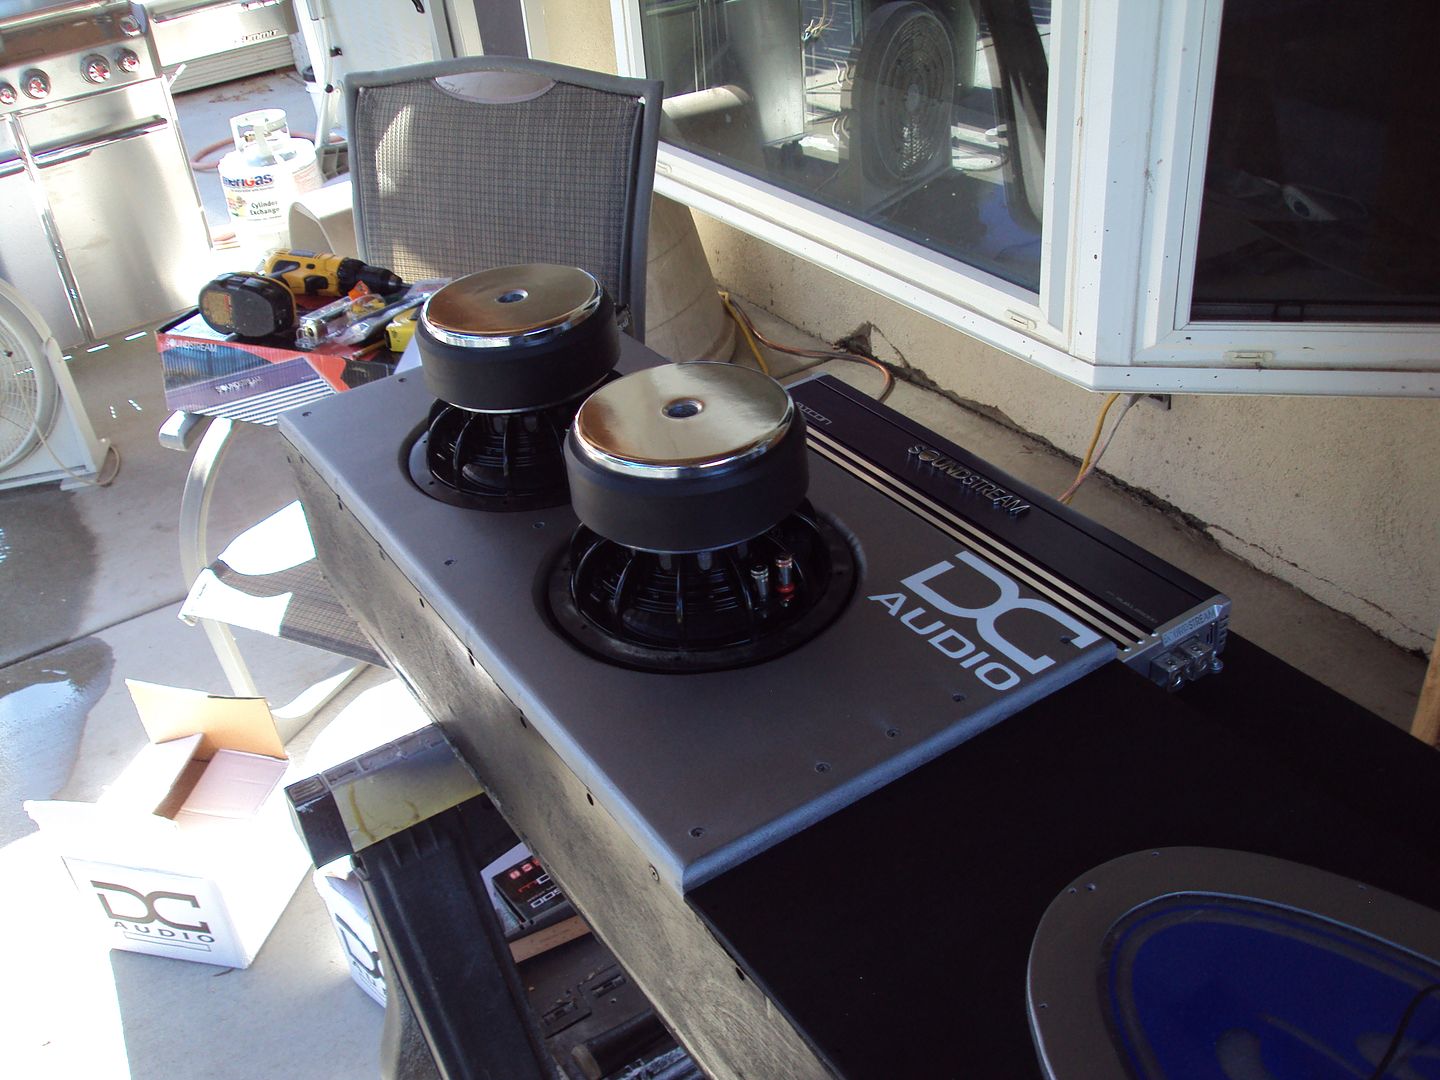
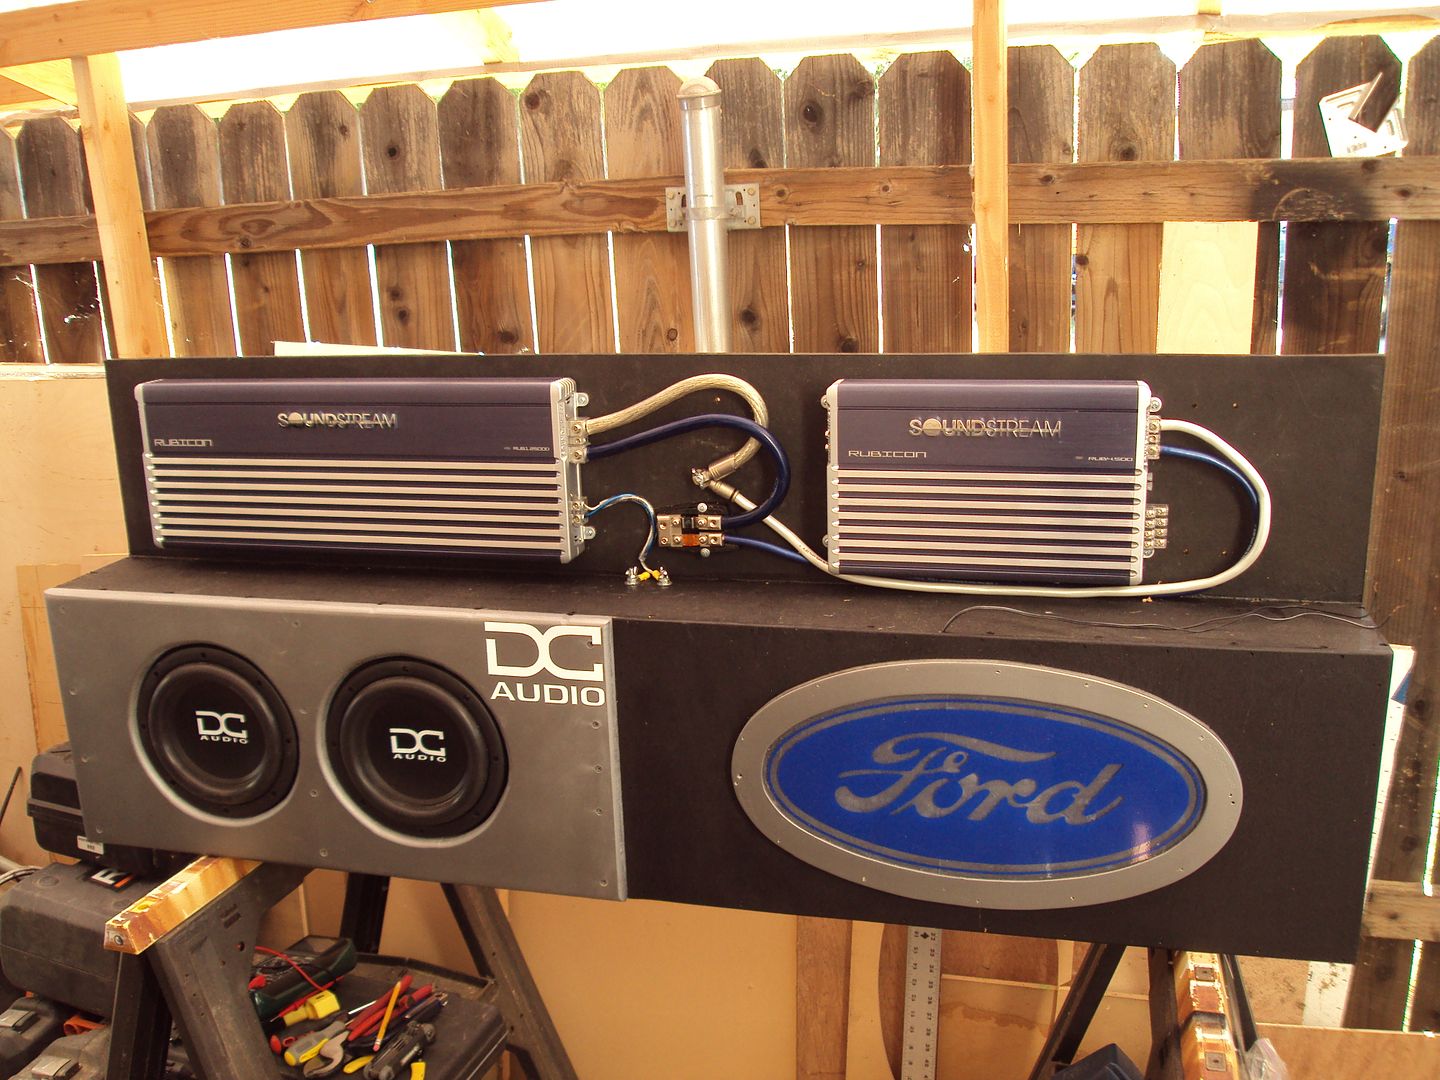
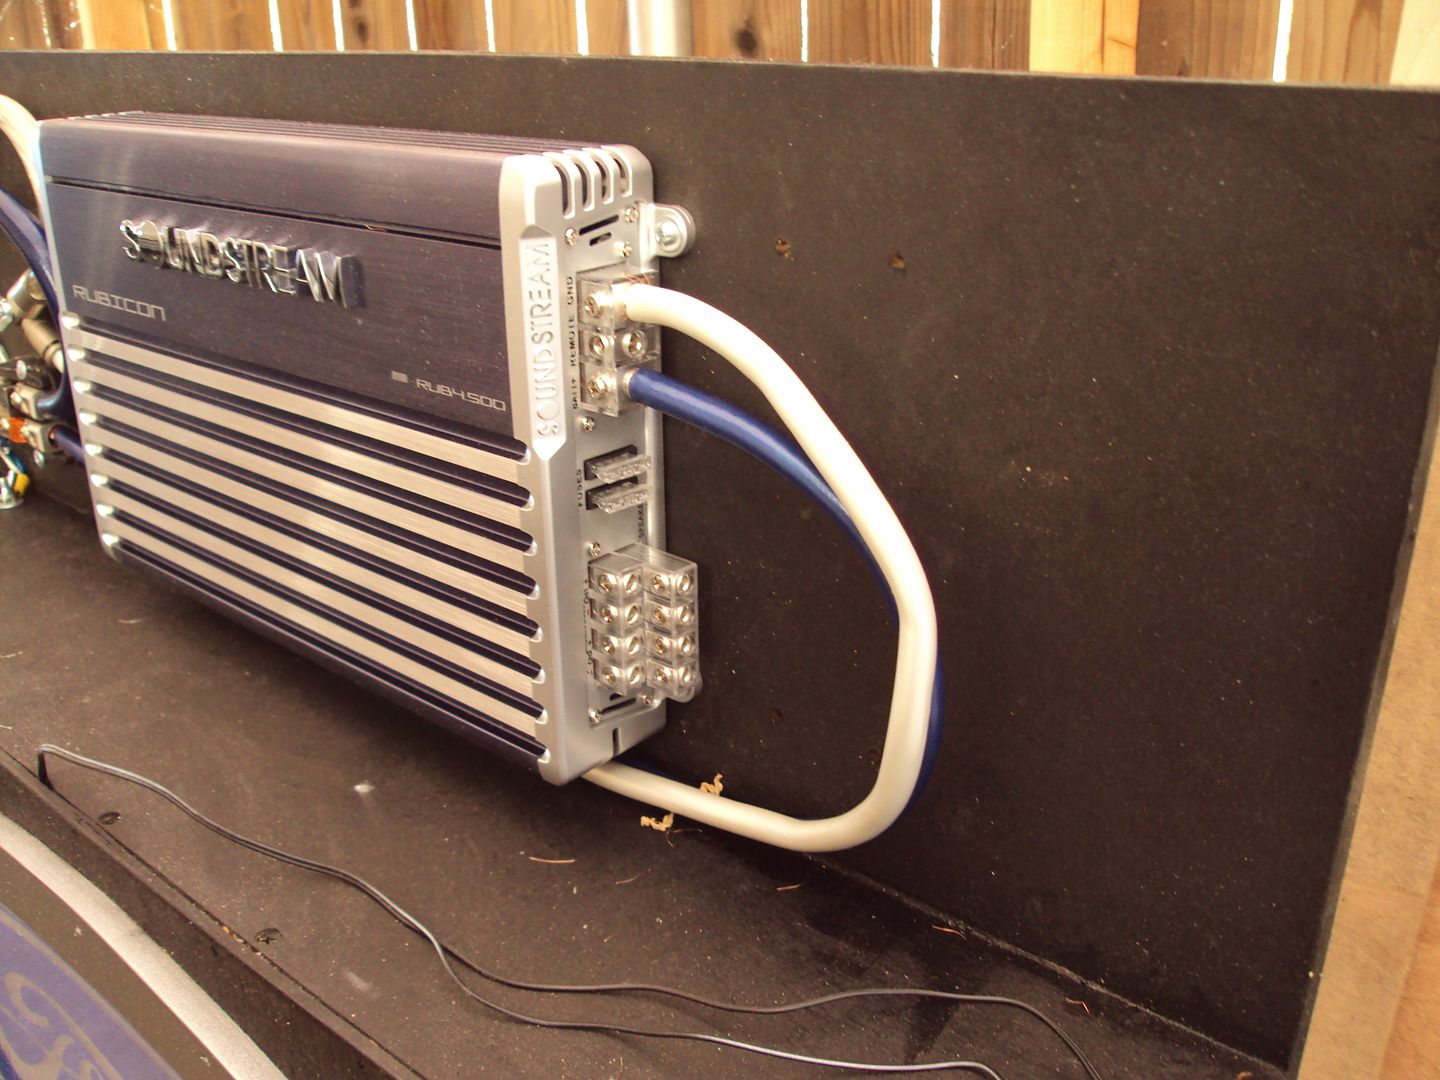
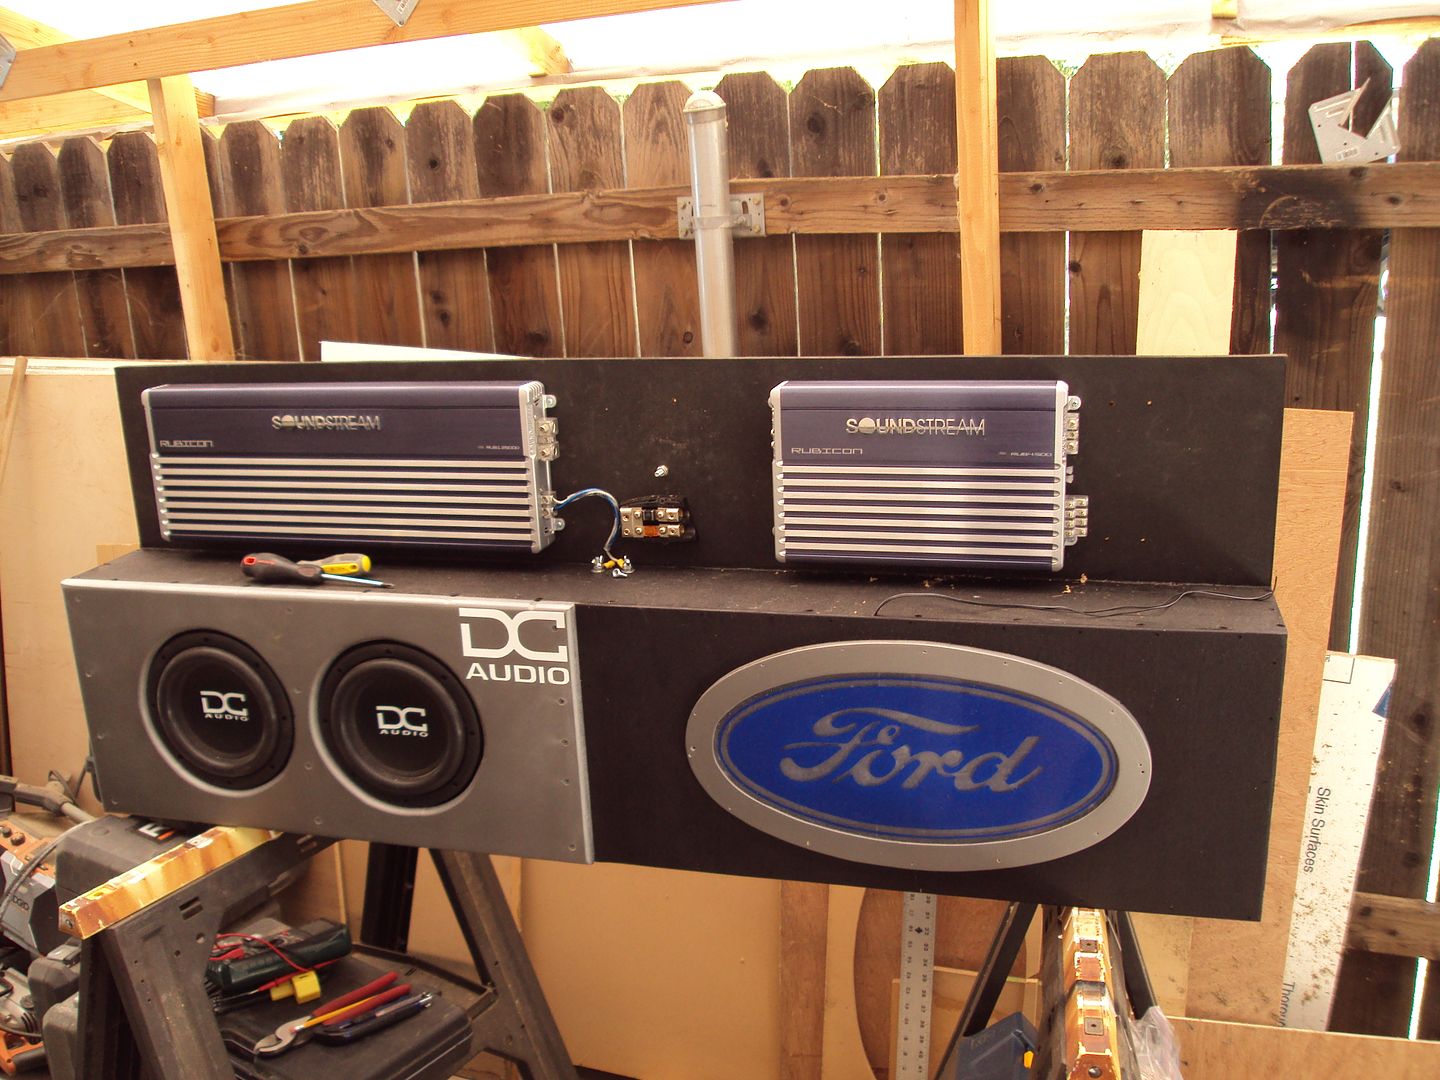
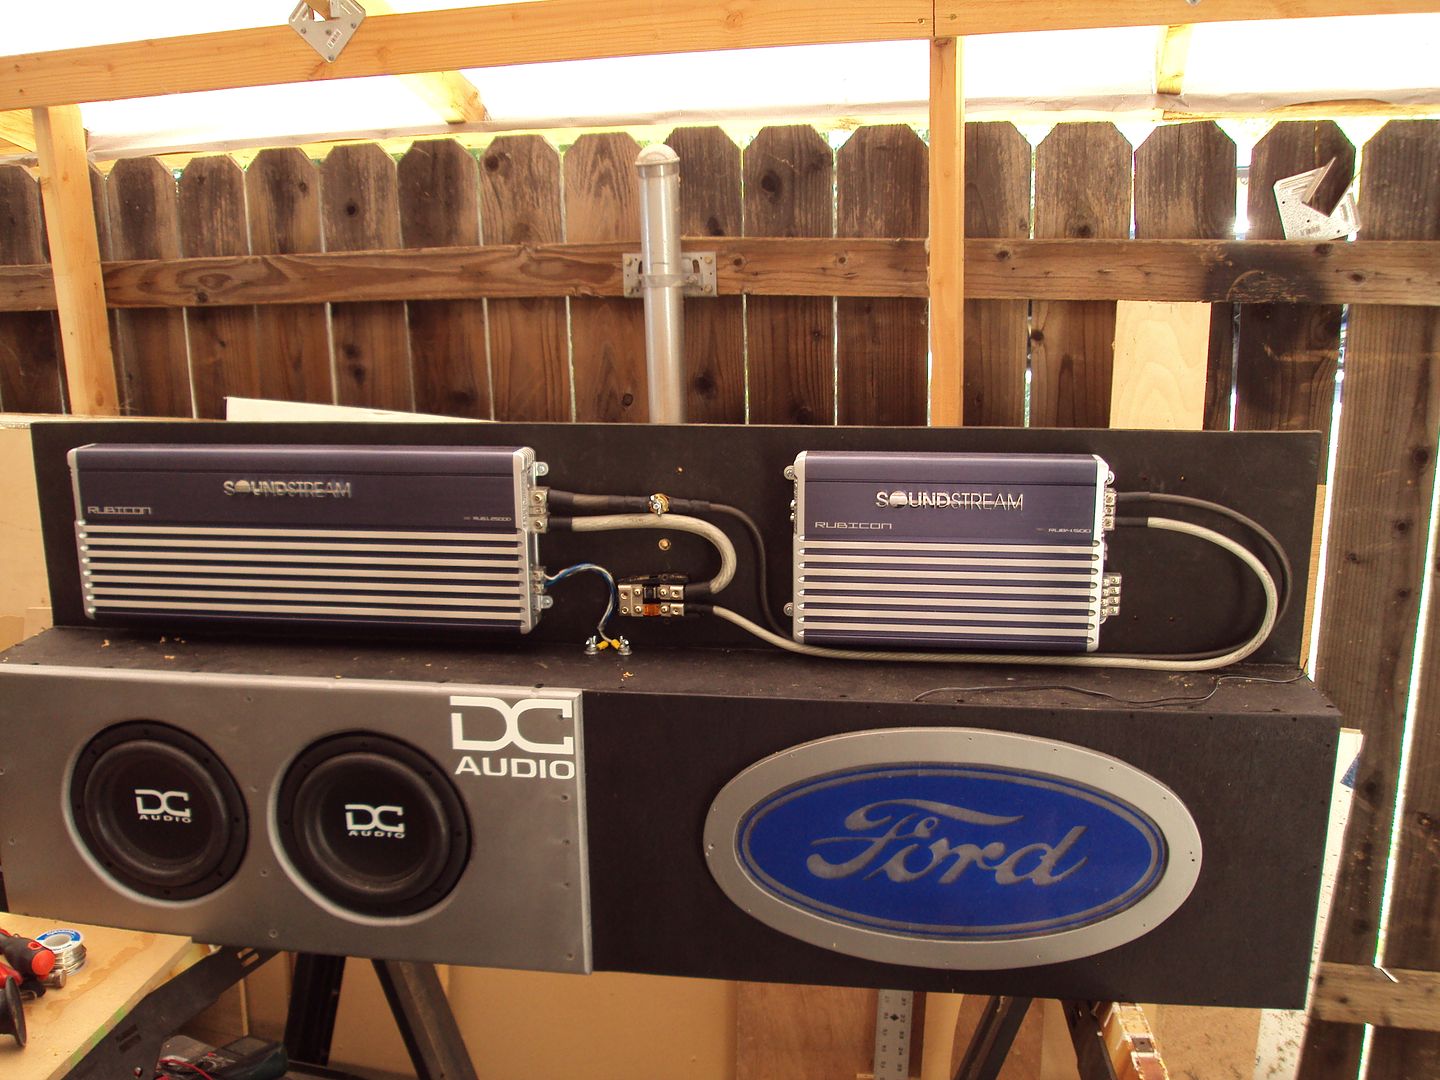
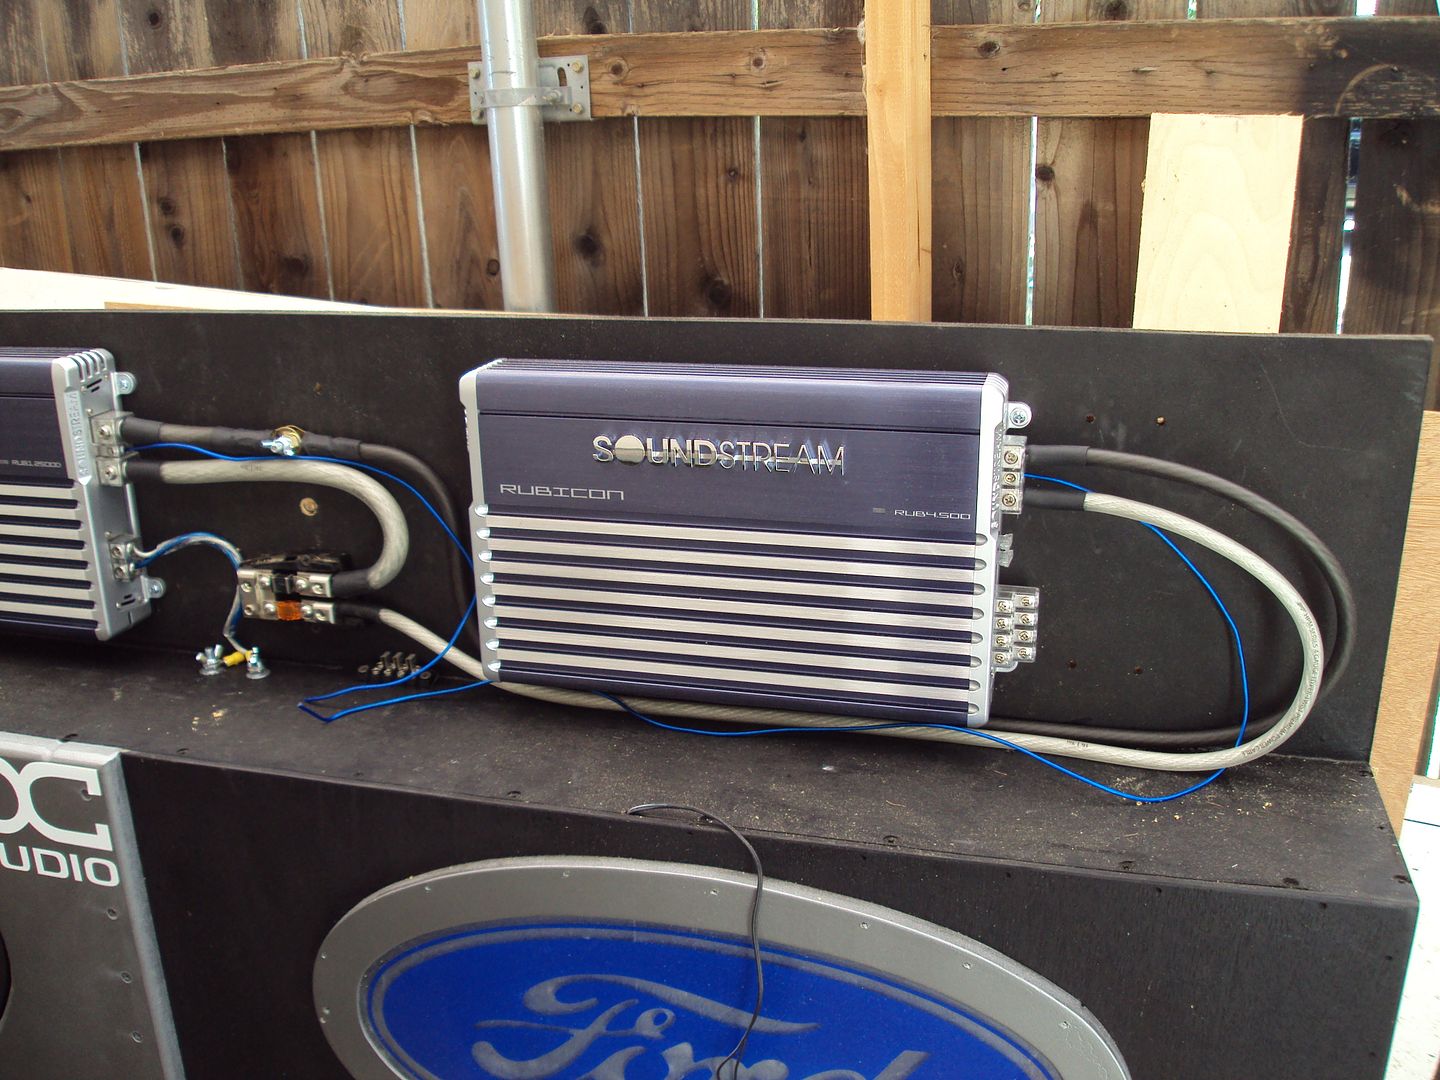
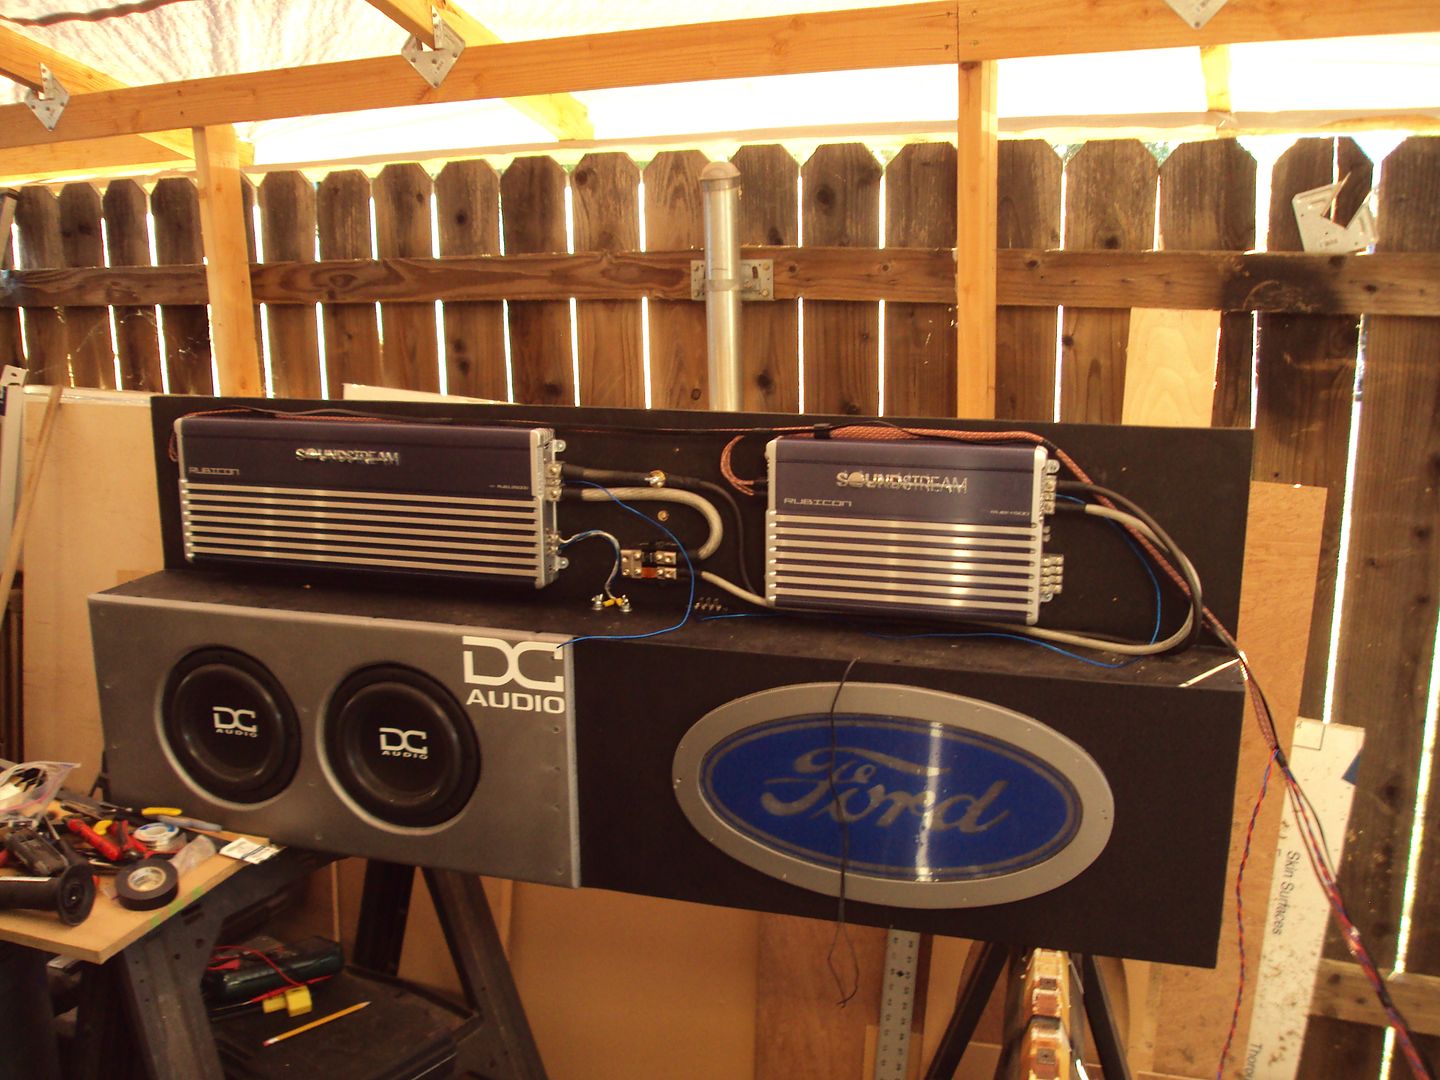
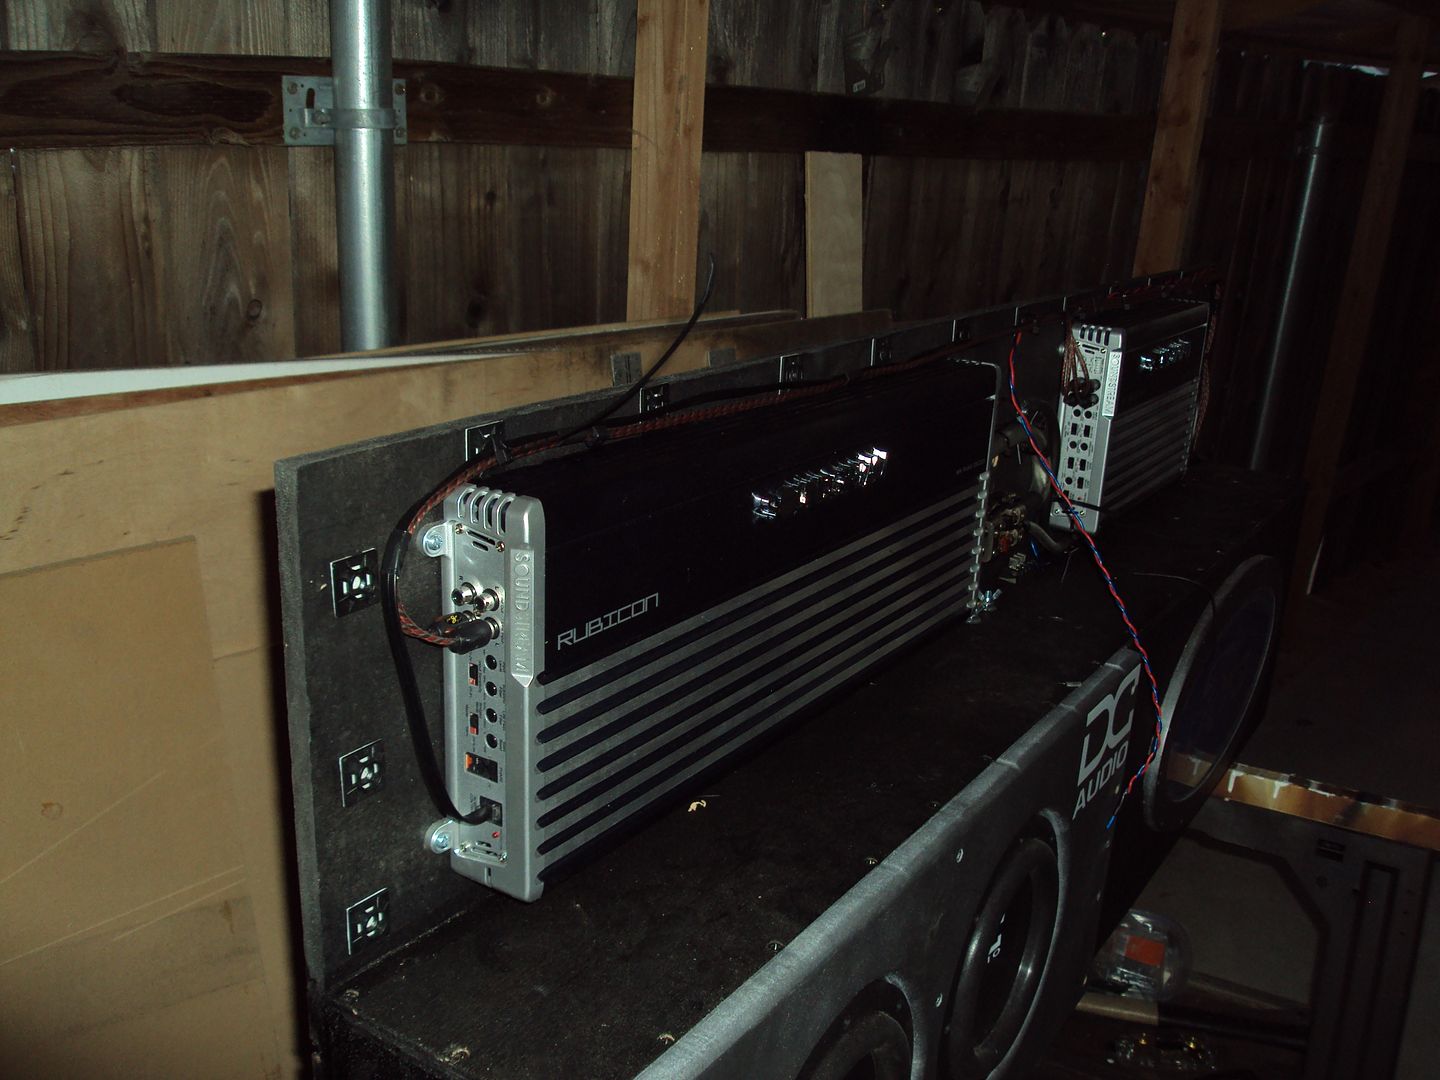
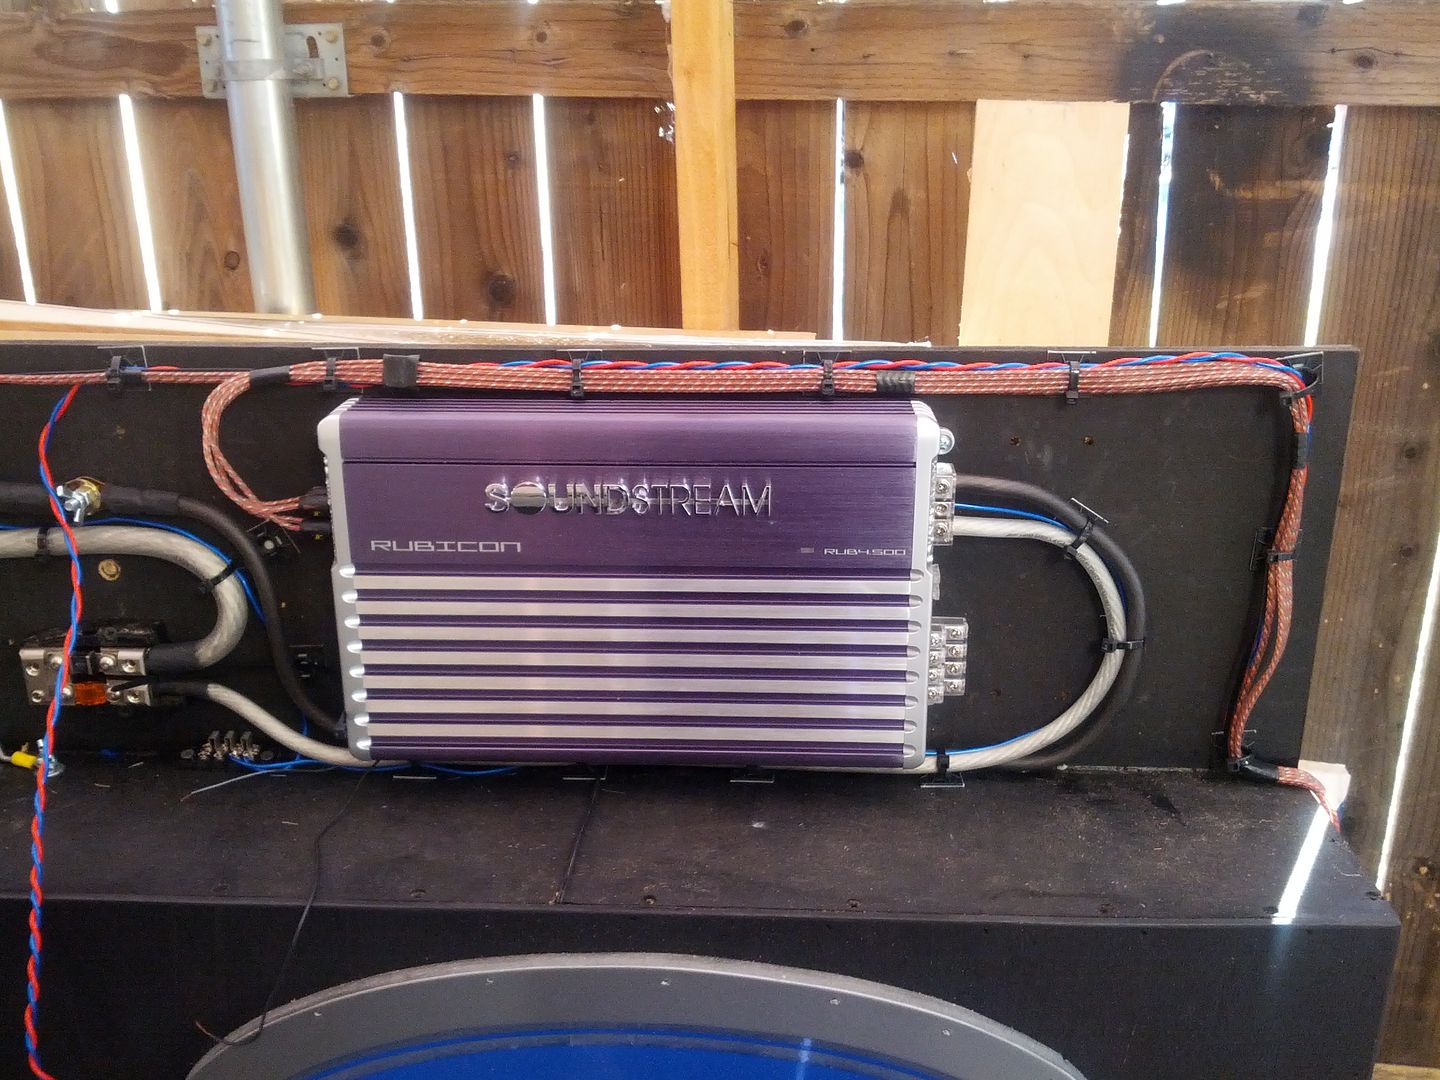
I decided to get started with the amps! I was only going to run the 1.2500D but I decided that the 4.500 would do well in the cabin. It would also give me some more power to my speaker boxes I made for outside. So I started laying those out!
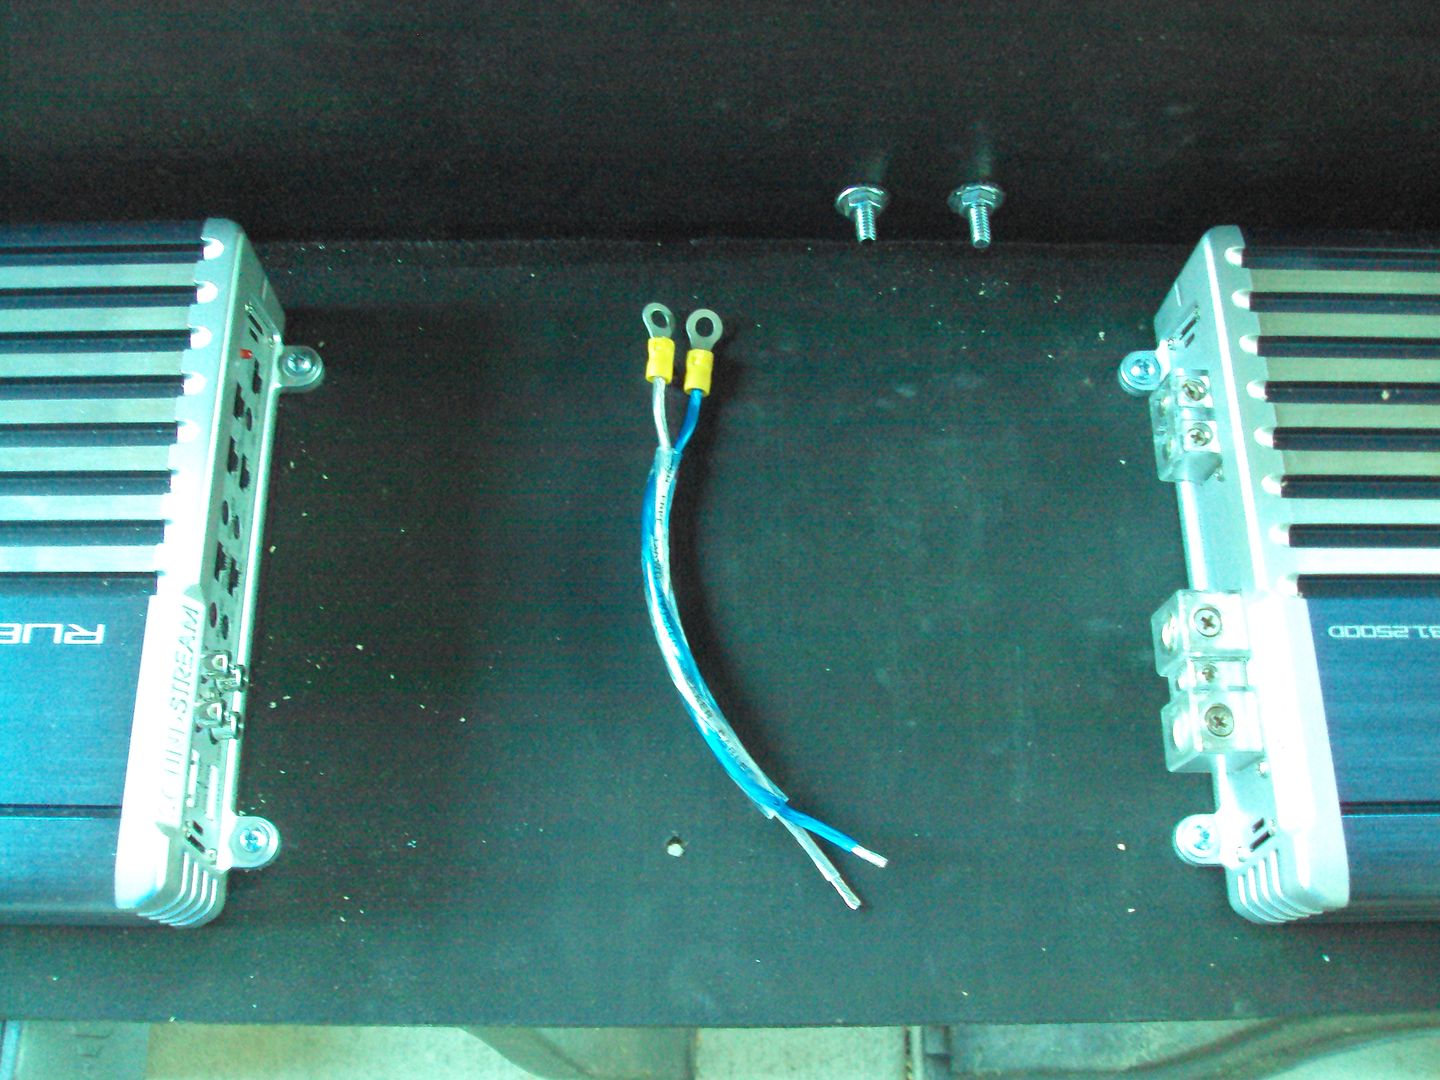
4.500

1.2500D
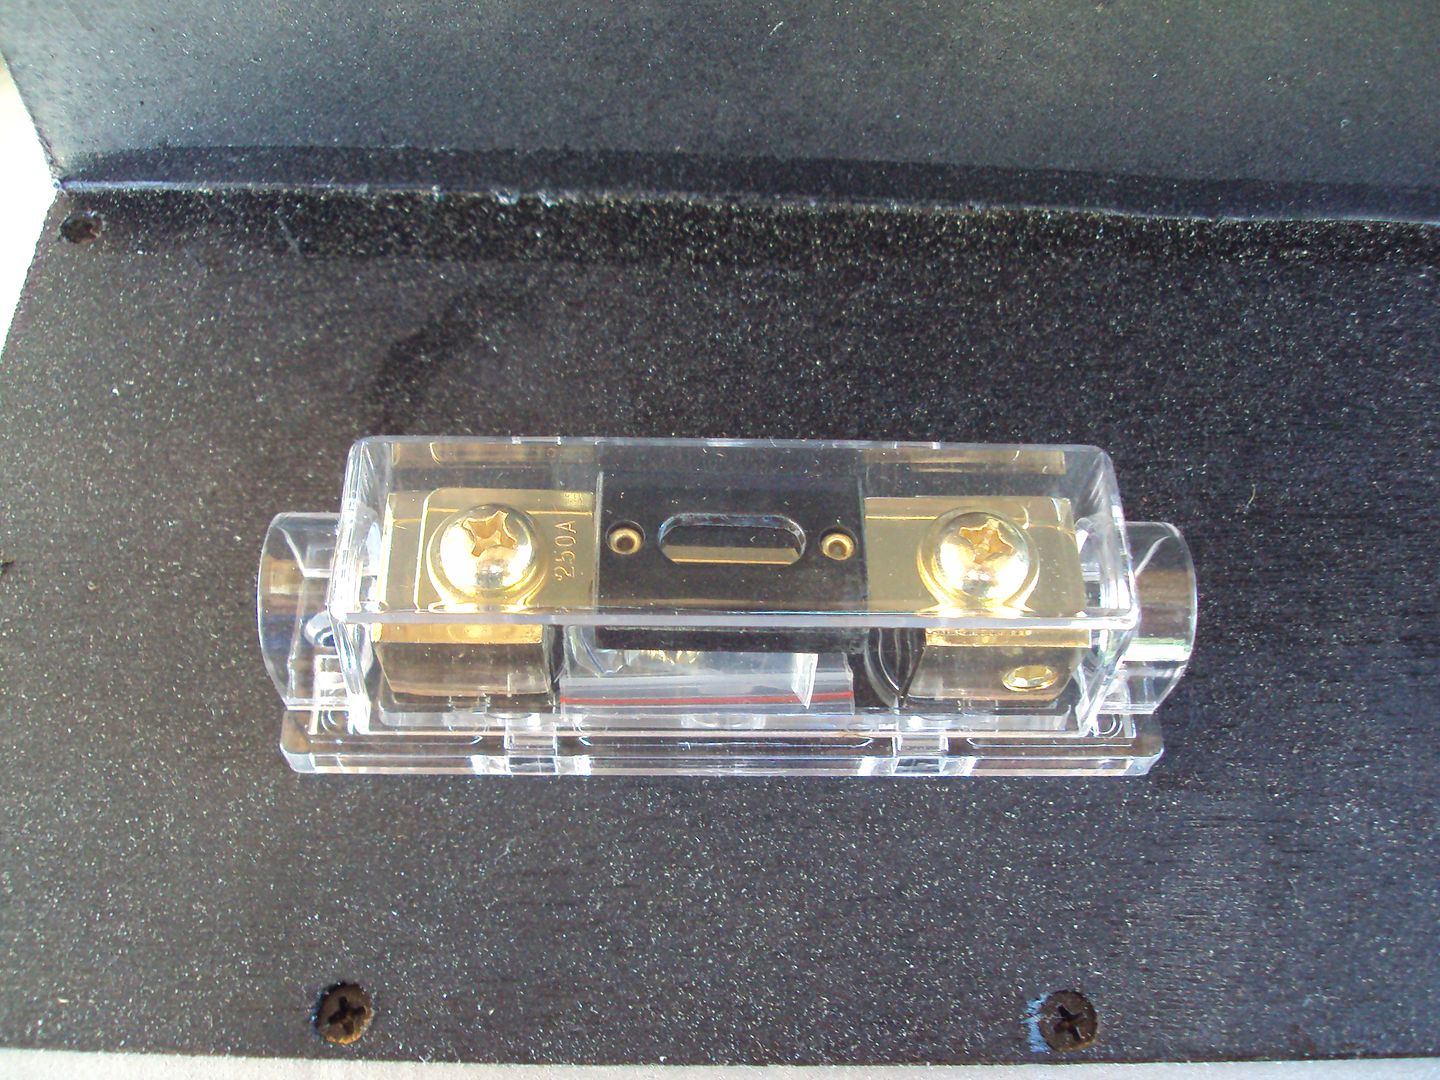
Fuse holder that came with it.
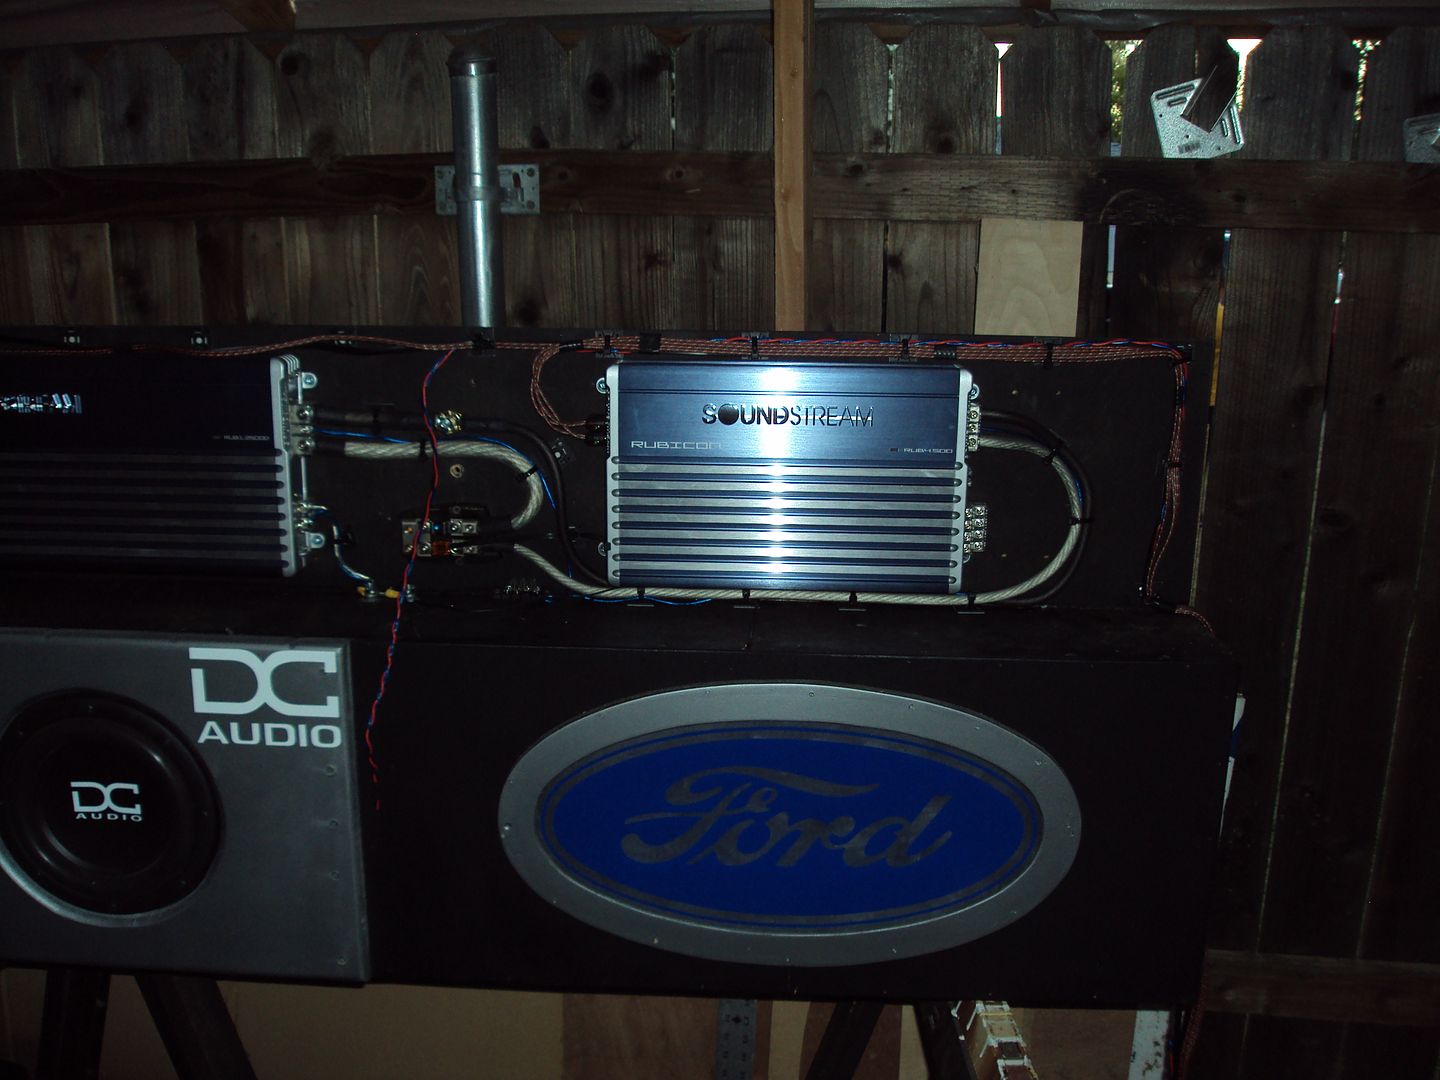
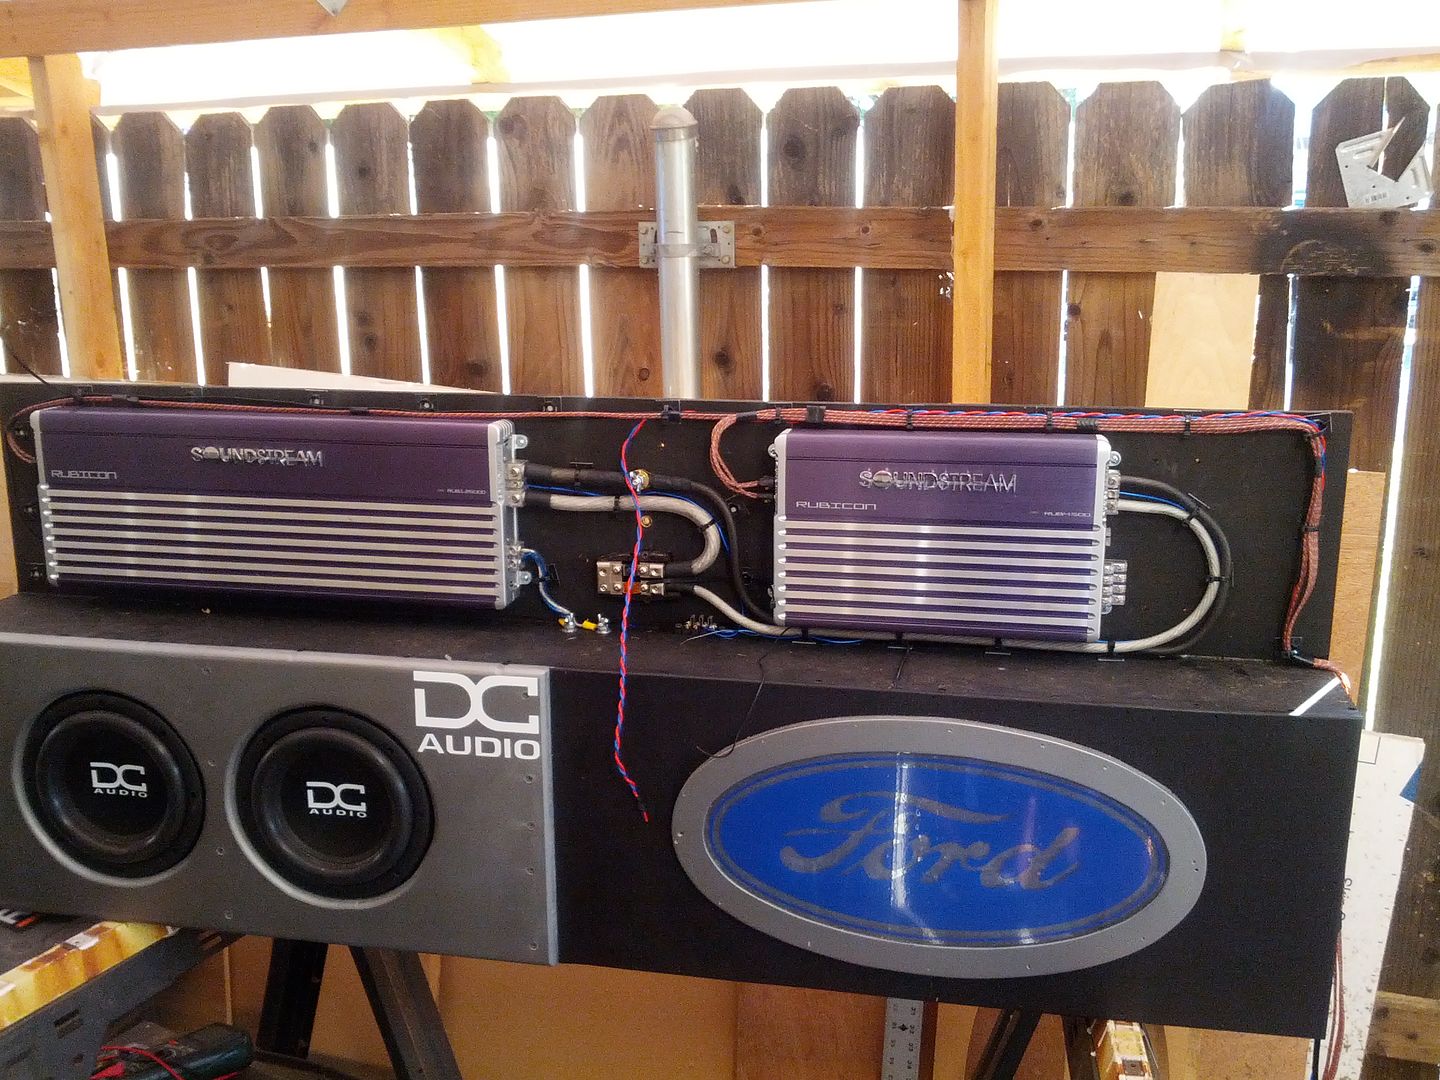
I decided to center the amps off the subs and the logo. They actually flow pretty well I think.

Now using the same threaded inserts, I mounted them up.
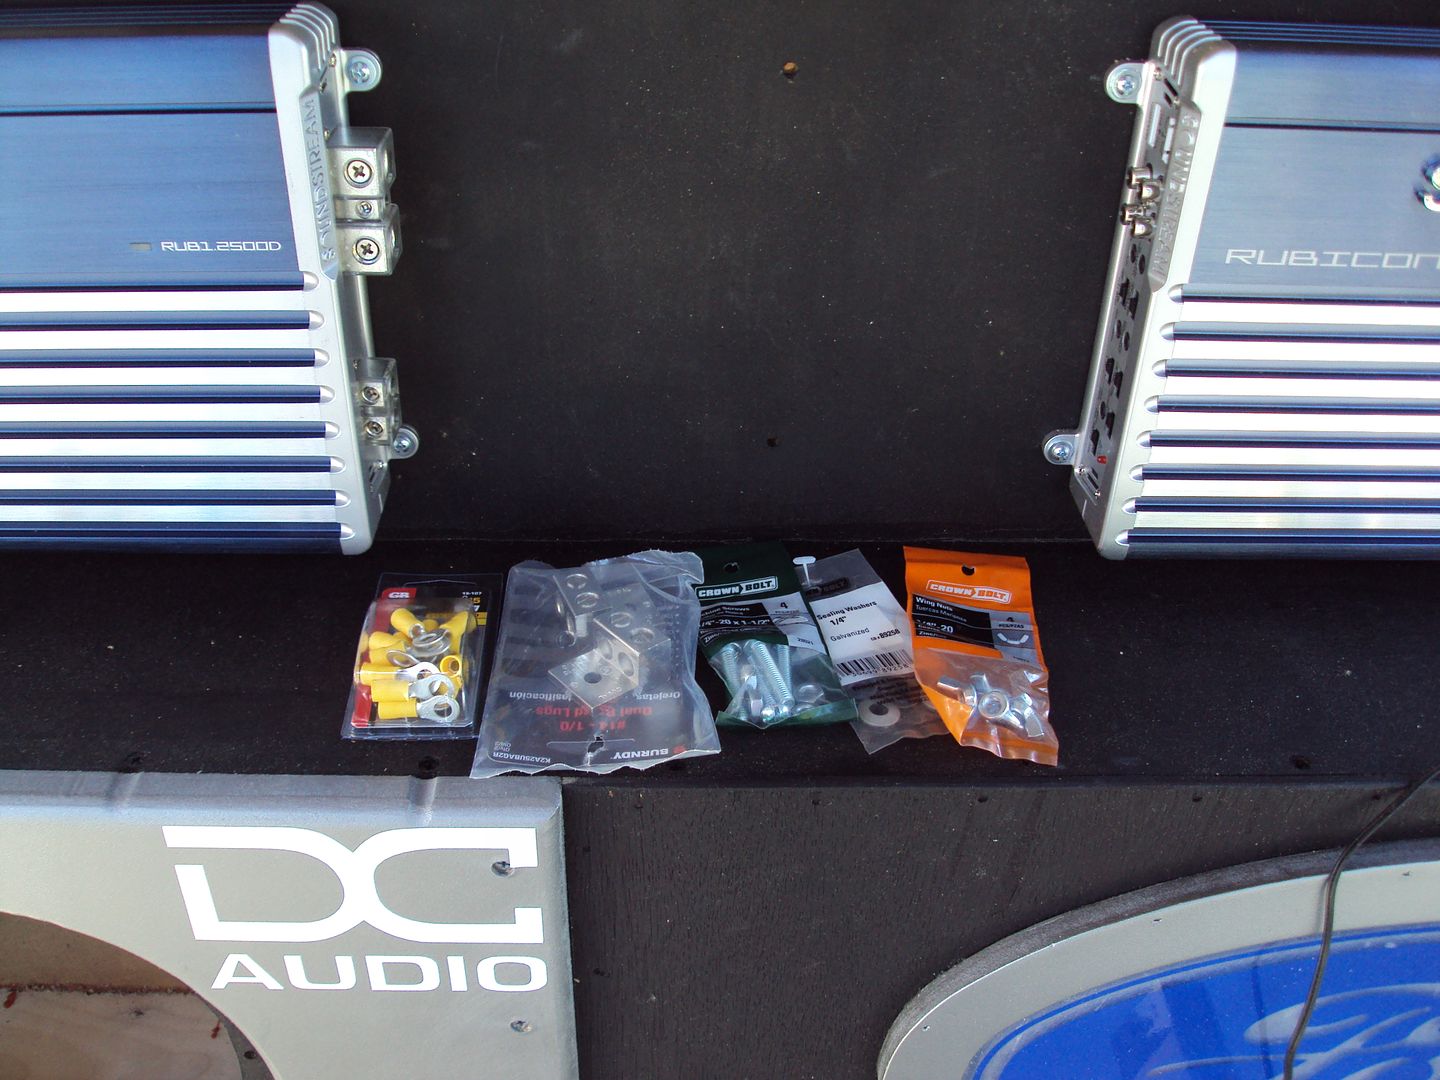
Now that the amps were mounted and ready to go, it was time to get busy on the subs. Got out the hardware I needed and bought last week, so I could get those wired up.
I had a crazy busy weekend and the time that I thought maybe I could squeeze in a couple more hours last night but what we thought was going to be a couple hour day turned into a full day. Didn't get home till 11:30 last night. Today we traveled again!
But, here's what I did get done! I started Friday night since I got off early and my wife had the kids. I did have the dogs and they needed some play time as well as I needed some work time. So I drug everything out back from the side of the house and decided I'd do two things at once.
It was pretty warm so I got my mister fan I made, and my misters going on the patio.
Now that comfort was achieved, it was time to get busy!
I decided to get started with the amps! I was only going to run the 1.2500D but I decided that the 4.500 would do well in the cabin. It would also give me some more power to my speaker boxes I made for outside. So I started laying those out!
4.500
1.2500D
Fuse holder that came with it.
I decided to center the amps off the subs and the logo. They actually flow pretty well I think.
Now using the same threaded inserts, I mounted them up.
Now that the amps were mounted and ready to go, it was time to get busy on the subs. Got out the hardware I needed and bought last week, so I could get those wired up.
#62
07-01-2012, 09:24 PM
Join Date: May 2011
Posts: 339
Likes: 0
Received 0 Likes
on
0 Posts
God wouldn't this look so sexy! If I only had the room to do this!
So I got to wiring them up!
Positive to negative from one coil to the next!
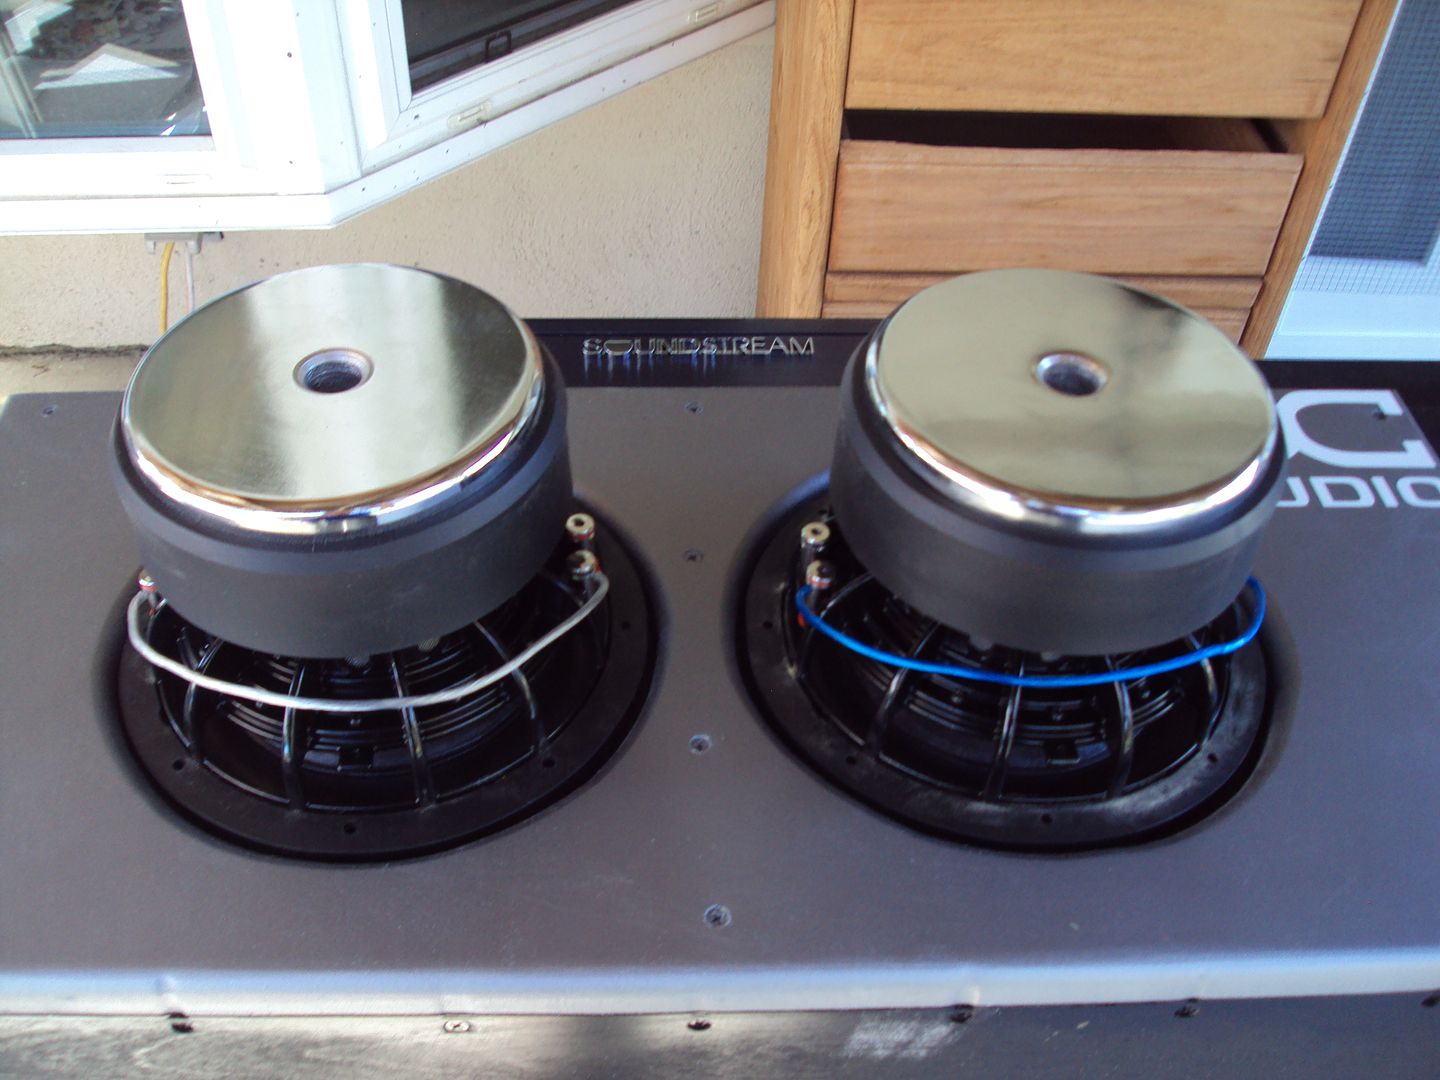
Then positive and negative out.
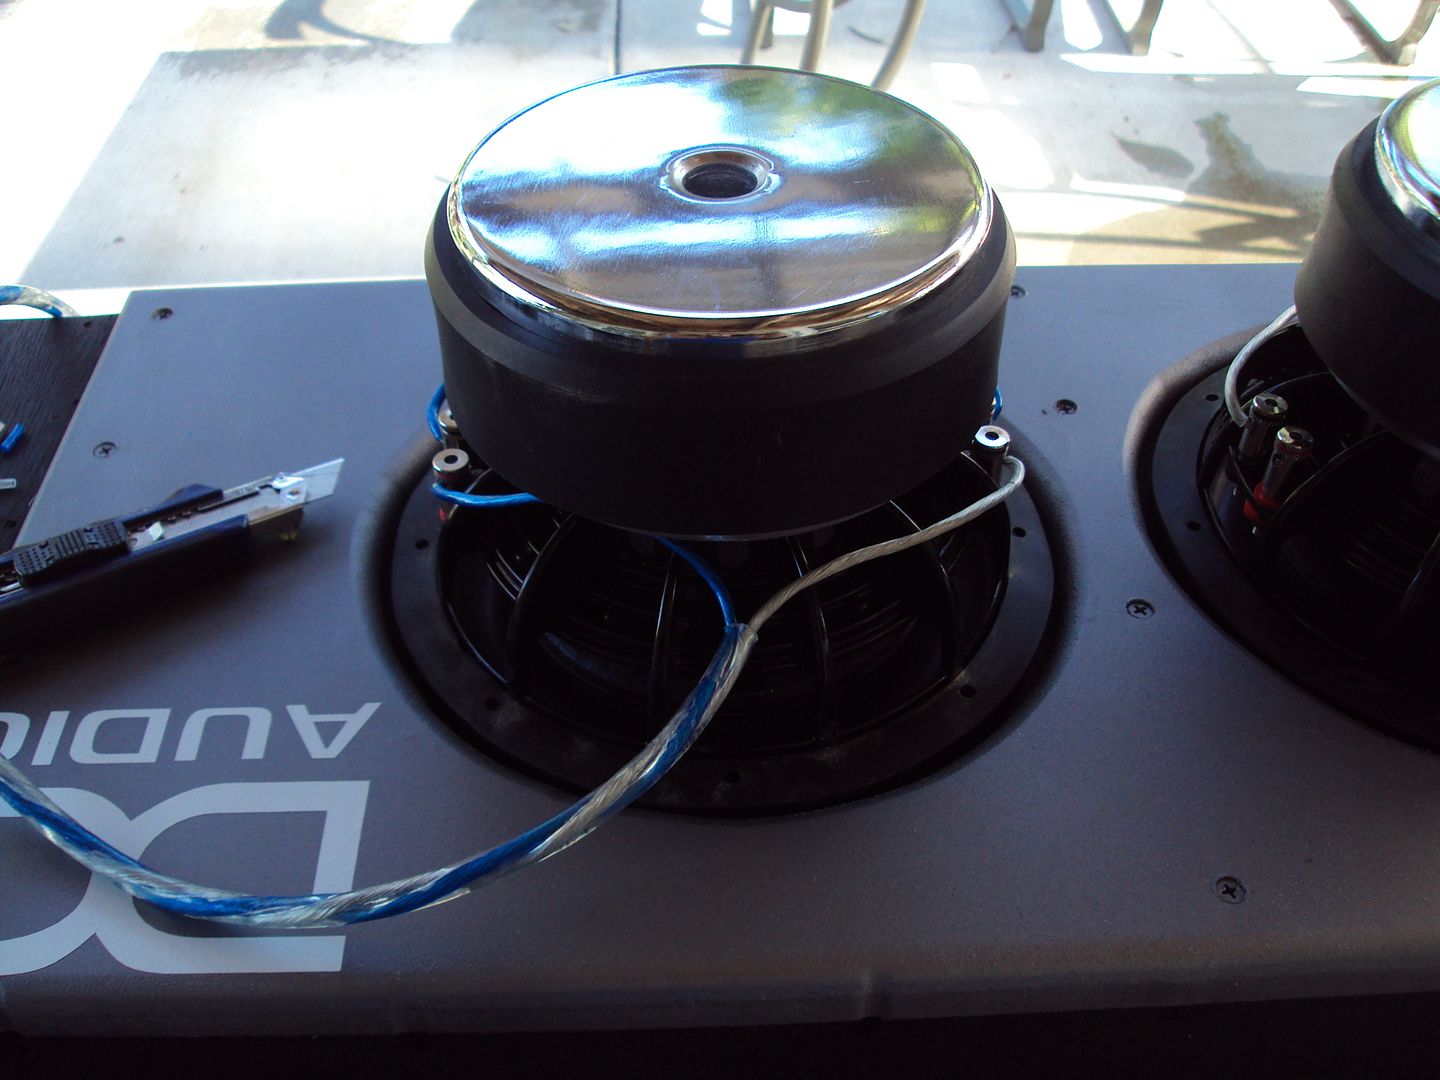
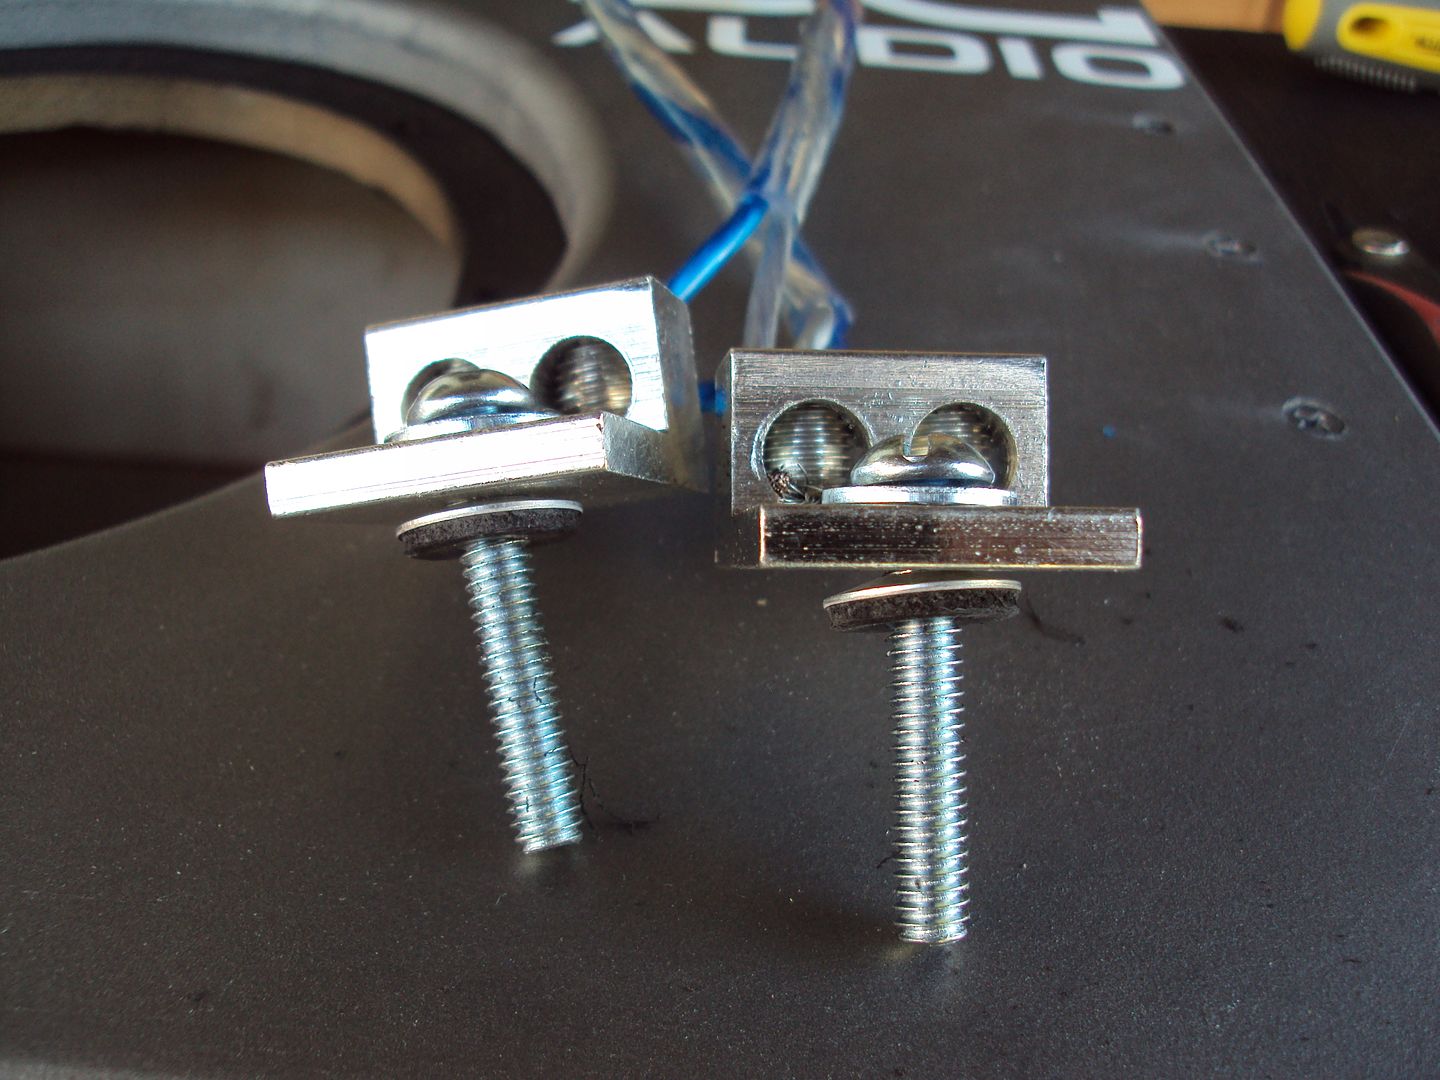
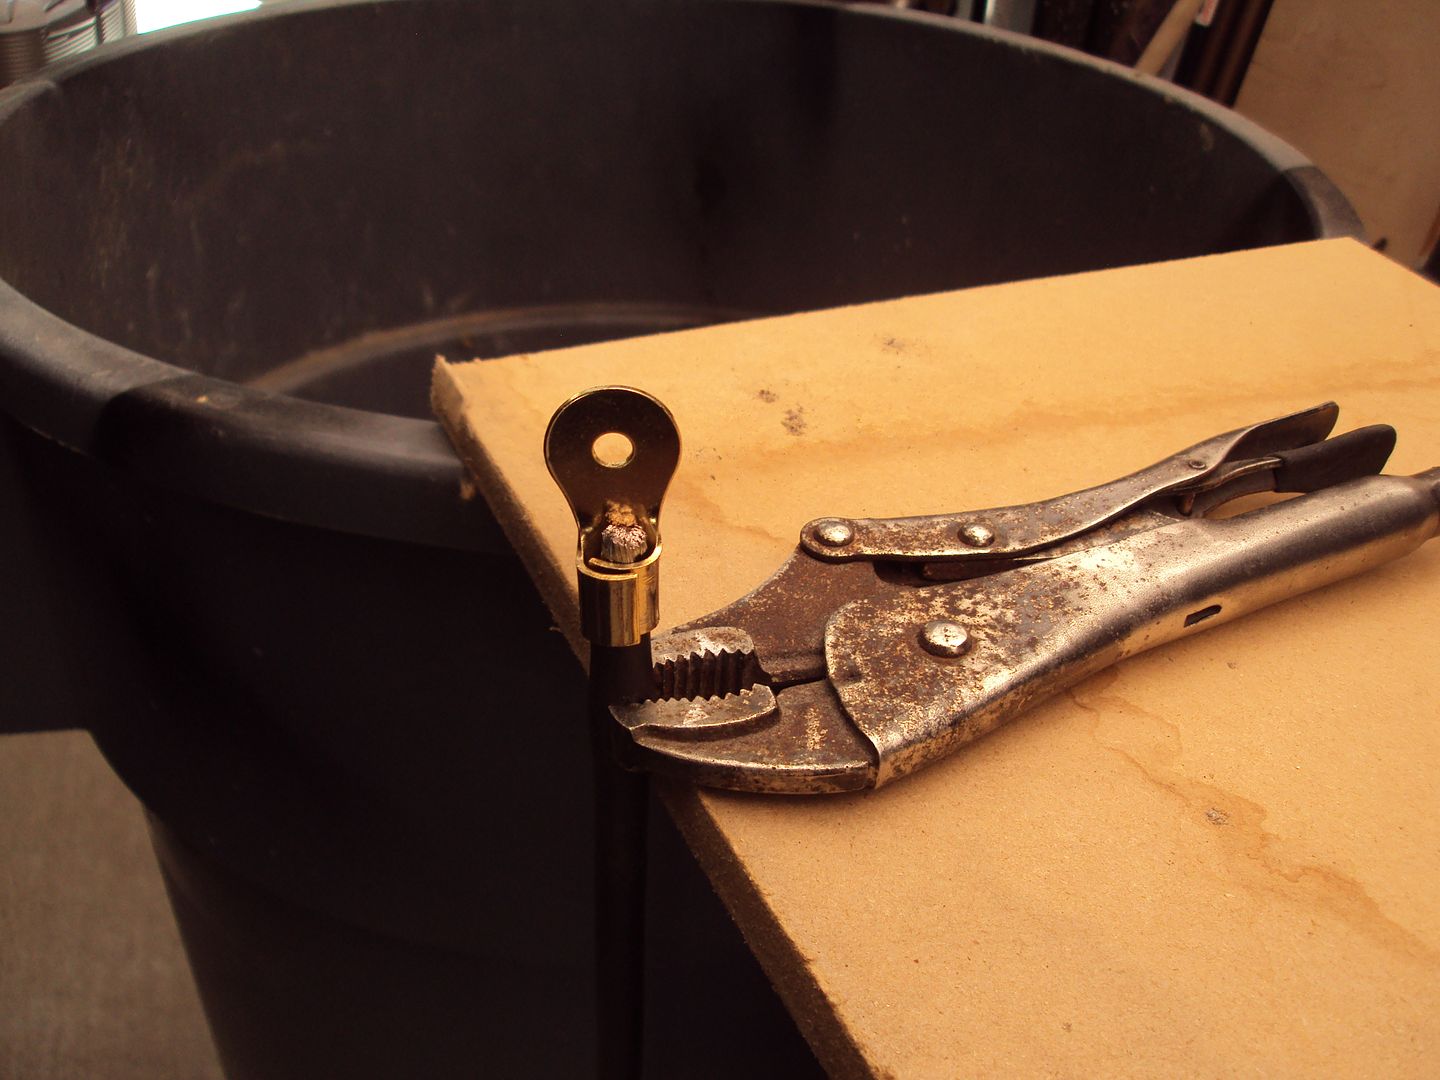
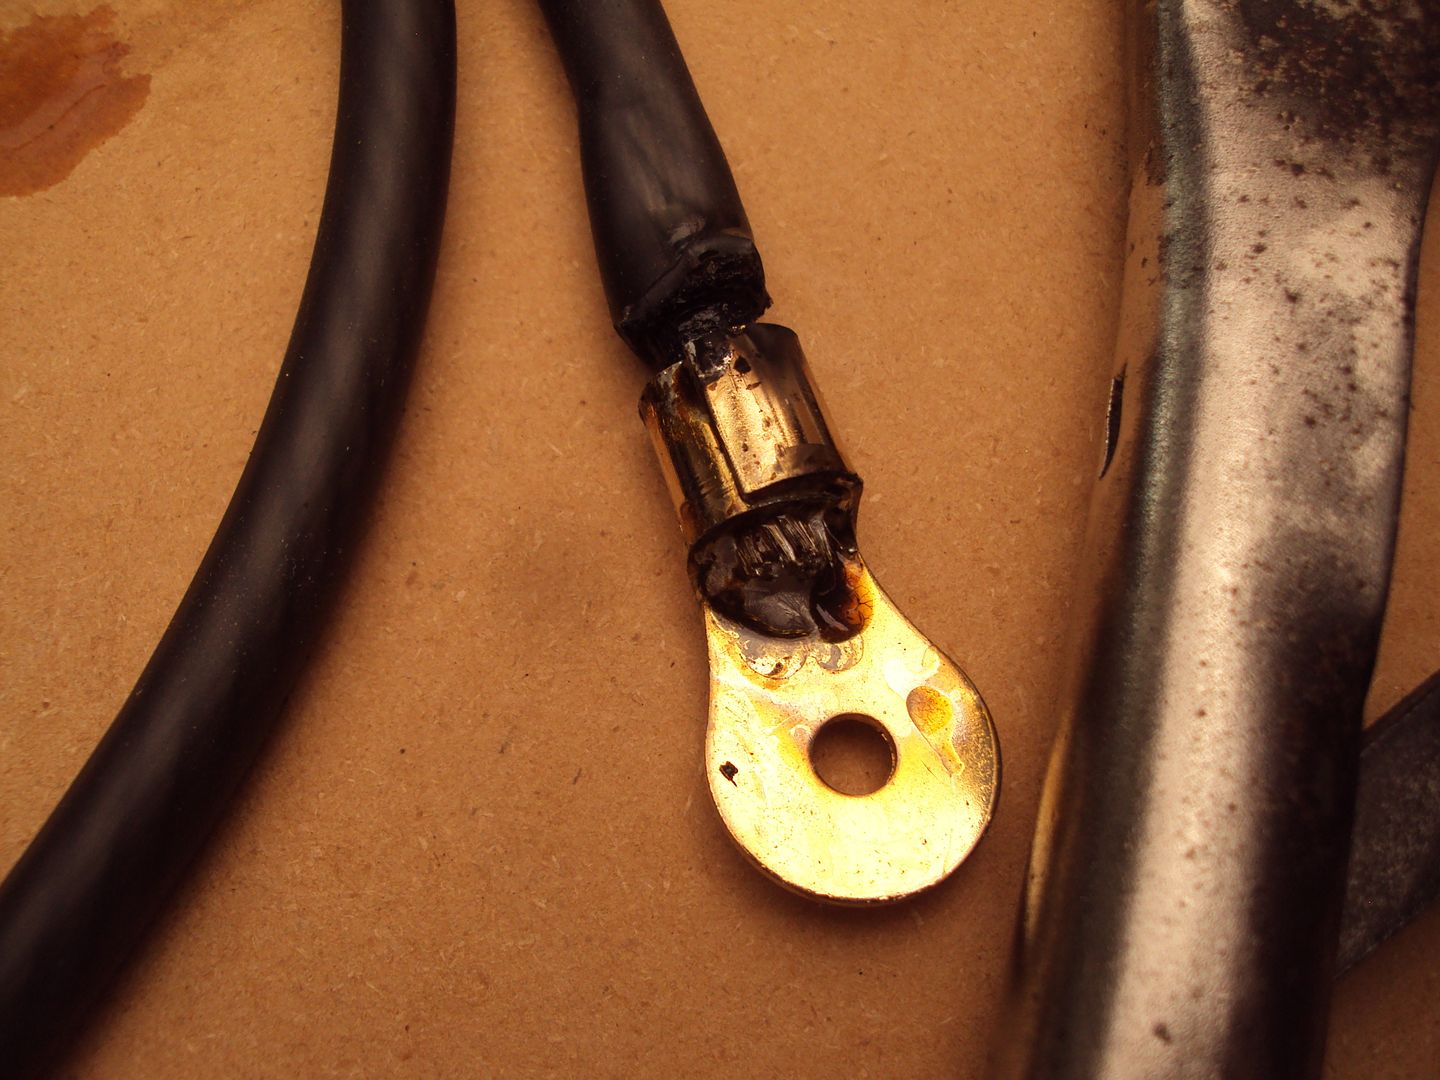
I found these the other day when getting my hardware, and thought they'd be perfect for this. So I picked them up.
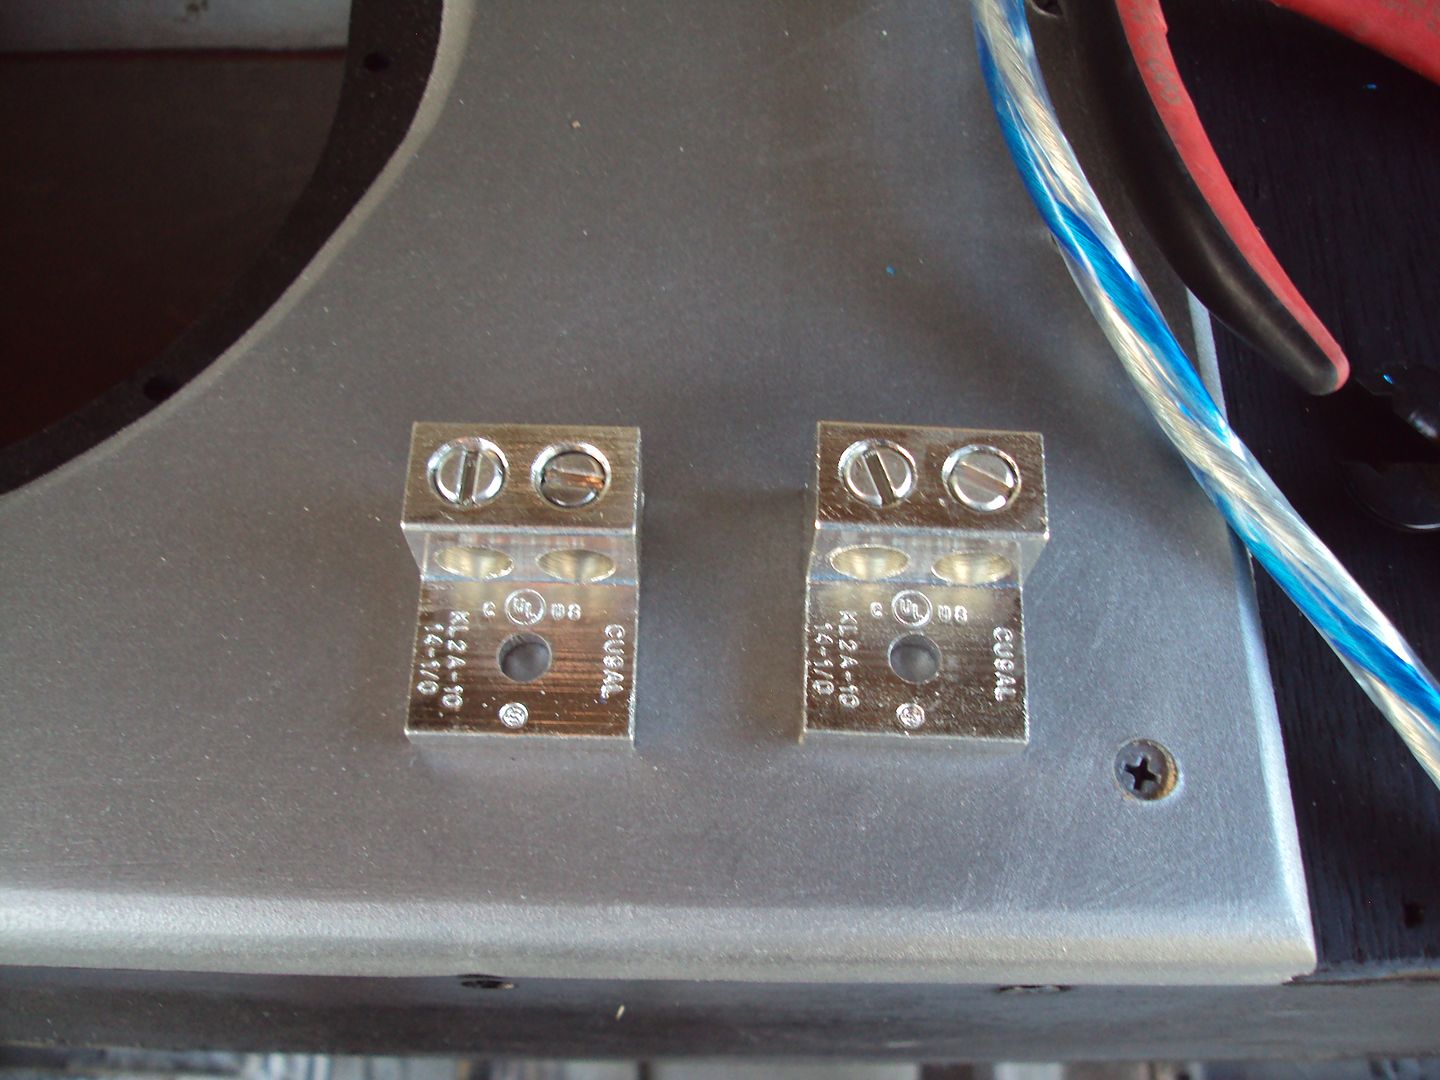
One for positive, and one for negative.
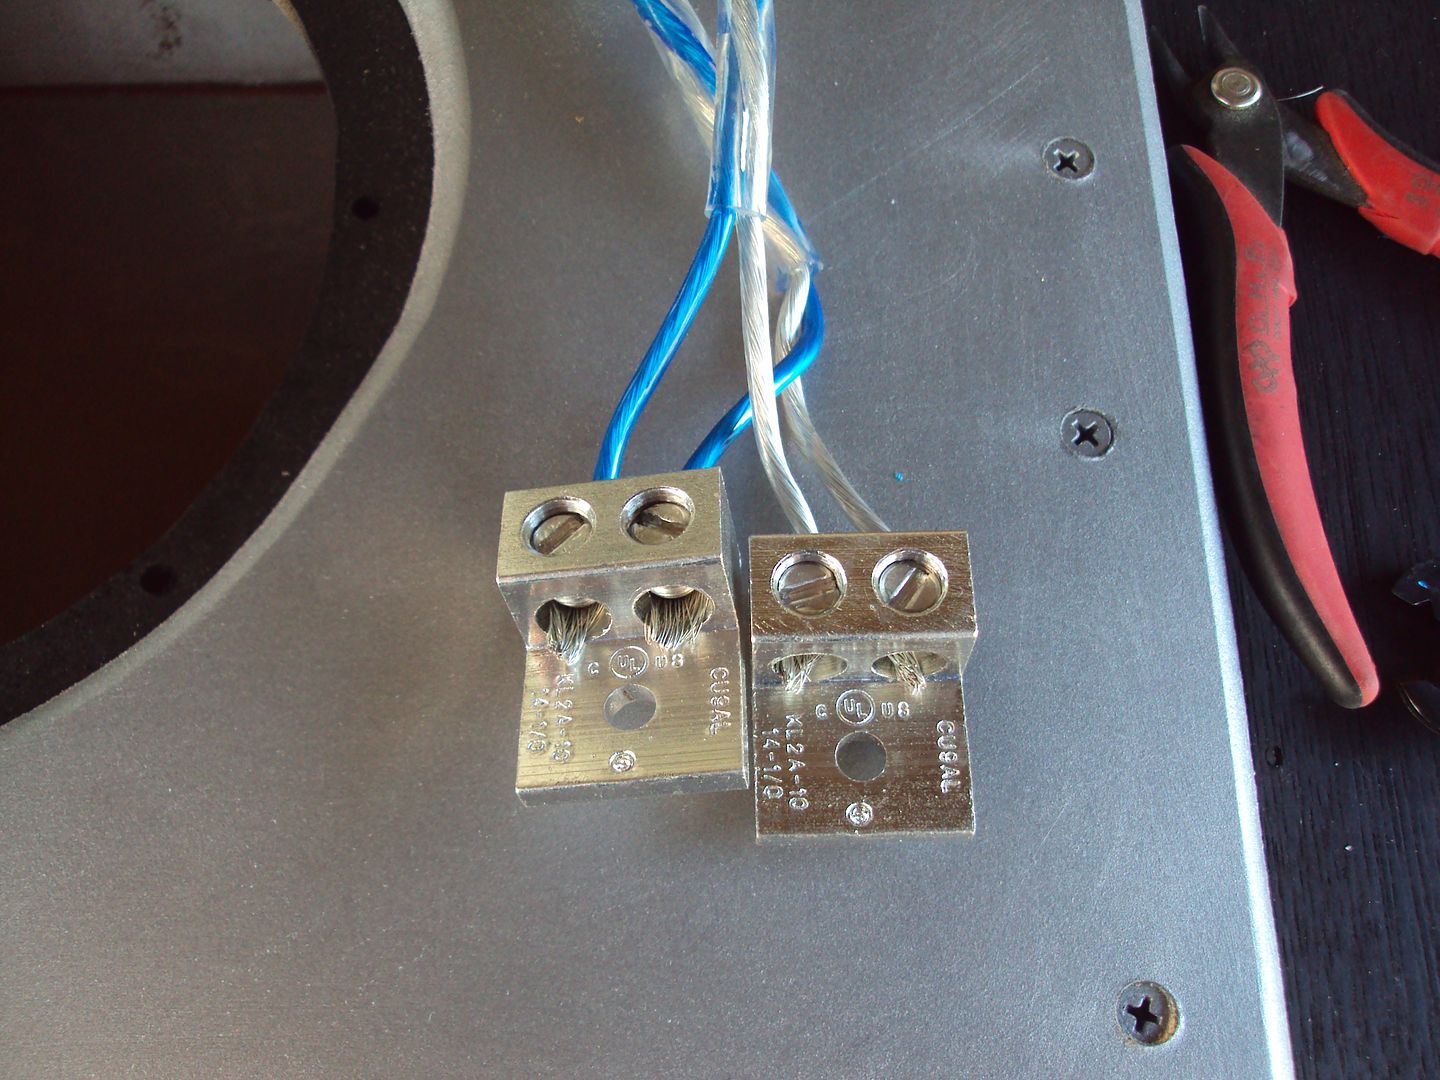
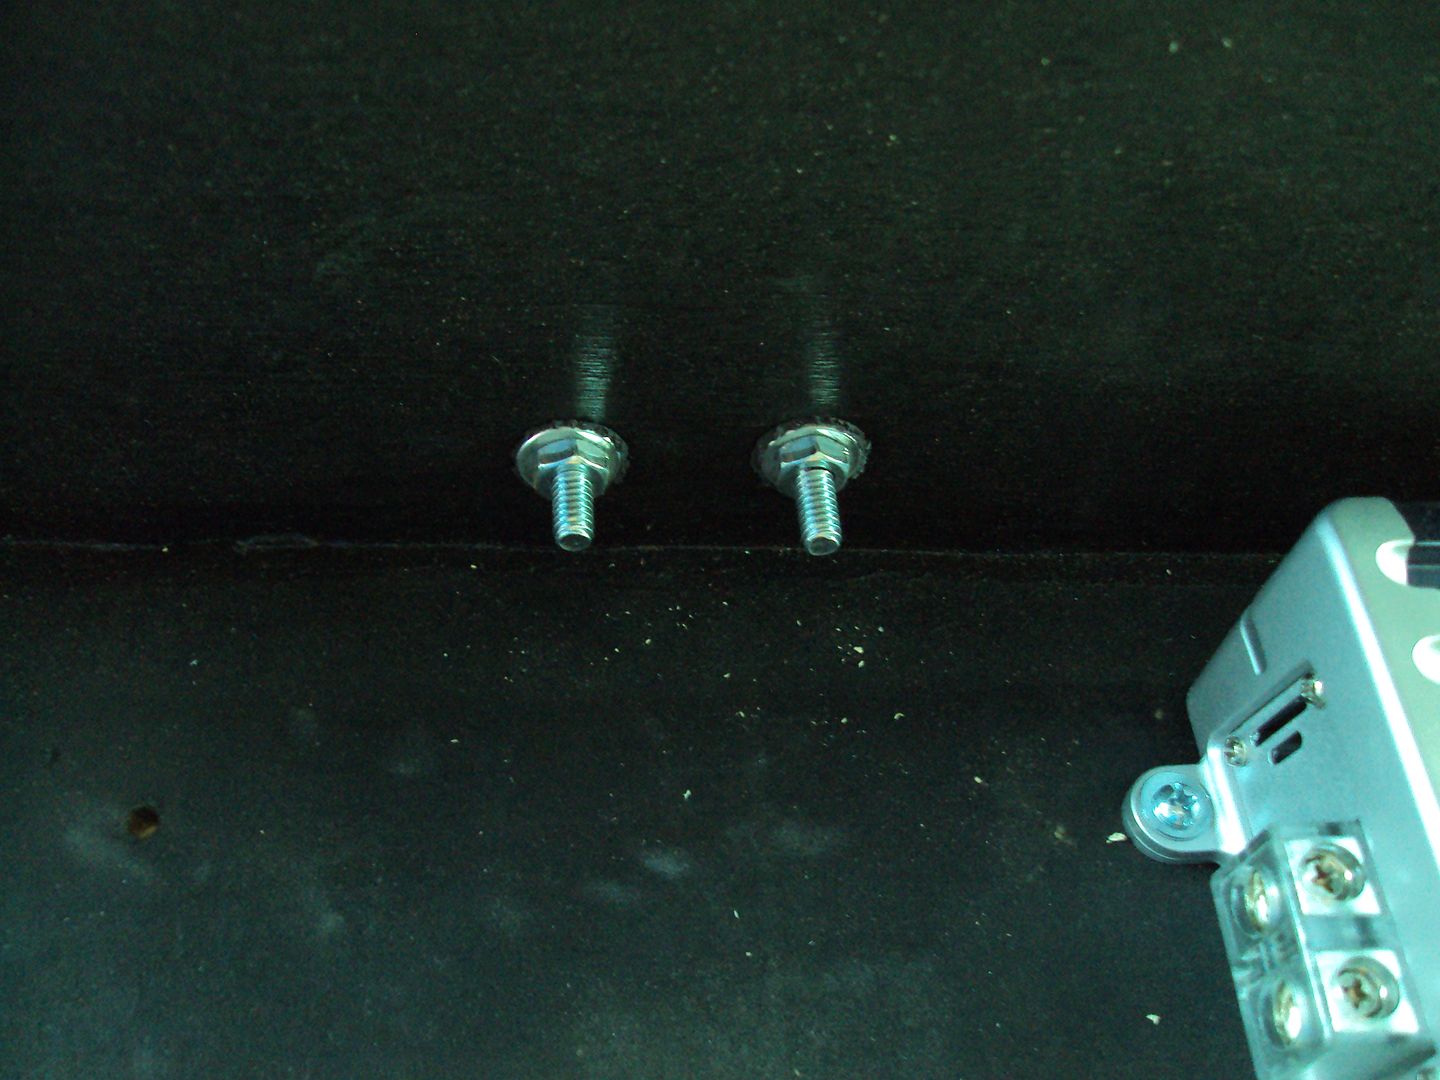
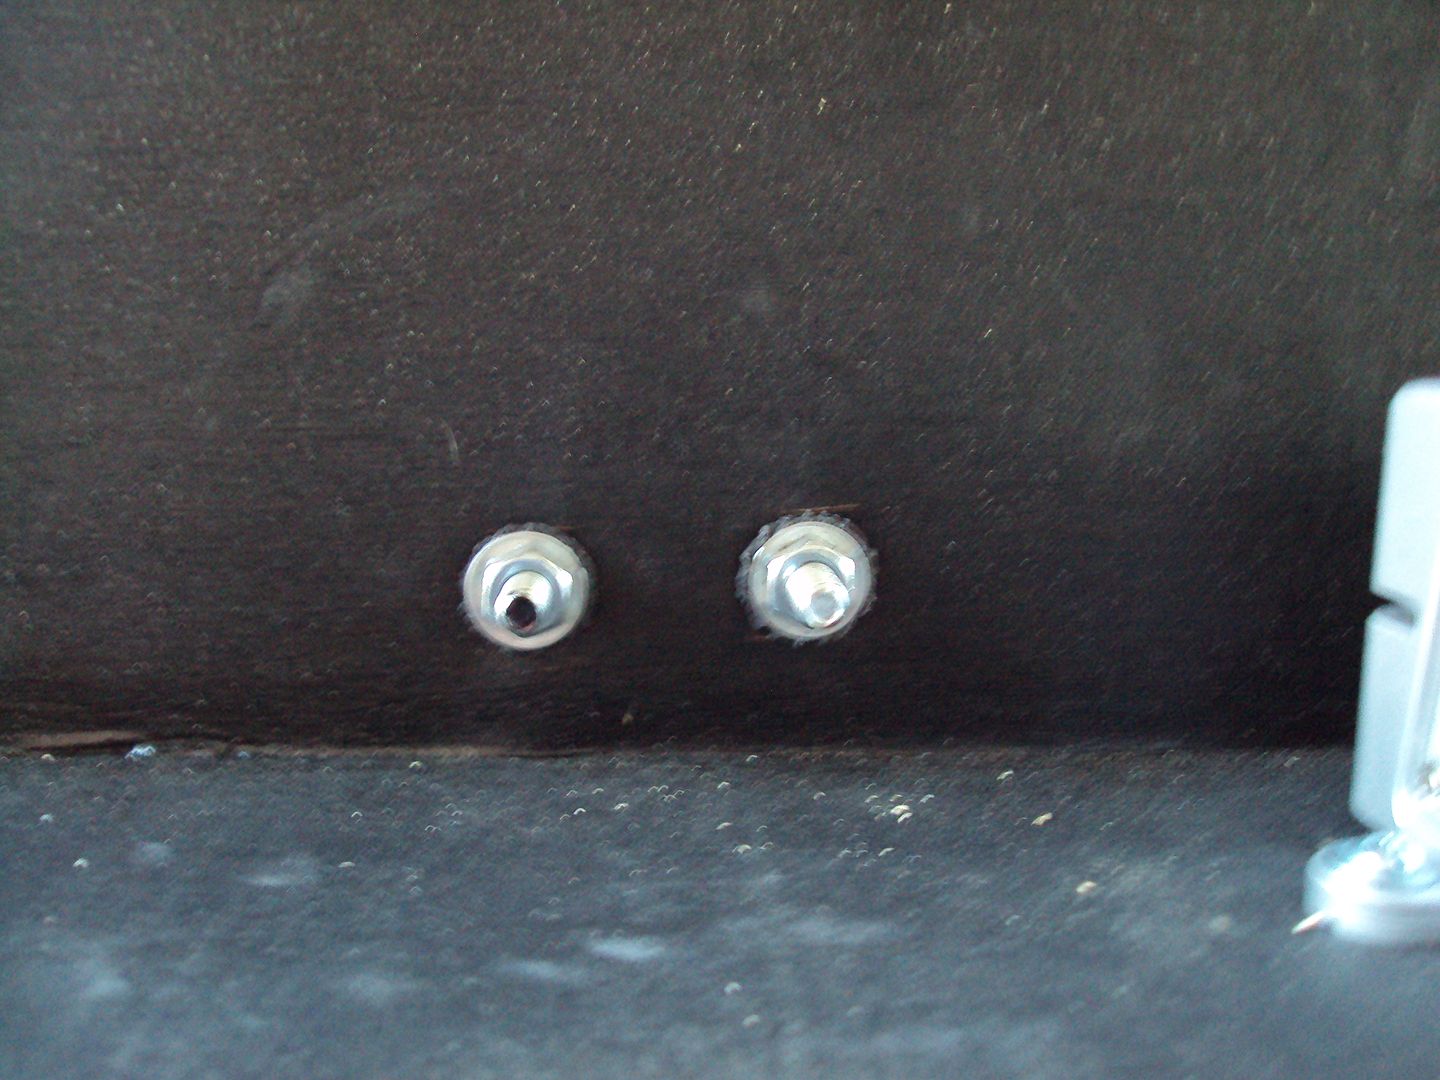
Now let's get em attached. I used some washers with rubber attached to them. This was on the inside and out, to help seal it up.

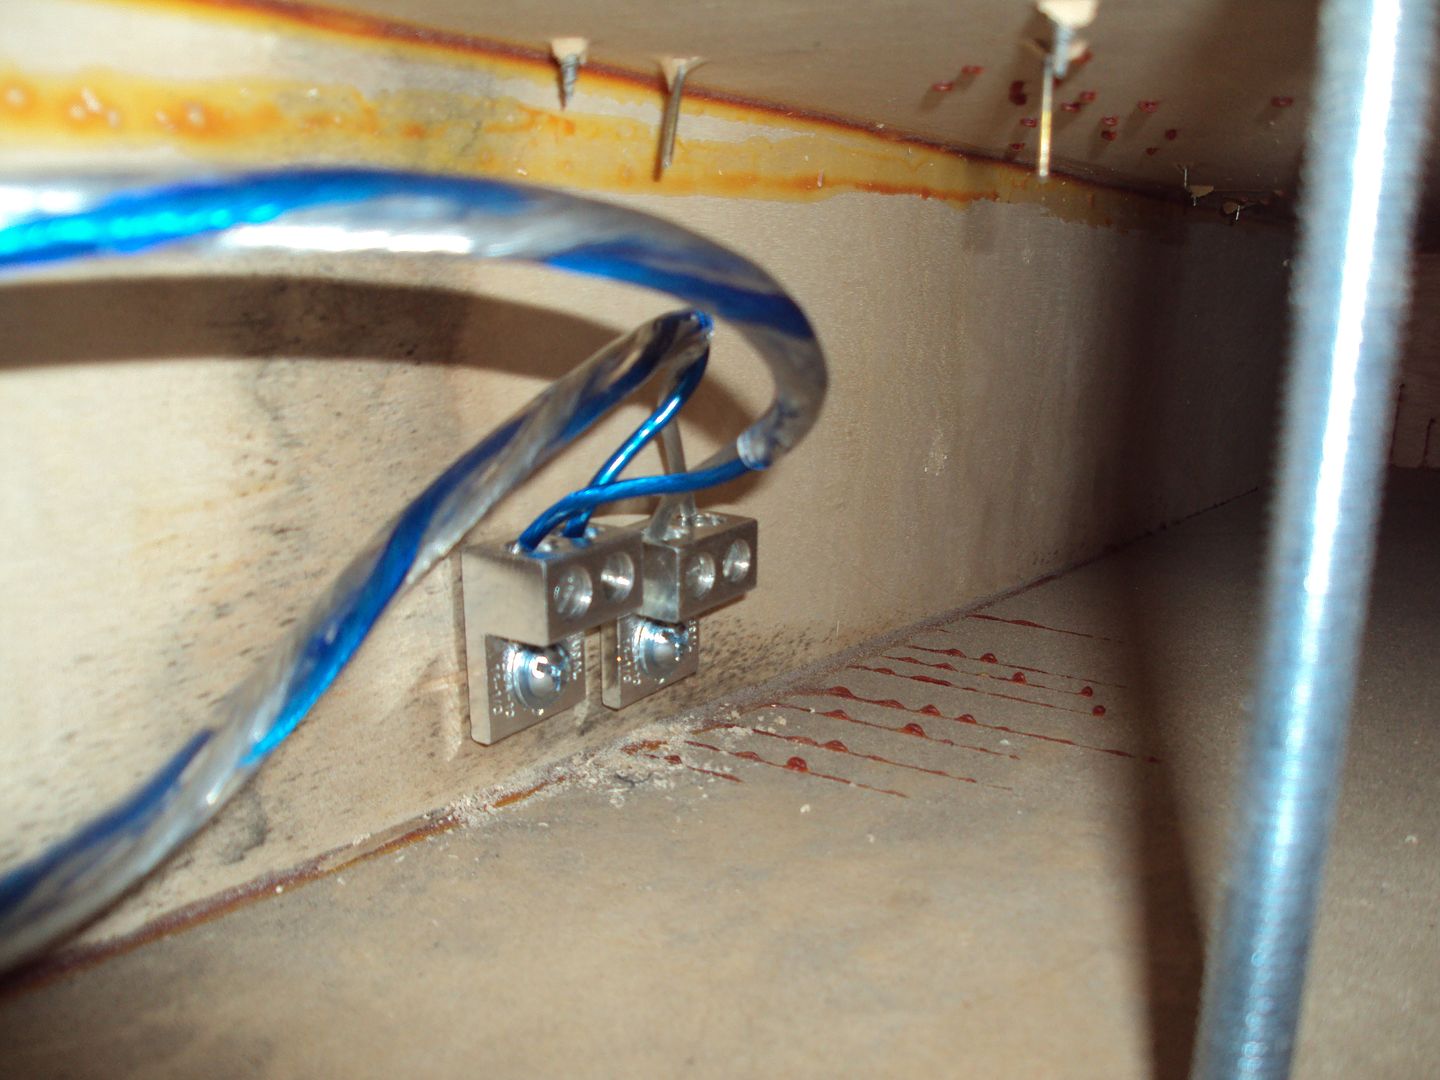
Then I got my pig tail made for the amp.
So I got to wiring them up!
Positive to negative from one coil to the next!
Then positive and negative out.
I found these the other day when getting my hardware, and thought they'd be perfect for this. So I picked them up.
One for positive, and one for negative.
Now let's get em attached. I used some washers with rubber attached to them. This was on the inside and out, to help seal it up.
Then I got my pig tail made for the amp.
#63
07-01-2012, 09:33 PM
Join Date: May 2011
Posts: 339
Likes: 0
Received 0 Likes
on
0 Posts
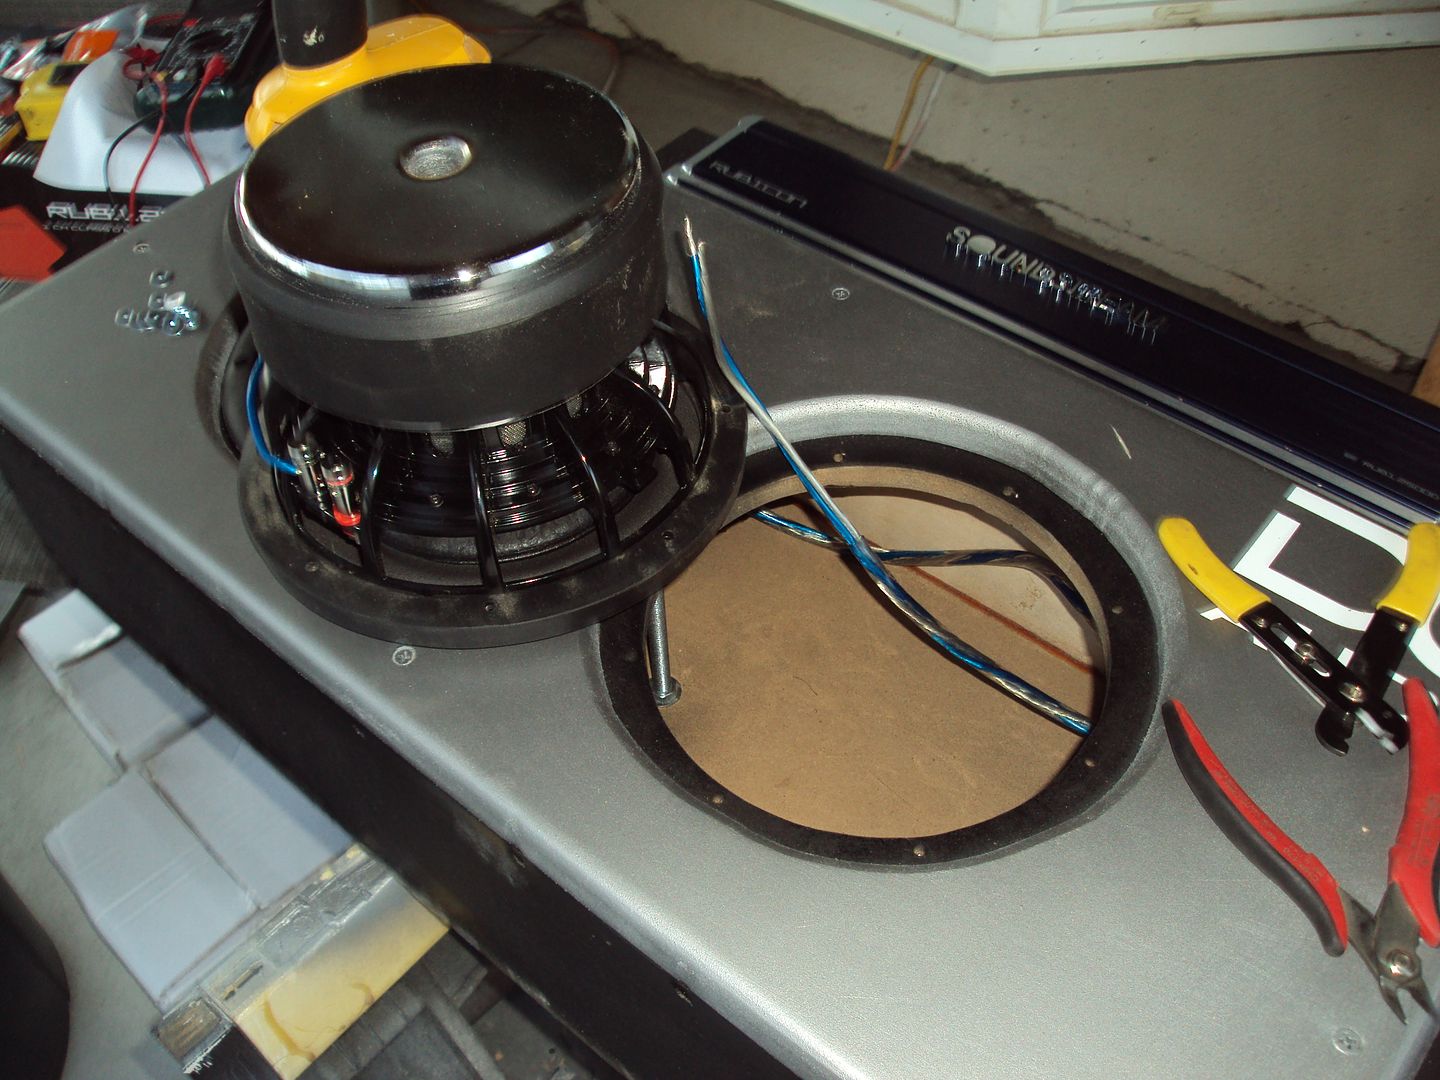
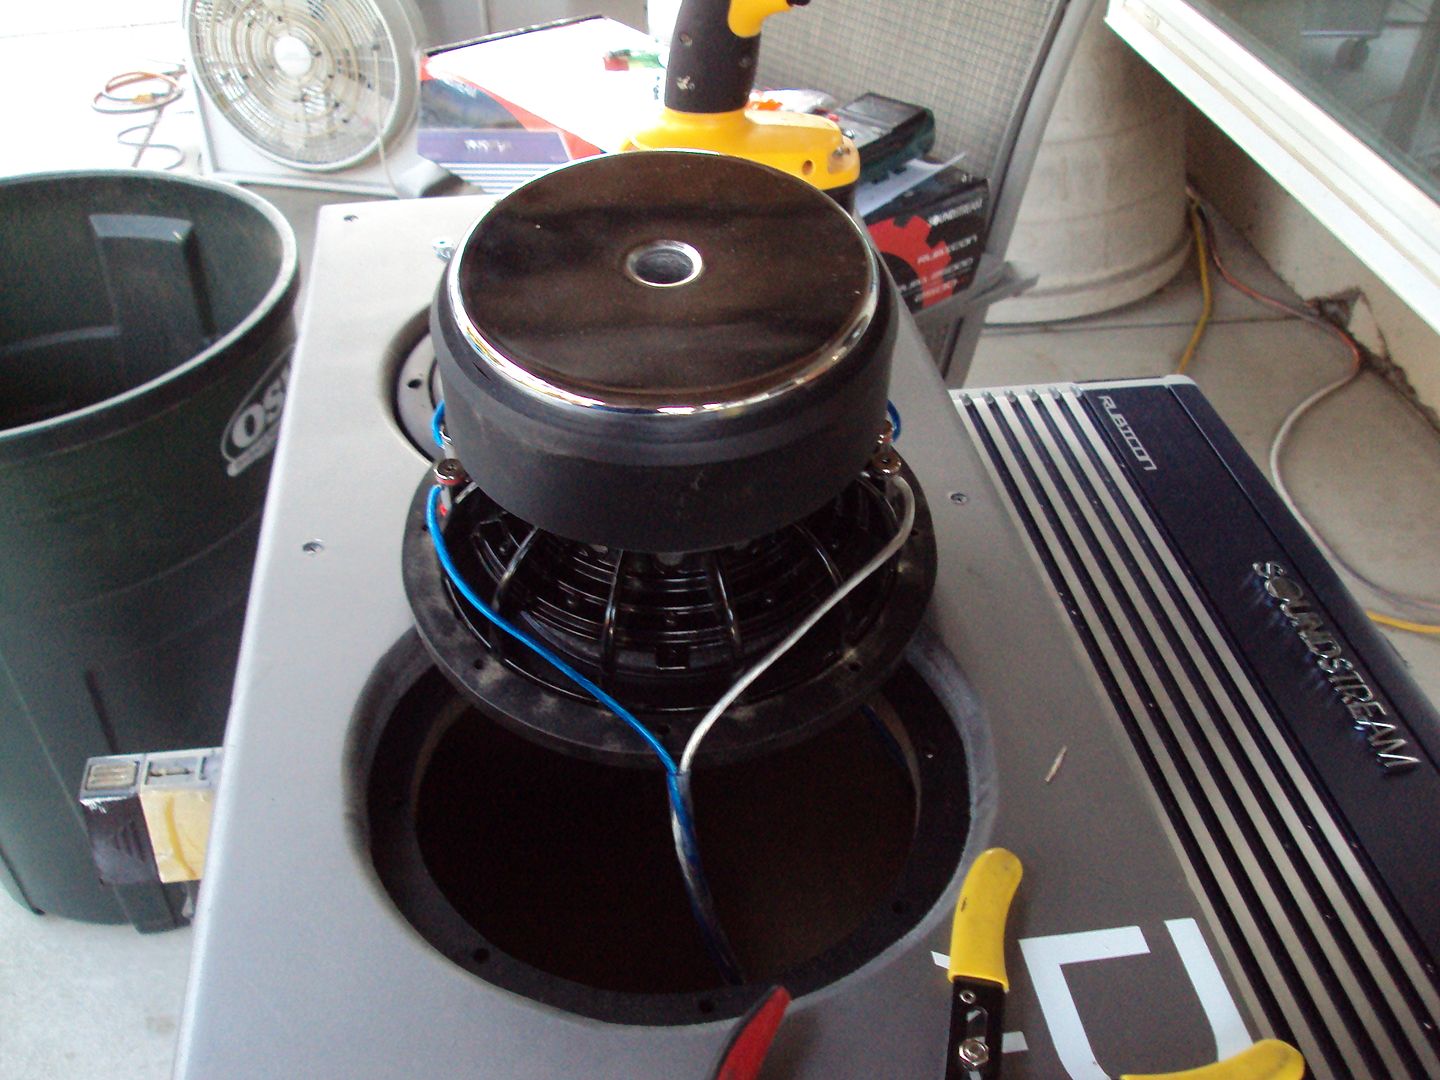
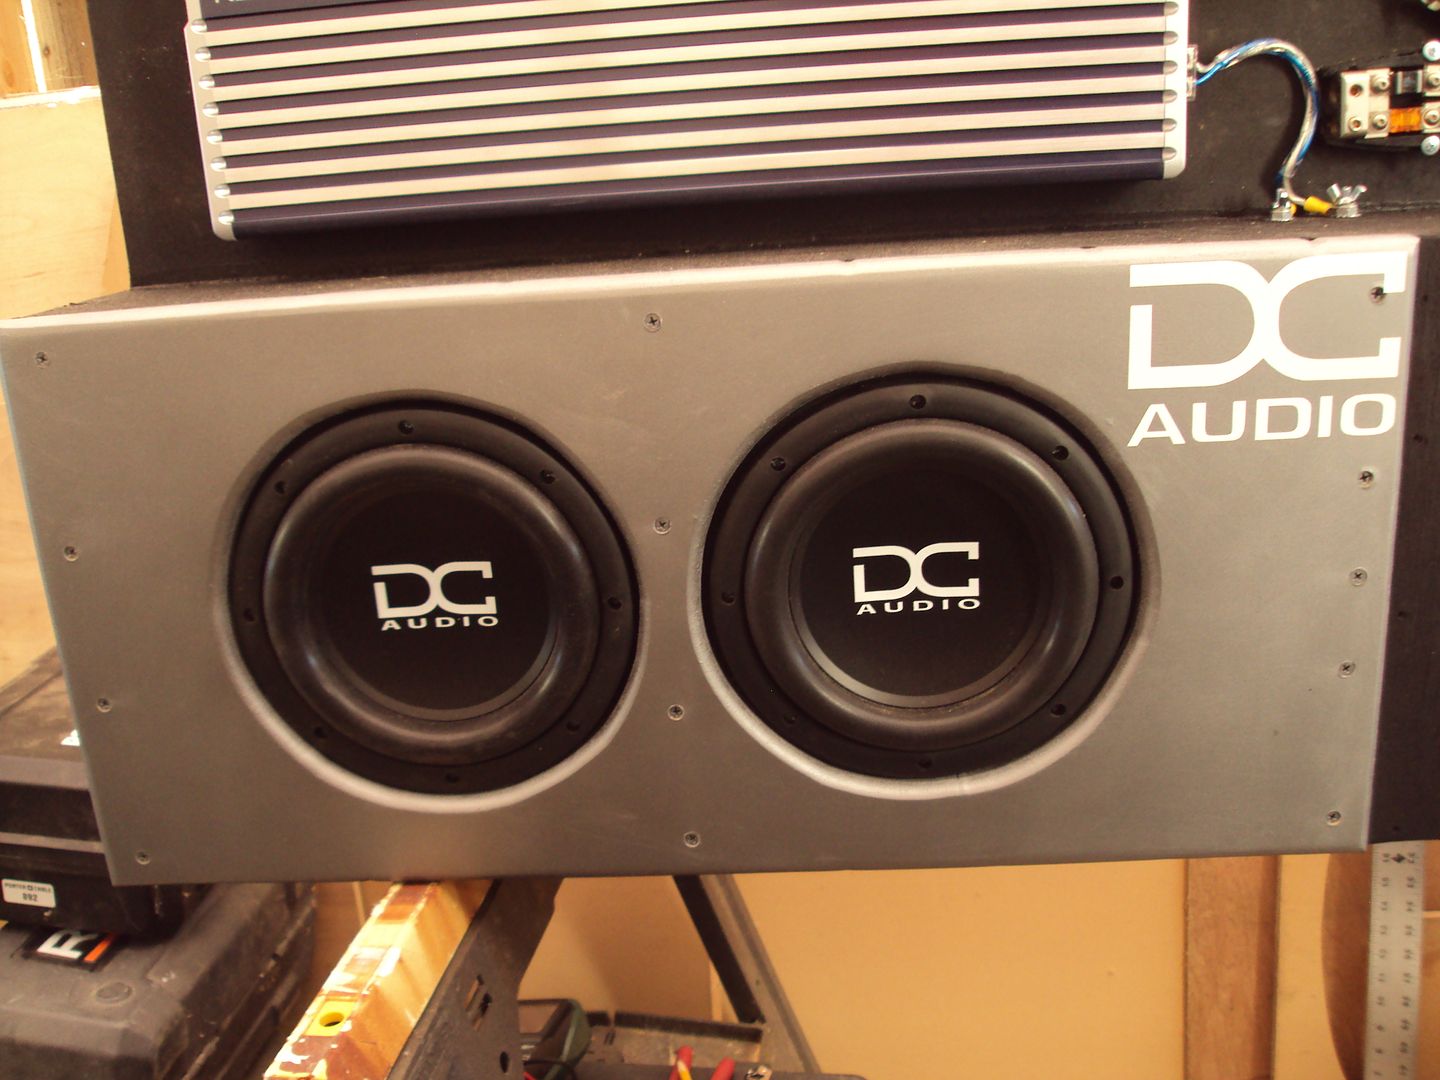
Subs ready to go in. Running out of light as you can see!
Then I kind of panicked when I got these readings. I thought I had dual 4ohm subs, and would get a 4 ohm reading out of this. Turns out I had dual 2ohm subs and that's why I'm getting a 1.8ohm load.
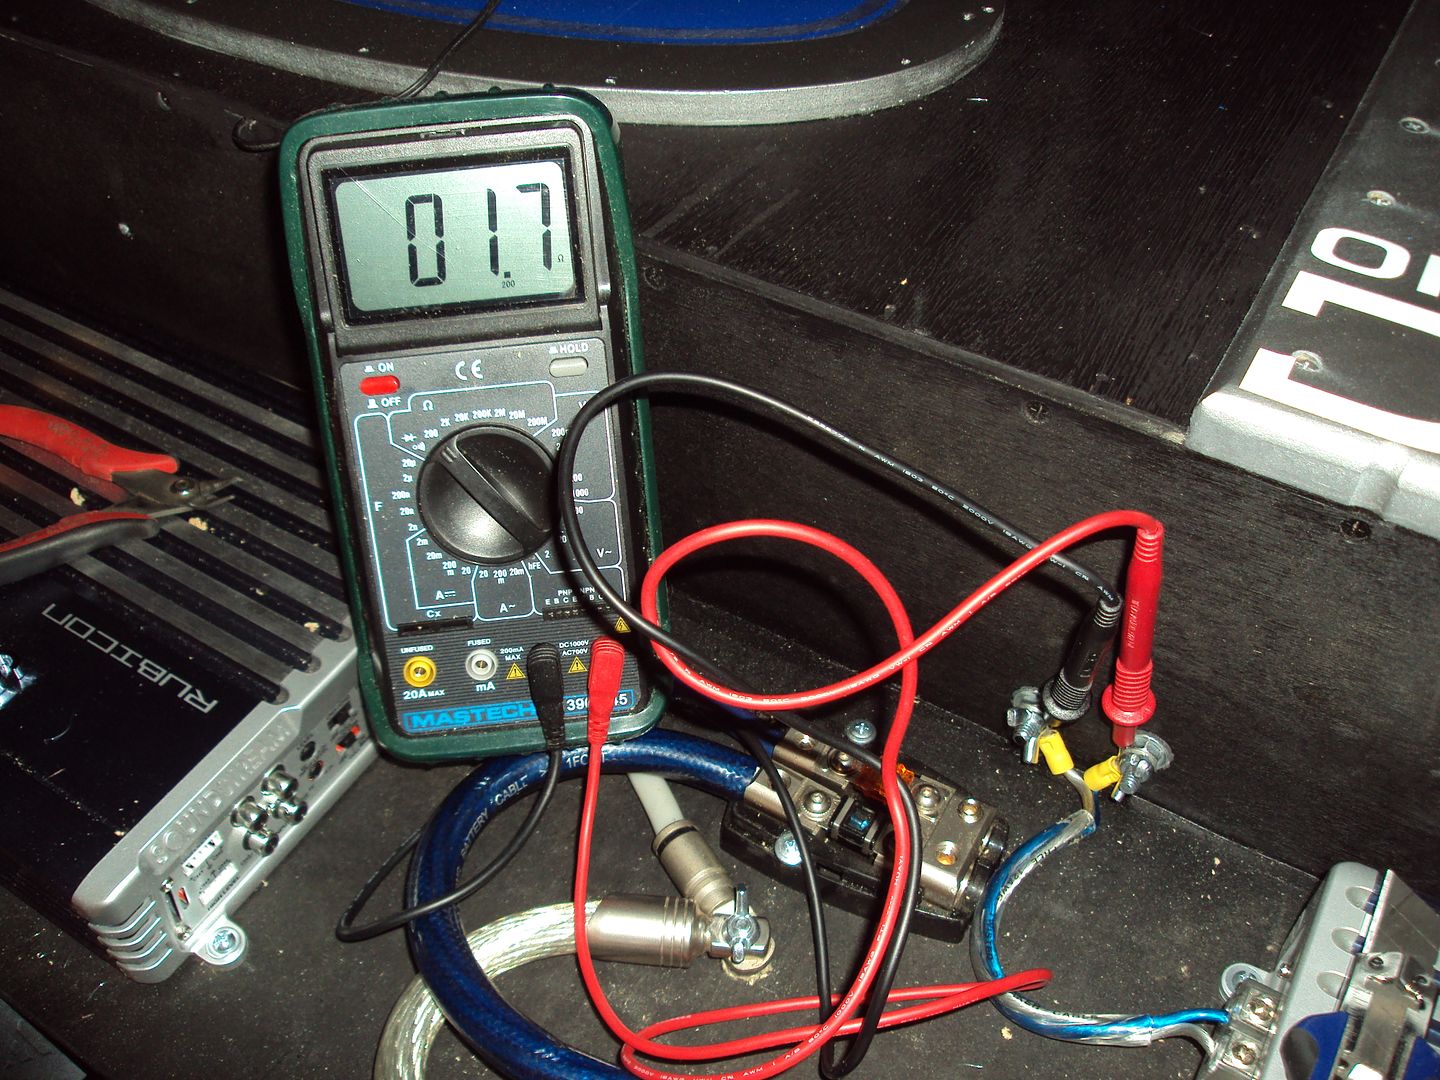
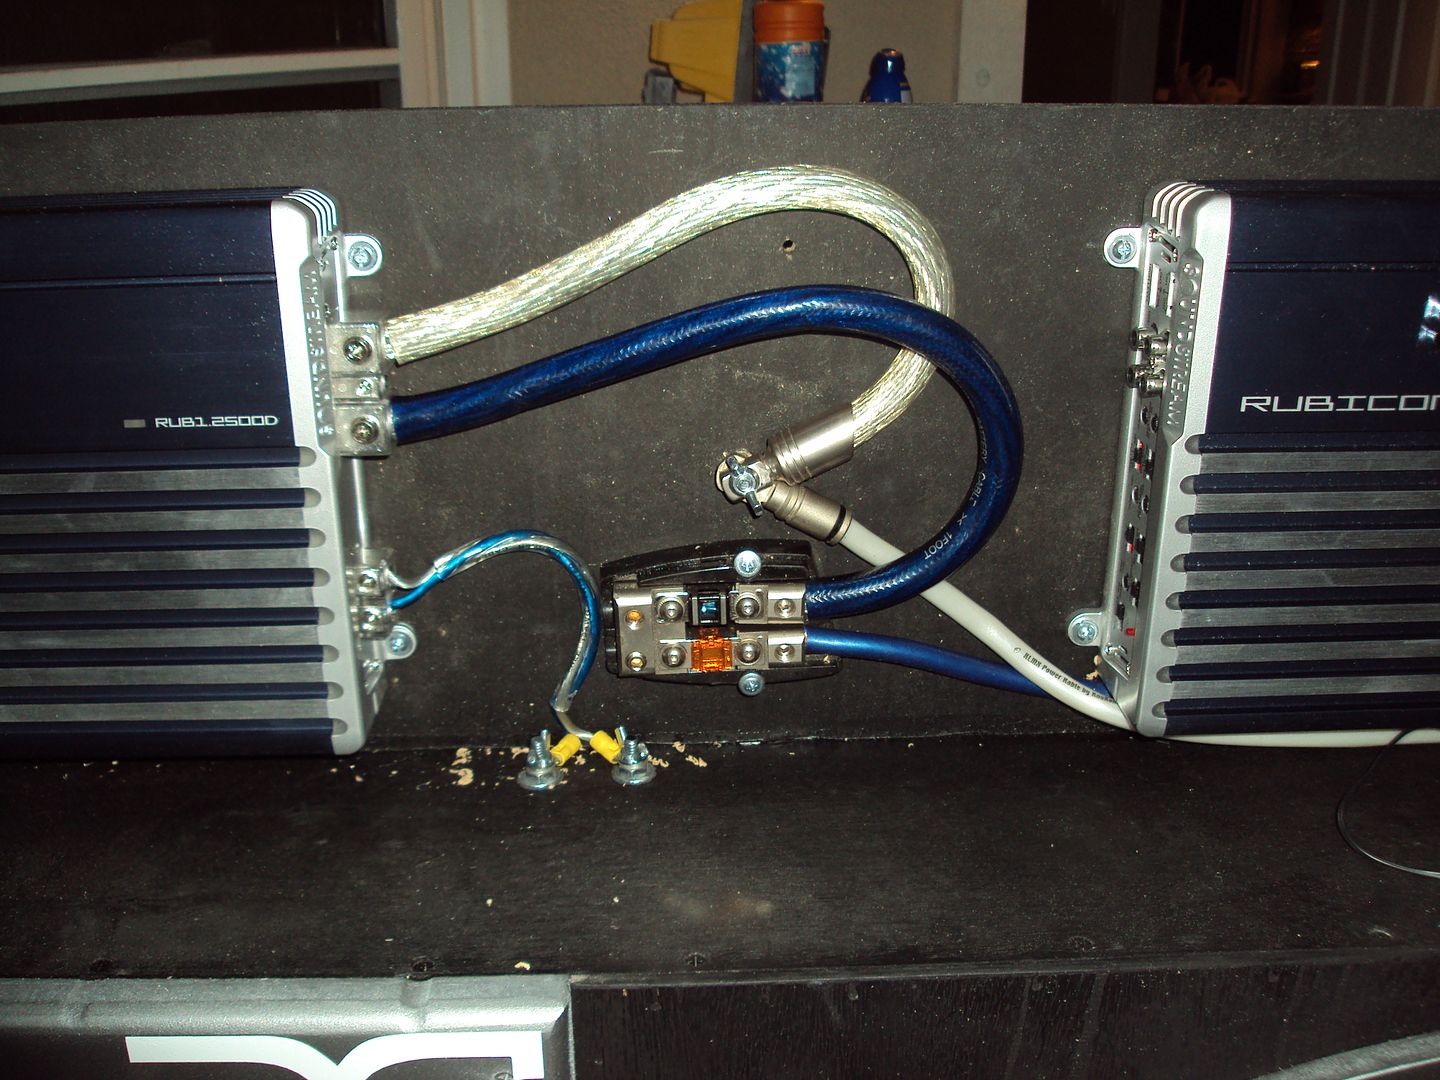
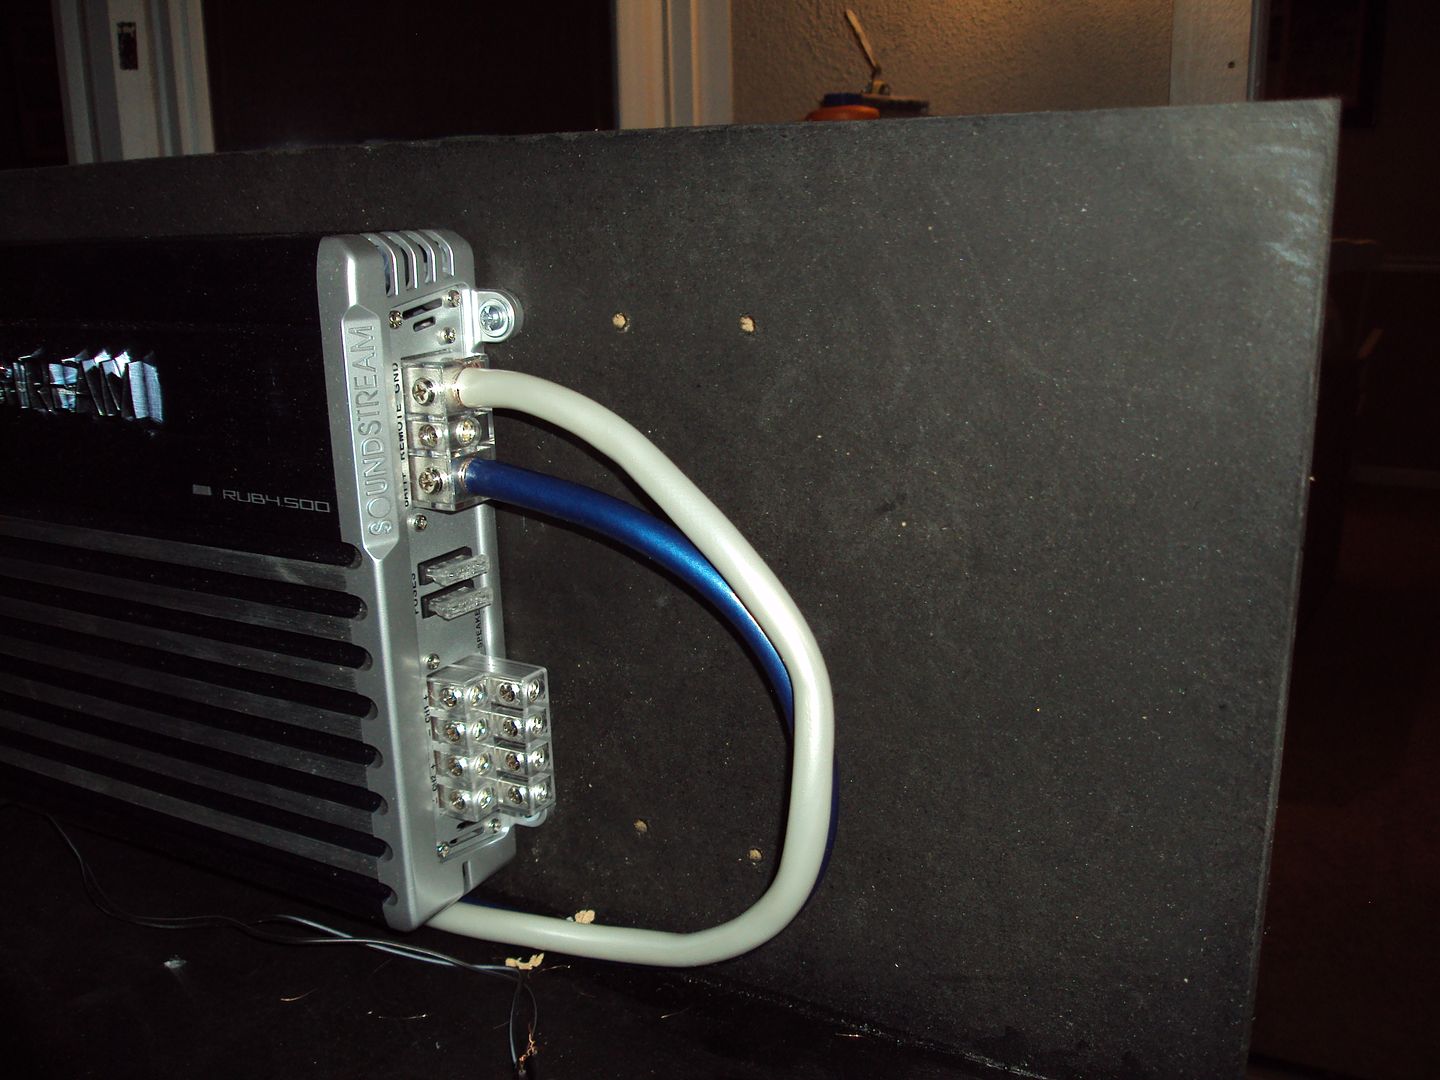
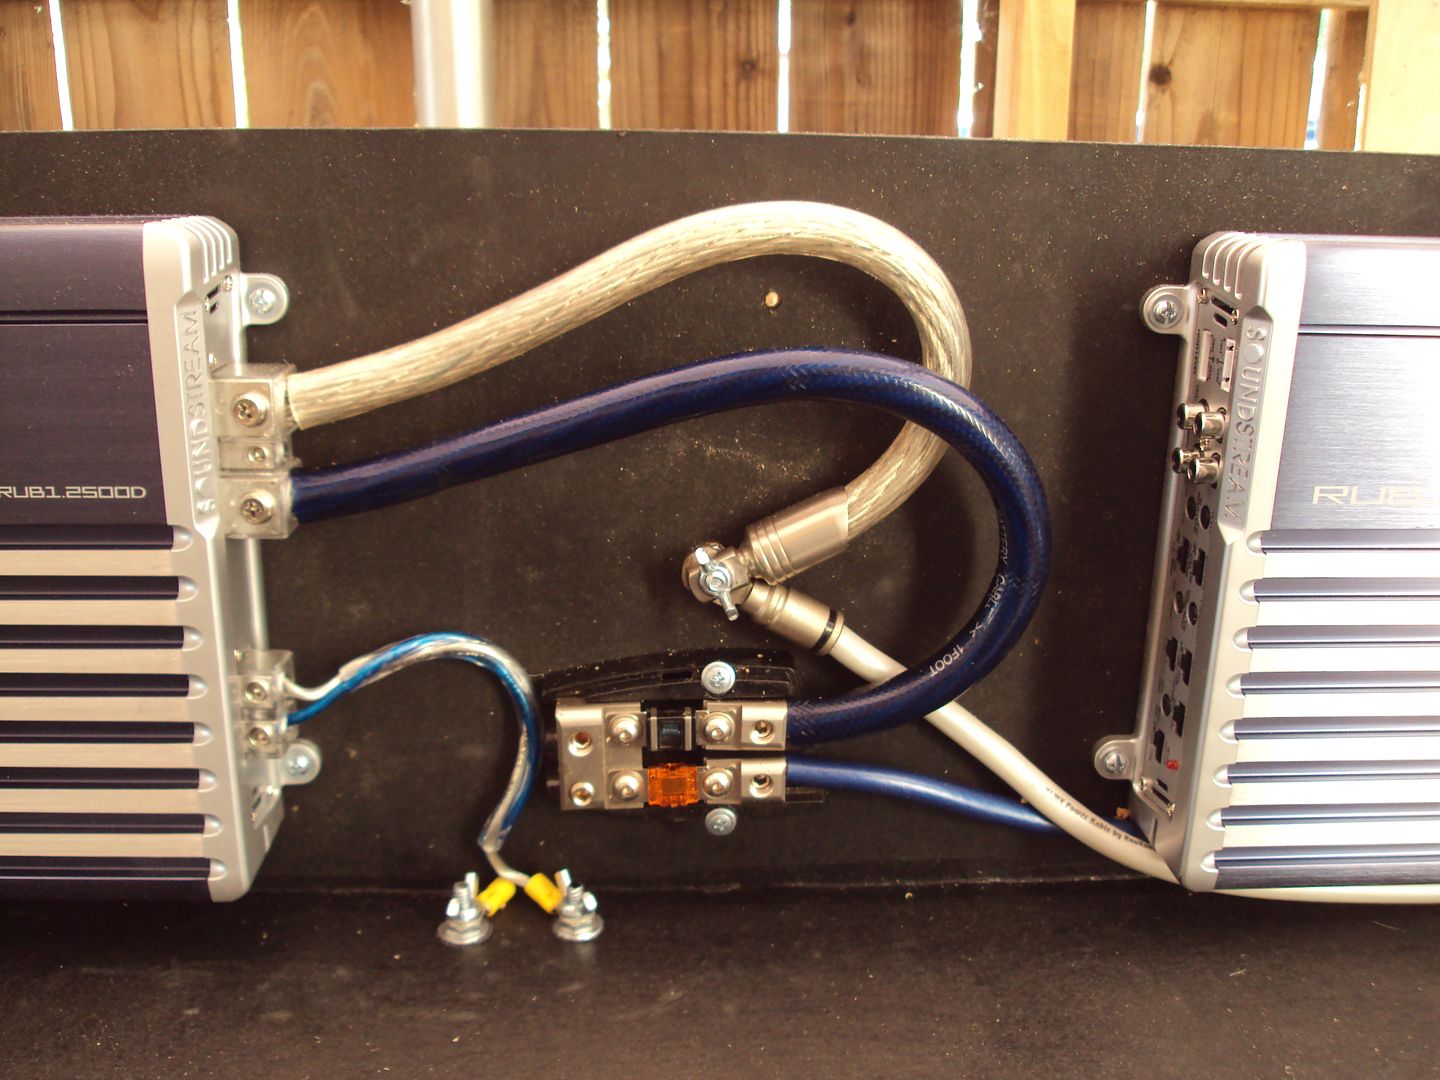
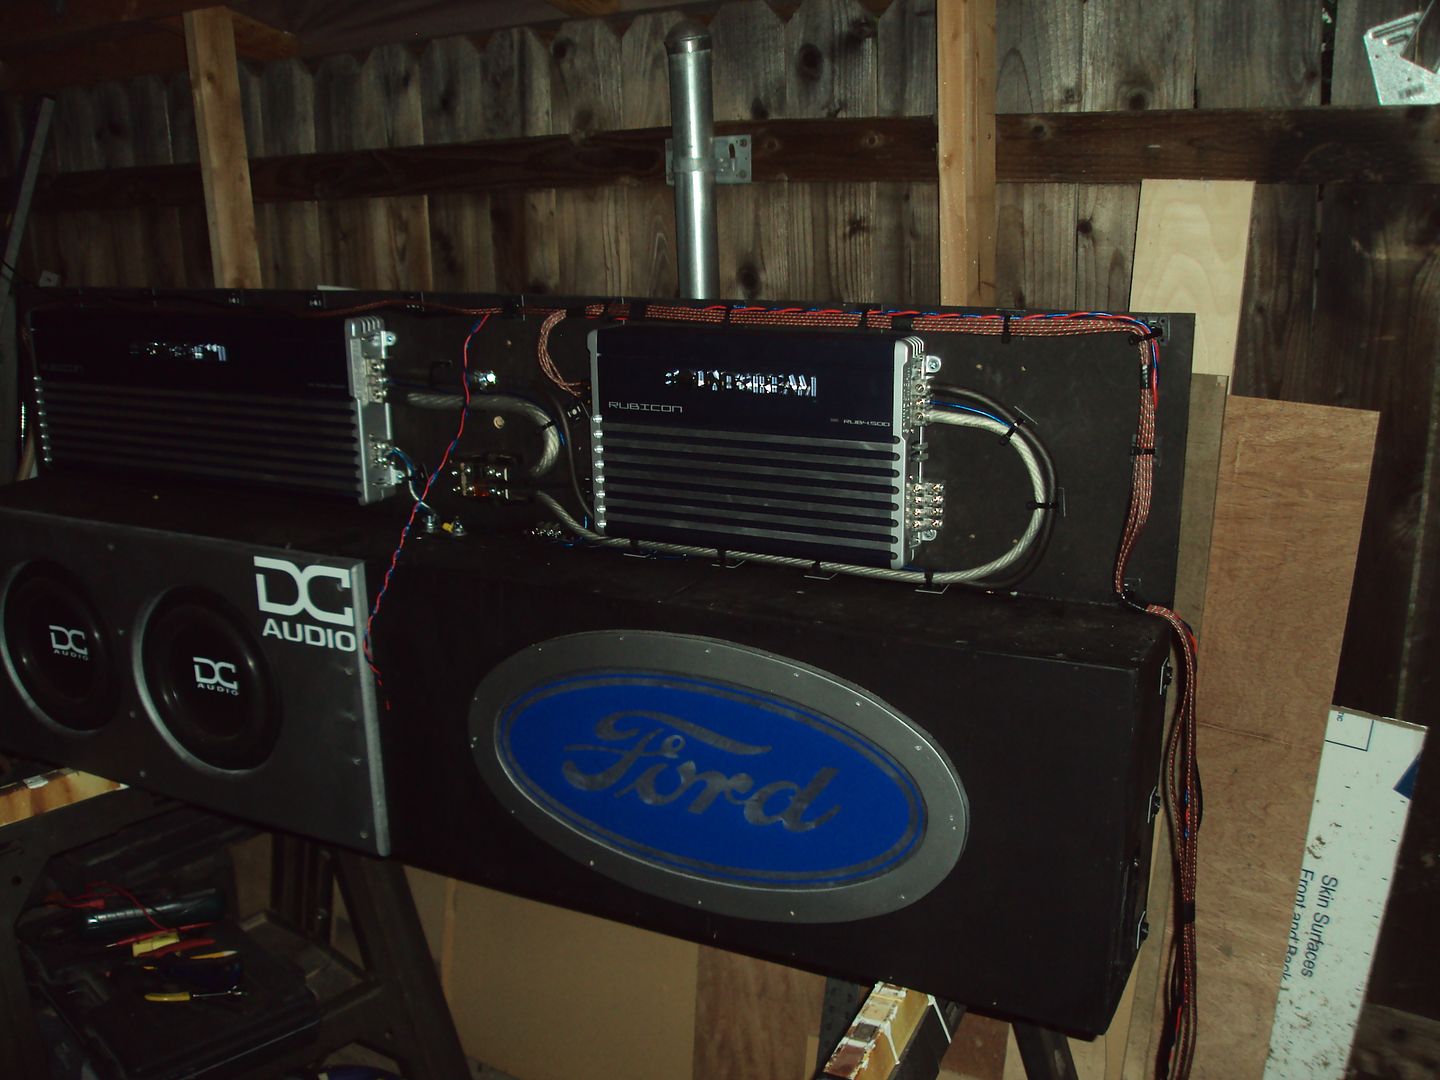
After that light was really pretty much gone. I started to wire up the amps and got about as far as I could until I could see much anymore, even with the porch light. I got the fuse block in, the power wire ran to each amp, and then a bolt for the ground in, and the ground wires to each amp. Also ran the sub pig tail wires.
These were from Friday night. Kind of dark, and not the greatest pics.
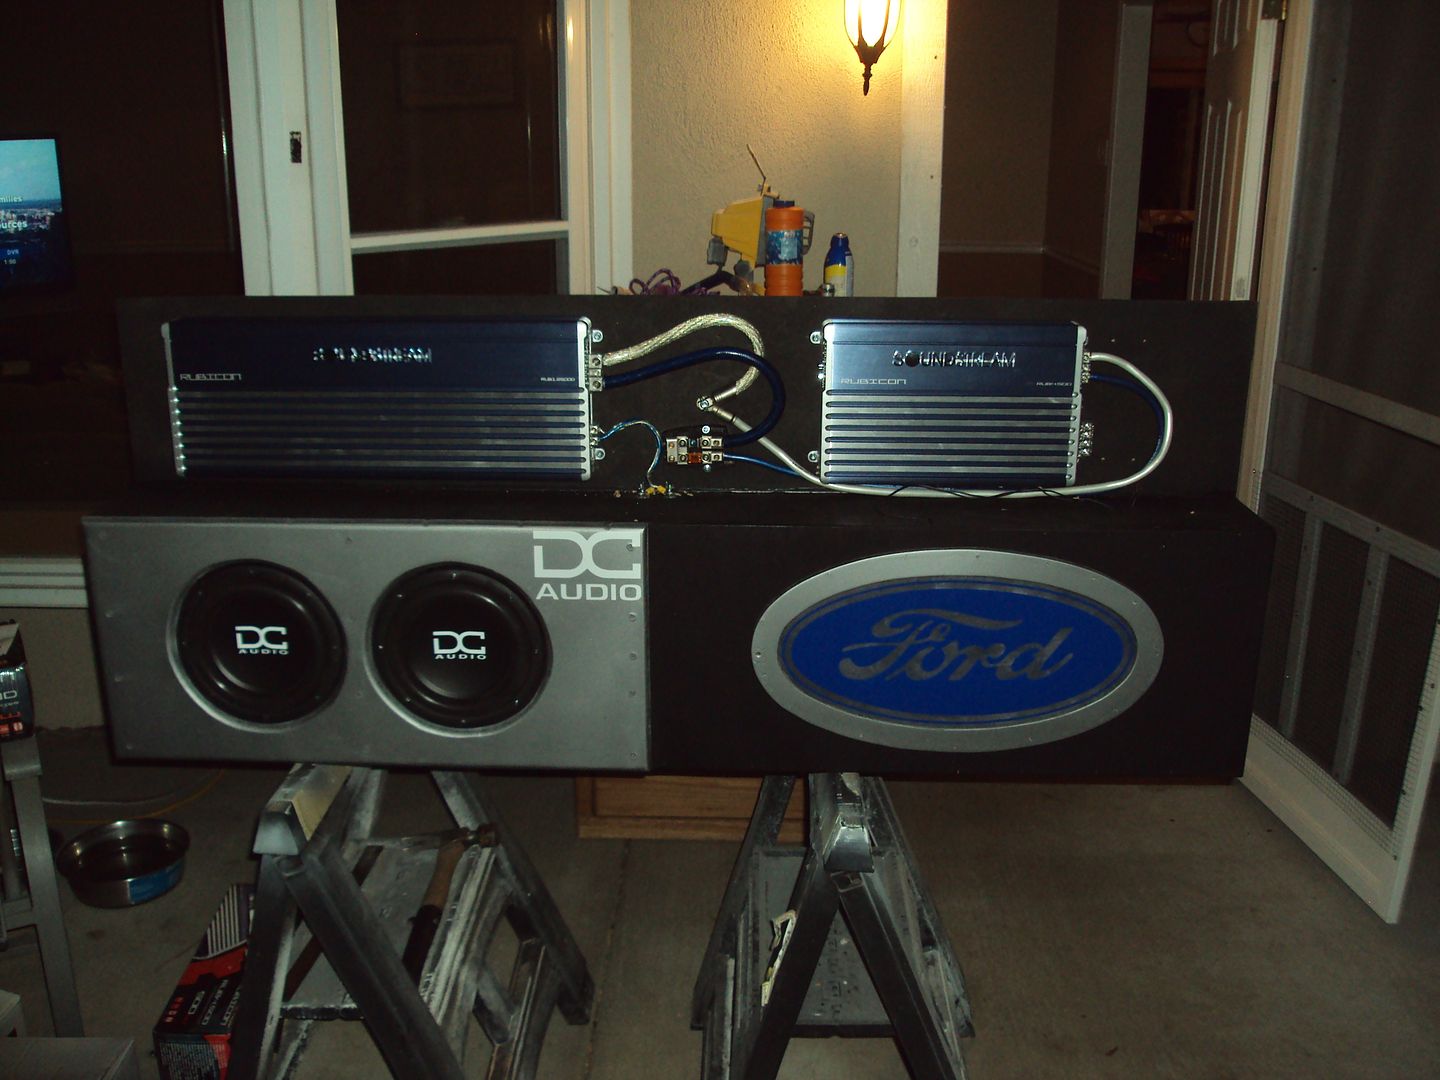
Then I decided to get a couple more today to see a little better.
Sexy subs
Then I kind of panicked when I got these readings. I thought I had dual 4ohm subs, and would get a 4 ohm reading out of this. Turns out I had dual 2ohm subs and that's why I'm getting a 1.8ohm load.
After that light was really pretty much gone. I started to wire up the amps and got about as far as I could until I could see much anymore, even with the porch light. I got the fuse block in, the power wire ran to each amp, and then a bolt for the ground in, and the ground wires to each amp. Also ran the sub pig tail wires.
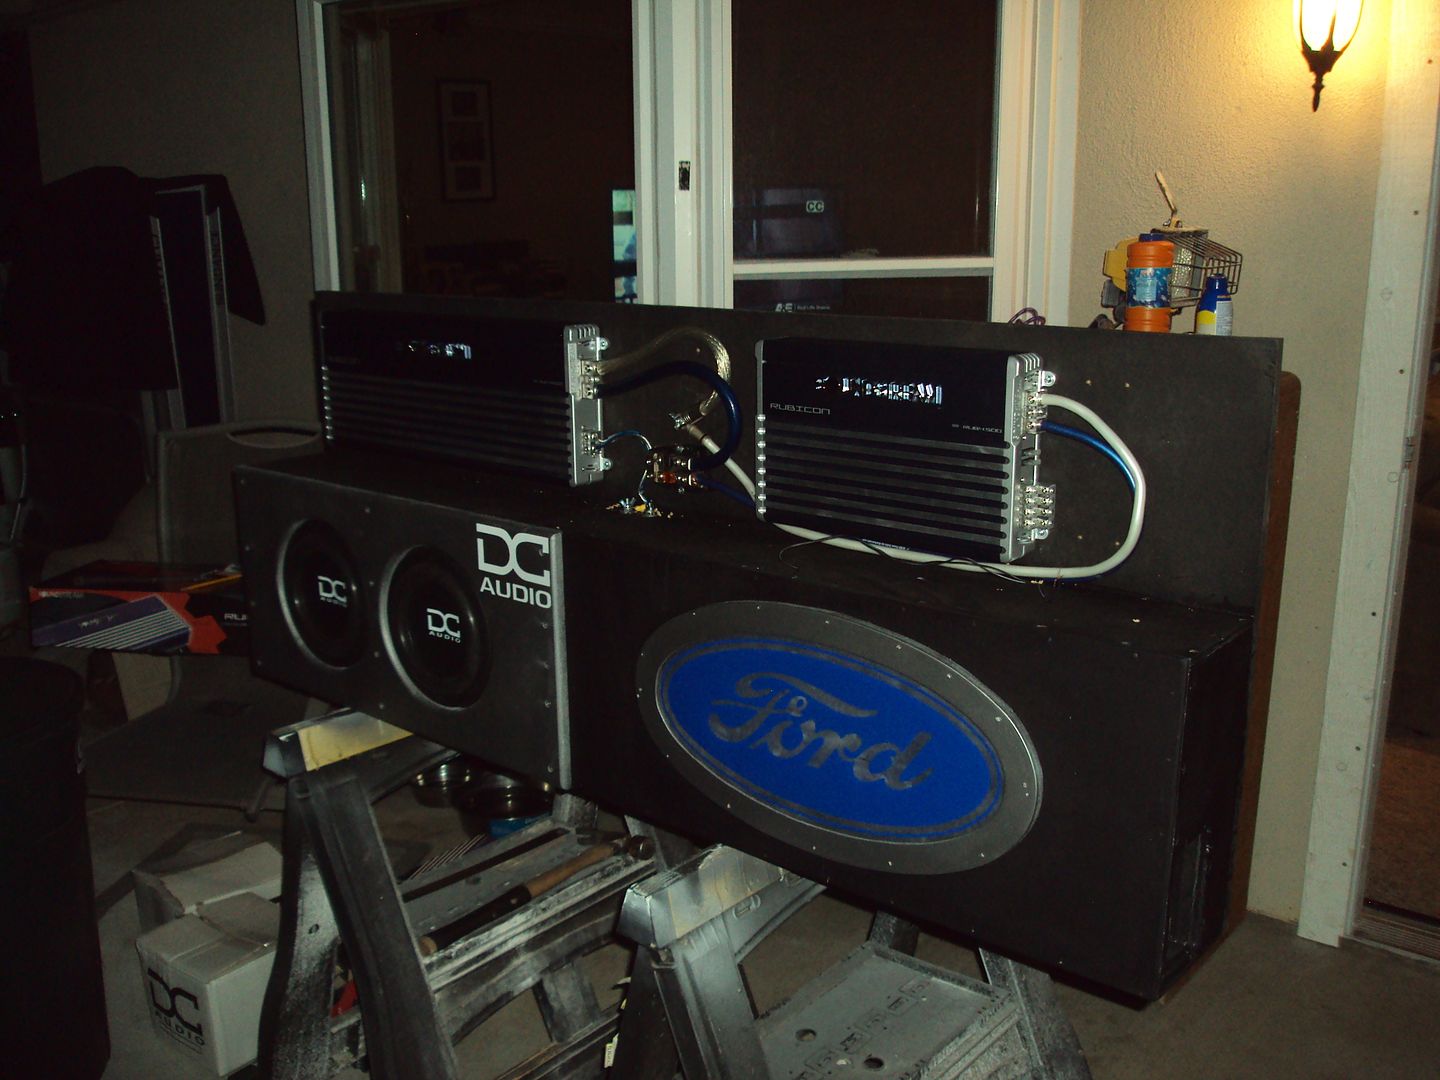
These were from Friday night. Kind of dark, and not the greatest pics.
Then I decided to get a couple more today to see a little better.
Sexy subs
#64
07-01-2012, 09:39 PM
Join Date: May 2011
Posts: 339
Likes: 0
Received 0 Likes
on
0 Posts
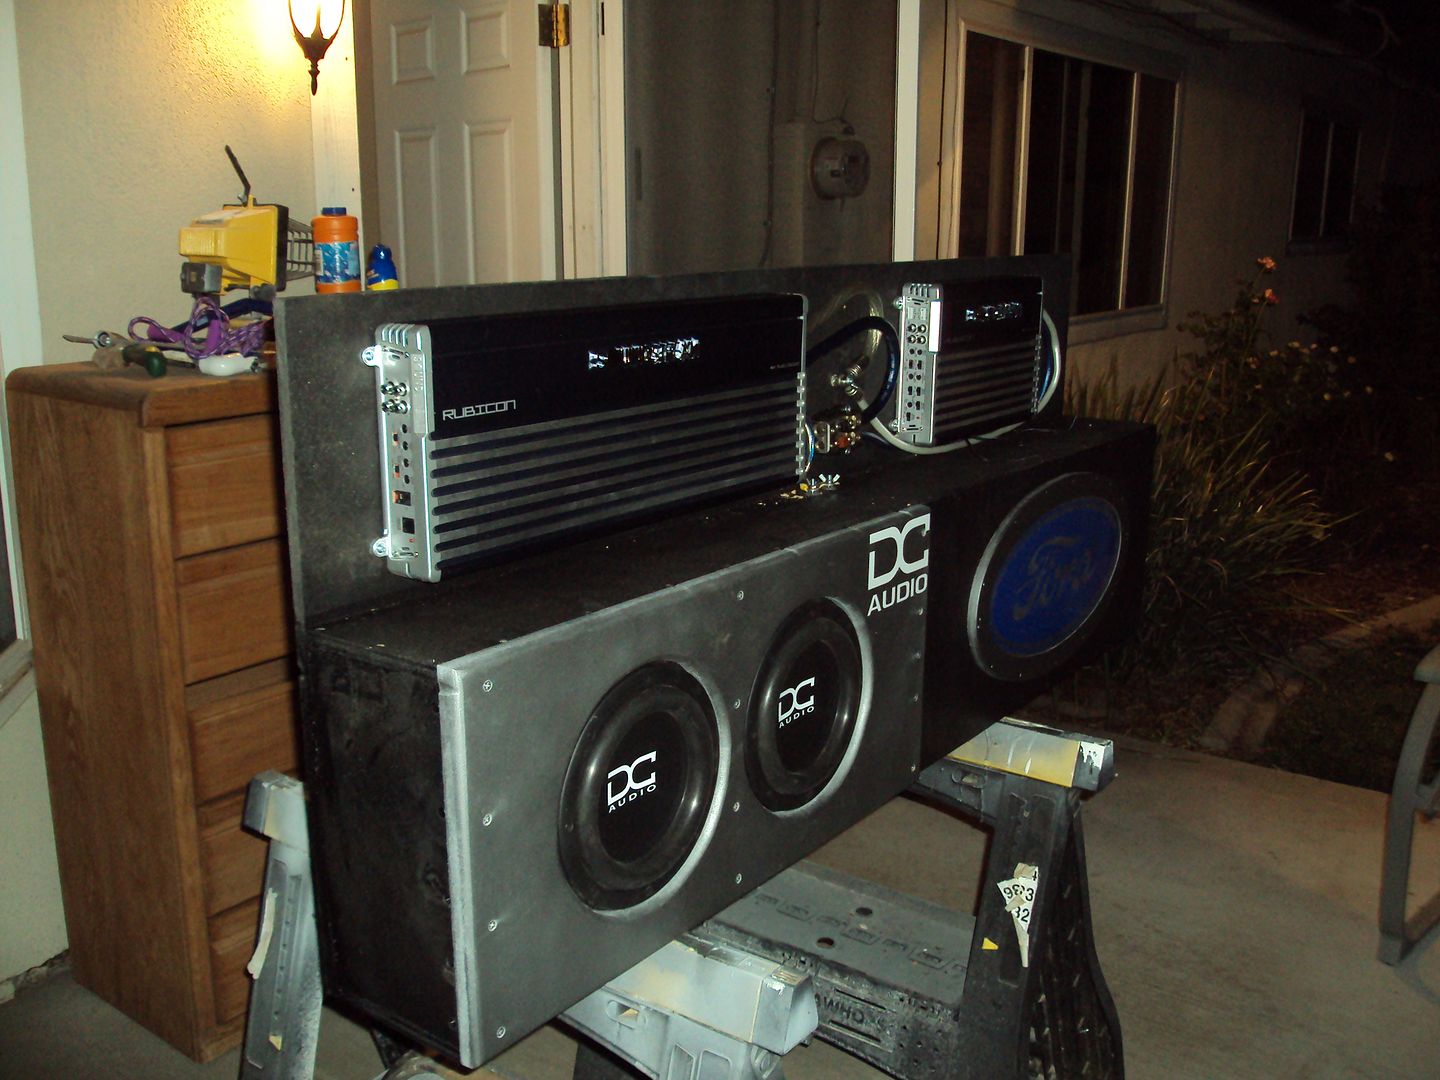
And a little wiring. I used wiring I have here. I didn't want to bust into the new stuff just yet. SO that's why it looks a little miss matched.
Like I said before I have to run the remote wires, the speaker wires, the rca's, power and ground wires and then the head unit swap. Then she should be playing.
I am also thinking I may do a quick trim panel to hide all the wires up. Not sure on a color just yet, but I will most likely do black since the amps will give it some color itself.
So, for now, that's it. Hopefully I'll get some more done this week. Thanks for checking it out.
#65
07-05-2012, 12:53 PM
Join Date: May 2011
Posts: 339
Likes: 0
Received 0 Likes
on
0 Posts
Ok so I didn't get a ton done yesterday or Tuesday night, but I was able to get some done and be a bit happier with the project. What did I do you may be asking. Well I basically stripped it out and rewired it. Considering this is my only project now, there's no sense in trying to miss match all the wiring and wire with scraps. Most of the main wiring will stay, with exception of the few short runs on the amp rack itself. So I started doing that Tuesday night and got mostly done by last night.
Didn't have all day yesterday to work on it as I wanted to, but I had a few hours and I used that time the best as I could. Let's get started.
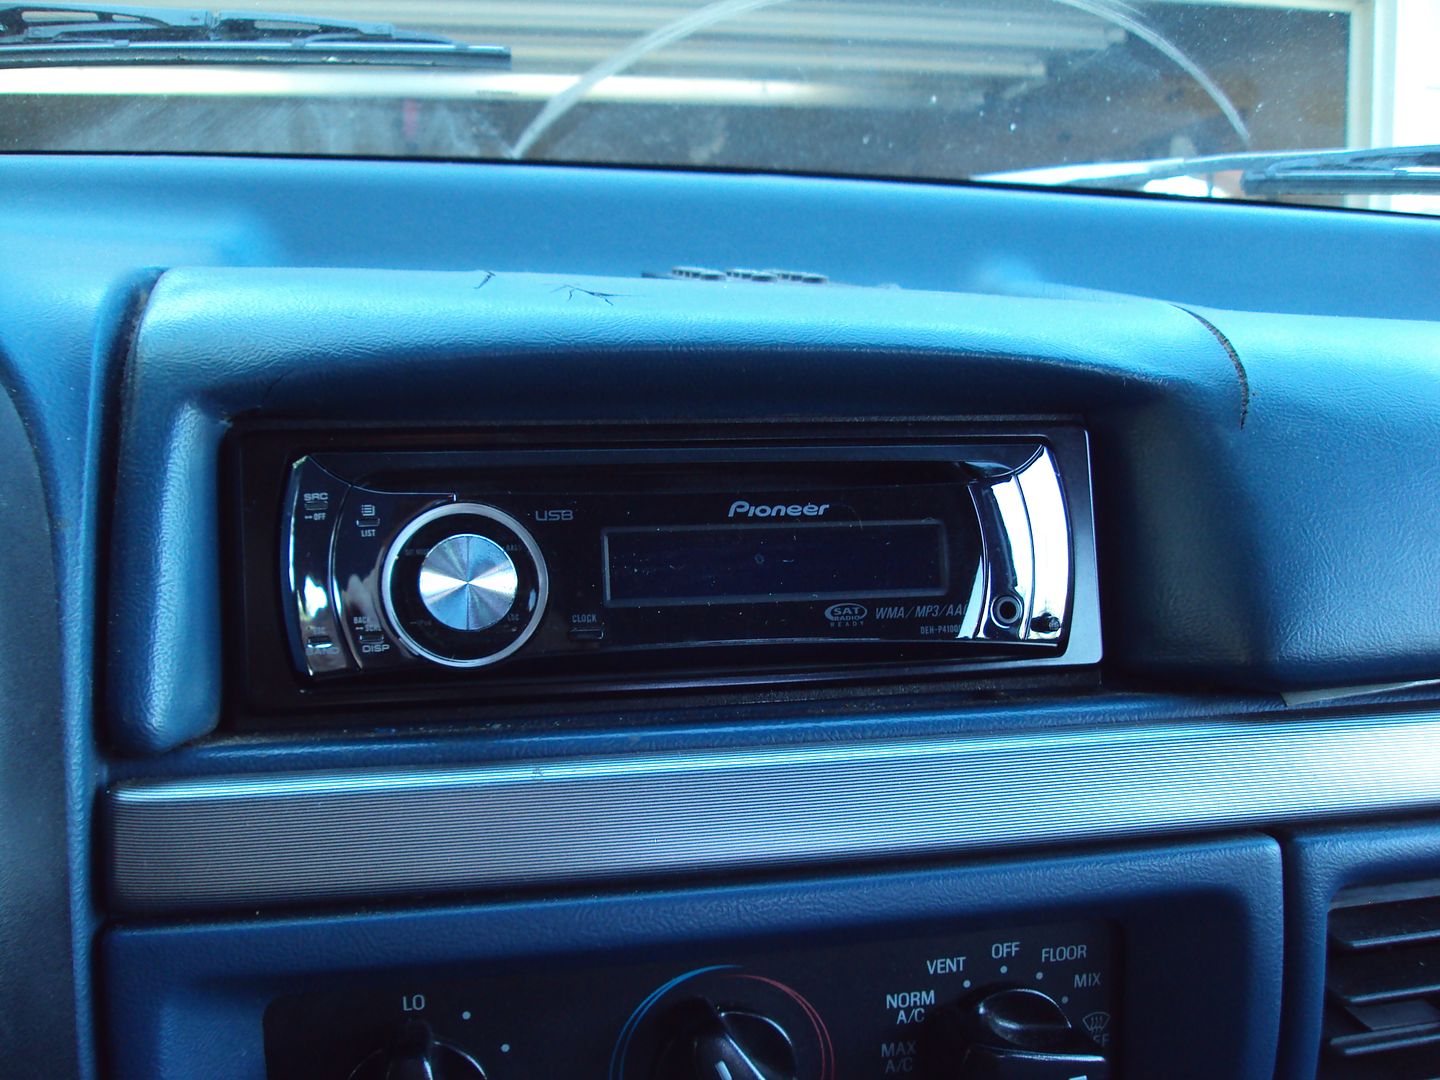
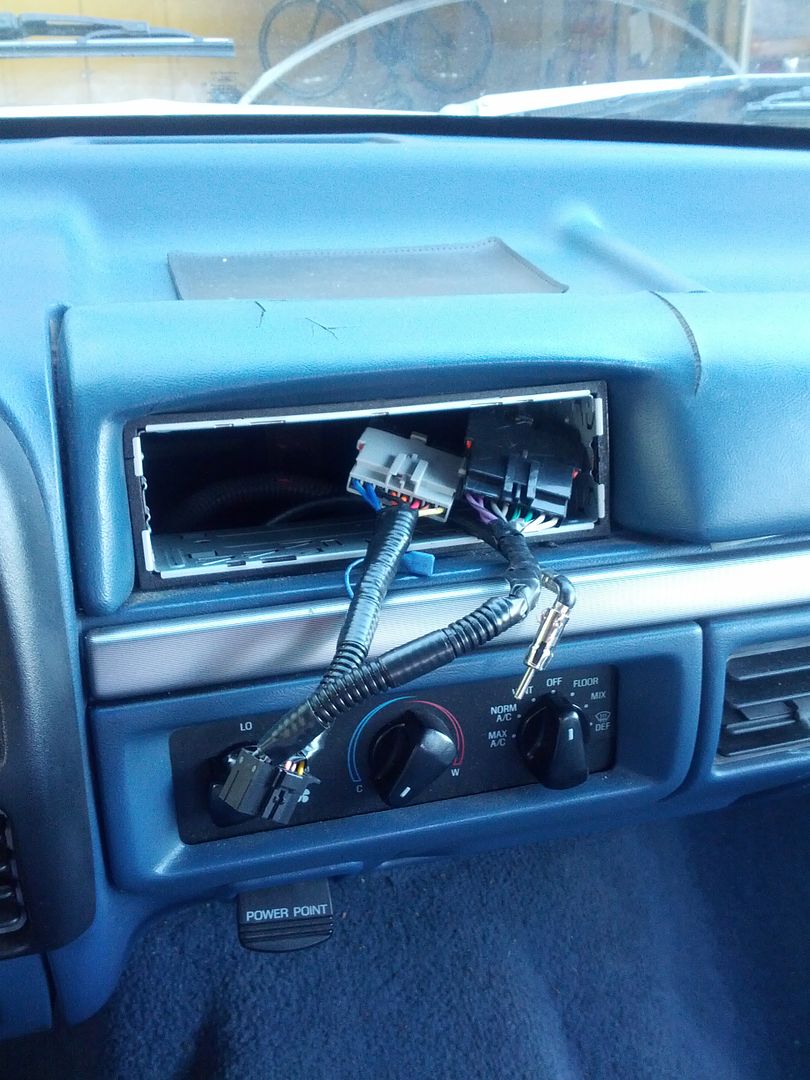
First thing I did was start getting the head unit out of the truck and get ready for the new one to go in. Here's the old Pioneer unit. This one sux cause the RCA's don't work on it, specifically the subs rcas. So it's gone!
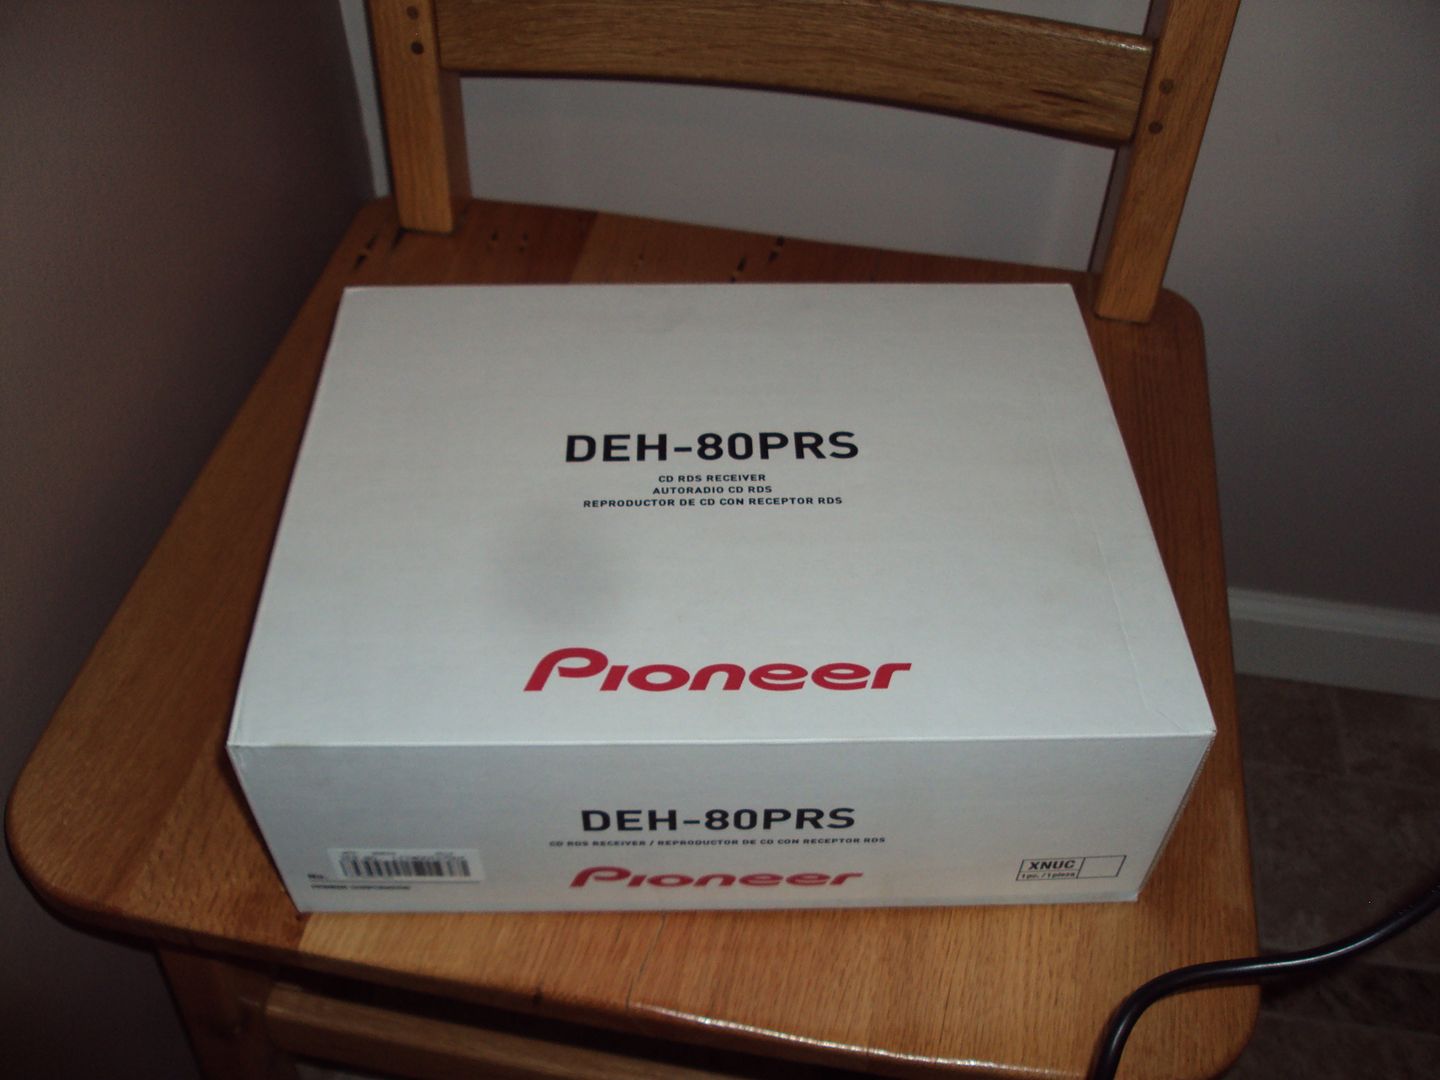
Now it's time to make way for this beauty!
Got my tools out
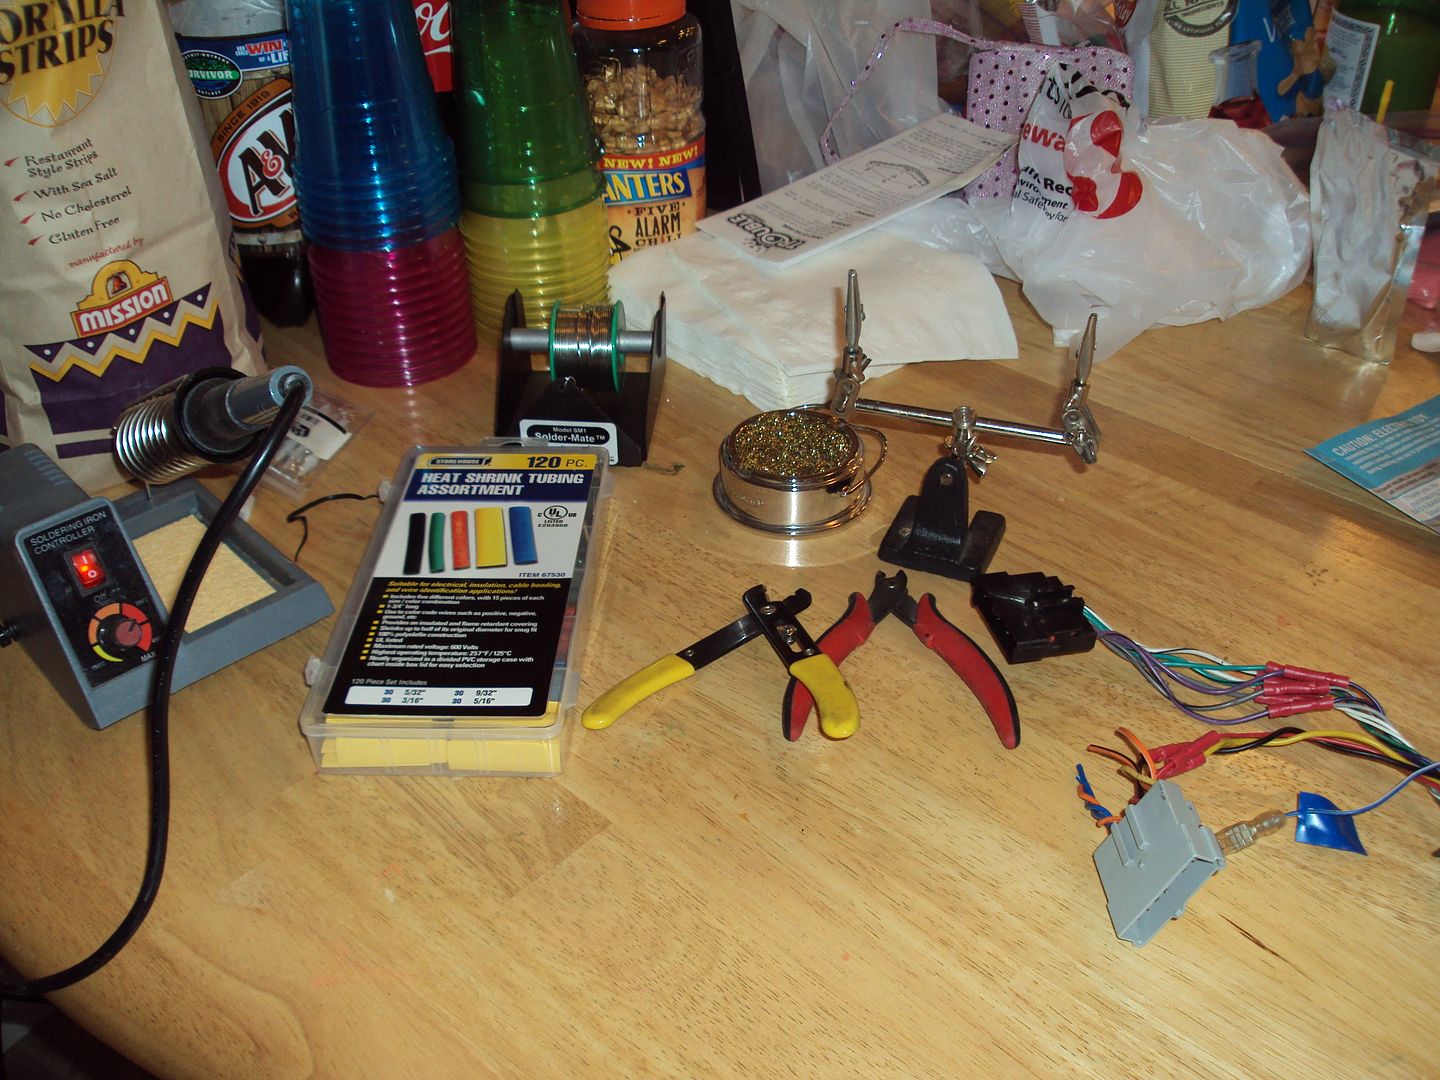
Got to work!
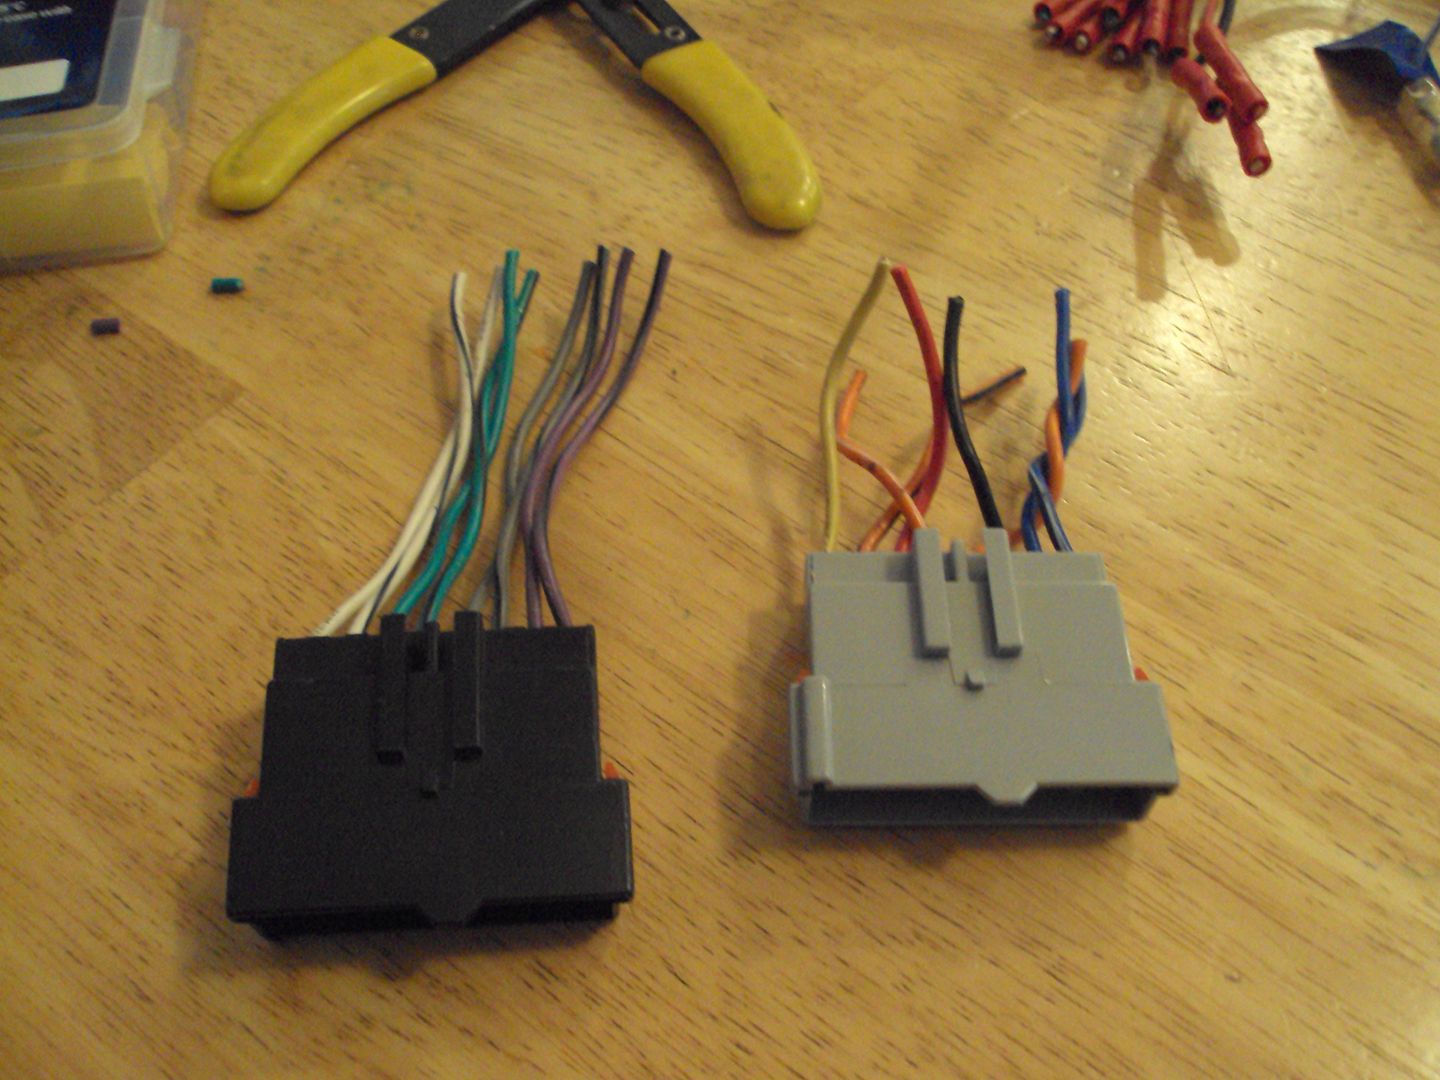
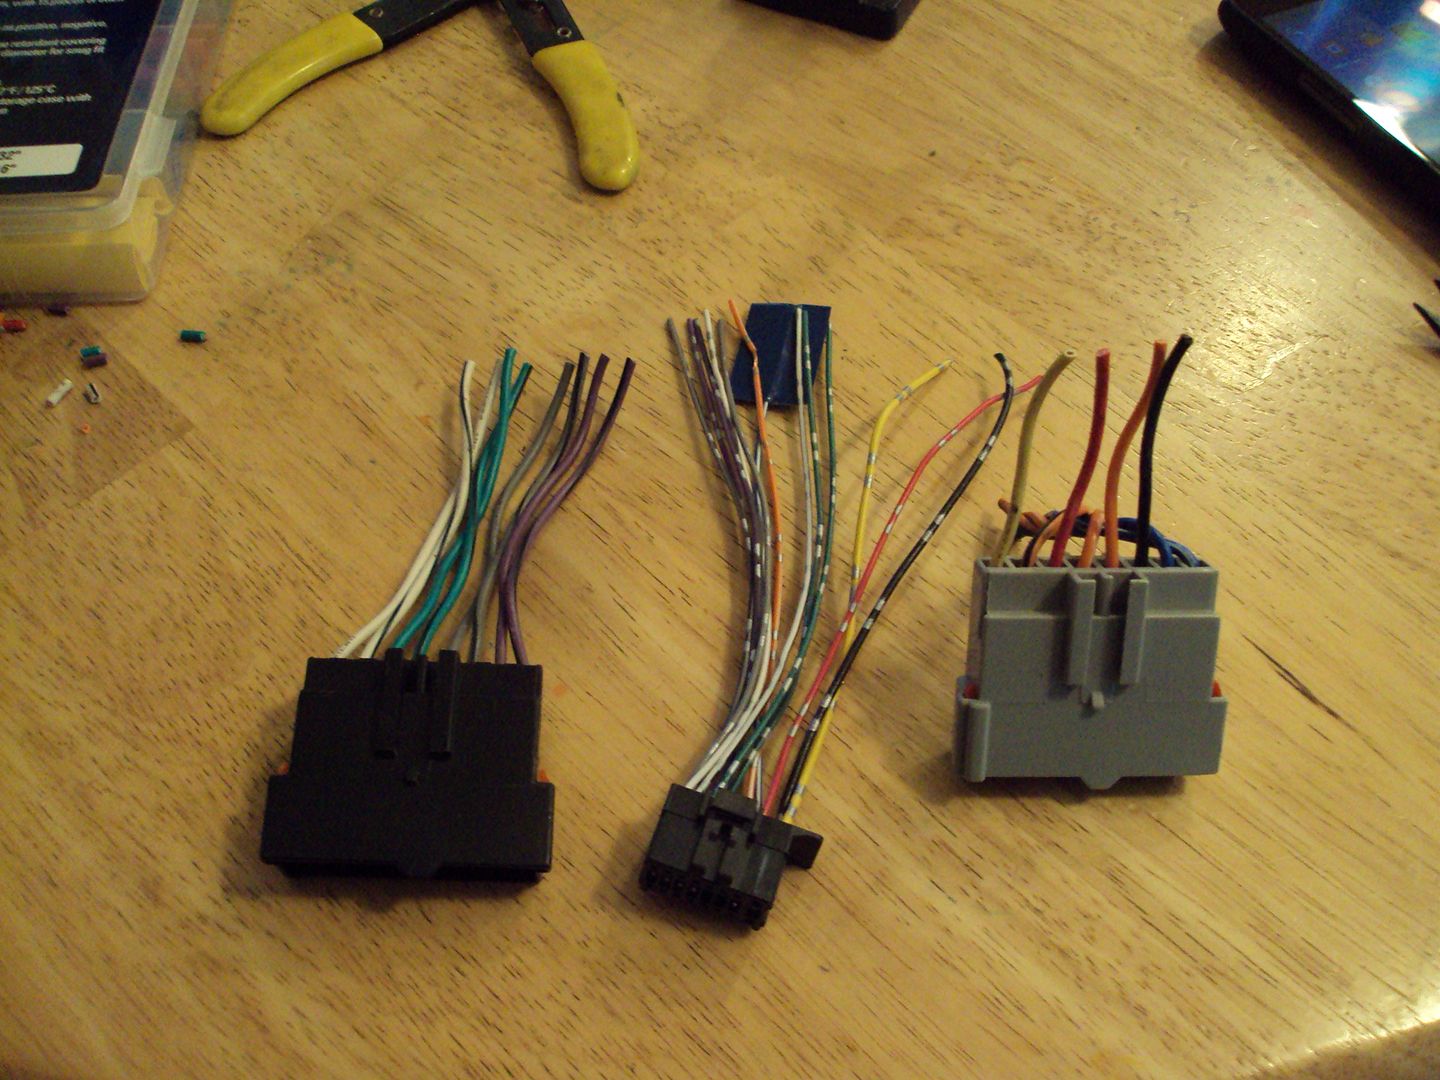
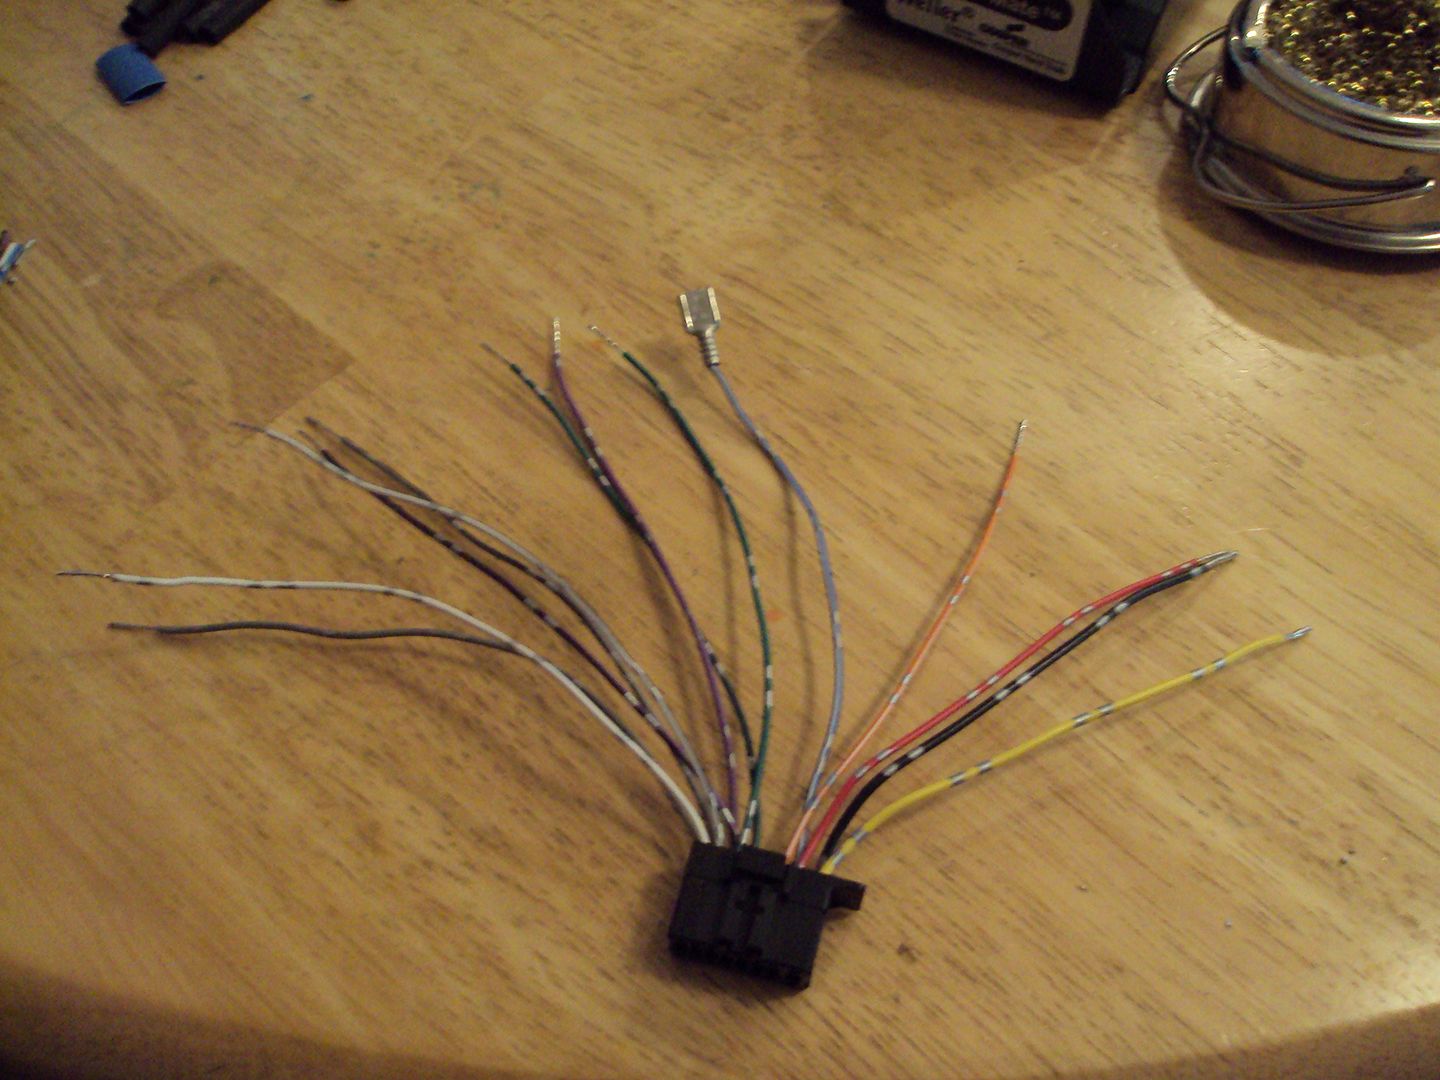
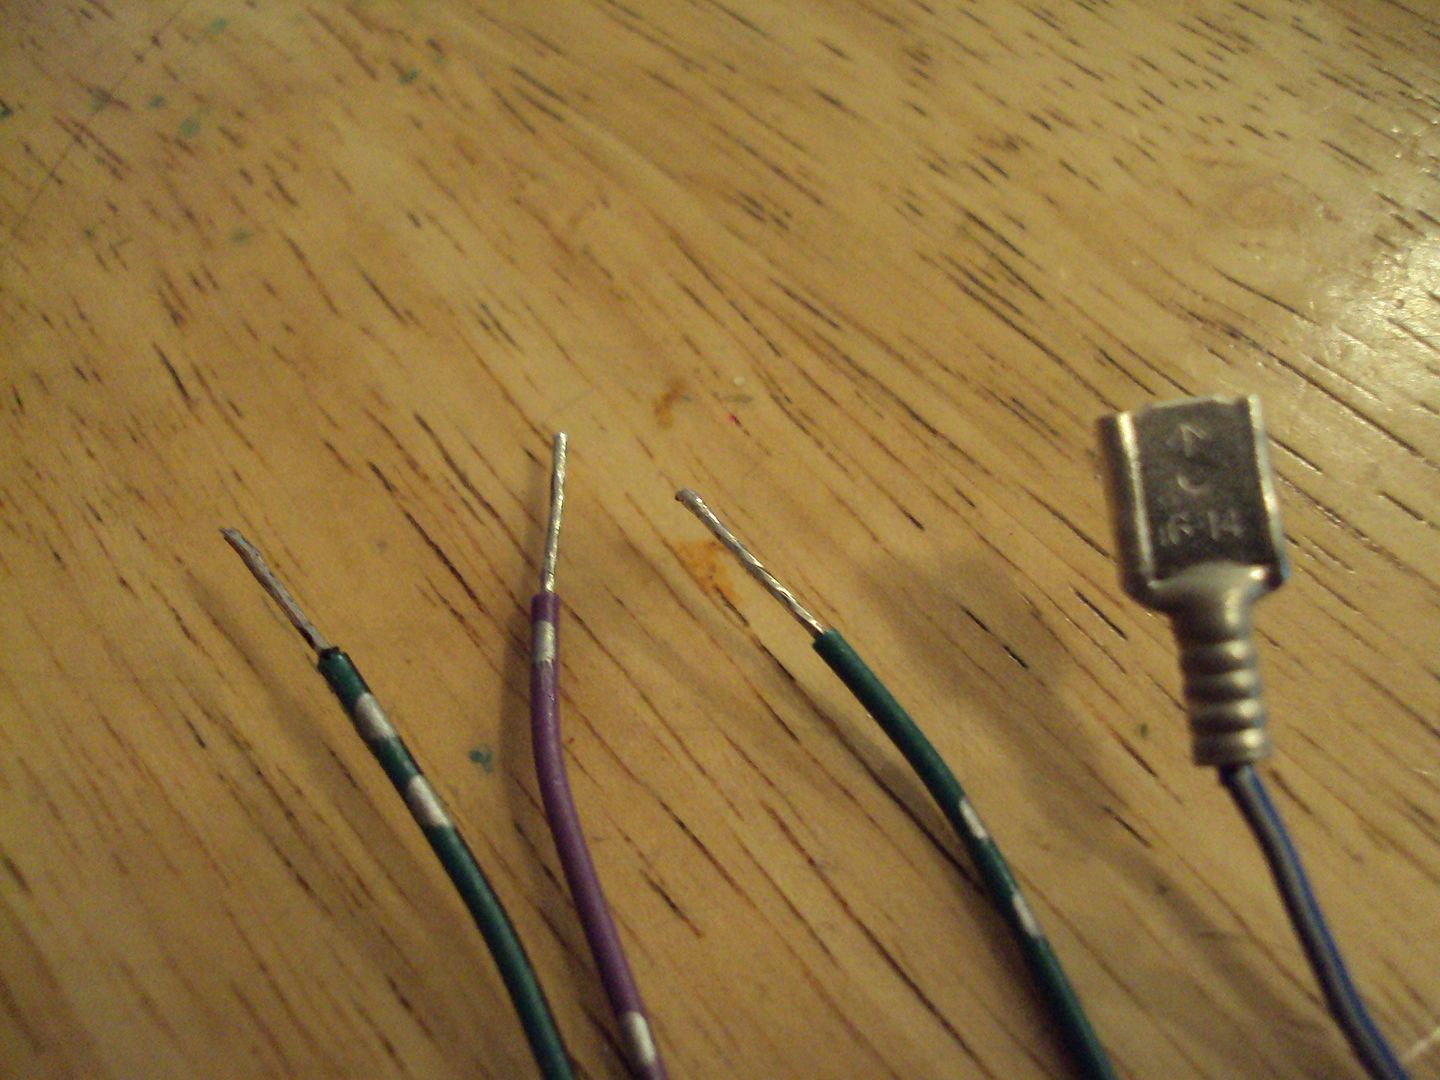
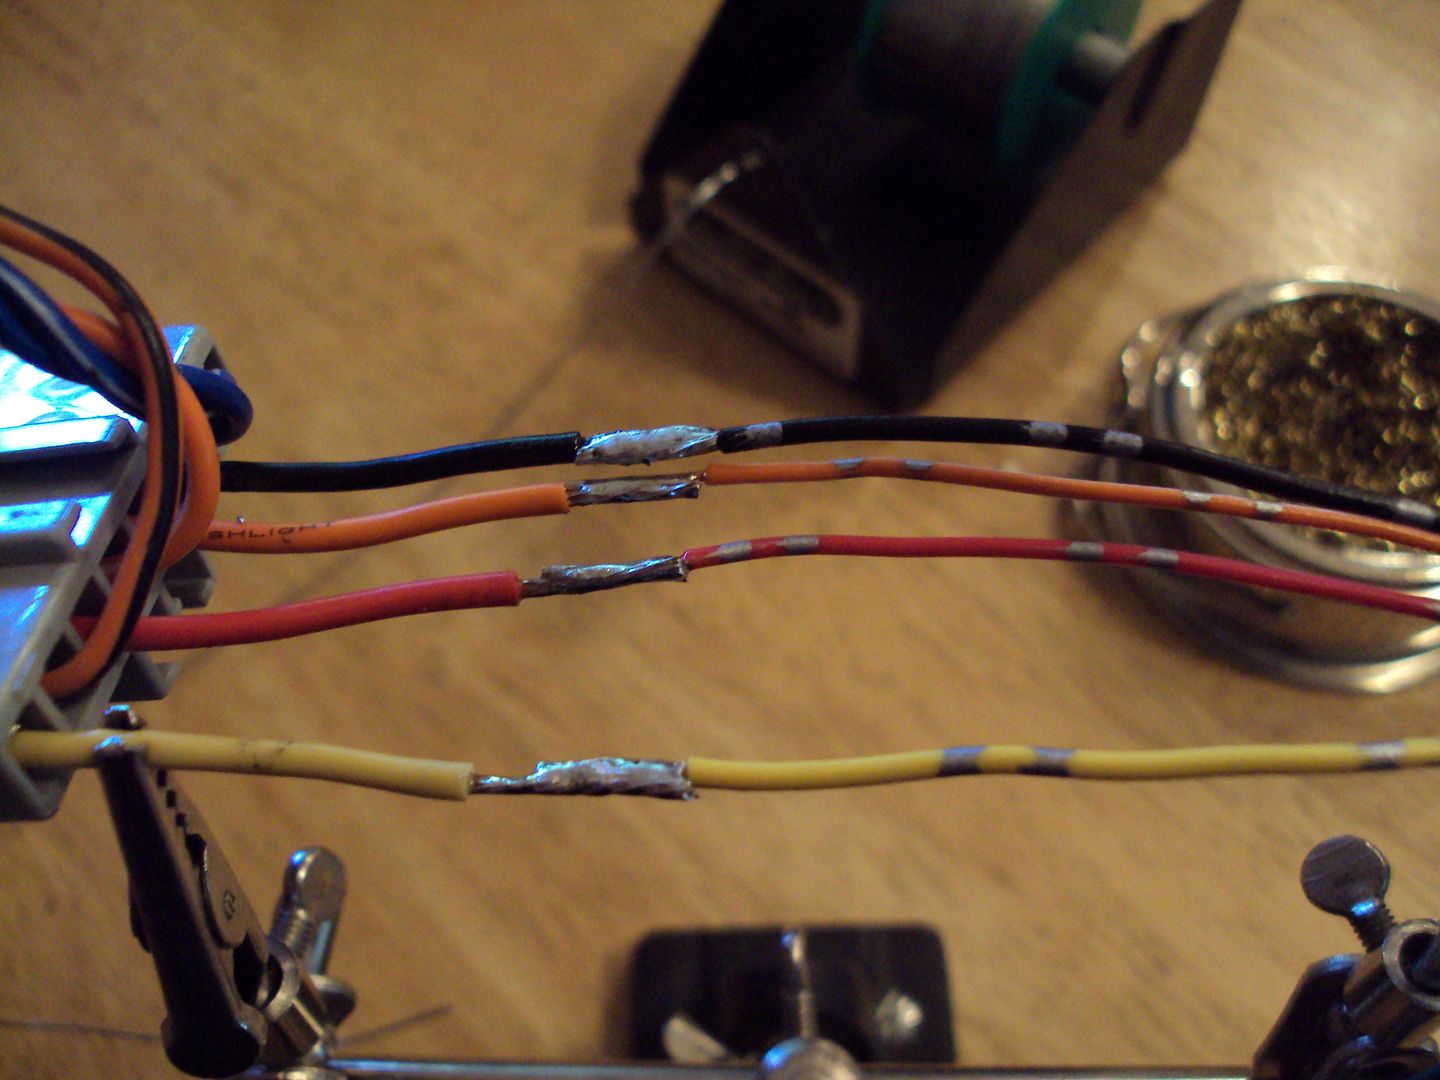
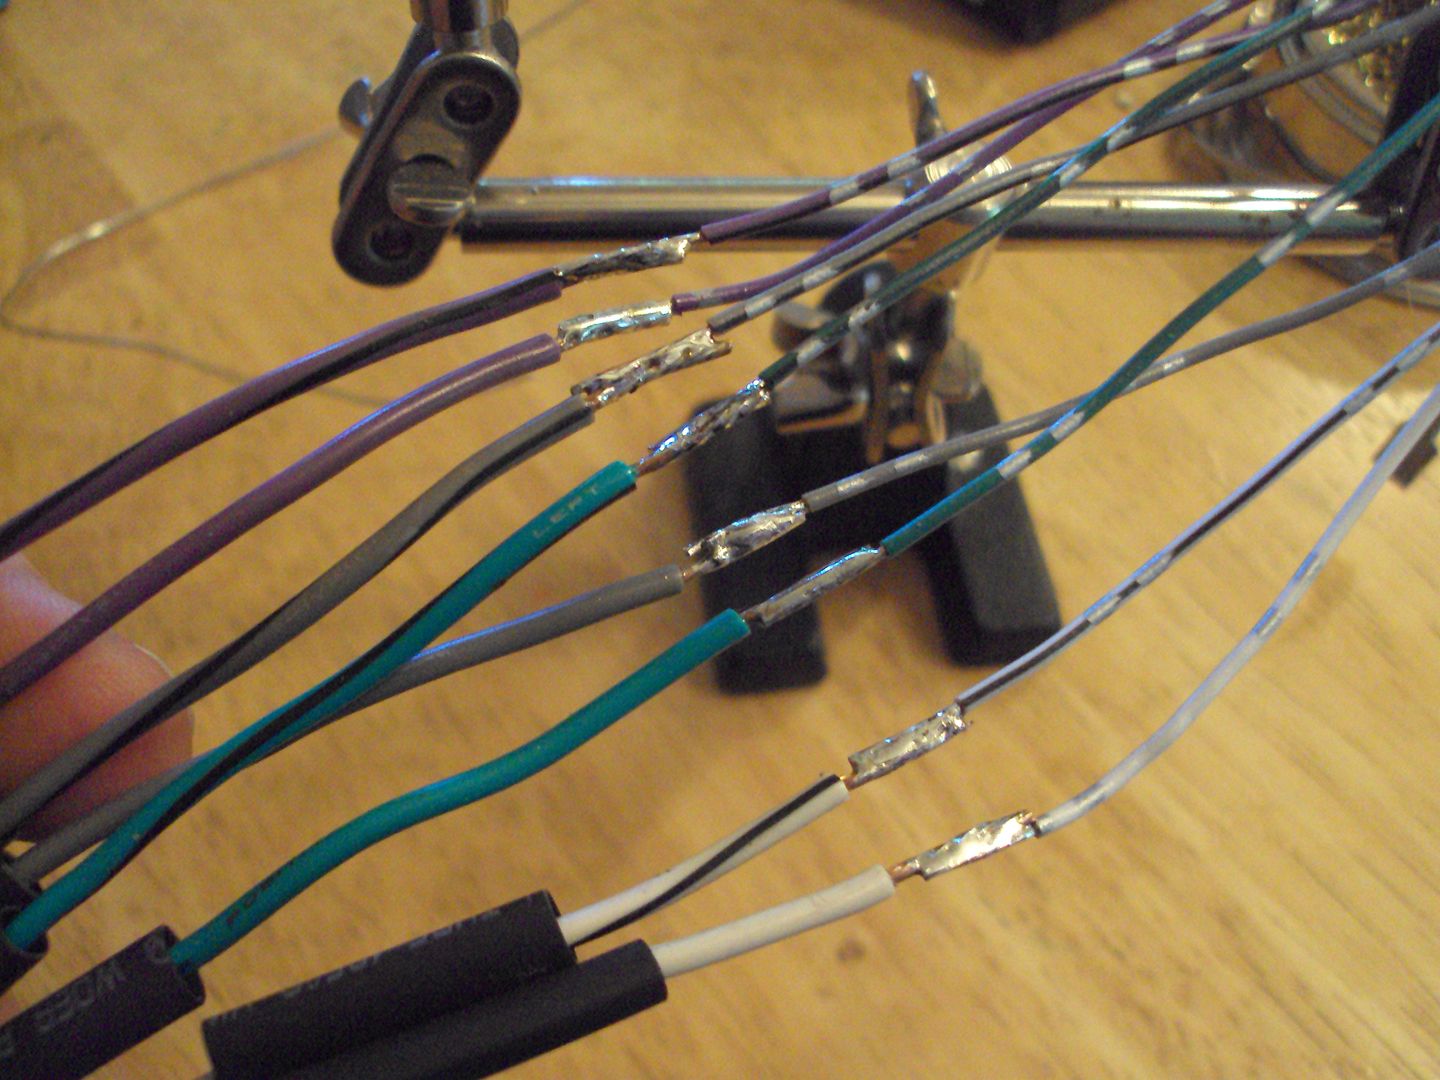
Wires all stripped and ready to get the business!
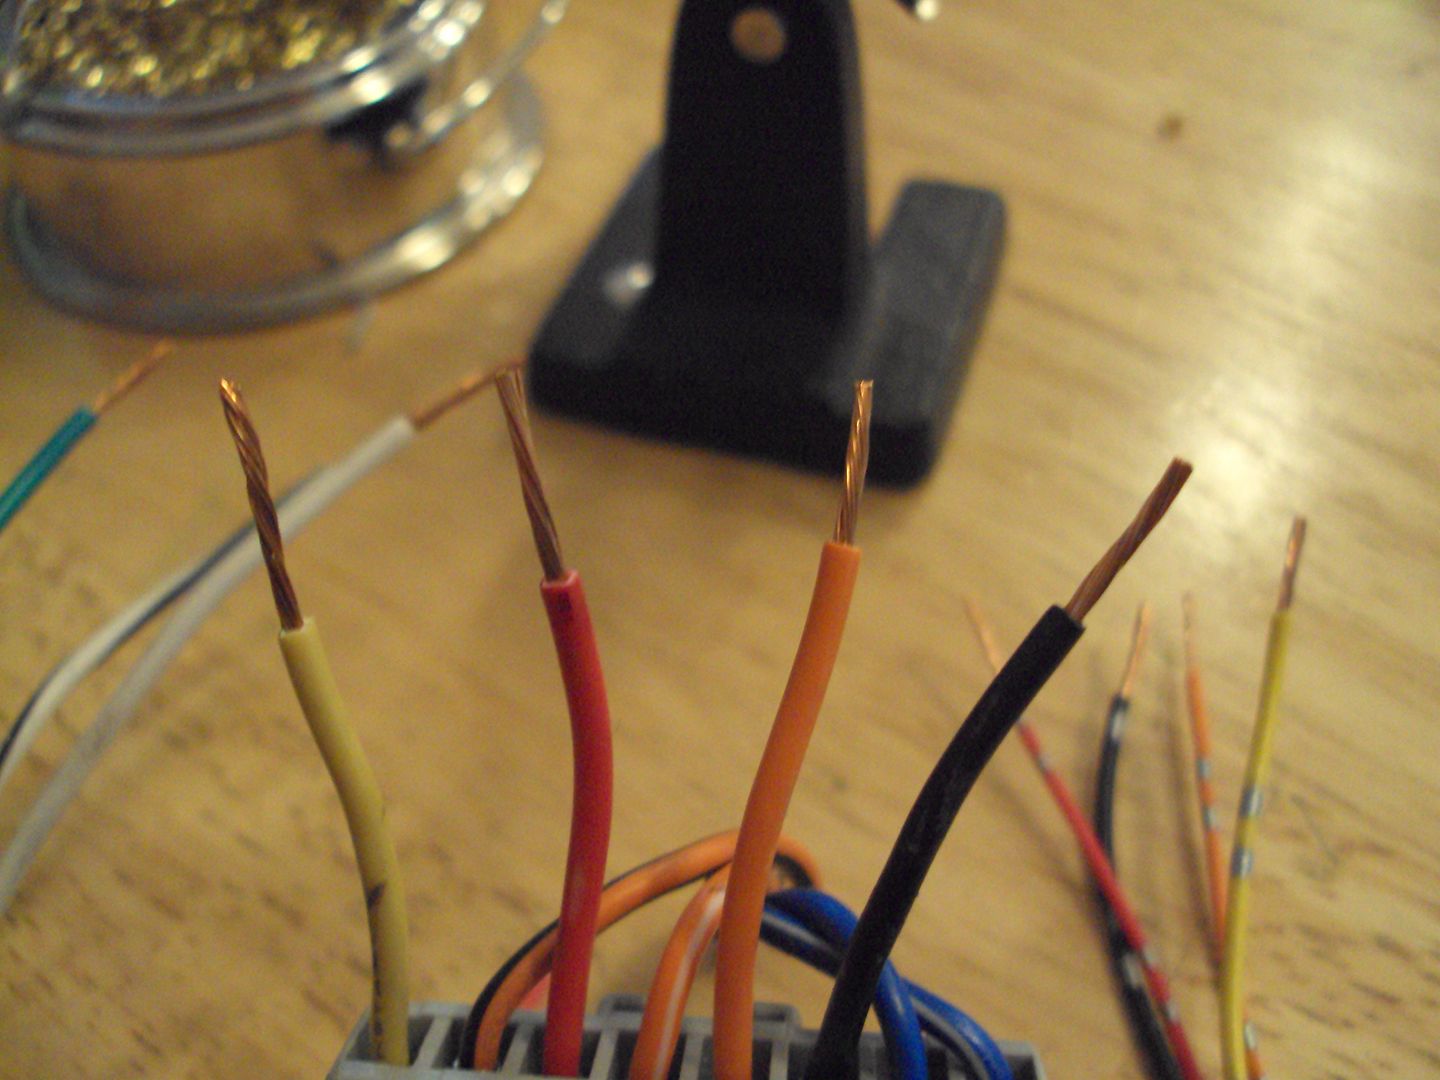
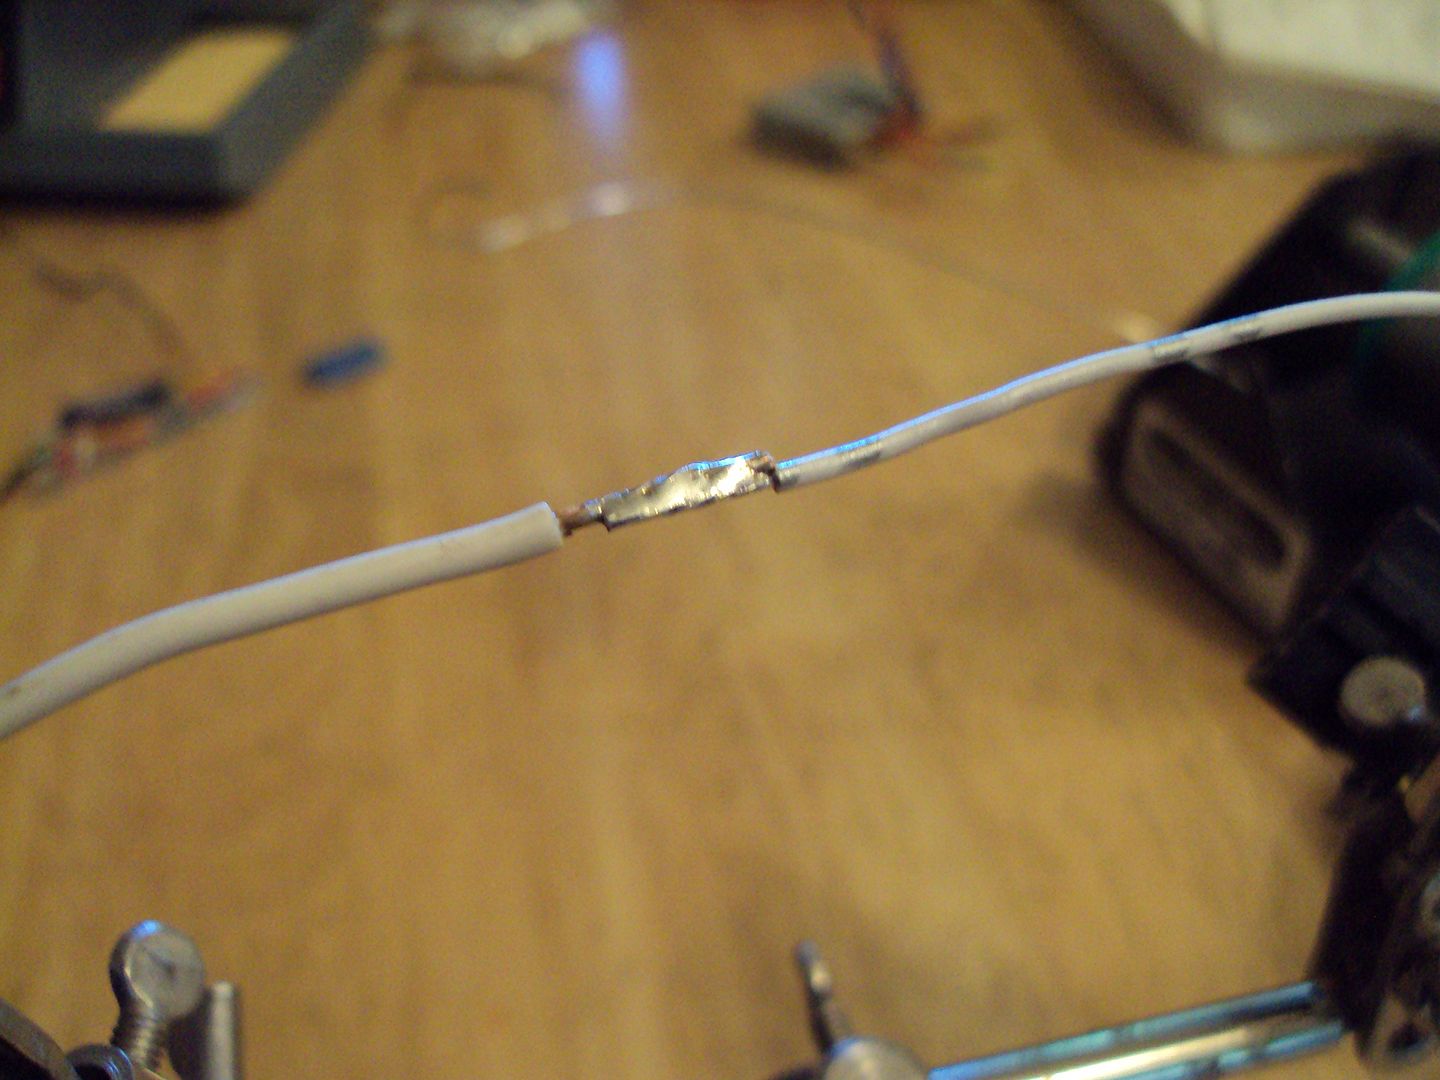
Heatshrink, and a connector for the remote wire.
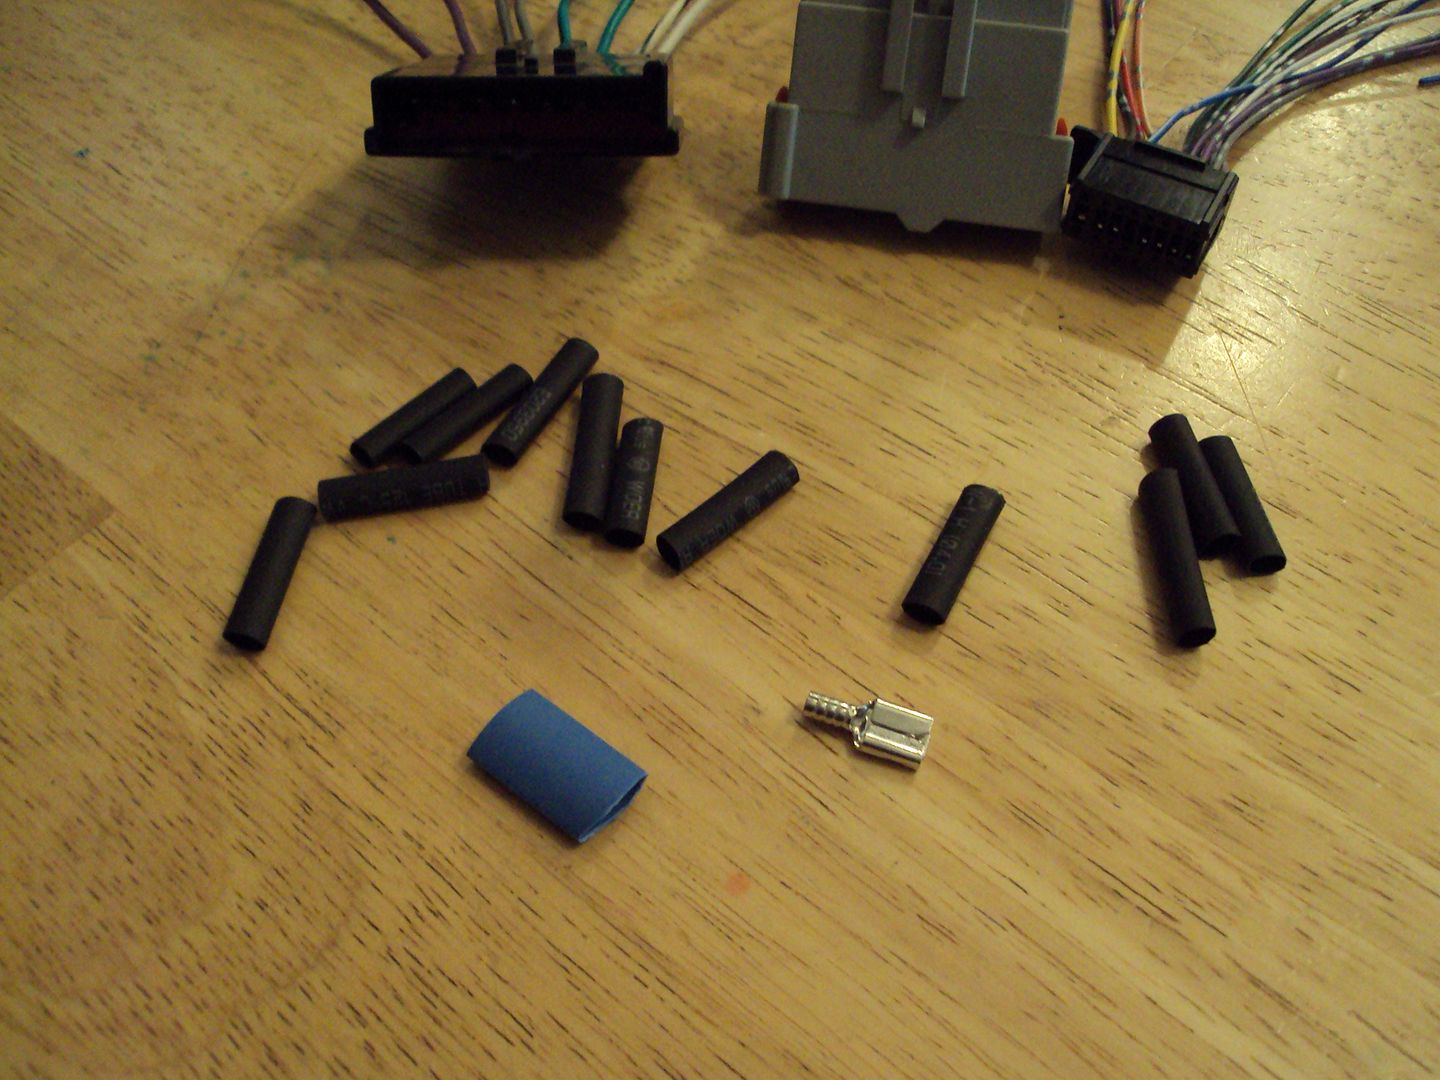
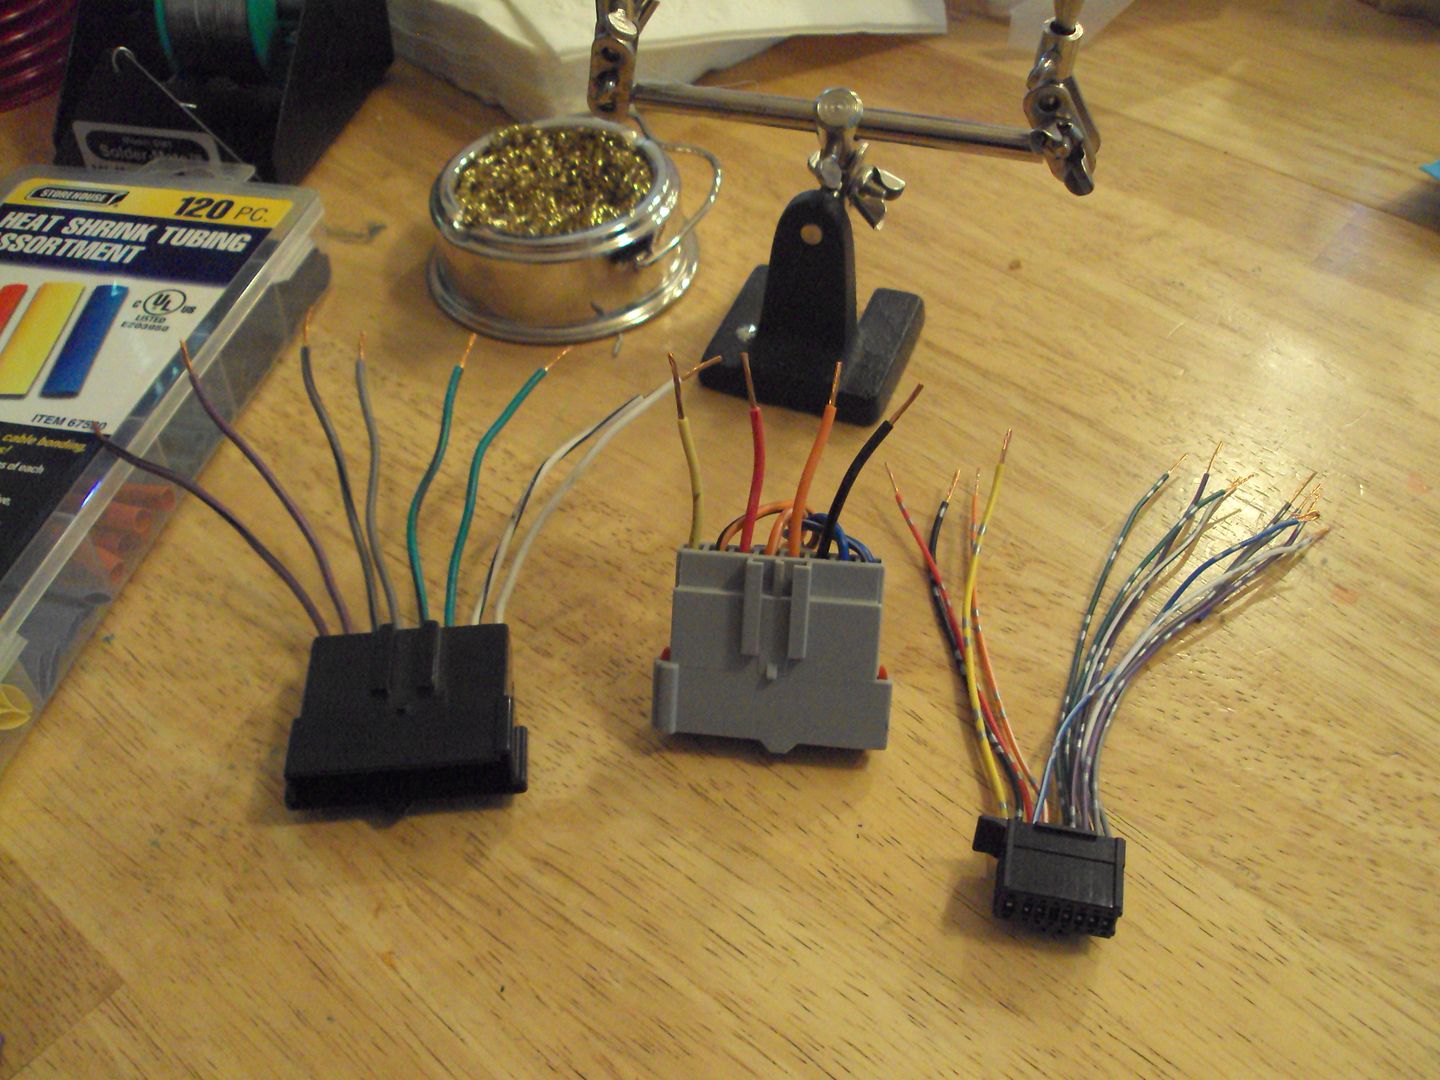
First two sets tinned.

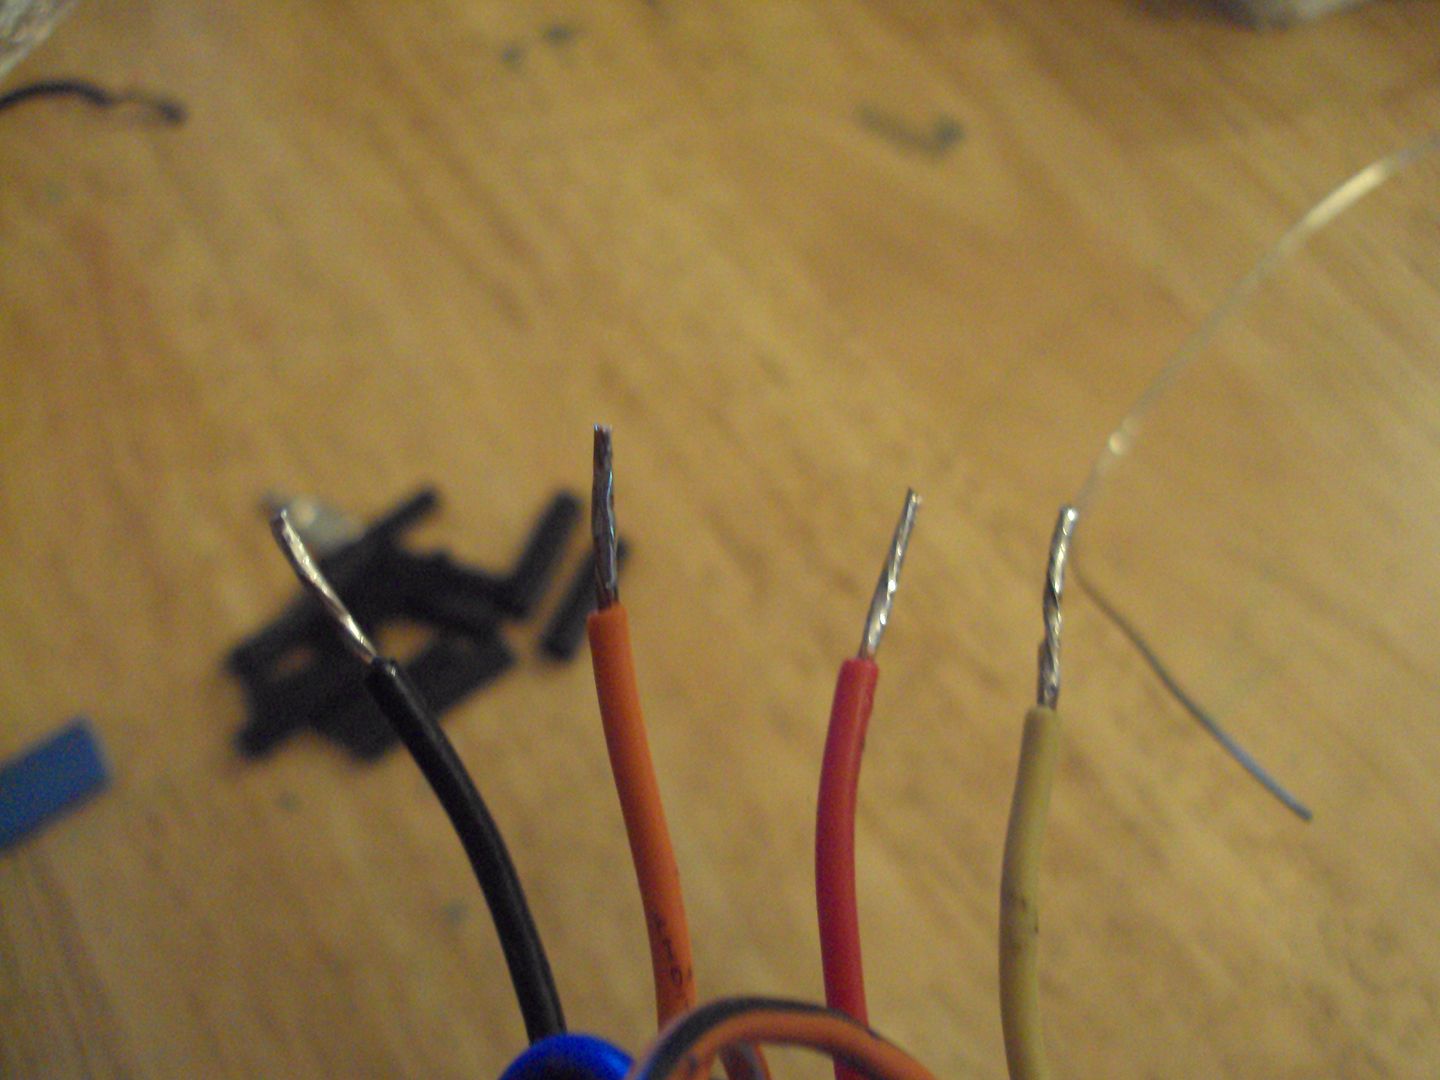
Didn't have all day yesterday to work on it as I wanted to, but I had a few hours and I used that time the best as I could. Let's get started.
First thing I did was start getting the head unit out of the truck and get ready for the new one to go in. Here's the old Pioneer unit. This one sux cause the RCA's don't work on it, specifically the subs rcas. So it's gone!
Now it's time to make way for this beauty!
Got my tools out
Got to work!
Wires all stripped and ready to get the business!
Heatshrink, and a connector for the remote wire.
First two sets tinned.
#66
07-05-2012, 12:58 PM
Join Date: May 2011
Posts: 339
Likes: 0
Received 0 Likes
on
0 Posts
#67
07-05-2012, 01:28 PM
Join Date: May 2011
Posts: 339
Likes: 0
Received 0 Likes
on
0 Posts
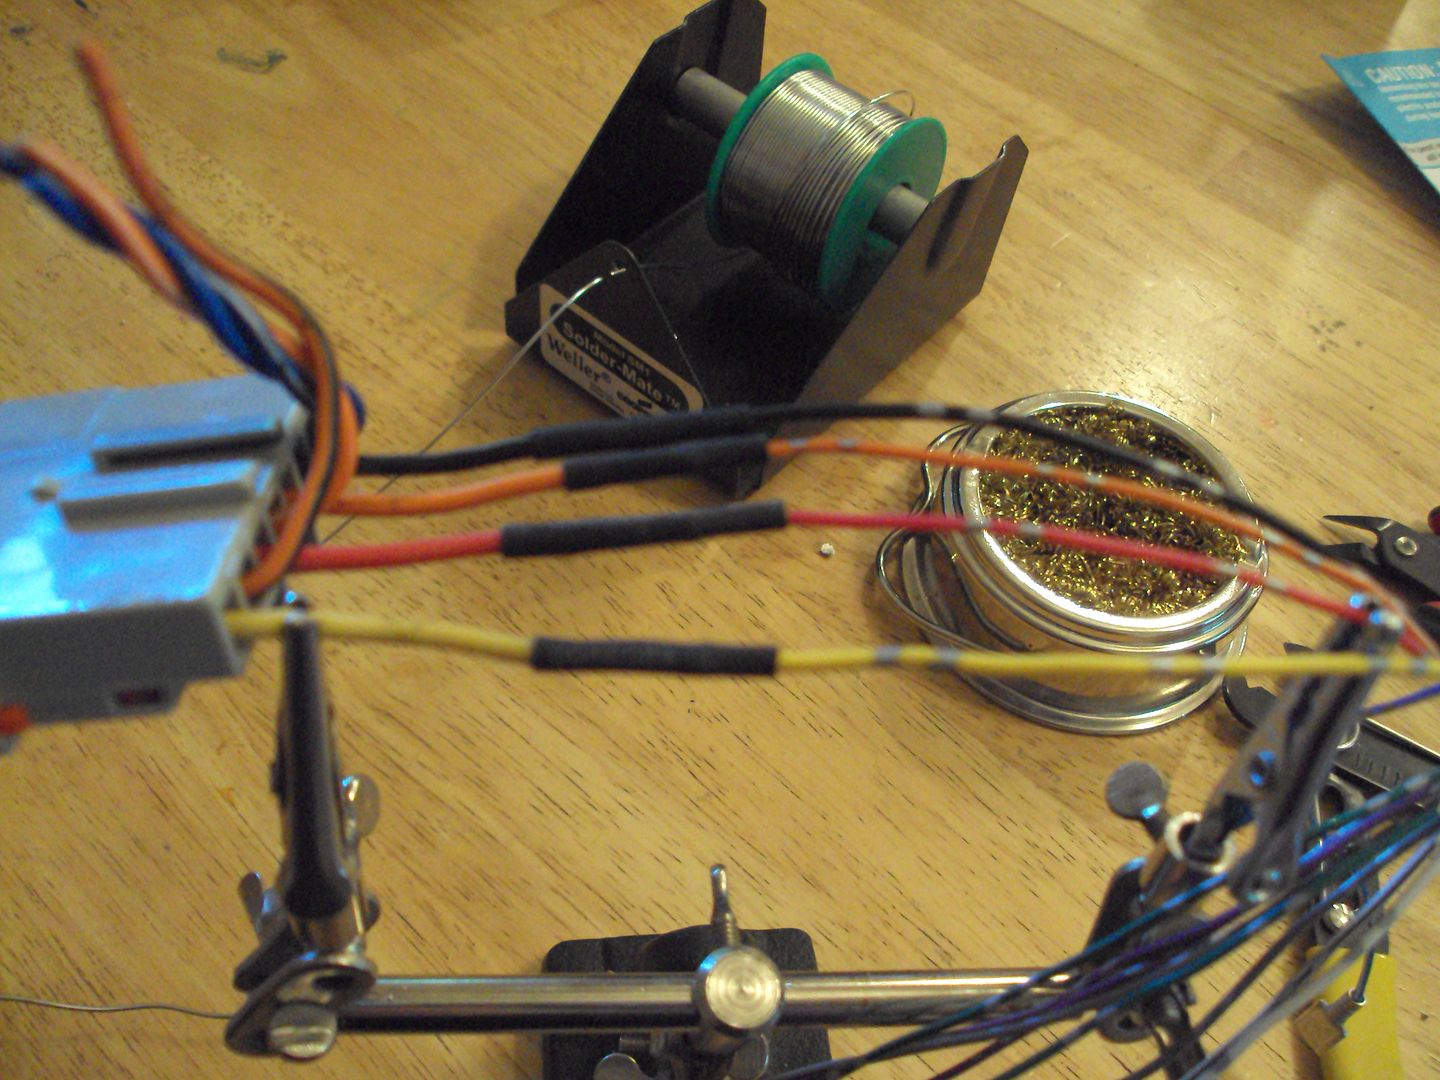
Cleaned up and ready for installation.

So then I moved onto the amp rack. Recall that it looked like this last time I showed it.
Well that all came off.
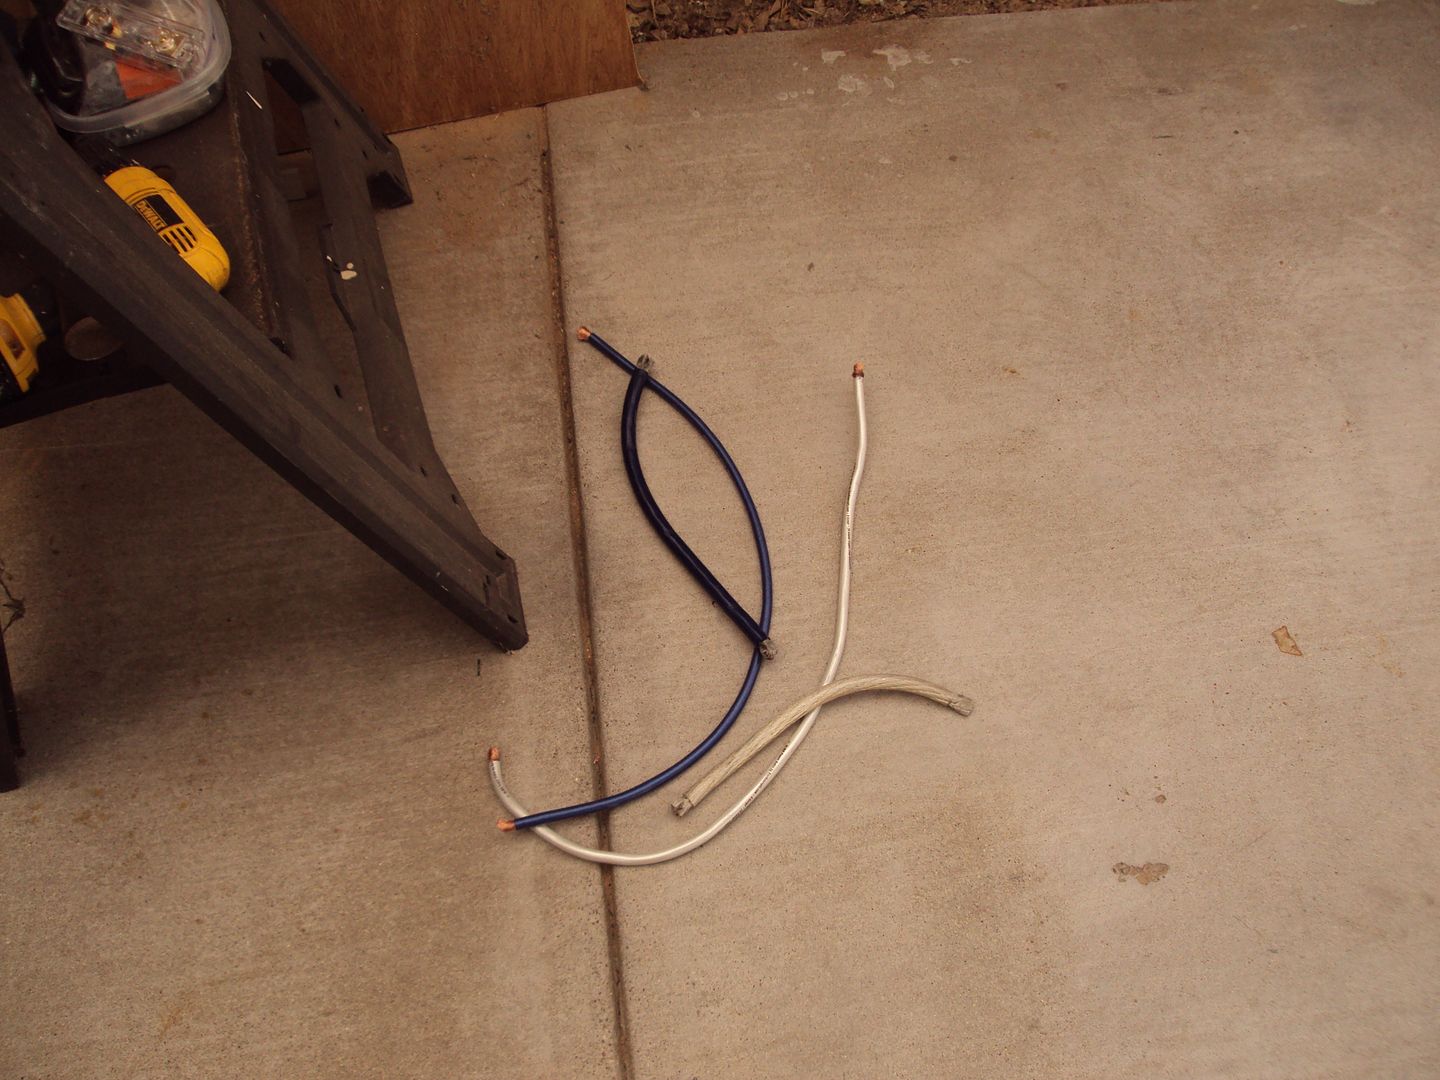
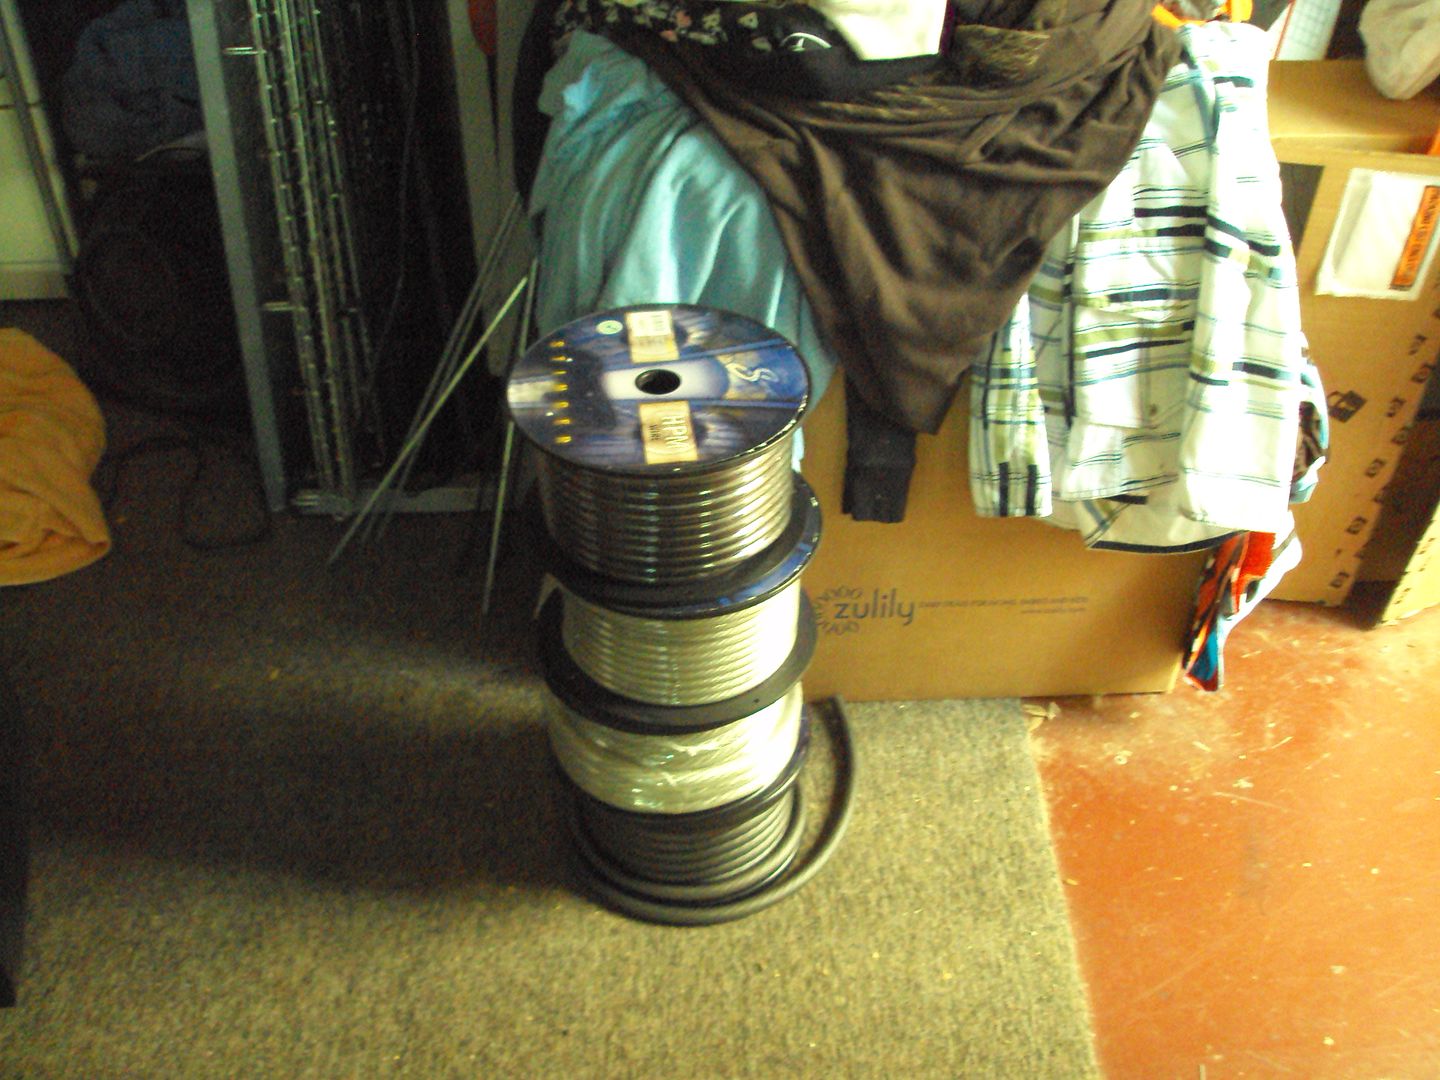
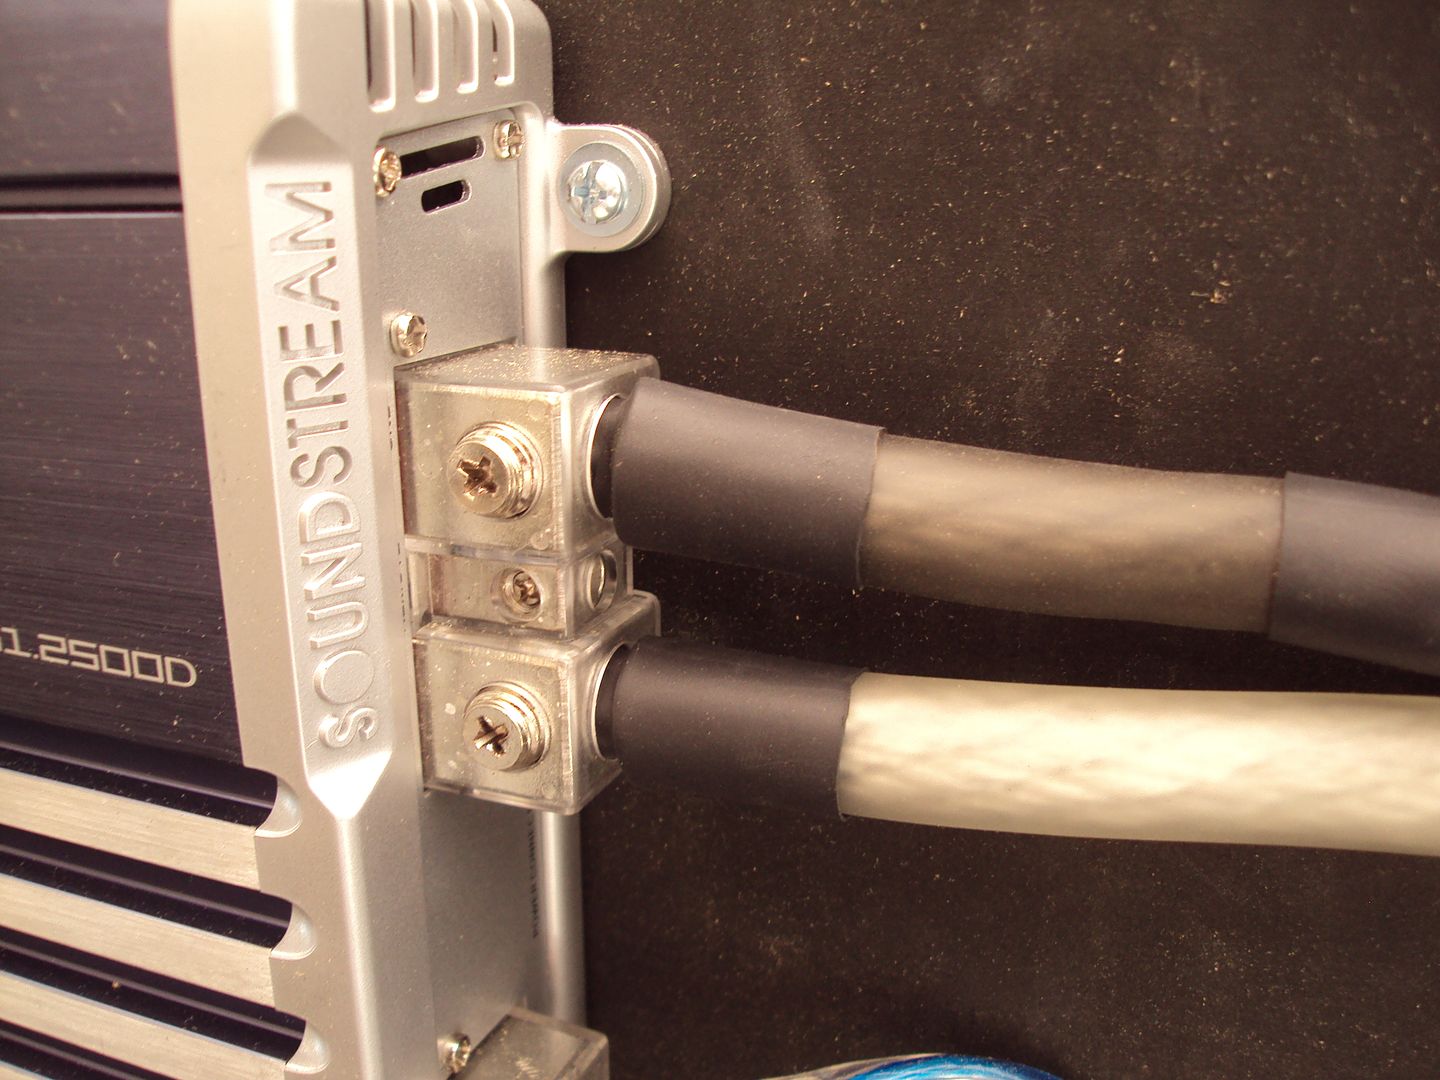
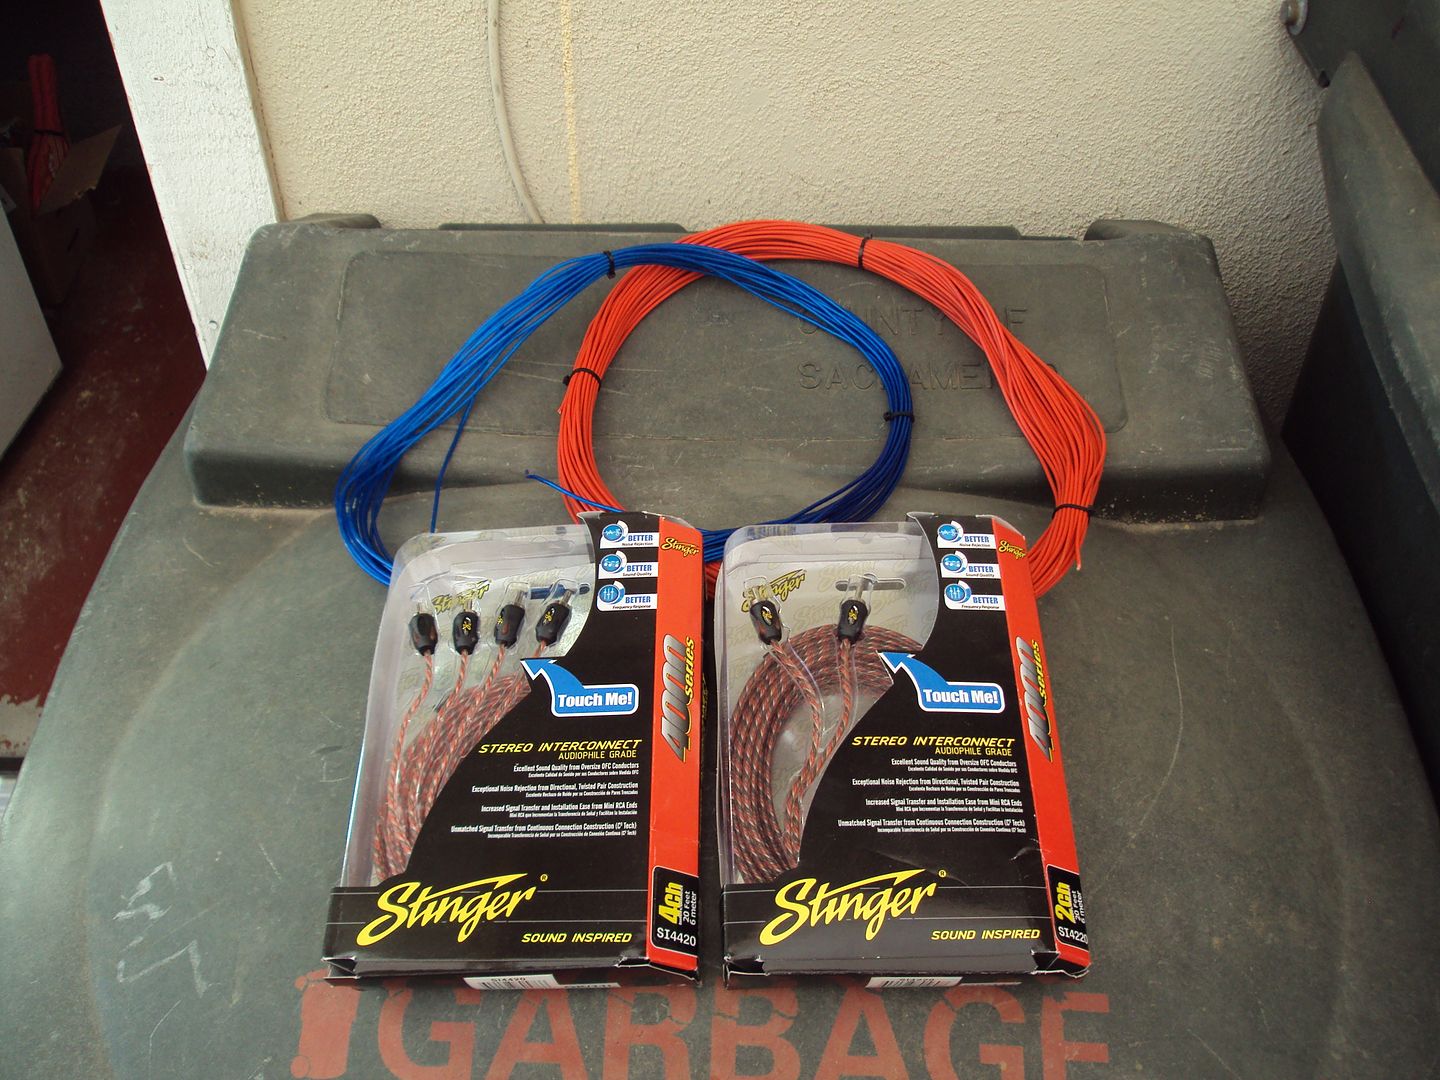
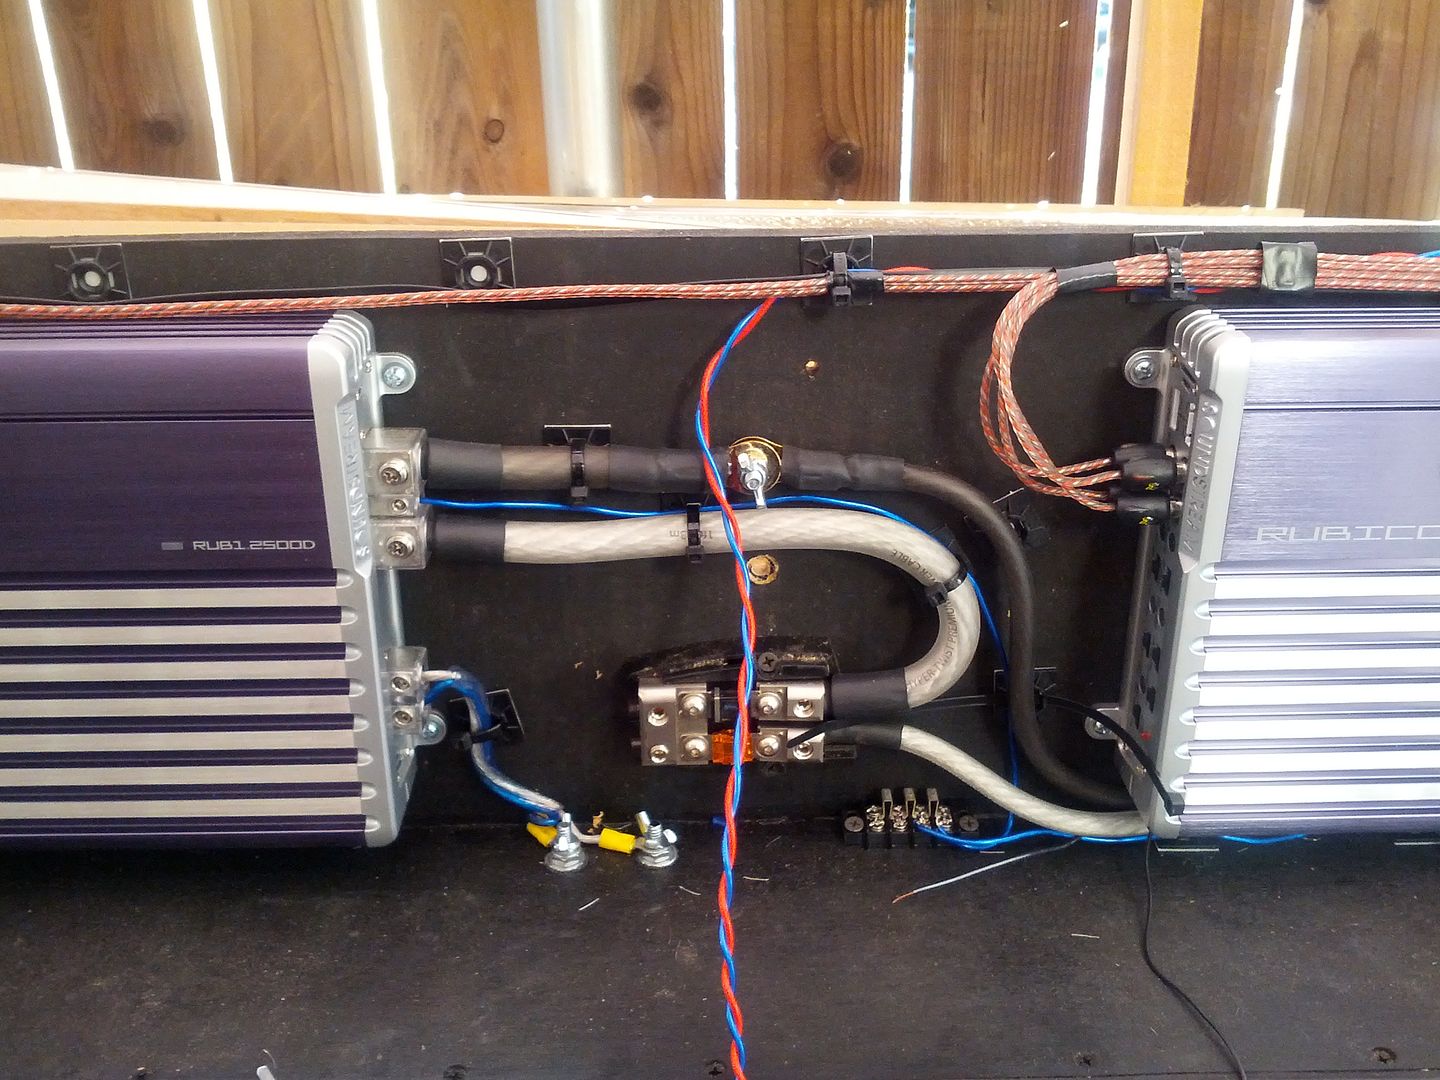
To make room for the new stuff! Stinger HPM Wire! Mmmmmmm yummy! I have one more 1/0 ga silver spool I don't have pictured. That's what I'm using for positive.
So instead of using those screw on things, I decided to use the solder on, or crimp on, terminals. Problem was, I don't have any 4ga terminals. SO I had to crimp down a 1/0ga terminal to fit. Not the purdiest job, but it'll do for now. I don't think I have the right solder. But I'll be addressing all that before the rest of the build.
So I got a little carried away with working, and forgot to take pics of the work in progress as far as soldering wires etc. But they're all protected with heat shrink, and terminal soldered and ready to go.
So then I moved onto the amp rack. Recall that it looked like this last time I showed it.
Well that all came off.
To make room for the new stuff! Stinger HPM Wire! Mmmmmmm yummy! I have one more 1/0 ga silver spool I don't have pictured. That's what I'm using for positive.
So instead of using those screw on things, I decided to use the solder on, or crimp on, terminals. Problem was, I don't have any 4ga terminals. SO I had to crimp down a 1/0ga terminal to fit. Not the purdiest job, but it'll do for now. I don't think I have the right solder. But I'll be addressing all that before the rest of the build.
So I got a little carried away with working, and forgot to take pics of the work in progress as far as soldering wires etc. But they're all protected with heat shrink, and terminal soldered and ready to go.
#68
07-05-2012, 01:38 PM
Join Date: May 2011
Posts: 339
Likes: 0
Received 0 Likes
on
0 Posts
#69
07-05-2012, 02:33 PM
Join Date: May 2011
Posts: 339
Likes: 0
Received 0 Likes
on
0 Posts
Ok I'm back. More pics!
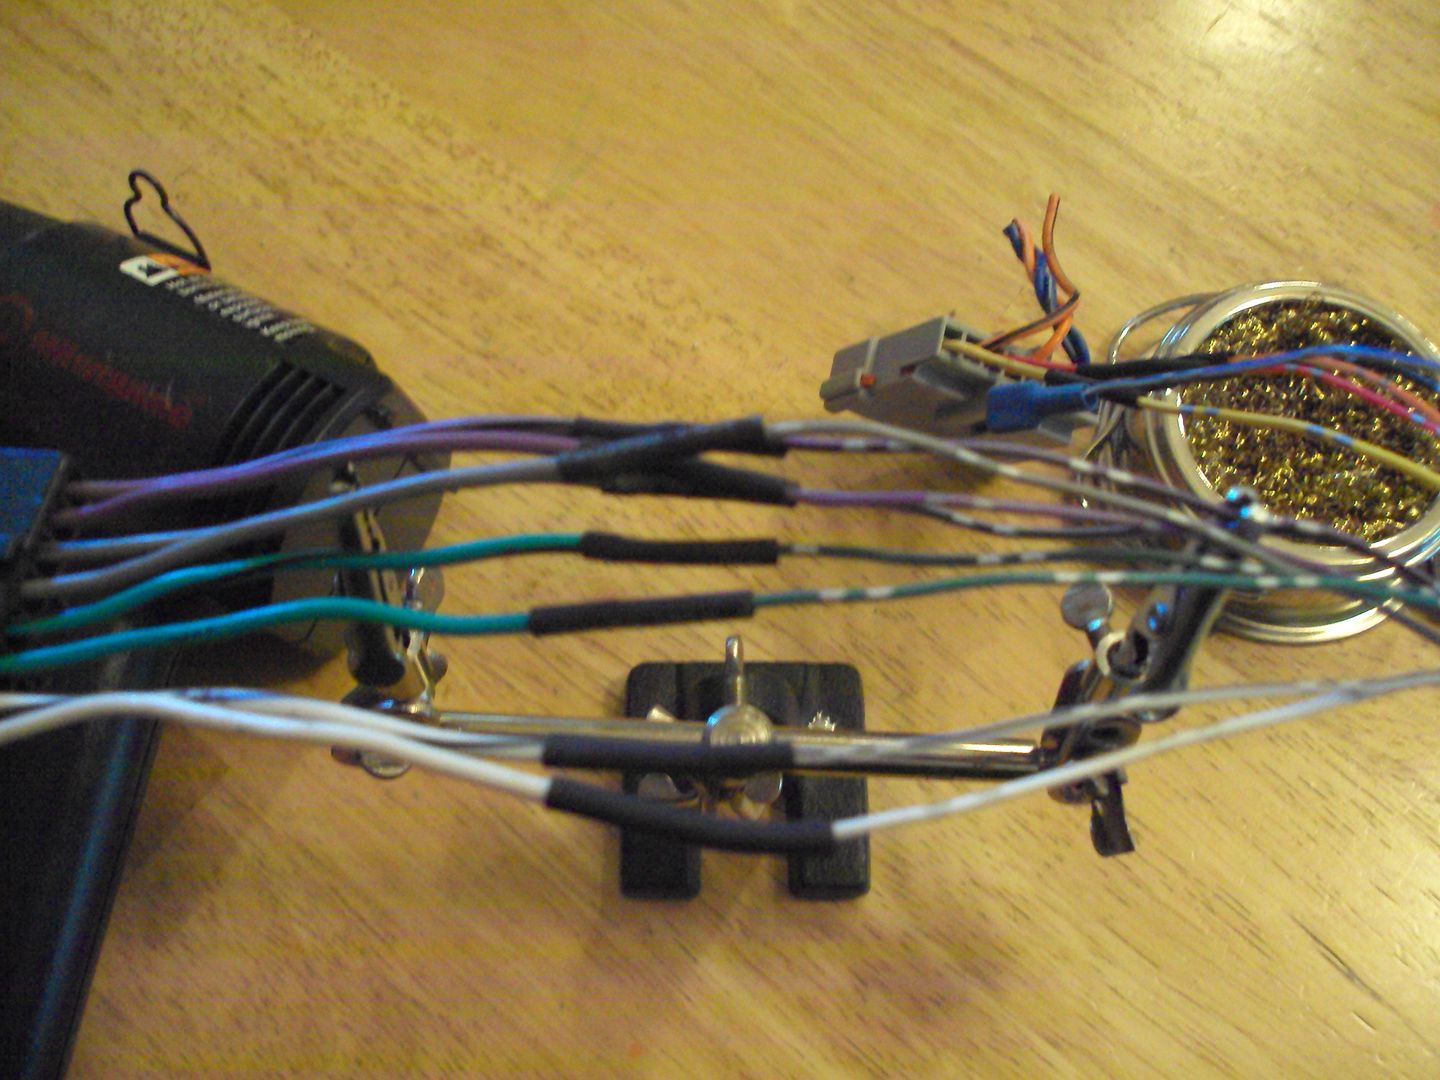
Heatshrink on the terminations! This is the 4ga, and the heat shrink I had was too big, but it will work. I need to re up my inventory of shrink!
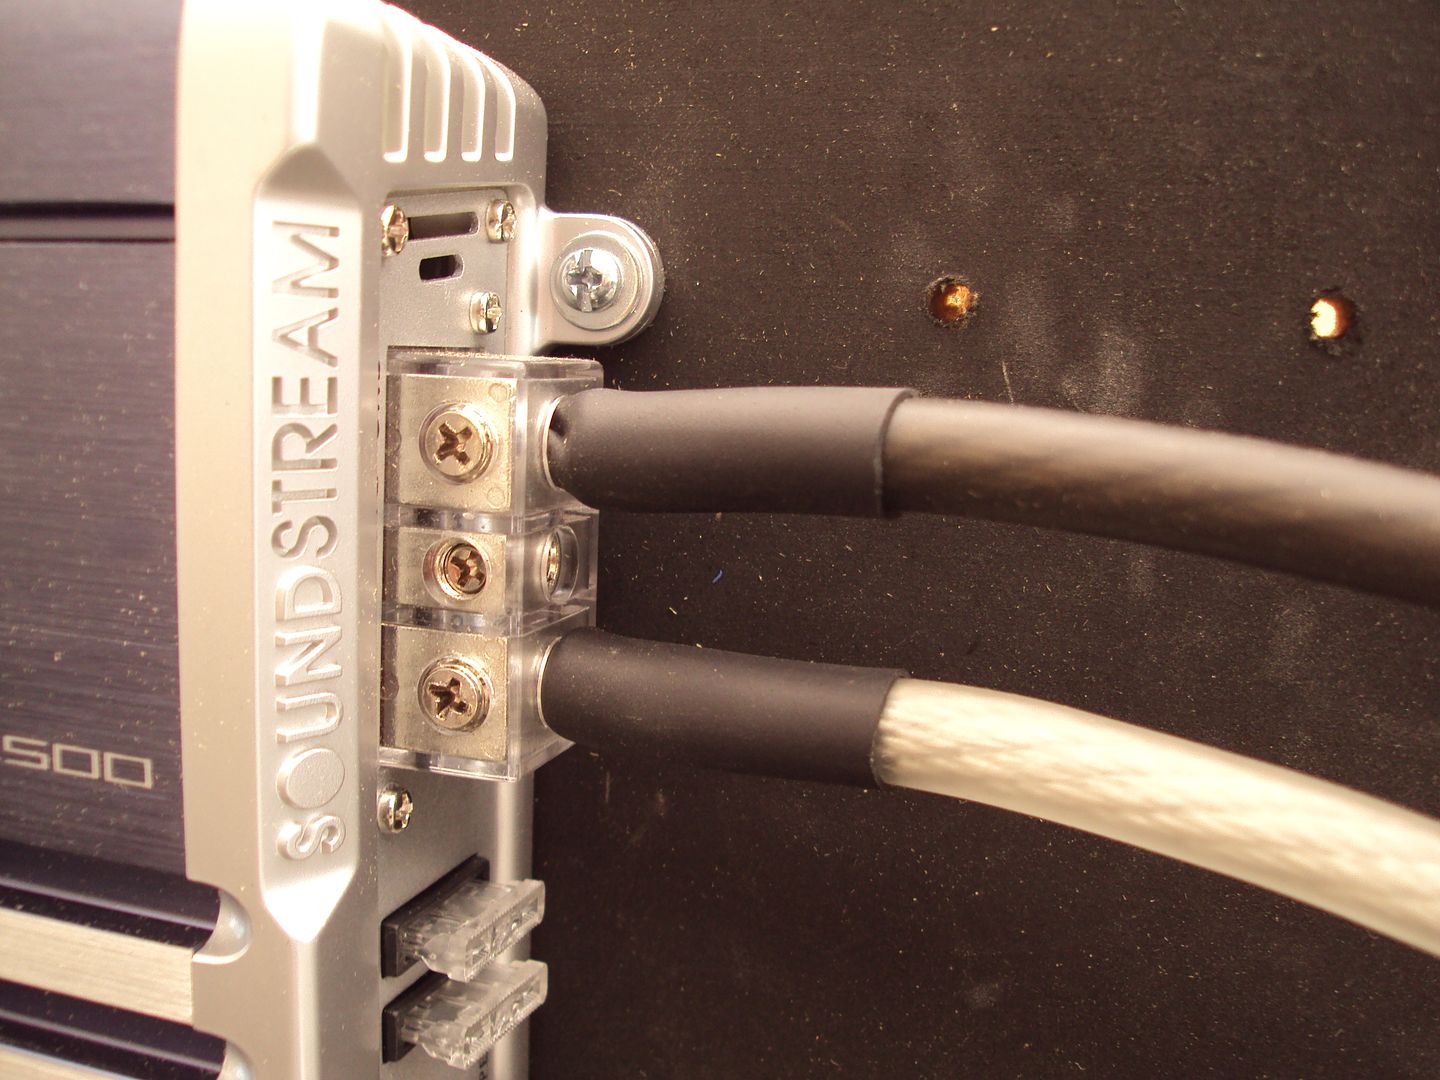
1/0 ga.
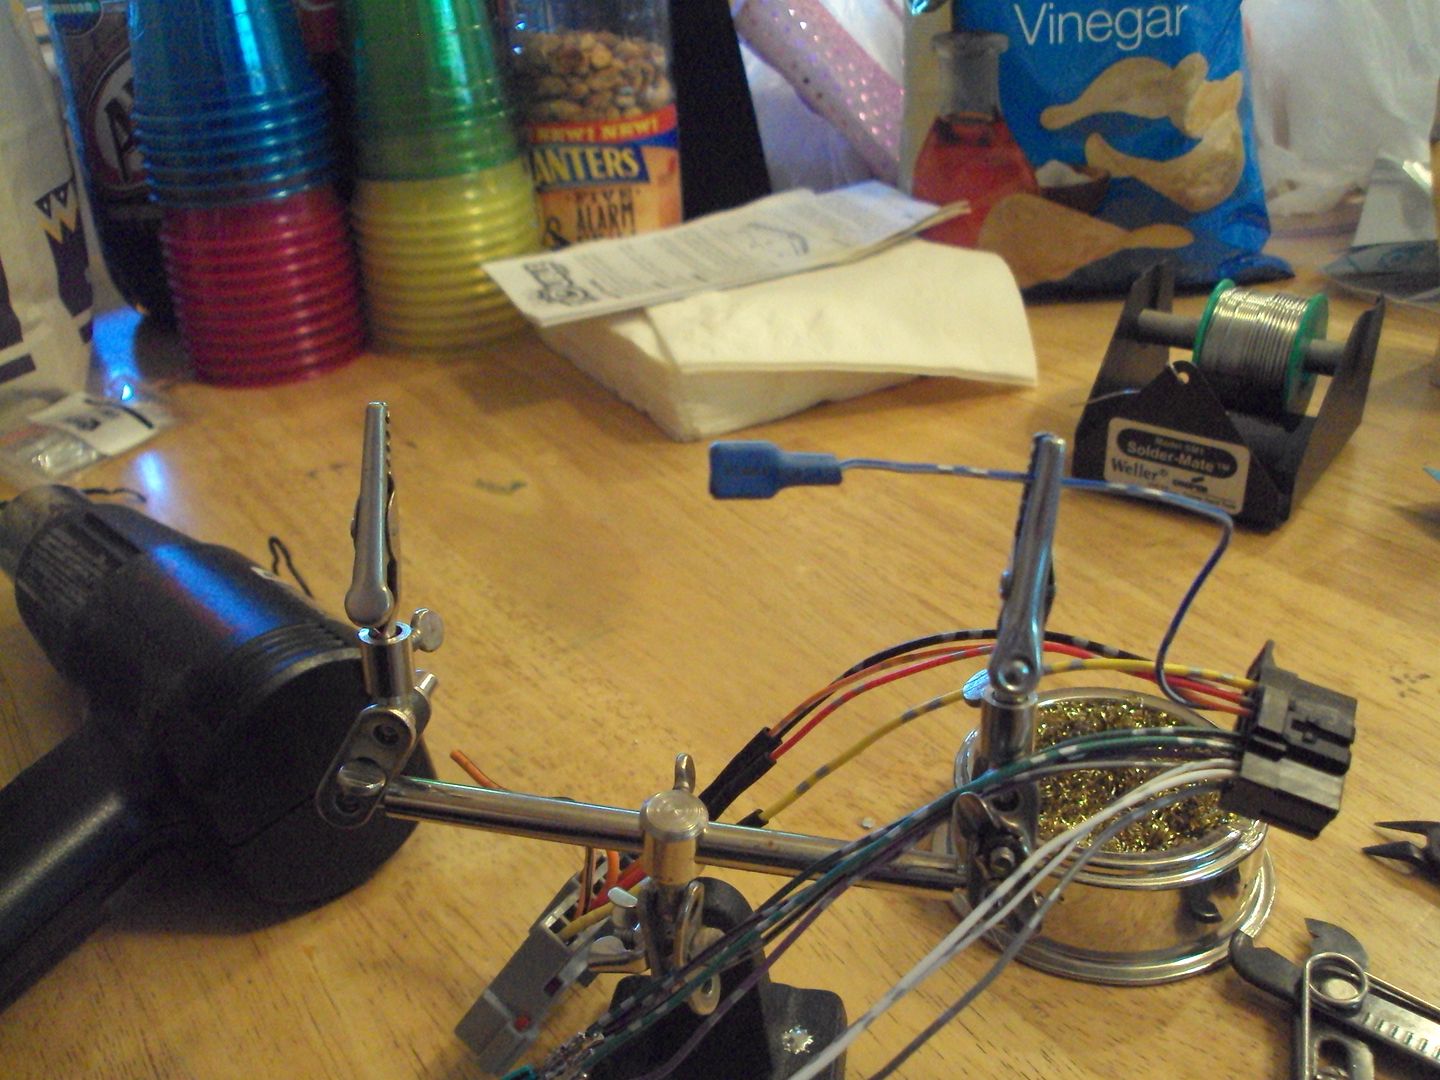
Stinger Blue Translucent remote wire! Soooo nice looking and feeling!

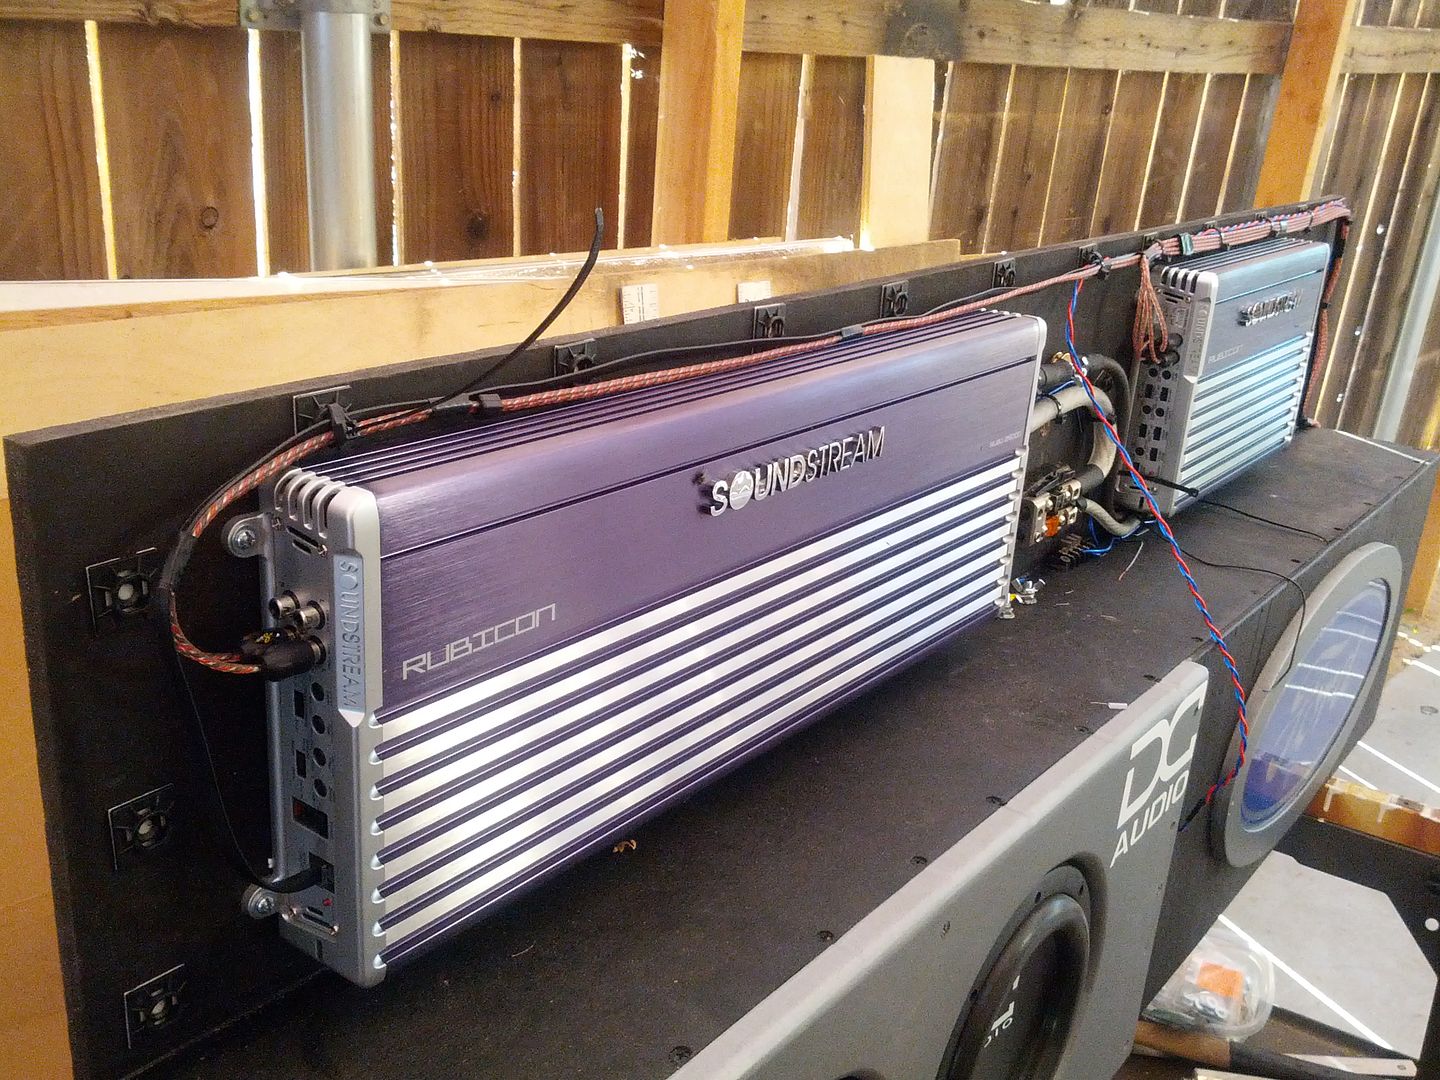
Need to do some cleaning up, but it's coming along!
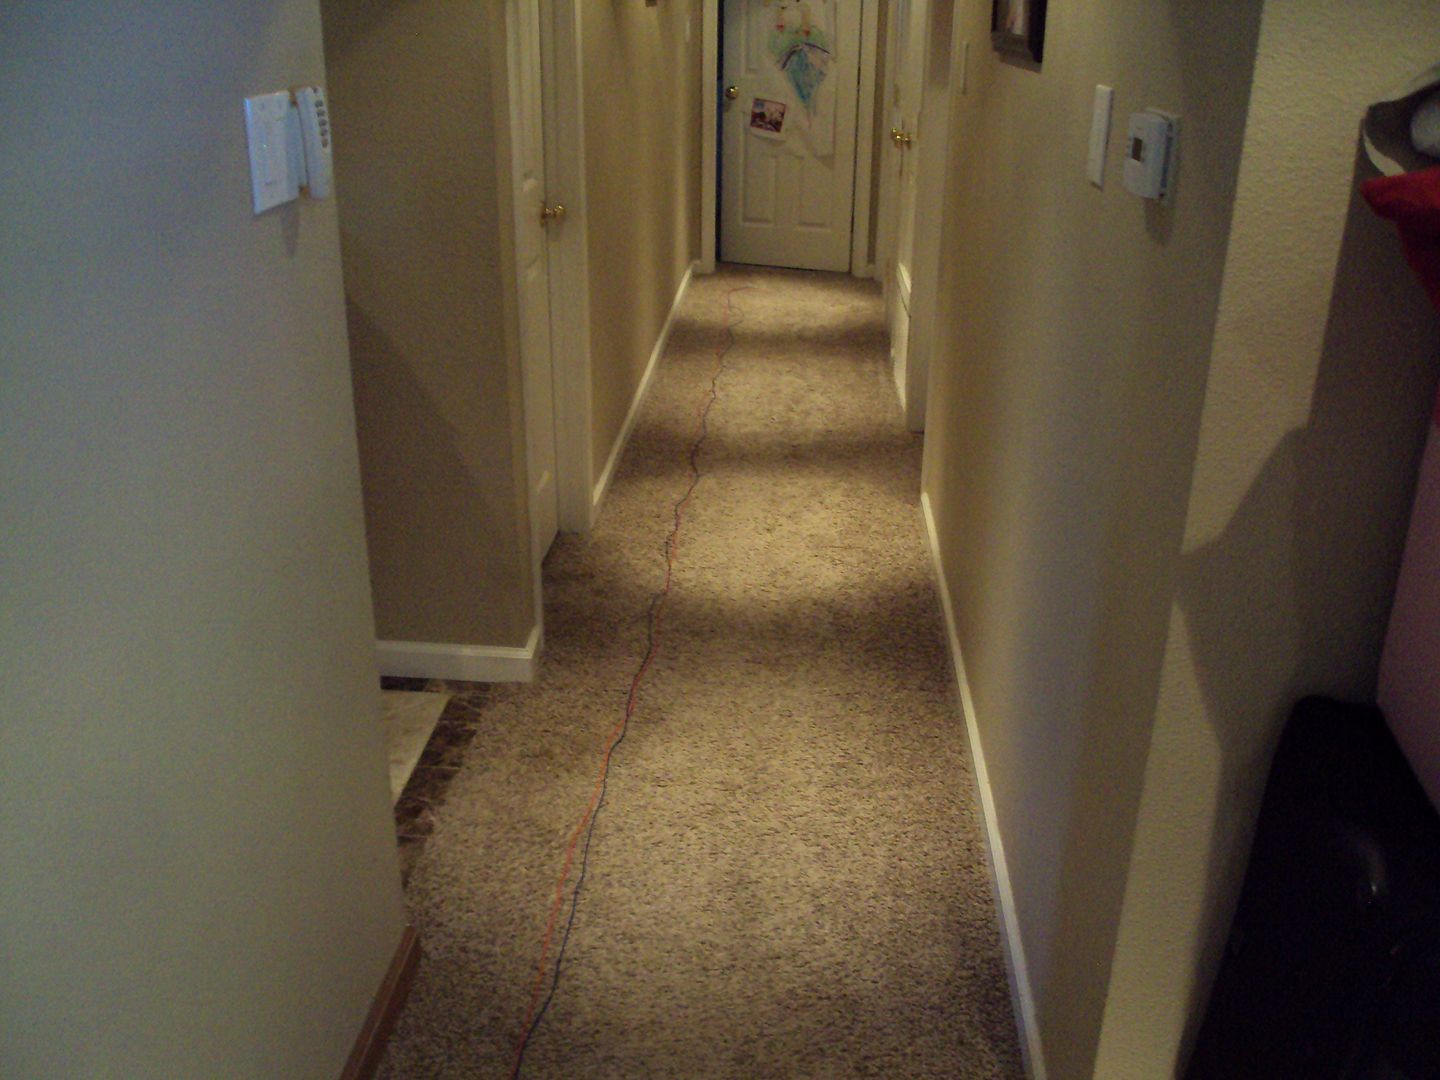
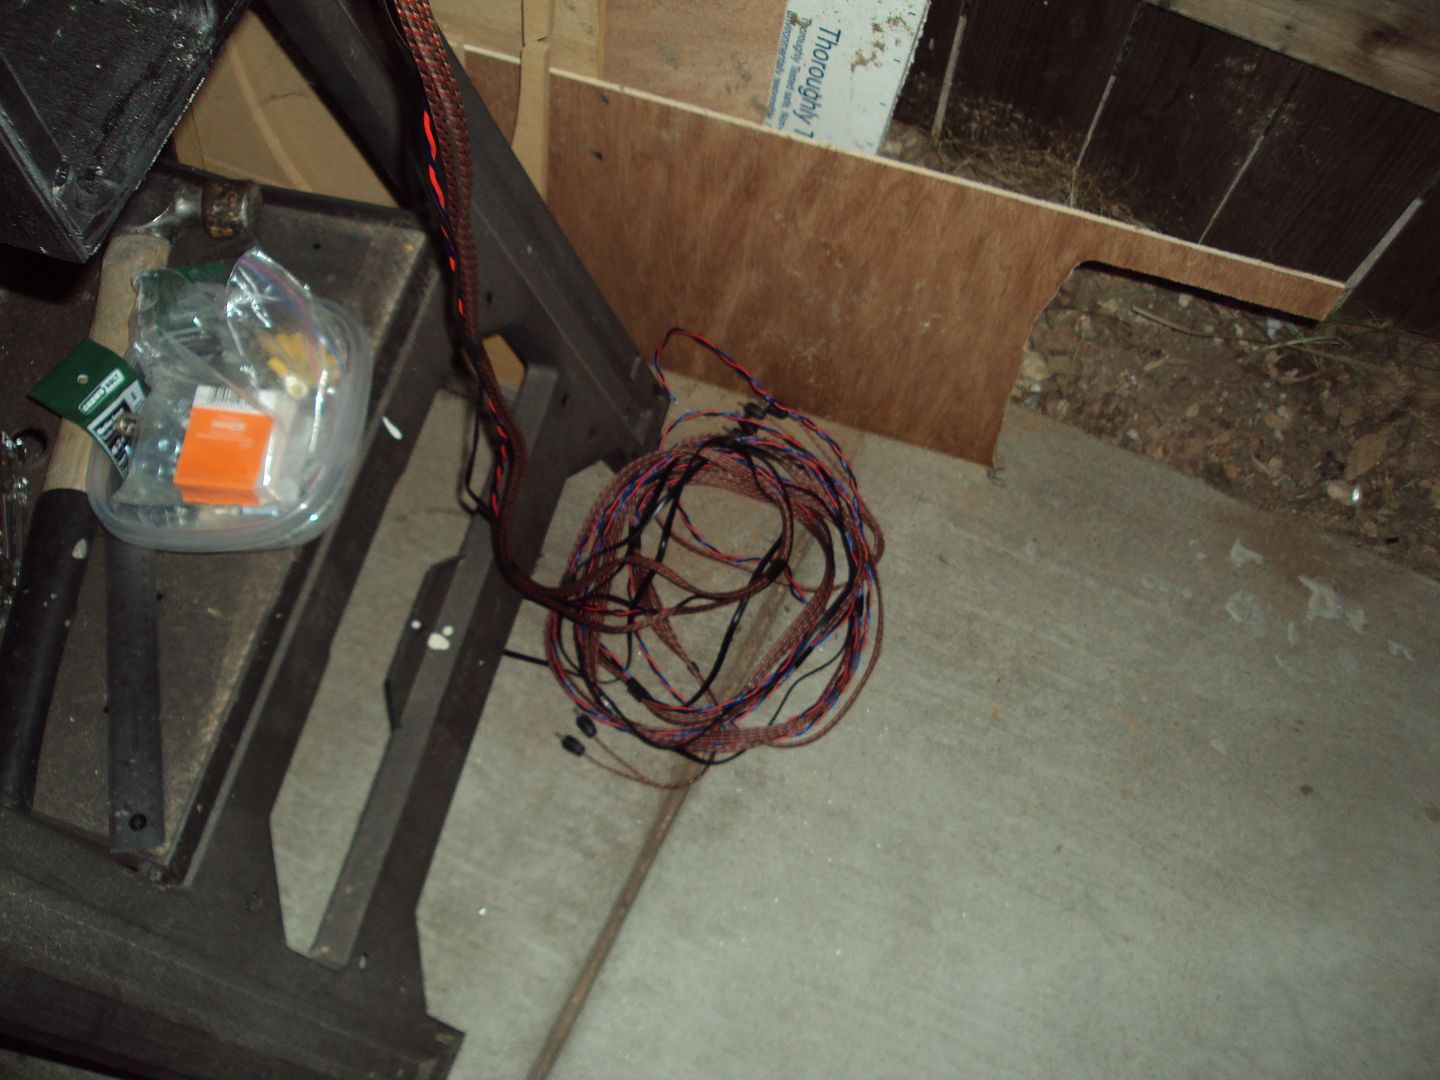
Decided I needed a relay for the remote wire. So I grabbed the rest of the translucent wire and some stinger red wire, and ran them with the RCA's. Time to bundle up!
Wires snaking down the hall!
My little helpers


Getting it all put together! Slowly!
Heatshrink on the terminations! This is the 4ga, and the heat shrink I had was too big, but it will work. I need to re up my inventory of shrink!
1/0 ga.
Stinger Blue Translucent remote wire! Soooo nice looking and feeling!
Need to do some cleaning up, but it's coming along!
Decided I needed a relay for the remote wire. So I grabbed the rest of the translucent wire and some stinger red wire, and ran them with the RCA's. Time to bundle up!
Wires snaking down the hall!
My little helpers
Getting it all put together! Slowly!
#70
07-05-2012, 02:39 PM
Join Date: May 2011
Posts: 339
Likes: 0
Received 0 Likes
on
0 Posts
So again, I ran out of light cause I was working and not taking pics. But I got the RCA's placed, the volume **** wire place, and the red and blue wires placed. Started getting some zip tie bases on and tidying things up. As you can see it was getting dark out so I had to stop here, clean up, and get things set up for fireworks! Here's the rest of the pics.
Even in the dark you can see how much cleaner things look. But I'll get some better ones tonight when I get home. Or it'll wait till tomorrow night when I can work on it again. REally need some shop lights on the side of the house.
Bundle of RCA's and wires to go to the front.
Here's what's left for wiring.
So I have that little bit left for wiring. I also need to make a trim panel to go over it and just show the front of the amps. That shouldn't take long to do. Still have to run the power and ground cables from front to back of the truck, get the rca bundle ran, and put the head unit in. Then, it's time to tune with the good ol DD-1 and see what she sounds like!
Getting there. POSSIBLE, it'll be up and playing by Saturday night!
Thanks for checking in!
#71
07-05-2012, 02:41 PM
Join Date: May 2011
Posts: 339
Likes: 0
Received 0 Likes
on
0 Posts
Oh, almost forgot, I've got to get this ol girl in the shop. I'm getting some new tires, all terrains instead of muds, gotta get new shocks, and get it inspected. So that's coming up this week. I'll update that when it happens too.
Where can I get some Rancho Shocks online quickly for this truck? Anyone give me some info? Doing a google search but I'm not finding what I need vs what Rancho's site says I need. Thanks for any help.
Where can I get some Rancho Shocks online quickly for this truck? Anyone give me some info? Doing a google search but I'm not finding what I need vs what Rancho's site says I need. Thanks for any help.
#72
07-05-2012, 09:50 PM
Join Date: May 2011
Posts: 339
Likes: 0
Received 0 Likes
on
0 Posts
#73
07-05-2012, 10:33 PM

#74
07-06-2012, 12:17 PM
Join Date: May 2011
Posts: 339
Likes: 0
Received 0 Likes
on
0 Posts
So I had to bring the truck to work today, and do some hauling for work. I decided that I didn't want to ride in silence all day, so I decided to get the head unit put in this morning. I didn't want to put it in just yet cause I still have to run the rca's and wires etc. But at the moment, it's not a big deal. I still have my alpine cage in there, so while the pioneer sits in there fine and doesn't move around, it doesn't also clip in. So I'll probably take it out tonight when I get home so I can at least keep it for a while.
On to pics!
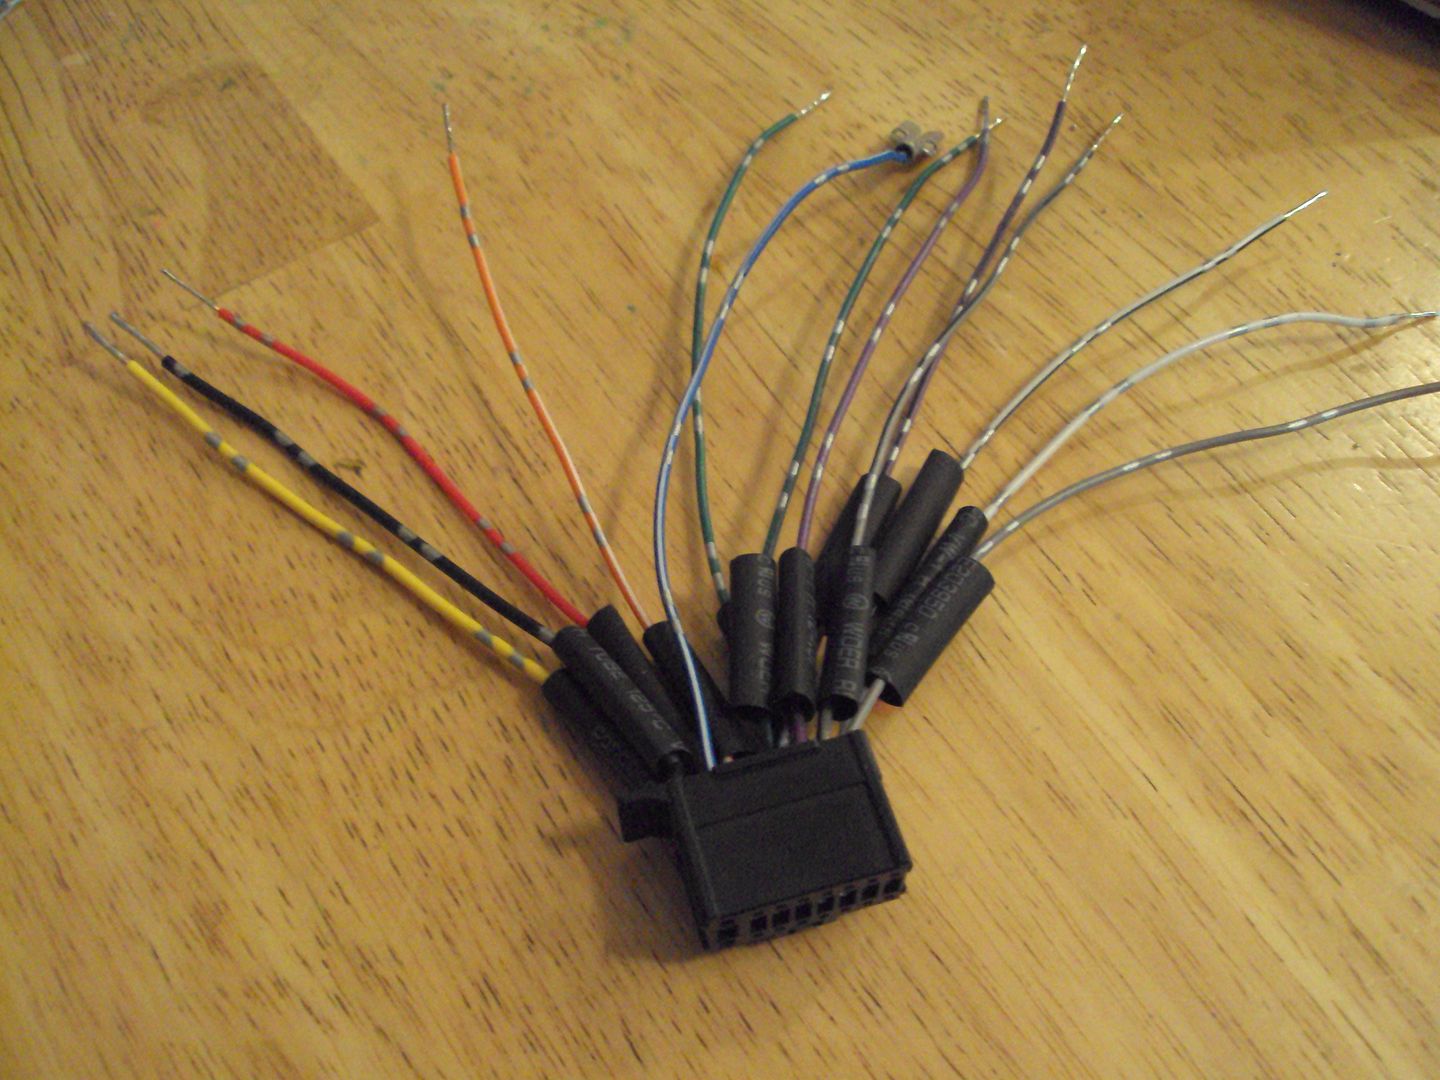
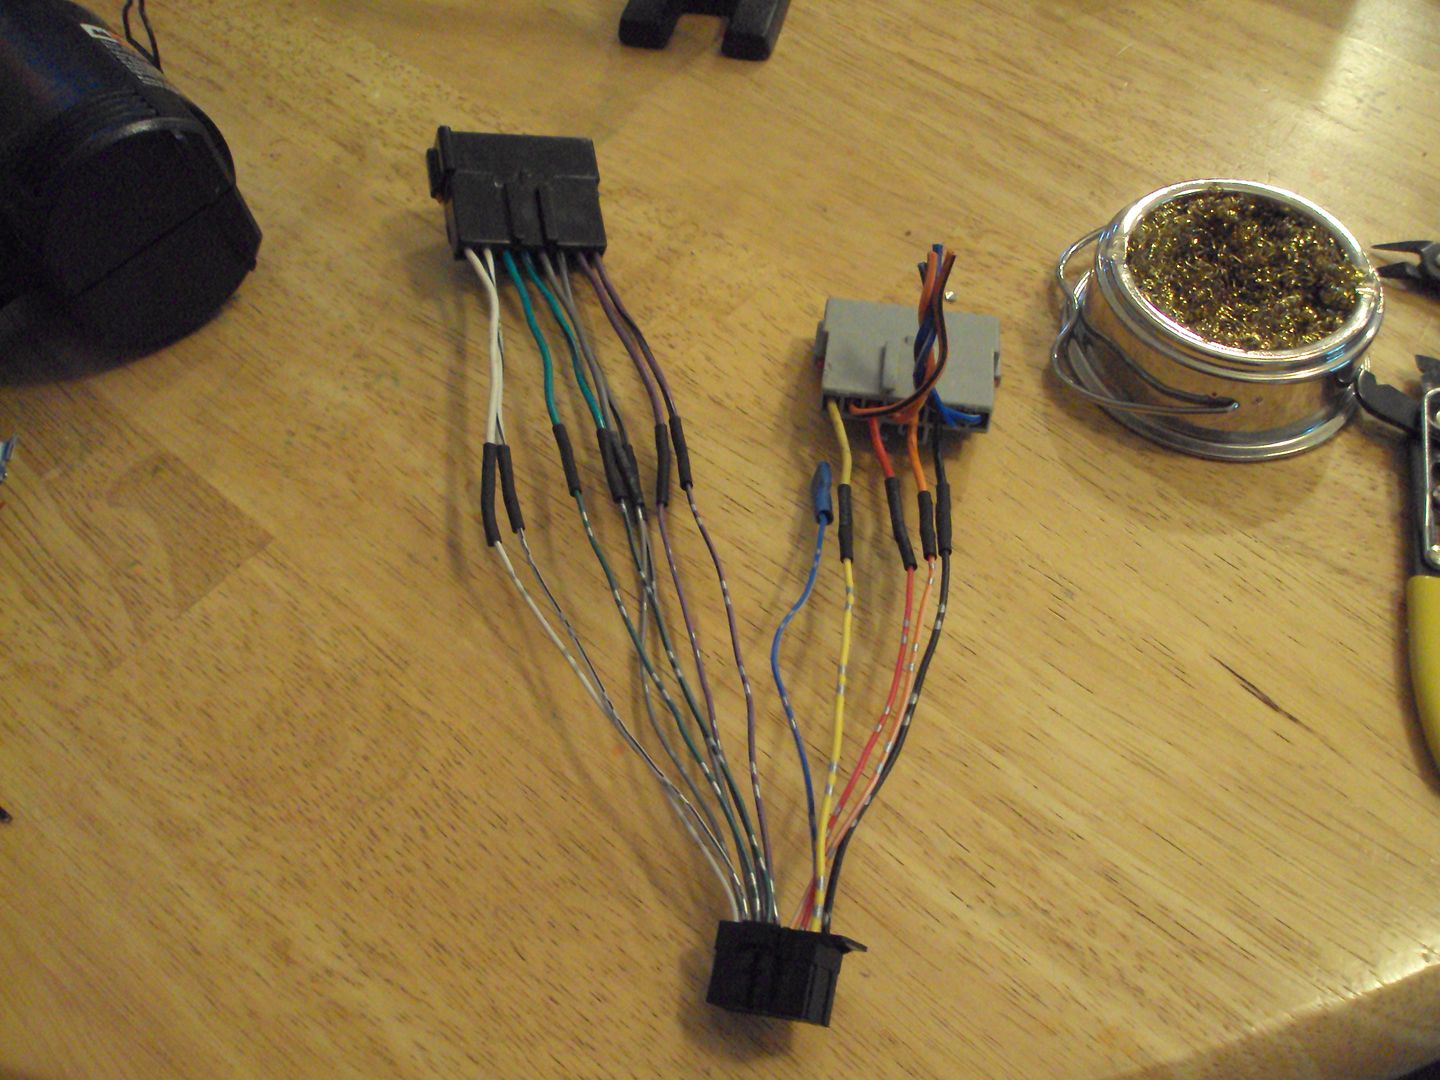
Got the harnesses plugged in, good thing i did this already lol!
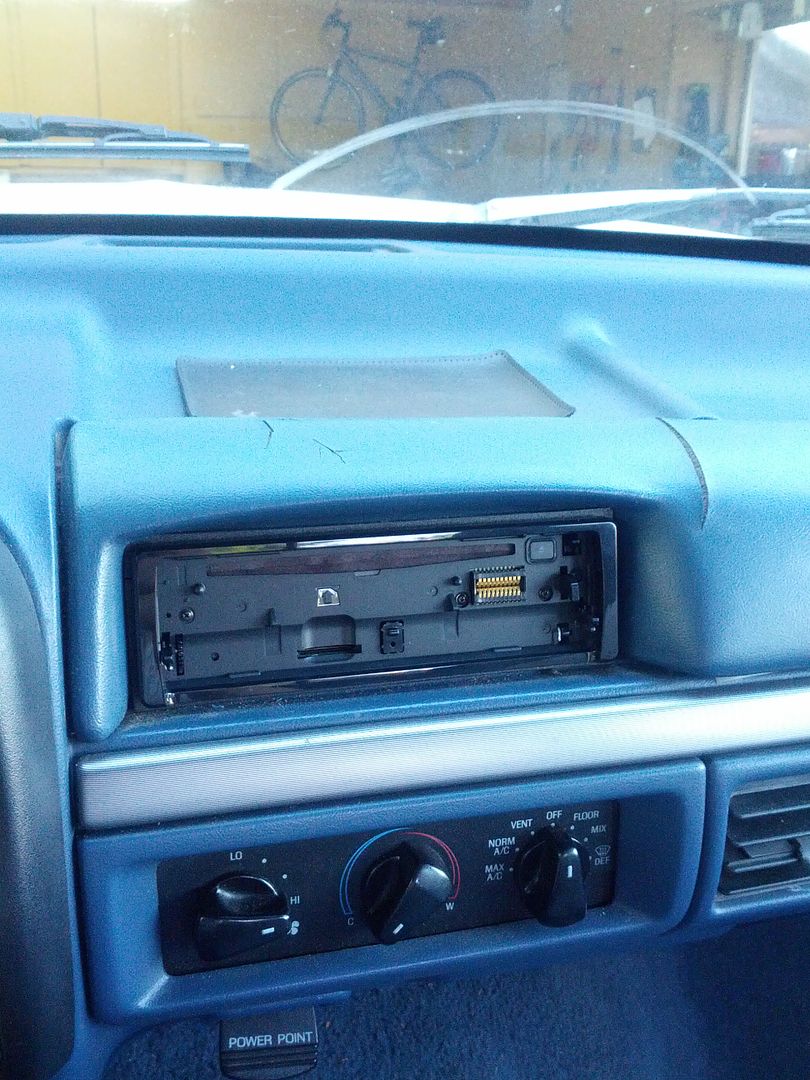
Head unit out and ready to go in.
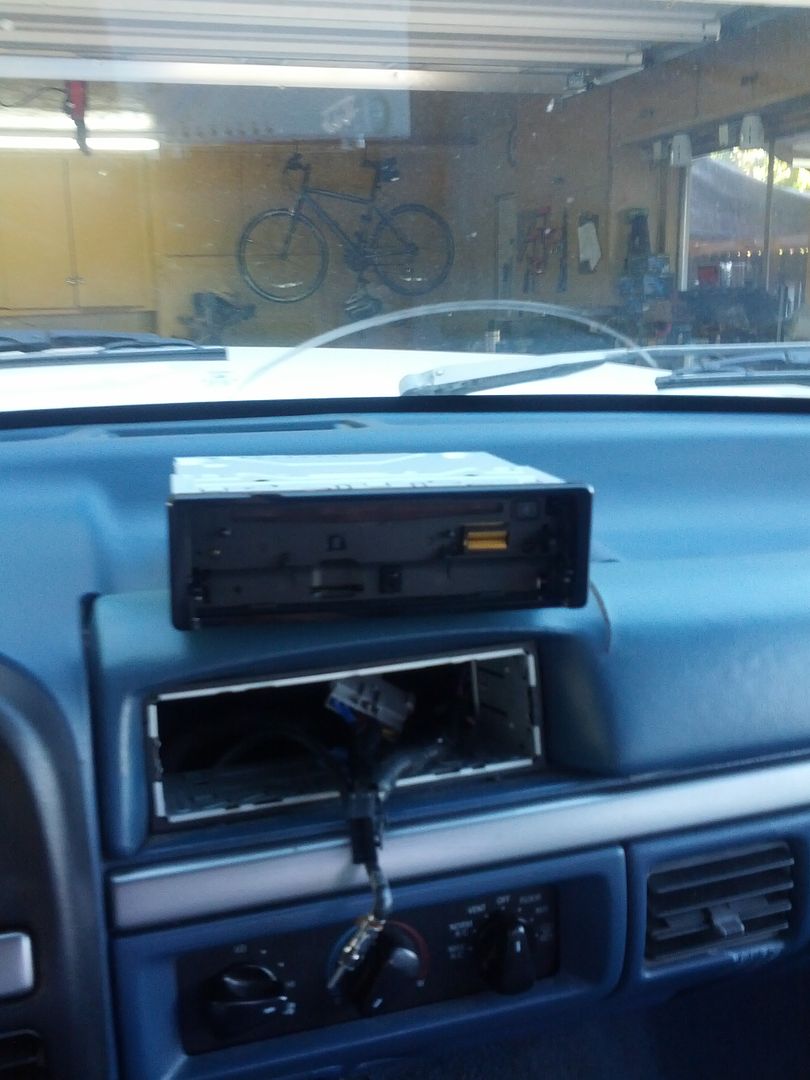
and in it's final resting place, well for now anyway!
The beautiful shot
/
/
/
/
/
/
/Wait for itttttttt
/
/
/
/
/
/
/
/
/
/
BAM!!
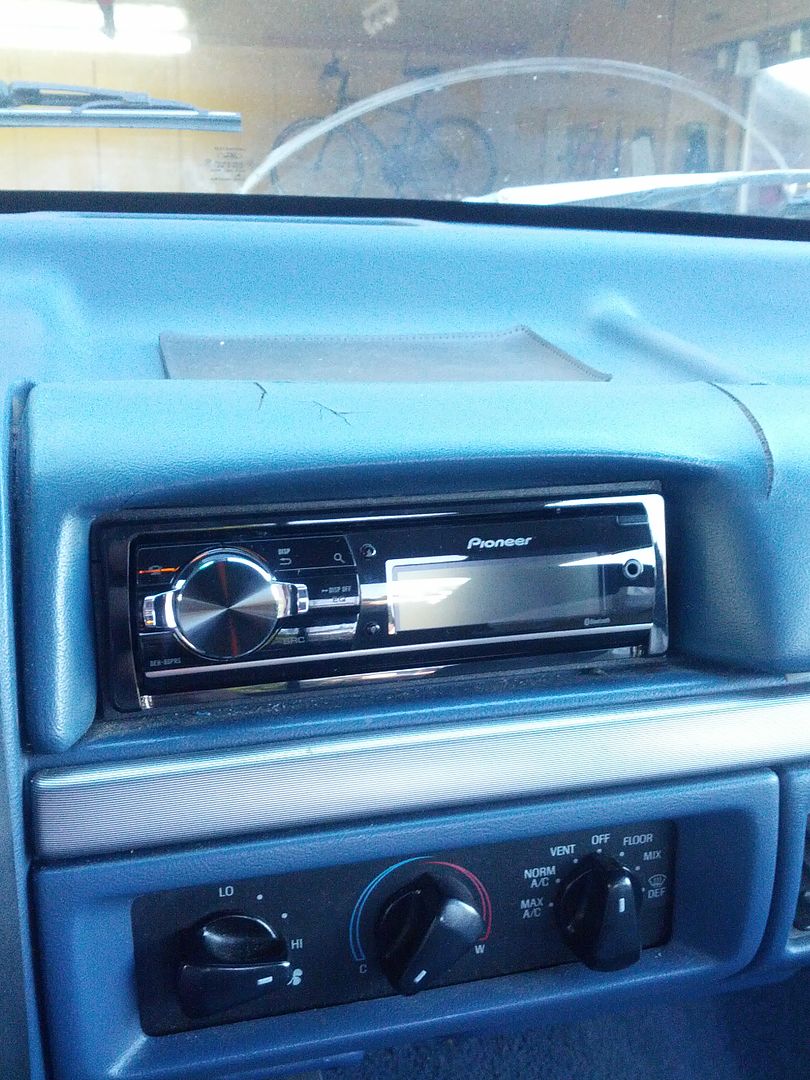
For whatever reason, I LOVE the look of this thing. There's nothing special about it that I can see but it just flows!
Turned the key! And it works!
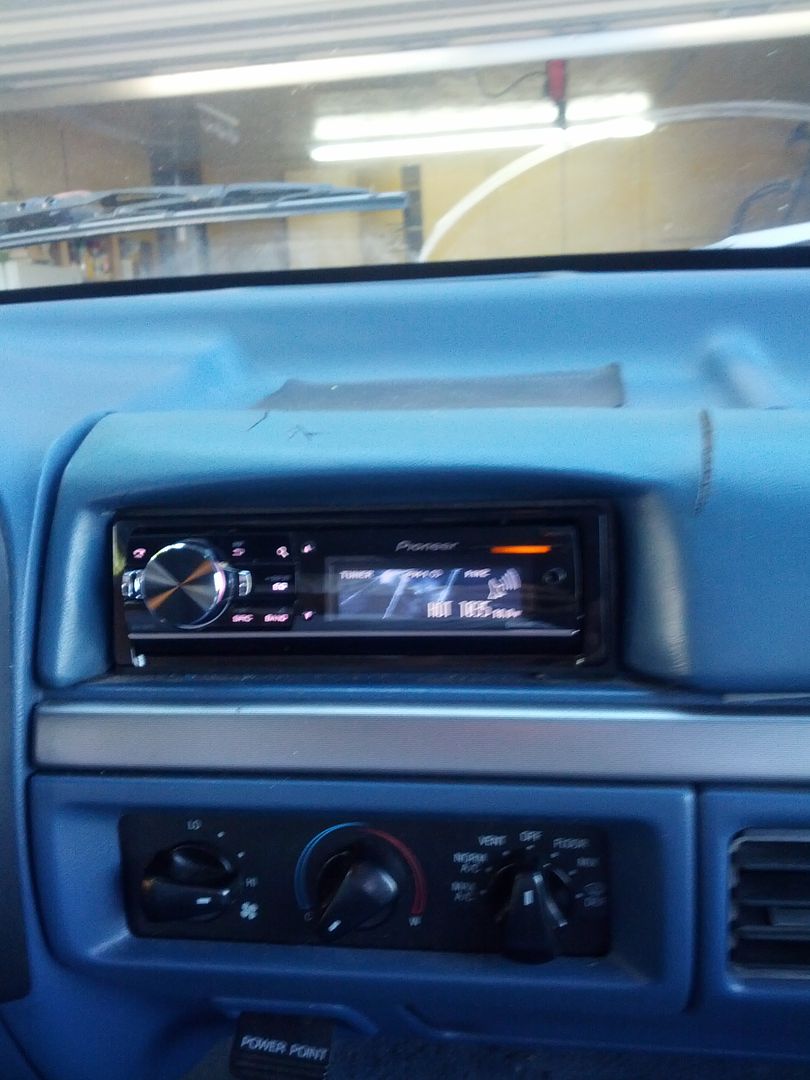
Check this out, even has a volt meter on it! WOOT!!
14.0 at idle!
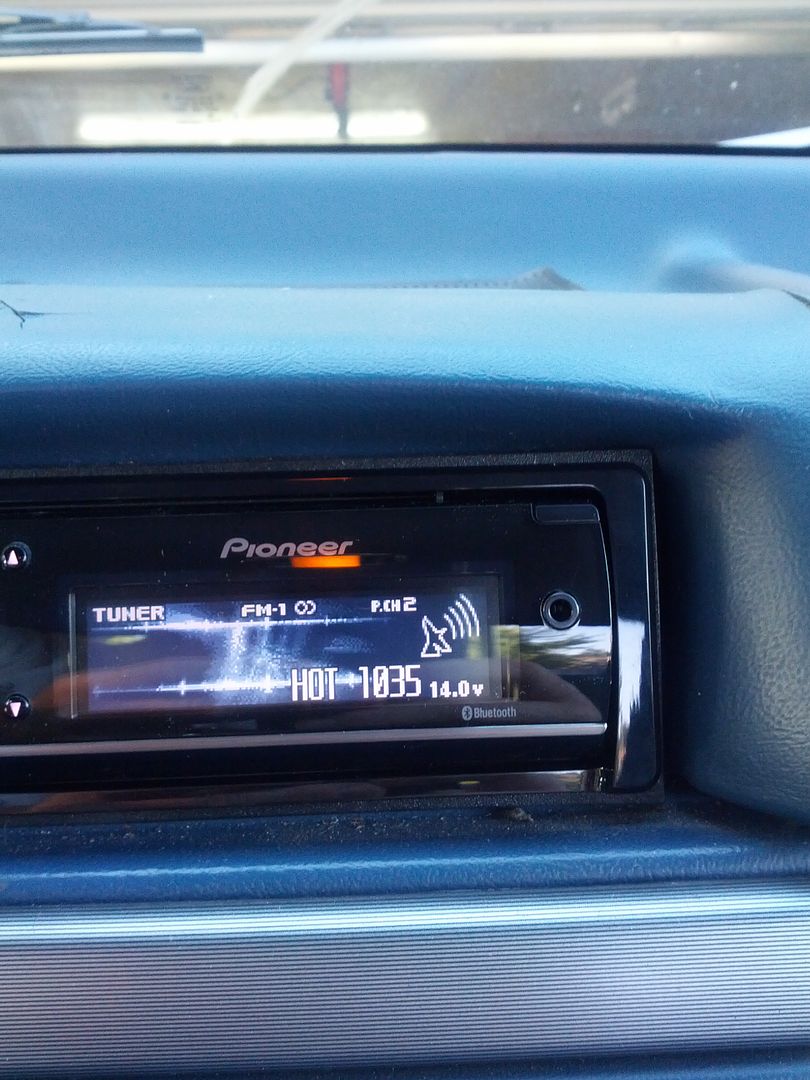
Now I've not done anything with it. Nothing on settings or anything really. I set the clock, date, and adjusted a couple of things. But not hooked up the bluetooth or anything else. I'll do all that when I get it all hooked up this weekend.
Thanks for checking in! That's it for now!
On to pics!
Got the harnesses plugged in, good thing i did this already lol!
Head unit out and ready to go in.
and in it's final resting place, well for now anyway!
The beautiful shot
/
/
/
/
/
/
/Wait for itttttttt
/
/
/
/
/
/
/
/
/
/
BAM!!
For whatever reason, I LOVE the look of this thing. There's nothing special about it that I can see but it just flows!
Turned the key! And it works!
Check this out, even has a volt meter on it! WOOT!!
14.0 at idle!
Now I've not done anything with it. Nothing on settings or anything really. I set the clock, date, and adjusted a couple of things. But not hooked up the bluetooth or anything else. I'll do all that when I get it all hooked up this weekend.
Thanks for checking in! That's it for now!
#75
07-06-2012, 04:11 PM
Join Date: May 2011
Posts: 339
Likes: 0
Received 0 Likes
on
0 Posts
Guys, I really need some help. Here's a thread I started about what I"m looking to do. I'm ready to get some stuff ordered to get this going, but I'm a little confused as to what I need. Thanks!
https://www.ford-trucks.com/forums/1...rstanding.html
https://www.ford-trucks.com/forums/1...rstanding.html