
1977 crewcab cummins build
#316
 02-07-2014, 02:34 PM

Join Date: Aug 2009
Location: Ontario, Canada
Posts: 527
Likes: 0
Received 0 Likes
on
0 Posts
Ya, tell me about it!! This is my first big project that i've ever sent to a body guy, and if i had to do it again i'd definitly do some things different!!! And i know i'm not the only one out there that's has trouble getting their body man to get to work....Either way, i'm getting my truck back this spring....
Since i've had lots of time without my truck...and when i'm not working on my highboy.....I have begun to gather all my trim pieces for the crew. I bought a complete lower race track kit from the bronco graveyard...with the exception of the rear door pieces (that i have already). The only pieces i have to make for this is the little pieces about 2 1/4 long for in between the doors. I am using all used upper chrome that i have been stripping off trucks and hoarding for years now. As far as the upper rear door pieces, i have one, and i cut down a front door piece for the other (pics to come).
I don't have shortbox upper pieces either , so i cut down some long box uppers.
#317
02-07-2014, 03:34 PM
Senior User
Join Date: Feb 2009
Location: Santa Maria, CA
Posts: 148
Likes: 0
Received 0 Likes
on
0 Posts
#318
02-09-2014, 05:20 PM
Join Date: Aug 2009
Location: Ontario, Canada
Posts: 527
Likes: 0
Received 0 Likes
on
0 Posts
Hey, can any of you guys that have the racetrack trim on their crew give me the length of the little short piece of lower trim that goes between the front and rear doors. I think the pillar measures around 2 1/2" so i was going to make a custom piece of trim around 2 1/4" long.
And can you tell me if it is square on both ends, or does one end have a slightly sloped end to help it clear the door when its opened just like the upper trim piece does.
I cut down a damaged front door piece, and was going to use both ends of it to make my two pieces, but then i noticed that it too has a slope on one end...so this got me thinking about this....
Thanks in advance!!
#319
03-08-2014, 12:32 PM
Join Date: Aug 2009
Location: Ontario, Canada
Posts: 527
Likes: 0
Received 0 Likes
on
0 Posts
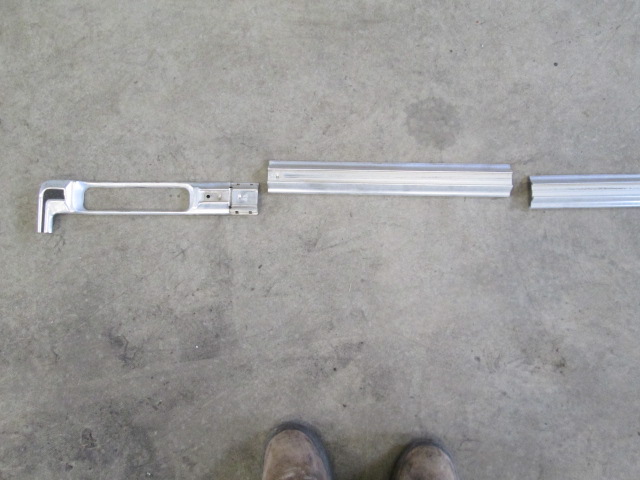
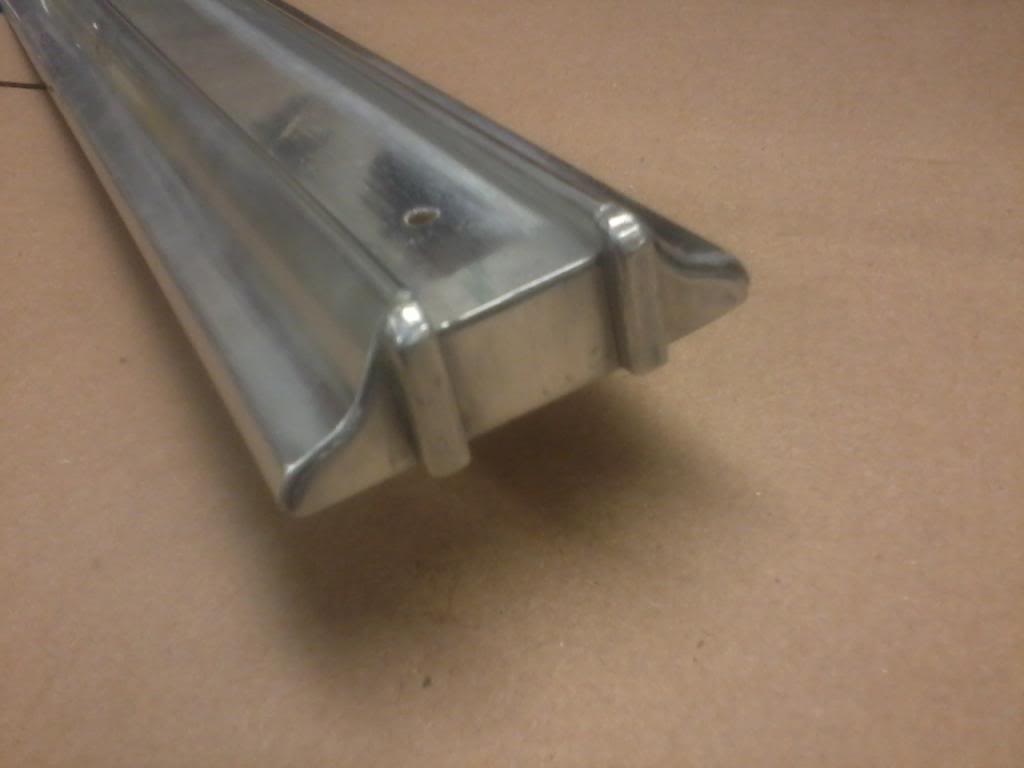
So I began cutting down some trim to make the crew cab specific pieces that i was lacking.
Using a damaged front door lower race track trim piece i cut a 2 1/4" from one end. I then took a small piece of 16 ga aluminum, traced out the small profile, and filed out an end piece.
I then sprayed the trim piece with some paint stripper to remove the pin stripe and other crap. Then it went for a small trip on the polishing wheel to get all shined up. When i got the end piece filed to my liking, i epoxyed it in place. Then i installed a short piece of 1/4" wide stick on pin striping to make it look original. I plan on giving it a quick little spray of clear coat, and then it will be complete...I don't have a pic yet of the finished product, but i will post one...I think it turned out pretty good...
And now its time to make the piece for the other side.
#321
03-08-2014, 12:56 PM
Join Date: Aug 2009
Location: Ontario, Canada
Posts: 527
Likes: 0
Received 0 Likes
on
0 Posts
But on a really positive note, that little trim piece was the last little piece that i needed to make before i could go lay out the trim on the truck at the body guys shop.
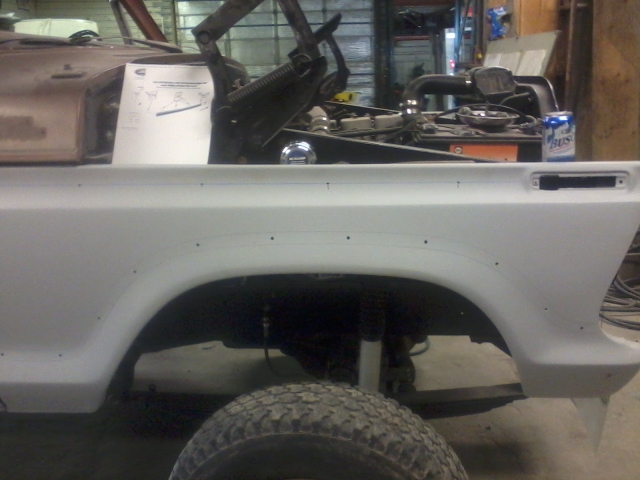
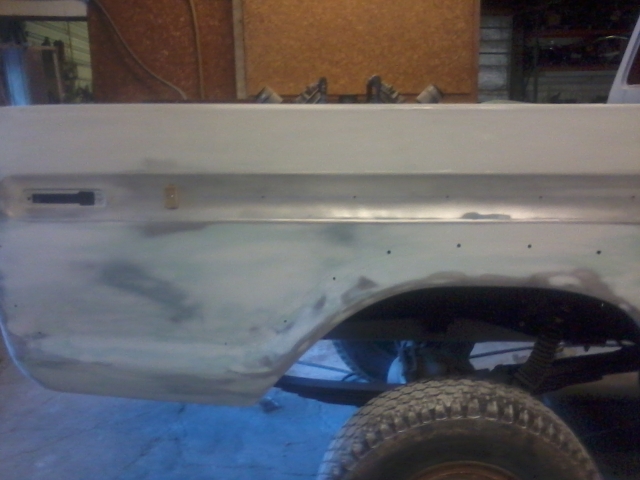
So on Thursday i went over and spent over six hours or so working on the truck. We aligned all the doors and fenders and got the box shimmed and bolted down. I then proceeded to lay out all the chrome and drill all the holes. The only body panel that had original studs for mounting the chrome was the passenger side rear door so i was pretty much starting from scratch. I printed off a bunch of pictures from the dennis carpenter website that show the approximate location of the different clips, and the of number clips required for each chrome moulding.
It actually went pretty well. I snapped a string line from the screw holes for the side marker light on the box to the side marker light on the fender. I then marked and drilled all the holes for the upper strip. I then riveted two clips on the box side and snapped on the box piece that has has the turn down for the racetrack trim. Since the passenger side rear door already had the lower trim studs, i was able to get the measurement i needed between the upper trim mounting holes and the lower mounting location...it was right around 15 3/4". I then put on some clips and snapped on the rears door lower trim. This now allowed me to stick the lower box side pieces together, and slip into the upper box side piece. I now could eyeball the front of that piece and line it up with the rear door...next step was tracing it on with pencil. I then layed out the hole locations and drilled the holes.
The front fender piece was pretty much the same drill...lay out, drill and mount the door piece, then trace out the front fender piece where it looks good...then drill holes.
The first side took the longest to do but by then i pretty much had it figured out what i needed to do and the other side went faster.
#322
03-08-2014, 09:06 PM
Cargo Master
#323
03-09-2014, 07:00 AM
Join Date: Aug 2009
Location: Ontario, Canada
Posts: 527
Likes: 0
Received 0 Likes
on
0 Posts
Ya, it went there way too long ago...almost two years ago. It seemed to take a while to get the fire lit under his a**. Next time i have a vehicle painted i will be doing things a little differently...I hope the time and money this time turns out to be worth it. I gave him a deadline of the first of April, so i hope he stays on schedule.
And the other truck should have been done a long time ago too...but thats my fault.
And the other truck should have been done a long time ago too...but thats my fault.
#324
03-09-2014, 09:33 AM
#325
03-09-2014, 10:12 AM

#326
03-21-2014, 11:44 AM
Lead Driver
Couple ways I'd try & go after this.
1) Have him sign something saying it will be done by X date or the fee you are paying him will start dropping the longer it takes
2) Have him sign something saying it will be done by X date or deal is done/over and you will come remover the truck - paying no more than what has already been paid (hopefully you didn't pay up front!)
Probably hard to get him to sign something like this, but I'd threaten with better business bureau or the authorities if he doesn't get his **** in gear!
I'm not even involved & my blood is boiling just hearing how long he's given you the run around!
#327
03-26-2014, 01:51 AM
Join Date: Aug 2009
Location: Ontario, Canada
Posts: 527
Likes: 0
Received 0 Likes
on
0 Posts
Couple ways I'd try & go after this.
1) Have him sign something saying it will be done by X date or the fee you are paying him will start dropping the longer it takes
2) Have him sign something saying it will be done by X date or deal is done/over and you will come remover the truck - paying no more than what has already been paid (hopefully you didn't pay up front!)
Probably hard to get him to sign something like this, but I'd threaten with better business bureau or the authorities if he doesn't get his **** in gear!
I'm not even involved & my blood is boiling just hearing how long he's given you the run around!
1) Have him sign something saying it will be done by X date or the fee you are paying him will start dropping the longer it takes
2) Have him sign something saying it will be done by X date or deal is done/over and you will come remover the truck - paying no more than what has already been paid (hopefully you didn't pay up front!)
Probably hard to get him to sign something like this, but I'd threaten with better business bureau or the authorities if he doesn't get his **** in gear!
I'm not even involved & my blood is boiling just hearing how long he's given you the run around!

It just so close to the end that i hope it comes together with no more headaches...
#328
03-26-2014, 02:04 AM
Join Date: Aug 2009
Location: Ontario, Canada
Posts: 527
Likes: 0
Received 0 Likes
on
0 Posts
Moving on.....
I have been working on some trim pieces a little bit when i have time.
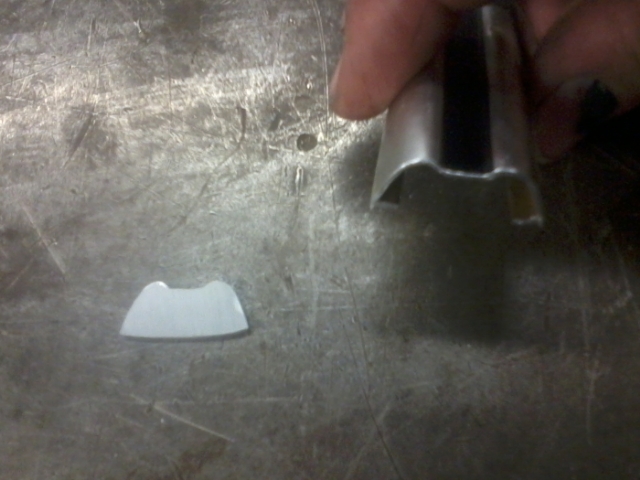
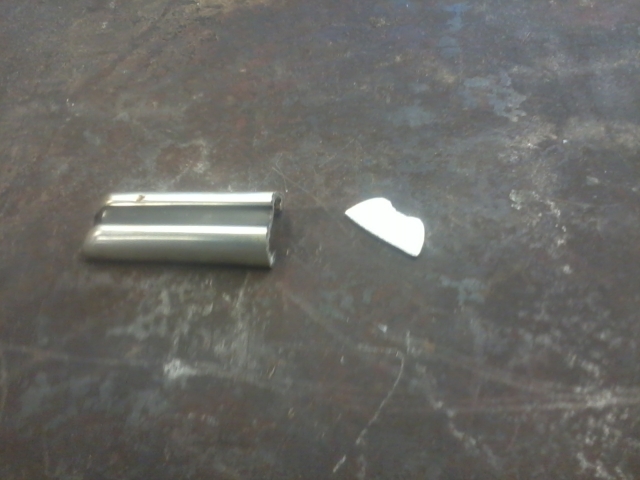
Here's a couple of pics that i dug out of my first attempt at shortening a front door upper piece into a rear door piece. I did this probably a year ago, and i'm just getting back around to messing around with it again.
My first attempt turned out pretty nice. I filed an end piece like i did for the little lower pillar piece, and epoxyed it in place. The only problem is i forgot to account for the curve in the dent on the bottom of the end piece i filed.
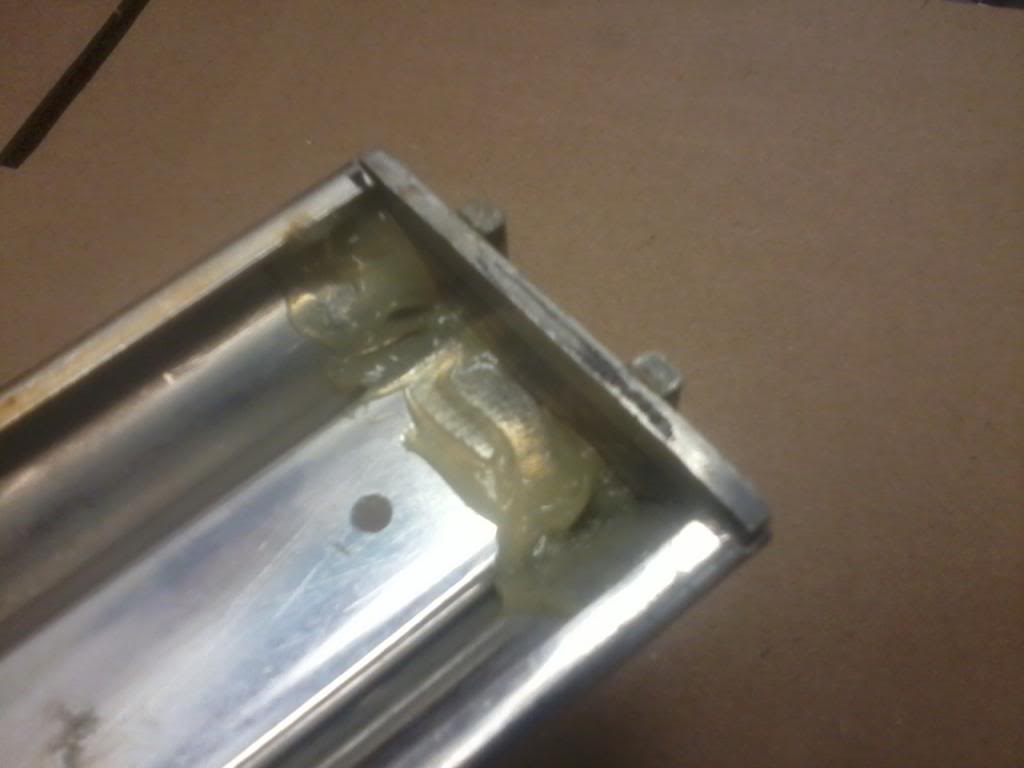
Here is a comparision between my piece and a factory rear door piece.

I plan on making a new one with the proper curve needed. I will also be cutting down another front door trim piece to use too because i went a little heavy with the polishing wheel on this one and burned through some of the coating.....whoops.
I have been working on some trim pieces a little bit when i have time.
Here's a couple of pics that i dug out of my first attempt at shortening a front door upper piece into a rear door piece. I did this probably a year ago, and i'm just getting back around to messing around with it again.
My first attempt turned out pretty nice. I filed an end piece like i did for the little lower pillar piece, and epoxyed it in place. The only problem is i forgot to account for the curve in the dent on the bottom of the end piece i filed.
Here is a comparision between my piece and a factory rear door piece.
I plan on making a new one with the proper curve needed. I will also be cutting down another front door trim piece to use too because i went a little heavy with the polishing wheel on this one and burned through some of the coating.....whoops.
#329
03-26-2014, 02:12 AM
Join Date: Aug 2009
Location: Ontario, Canada
Posts: 527
Likes: 0
Received 0 Likes
on
0 Posts
More to come.
#330
04-23-2014, 04:03 AM
Join Date: Aug 2009
Location: Ontario, Canada
Posts: 527
Likes: 0
Received 0 Likes
on
0 Posts
 .... I don't make it over Kincardine way very often, but if i do i'm sure you'll reconize me!!!