Ford F-150: How to Replace Powertrain Control Module
What is the PCM and how do you replace it on your Ford F-150 truck? We show you all the details and steps to do so.
This article applies to the Ford F-150 (2004-2014).
The PCM is the brain of your F-150. It is the central computer that controls everything, which includes the charging system, transmission, various emission controls, and communications. Signs of PCM failure may include engine light turning on, truck not starting, engine stalling while driving, or poor engine performance. Due to the complexity and cost of this item, only replace the module after doing some research and eliminating other possible causes. Your research should include checking for any Service Bulletins that may have been issued for your vehicle.
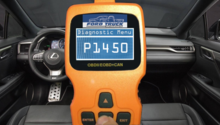
Be sure to check the Diagnostic Trouble Codes (DTCs) for potential component failures. The DTCs provide information that can help isolate failures to a specific component. The DTCs will also indicated any problems with the PCM. The DTCs are read through the interface connector that is located under the dashboard.
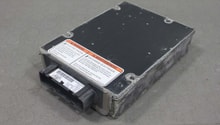
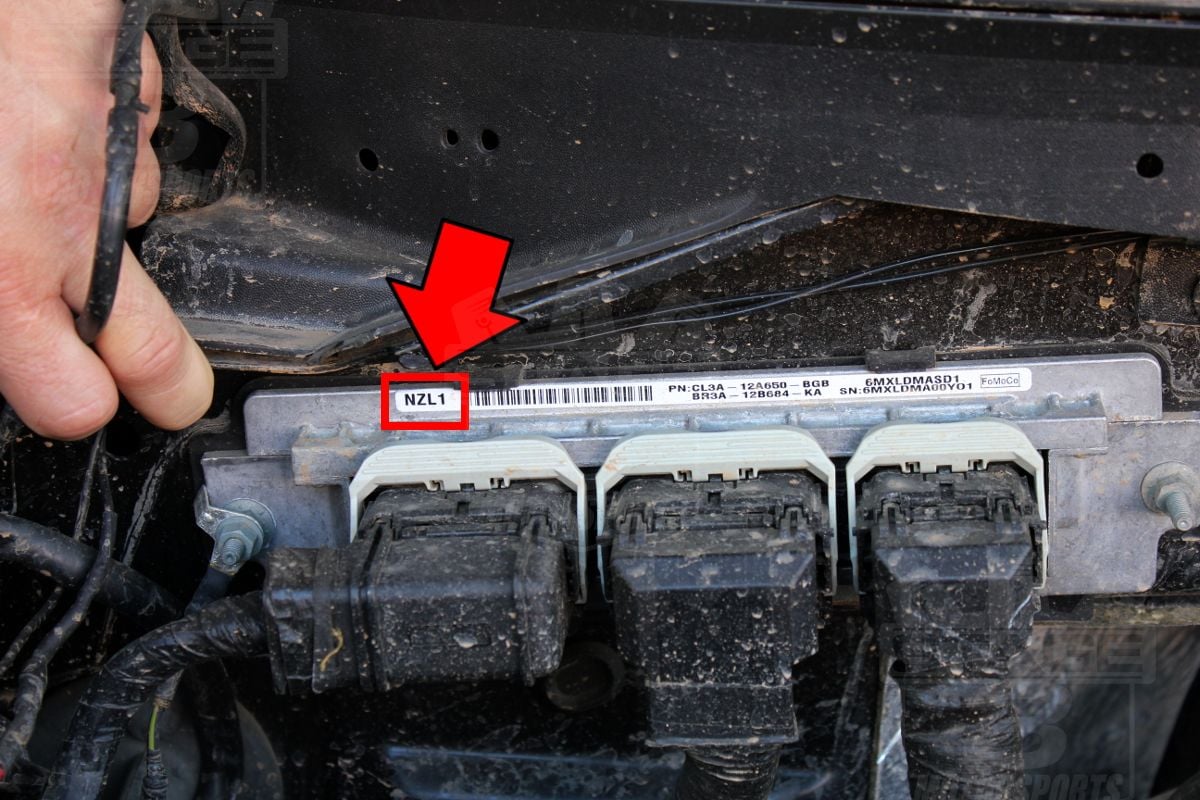
In addition to scanning the codes, gather some information about your PCM before taking anything apart. The code is located on the module as shown in Figure 1 above. Both the internet and your owner’s manual should help you to locate the PCM for your specific vehicle, You can do so by looking up the PCM by the code you obtain. Most of the newer F-150s have the PCM located behind the driver’s kick panel with the connector protruding through the firewall.
While you are inspecting the PCM, look for problems in the wiring and connectors. The wires should be fully insulated without any breaks. The connectors should be clean with no bent pins or connector blades.

Tools Needed
- Screwdriver
- Wrench and sockets
Step 1- Disconnect the battery
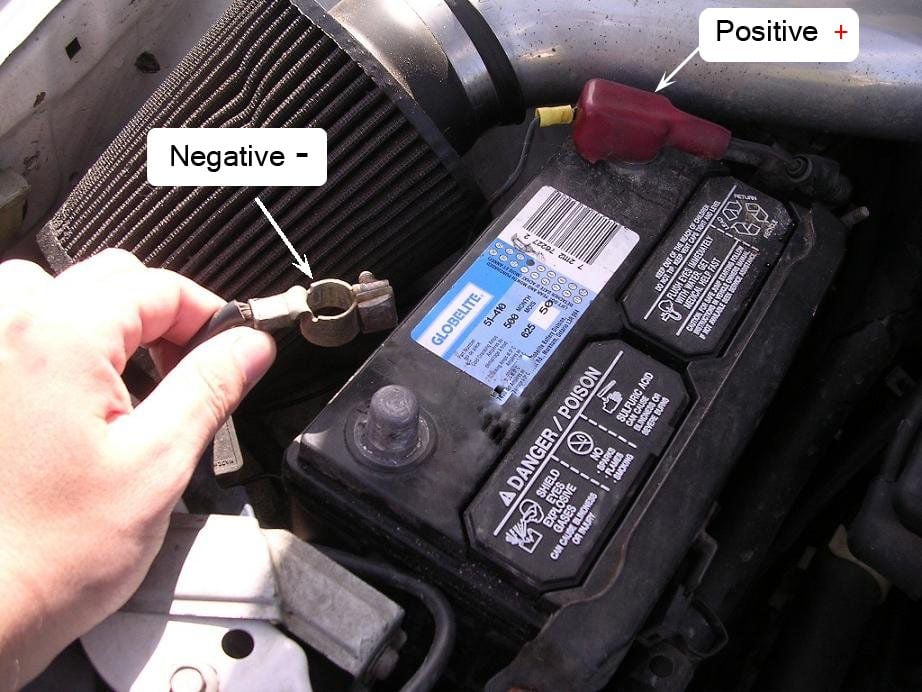
Disconnect the negative (black) cable of your battery.
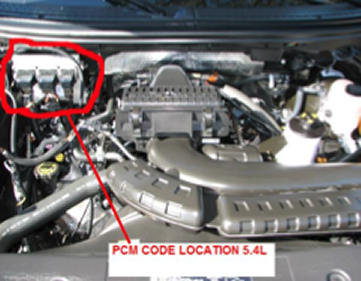
Step 2 - Locate the PCM
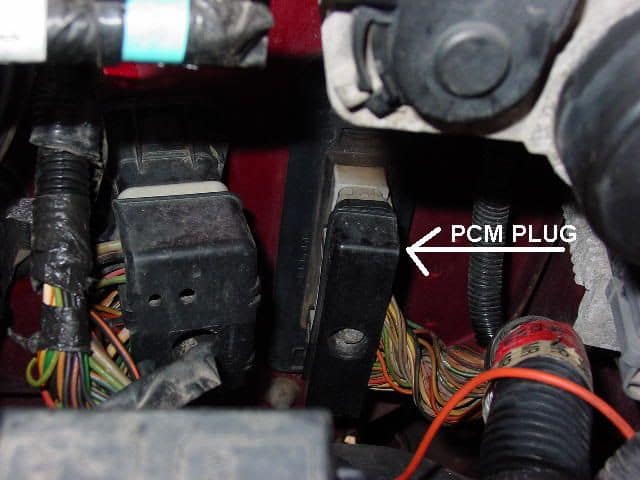
Open your hood, locate the PCM, and record the numbers written on it.
Step 3 - Look up the PCM number
Research the PCM from the numbers on the module based on the vehicle model, year, drive train components, and engine. Any auto store will let you enter the number to ensure you are buying the right one for your truck.
Step 4 - Install the new module
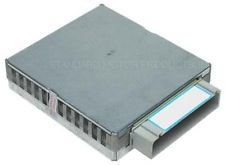
Purchase the new module based on your findings. Don’t install the new module without comparing it with the existing module. The connectors and mounting locations should match. Most places will not accept a module as a return item once it has been plugged in. Perform any flash updates you need before installing the new module. Unclip the old module by pulling it out gently, and install the new one in its place.
Step 5 - Reconnect the battery

Reconnect your battery in the reverse order that you disconnected it and start your truck.
Related Discussion and Video
- Removal Trouble - Ford-trucks.com