Ford F-150/F-250: How to Wash, Wax, and Detail Your Truck
Washing your car quickly could benefit it greatly, but spending extra time to get all the small details will go a long way.
This article applies to the Ford F-150 (2004-2014), and the F-250, F-350 Super Duty (2005-2014).
Most drivers are unaware that industrial pollutants including acid rain, dead bugs, tree sap and bird droppings eat away at the exterior paint of your Ford F-150 or Super Duty. In warm weather conditions, it is recommended to wash, polish and wax your car every week. This might sound like a lot of work but in the end, it will preserve the value of your vehicle if you decide to trade it in or sell it in the future. The interior also needs cleaning and using home cleaning supplies to save money on quality auto care products will only cost you more money on the long term. Leather seats need to be conditioned, cloth interiors require a scrubbing when stained, and wheels need to be polished. Here are helpful tips on how to keep your car in good shape.

Materials Needed
- Brush
- Grit-guard
- 2 wash mitts
- Gold class wash soap
- 2 1/2 gallon buckets of water
- Clay kit
- Foam applicator pad
- Trim detailer
- Hyper dressing
- Portable cable
- 5" backing plate
- Blue painters tape
- Deep crystal polish
- 10 microfiber towels
Step 1 - Park in shade
Find a shady area to park your car for it too cool.
Step 2 - Wait for bubbles
After pouring soap in a bucket, pour water in it until you see bubbles.
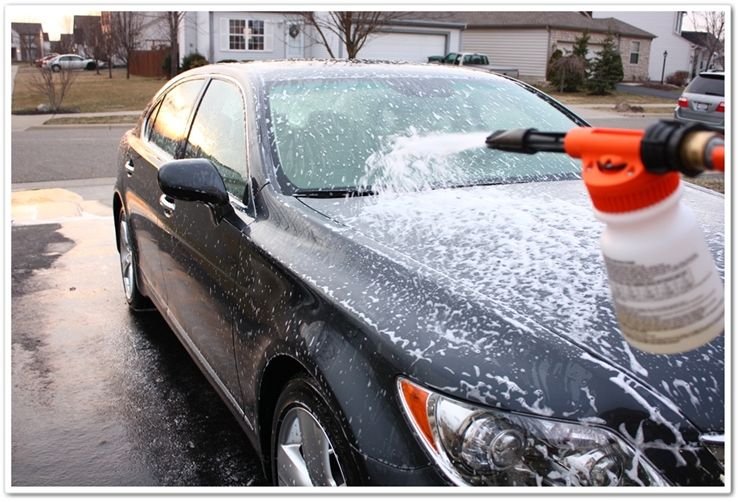
Step 3 - Remove the dirt
In order to remove dirt, dust or grime, you must rinse your car. The more water you spray, the better it is for the process.
Step 4 - Soak and wipe
Soak a soft cloth into the bucket and wipe your car in small sections, beginning from the top and down to the bottom. Go around the car in sections, wipe it down slowly in circular motions.
Step 5 - Wash before cleaning
Remember to wash the cloth with clean water before you put it back into the bucket.
Step 6 - Rinse it off
Use a hose to rinse off your car with clean water after wiping each section. Don't spray the whole car then work on each sections, because the water willl dry and leave water spots.
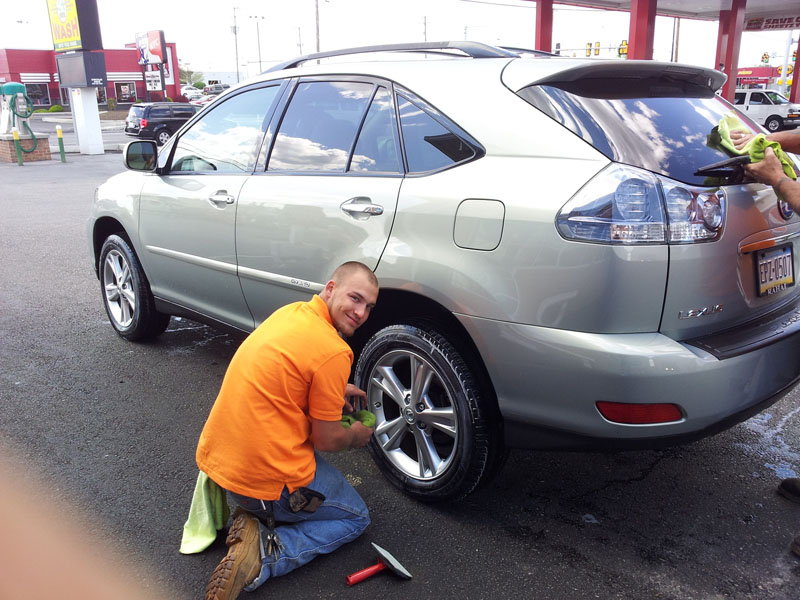
Step 7 - Clean the wheels
Once the exterior of your car is done, use a rag to clean the wheels. Rub the wheels with soap and water to get all the grease and road dirt off. Wash the wheels to get rid of the soap.
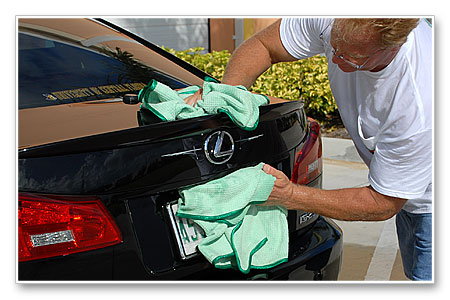
Step 8 - It’s time to polish
Use a dry and clean cloth to dry the car. Wipe the car softly with polish on a buffer pad. Go one section at a time, starting with the front, and make your way around the car.
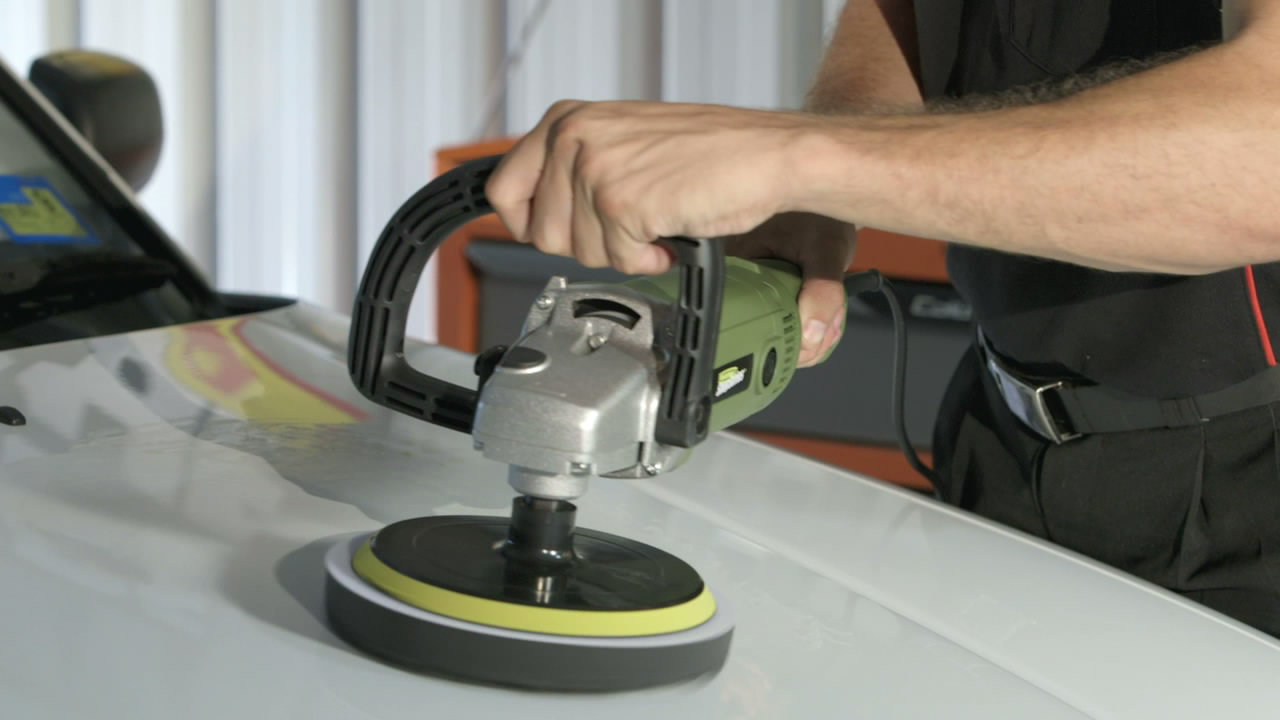
Step 9 - Wax in a circular motion
When you are finished buffing your car, apply wax on the surface in a circular motion one section at a time. It is better that you stay in the shade for this, because you don't want the sun to bake the wax, which could ruin your paint. After you have applied the wax on all the panels, go around with the buffer and buff it out.
Step 10 - Vacuum the carpets
Add shine and a trip preservative on the trim and vacuum the carpets getting food, dust, and debris out of the creases throughout the car and seating.
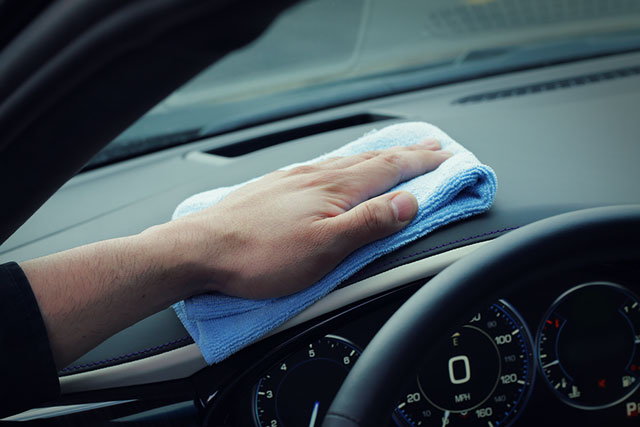
Step 11 - Soft cloth needed
Use vinyl cleaner to spray your steering wheel and dashboard. A soft cloth wiping off dusty areas and windex on the interior windows will help you keep it clean.
Related Discussions
- Waxing Schedule - F150forum.com
- Weather - Ford-trucks.com