Ford F-150/F-250: How to Repair a Leaky Manifold
Get more life out of the muscle in your motor by addressing leaky manifolds. Loss of horsepower and torque due to leaky gaskets is no way to enjoy your Truck.
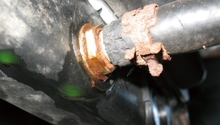
Some of the most important parts to your truck’s motor lie out of plain sight. If you’re noticing an uneven idle, loss of performance, loss of coolant or a visible seepage of coolant around the actual intake manifold, chances are that the intake manifold gaskets are worn and should be replaced.
The gaskets can be bought as set ~$70 online. Coolant will need to be drained in the process and will need to be refilled.
A new Thermostat is roughly $10. Ignition coils are roughly $45 each. Reputable shops charge by the hour for labor. Plan for roughly $75/hr not including parts.

Tools Needed
- 1/4" Torque wrench
- 7mm, 8mm, 10mm sockets
- 1/2" Breaker bar
- Cat claw tool
- Open end wrench
- Pliers
- 5/8" and 1/2" fuel line release tool
Optional
- Thermostat
- Ignition Coils
Step 1 - Drain coolant
Gather some newspaper and shop towels and place on the ground under the radiator of your truck along with a drain pan. Using pliers, locate the clamp on the lower radiator hose and pull the hose off slowly. Alternatively, there may be a drain petcock. Locate and turn the petcock counter-clockwise. You can guide the outflow of coolant using a funnel and hose. While the coolant is draining, you can begin removing other components
- Disconnect negative terminal from battery
- Disconnect IAT sensor
- Disconnect Air bypass tubes to PCV system
- Undo 8mm bolt(s) to Throttle body clamp
- Disconnect MAF sensor wire and set aside Intake "snorkel" as one assembly
- Disconnect TPS and EGR sensors
Essentially, you'll want to unclip and unbolt all the brackets and plugs attached to the intake manifold. You'll need to remove all the accessories before gaining access to the bolts that secure the intake manifold to the block.
Pro Tip
It's a good idea to label your sensors and hoses. Bear in mind, they will only fit and connect in their respective locations.
Step 2 - Undo Throttle body cable and related components
Using the cat claw tool, pry and "unclip" the throttle body cable. (See Fig. 1) This will expose the Power Steering bracket. Remove the three 8mm bolts. (See Fig. 2) Remove the two 10mm bolts securing throttle body bracket. (See Fig. 3) Remove throttle body return spring and throttle body cables. (See Fig, 4)

Pro Tip
A good way to keep bolts and brackets organized is to "keep bolts with their brackets" and set aside.
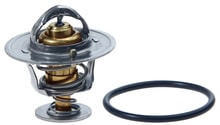
Step 3 - Remove upper radiator hose and Thermostat housing
Using pliers, undo the clamp and pull off the upper radiator hose. This will expose the Thermostat housing. Undo the two 10mm bolts.
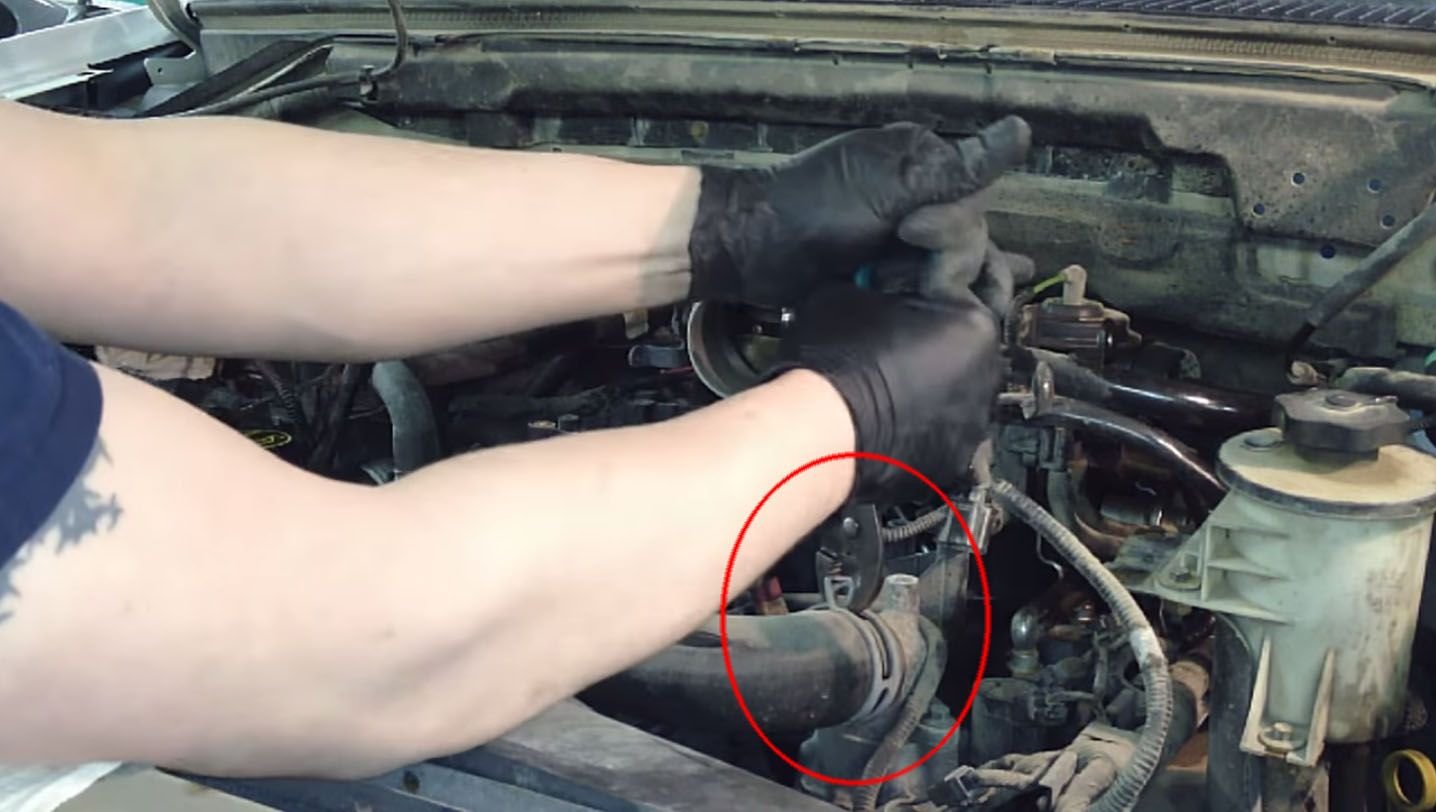
Figure 2. Remove the upper radiator hose from the thermostat with a pair of pliers. 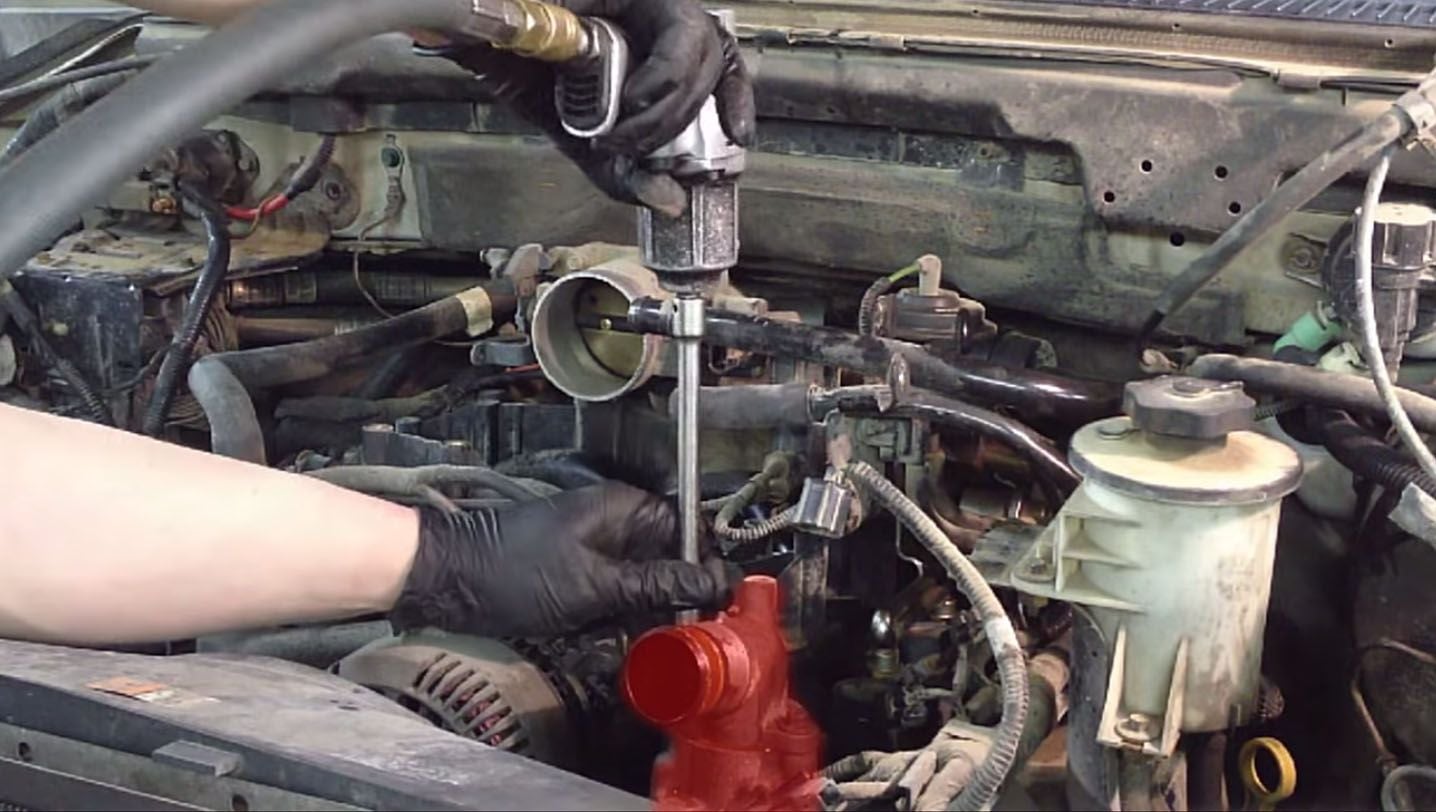
Figure 3. The thermostat is highlighted above.
Pro Tip
This is the best time to replace the Thermostat itself, if it has not been replaced before.
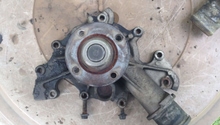
Step 4 - Remove alternator
Begin by undoing the three 10mm bolts behind the alternator bracket and two more 10mm bolts beneath it. Set aside as a single assembly.

Pro Tip
Use 1/2" breaker bar to remove tension from the belt on the alternator pulley.
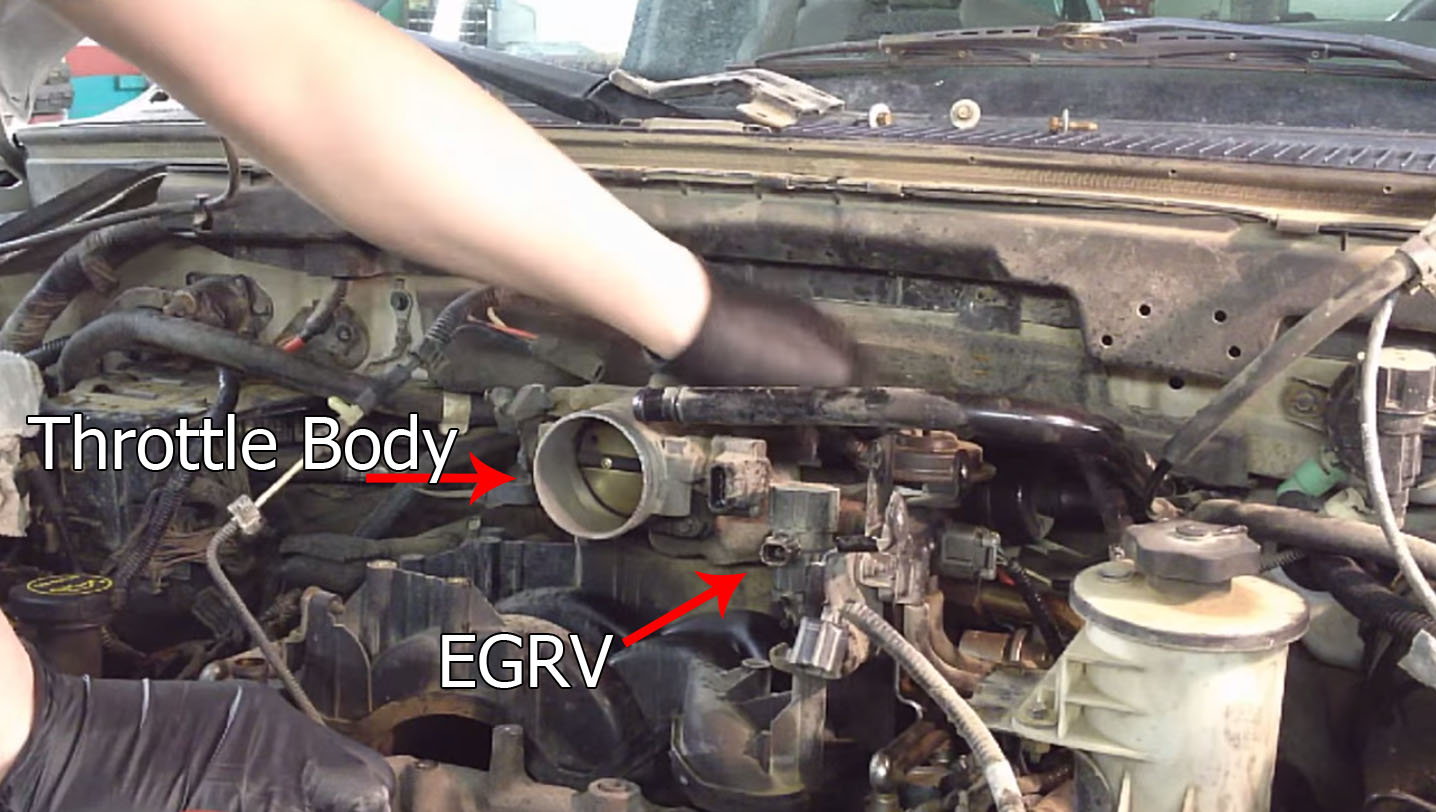
Step 5 - Remove throttle body adapter
The EGRV is mated to the throttle body adapter. Using the open ended wrench, you can undo the large nut on the side of the EGRV. Then, proceed to undo the four 10mm bolts holding the throttle body adapter in place. Assembly comes off as one piece.
Step 6 - Unplug injectors and remove coils
The injectors can be unplugged. Remove the 8 coils using the 7mm socket to undo their bolts.
Pro Tip
If you notice that one or more of the coils are "fouled", this would be the best time to replace them.
Step 7 - Remove fuel lines
Release fuel pressure from the system. Depress the pintle on the schrader valve to release any compressed fuel. Keep a rag handy to clean up any fuel. Release the 2 lines using the release tool.
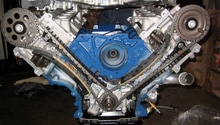
Step 8 - Remove Intake manifold
Undo the eight 10mm bolts. There is also an additional 10mm bolt located on the crossover portion of the manifold. The intake manifold can now be removed as one assembly.
Pro Tip
Cover the exposed cylinder head ports with shop rags. Clean the mating surfaces thoroughly.
Step 9 - Install new gaskets and Intake manifold
Apply sealant to the mating surfaces and lay down the Intake manifold. Line up the bolt holes and loosely thread the bolts in place. Due to the torque procedure, the thermostat and it's housing will need to be secured at this time.