Ford F-150/F-250: How To Install Tail Light Bulb
Do you have a burned out tail light bulb on your Ford F-150 and Super Duty? Here is a step by step guide on how to replace a burned out tail light bulb, the costs involved, and the tools you will need.
This article applies to the Ford F-150 (2004-2014) and F-250 Super Duty (2005-2014).
Burned out tail light bulbs can present an unsafe and potentially expensive situation, depending on whether you notice them before the friendly police office does. The good news is, replacing a tail light bulb is a very easy and inexpensive task that virtually anyone can do themselves on their Ford F-series truck.

Materials Needed
- Ratchet
- Flat head screwdriver
- New bulb
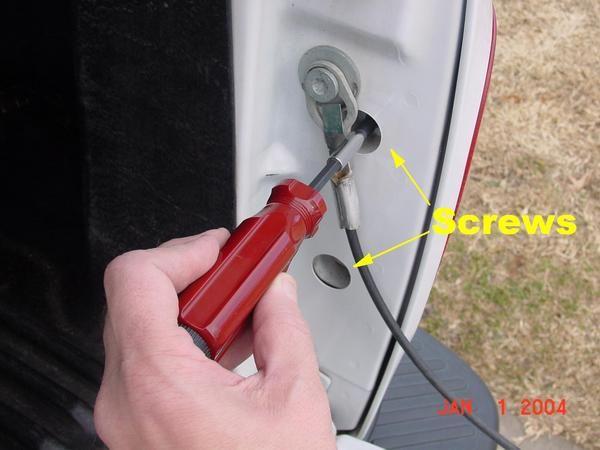
Step 1 - Remove tail light bolts
- Turn your engine off.
- Make sure your lights are off.
- Open the tailgate and locate the two bolts holding the tail light.
- Remove the two bolts using an 8 mm ratchet. You may need to use a screw driver instead of a ratchet.
Step 2 - Remove the bulb
- Pull the tail light assembly out.

- Turn the bulb connectors counterclockwise exposing the bulb.
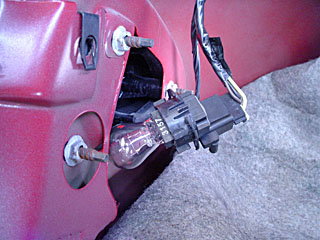
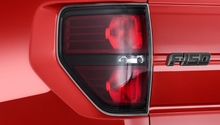
- Note that the top bulb is the tail lamp, while the smaller one at the bottom is the backup lamp.
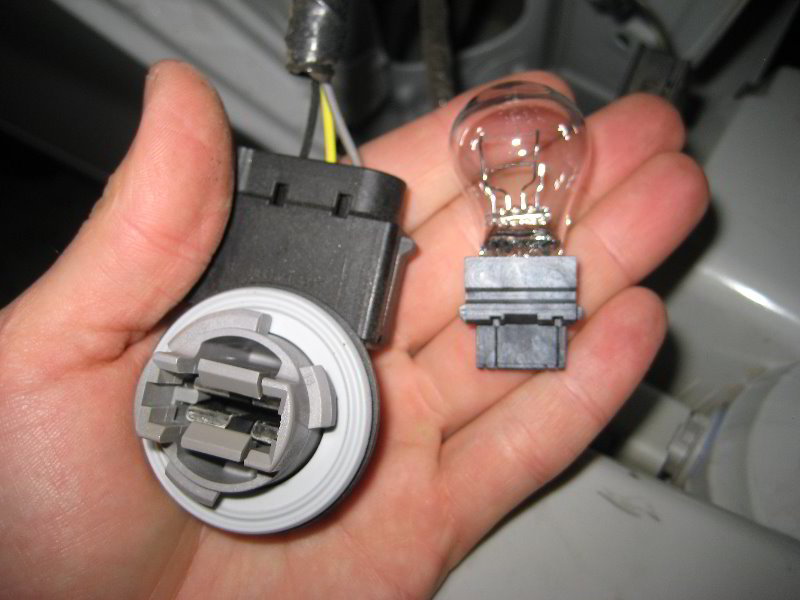
Step 3 - Install the new bulb
- After removing the old lamp, install the new one.
- Reconnect the light fixture and screw the bolts back on.
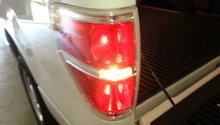
- Start the car and check the lights to ensure they are operable.
Related Discussion
- Bulb Removal - Ford-trucks.com