Ford F-150/F-250: How To Change Your Transmission Fluid
The majority of people's transmission problems can be traced to the quality and quantity of their fluid. This guide will walk you through changing your fluid so that your transmission lives as long as the rest of your F-150 or F-250 does.
If you are experiencing erratic shifting, transmission slippage or hard shifting, a simple exchange of your transmission fluid could solve the problem. How can you be certain you need new fluid? You can find out by carefully analyzing the dipstick under the hood of your pickup. If you already know how to check your transmission fluid, you might be tempted to change it yourself and avoid the mechanic altogether. Please be advised that this task is much more difficult than changing motor oil. Also, this process is not the same as flushing your transmission. There will still be old transmission fluid in the torque converter when you're done with this procedure.
Materials Needed
- 6 quarts of Mercon V transmission fluid
- a new transmission filter
- a ratchet
- a 10 mm socket
- a funnel
- a large pan ( 15 quarts or more will suffice)
It is best to take all necessary safety precautions when performing any DIY operation. This is inclusive of donning protective gear, turning off the engine, and parking in a safe, flat location.
Step 1 - Check the transmission fluid
If you wish to flush the fluid because you suspect it is in dire need of changing, be certain to confirm this suspicion by checking your transmission fluid prior to performing any maintenance. If you have reached 100k miles or more and that is your reason for flushing, feel free to skip ahead to Step 2.
This process applies to the 4R7xx family of transmissions on the F-150 as well as the newer 6R80. Ford F-250 transmissions—like the 5R110W and the 6R140—are similar regardless of engine configuration.
-
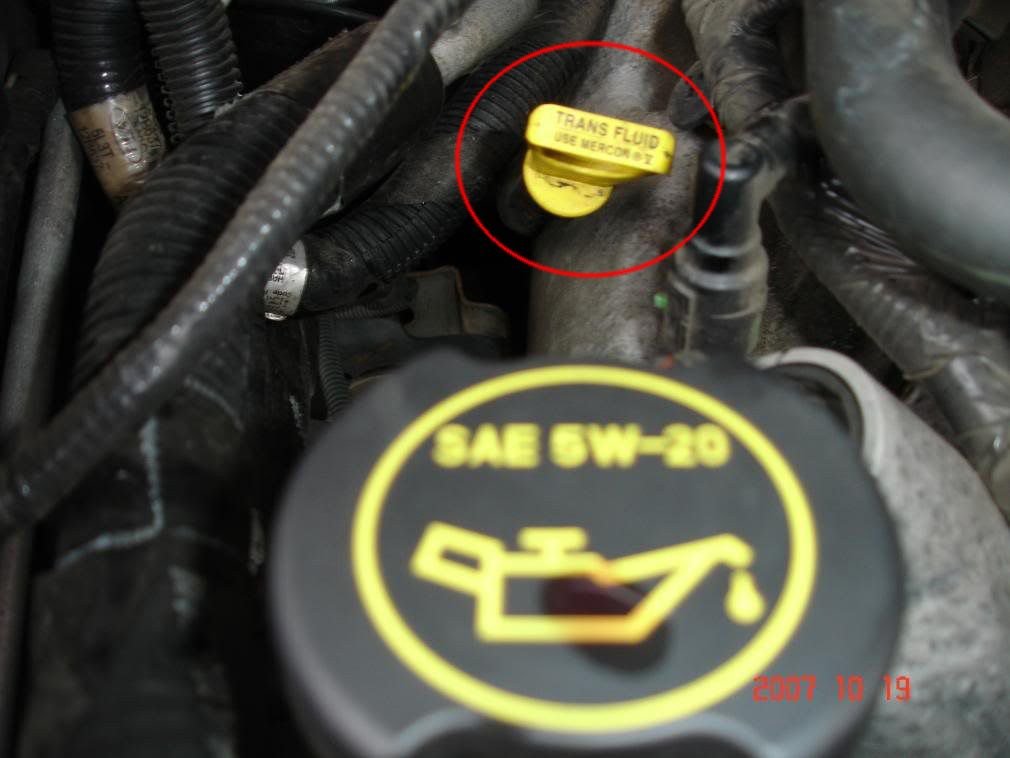
Figure 1. The transmission fluid dip stick is visible in the engine bay on 2004-2010 F-150's. -
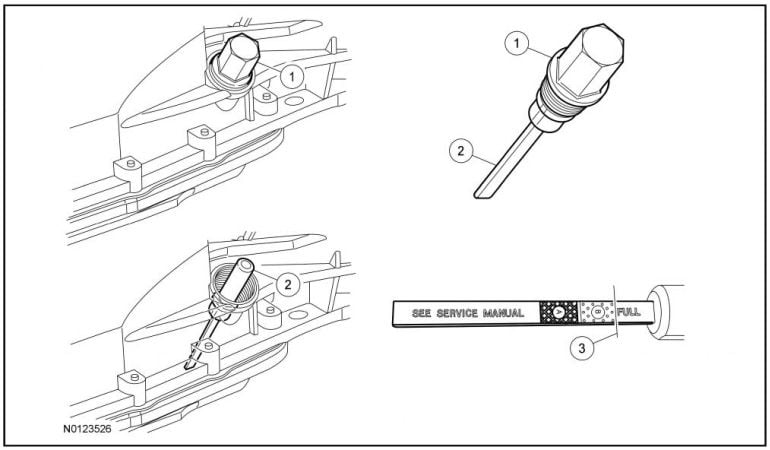
Figure 2. F-150's built after 2011 are equipped with the 6R80 transmission. The dip stick can be located on the body transmission body as illustrated by the diagram above.
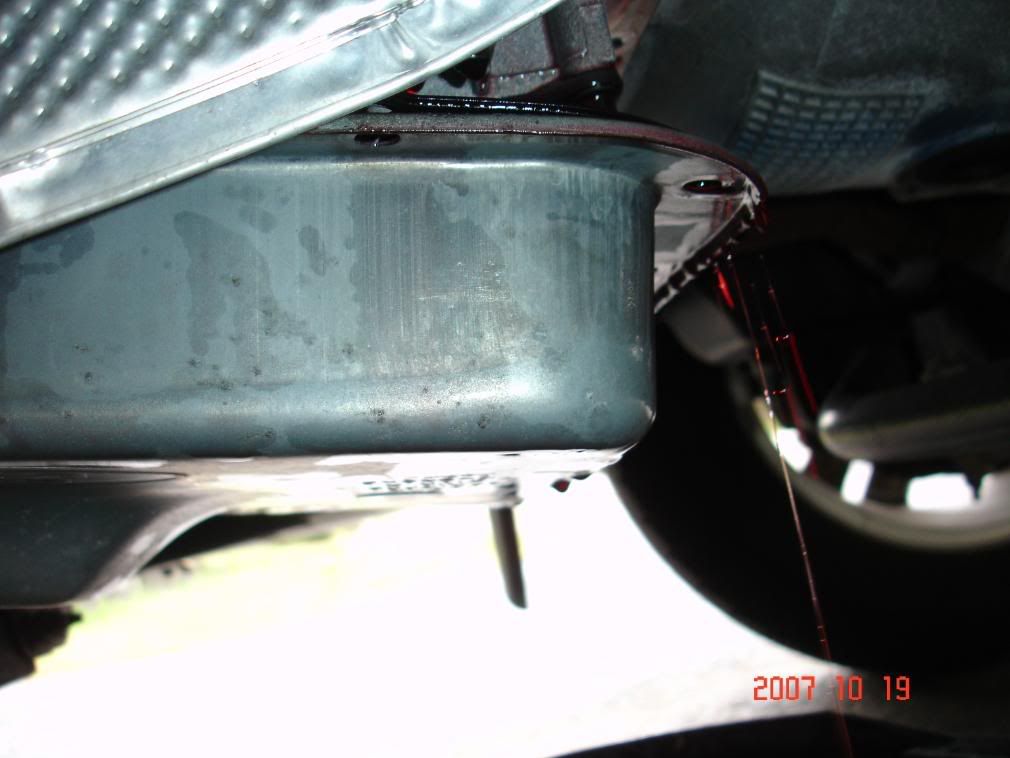
Step 2 - Drain the fluid
Position your 15 quart or larger container under your pickup where your transmission pan is located. This container should catch the fluid coming out as you loosen the bolts on the transmission pan while slowly maneuvering from one end of the pan to the other. Do not put the container down until the fluid stops gushing out.
Step 3 - Remove the filter
The filter is easier to remove if you shimmy it down and out simultaneously. The ring depicted in Figure 5 below must also be removed.
-
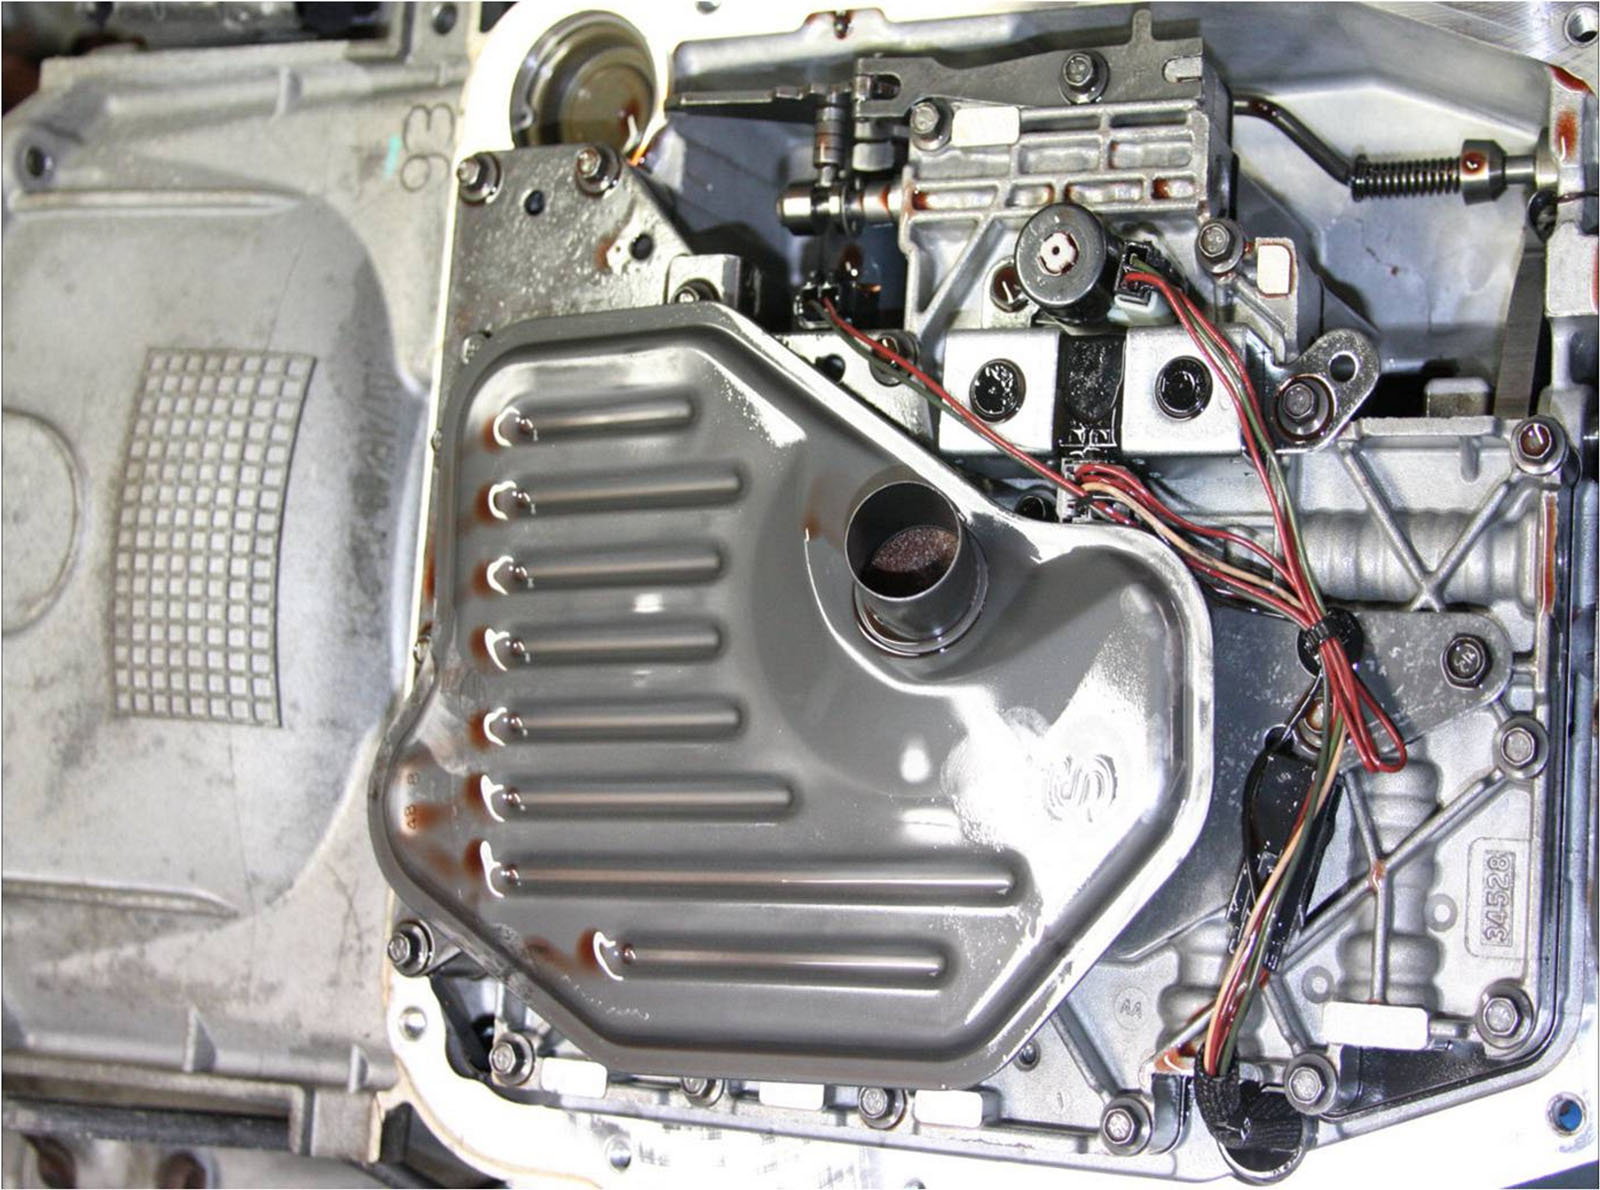
Figure 4. The gray dish is the transmission filter. You do not need to replace this, but you should clean it. -
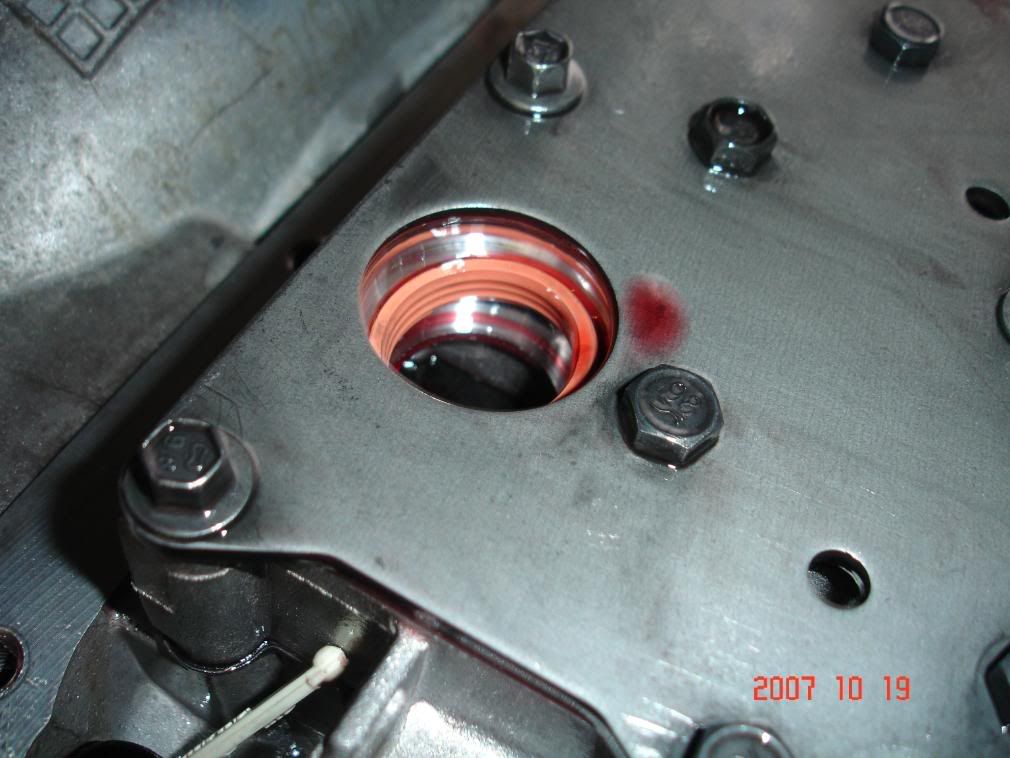
Figure 5. There is a smaller filter in the valve body that should be cleaned too (the location pictured above). This will be visible after pulling off the transmission filter.
Pro Tip
When removing the ring, be careful not to touch the sensitive main control bore. Utilizing a small screwdriver is your best bet at carefully removing the seal without causing damage to the surrounding components.
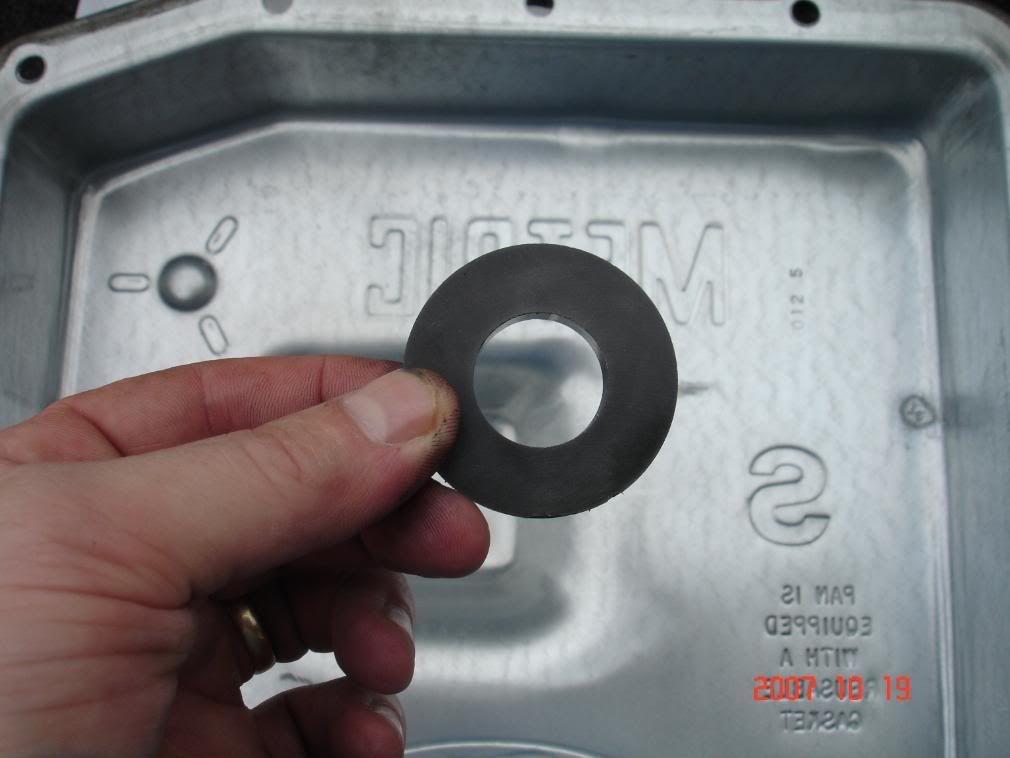
Step 4 - Clean the pan
Once the pan has been removed, wipe it clean to clear up any debris that might have built up over time.
Step 5 - Install the new filter
Install the new filter and carefully bolt the sparkling pan back into place.
Step 6 - Add new transmission fluid
In order to perform this task, pop the hood and remove the transmission fluid dipstick. Next, use the funnel to distribute approximately 5 to 6 quarts of brand new transmission fluid. In order to test the new fluid, you will need to heat your transmission back up to operating temperature (approximately 150°). Do this by letting the truck run until the engine is warmed up. You can check the transmission temperature in newer F-150s through the information display.
Pro Tip
Be sure to check your transmission fluid after driving around for a bit! Check your fluid level with the transmission dipstick after it's warmed up. If it's over full, you can drain some of the transmission fluid through the torque converter.
Related Sites
- Transmission Fluid Change - F150forum.com
- How to Check Transmission Fluid - ThePhuck.com