When you click on links to various merchants on this site and make a purchase, this can result in this site earning a commission. Affiliate programs and affiliations include, but are not limited to, the eBay Partner Network.
I have tried to show my process, which I used the install instructions on SIDS drop axle page as a basis. I have some questions along the way that experienced folks may be able to use to enhance the info being put together. My drop axle (ordered from speedway with ubolts) needed some enlargement of the holes for the u bolts to fit. I painted it with por15 after sanding it down. It did have some surface rust as shipped so i do recomend some protection.
After jacking up, securing with stands, removing wheels - the shocks were removed On driver side i removed the wheel nut and pulled my brake assembly (disc conversion for me), but one of the off script methods I had success with on the passenger side likely because of the disc conversion was pulling the whole rotor/disk assembly from the axle, still on the spindle. Otherwise the backing plate bolts with drums is how to remove this portion. Removed the king pin nut, and backed the set screw off the arm in the right of this photo using a large screwdriver After removing the cotter pin Removed tie rod end after pulling cotter pin. Used brass punch to drive down without messing up threads This shows the removed tie rod, removed arm that was unscrewed to be removed the step prior, and shows the spindle that i removed by hitting the bottom with a blunt brass rod. I had not ordered a replacement set but have now after noting the wear on the washers and suspected age of the bearing that the spindle sandwiches around the axle. The u bolts were probably the most time consuming thing to remove but some heat and a lot of noise from my impact later and they were free. I am reusing the shock mounts so unbolted the other end and drove through the brass rod again and into the new axle. I was glad to leave an extra set of jack stands loose under the axle it didnt want to fall too easy after backing off the u bolts but when it did fall i was glad my foot wasnt between it and pavement.
thought the last photo was good at showing the drop too.
Total time so far was about 5 hours based on 2 coats of paint and only being able to paint one side at a time before flipping. Could be more or less, I sprayed mine with cleaner and brushed off a lot of grease before spraying penetrating oil and letting it sit for 3 days.
It doesn't really tell you when you order it that you would be wise to get a machine shop to get everything set with the new kingpin setup, especially when reusing spindles.
I also ordered the drop tie rod ends, which make the tie rod assembly too long so stay tuned while I work that issue... did anyone order the tie rod ends that are bent for a drop instead of the blocks?
My current plan is to look for a shorter and beefier tie rod with the same female threads.
I used the tie rod end drop blocks, over 6,000 miles on them with no issues. I was skeptical about them at first, but have had not problems with them at all.
It may just be the picture angle, but it looks like the new drop axle has more camber than the original axle, shouldn't be a problem as long as it's the same amount on both sides. An experienced alignment gut will know what to do about that once you get it put together and take it for an alignment.
Also, any particular reason you went with the new axle instead of getting one from Sid? I sent my axle to him for a drop and new king pins, he did a great job! There was a 6 week turnaround on it, wasn't a big deal for me at the time...
Camber - fairly comparable when running a straight edge along the actual machined hole for the kingpin in old and new, not to say my old was correct. Will need to check caster after installed.
Why tube instead of stretched axle... lazyness, shipping costs, turn around time even though it may ultimately take me just as long (2 weeks for some of the parts to arrive), uncertainty in my old axle, and the option to go back to the prior ride height based on various spring options I might explore til I get the look I like most.
The axle stretch looks better but in my opinion the tie rod blocks don't (even though many have had good luck with them)... it probably would be easier to have gone with sids full service offering (spindle swap and all) if someone didnt want to deal with finding service locally and take the few extra steps.
Sorry for the poor grammar and spelling, I'll blame it on posting from my cell phone
Very nice thread, I love "how I did it's". They are so helpful to those that have not had the experience ourselves, and may be trying to visualize the process. Thanks' for posting it.
The 42.5 inch length tie bar they sell was too long with the extra length of the dropped spindles in my application.
In case others want to see part numbers and parts list..
(My drop axle (ordered from speedway with ubolts) needed some enlargement of the holes for the u bolts to fit. I painted it with por15 after sanding it down. It did have some surface rust as shipped so i do recomend some protection.)
I think that Garage squad had the same poblem in the last show that someone brought up on here. Good luck and keep the pic's coming. I used the stock axle an put in lowering /forward springs and it dropped it just right. Now I am tearing it out to put in a M2 setup.
Painted the brake calipers while the new axle and spindles were at the machine shop Job would be a lot quicker without painting the parts of course... Took machine shop a few hours to get everything milled, pressed, honed, and checked - which makes getting the full service from Sid that much cheaper compared to this option.
New tie rod bar with the correct length arrived, with the jam nuts I didnt order originally too.
Paint should be dry enough to start assembling this afternoon if I'm lucky maybe even finish most of it by superbowl kickoff.
Have not decided yet. Would like to sell all as a group. Springs,disc brakes, and cpp power steering. PM me and we can think it over rather than trying to sell it in front of all on here as some of the guys get pissy. And I would also just as soon keep in the for sale area.
Checked the ball end while it was out, still round by my basic calipers. Got the spindles prepped with new grease fittings Drop links roughly installed still need to mimic the length of the old one. So this was a little different, maybe for nothing. I added a washer and a lock washer to the set on one side and just a lock washer on the other side. I used a die to extend the threaded part of the ubolts but probably unnecessary with the extra washer. Cut off some length on the ubolt to run it down with my impact and deep socket. I reused the top part of the old ubolt assembly, but since it wasnt long enough apart for the new axle only 1 of the ubolts fit in it, but its outside was close to the right width so maybe it will help index them. The extra thickness made me less worried about the thread depth
52 my springs move the axle ahead 1 1/2 " also plus you need the extended pittman arm. Looks good what you are doing. Plus my springs lowered my truck about 2" and that would lower your truck about 5"
Only took a few steps before i ran into issues... This shows the shock hitting the steering arm on a left turn. Surprised to not find posts on this, which makes me wonder if it might just be poor placement of the shock mount on my axle or my spindle arm had bent previously, or ??? Lowered tie rod ends clear very well, but had to lose all but one of the lock nuts to get the right width.
Another angle of things with the wheels pointing right
Problem on the passengers side was not the shock, but the tolerance of the axle to spindle.... even after the machine shop it needed some more material removed. The bushing wasnt drove down enough which a file fixed pretty quick, but it also had to file/sand down the axle. I blame this on the machine shop, but at the same time the worst of the issue could be blamed on the manufacturer.
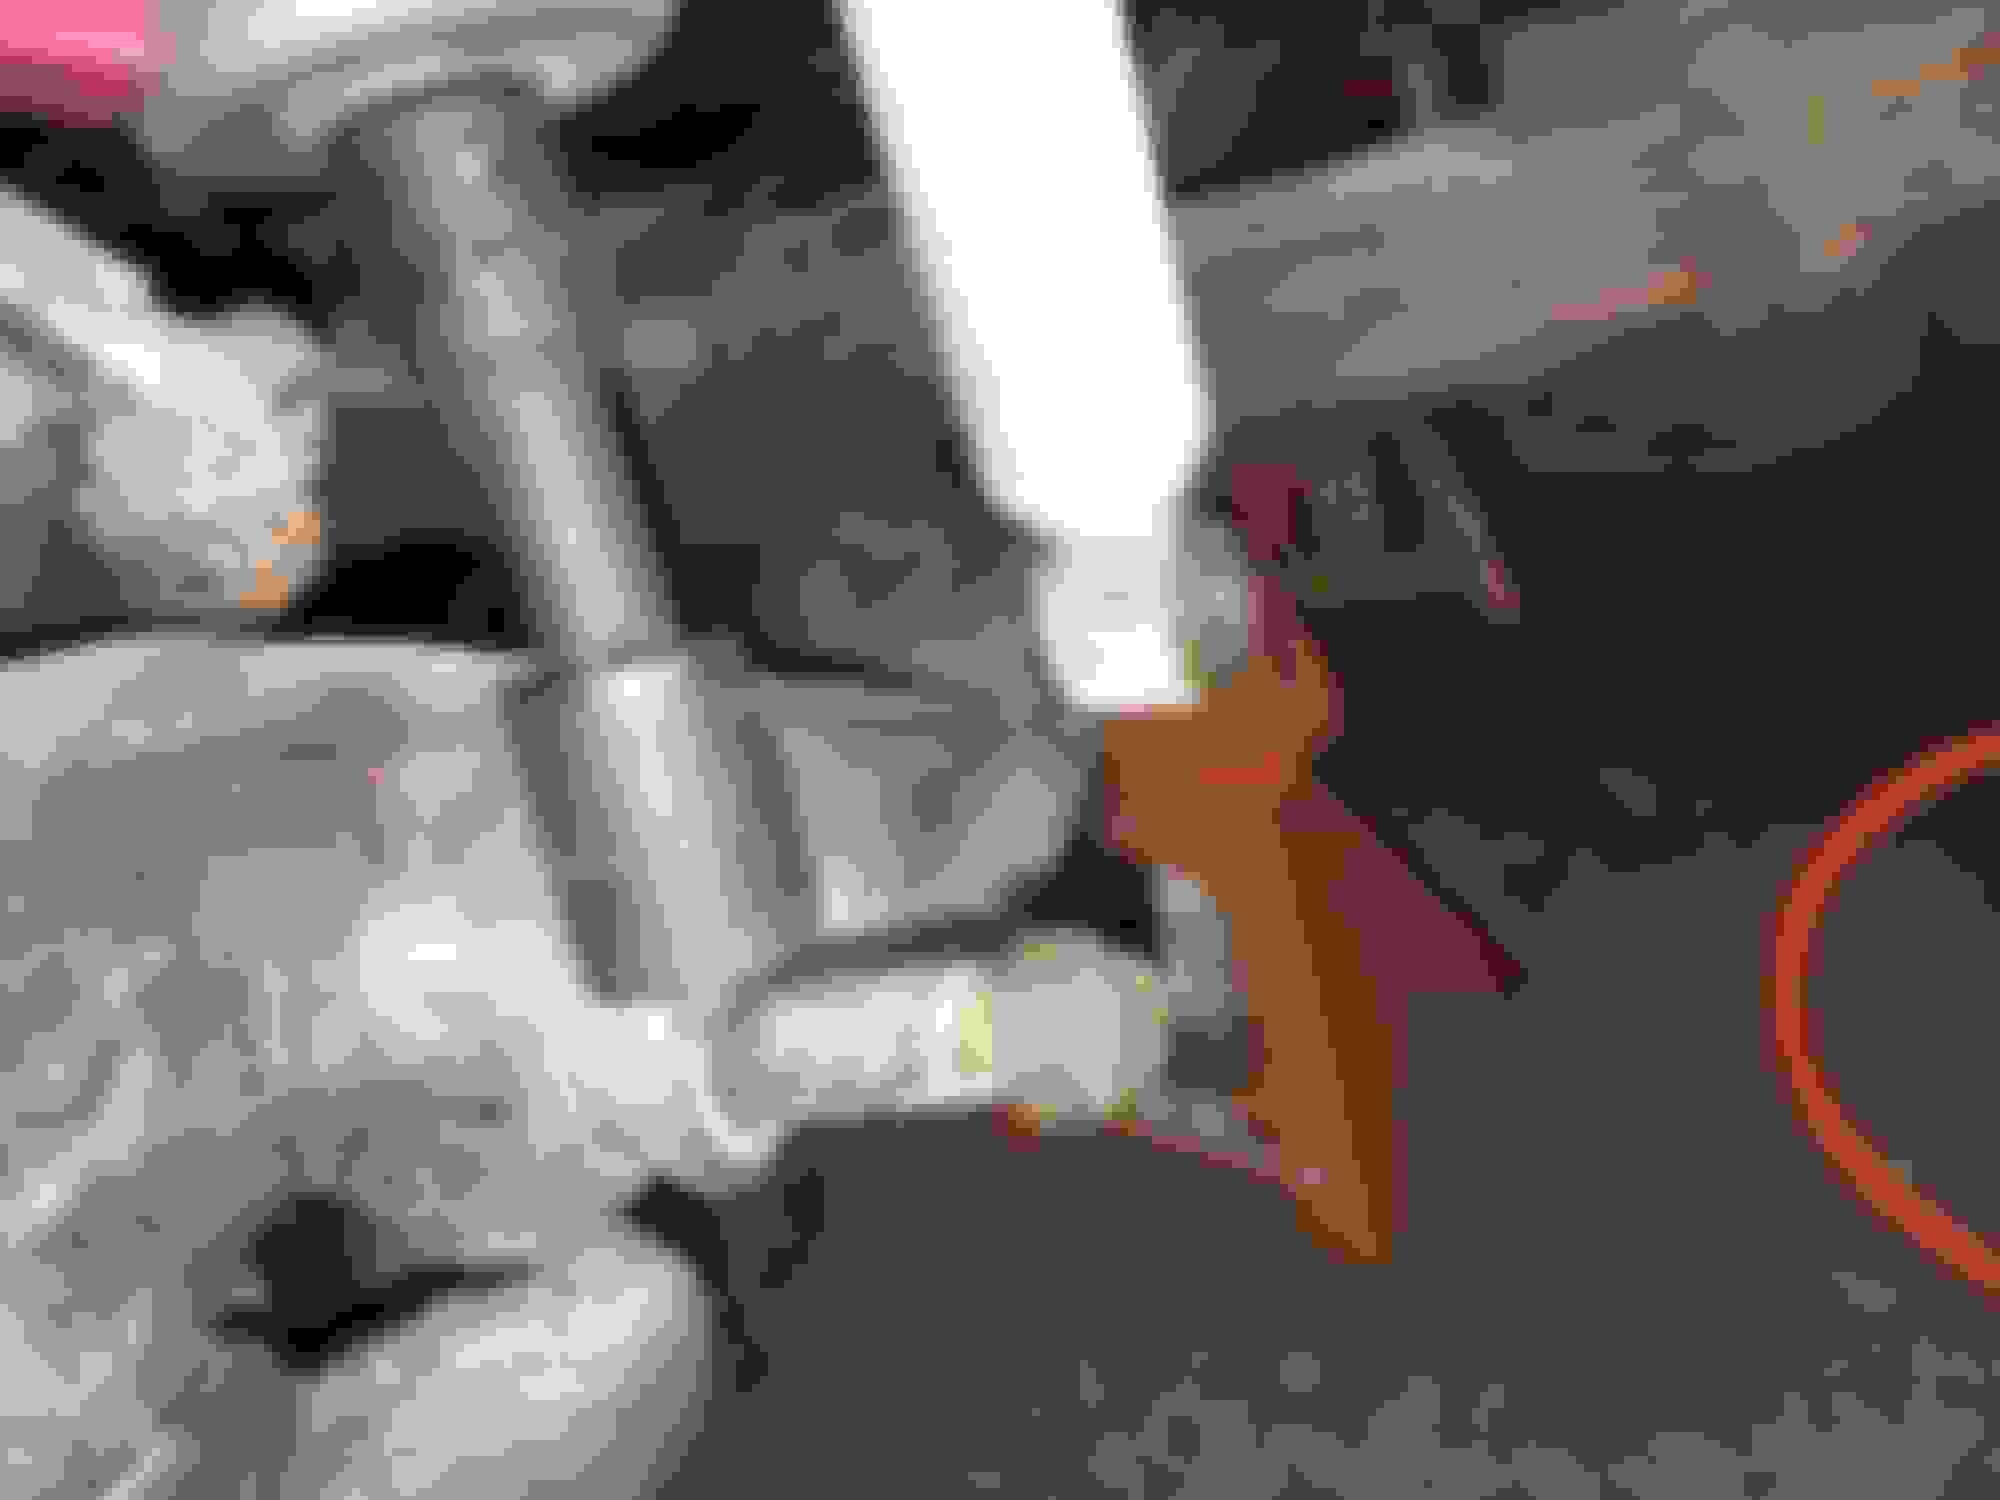
I also had to take some material from the spindle as it was hitting the axle side (old axle ends were not flat so never had an issue before. No big deal but had to repaint both the spindle and axle and added time. It's the center line depicted on the picture of the replaced grease fittings (but passenger side).
Then I broke a bolt on the shock stud. This and the shock clearance issue prevented the "after" photo of ride height. I was able to reassemble the brakes and grease all the fittings in the interim. Spent about 4 hours doing what should have been less than 2...
After replacing the passenger lower shock stud I am contemplating adding a spacer to the top shock mount of the drivers side to bring the angle more in my favor. Dont want to bend the arm (yet.)
Drivers side, added spacers. Top spacer is slightly taller so ground slight angle into them, added grade 8 hardware including larger washers on the inside of the frame rails.
The angle of the photo might make it look like the upper shock mount will hit the steering arm now, but its centered between the two.
For the passenger sheared lower shock mount, I used a grade 8 bolt, a spacer, a sleeve for the shock and it worked great. $7 bucks at hardware vs $15 + $7 shipping for maybe the right part will get me by til I find the right replacement.
So it dropped the front just about exactly 3", but I cant get a far enough photo with it in the garage and its snowing today...
now I've got 3 inches of rake from front to rear of the running boards, with room to go down in the front with springs if I need to after the axle swap, and back up with tires on the off chance the springs bring it too low.
 01-22-2019, 02:16 PM