When you click on links to various merchants on this site and make a purchase, this can result in this site earning a commission. Affiliate programs and affiliations include, but are not limited to, the eBay Partner Network.
As promised, I said I'd start a build thread since I've been asking a ton of questions during my initial tear-down. Several of you have been instrumental in guiding me in my planning phase. At first I really wasn't sure what direction to take the old truck, but after seeing how rust free in key areas it was, I had no choice but to preserve it as much as I could, and where it could be done safely. The only thing up in the air is how much of the original paint I will preserve, I know the cool thing is a rusty patina, but I really don't want it just rusty looking. I live in Tennessee and I have to see creamsicle orange everywhere I go, so I don't want to roll around in an orange truck when the original color was so cool anyway.
Here is the plan so far.
1. 302 4v from an 82 ford f100 ranger coupled to the original AOD.
2. all original suspension
3. Toyota power steering upgrade
4. Front disc brake upgrade along with a power master cylinder upgrade.
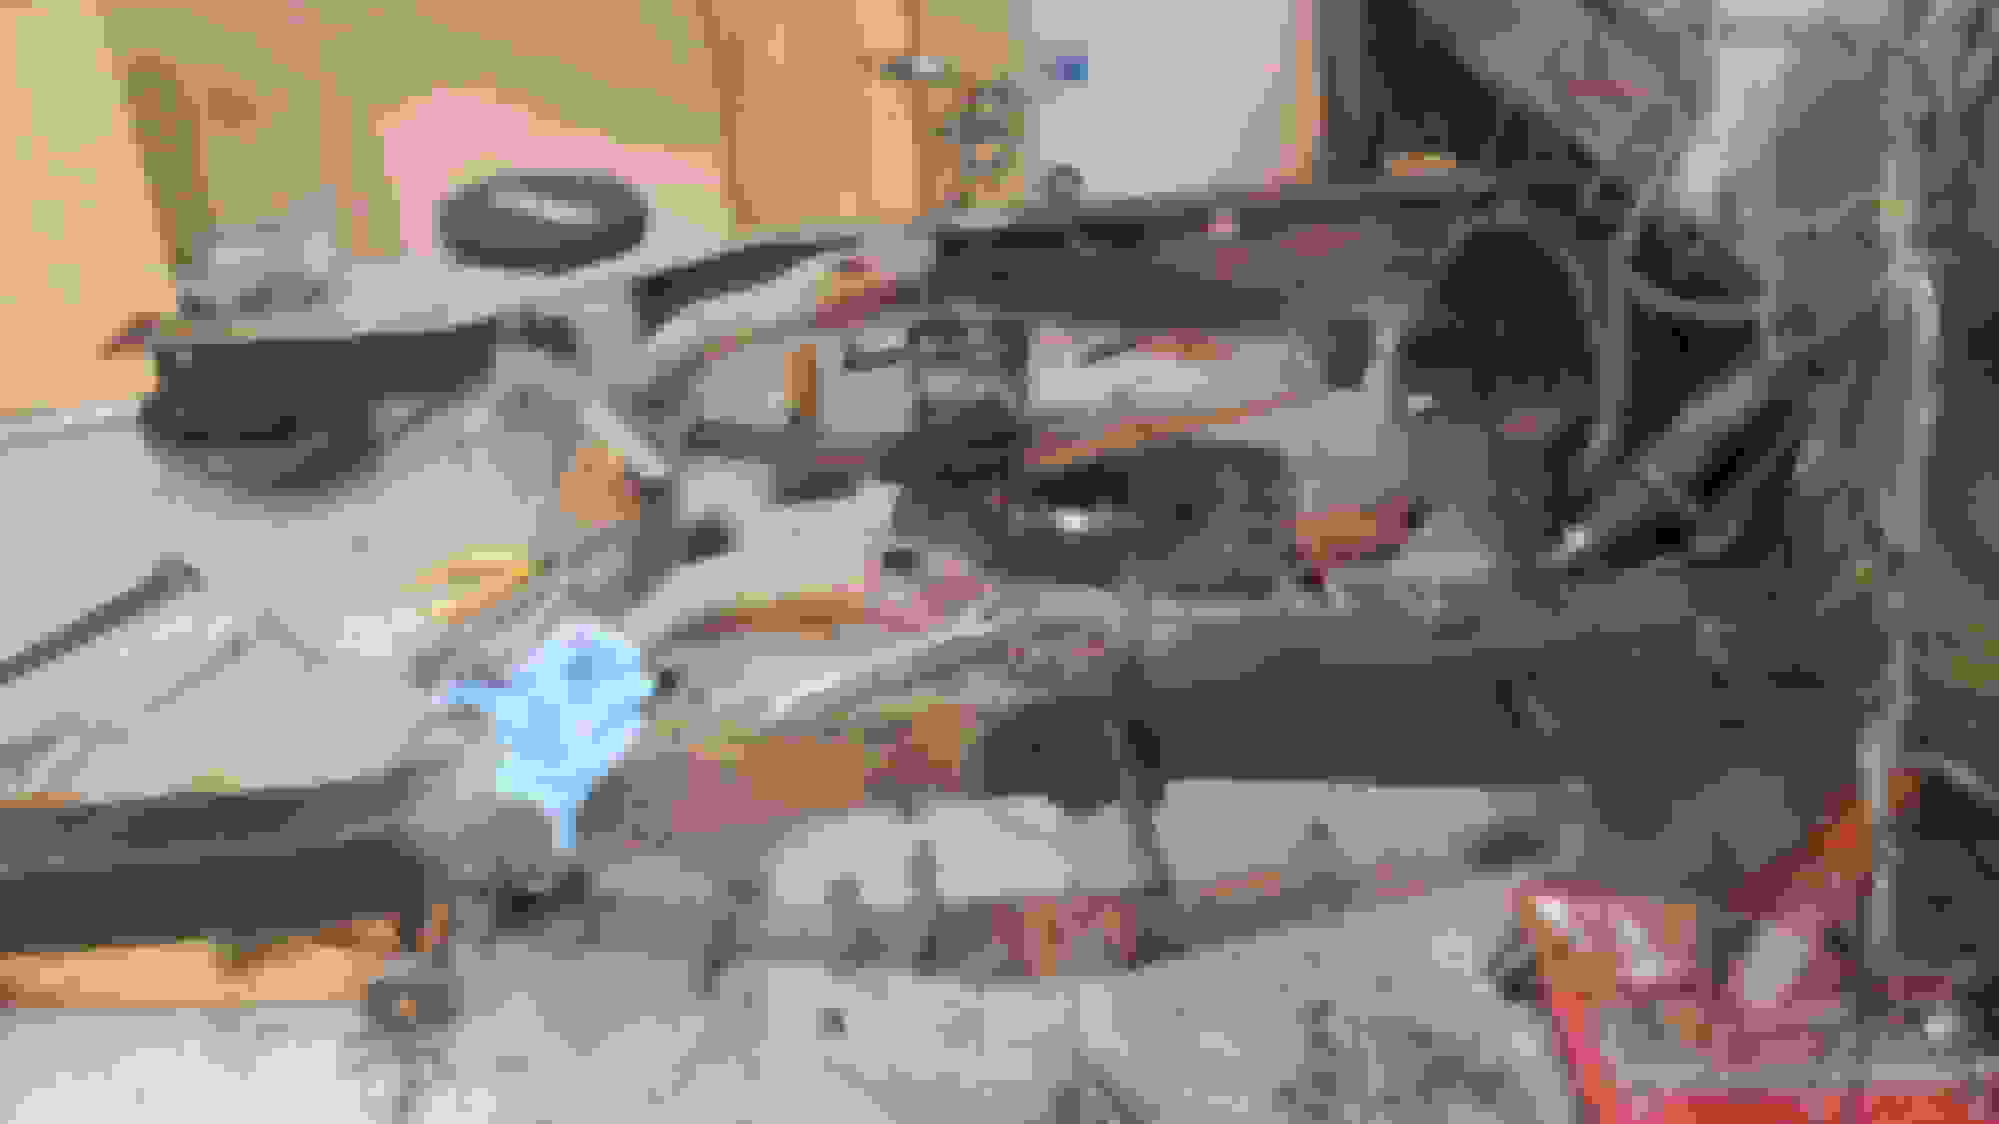
Here are some pics from my first weekends worth of work:
Just getting started Rear view The bed of the truck emptied for the first time in 40 years. Original Henry Ford wood. The plate is from the last time Mater saw the road. This is how I got him. A buffed out door reveals the original color.
Adding to the list of updates through advice on this site, a 1070 F250 dana/spicer rear axle assembly is now on it's way. I really want to keep the truck as stock as possible, and finding that the rear drums aren't available any longer, coupled with better and newer gear choices made this change a no brainer. Here's a second batch of recently uploaded pics of where I am with Mater. I may have to pause progress for a weekend to do some structural upgrades to accomodate a winch. My plan is to lift the cab off the frame, and my truss style roof structures probably shouldn't be relied on for the weight of the cab.
Has anyone seen coilovers like this on an F2 before? I always get ahead of myself and clean and paint a spot. continuing the de-rust process on the front frame
Looks great......good progress on it.....just to let you know....round up 3 or 4 buddy's and lift the cab off...that's what I did...... not terribly heavy...... and meadow green is great looking....I just did this one......meadow green....
Tony, I put a '71 F250 Dana 60 in my '49 F3 and it was a pretty simple swap. All the fix-up parts are available for low money on Rockauto.com for that rear end.
You'll need to shorten the rear driveshaft of course and get a special u-joint for it. Can't remember the part number. The driveshaft place will be able to find a part number and Napa or other big parts store will have it. You can modify the parking brake on the Dana to accept the stock rear cable from the firewall style brake handle.
I have two parking brakes on mine. The one for a firewall and the one on the T-98. Between the push button start and the twin brakes - Anti-theft devices for any clueless person who has no idea what those handles and button do. My shift **** has no H pattern etched on it either.
Cost me a little over $250 to do the driveshafts since I did the front one too for the T98. They beadblasted, cut, balanced, painted and then installed the U-joints for me.
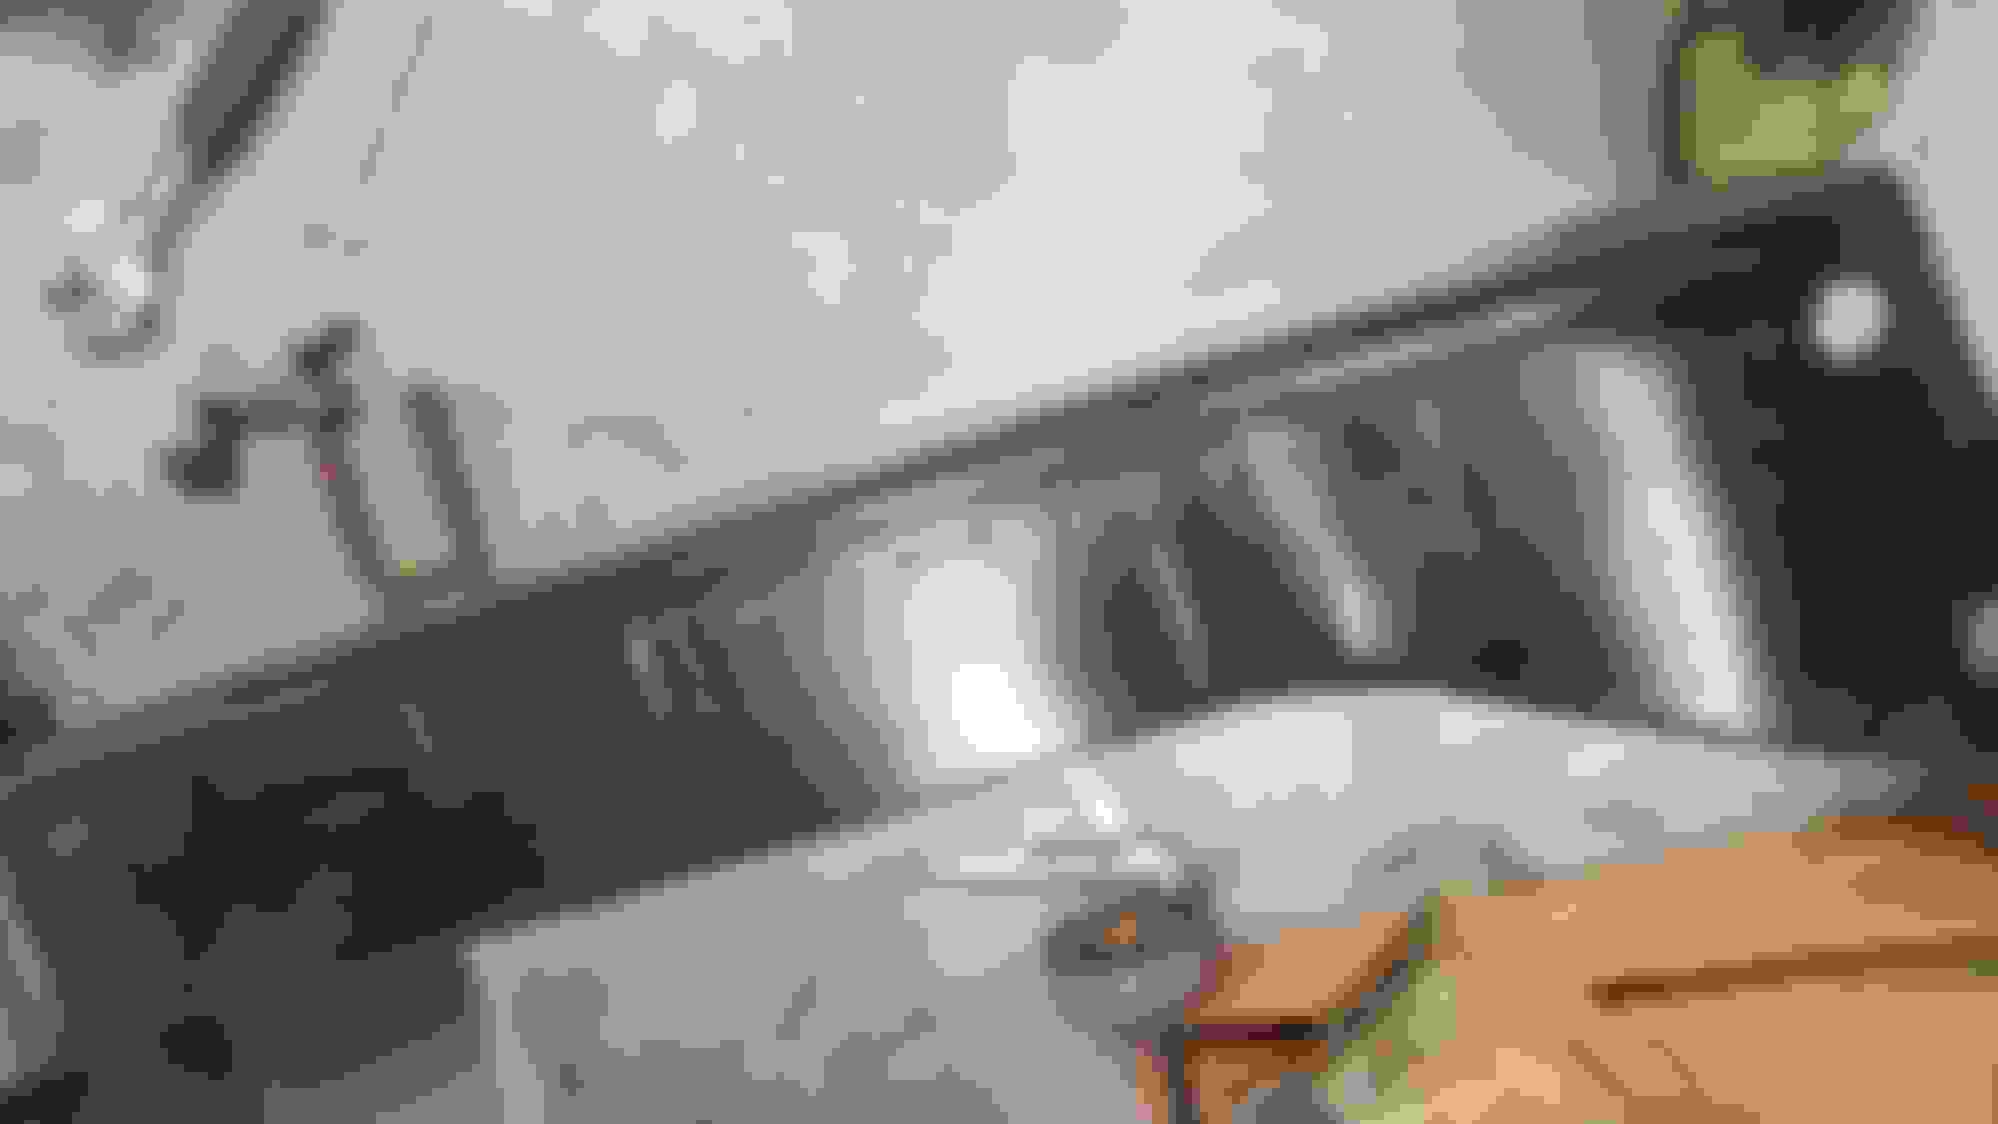
Here are some photos of the Dana with the parking brake cables. I had to modify the cable/dust hole on each side to get the right angle of the cable so it didn't bind in a relaxed position.
Yes, I had some ugly green rattle can paint that I used to pretty up the inside of the backing plate. I'm a frugal guy and had that paint can laying around for years and figured nobody would see the color. I know you guys would understand.
Tom
Looks great......good progress on it.....just to let you know....round up 3 or 4 buddy's and lift the cab off...that's what I did...... not terribly heavy...... and meadow green is great looking....I just did this one......meadow green....
This looks beautiful, I am so torn about what to do with the paint.
Originally Posted by pineconeford
Tony, I put a '71 F250 Dana 60 in my '49 F3 and it was a pretty simple swap. All the fix-up parts are available for low money on Rockauto.com for that rear end.
You'll need to shorten the rear driveshaft of course and get a special u-joint for it. Can't remember the part number. The driveshaft place will be able to find a part number and Napa or other big parts store will have it. You can modify the parking brake on the Dana to accept the stock rear cable from the firewall style brake handle.
I have two parking brakes on mine. The one for a firewall and the one on the T-98. Between the push button start and the twin brakes - Anti-theft devices for any clueless person who has no idea what those handles and button do. My shift **** has no H pattern etched on it either.
Cost me a little over $250 to do the driveshafts since I did the front one too for the T98. They beadblasted, cut, balanced, painted and then installed the U-joints for me.
Here are some photos of the Dana with the parking brake cables. I had to modify the cable/dust hole on each side to get the right angle of the cable so it didn't bind in a relaxed position.
Yes, I had some ugly green rattle can paint that I used to pretty up the inside of the backing plate. I'm a frugal guy and had that paint can laying around for years and figured nobody would see the color. I know you guys would understand.
Tom
Hey Tom, thanks for these pics and advice, I'll be sure to look for these to do a thorough rebuild of the Dana 60, and I do hope to retain the original e-brake handle.
My plan is to lift the cab off the frame, and my truss style roof structures probably shouldn't be relied on for the weight of the cab.
if you take the doors off, there really isn't too much weight to it (provided you have little interior still in there) i was able to lift mine with just one other person!
Lifting the cab is more about balance than weight. Either a couple of strong helpers or the thoughtful use of a floor-based engine lift gets it done. Meadow Green has shown to be a solid, and enduring, choice for old iron. I'm sure you'll find a color that works.
Looks great, it has a beautiful patina to it! what are you doing for wheels and tires?
Hey Travis, going with the bone stock 8 lug wheels painted body color just like the way they came originally. I really want to keep as much of the original steel as I can on this truck.
Originally Posted by travissilb
if you take the doors off, there really isn't too much weight to it (provided you have little interior still in there) i was able to lift mine with just one other person!
My biggest issue is that I live out in the country, so I have to be a bit creative with my solution.
Originally Posted by FortyNiner
Welcome to FTE! Great progress!
Lifting the cab is more about balance than weight. Either a couple of strong helpers or the thoughtful use of a floor-based engine lift gets it done. Meadow Green has shown to be a solid, and enduring, choice for old iron. I'm sure you'll find a color that works.
I am kicking this idea around along with a trolley style winch, still working on the concept though. ohh and yes, definitely staying Meadow green!
Thanks all for the comments, I really enjoy reading everyone's feedback.
This round of pics bring this thread up to the current state of the truck, and where I'll be picking it back up throughout the upcoming weeks.
Front frame rails final coated with a ceramic paint . very little pitting for such an old truck . rust removed from the front axle . rust removal front axle 2 . after zinc coating and ceramic final coat. This was the last part with a ceramic brake paint. I discovered the insanely strong KBS coating system which I'll be using for the rest of the truck . The old Henry Ford wood removed . empty bed reveals wood trusses. I can't believe they aren't crushed, just look at the rear springs that have been bent in the next couple of pics. . This can't be a stock spring setup for an F2. Thoughts? . starting the strip down of the frame in the rear. . The old farmer knew how to bend steel. .
Tony, neither my F2 or the F3 had the upper spring stops or helper springs like yours does. But that could mean the first owner ordered that rear suspension upgrade package from the factory. Cause they look like they belong there. Hopefully someone with an option book will chime in and confirm.
I have a 51 M3 in the shed starting to take apart, rear axle leaf springs have 18 leafs per side and no shocks from factory.
I was told it only left the farm a couple times,it twas a grain truck "they"said.
Greg
Those overload springs and frame brackets are aftermarket. Could have been a dealer installation when new, but are wildly over spec�d for an F-2. I�ll bet there are no signs of an overload ever having touched one of the bolt on brackets. I�ve had one parts truck that had a set of the overloads with those brackets, and have them in a box stuffed deep on a shelf I guess.
The below chart shows that the stock F-2 spec was 12 leaves while the F-3 was 13 leaves. Either could, however, have been spec�d to the buyer�s order on either model. Stu
 01-18-2019, 05:23 PM