When you click on links to various merchants on this site and make a purchase, this can result in this site earning a commission. Affiliate programs and affiliations include, but are not limited to, the eBay Partner Network.
Headliner Results of 2 types, What’s Good, What’s Bad-Pics
1965 F100 Custom Cab
Finally decided to replace the original cardboard headliner that broke apart a few years ago.Didn’t want to go with cardboard again due to moisture/condensation will eventually takes it’s toll again.So, I went with the ABS type. 1st one was a fail (bad product), 2nd worked well and I like the results.
Here are the results of both.
1st the Bad one from Stock Interiors, made for them by Acme Auto Headliner in Long Beach Ca. Do NOT buy one of these!!
Comes flat in 4 pieces like original with vinyl glued to it.
The vinyl is not wrapped and glued around the edges so you have to make all the tricky cuts for the curves and glue it.
The vinyl makes it almost too thick to work with the original clips.The big main piece is the easiest to install but is definitely a 2 person job and a bit of a pain.
The corners are tuff to get to bend.
The rear piece is a royal pain. Almost impossible to bend without good heat gun skills and too thick for the clips to hold it. It wants to pucker in the middle.
Worst part is all the glue let loose in less than 1 month in a mild Nor Cal climate.
Stock Interiors gave me all my money back ($300ish incl shipping) and didn’t even want the headliner back.
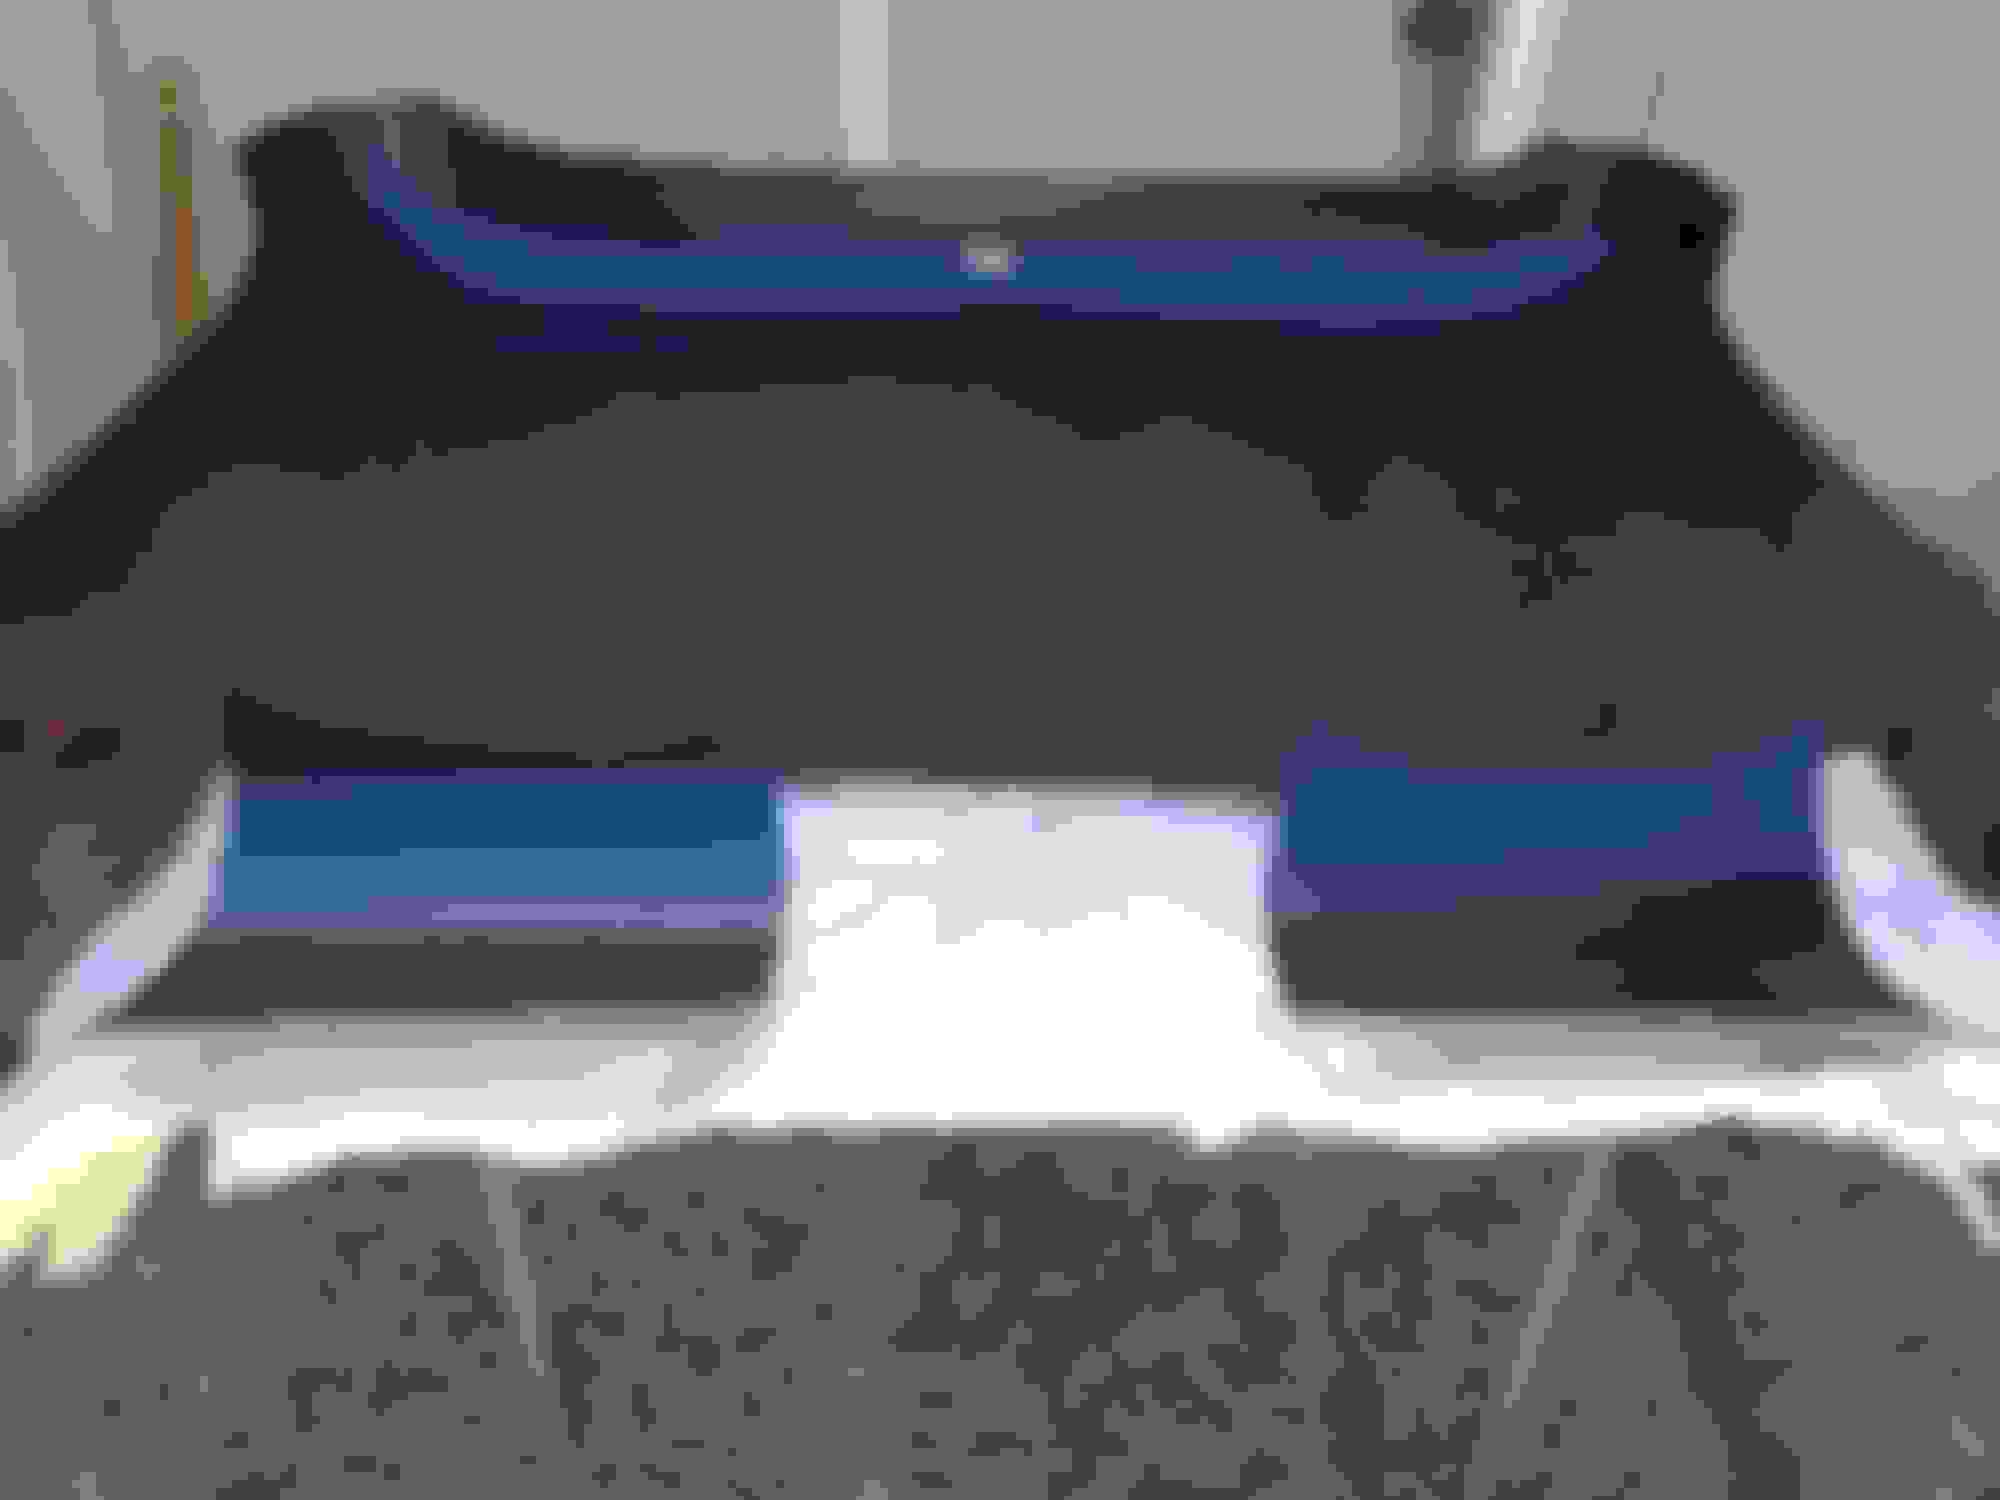
2nd one is GOOD and is from RODDOORS in Chico Ca. – Blaine Roberts(very helpful with any questions before during and after buying and installing).
No pic of it on the website but should be some soon as I sent him pics of mine.
Comes in 3 pieces. Big main piece molded to go all the way from windshield header to just below top of rear window and 2 cab corner pieces.
Bare ABS (a little thinner than the SI headliner) that can be left black or by you painted or covered in your choice material.
It comes rolled up which will make you think “what the heck” when you see the box but it’s fine that way.
I washed it with soap and water then flashed it with lacquer thinner before painting with rattle can plastic/vinyl paint from NPD. I used Light Parchment.
Can be installed by 1 person.
Clips molded into back side to catch pinch welds above doors and above windshield.
It comes down lower toward the windshield then the original type which I think is a better, cleaner look.
Can be installed without any screws using the built-in clips and the supplied Velcro type patches.I didn’t use the Velcro patches on the roof brace as it made it hard to slide it forward.
I think the front clips are actually a little too far back and don’t catch the pinch weld but it is held well enough by the side clips and the rear view mirror. Also, the Custom Cab trim holds it too.
The dome light hole has to be cut in.
Trying to get the cab corners to cooperate. After the glue all let go. RODDOORS prior to painting and after cutting a small starter hole for dome light. It comes with red lines marking the location of roof brace(velcro spot if you use it) and front clips. I cut a small notch on the side as the marks need to be cleand off for paint to stick. I filed the blunt end of the clips a little to help them slide over the pinch welds. Used tape to mark trim hole locations for drilling holes for trim screws. Note the extra area it covers toward the front. For some reason the cab corners don't cover as low as the original. I'm going to buy a piece of ABS to make a piece that will cover all the area below the window down to the tank. He does also make a piece that cover the whole back wall it the tank is out/relocated.
Last edited by 1965GTFB; 10-05-2018 at 01:28 AM.
Reason: spelling
California obviously tough on the stock cardboard. Lucky (in some regards) up here in WA where we don't get quite the temps you guys do. My two 4WD trucks still have their original headliners and doing well still. The 2WD truck from Cali had almost no headliner left and what was there was brittle as could be.
Thanks for the write up on these. My truck coming from Calif needs a new headliner when I get to that point. I thought about making my own and I probably have enough of the original that I could make a pattern, but that one from roddoors looks pretty nice.
This was a really good read. I've got a long way before the headliner goes in but I've been dreading it some. This took some apprehension away, especially since you don't have to remove the rear window.
Last edited by 65navyf100; 10-05-2018 at 06:35 PM.
Reason: addition
Nice review on both. Thanks for taking the time to share with the group. I'm going to need to do mine at some point and will revisit this post then. ~Pat
I have a template for the 1966 F100 Headliner. It is a PDF, you can get it printed on a plotter and then draw it out on the material of your choice. I choose to use FRP, (Fiber Reinforced Panel) Email me if you want a copy
I have a template for the 1966 F100 Headliner. It is a PDF, you can get it printed on a plotter and then draw it out on the material of your choice. I choose to use FRP, (Fiber Reinforced Panel) Email me if you want a copy
I sent the Pdf's let me know if you have any issues. I can tell you if you plan right you can cut all of it out of 1 4X8 Sheet of FRP, or other material.
I sent the Pdf's let me know if you have any issues. I can tell you if you plan right you can cut all of it out of 1 4X8 Sheet of FRP, or other material.
Broomfieldbum,
can you email me the headliner pdf? samuelaandrus@gmail.com
I sent the Pdf's let me know if you have any issues. I can tell you if you plan right you can cut all of it out of 1 4X8 Sheet of FRP, or other material.
Broomfieldbum,
If they are still available can you send them to me also so I can do my '64. Thanks Pat
pmr413@gmail
I'm in the market for a new headliner in my 65 but from what I see offered is neither easy, straight forward, attractive or long lasting. The headliner in my 66 has been there 30+ yrs. and I've had it out multiple times and is easy to install (1 man job). It is made of trailer paneling (plywood) and pleated vinyl / foam. I'm thinking of using it for a template to make my 65's headliner. Would be a fraction of the cost and durable What do ya think.
 10-05-2018, 01:20 AM