Dash lights out, then on, now out again...
#1
Dash lights out, then on, now out again...
Good afternoon!
I'm in about day 20 of my 1978 F150 Lariat .One thing I would like some input on are the dash/gauge lights. When I bought the truck, they did not work .Then one night when driving they did work for a few nights, now nothing. I know that these lights have a history of giving up. I'm trying not to take the dash apart, while easy, Id rather not. Is it a rheostat problem or something else? All other lights in the truck work perfectly except for the seatbelt light and buzzer. I do love this truck, a virtual barn find with 67800 miles on it. Thanks in advance...
I'm in about day 20 of my 1978 F150 Lariat .One thing I would like some input on are the dash/gauge lights. When I bought the truck, they did not work .Then one night when driving they did work for a few nights, now nothing. I know that these lights have a history of giving up. I'm trying not to take the dash apart, while easy, Id rather not. Is it a rheostat problem or something else? All other lights in the truck work perfectly except for the seatbelt light and buzzer. I do love this truck, a virtual barn find with 67800 miles on it. Thanks in advance...
#3
#4
#6
#7
Trending Topics
#8
#9

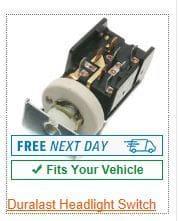
Yes more than likely a bad or going bad headlight switch. The headlight switch has a rheostat that controls the dash lights brightness and that is how you turn on the dome light with the doors closed. Turn the **** fully counter clockwise (should make dash lights, heater panel and wiper headlight switch lite legends full bright. The finial click turns on the dome light.
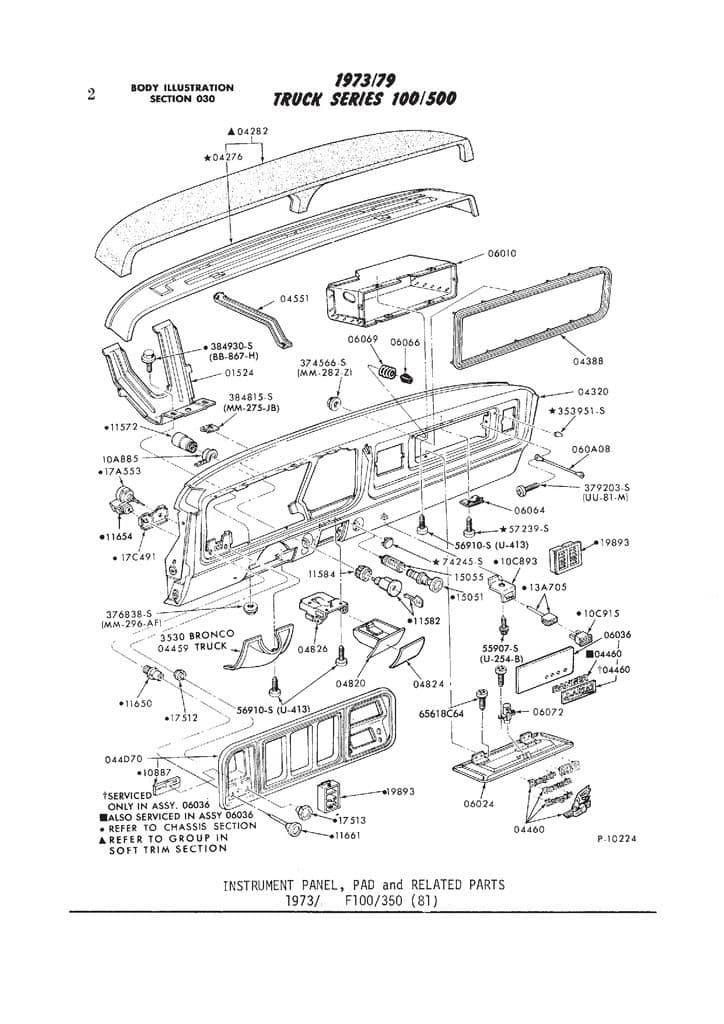
Dash bezel removal is first: Disconnect the battery, and reach up under the dash find the release button on the headlight switch. Push the button and pull the **** and shaft out as one piece. If you can not find it read on….
Then remove the 5 screws first. Far left between the headlight/wiper *****, there are 2 screws, 1 between the *****, and 1 above it, going in straight up. Moving right there are 2 more screws. 1 in the middle, 1 far right, both pointing straight up. Section heater control there is 1 screw pointing straight up.
Heater controls are in behind the dash plastic, they stay where they are, but you might have to slide/squeeze the levers out of way to prevent them from hooking on the dash bezel.
To remove the wiper **** it has a release clip on its shaft that you can put pressure on with small flat tip screwdriver in the tiny slot, press and release and slide the **** off.
Radio may be behind or in front the dash bezel, depending on how previous owner (P.O.) installed it. If its factory or shaft style, pull the ***** off the radio and you will see shallow nuts on the shafts. Clean the shaft threads with elec cleaner and small brush, because the shafts will strip VERY easily, use a deep set socket on them. Once the nuts are removed, there should be a plastic or metal radio plate to remove. Behind that are 2 more screws holding dash bezel to a metal bracket. But not always…
Okay, under the 3 sections that you see the gauges in, under the middle one there is a plastic tab from the dash bezel that is tucked behind the metal part of the dash. You can see the metal cut out area for it, when the headlight ****/shaft is pulled out or removed all together you can pull up on the plastic dash bezel to get the plastic tab out of the slot.
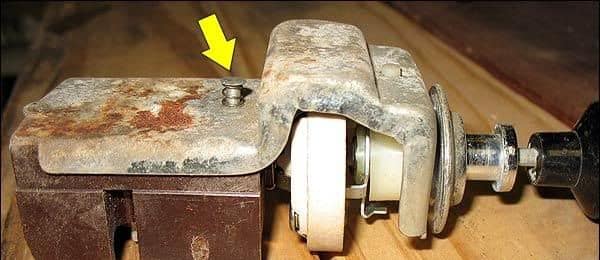
If you could not find the headlight ****/shaft release button earlier. With all screws out of dash and radio loose, you should be able to tilt it forward and see the headlight switch directly behind where the headlight **** is. So with the shaft pulled out like the headlights are on, you tilt the plastic dash bezel forward to get your hand above the switch and feel for a metal button to press and hold to release the headlight shaft from the headlight switch. **** and shaft will slide out as one piece with the button held down. You might have to push pull it a couple of times, they can stick.
Read on if you need to remove the cluster. Cluster assembly is mounted with 4 screws, once they are out, CAREFULLY pull fwd on the assembly just a little. You need it fwd just enough to get a hand on the speedo cable white plastic connector. If you can not get it fwd enough, push yourself some slack in the cable from the eng compartment. DO NOT PULL ON THE CLUSTER!
Then using your hand (best idea) or a small pair of pliers CAREFULLY squeeze the white clip till the cable comes out of the cluster (the white clip will come with it). DO NOT PRY on the clip it, will break and then you have another issue.
Squeeze the side of the main electrical connector and it should release.
#10

Yes more than likely a bad or going bad headlight switch. The headlight switch has a rheostat that controls the dash lights brightness and that is how you turn on the dome light with the doors closed. Turn the **** fully counter clockwise (should make dash lights, heater panel and wiper headlight switch lite legends full bright. The finial click turns on the dome light.
Dash bezel removal is first: Disconnect the battery, and reach up under the dash find the release button on the headlight switch. Push the button and pull the **** and shaft out as one piece. If you can not find it read on….
Then remove the 5 screws first. Far left between the headlight/wiper *****, there are 2 screws, 1 between the *****, and 1 above it, going in straight up. Moving right there are 2 more screws. 1 in the middle, 1 far right, both pointing straight up. Section heater control there is 1 screw pointing straight up.
Heater controls are in behind the dash plastic, they stay where they are, but you might have to slide/squeeze the levers out of way to prevent them from hooking on the dash bezel.
To remove the wiper **** it has a release clip on its shaft that you can put pressure on with small flat tip screwdriver in the tiny slot, press and release and slide the **** off.
Radio may be behind or in front the dash bezel, depending on how previous owner (P.O.) installed it. If its factory or shaft style, pull the ***** off the radio and you will see shallow nuts on the shafts. Clean the shaft threads with elec cleaner and small brush, because the shafts will strip VERY easily, use a deep set socket on them. Once the nuts are removed, there should be a plastic or metal radio plate to remove. Behind that are 2 more screws holding dash bezel to a metal bracket. But not always…
Okay, under the 3 sections that you see the gauges in, under the middle one there is a plastic tab from the dash bezel that is tucked behind the metal part of the dash. You can see the metal cut out area for it, when the headlight ****/shaft is pulled out or removed all together you can pull up on the plastic dash bezel to get the plastic tab out of the slot.
If you could not find the headlight ****/shaft release button earlier. With all screws out of dash and radio loose, you should be able to tilt it forward and see the headlight switch directly behind where the headlight **** is. So with the shaft pulled out like the headlights are on, you tilt the plastic dash bezel forward to get your hand above the switch and feel for a metal button to press and hold to release the headlight shaft from the headlight switch. **** and shaft will slide out as one piece with the button held down. You might have to push pull it a couple of times, they can stick.
Read on if you need to remove the cluster. Cluster assembly is mounted with 4 screws, once they are out, CAREFULLY pull fwd on the assembly just a little. You need it fwd just enough to get a hand on the speedo cable white plastic connector. If you can not get it fwd enough, push yourself some slack in the cable from the eng compartment. DO NOT PULL ON THE CLUSTER!
Then using your hand (best idea) or a small pair of pliers CAREFULLY squeeze the white clip till the cable comes out of the cluster (the white clip will come with it). DO NOT PRY on the clip it, will break and then you have another issue.
Squeeze the side of the main electrical connector and it should release.
#11
#12
If you haven't bought a new switch yet, try cleaning the original one. If it really has just 67,000 miles, the switch probably should not be totally toasted unless it was getting wet, or if someone botched a radio install and grounded the illumination lead, and then jumpered the fuse which kept blowing, or something like that...
You can probably clean it without disassembling anything if you can reach up under the dash with a spray can of contact cleaner, but it will be easier if you remove the gauge bezel. Spray the exposed 'coil ring' deal, and the piece which rotates against it. Then work the dimmer back and forth, and there's a pretty good chance that it will come back to normal operation.
The tricks to removing the bezel are to remove the light switch **** and shaft together, via the push button release on the switch chassis, and to remove the wiper switch **** via the retaining clip release - just stick a flat blade screwdriver behind the **** and catch the little 'spring release' tab, and use the screw driver to simply push the **** right off and into your other hand. Also beware of the light for the wiper and headlight switch indicator. It clips to the bezel, but is easy to release.
Thread
Thread Starter
Forum
Replies
Last Post
troverman
1999 to 2016 Super Duty
48
08-21-2016 10:32 PM


