When you click on links to various merchants on this site and make a purchase, this can result in this site earning a commission. Affiliate programs and affiliations include, but are not limited to, the eBay Partner Network.
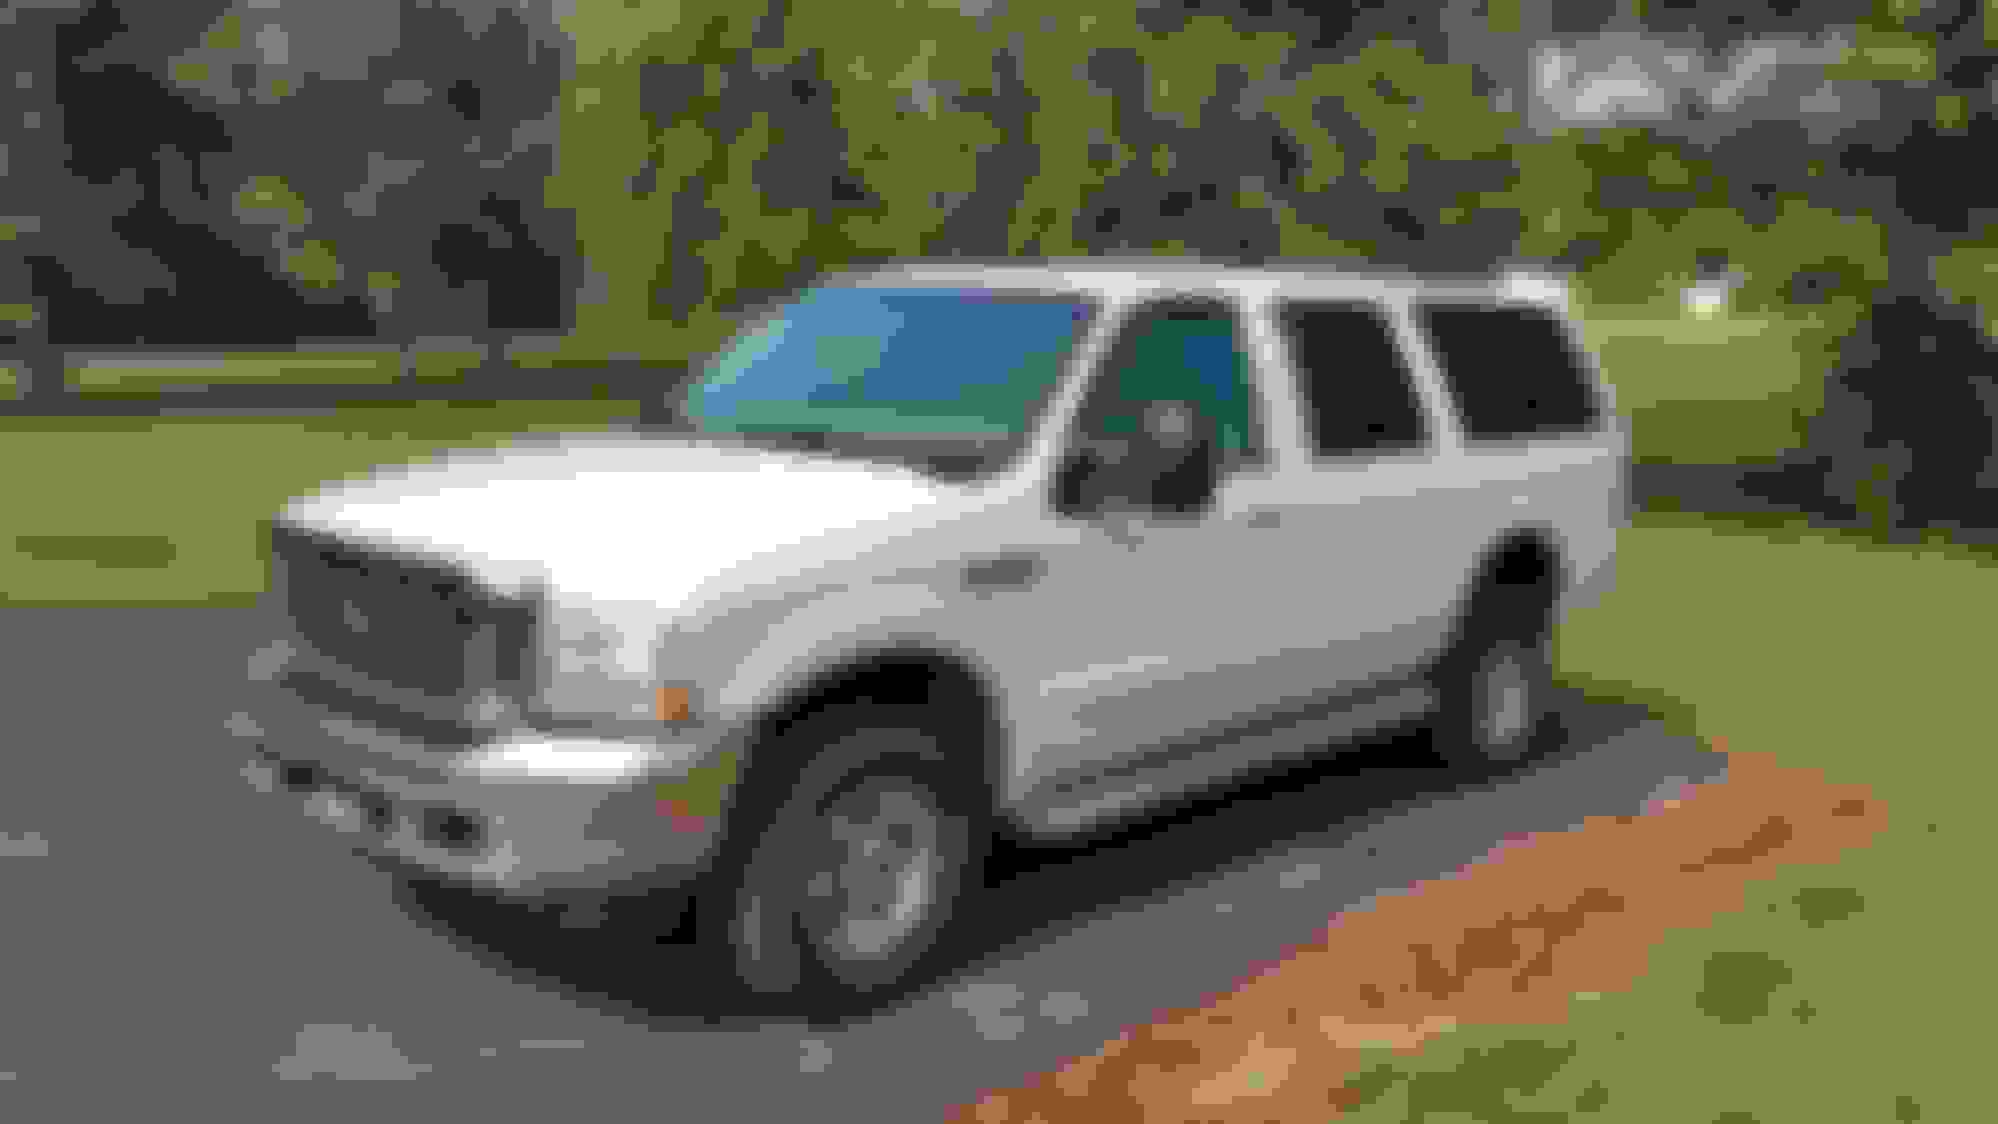
I've had my Ex for a little over two years now. It's a 2000 white/gold-tan-whatever color 4X4 7.3. I'don't particularly care for white vehicles and really didn't care for the gold-tan-whatever color body cladding. I've been planning to pull it since day one. I finally got around to doing it. I shot some pix and thought I'd do a little write-up for anyone interested in doing the same thing. It was actually quite a bit easier than I anticipated.
Tools.
Slim bladed 6 inch kitchen knife. An actual fillet knife would be about perfect.
Ball peen hammer.
Sharp 1/2 inch wood chisel
1/4 inch (I think) nut driver or bit for drill/driver.
Strong fingers.
I did this on a hot 95 degree day, and 'da Bus had been sitting in the sun all day, I have no doubt that softened up the tape.
Start at a corner and slide the blade gently under the cladding, you'll hit the tape like 1/2 inch in, slice through tape a bit and gently pry the cladding up enough to get a finger under. Once you get a finger under it your good to go, just pull out on the cladding, it's flexible and pulls away slowly, exposing more tape which you can continue to slice with the blade until you get enough of it up to get three or four fingers under, now, you just pull hard and your cooking with gas, comes right off.
Once you get it started it's not too bad.
The wheel well arch cladding has fasteners. There are two body bolts with attached washers holding the wheel well liner in place, remove them with your driver and set aside. The rest are plastic push in fasteners. If you feel like going to the effort you can probably figure out how to get them out without damaging them. I tried to unscrew them gently with the driver and the philips slots rounded out immediately, which was all the effort I cared to put into saving them. Work your chisel under the edge of the fastener and angle the tip slightly away from the arch cladding to avoid gouging it in case you want to put it back on or whatever, then give the chisel a couple good raps with you handy ball peen hammer. Chisel cuts the heads off the fasteners and you are good to go. Lather rinse and repeat working your way around the truck.
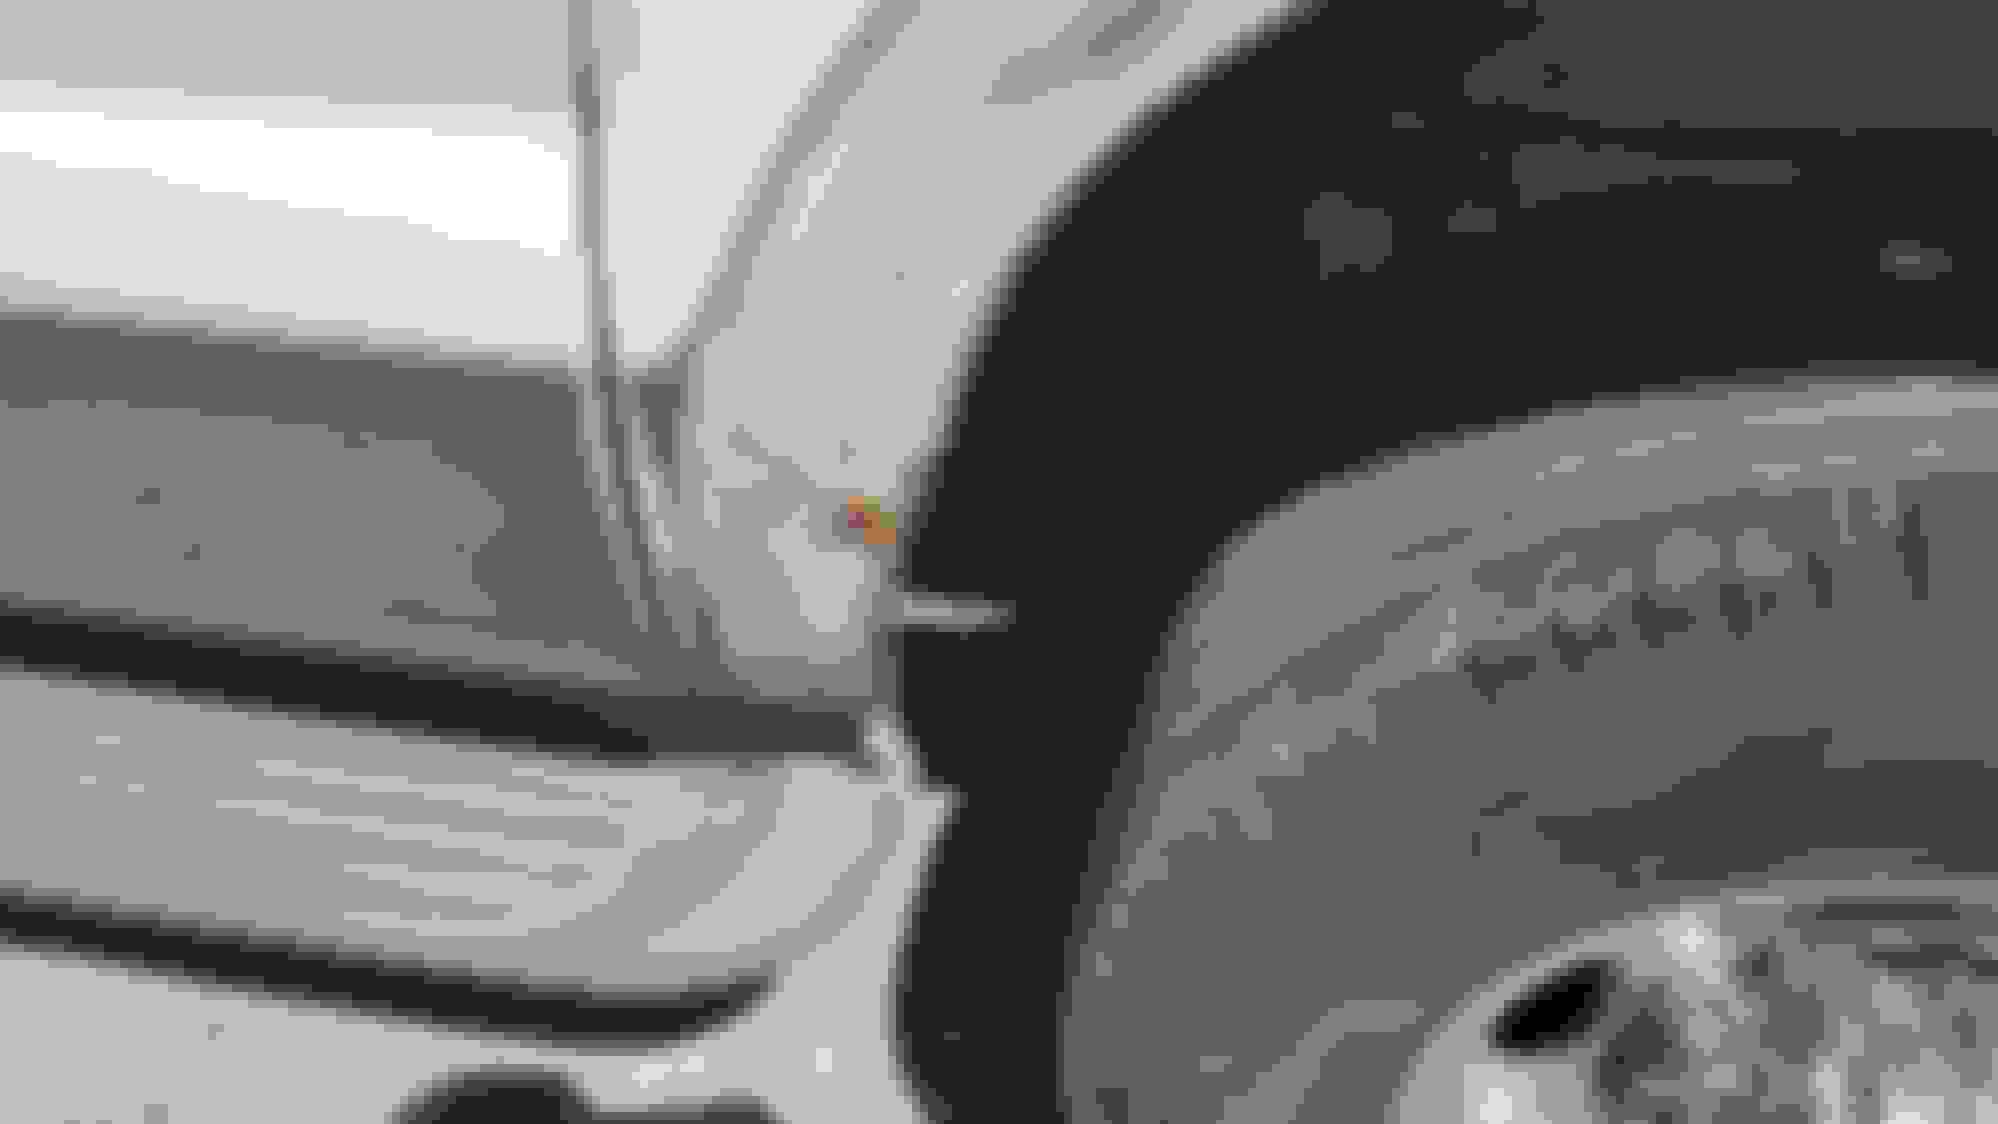
The other irritating part was that there are two very flat black rubber "Stealth Fasteners" holding the front quarter panel cladding in place, they are right above the front of the factory running board and are hard to spot if you don't know they are there. They come off exactly the same way as the others. Mr. Chisel to the rescue.
All things considered it probably took two hours to get the cladding off because, as per usual, I was figuring it out as I went. You could cut that in half if you know what to do ahead of time.
The $63 question is why did I pull the stuff in the first place, aside from not liking it? Well, after 17 years, I figured the tape has to be degrading, probably letting in and trapping water and dust, possibly leading to rust. I was right. I have some rust to deal with now, luckily it's pretty minor and should be easy enough to fix. Or in my case, pay someone to fix 'cause I know jack about bodywork and don't have time to learn in any case.
I hate rust...
I actually like the looks of the truck a lot better without the cladding. The paint on the roof is in a bad way and I've been planning to get the roof sprayed with bedliner for some time now. I am going to have the roof and rockers done. Haven't decided on what color yet I'd like to go with something light, but I don't like Tan, Maybe greay bit t'll probably be black I do know that the truck looks a lot cleaner without the cladding. And as far as the tape residue goes, well, the bedliner guys can clean it off when they scuff the paint during prep. If I had to do it I figure an hour or two with a heat gun and a plastic putty knife would get it right off.
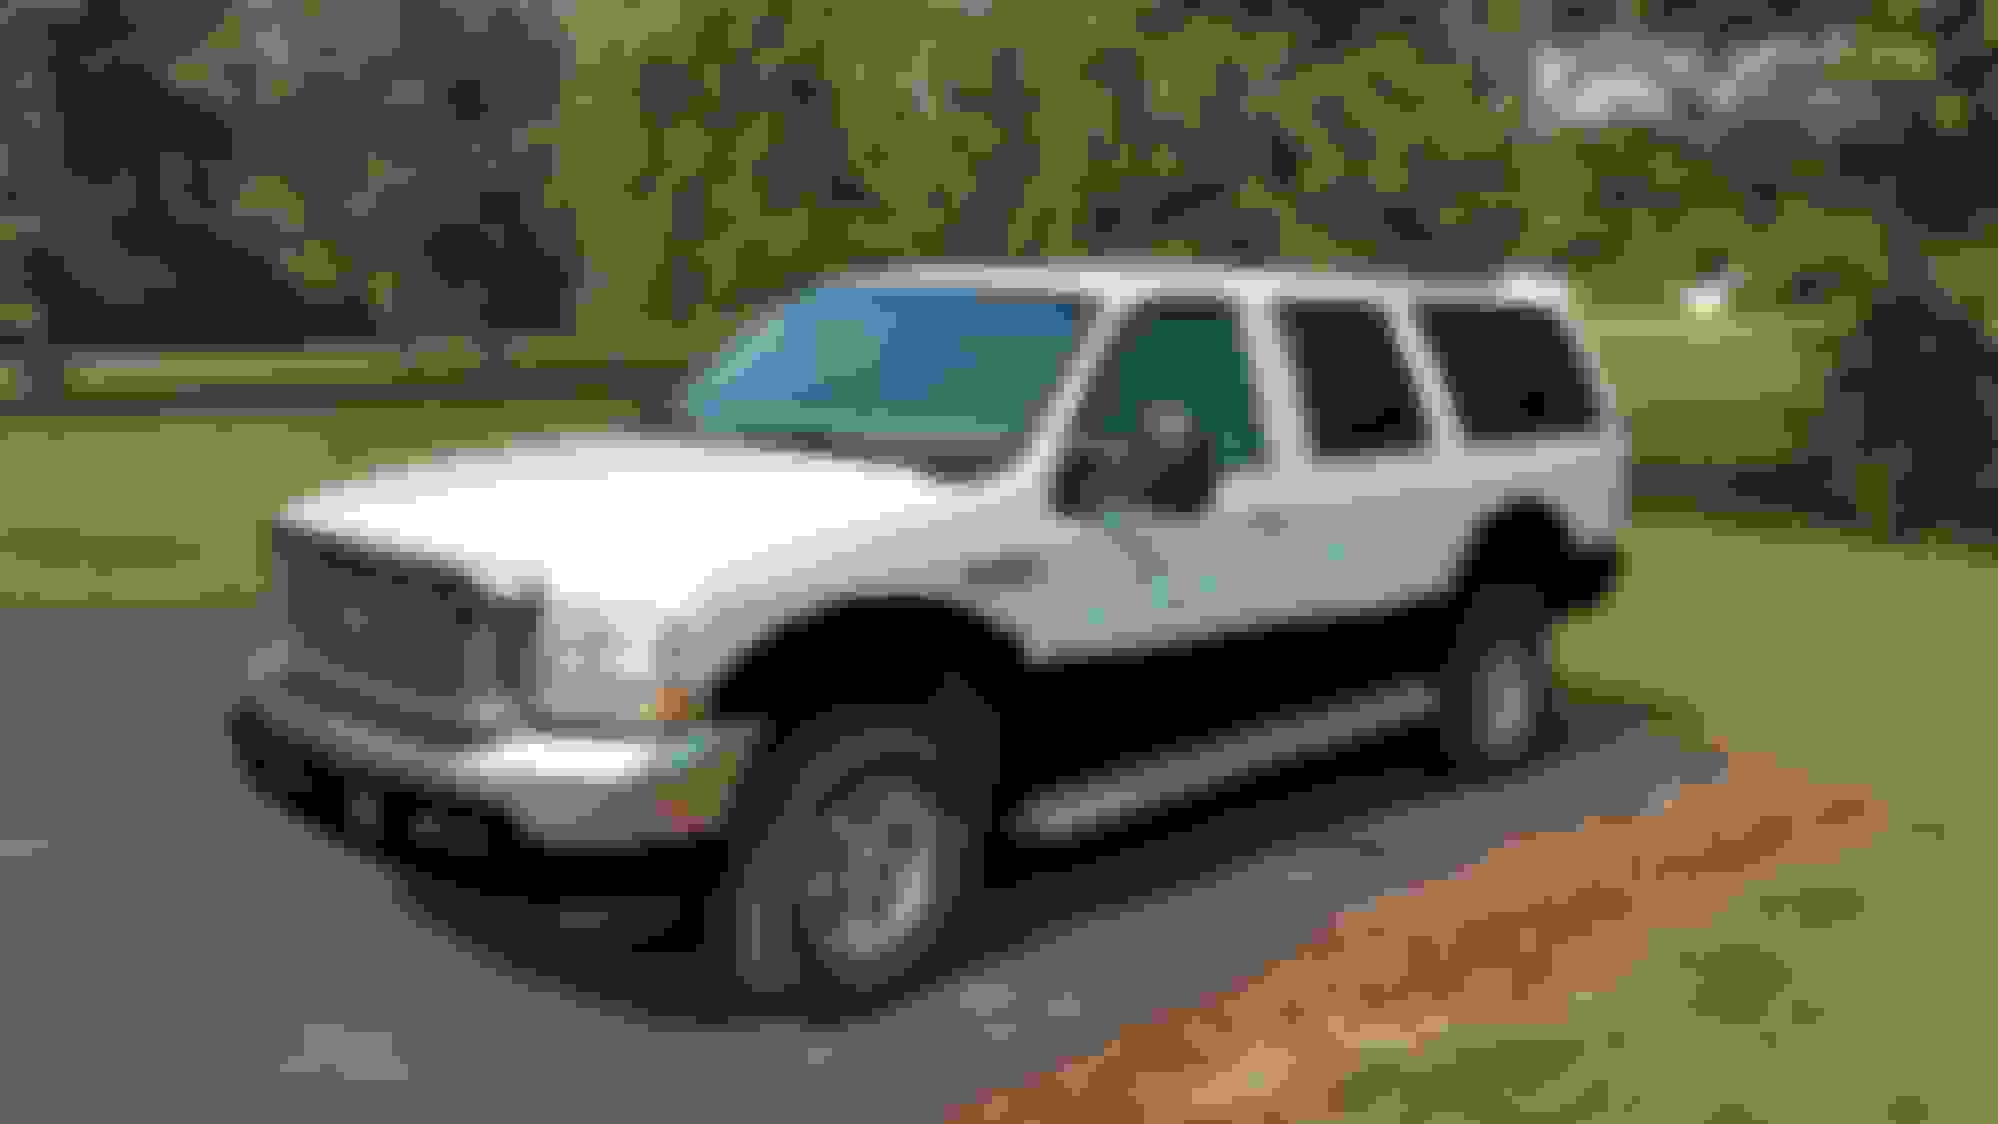
Nekkid rockers and arches.
I'm going to spray the front bumper fascia and rear bumper cap with whatever color the bed liner ends up being.
Crappy Artist's Concept of what my truck would look like w/ black rockers. Yeah, I did it on my phone, so sue me.
Works GREAT if you have a drill with some guts. 3M has the same thing for $20 more... this cheap one works fine. I used the plastic razor that mecdac referenced... residue was too stubborn and the blades warped/shifted under pressure.
Godforsaken double sided oem demon tape from hell.
Holy Crap.
I really don't know what this oem sticky tape is made from but they should have made the whole truck from it. The tape residue laughs at WD40 alone. WD40 and a heatgun allow me to clear the crap off at the rate of about a foot every 10 minutes. Anybody got a better idea? Tried a rubber wheel, no bueno!
Goo gone works. DO NOT USE A HEAT GUN. It makes it worse. There is another product that smells like oranges...has citric acid in it. Put it on, and let it soak in good. Then put another coat on it and wait a bit. Then start going at it nice and slow with a stiff, PLASTIC putty knife or scraper.
As far as the eraser wheel goes, it was hit and miss for me. Some areas it took the tape right off, and other areas it didn't seem to be effective and just burned off my clear coat.
Google and buy some "Plastic razor blades", will work well with GooGone, or the tar/sap remover solutions. Still gonna be some work, but the plastic blades and scraper if used will make a difference. One of the paint products that are non harmful to the clear coats like Turpentine are worth a shot too. Kerosene works. If the 3M trim tape residue is fairly dry and crusty, you will go through the plastic blades, as the leading edge will fracture.
yeah, so this is EXACTLY what I want mine to look like too (gold base). Do you re-paint the clad and put it on? What bumper is that? Yeah, I need this on my ex.
I use Coleman camp fuel. Works great. On the body I used the magic eraser, just be careful not to get it too hot. On the cladding, I used a sharpened paint knife and my thumb. It takes some time and you have to be careful but it worked great. Then the Coleman fuel to clean everything up. The fuel will soften the glue then scrape, comes right off.
When reapplying, make sure to use the 3M tape and have everything super clean. Heat helps too. I had my heat gun on low and just applied pressure as I slowly warmed the taped area. Stuck like factory.
yeah, so this is EXACTLY what I want mine to look like too (gold base). Do you re-paint the clad and put it on? What bumper is that? Yeah, I need this on my ex.
I removed cladding. Added Bushwacker fender flares and then Linex'd. That is '05 stock bumper.
I removed cladding. Added Bushwacker fender flares and then Linex'd. That is '05 stock bumper.
Ok so trash the cladding, buckwhacker fender flares, have the sides linex'd, and have my original bumper repainted to match color. That about cover it? Thanks for responding to this old thread!!
Did you linex over the flares as well? They dont look at big on bushwhacker's site.

 07-25-2017, 12:15 AM