H&S Motorsports CAC Upgrade Pipe Install(OEM trucks)
#1
 10-08-2016, 09:24 AM

H&S Motorsports CAC Upgrade Pipe Install(OEM trucks)
As most of you know, Rodney and I both have had failures of the stock PLASTIC CAC hose on our 6.7s. Both while towing, both on the interstates and both with VERY low miles on our trucks. I also found a few others on the RV forum that had done the same. So, being me and not wanting to do that again, even though I was prepared, thanks to Rodney, I ordered the aftermarket replacement. I've found two of them, H&S and AFE. H&S will run around $349 and AFE around $295. So this morning I put it in.
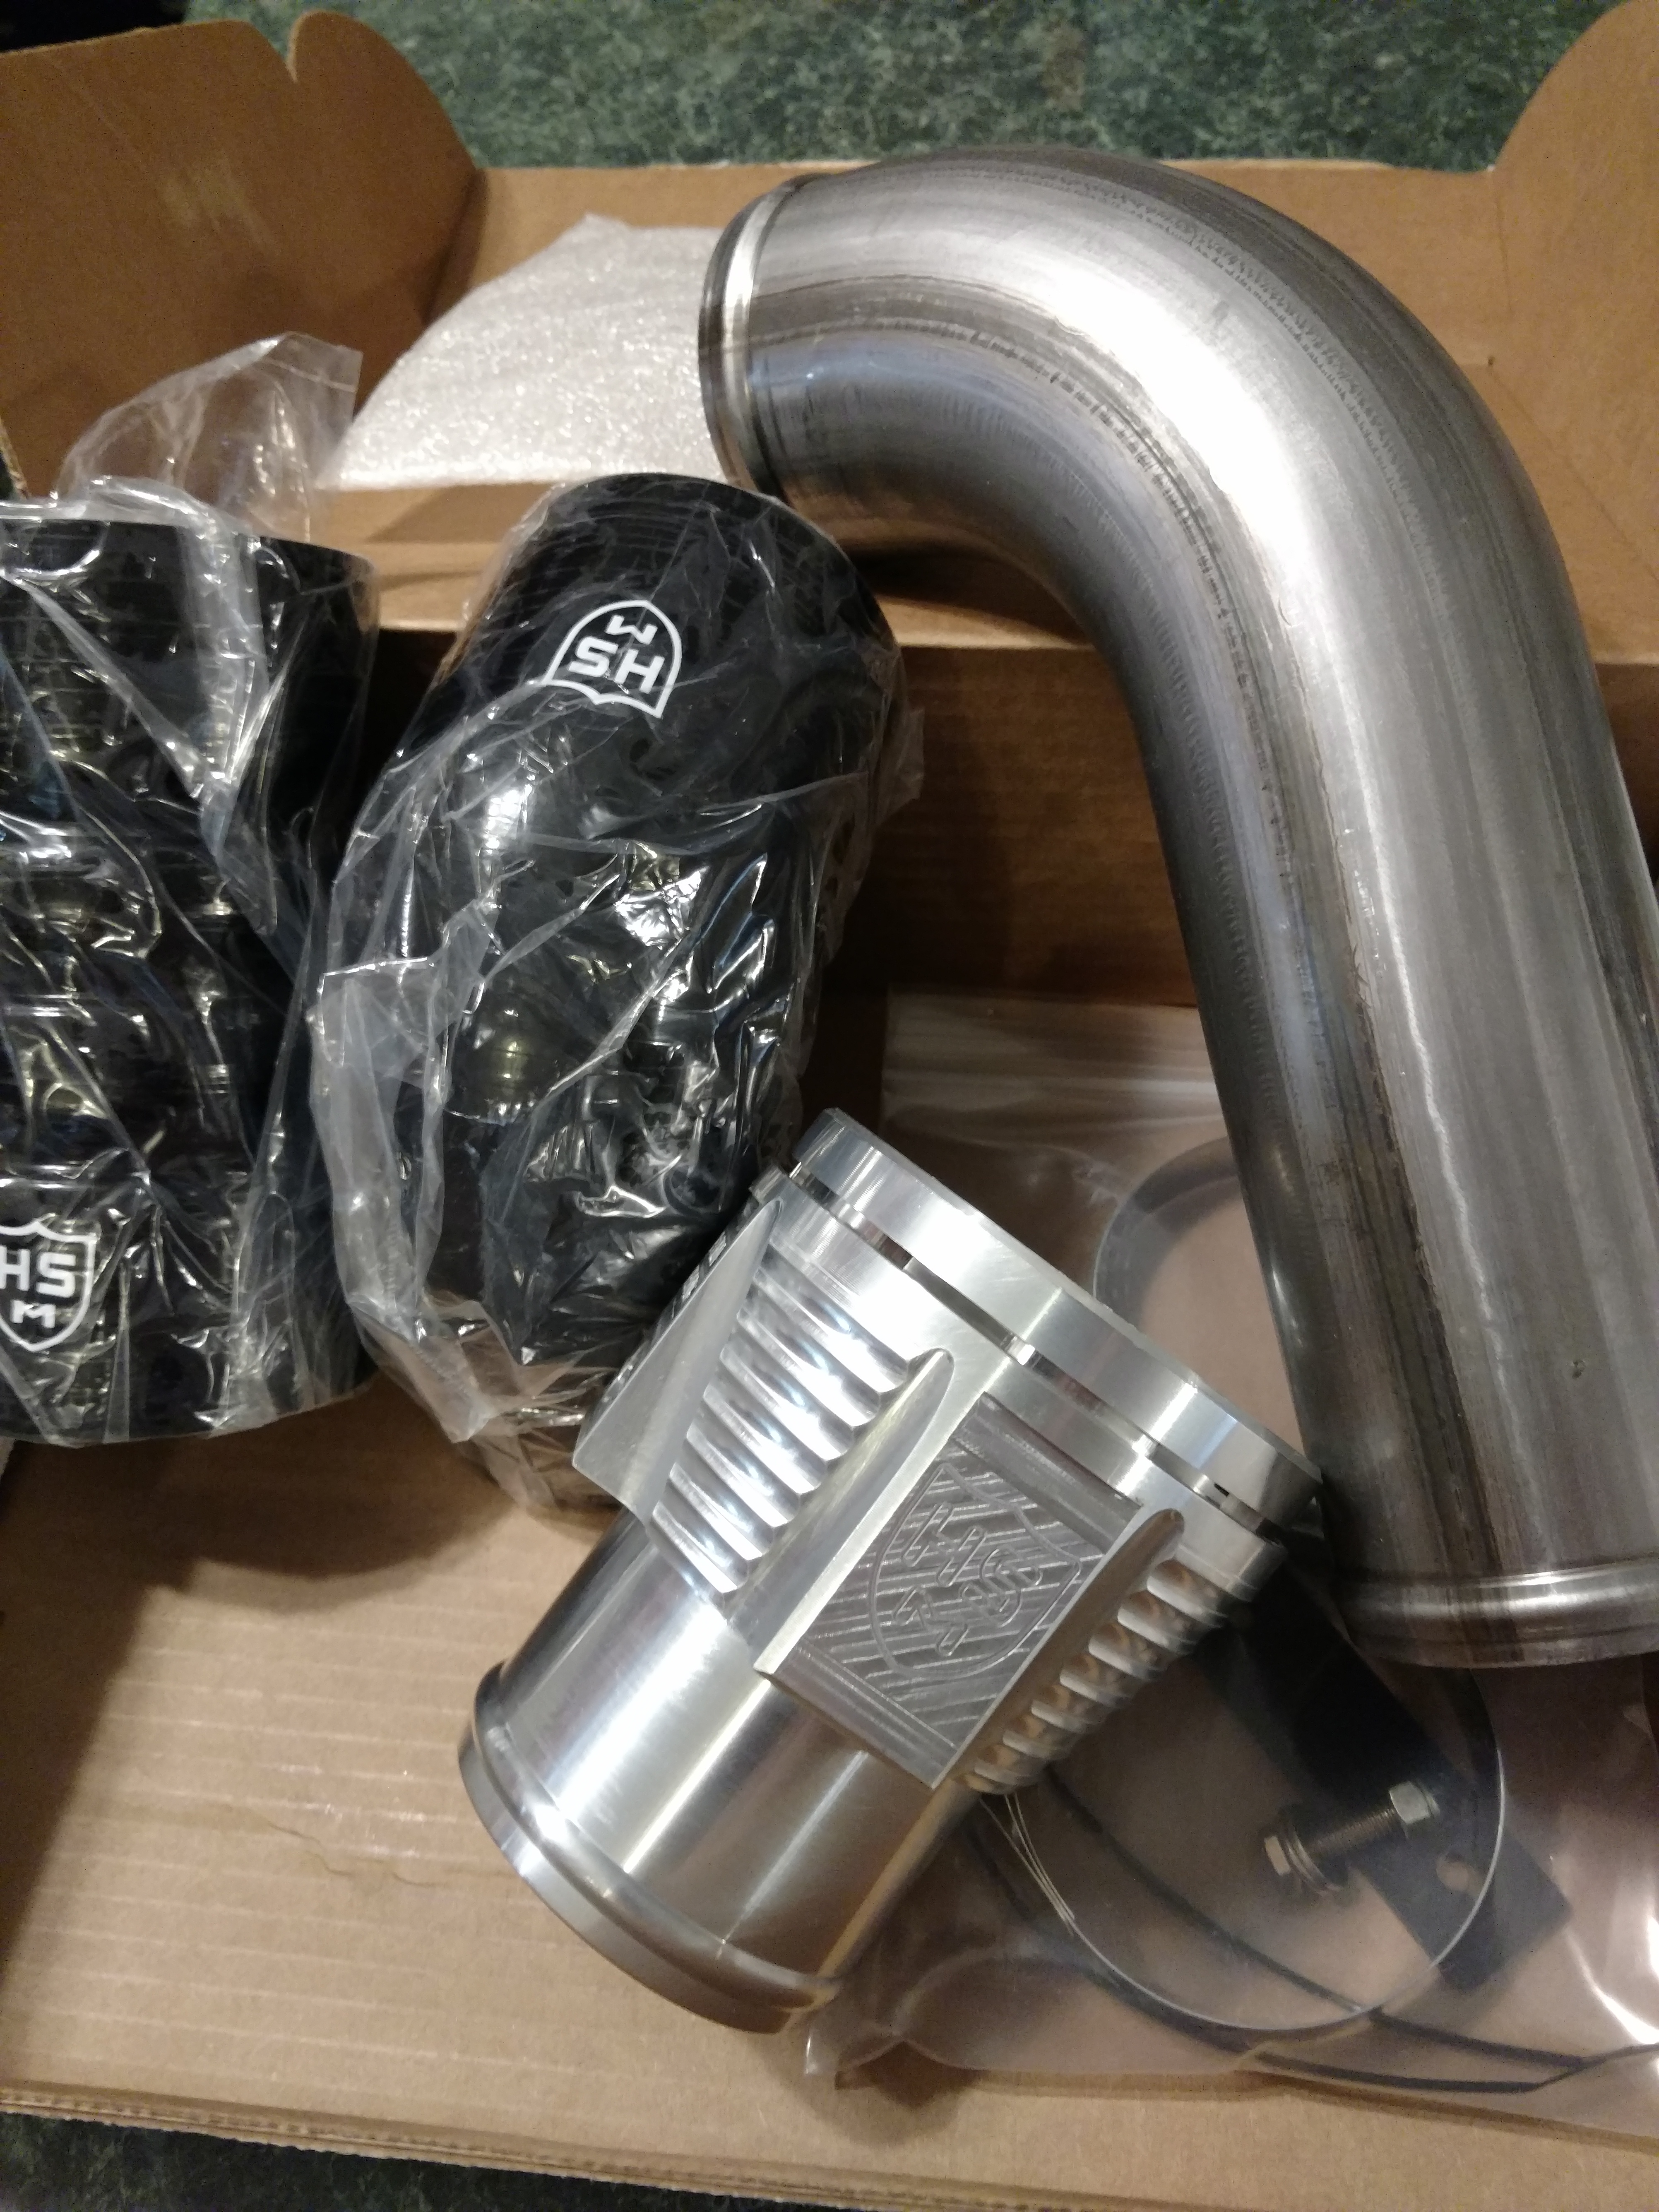
Here is the comtents of the box.
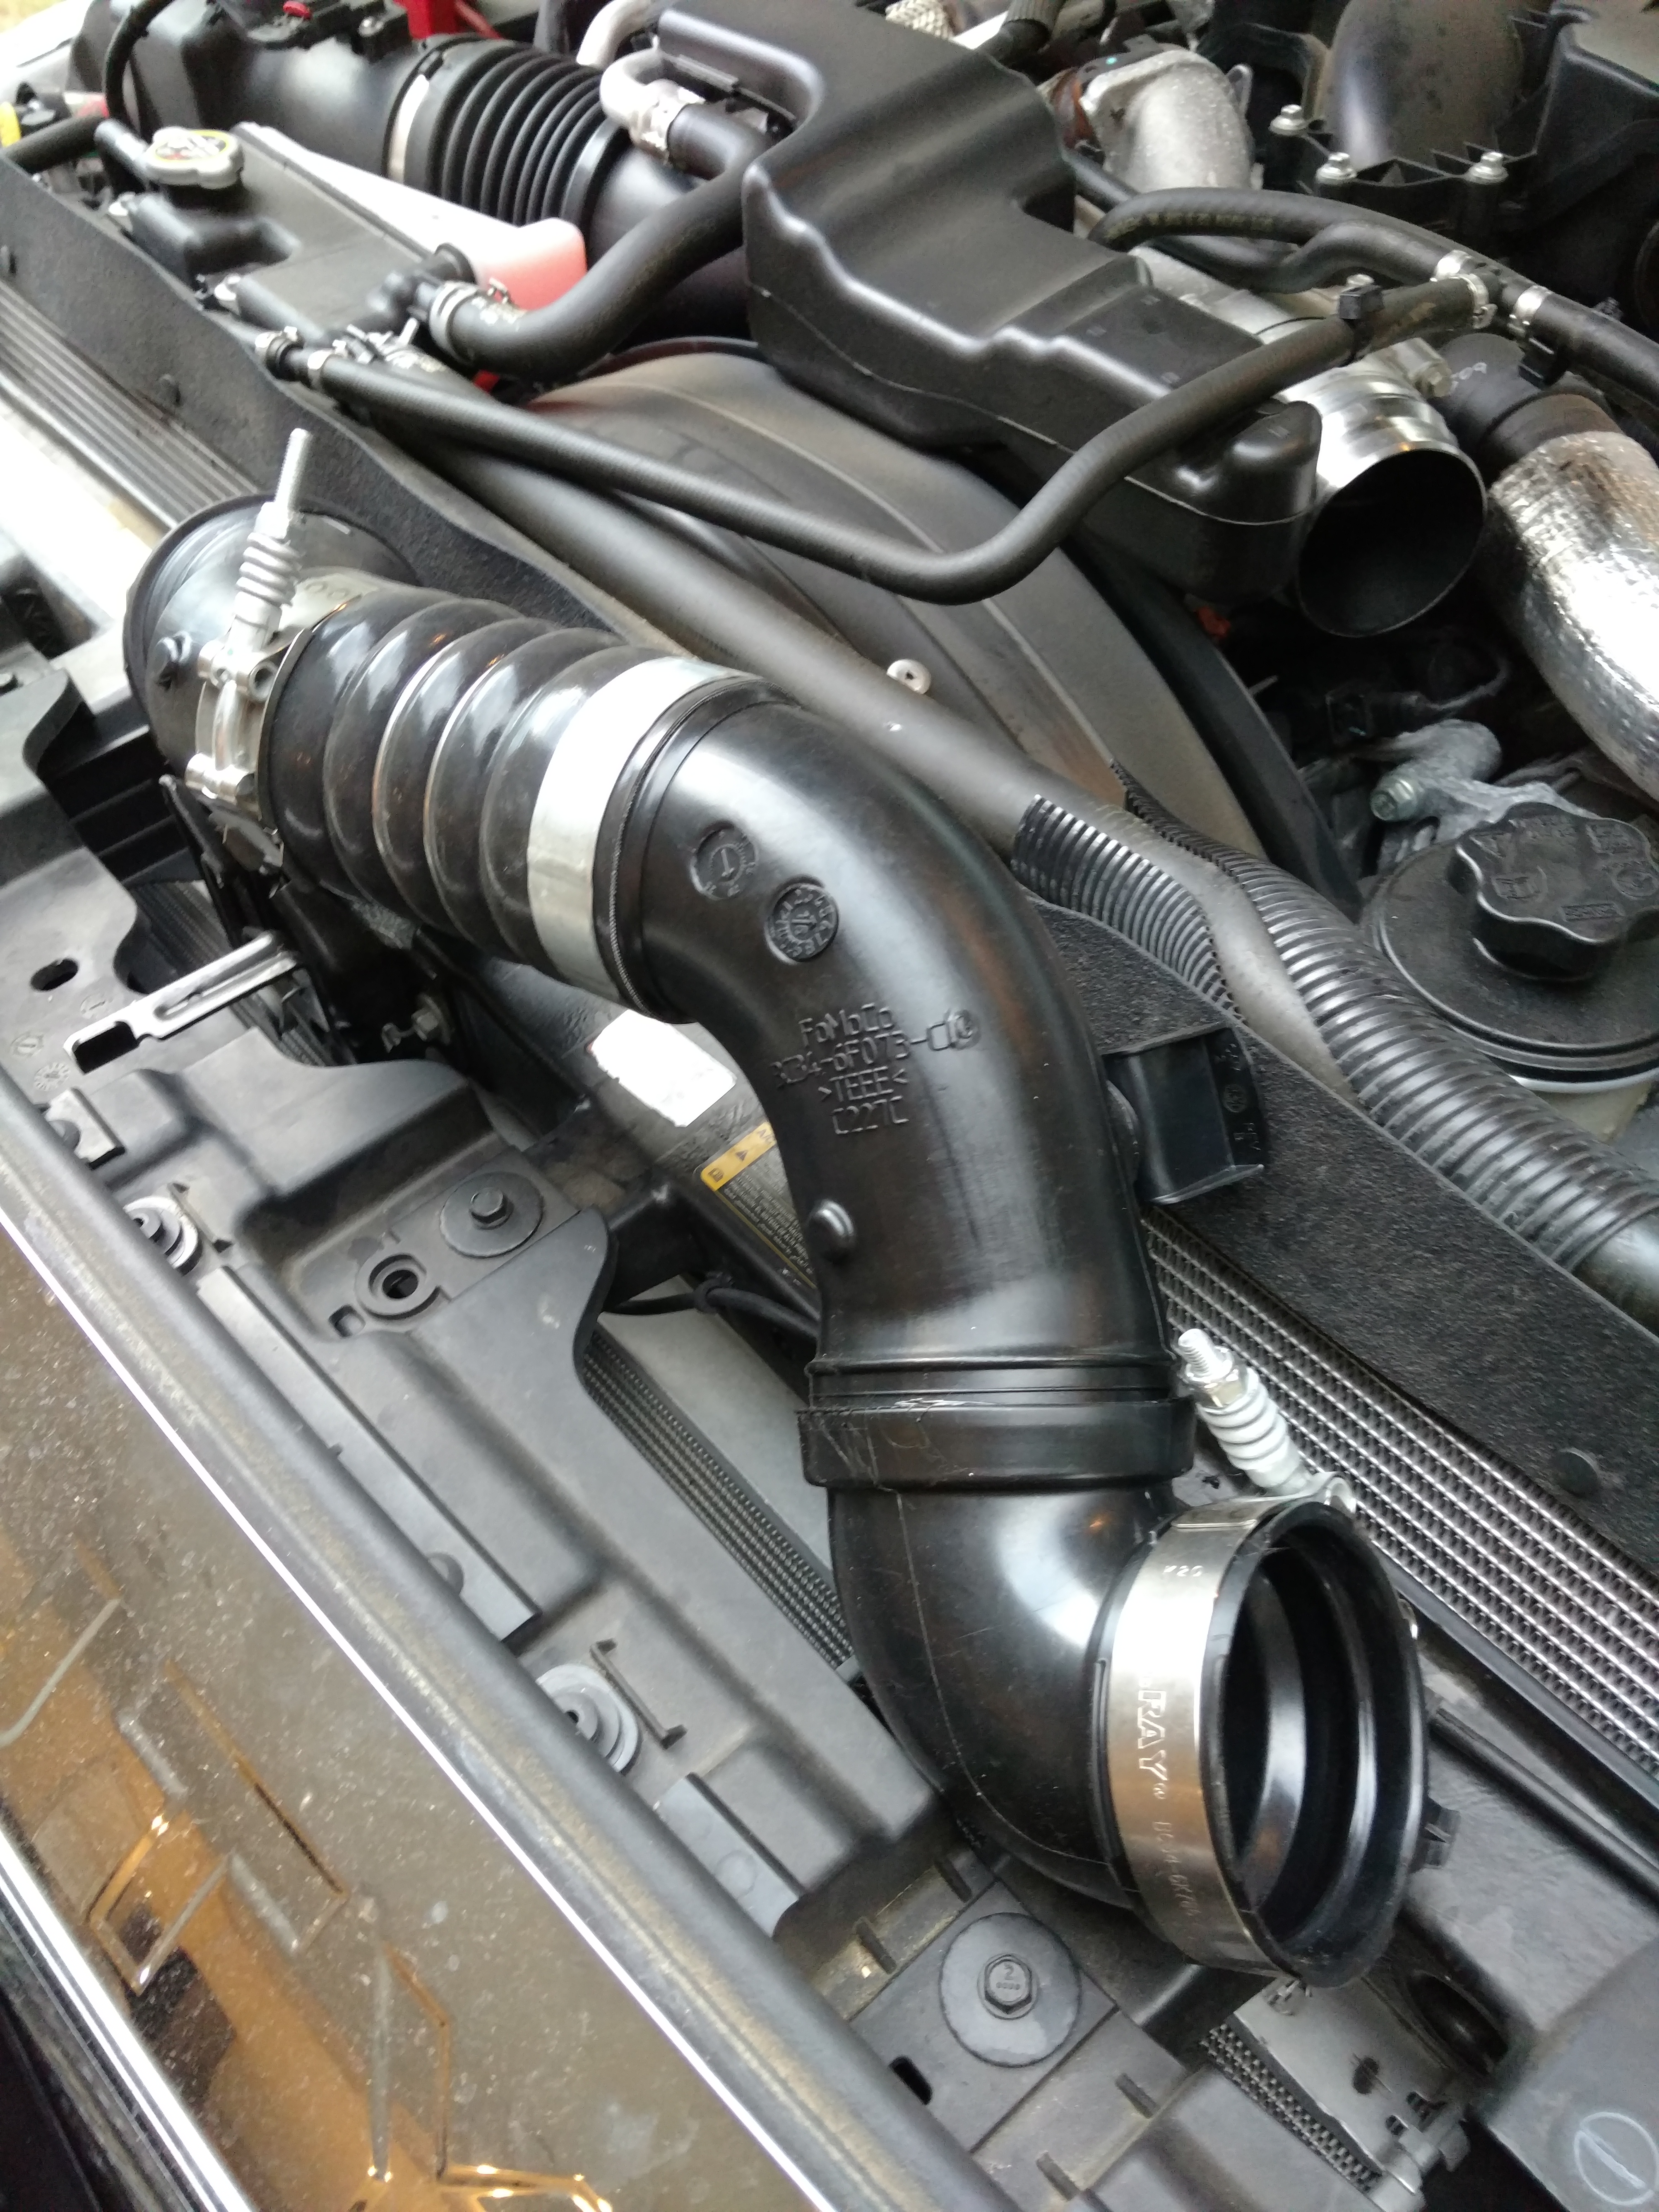
Here is the stock pipe removed. YOu remove one spring clamp, one C-spring clamp and disconnect the air intake temperature sensor and she comes out.
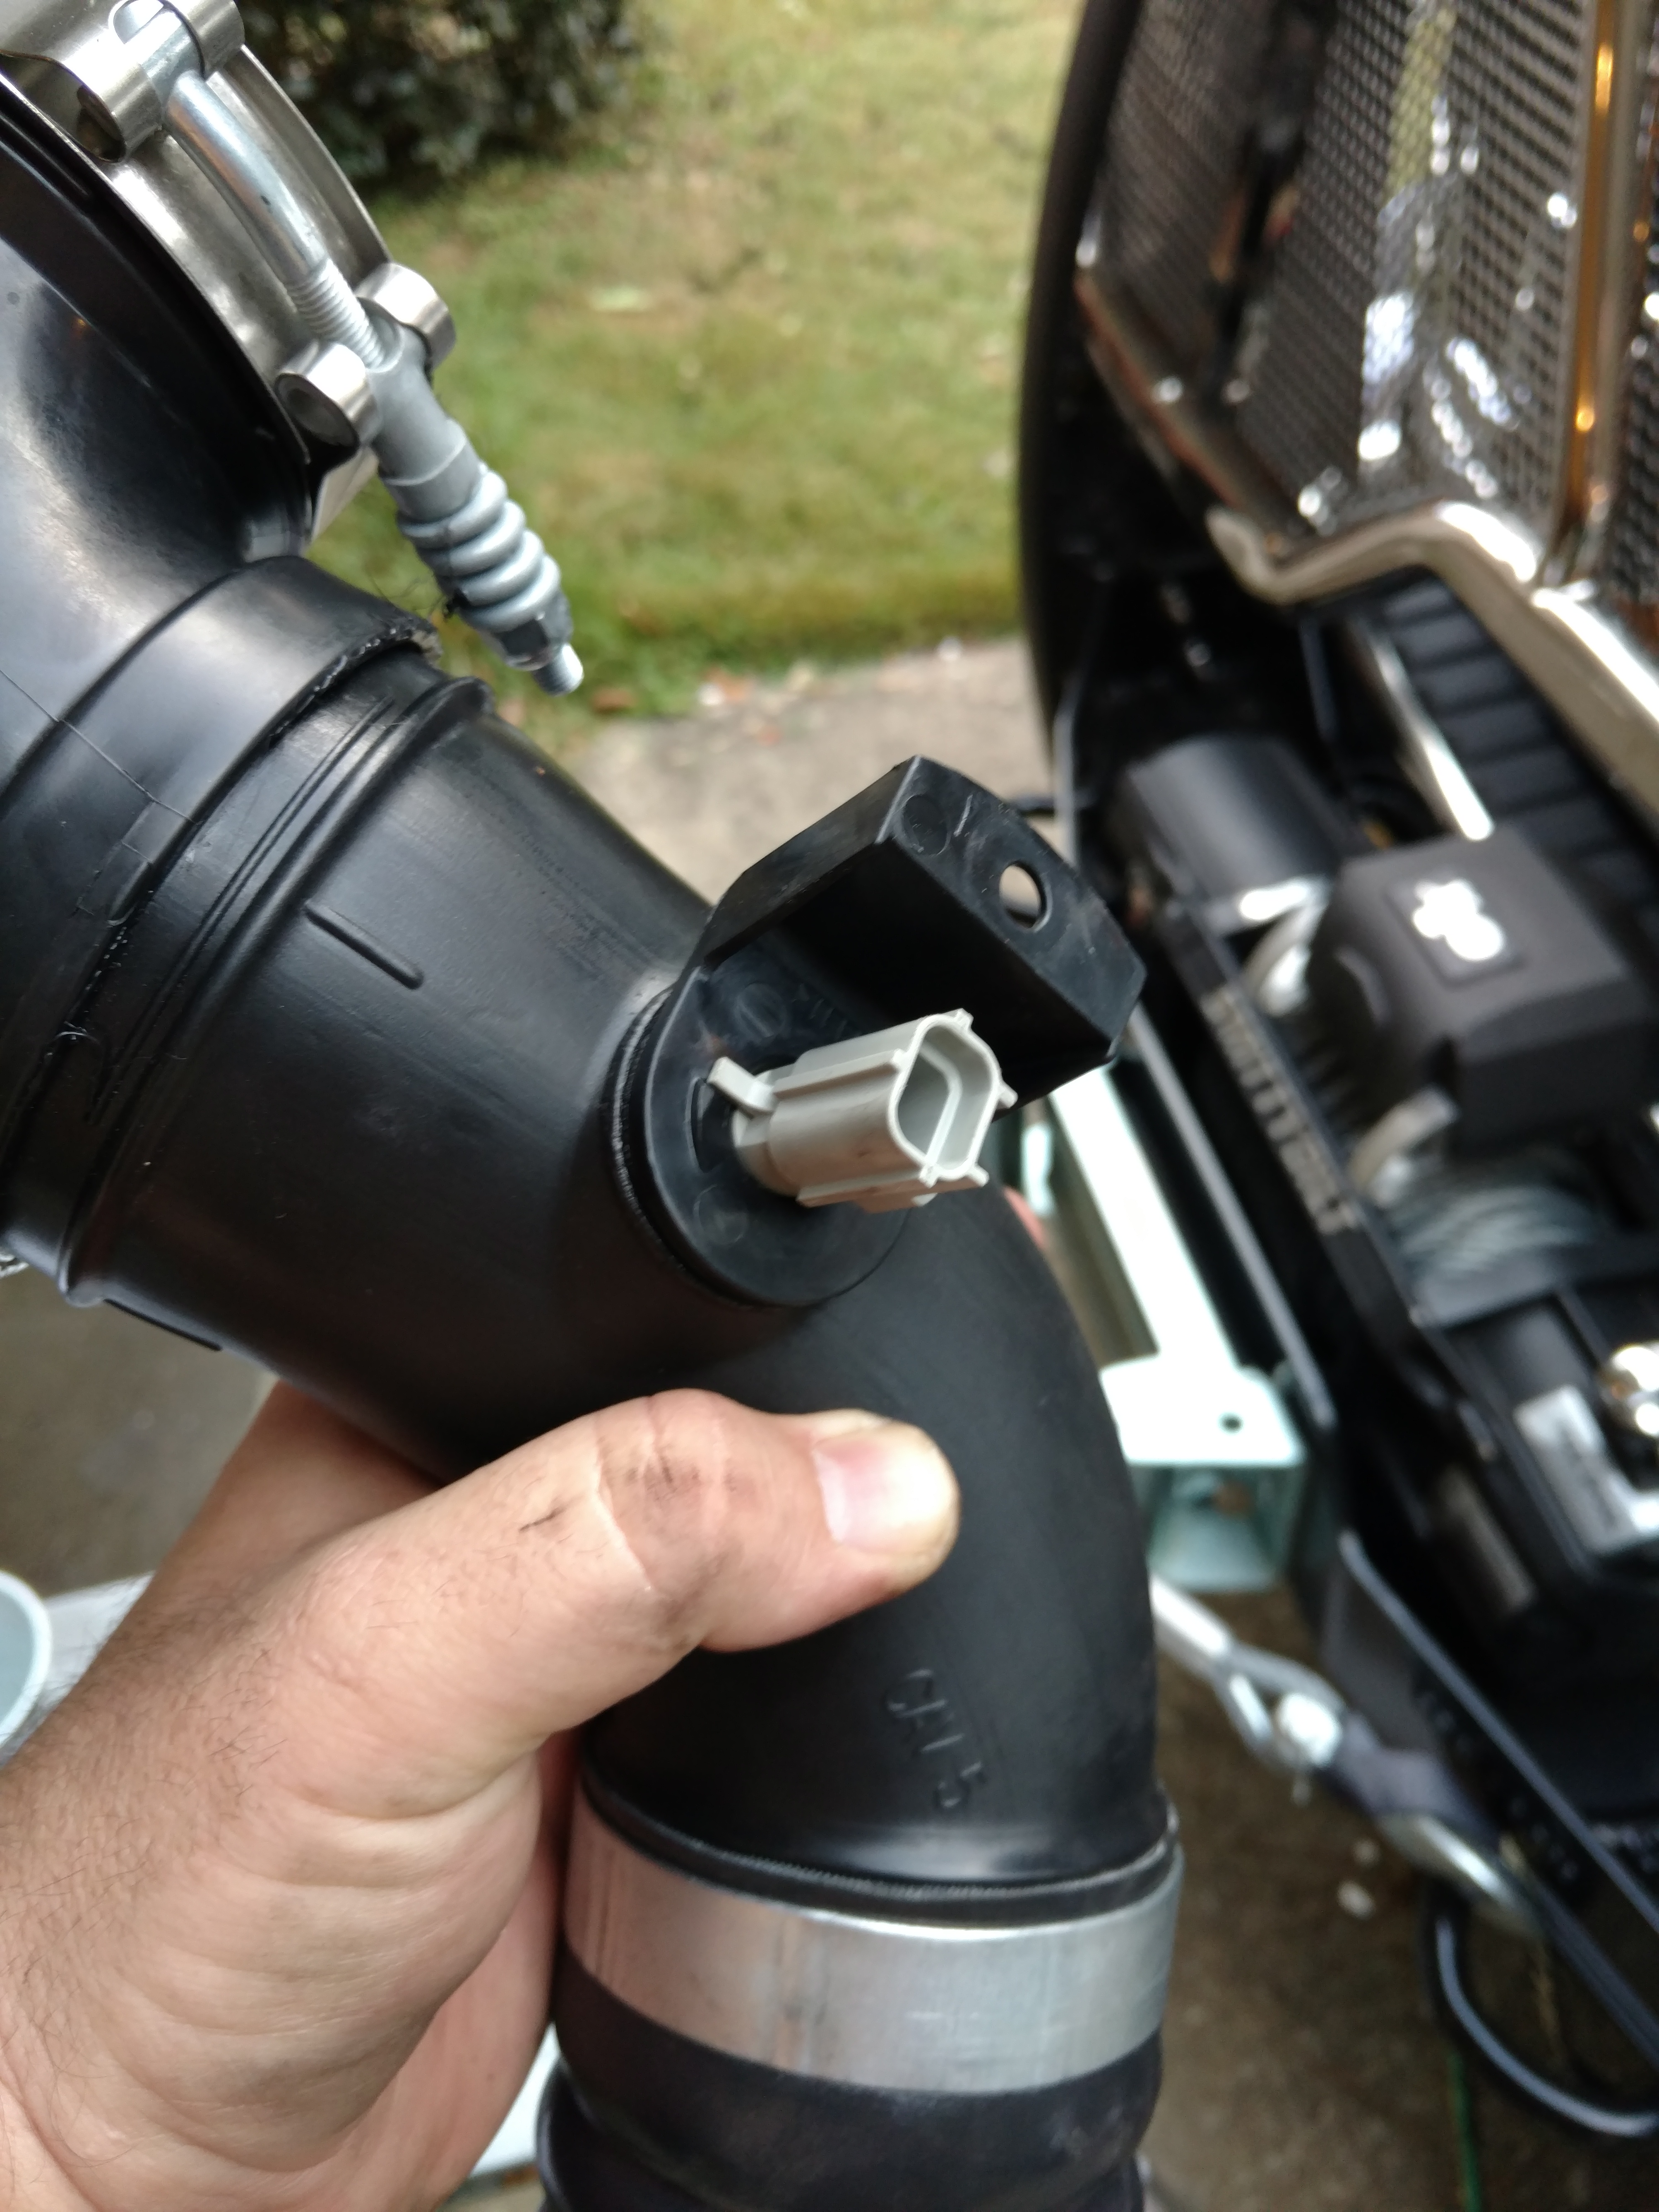
Next, the temp sensor has to be removed. Take a small screwdriver to hold up the tab and rotate the sensor counter-clockwise and she comes out easily.
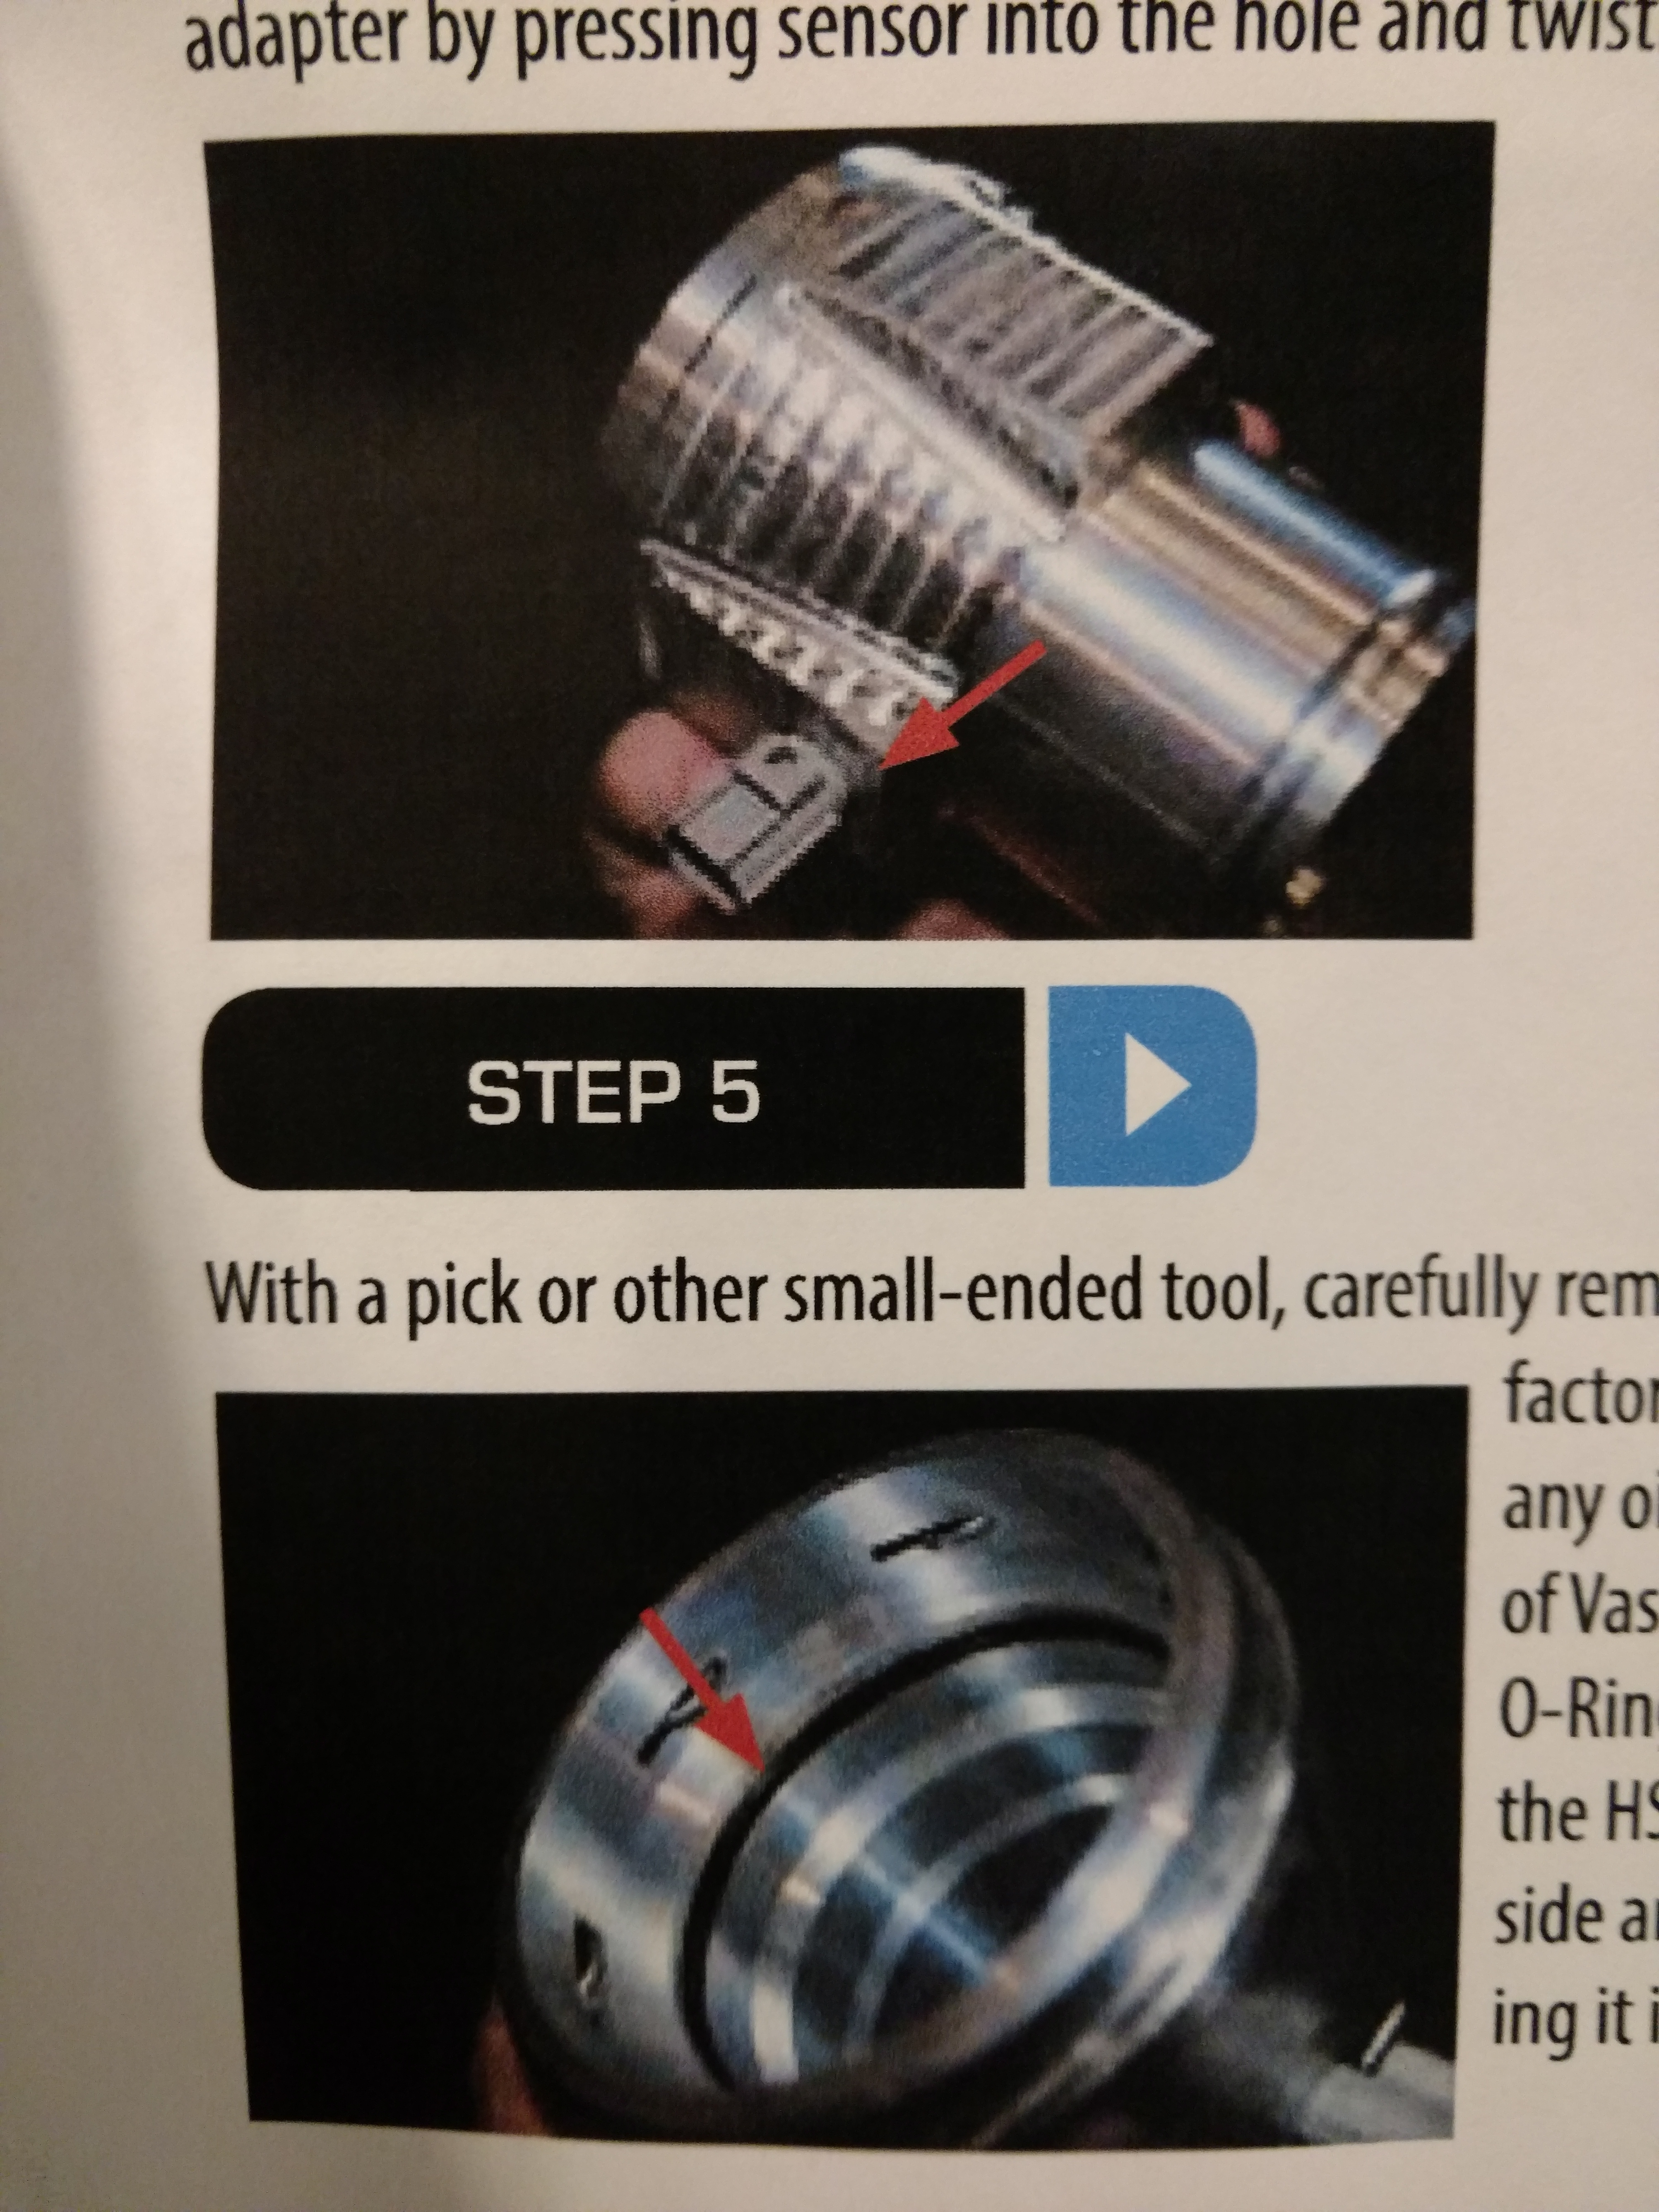
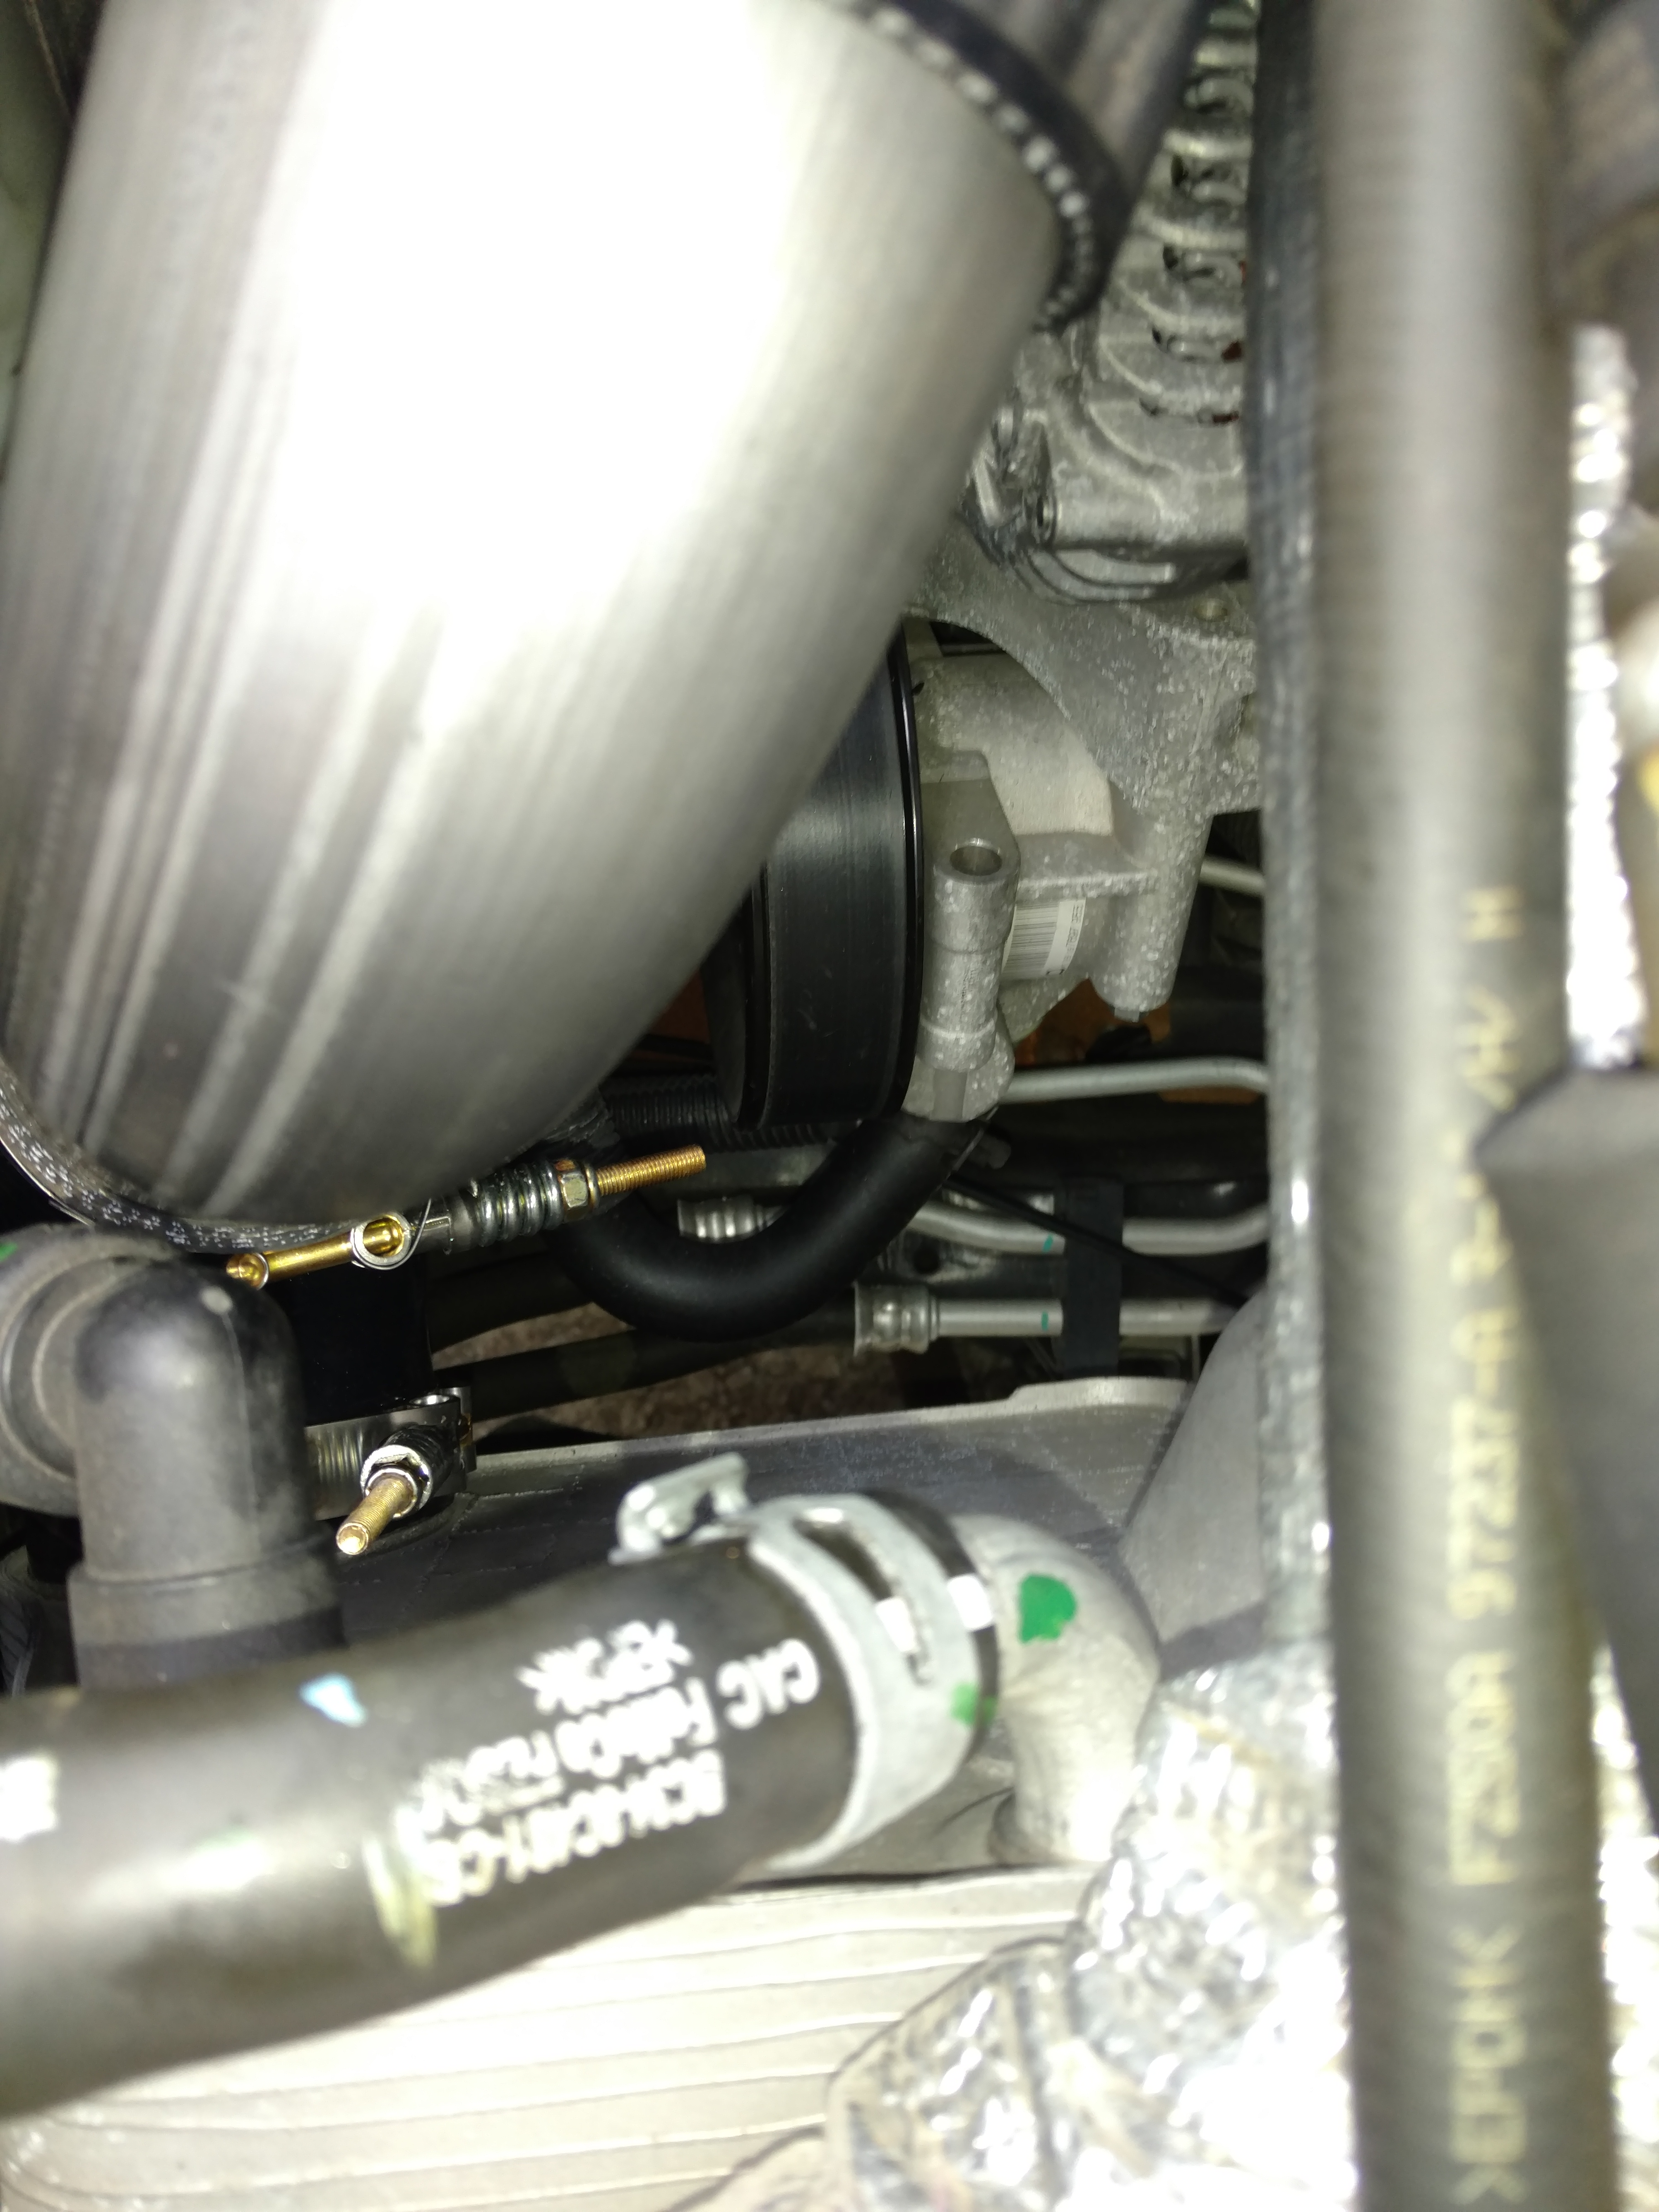
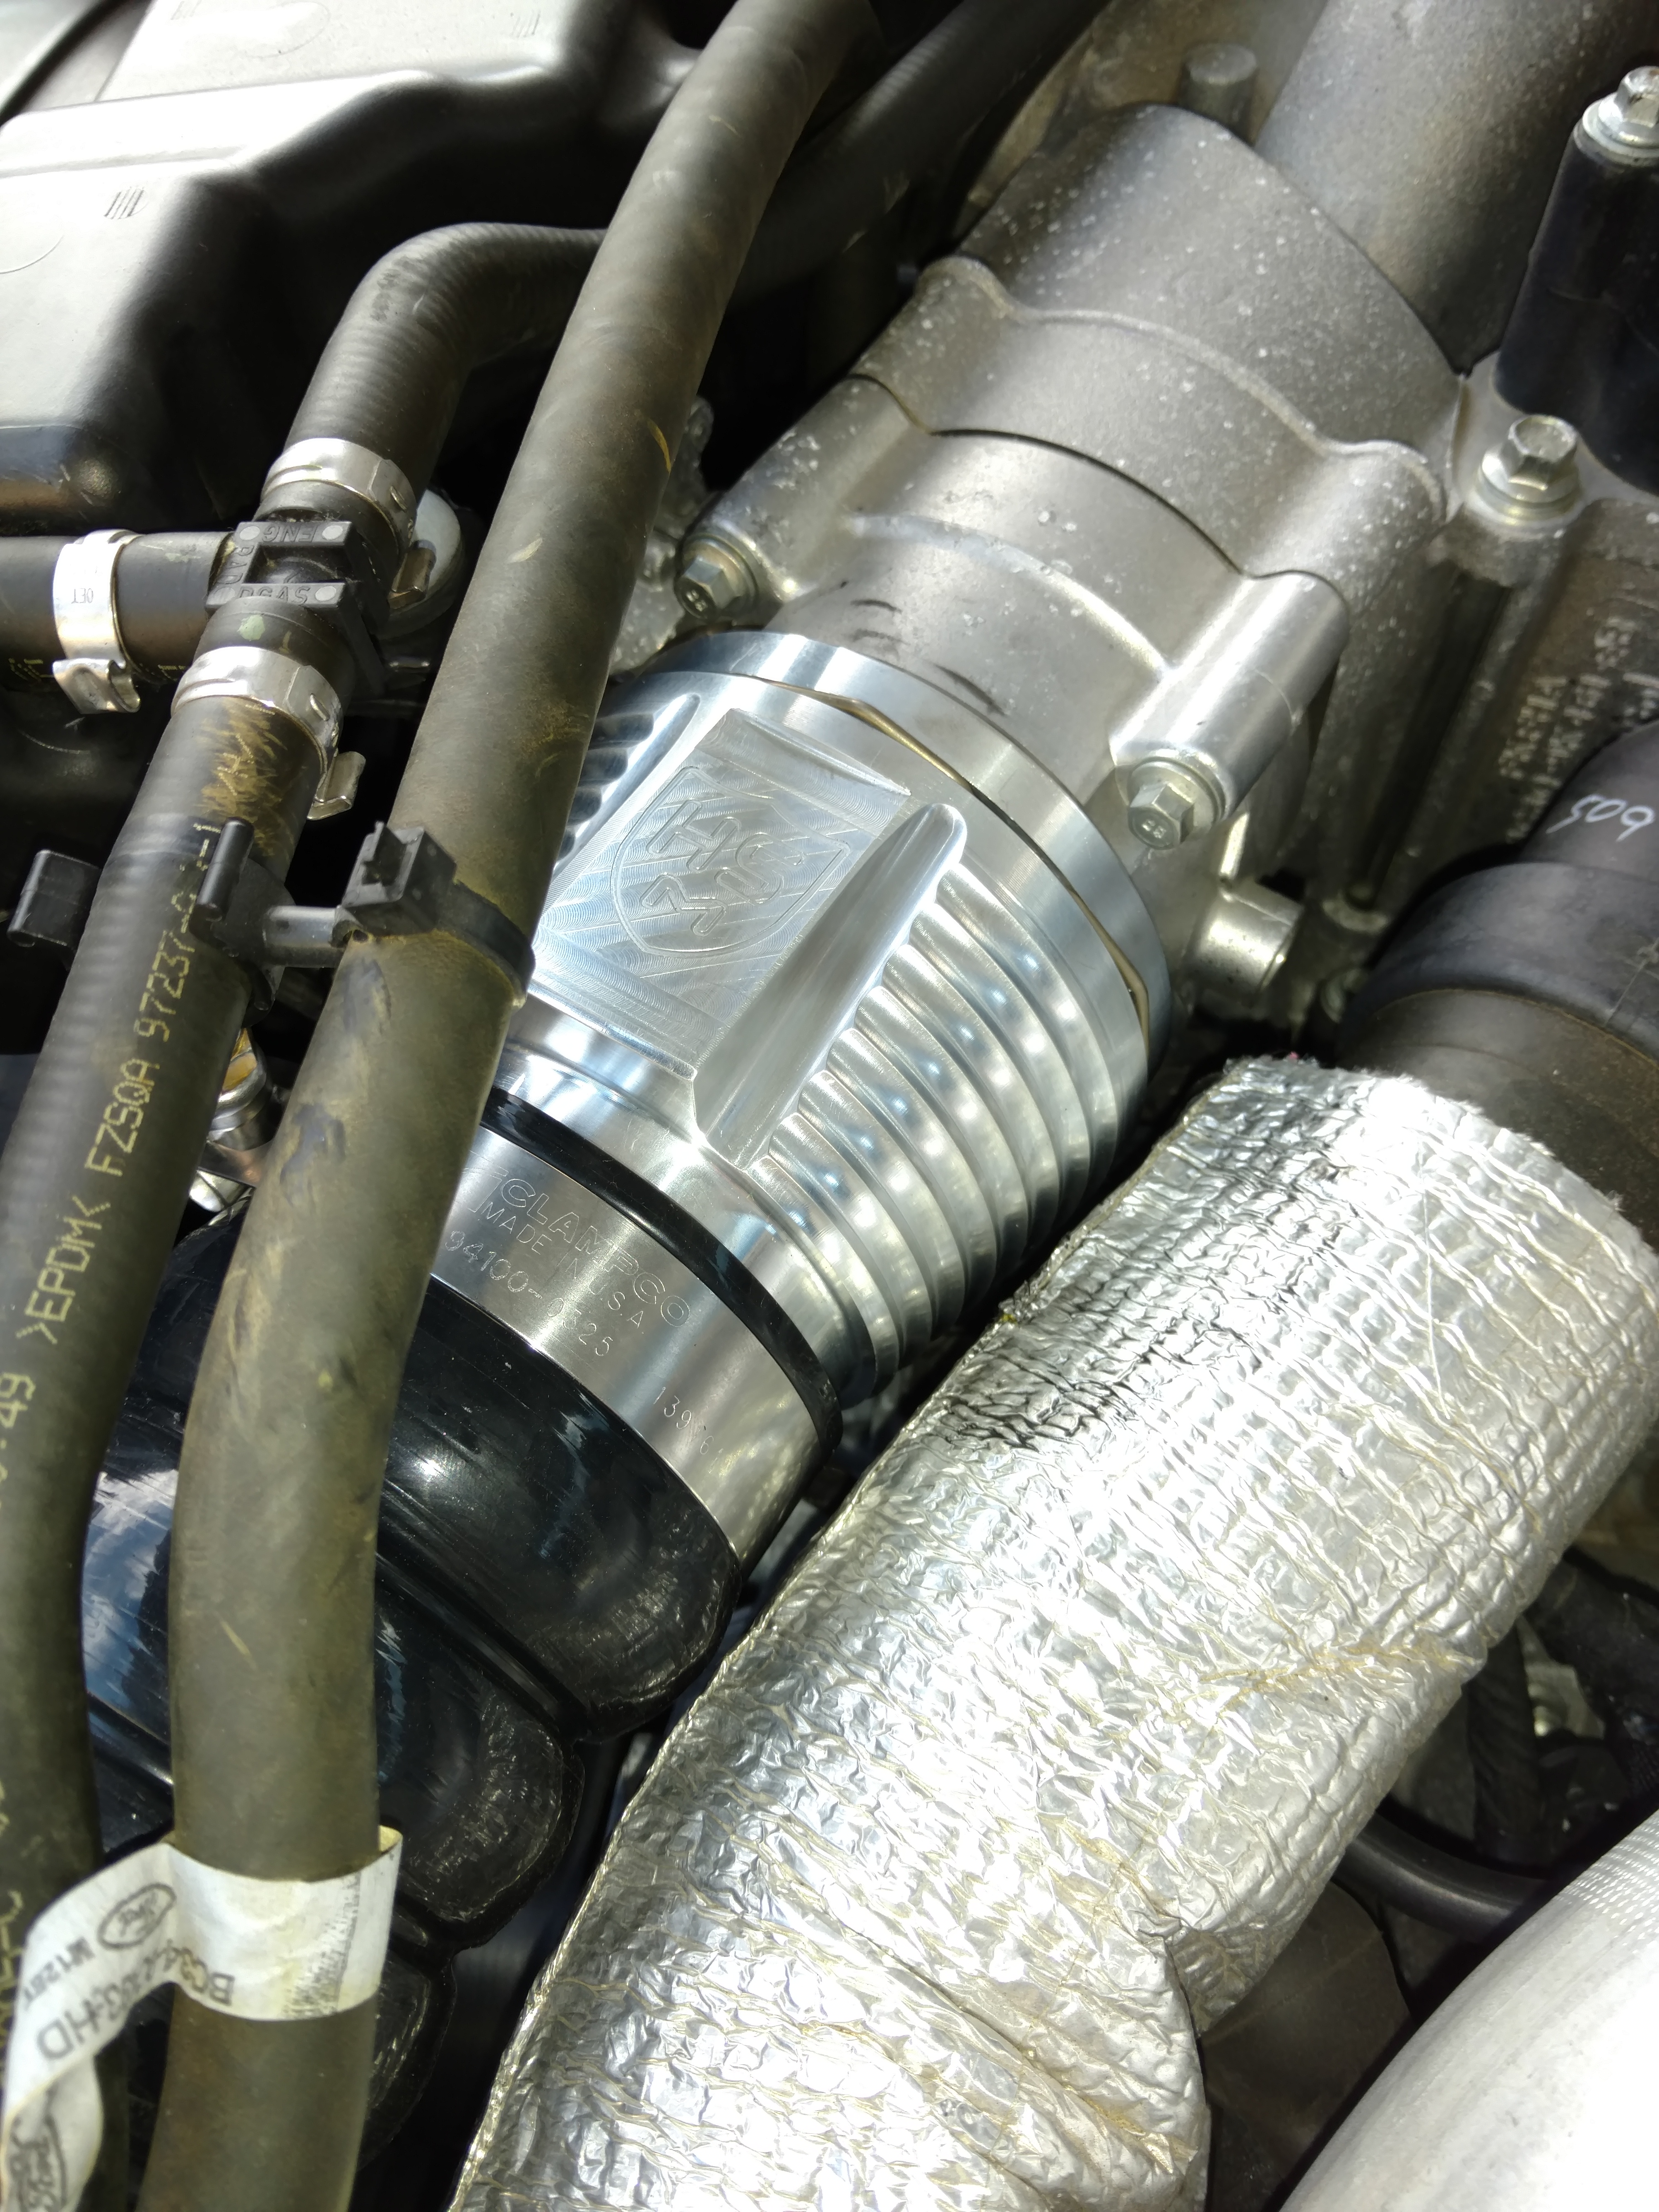
Then insert the sensor into the new machined, aluminum throttle body adapter and twist clockwise while pushing downward. (top pic) Then take a small pick and remove the large O-ring form the original pipe and install it in the new adapter. (bottom pic). Put the large spring onto the adapter and firmly push it into place on the throttle body. Once in place, route the air temp sensor wire around behind the power steering reservoir and clip it into the sensor. **** Their directions show quite a bit of room at the connection. On my '13, there was very little. In fact I unscrewed the box for the air cleaner and had to rotate the connection under it and re-tighten.
Next put the 90* elbow on the long end of the new pipe. They call for you to use the two Ford spring clamps that you have taken off of your old pipe here, but I had some new clamps from when I had my 6.4 that I used. Same diameter. Slide them on the elbow and tighten slightly so they will stay in place You can use Windex or any other glass cleaner to lube it, but it can be done without it. Here you should take the 8mm bolt out of the bracket holding the power steering reservoir and move it all to the left. Slide the pipe and boot into place. WARNING! There is very little room in this area for XL hands and tools. I went ahead and put the straight boot on as well as after several fitment tries, it worked out best that way. The top clamps can be taken apart and put around the boot and reconnected.
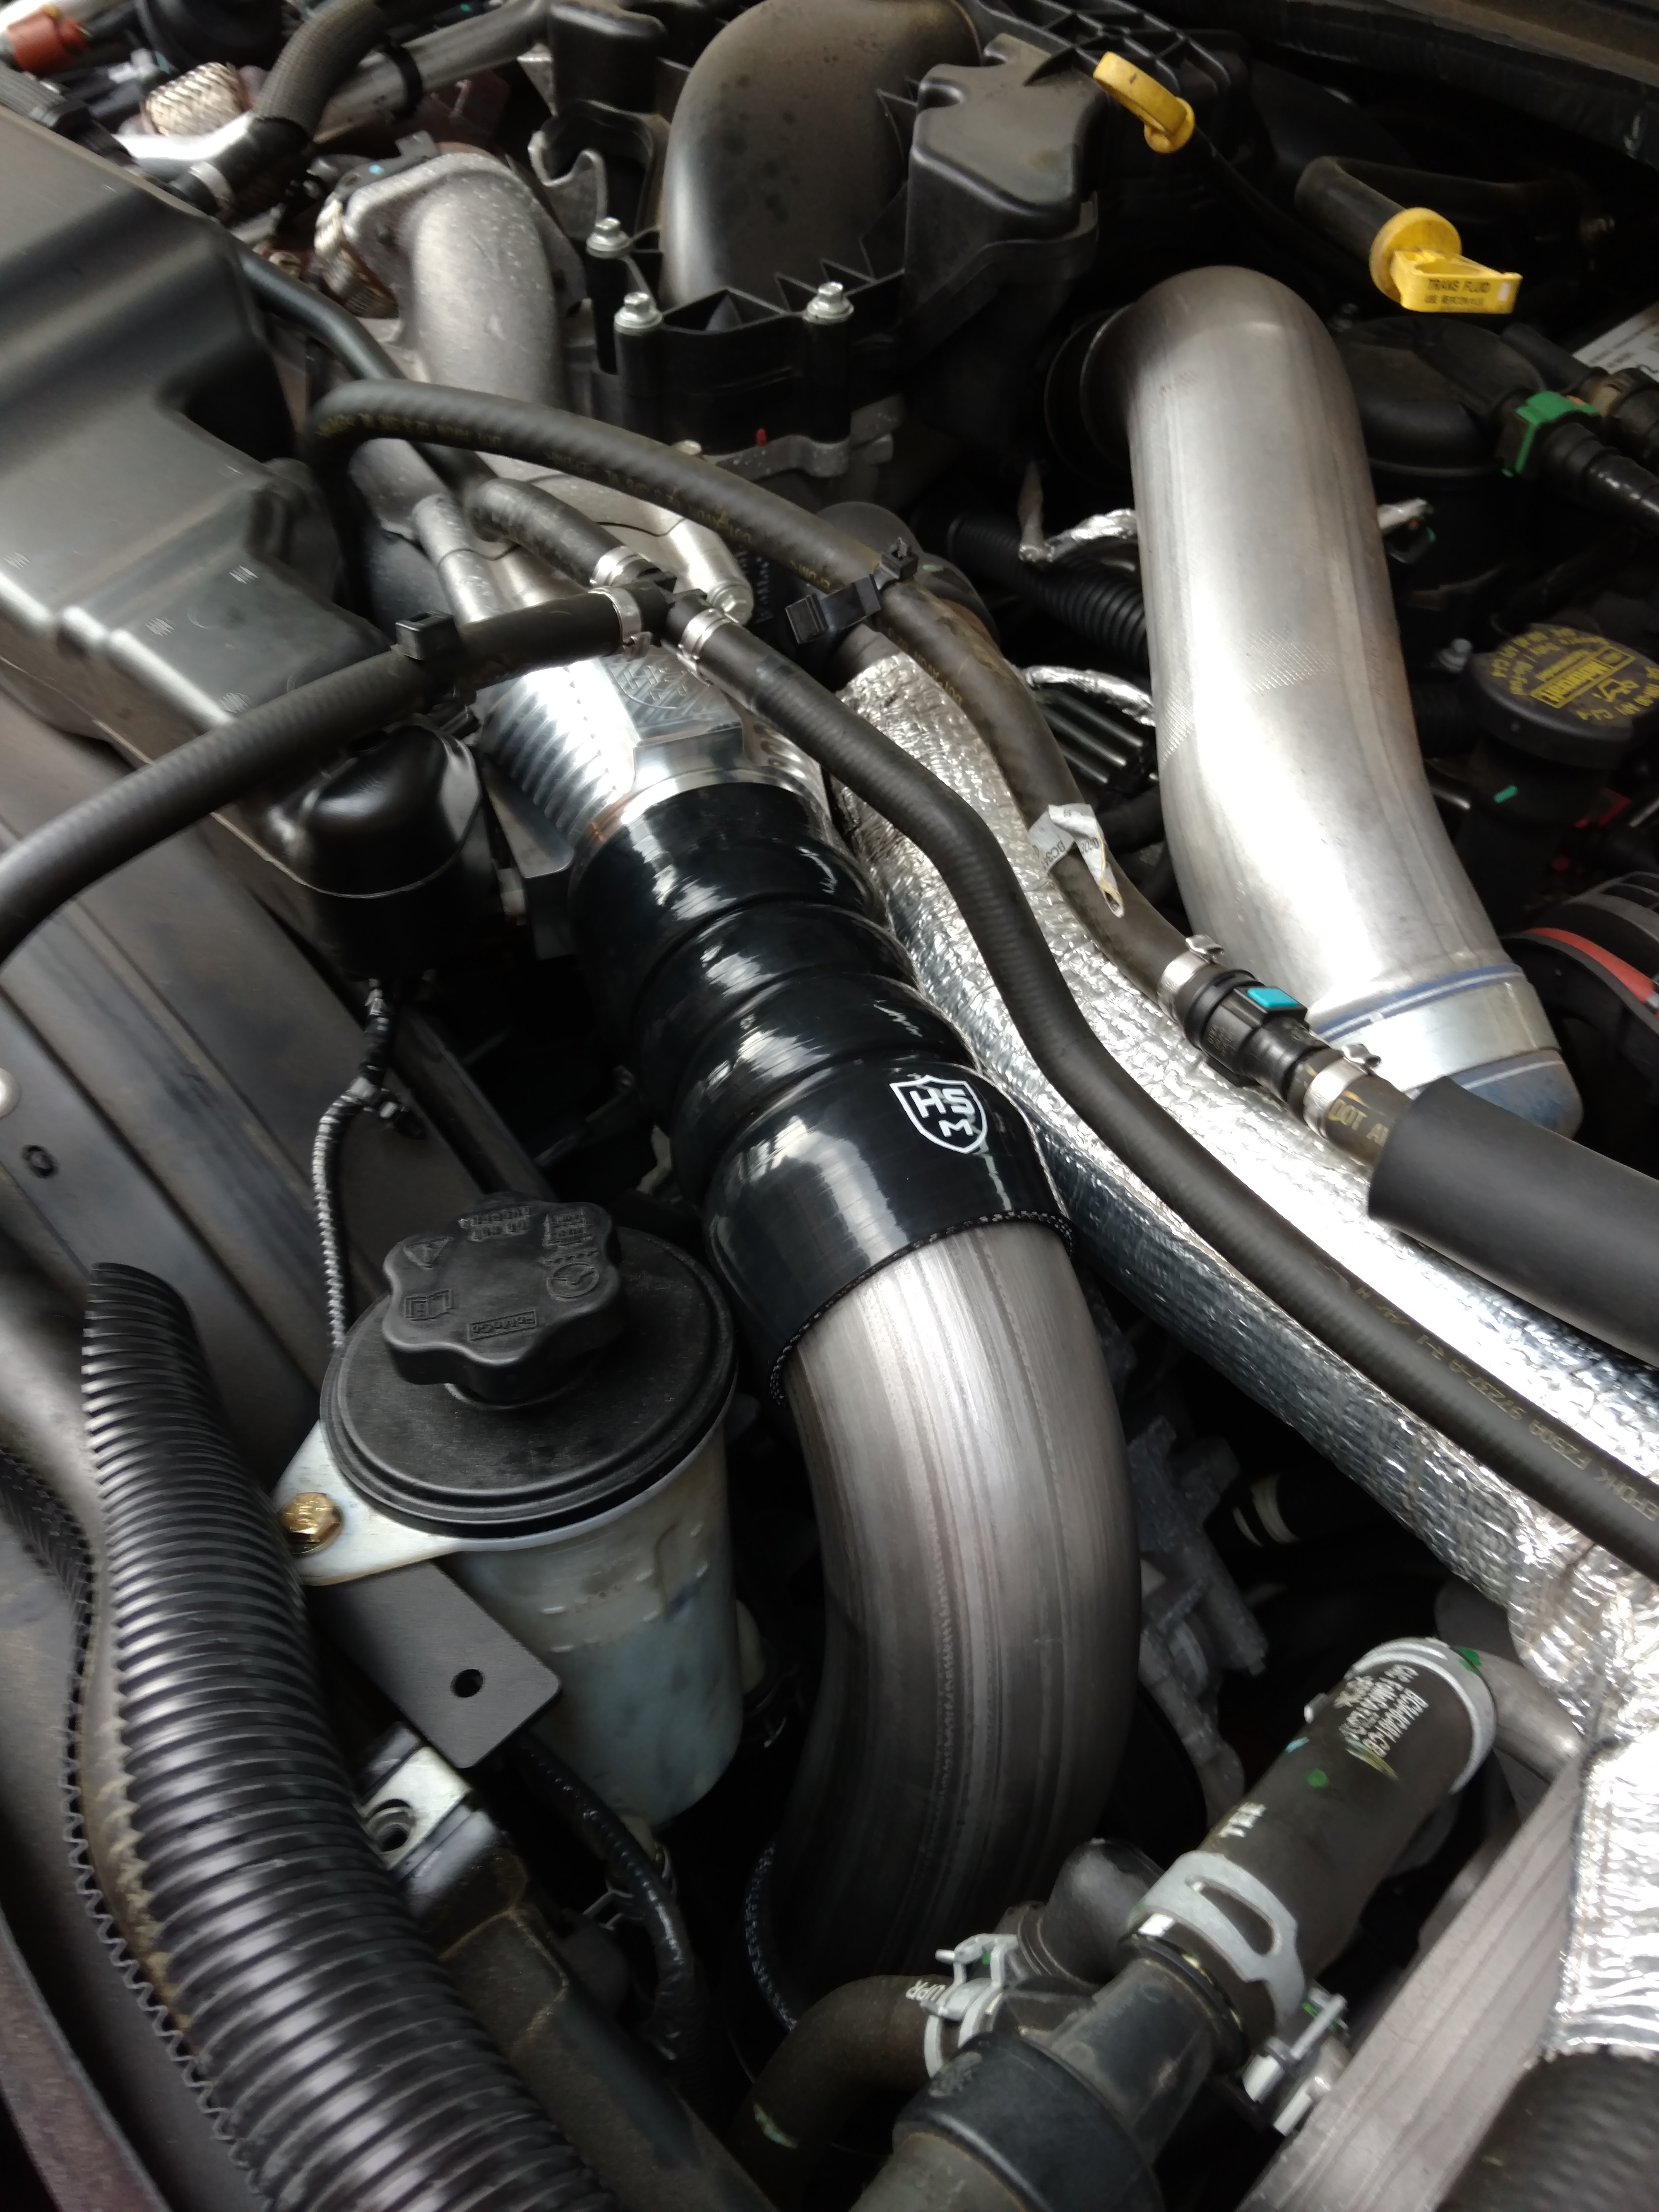
It is very difficult to get the boot on adapter. Once into position, put on the clamps. (NOTE: I've already installed the PS reservoir relocation bracket to keep the reservoir out of my way.)
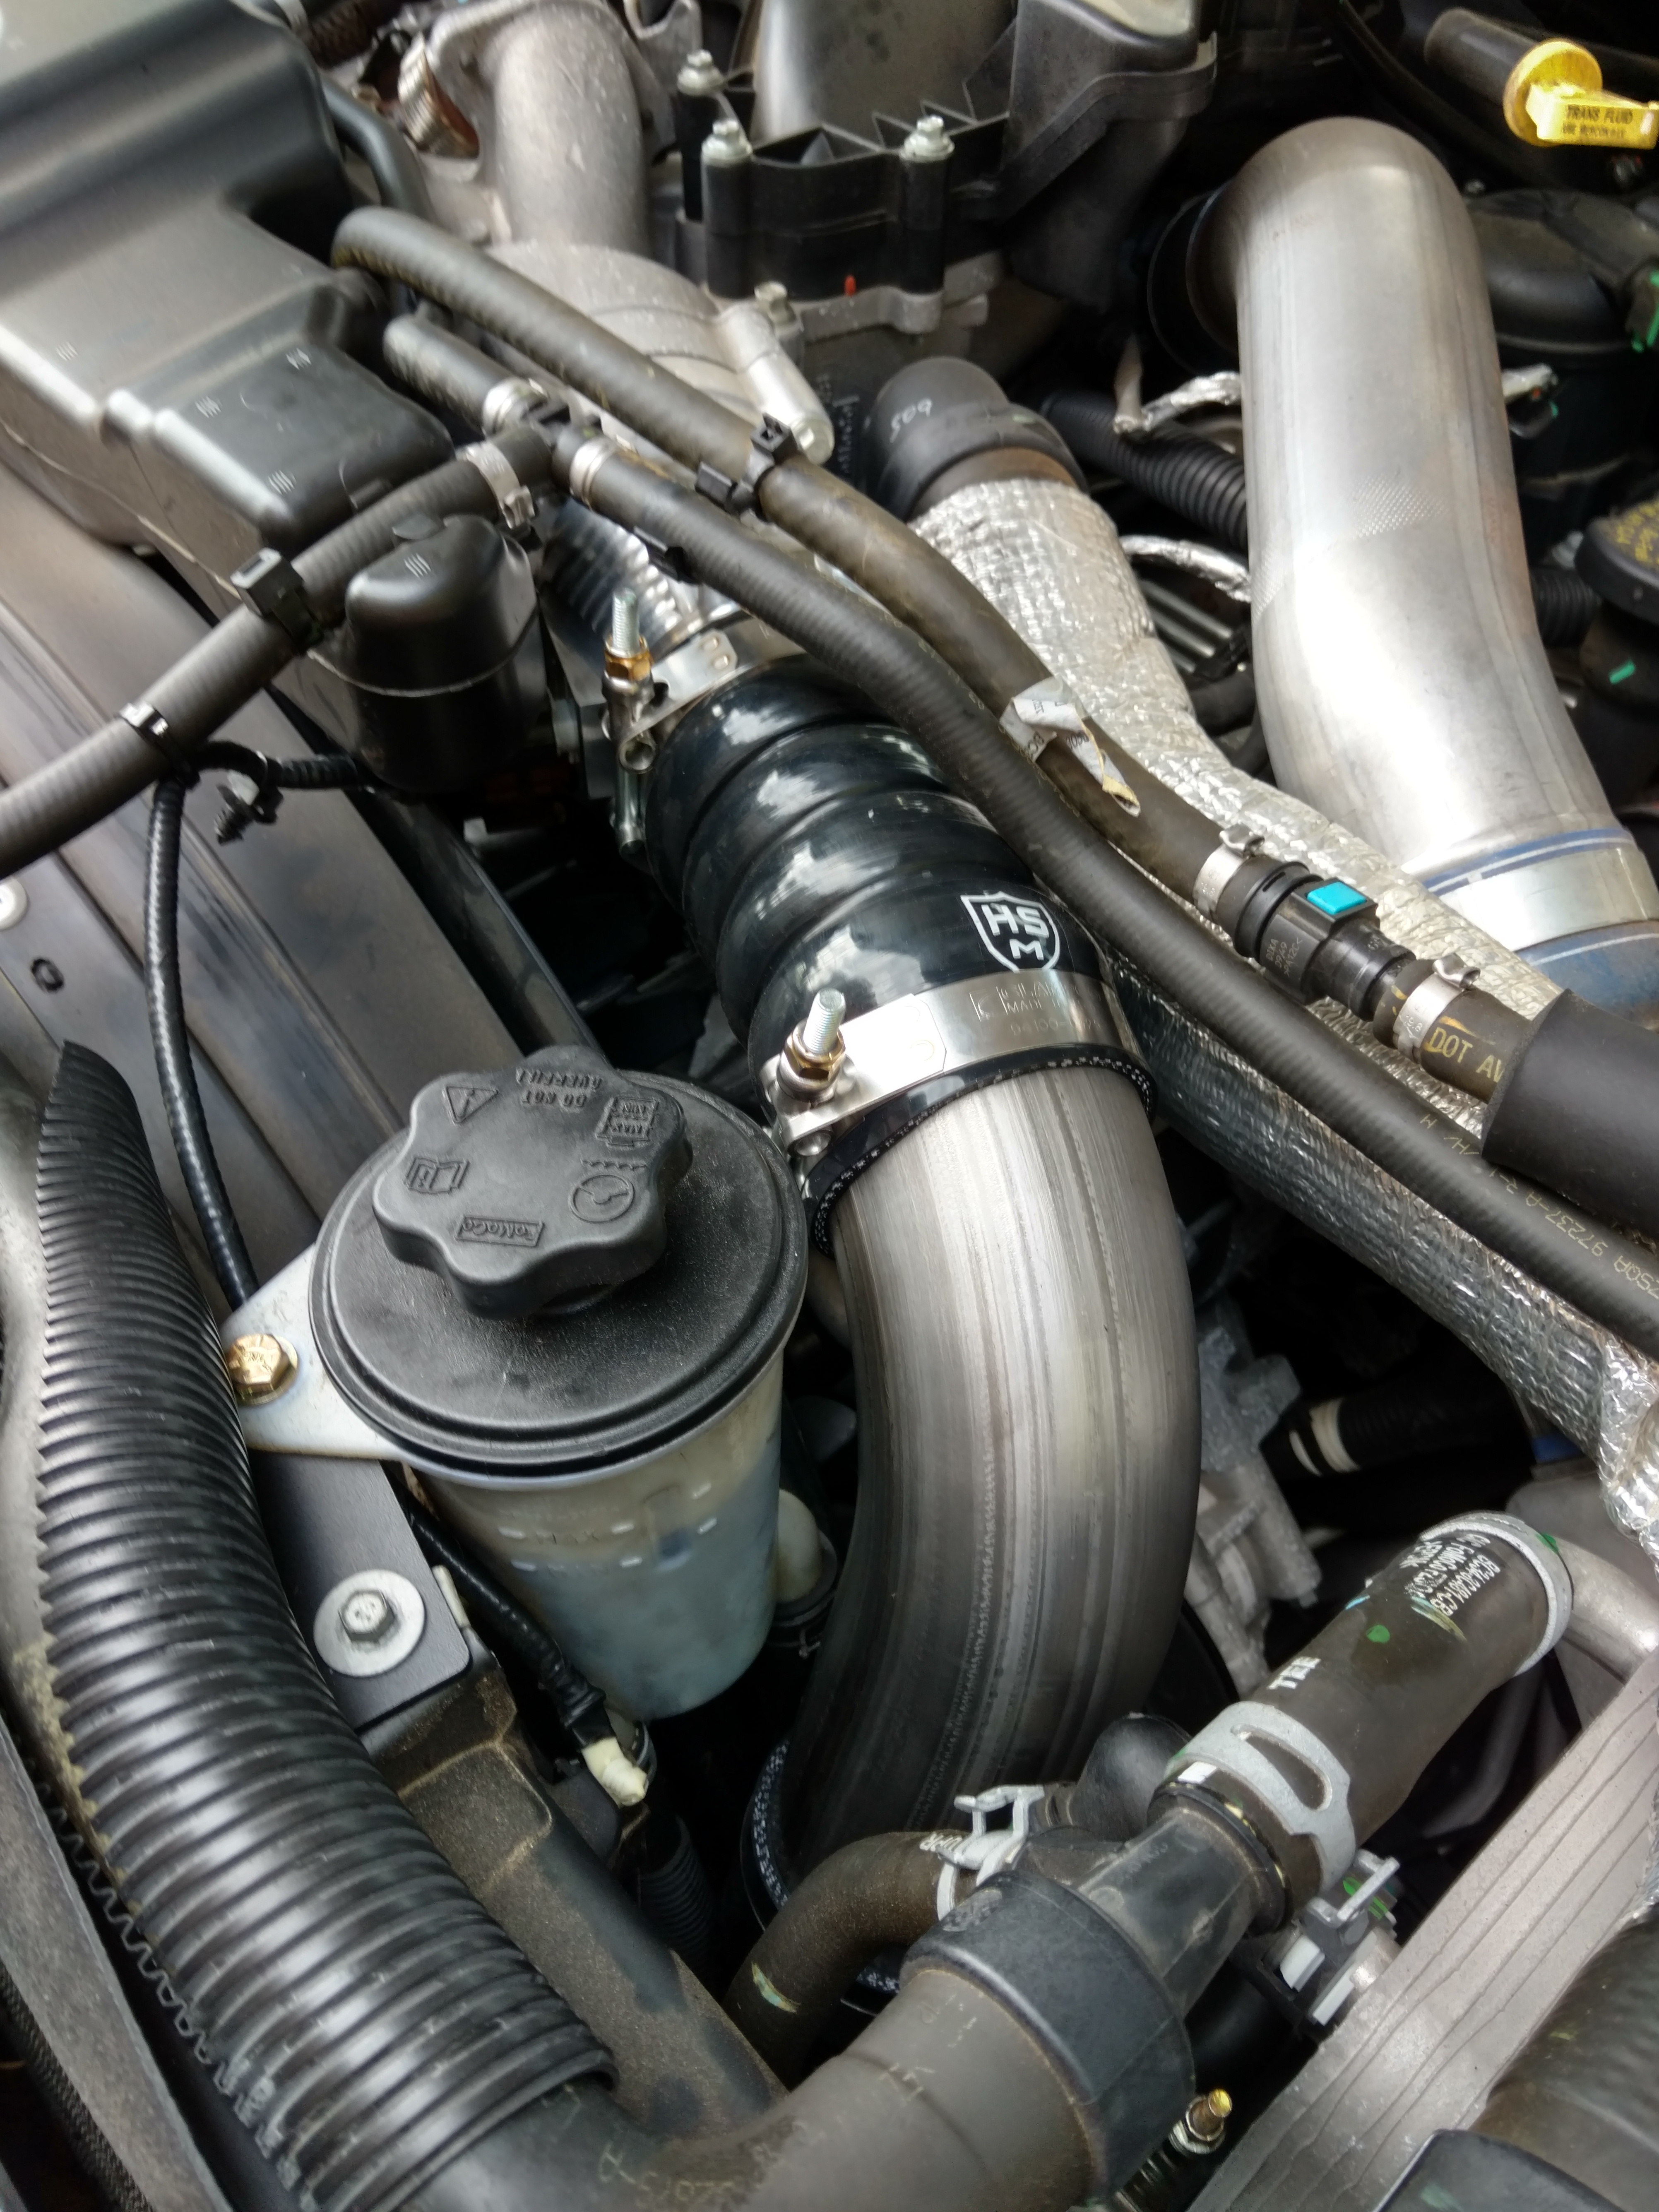
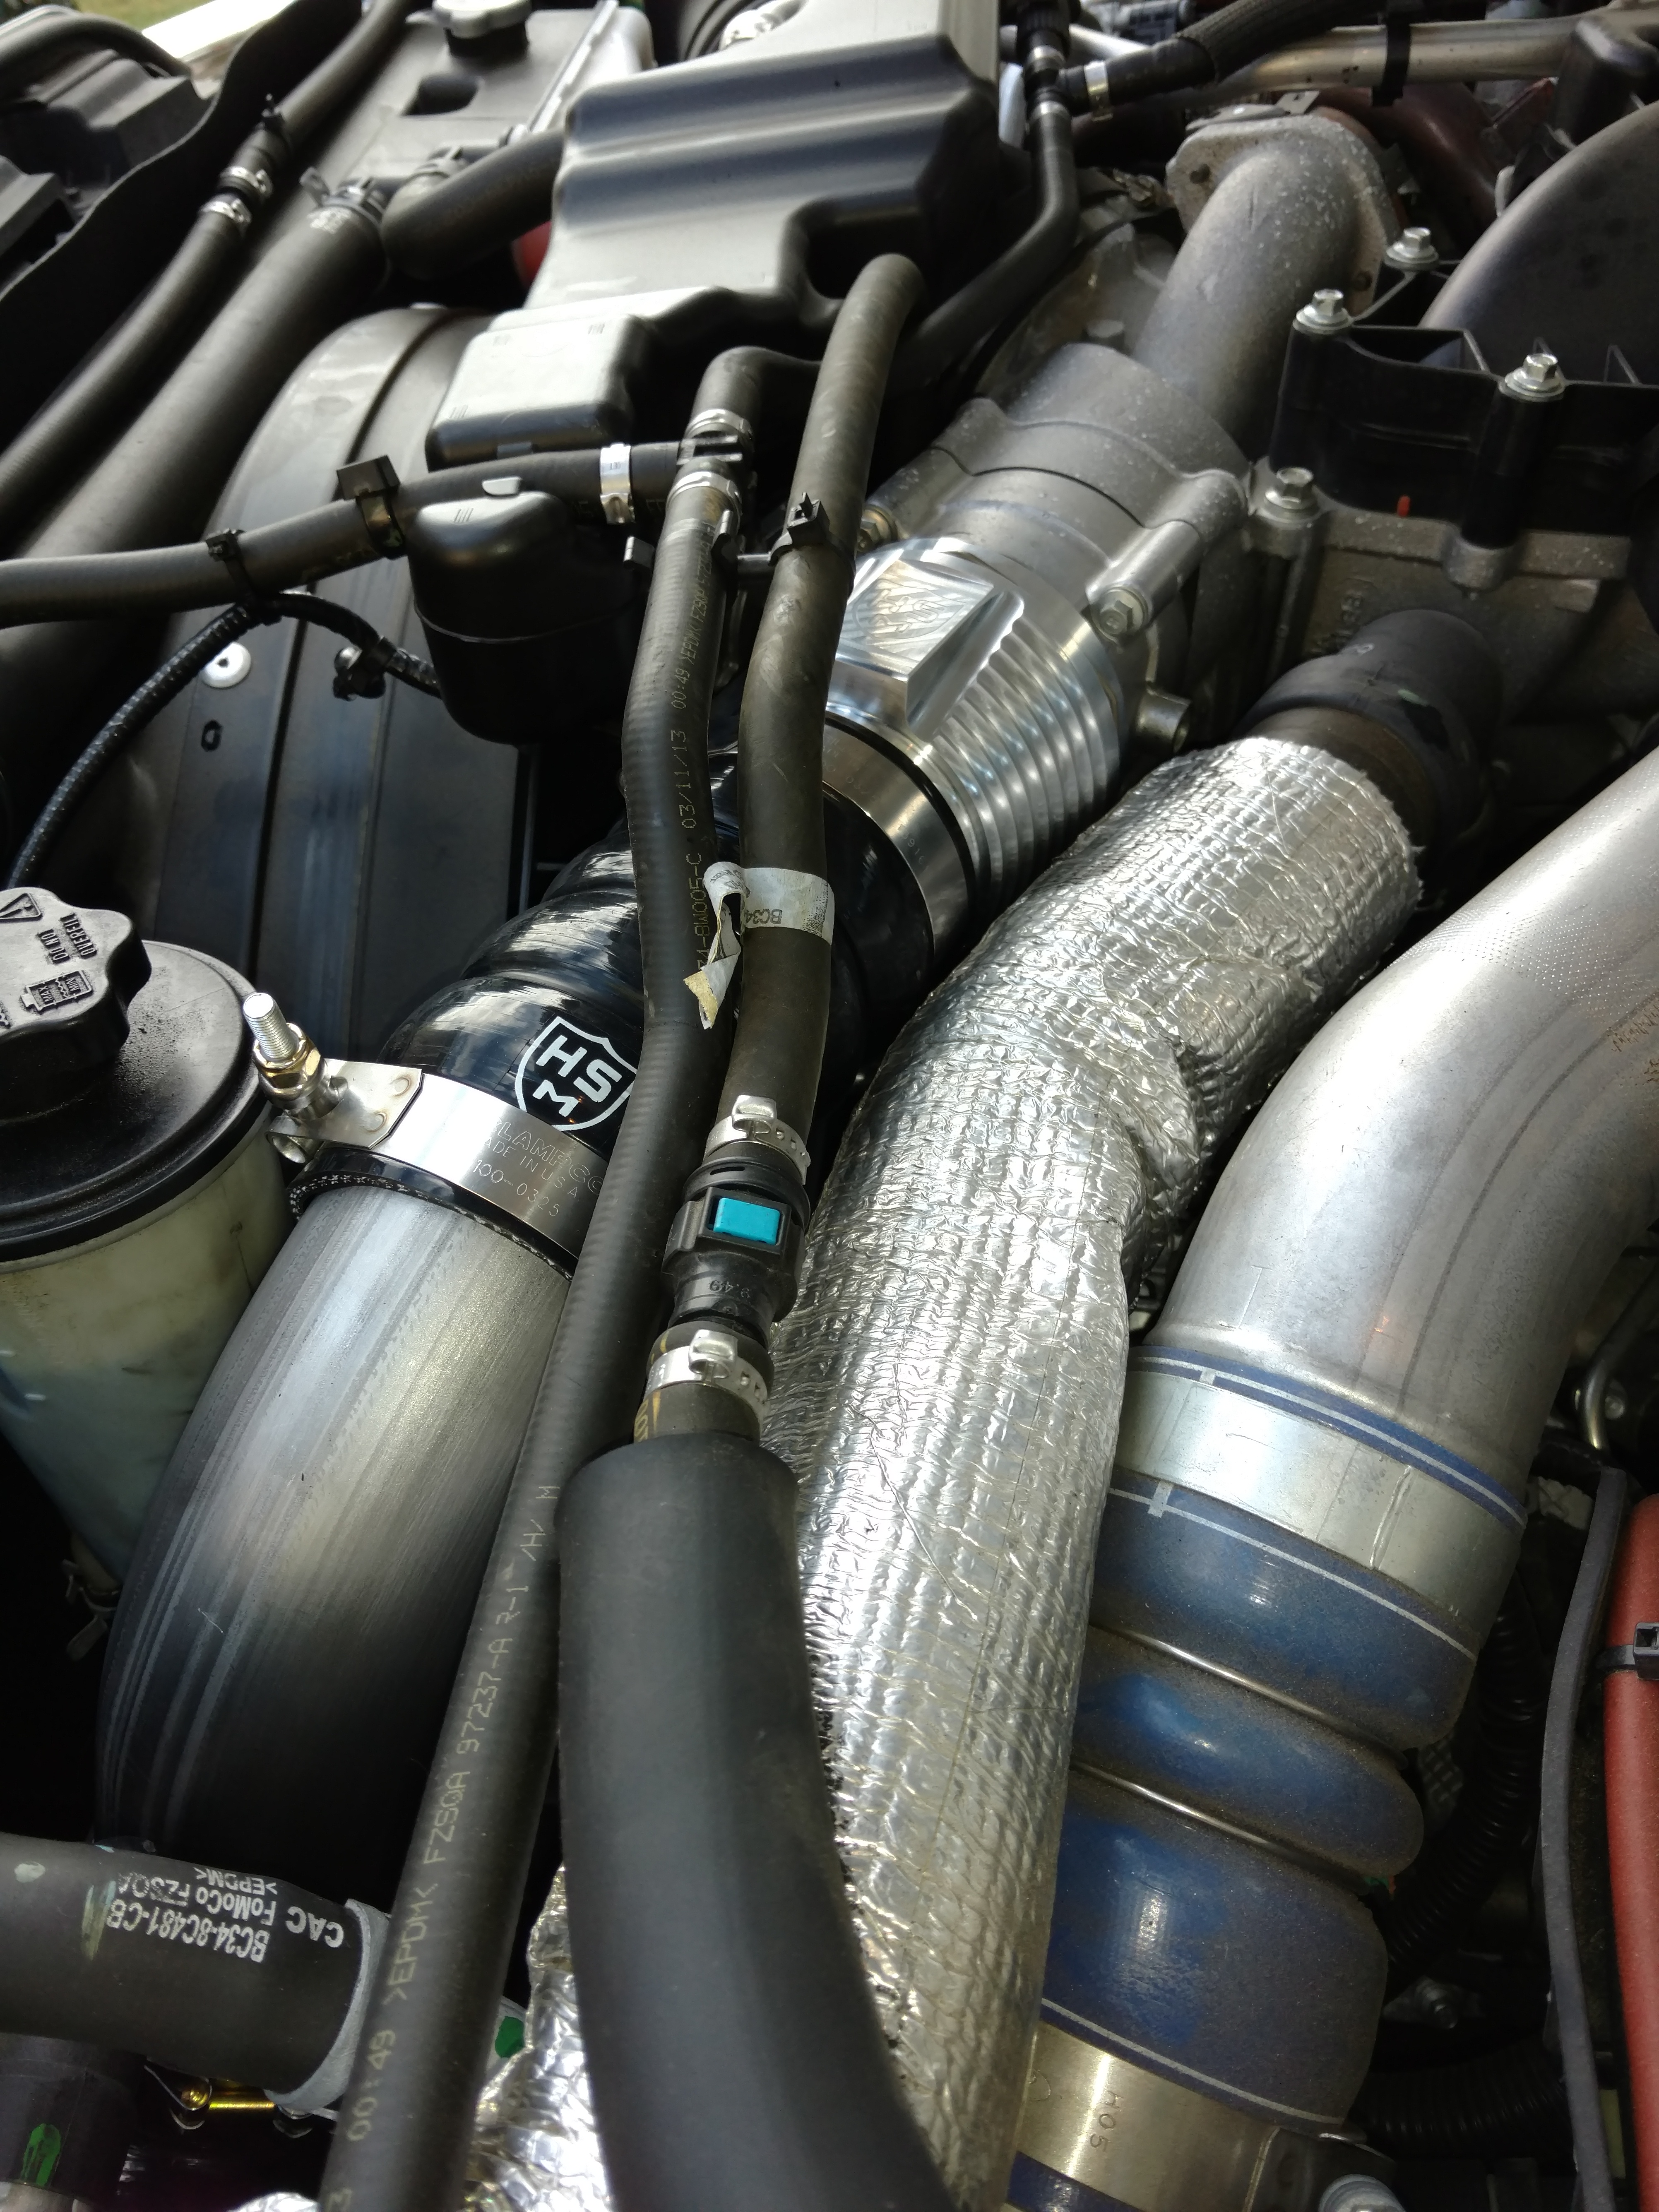
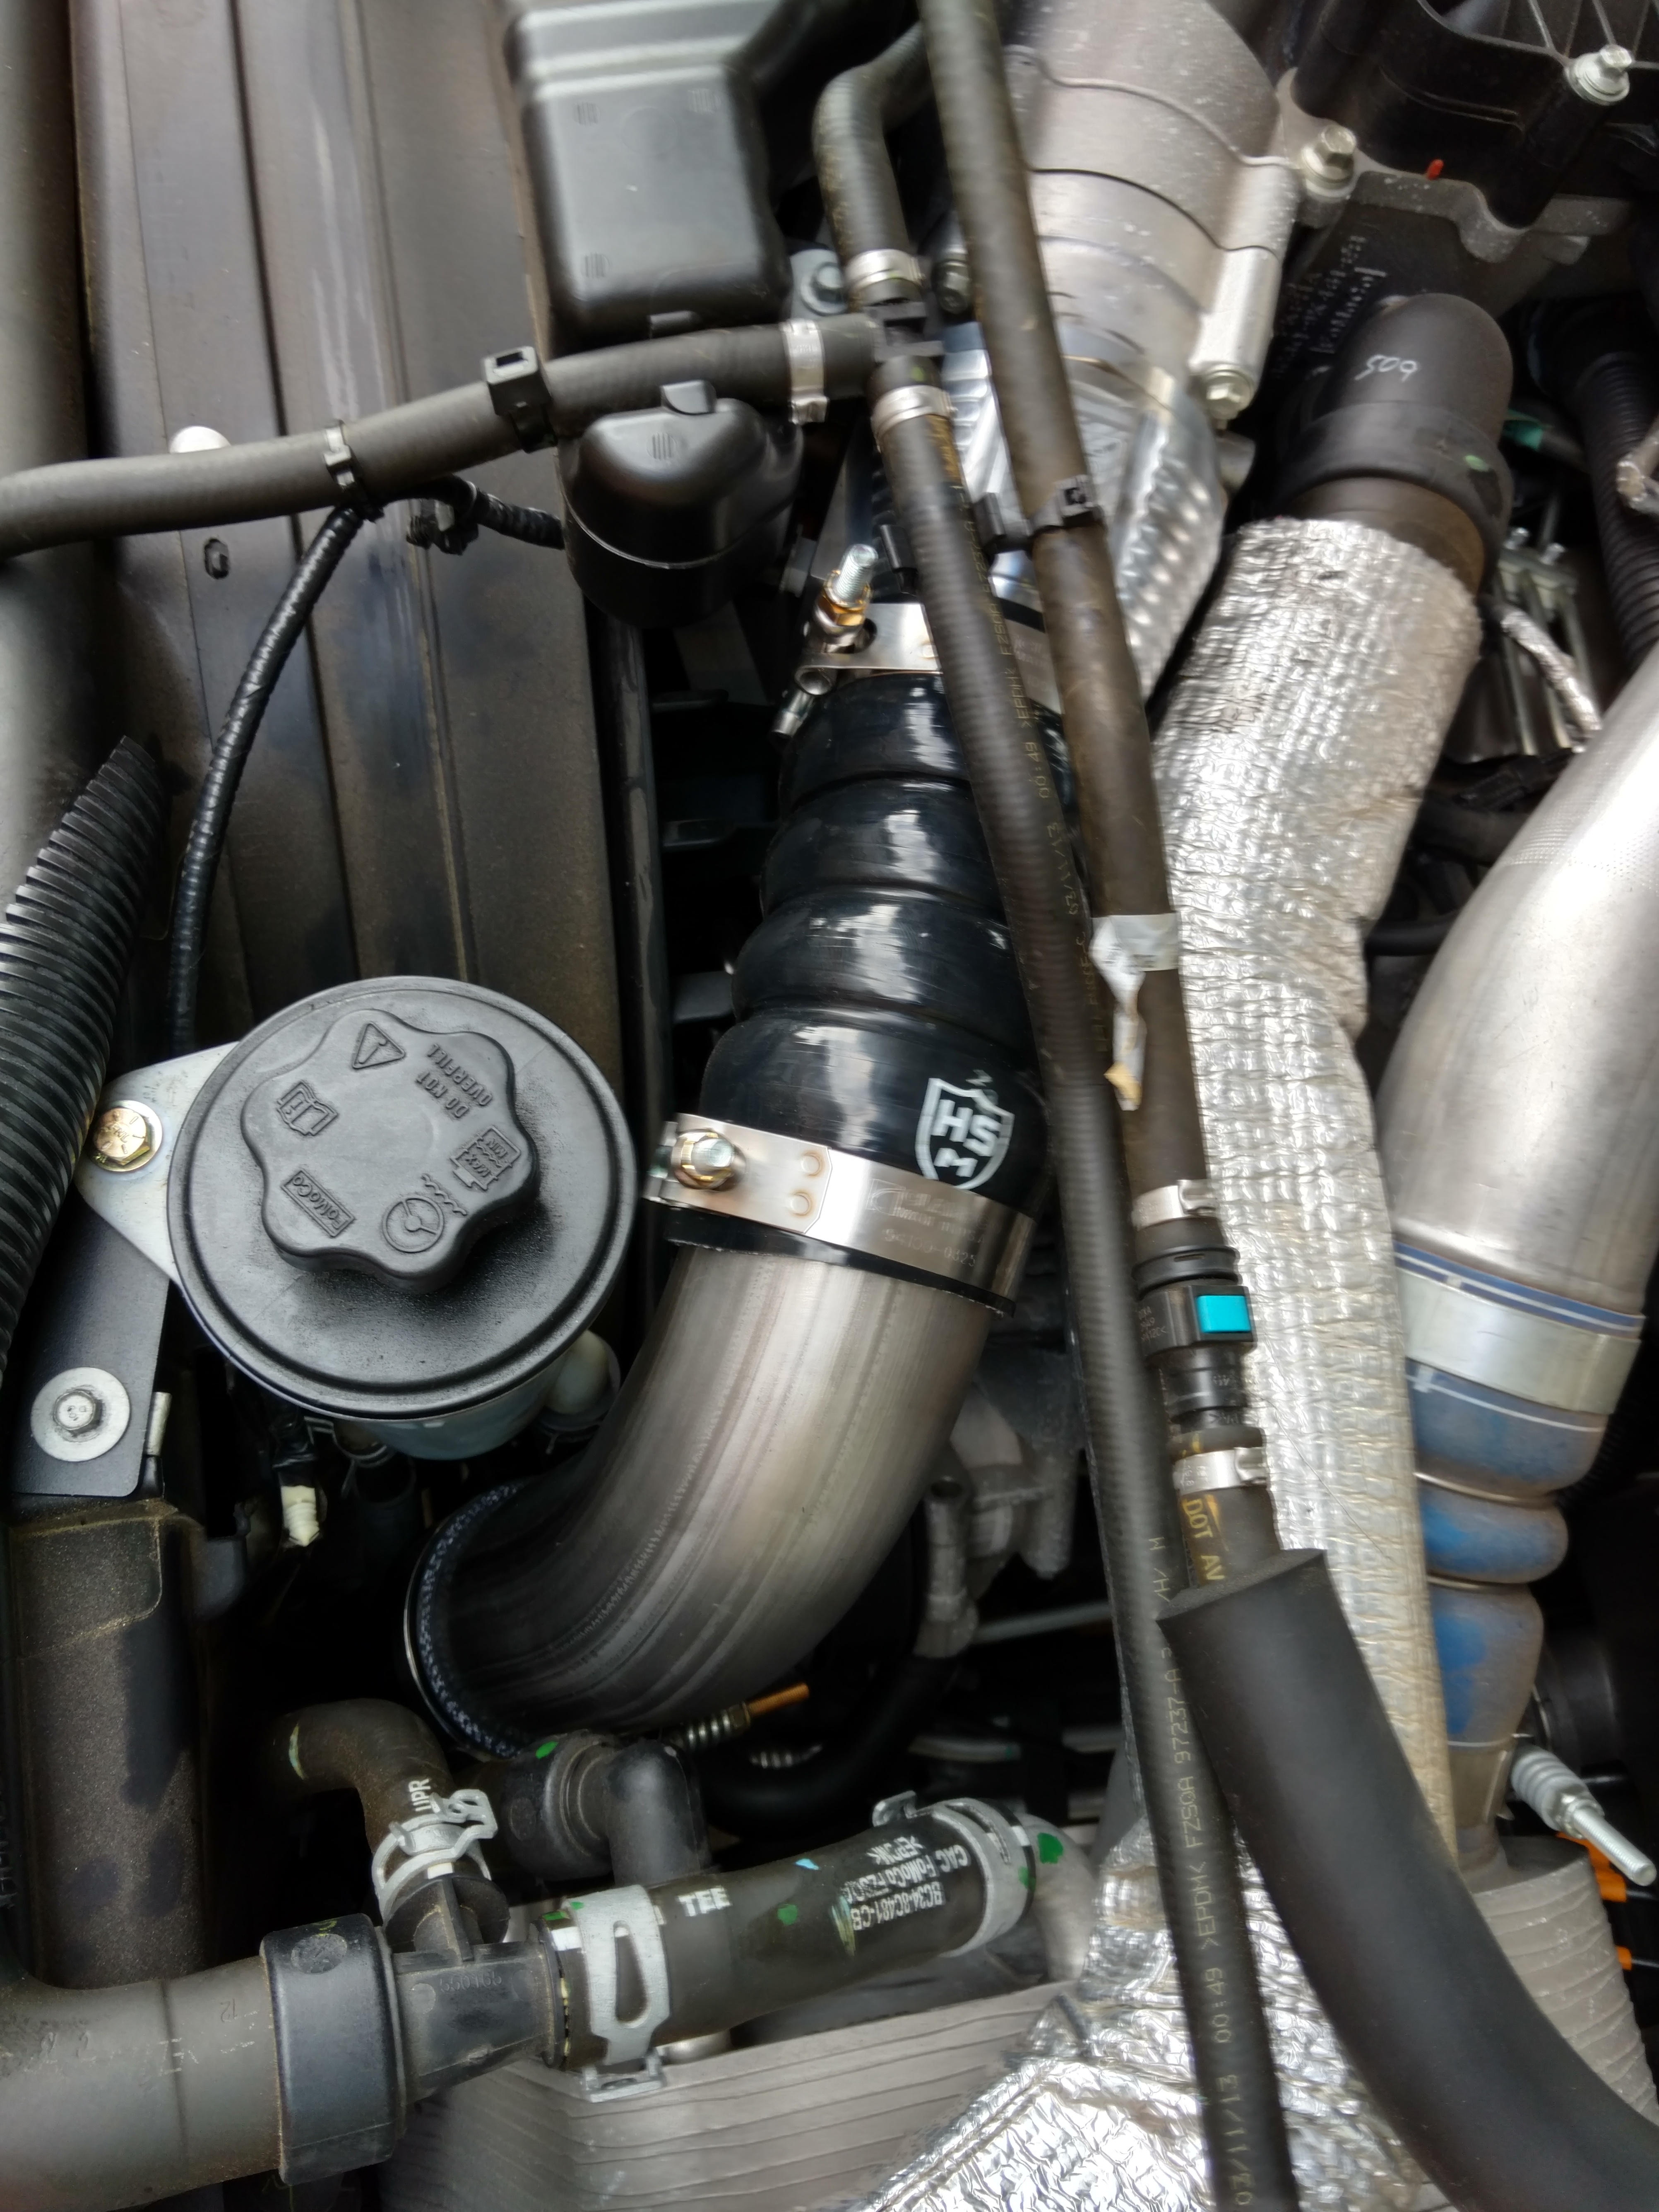
The hardest part of the install is to tighten the spring clamp you see in the pic AND getting the boots into the correct alignment. I probably should have made sure all was correct, then marked the lower pipe at the upper edge of the 90* boot, taken it all out and tightened that top clamp. But I did it the hard way I guess. There is just NO room for a deep well 7/16" socket and a standard ratchet in there. So I used a stubby ratchet to get it tight(by the way-that takes a long time to do ) If any connection comes loose, I guarantee it will be that one as it is the hardest to get leverage on to fully tighten.
Put on and tighten the straight hose's clamps and make sure that the PS reservoir is not pinching the air intake temp sensor wire. Use the provided zip ties to tie the wire together with the small overflow radiator hose.
It took me about an hour and a half to put this thing on due to two reasons. One, the top clamp on the 90* boot tight and back spasms The epidurals had helped until this morning. If I had to do it again, I would put lots of windex on the boot ends so they could be manipulated much easier as test fitting then wouldn't take so long.
Maybe it's just me, but I do NOT like their PS reservoir relocation bracket. After several miles/years, I can see it breaking the fitting on the shroud as it does not use the socket underneath the sit it. The weight of the reservoir rests solely on that one 8mm screw and the j-clip in the plastic shroud.
Once install and tightened, test drove with boost up to 21 pounds and all stayed put, so I guess I am good to go.
Here is the comtents of the box.

Here is the stock pipe removed. YOu remove one spring clamp, one C-spring clamp and disconnect the air intake temperature sensor and she comes out.

Next, the temp sensor has to be removed. Take a small screwdriver to hold up the tab and rotate the sensor counter-clockwise and she comes out easily.

Then insert the sensor into the new machined, aluminum throttle body adapter and twist clockwise while pushing downward. (top pic) Then take a small pick and remove the large O-ring form the original pipe and install it in the new adapter. (bottom pic). Put the large spring onto the adapter and firmly push it into place on the throttle body. Once in place, route the air temp sensor wire around behind the power steering reservoir and clip it into the sensor. **** Their directions show quite a bit of room at the connection. On my '13, there was very little. In fact I unscrewed the box for the air cleaner and had to rotate the connection under it and re-tighten.

Next put the 90* elbow on the long end of the new pipe. They call for you to use the two Ford spring clamps that you have taken off of your old pipe here, but I had some new clamps from when I had my 6.4 that I used. Same diameter. Slide them on the elbow and tighten slightly so they will stay in place You can use Windex or any other glass cleaner to lube it, but it can be done without it. Here you should take the 8mm bolt out of the bracket holding the power steering reservoir and move it all to the left. Slide the pipe and boot into place. WARNING! There is very little room in this area for XL hands and tools. I went ahead and put the straight boot on as well as after several fitment tries, it worked out best that way. The top clamps can be taken apart and put around the boot and reconnected.

It is very difficult to get the boot on adapter. Once into position, put on the clamps. (NOTE: I've already installed the PS reservoir relocation bracket to keep the reservoir out of my way.)

The hardest part of the install is to tighten the spring clamp you see in the pic AND getting the boots into the correct alignment. I probably should have made sure all was correct, then marked the lower pipe at the upper edge of the 90* boot, taken it all out and tightened that top clamp. But I did it the hard way I guess. There is just NO room for a deep well 7/16" socket and a standard ratchet in there. So I used a stubby ratchet to get it tight(by the way-that takes a long time to do
) If any connection comes loose, I guarantee it will be that one as it is the hardest to get leverage on to fully tighten.
Put on and tighten the straight hose's clamps and make sure that the PS reservoir is not pinching the air intake temp sensor wire. Use the provided zip ties to tie the wire together with the small overflow radiator hose.


It took me about an hour and a half to put this thing on due to two reasons. One, the top clamp on the 90* boot tight and back spasms
The epidurals had helped until this morning. If I had to do it again, I would put lots of windex on the boot ends so they could be manipulated much easier as test fitting then wouldn't take so long.Maybe it's just me, but I do NOT like their PS reservoir relocation bracket. After several miles/years, I can see it breaking the fitting on the shroud as it does not use the socket underneath the sit it. The weight of the reservoir rests solely on that one 8mm screw and the j-clip in the plastic shroud.
Once install and tightened, test drove with boost up to 21 pounds and all stayed put, so I guess I am good to go.


#6
10-08-2016, 11:16 PM
More Turbo
After reading about what had happened to you and Rodney while towing. I went out and purchased the MPD 6.7L Intercooler Pipe Kit. My truck has only 35k on it and I was like I don't want this to happen to me while towing my toyhauler around here in Alaska. There is only two Ford dealerships up here. Not wanting to be stranded.
Nice install!!!
Nice install!!!
#7
10-08-2016, 11:30 PM
Trending Topics
#8
10-09-2016, 12:05 AM
More Turbo
#11
10-09-2016, 12:52 AM
After reading about what had happened to you and Rodney while towing. I went out and purchased the MPD 6.7L Intercooler Pipe Kit. My truck has only 35k on it and I was like I don't want this to happen to me while towing my toyhauler around here in Alaska. There is only two Ford dealerships up here. Not wanting to be stranded.
Nice install!!!
Nice install!!!
WK15, looks like the MPD kit removes the egr throttle valve housing, nice. Is it a steel pipe, or ss. Didn't even know MPD made a kit till I read your post, thanks. Its priced better than all the others and looks to be stout construction in the pics...
#12
10-09-2016, 04:55 AM

#14
10-09-2016, 11:13 AM
I currently have an Aftermarket pipe upgrade as well.After my pipe broke on the way to work a few years ago. Went with a DPPI (https://www.dieselperformanceparts.com) out of Nashville Tn. It is the exact kit as H&S and Mishimoto..less chrome and you use your existing straight boot for about $170 I forget the part number but give them a call.
I ended up painting mine when it came in, and the Hot side as well. I am thinking about buying the AFE set eventually. Never mind the coolant level...took the picture after draining/refilling...the last few pictures is from oct 7th after my 2015 turbo upgrade.


Does anyone know of anyone in California who has upgraded this part? any issues with CARB E.O emissions or SMOG with an upgraded 6.7 powerstroke Cold-Side /Hotside Intercooler Pipe & Boot Kit
Cold-Side Intercooler Pipe & Boot Kit
I ended up painting mine when it came in, and the Hot side as well. I am thinking about buying the AFE set eventually. Never mind the coolant level...took the picture after draining/refilling...the last few pictures is from oct 7th after my 2015 turbo upgrade.
Does anyone know of anyone in California who has upgraded this part? any issues with CARB E.O emissions or SMOG with an upgraded 6.7 powerstroke Cold-Side /Hotside Intercooler Pipe & Boot Kit
Cold-Side Intercooler Pipe & Boot Kit
#15
10-09-2016, 02:57 PM
Is that correct FullMetalDiesel?? Do you have to have a programmer with yours, or does the flange bolt right up to the throttle body?
Well, Mishimoto has this for $315..
https://www.dieselperformanceparts.c...f2d-11cbk.html
That is a clean install! Now dammit, I want to paint the tube on mine. Let me guess, Rodney's would be silver!!!

But to answer your question Rodney, I guess they want you to play with it to get it correctly. No idea why not though brother!