When you click on links to various merchants on this site and make a purchase, this can result in this site earning a commission. Affiliate programs and affiliations include, but are not limited to, the eBay Partner Network.
Freshening up an 06 motor, it already has a broken plug from the previous owner. Firstly, on the remaining plugs that have been soaking with PB Blaster for days, I have heard two schools of thought, one is to crack the plug a hear and soak more, then try to remove, the other is to, after soaking, break loose with an impact gun, the idea is that the gun will break them loose without snapping them 7 times out of eight ?!?!? Which is better.?
Also unfortunately when the previous owner broke the one plug, he said he just stopped there, but could't remember how much of the plug came out, I can see just the sleeve, no porcelain or electrode, is it possible that stuff could have fallen in ?!? I do have an endoscope that hooks to my phone and has worked well in the past but don't know how much I will be able to see. Im gonna try to adapt a small hose to a shop vac. I'm hoping I'm not screwed.
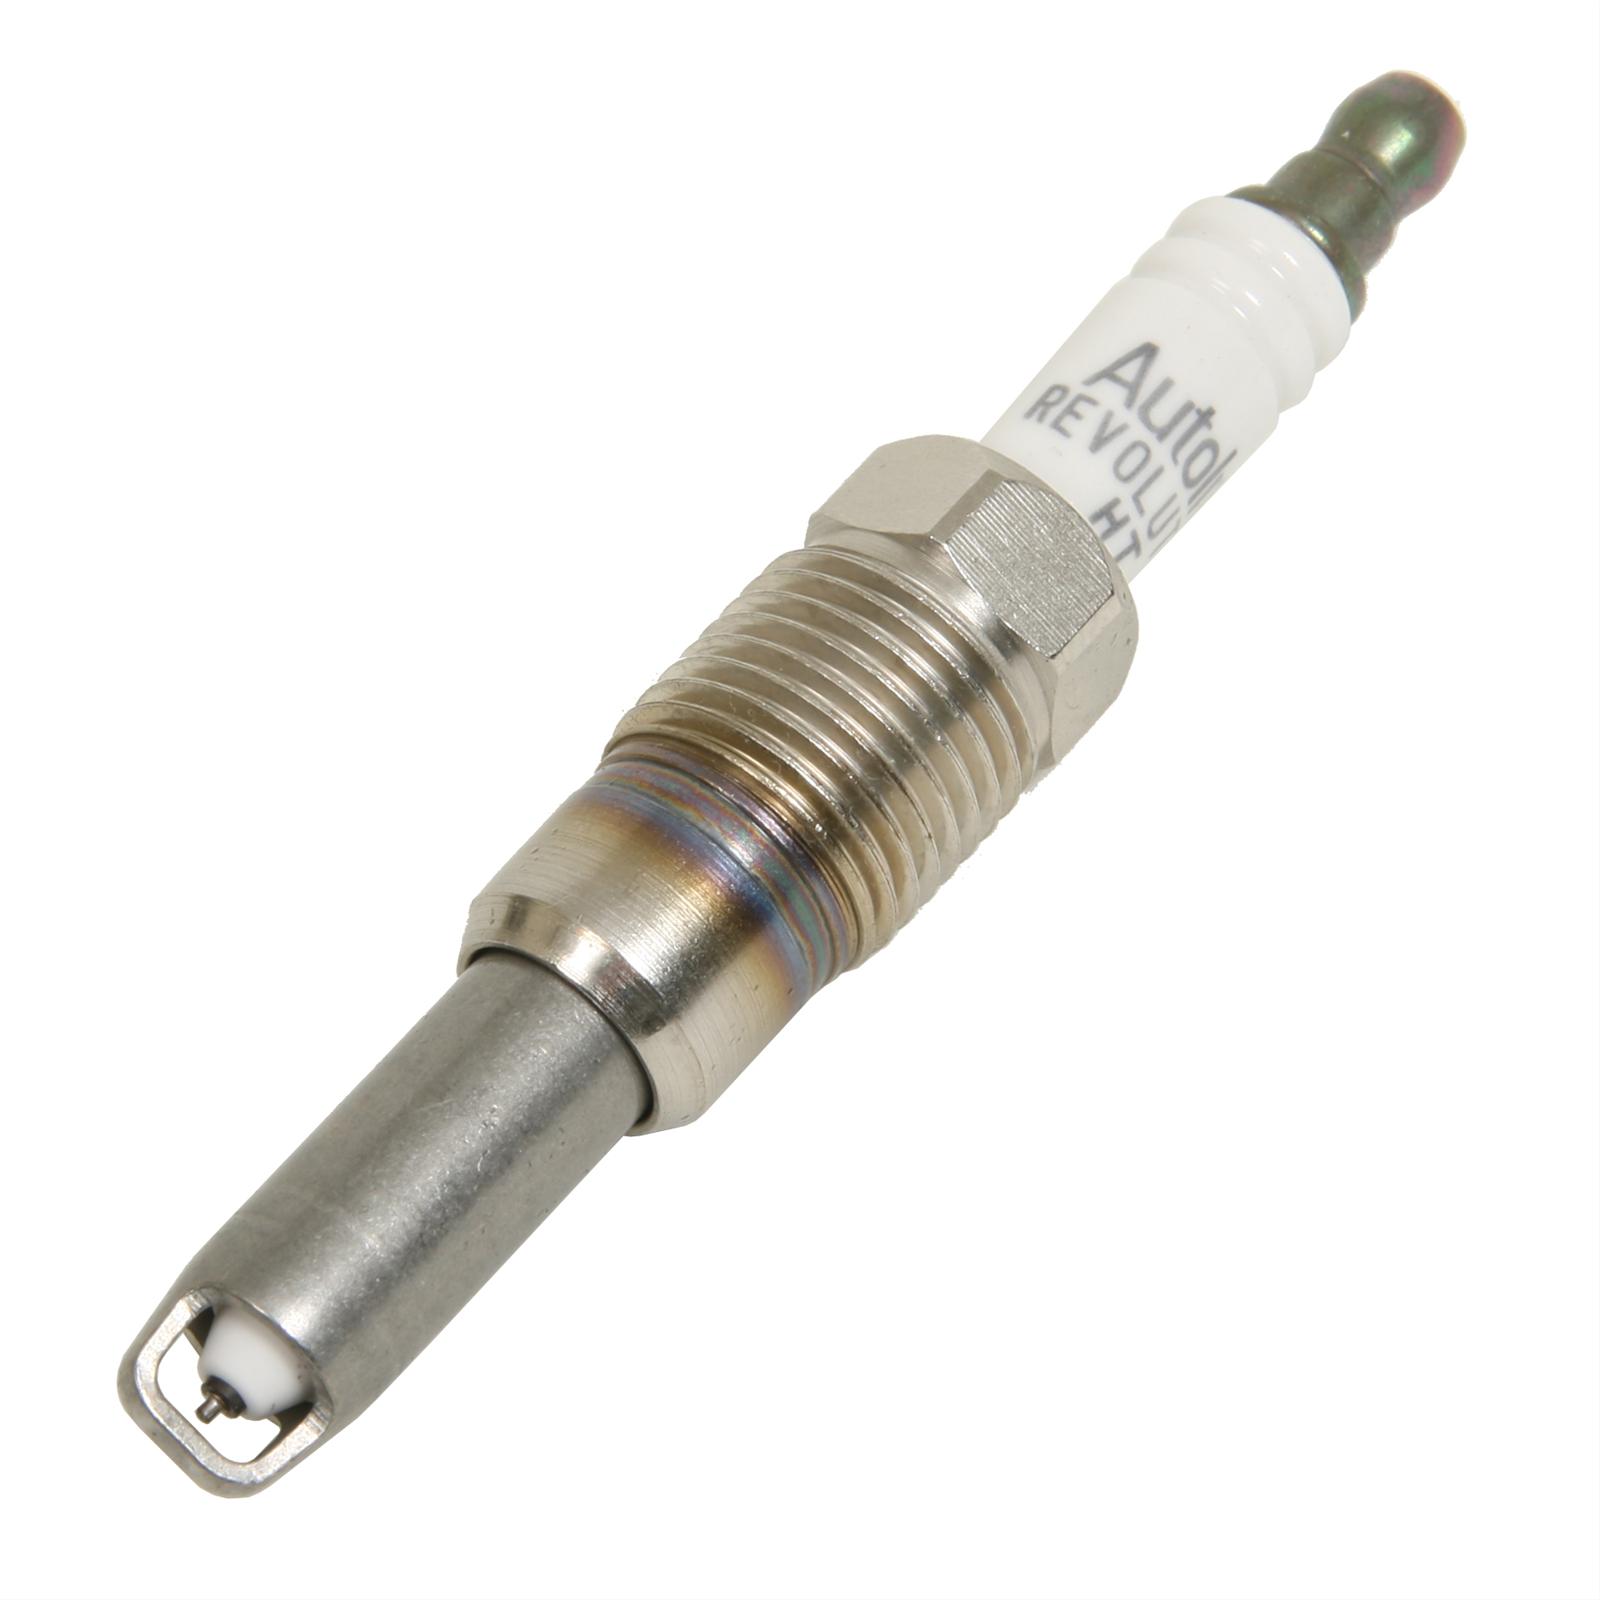
the plug looks like this.. The TUBE at the bottom breaks off.. The porcelin and threads come out... You need "THE TOOL" to drill and tap a puller to get the TUBE out...... then use an air gun or vaccum with a small tube and suck out anything you can that might be on the ppiston.
The puller screw has a nice sharp left-handed threaded puller thread that holds it tight in the lower barrel. Your post reads like maybe the porcelain all came out in the past and the person didn't have the tools to get just the lower barrel. I had one where just the threaded plug body of #8 way back under the firewall came out and left the barrel and porcelain in the head, so I had to get the 65710 to pull the porcelain out, then use the puller screw. I couldn't reach the porcelain to break it off, but the 65710 pulled it easy and got the upper porcelain and center electrode out of my way, then I used the pusher to push still stuck lower porcelain down, then puller screw. The pusher is limited in that it will push the lower porcelain only far enough for the puller screw to grab the barrel.
Before putting new plugs in, I used a long piece of 1/4" fuel injection hose on my air gun, put it into the plug hole ... well down into it, blew with 120 psi, air and any trash or bits of porcelain comes out up past the hose so wear eye protection.
I also had #2 break leaving the lower part of porcelain in the barrel. Then you use the pusher to push it on down far enough to thread the puller screw into the barrel. The puller screw and the porcelain puller both use the aluminum 65610 sleave
If the only thing left in the head is the lower empty barrel, then you only need the 65600 kit.
If I were doing it from scratch, I'd have the whole 65700 kit.
I had new SP-515 on hand to replace the original SP-507 plugs but then found was a new SP-546 that superceded them, si I used the SP-546 plugs.
All that soaking rarely works but its worth a try . I believe the best way is a hot engine and an impact . If you have to use the lisle tool to extract ,nothing wrong with trying to vacuum out small pieces but leave the plug out and turn over engine to try and eject it out the hole . Don't start plug job until you have the lisle tool on hand .
I still put a tiny amount of nickel anti seize on threads and snout . Nickel is good to 2400 degrees , you can get it on amazon .
The puller screw has a nice sharp left-handed threaded puller thread that holds it tight in the lower barrel. Your post reads like maybe the porcelain all came out in the past and the person didn't have the tools to get just the lower barrel. I had one where just the threaded plug body of #8 way back under the firewall came out and left the barrel and porcelain in the head, so I had to get the 65710 to pull the porcelain out, then use the puller screw. I couldn't reach the porcelain to break it off, but the 65710 pulled it easy and got the upper porcelain and center electrode out of my way, then I used the pusher to push still stuck lower porcelain down, then puller screw. The pusher is limited in that it will push the lower porcelain only far enough for the puller screw to grab the barrel.
Before putting new plugs in, I used a long piece of 1/4" fuel injection hose on my air gun, put it into the plug hole ... well down into it, blew with 120 psi, air and any trash or bits of porcelain comes out up past the hose so wear eye protection.
I also had #2 break leaving the lower part of porcelain in the barrel. Then you use the pusher to push it on down far enough to thread the puller screw into the barrel. The puller screw and the porcelain puller both use the aluminum 65610 sleave
If the only thing left in the head is the lower empty barrel, then you only need the 65600 kit.
If I were doing it from scratch, I'd have the whole 65700 kit.
I had new SP-515 on hand to replace the original SP-507 plugs but then found was a new SP-546 that superceded them, si I used the SP-546 plugs.
Originally Posted by redfishtd
All that soaking rarely works but its worth a try . I believe the best way is a hot engine and an impact . If you have to use the lisle tool to extract ,nothing wrong with trying to vacuum out small pieces but leave the plug out and turn over engine to try and eject it out the hole . Don't start plug job until you have the lisle tool on hand .
I still put a tiny amount of nickel anti seize on threads and snout . Nickel is good to 2400 degrees , you can get it on amazon .
i changed my own plugs at 80k on my 04 5.4 and only had one plug shield come off which I easily removed with the Lisle tool. I started with a hand warm engine , soaked in Kroil break free, I cracked each plug 1/8th turn and put in more Kroil, repeated until I got to one full turn , then removed the plugs.
the Kroil dissolves the carbon from the plug shield.
I don�t see the plug change as particularly challenging
And now I change the plugs at 50k and only use the original Motorcraft 2 piece plugs .
Well the motor can't be warm because its out of the truck, and I don't know what the previous guy pulled out. It looks like I have number 2 in your layout pics, the plug came out, but it looks like just the barrel is in there. So what concerns me is not being there when he removed it is it possible the electrode and / or porcelain made it past the barrel/sleeve and is down in the cylinder ? My Lisle kit just came and I also have an endoscope I'm gonna try to see down in the cylinder, any other ideas !?! And thanks for that layout its a big help !!
Originally Posted by tbear853
The puller screw has a nice sharp left-handed threaded puller thread that holds it tight in the lower barrel. Your post reads like maybe the porcelain all came out in the past and the person didn't have the tools to get just the lower barrel. I had one where just the threaded plug body of #8 way back under the firewall came out and left the barrel and porcelain in the head, so I had to get the 65710 to pull the porcelain out, then use the puller screw. I couldn't reach the porcelain to break it off, but the 65710 pulled it easy and got the upper porcelain and center electrode out of my way, then I used the pusher to push still stuck lower porcelain down, then puller screw. The pusher is limited in that it will push the lower porcelain only far enough for the puller screw to grab the barrel.
Before putting new plugs in, I used a long piece of 1/4" fuel injection hose on my air gun, put it into the plug hole ... well down into it, blew with 120 psi, air and any trash or bits of porcelain comes out up past the hose so wear eye protection.
I also had #2 break leaving the lower part of porcelain in the barrel. Then you use the pusher to push it on down far enough to thread the puller screw into the barrel. The puller screw and the porcelain puller both use the aluminum 65610 sleave
If the only thing left in the head is the lower empty barrel, then you only need the 65600 kit.
If I were doing it from scratch, I'd have the whole 65700 kit.
I had new SP-515 on hand to replace the original SP-507 plugs but then found was a new SP-546 that superceded them, si I used the SP-546 plugs.
Well the motor can't be warm because its out of the truck, and I don't know what the previous guy pulled out. It looks like I have number 2 in your layout pics, the plug came out, but it looks like just the barrel is in there. So what concerns me is not being there when he removed it is it possible the electrode and / or porcelain made it past the barrel/sleeve and is down in the cylinder ? My Lisle kit just came and I also have an endoscope I'm gonna try to see down in the cylinder, any other ideas !?! And thanks for that layout its a big help !!
Well .... at this point then all we know is that the barrel is in there. If it broke like my #2, the porcelain broke too and left the lower piece inside the barrel and only the upper portion came out. If the porcelain can't be seen ... but if you can see or feel the ground strap, then the porcelain came out with the electrode and upper portion. If the ground strap is opened up, pushed aside and not visible, then the porcelain and likely lower end of electrode was pushed through. On my #8 you can see the "puller" with the #8 barrel on it still, but the electrode came out intact as you can see.
That pusher that pushes the broke porcelain down so the puller can grab the barrel is designed so it will ONLY push enough to let the puller grab, it will just push the lower porcelain down into the barrel against the ground strap.
The two that I pushed using the pusher just pushed the porcelain down tight to strap but did not push through it before the pusher reached its "push limit".
Sticking the "smaller that spark plug threads" hose on an air jet with a good air supply pushing the air, all the way into the cylinder, then pull the trigger means all the air going in will blow back up past the hose and into the open out the plug hole, carrying any broken bits with it. Wear safety glasses.
On the original SP-507 plugs and the first revised SP-515 plugs, the ground strap was a part of the barrel, not welded on like the newer SP-546 plugs. So ... if that strap is still there, the porcelain is gone, but I'd still blow my air in there after getting the barrel out as the plug hole has been open.
Here is a picture of the ground straps.
The original SP-507s and the SP-515 pictured are the same here.
Below picture shows also how the newest SP-546 pIugs apply more pressure on coil springs for better contact too.
I referred to the ground straps as stirups then.
I found that the job was much less stressful than the worry warranted. Good luck.
Freshening up an 06 motor, it already has a broken plug from the previous owner. Firstly, on the remaining plugs that have been soaking with PB Blaster for days, I have heard two schools of thought, one is to crack the plug a hear and soak more, then try to remove, the other is to, after soaking, break loose with an impact gun, the idea is that the gun will break them loose without snapping them 7 times out of eight ?!?!? Which is better.?
Also unfortunately when the previous owner broke the one plug, he said he just stopped there, but could't remember how much of the plug came out, I can see just the sleeve, no porcelain or electrode, is it possible that stuff could have fallen in ?!? I do have an endoscope that hooks to my phone and has worked well in the past but don't know how much I will be able to see. Im gonna try to adapt a small hose to a shop vac. I'm hoping I'm not screwed.
When I decided it was time to change the plugs the 1st time (2006 Mark LT 4x2, 5.4, 35,000 miles) with the Motorcraft SP 515�s. Although I did follow the most recent TSB, I also relied on my experience back in the 1970�s when aluminum heads & intake manifolds were just entering the street scene and never-seize did not exist. Here are the exceptions to the TSB that I did�
I ran Lucas fuel injection cleaner, mixed at 3 times their recommendation in 1 full tank of gasoline. Purpose�if I was lucky, it would dissolve or loosen any carbon buildup (although many do a real fuel injection cleaning also- and it is probably a best practice to do if you have more than 45-50,000 miles on the plugs)
Although I am a fan of PB Blaster, I used a product called ChemSearch �Yield�. The issue I have with using carb cleaner is the lack of lubrication�..in the old days of removing steel plugs from aluminum heads, we use to mix up acetone & ATF�or of we needed more lubrication, kerosene & ATF, �Yield� provides this lubrication- much better IMHO than even PB Blaster.
Yes, I put anti-seize on the plug threads (I know the TSB says not to) because IMHO, the engineers are more concerned with the spark plug grounding than the carbon buildup/plug breakage....
Of course�a lot of patience, I really doubt if I ever put more than 20-25 lbs of force during removal (purposefully)
The end result, only one plug even �squeaked� coming out (but it basically unscrewed like a regular plug- literally). Plug #4 was initially a little stubborn, but after the second try, then waiting about 30 minutes, it came out with very little effort�just kept wiggling the plugs (tightening/loosening) by 1/8th or even less of a turn- and they all came out without a single one breaking or any issue really.
Another technique that can definitely be used is to loosen the plugs about 1/8 to � of a turn, start the engine for about 1 minute- this allows the flame to travel up around the plug to burn off the carbon, let cool, then remove with the process I previously described.
As far as using an air ratchet, I can understand the theory of �shocking� the carbon loose, but I have also seen and experienced in my younger days some real disasters.
Actual working time: 2 hours�..including washing my hands, total time was 5 hours.
I have done 2 spark plug changes on mine, used the same SOP and not a plug failure to date ("knock on wood"). I think your approach with the cam phone & shop vac is excellent and would definitely use the lisle kit (which I have as well) and you should be in really good shape.
If a plug has been broken already, then obviously a tool would be required to extract it. Therefore, any method will work, because in the little experience I've had, no matter what you do, something will break if it is the first time those plugs have been pulled..
I broke 3 out of 8 doing it carefully on mine, necessitating the tool, and broke 2 out of 8 on a friends, both using the Ford procedure which is turning the plugs a quarter turn, filling the plug hole with about an eighth of an inch of carb cleaner, let it soak overnight and then turn it out using a smooth and constant rotating pressure to work it out. Supposedly works 90 percent of the time. I may be unlucky or uncoordinated, but my guess is more often than not a person is going to need the tool if this is the first time the plugs have come out..
The process of shoving the porcelain down and extracting the shell is about as unnerving as it gets, and you will want to take your time, making sure the extractor has cut into the shell enough to not strip out when you start loading the new threads during extraction. It pops and cracks the whole time, so the first one is going to make you **** your pants and make you want to stop if you don't expect it. Surely this is a half assed way to fix this problem you think yourself. And then pop, it comes out and you are washed over with a momentary sense of relief, followed by the dread of doing it again. But that one should be easier, because now you know the process. Don't forget to blast out each cylinder after pulling to blow any broken parts and filings out.
After pulling the plugs, use special Ford chrome ant seize on the lower body of the spark plug that protrudes into the cylinder as shown by tbear. I do actually dab a tiny bit on the threads too, but that's just me. Just don't glob it everywhere and you should be okay.
Good news is the new plugs are better and with ant seize plus the procedure, it is unlikely you will have problems again.
Although I am a fan of PB Blaster, I used a product called ChemSearch “Yield”. The issue I have with using carb cleaner is the lack of lubrication…..in the old days of removing steel plugs from aluminum heads, we use to mix up acetone & ATF…or of we needed more lubrication, kerosene & ATF, “Yield” provides this lubrication- much better IMHO than even PB Blaster.
Yes, I put anti-seize on the plug threads (I know the TSB says not to) because IMHO, the engineers are more concerned with the spark plug grounding than the carbon buildup/plug breakage....
I used Kroil, just a capful in the plug well the day before, after a 1/4 turn hoping it was enough to let Kroil seep down past the threads and seal surface to the barrel.
The threads aren't what was causing the breakage, it is the carbon build up around the lower barrel that is exposed to the combustion chamber. The high effort required is the wrench trying to turn the upper threaded portion in the head that is still attached to the long 10mm barrel way down in the head at the sealing cone area with a tightly fitted inner porcelain and electrode core. The threads on the plug have a nickel surface, they are not exposed to carbon deposits as they are located above the sealing surface and adding anti-seize to them alters the effects of torque applied at the threads. 15 ft lbs torque on a lubricated thread is exerting more pull on the threads than the same torque applied to dry threads. My plugs on my '07 were changed at 67,555 miles, the threads were clean, no deposits and once the resistance from the lower barrel was eliminated either by breakage when the crimp ate the sealing cone relaxed or by the barrel breaking free of the head's grasp, effort was hugely reduced.
The lower barrel isn't welded to the upper, but rather the upper is pressed on the porcelain from above, then the barrel with its upper lip is pressed on from the lower end, then a collar with the taper is slid up over the barrel and electro welded to the upper to "lock" it all together with the porcelain and electrode core inside. Two of mine that did break pulled the barrel free of the upper threaded part much like if you pulled a flared copper tube through a flare fitting. It takes a great amount of pulling force, but we are applying a great amount of pulling force at just 20-25 ft lb on those threaded uppers. As we back the upper out with our spark plug socket, the sealing area lifts from the head sealing bevel and is free-er to expand to let go of the barrel in the grip of dreaded carbon.
I learned long ago to use anti-seize sparingly on the threads of spark plugs in my motorcycle or aluminum headed cars, but those plugs sealed at the sealing washer above the threads, so their threads were exposed to the combustion chamber. Those threads on those plugs would show deposits upon removal after even far less use.
I'm still in the belief no matter how easy y'all say it was/is, it shouldn't cost $3-400(some paid $8-900) to have, stupid azz, spark plugs, changed if you were, female, and not have the know how, to do this, nor should Ford charge you extra when the retodds, break a plug, 'like its your fault' and the bonehead engineer/s that said, Hey! this will make us millions, needs to stand up, and allow each and every, female that was took to the cleaners, punch them, in the snot box...for repayment...or send them to the hospital in a sponge.