When you click on links to various merchants on this site and make a purchase, this can result in this site earning a commission. Affiliate programs and affiliations include, but are not limited to, the eBay Partner Network.
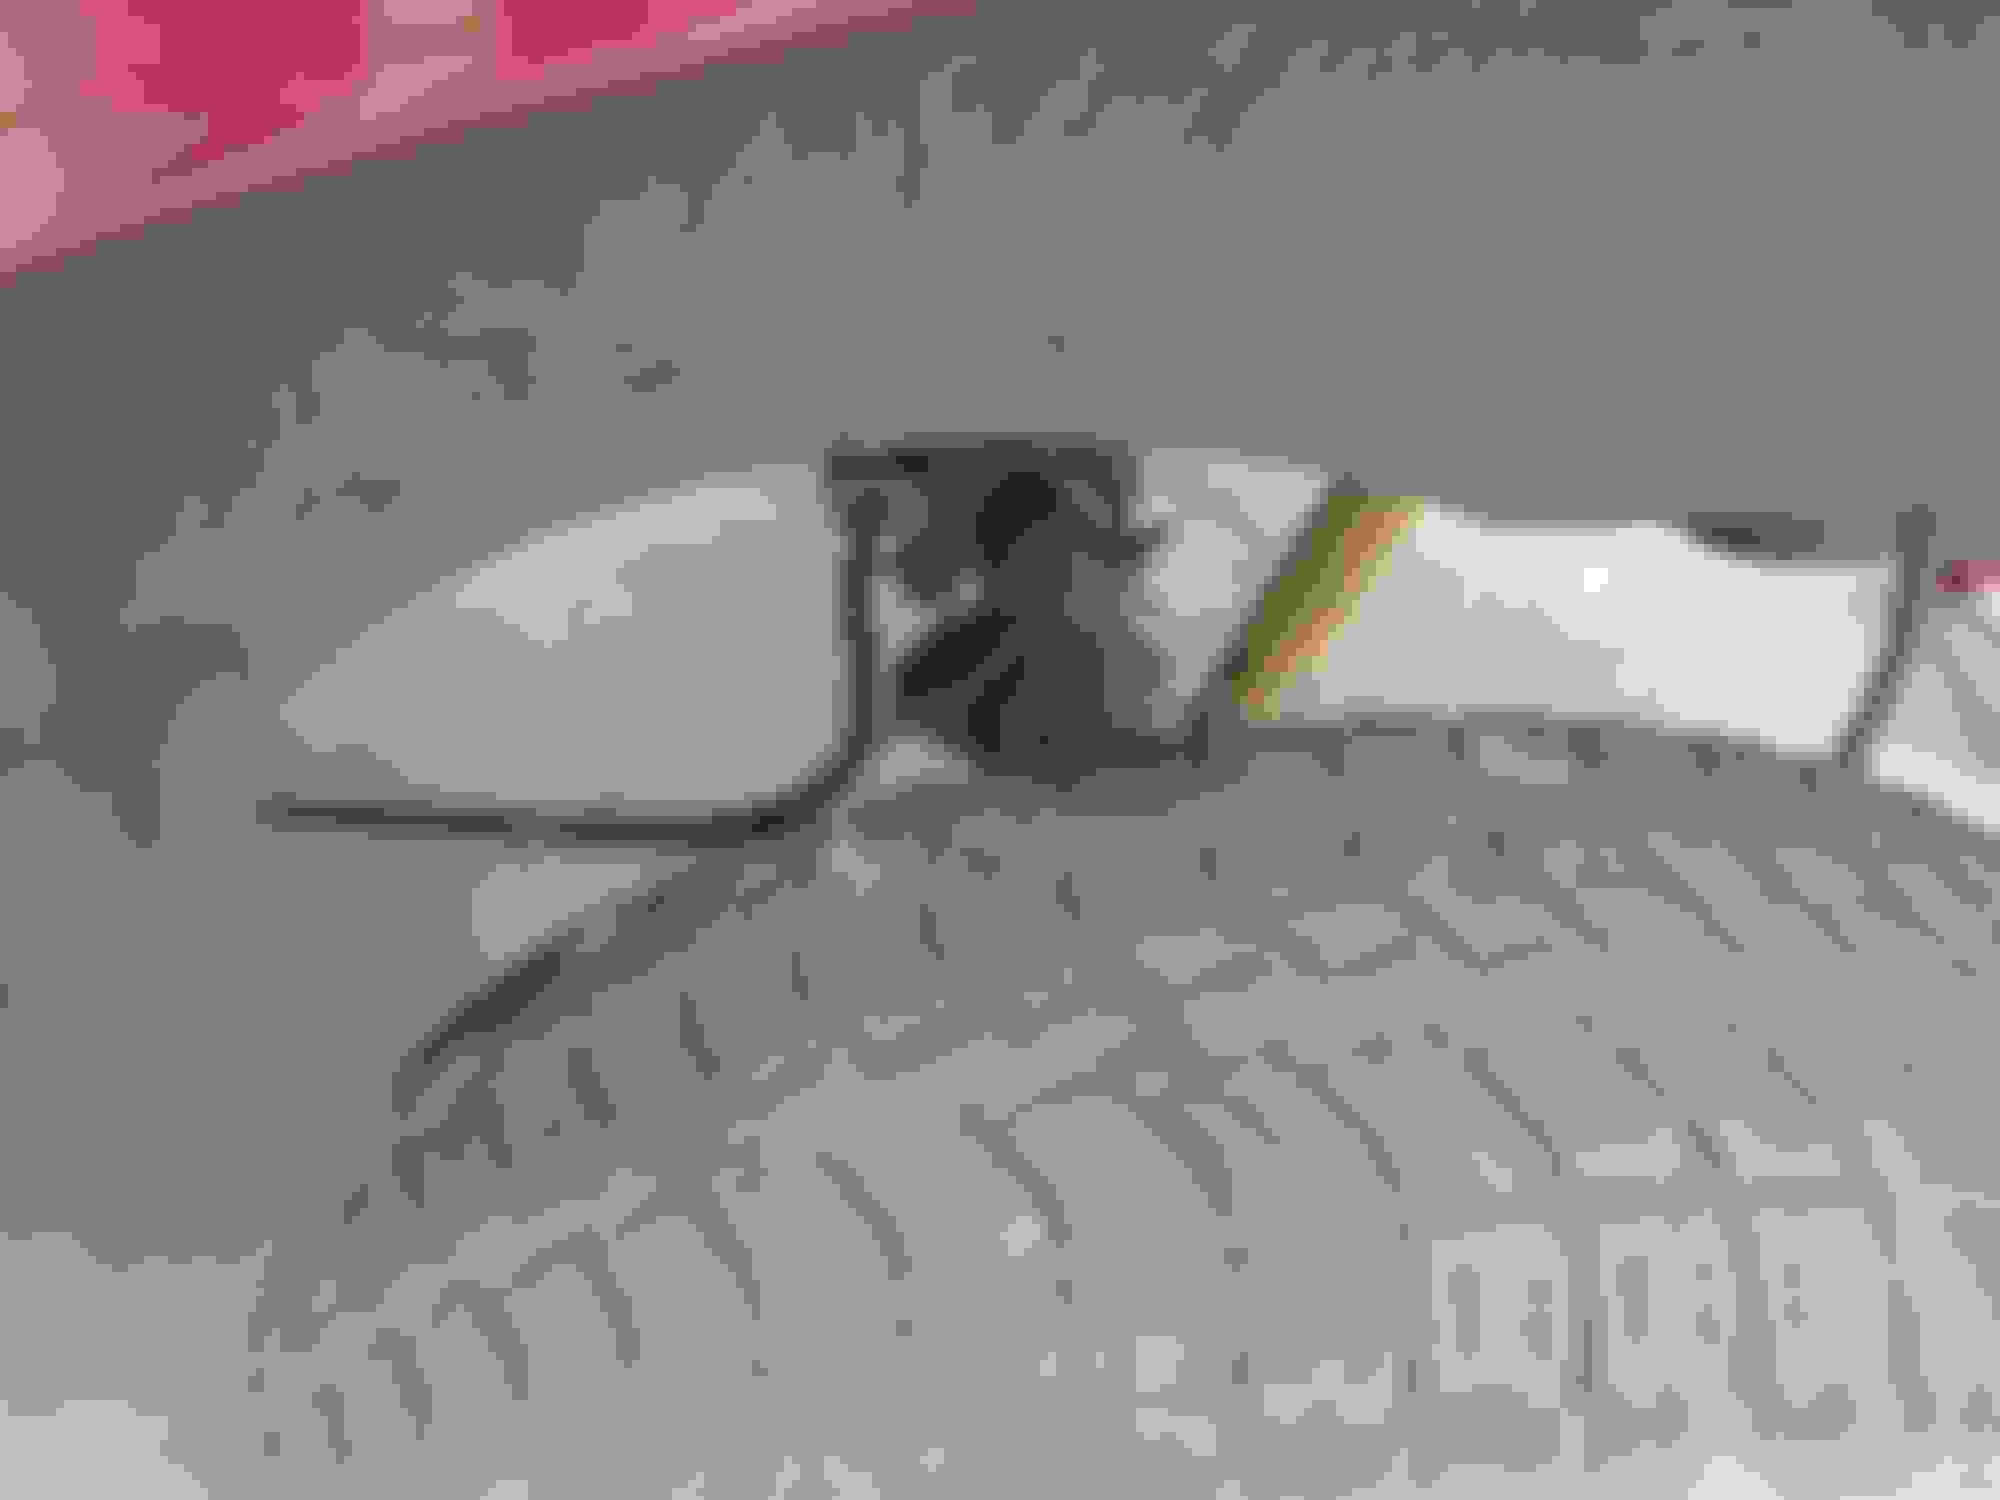
Sorted out the mess of vacuum lines on Passenger fender. Everything is connected and works. Looks like my Vacuum solenoid is shot. And I need to figure out if that 3 way temp thingy works. Motor pulls almost 18" Vacuum to the reservoir at idle
We left Dallas last night at 7pm and rolled into Taneytown at 8pm. Straight up 24 hours, and that even includes the 3 hours we stopped and hung out with Apoc.
Had to buff out some scratches that birds left on my hood at work. They really did a number on it. Used a DA polisher with Meguiars M205. Didn't need to go deeper .That opened back up my "crows feet" that Ford installed on the hood when it was new, so I had to mask them with the black tinted carnauba wax from turtle wax. It doesn't last as long as I like, but hides the defects nicely. Won't be long before a repaint is needed though.
Thanks. I have never had this bird scratched hood problem before. Sitting on my mirrors and pooping down the side of the door or my roof rails and crapping on the roof I understand. But what draws them to do "things" on top of my hood? I might try some silver streamers on my antenna to deter them.
But what draws them to do "things" on top of my hood?
'Round here, it depends on where you park, and what's above you when you do.
Most times it's telephone pole wires that allow the dirty birds to congregate and do their thing. There's one such particular telephone pole across the street in front of my moms house.
That's what has me puzzled. I park way out in the lot next to some other trucks and cars directly between the light poles on that row, (so bird bombs won't get me).This part of Texas has no trees and there is nothing above or even near the truck, it's all great plains around here.
Finally installed the B code springs I have had in the garage for...well, I can't remember exactly how long. But I've had them for a long while.
I've been around long enough to know that everyone likes pictures around here, so here are some of my days activities.
4 hours to do the job...not counting watching the paint dry. I was able to knock it out quick, because I spend a lot of my spare time at a local salvage yard pulling axles and other Super Duty parts as a hobby. It is my therapy for my job (so my wife says).
Driver's side out. I didn't remove the wheels. No need to. I also didn't use the second jack and jack stands. Just used the one jack and two big jack stands under the hitch frame.
Old spring on top, new-to-me spring on bottom with new bushings.
Axle is held in place by shocks and driveshaft. Make sure to chock the front and rear tires ON BOTH SIDES OF EACH OF THE WHEELS. This will keep everything very close to where it needs to be when you go to re-install. You will have to jack the truck up a bit higher to get the mod B springs under there.
Deconstruction of the old and new to make a frankenstein (mod B) spring.
Painting all the relevant parts that will go into the mod B springs. Check the dry time on your paint before you buy it...I got stuck with some long dry times because I didn't.
Knocking off the rust on the B codes before painting.
Assembling my frankenstein springs. Freshly painted.
side view of alignment process.
I only used the C clamp to compress for final assembly. I did not use any on disassembly. I just spun the nut off the center pin and let it all come apart since I was painting everything.
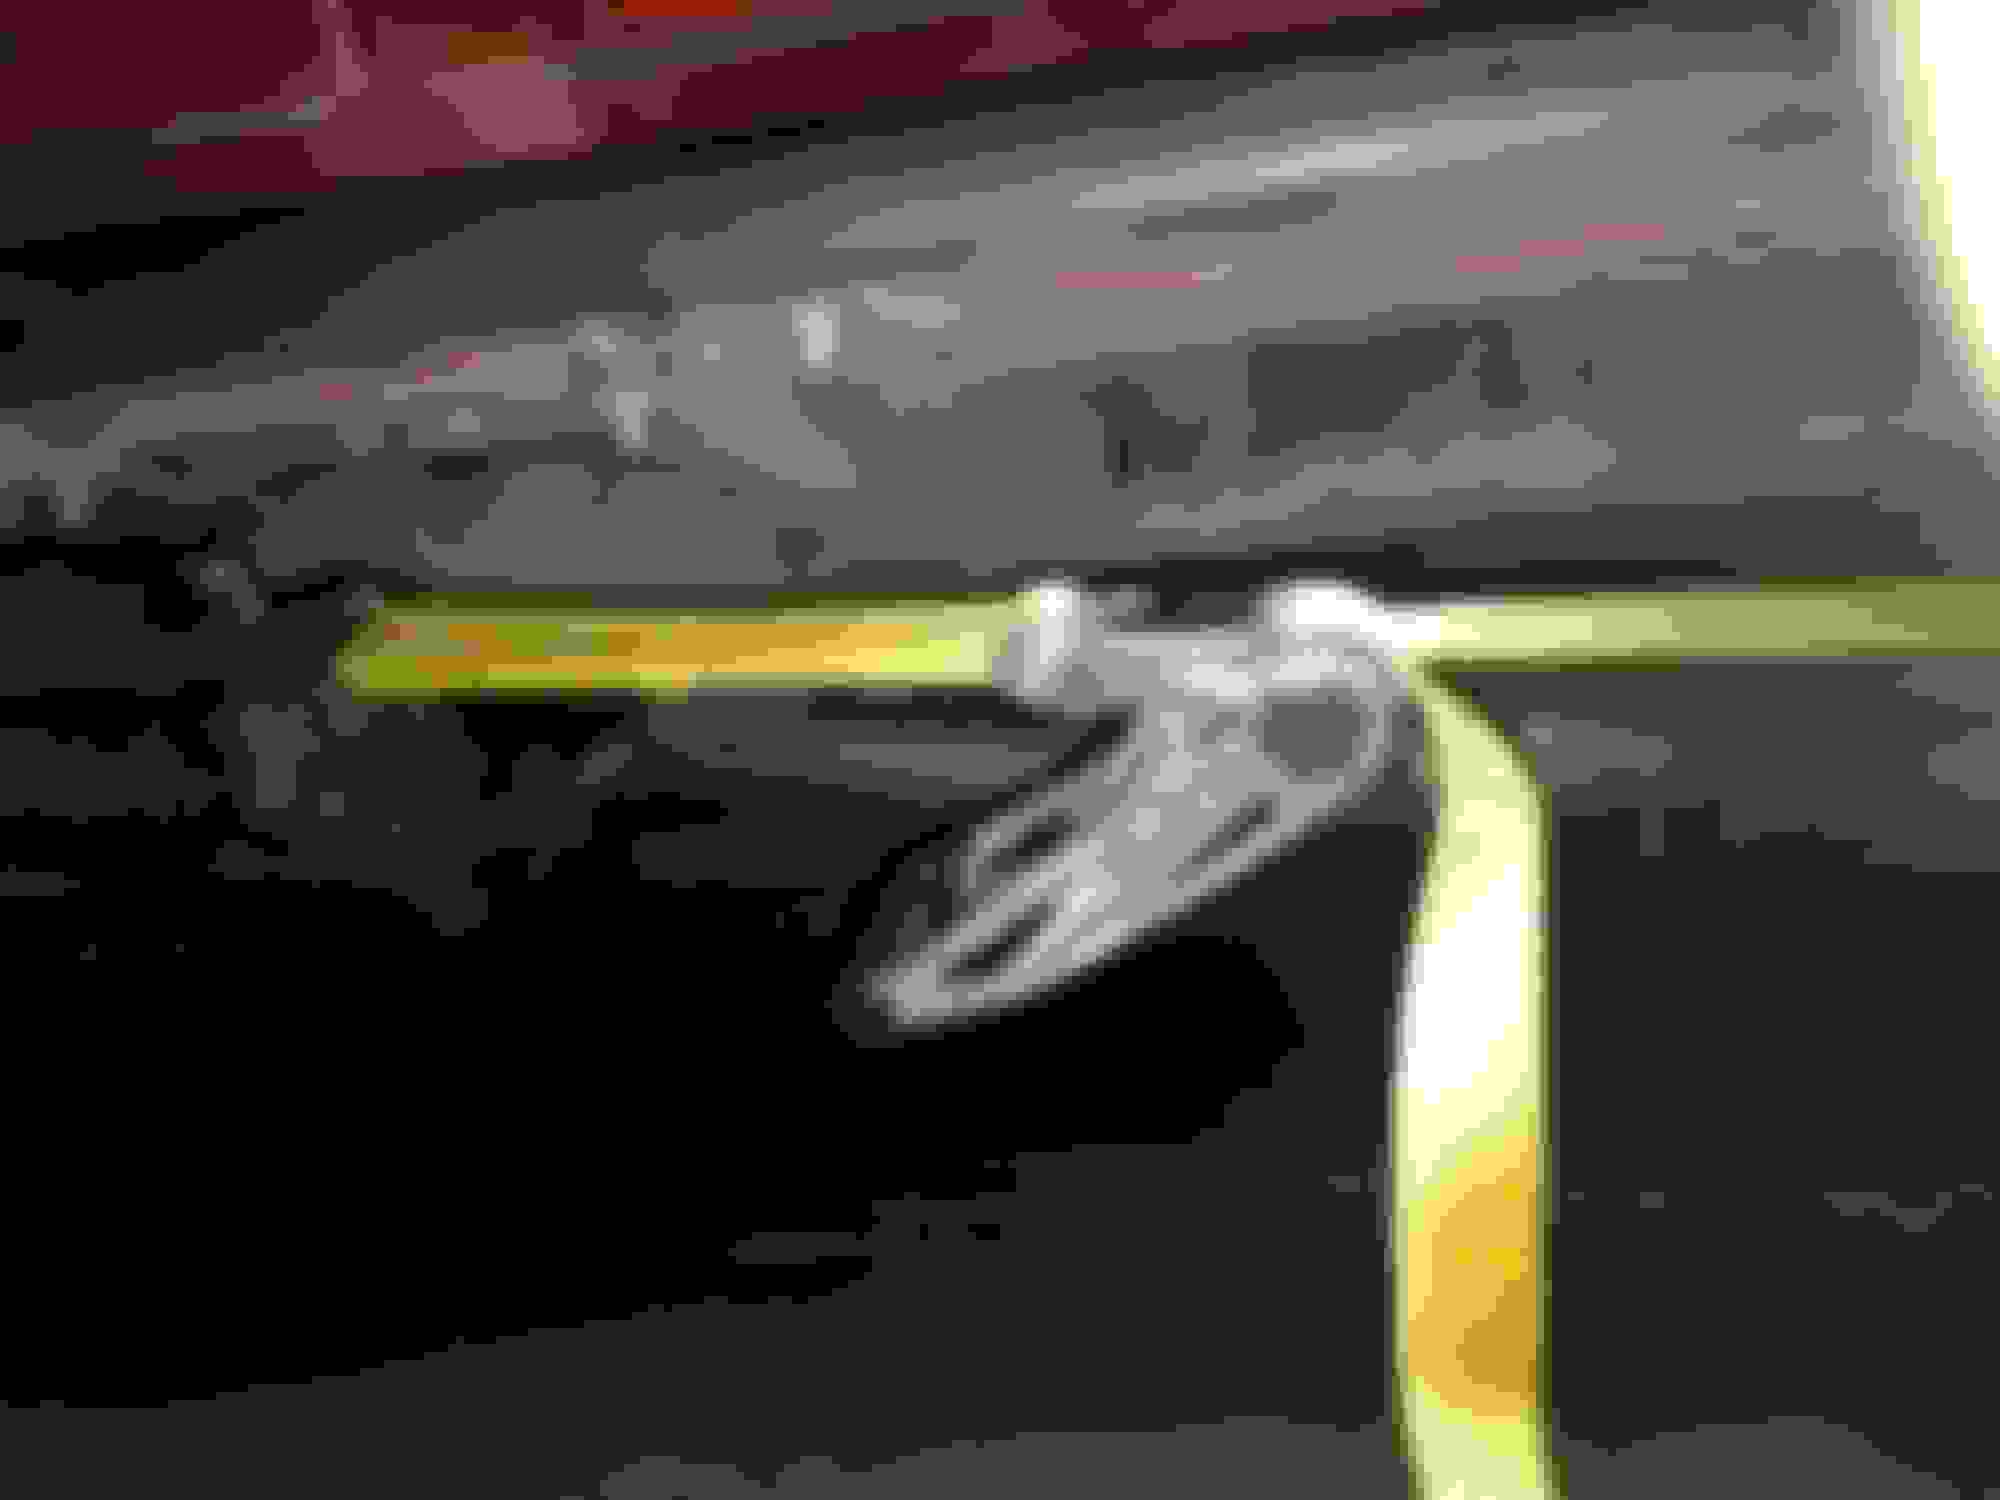
I used one jack, two big jack stands under the hitch frame, and one ratchet strap to pull the axle where I needed it to line it up. That's it. You don't need a bunch of jacks and jack stands all over. Super simple this way with the tires on.
I also re-used my u-bolts, nuts and centering pin for the spring pack. I am lucky to live in a rust free area, and there was nothing wrong with my old parts. They fit just fine on the new mod B spring pack. I know I am not supposed to re-use the old ones, but I am going to be putting 05+ axles under this thing in the very near future, and I ain't buying new hardware until then.
From center of tire to the top of the wheel well is now 26" on our X. Gained 2 inches like everyone else. Now it is even easier to crawl up under this thing to work on it!

 11-02-2017, 03:41 PM


")