
What did you do to the X today?
 04-04-2013, 01:50 PM

I fixed my super sloppy steering wheel. With the vehicle turned off you can turn the steering wheel a good 3 inches to each side.... this tells me the power steering gear box is shot or needs to be severly adjusted. While driving down the road it takes skill to keep the truck on the road. So.... I loosedned up the nut on the steering gear box and turned the allen screw in a good 3 full turns. Now the wheel is a little tighter but almost no play to each side. Maybe 1/2 at the most. Looks like I can put off a new steering gear box for a while....
04-04-2013, 01:57 PM

I fixed my super sloppy steering wheel. With the vehicle turned off you can turn the steering wheel a good 3 inches to each side.... this tells me the power steering gear box is shot or needs to be severly adjusted. While driving down the road it takes skill to keep the truck on the road. So.... I loosedned up the nut on the steering gear box and turned the allen screw in a good 3 full turns. Now the wheel is a little tighter but almost no play to each side. Maybe 1/2 at the most. Looks like I can put off a new steering gear box for a while....
04-04-2013, 03:30 PM
 04-04-2013, 03:45 PM
Postmaster
Got Up pipes installed and bolted down tight (I hope) and everything from the CAT back in place and on jack stands. The CAT needs trimmed about another inch and the CAT hangers will work perfectly. Found 2 hanger issues from the CAT through to tail pipe I need to resolve.
#1 The rear CAT to Muffler hanger does not line up with the connection between the rear CAT and muffler and the hanger Banks sends is a clamp/hanger combo. On this one (1st pic below) I think all I do is use the hanger where it needs to be to fit the hanger in the frame which is about 2 inches south of the actual pipe joint, then add a 3" exhaust clamp over the joint.
#2 The tail pipe hanger is not going to work, it comes in the from the wrong direction and the spring is in the way. Thinking on this one (2nd pic below) I need to cut that hanger off, then cut the stock hanger off the original tail pip (3rd pic below) and weld it onto the tail pipe.
Any suggestions or easier fixes welcome.
04-04-2013, 04:00 PM
For pic 1 - I'd just bust out the dremmel and cut off wheel.
Cut the weld for the hanger and just re-weld it to the proper line up.
Otherwise, just go to lowes/home-depot and get some bar-stock and bend to your needs and weld it to replace the clamp/hanger combo.
Pic 2, I'd do the same and just re-use the old hangers after welding on (if you still have them laying around.)
04-04-2013, 04:13 PM
Postmaster
For pic 1 - I'd just bust out the dremmel and cut off wheel.
Cut the weld for the hanger and just re-weld it to the proper line up.
Otherwise, just go to lowes/home-depot and get some bar-stock and bend to your needs and weld it to replace the clamp/hanger combo.
Pic 2, I'd do the same and just re-use the old hangers after welding on (if you still have them laying around.)
Cut the weld for the hanger and just re-weld it to the proper line up.
Otherwise, just go to lowes/home-depot and get some bar-stock and bend to your needs and weld it to replace the clamp/hanger combo.
Pic 2, I'd do the same and just re-use the old hangers after welding on (if you still have them laying around.)
Pic 1 the hanger on the pipe isn't welded to it, it's a combination clamp and hanger in one it bolts on, I can move it back to line up with the hanger but then the joint where the CAT meets the muffler won't have a camp over it. Was thinking just slide it back and clamp it down where it needs to be to fit the hanger in the frame, then just add another 3" clamp over the joint.
On the tailpipe, yes I do have the old tailpipe hanger (pic 3) and I'm thinking I just need to cut it off the old pipe, and put it on the new one where I need it to be.
04-04-2013, 04:19 PM
Gotcha,
From the point of view - looked like the bar for the hanger is just welded to the clamp,
which could have been cut away and separated without effecting the clamp itself...
Yep. That's why you keep the old parts around until the project is done - just in case you need to reuse part of it!
From the point of view - looked like the bar for the hanger is just welded to the clamp,
which could have been cut away and separated without effecting the clamp itself...
Originally Posted by sammie0126
On the tailpipe, yes I do have the old tailpipe hanger (pic 3) and I'm thinking I just need to cut it off the old pipe, and put it on the new one where I need it to be.
04-04-2013, 04:21 PM
Postmaster
Gotcha,
From the point of view - looked like the bar for the hanger is just welded to the clamp,
which could have been cut away and separated without effecting the clamp itself...
Yep. That's why you keep the old parts around until the project is done - just in case you need to reuse part of it!
From the point of view - looked like the bar for the hanger is just welded to the clamp,
which could have been cut away and separated without effecting the clamp itself...
Yep. That's why you keep the old parts around until the project is done - just in case you need to reuse part of it!
Ok got you - you know that might work - I didn't get what you meant. I will look at it and see. If not no big deal to get an additional clamp at the parts store in the morning.
04-04-2013, 09:03 PM
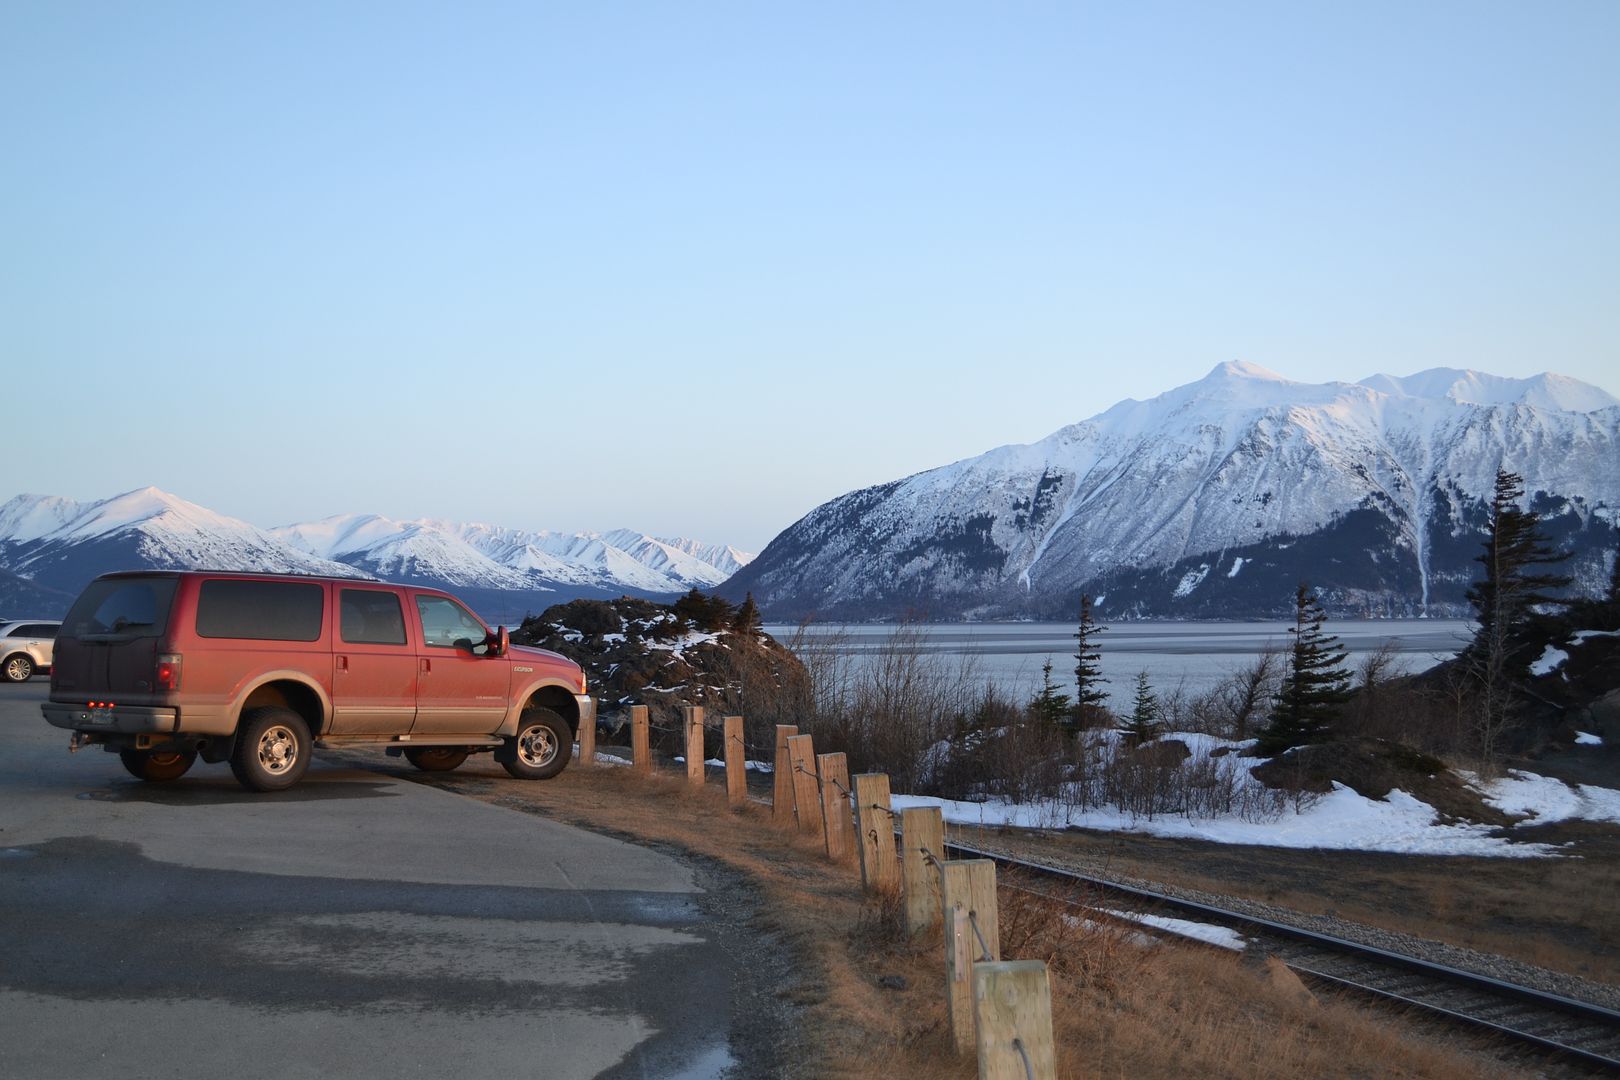
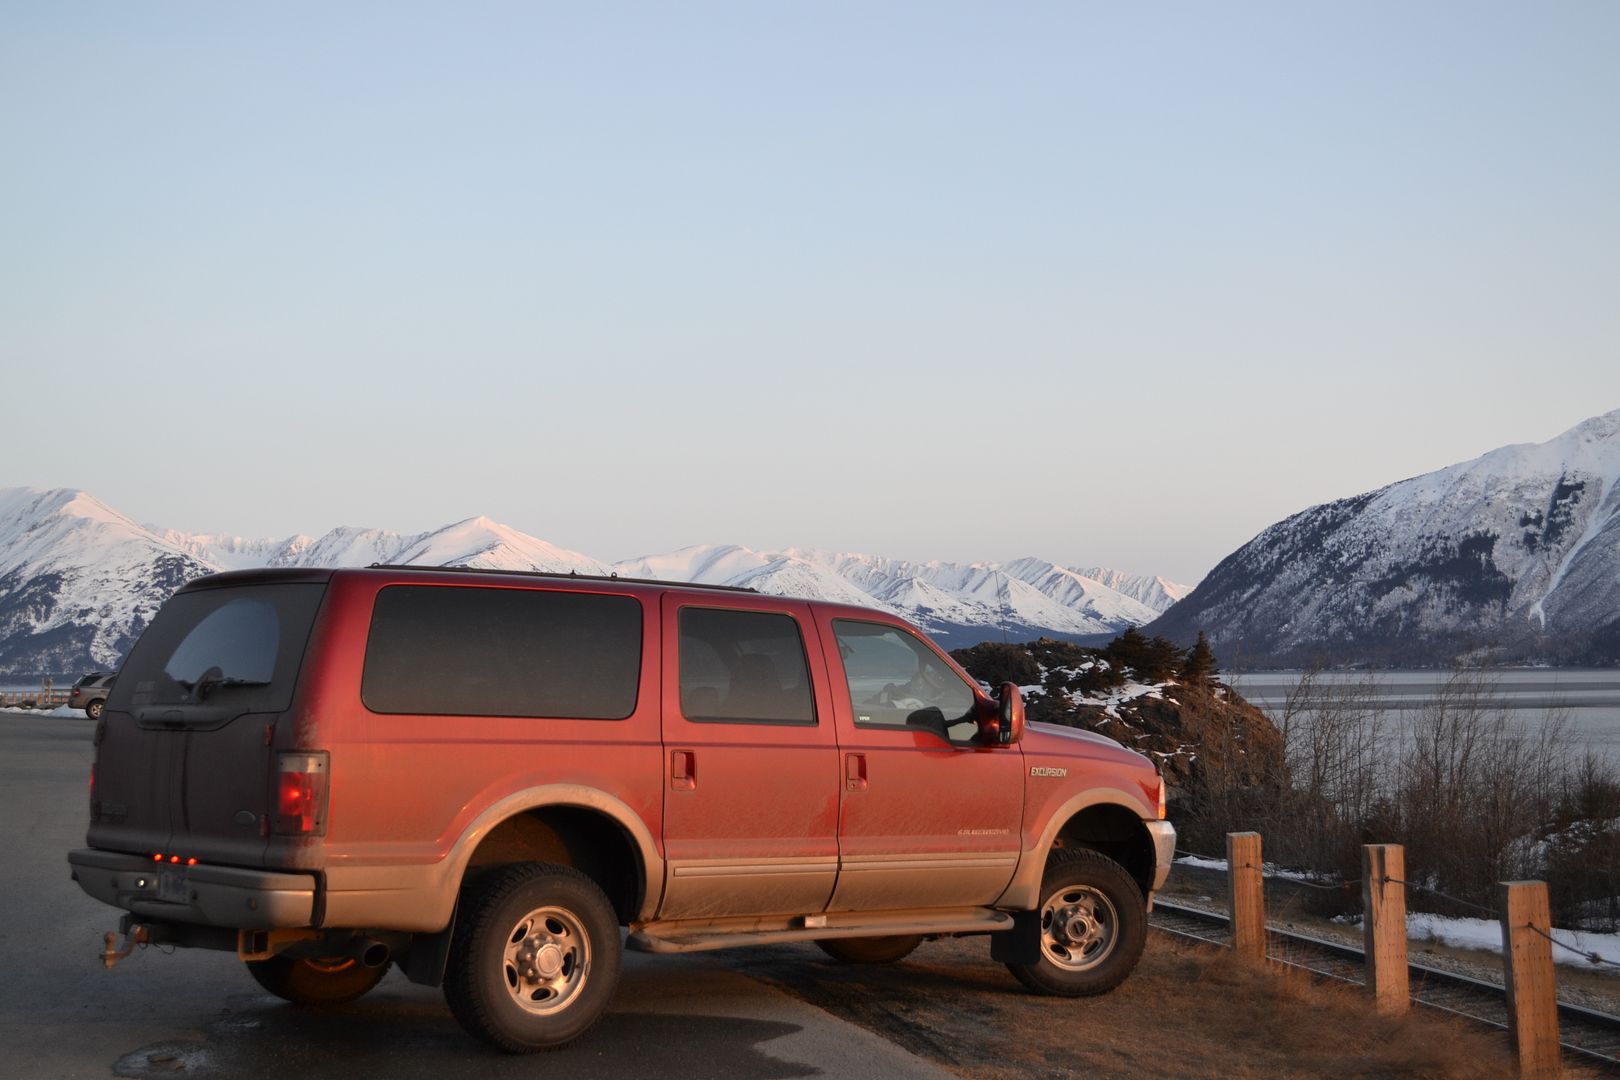
Your pics rock! Only thing would makem better is a squeaky clean X

 04-04-2013, 09:05 PM
I've been using the nitrile dipped cloth gloves... They are fairly cheap and last a long time... I get 10 pairs at SAMs club for $6
04-04-2013, 09:09 PM
Go back over your diagram... Mine didnt line up either and I had one of the pipes in wrong place... Two were very similar and I had them backwards... On another note you could just buy another 4 inch exhaust clamp and use it at the joint then slide the hanger clamp back and tighten it in the right place so it lines up... Hope it helps!
Got Up pipes installed and bolted down tight (I hope) and everything from the CAT back in place and on jack stands. The CAT needs trimmed about another inch and the CAT hangers will work perfectly. Found 2 hanger issues from the CAT through to tail pipe I need to resolve.
#1 The rear CAT to Muffler hanger does not line up with the connection between the rear CAT and muffler and the hanger Banks sends is a clamp/hanger combo. On this one (1st pic below) I think all I do is use the hanger where it needs to be to fit the hanger in the frame which is about 2 inches south of the actual pipe joint, then add a 3" exhaust clamp over the joint.
#2 The tail pipe hanger is not going to work, it comes in the from the wrong direction and the spring is in the way. Thinking on this one (2nd pic below) I need to cut that hanger off, then cut the stock hanger off the original tail pip (3rd pic below) and weld it onto the tail pipe.
Any suggestions or easier fixes welcome.
#1 The rear CAT to Muffler hanger does not line up with the connection between the rear CAT and muffler and the hanger Banks sends is a clamp/hanger combo. On this one (1st pic below) I think all I do is use the hanger where it needs to be to fit the hanger in the frame which is about 2 inches south of the actual pipe joint, then add a 3" exhaust clamp over the joint.
#2 The tail pipe hanger is not going to work, it comes in the from the wrong direction and the spring is in the way. Thinking on this one (2nd pic below) I need to cut that hanger off, then cut the stock hanger off the original tail pip (3rd pic below) and weld it onto the tail pipe.
Any suggestions or easier fixes welcome.
04-04-2013, 09:13 PM

 i wish! supposed to snow this weekend/next week. she wont be clean or see her 20" summer wheels/tires till late april. i think the deadline to have my studded snow tires off is May 1st. i plan on giving her a really good detail inside/out once it warms up and i can find my hose under 4ft of snow pack on my yard LOL
04-04-2013, 09:50 PM
i wish! supposed to snow this weekend/next week. she wont be clean or see her 20" summer wheels/tires till late april. i think the deadline to have my studded snow tires off is May 1st. i plan on giving her a really good detail inside/out once it warms up and i can find my hose under 4ft of snow pack on my yard LOL
04-04-2013, 09:50 PM
How tall are the tires you run on your winter wheels? What size you run on your 20s hoe much lift u have? I run 35 x 12.5 x 20 on my 20 inch wheels but I'm thinking about running my stock wheels with 35" tires on them
i know i wish! supposed to snow this weekend/next week. she wont be clean or see her 20" summer wheels/tires till late april. i think the deadline to have my studded snow tires off is May 1st. i plan on giving her a really good detail inside/out once it warms up and i can find my hose under 4ft of snow pack on my yard LOL
i wish! supposed to snow this weekend/next week. she wont be clean or see her 20" summer wheels/tires till late april. i think the deadline to have my studded snow tires off is May 1st. i plan on giving her a really good detail inside/out once it warms up and i can find my hose under 4ft of snow pack on my yard LOL