My '85 F150 4x2 project/build log.
#121
 01-19-2012, 09:49 AM

Forgot to respond on this. I've been of the opinion, probably similar to Archion's, that the shock attachment points weren't made for the amount of stress that shock overloads or air shocks put on them. Given that, I would rather use overload springs like the factory used since they put the load on points on the chassis that were designed for it.
Going further, there is a set of after-market overload springs on Rusty that I don't really like since they put tension on the main springs at all times. Again, my preference is the factory-style overload spring that doesn't come into play until you've used the main springs and are in need of assistance. That way you get the ride the truck was designed to give until you have a major load on it.
Going further, there is a set of after-market overload springs on Rusty that I don't really like since they put tension on the main springs at all times. Again, my preference is the factory-style overload spring that doesn't come into play until you've used the main springs and are in need of assistance. That way you get the ride the truck was designed to give until you have a major load on it.
Are these similar to the set of after-market overload springs you are talking about, or like the factory used???
1980-1996 Ford F100, F150 (2wd & 4wd) - 2500 lbs Helper Springs - LP-25 [Progressive] (pair) - 2510 | $199.95
#122
01-19-2012, 10:08 AM
Posting Legend
Are these similar to what you are talking about, or???
1980-1996 Ford F100, F150 (2wd & 4wd) - 2500 lbs Helper Springs - LP-25 [Progressive] (pair) - 2510 | $199.95
1980-1996 Ford F100, F150 (2wd & 4wd) - 2500 lbs Helper Springs - LP-25 [Progressive] (pair) - 2510 | $199.95
I don't have a picture of the Ford units, but they are easy to picture - at least for me. Think of one leaf added above the stack of original springs but spaced above them by a couple of inches. Their ends won't be touching anything under normal conditions, but when the weight comes on they will hit these "stops" that were welded to the frame by Ford - and there is one to the front as well as the back:
That way you have the normal ride but also have the overload capacity. However, I don't know which option boxes had to be ticked to get Ford to add those stops. They are on Dad's, but the truck doesn't have the helper or auxiliary spring, so apparently the stops were added if you got some option(s), but which ones I don't know.
I realize that if you don't have those stops you might have to have them fabricated and welded on. Or, maybe that isn't worth it and the ones in your link would do. But, in either case you will be placing the extra load on something that was designed for it.
#123
01-21-2012, 10:41 AM

New User
Join Date: Aug 2011
Location: Greenville,SC
Posts: 14
Likes: 0
Received 0 Likes
on
0 Posts
#124
01-21-2012, 06:43 PM
I used a floor jack and some wood pieces to lift the cab slightly. I just put enough tension on the cab to raise it but not the frame. I cut the rubber with a box cutter knife. Then I cut the inner bushing metal piece with a sawzall. As I recall, I had to cut an extra little bit off of it, due to how the two halves are pressed together. I cleaned those pieces and the bolts up really good, using a wire wheel and cleaning solution. I also soaked them in some vinegar to remove any rust. After cleaning thoroughly, I lubed them up with plenty of the grease that comes with the polyurethane bushings. Then I put everything back together. There was a gap of about an inch between the two ends of the inner bushing metal piece (that I cut out) once it was assembled on the polyurethane bushing. I did them one side at a time. I loosened both of bushing bolts, but only removed the nut from the one that I was working on. I think the job was made a whole lot easier since the bed was already off. That gave me the ability to use the sawzall. I could have made a tool similar to the one that I used for changing my axle pivot bushings. Actually, I have to do that very thing in order to change the front cab bushings. And I am still looking for a metal piece large enough to fit just over the bushing. Oh well, yet another project.
Thanks for the compliment. I think you just have to start by doing the projects that you are comfortable with. Then just move on up the ladder. I think you will find that some of those jobs are not nearly as difficult as you once thought. A good manual is the best tool and it will go a very long way. If you can get a tool out of a more difficult job, then good for you. Personally, I just hate to pay someone else for something that I can do myself.

#125
01-21-2012, 06:59 PM
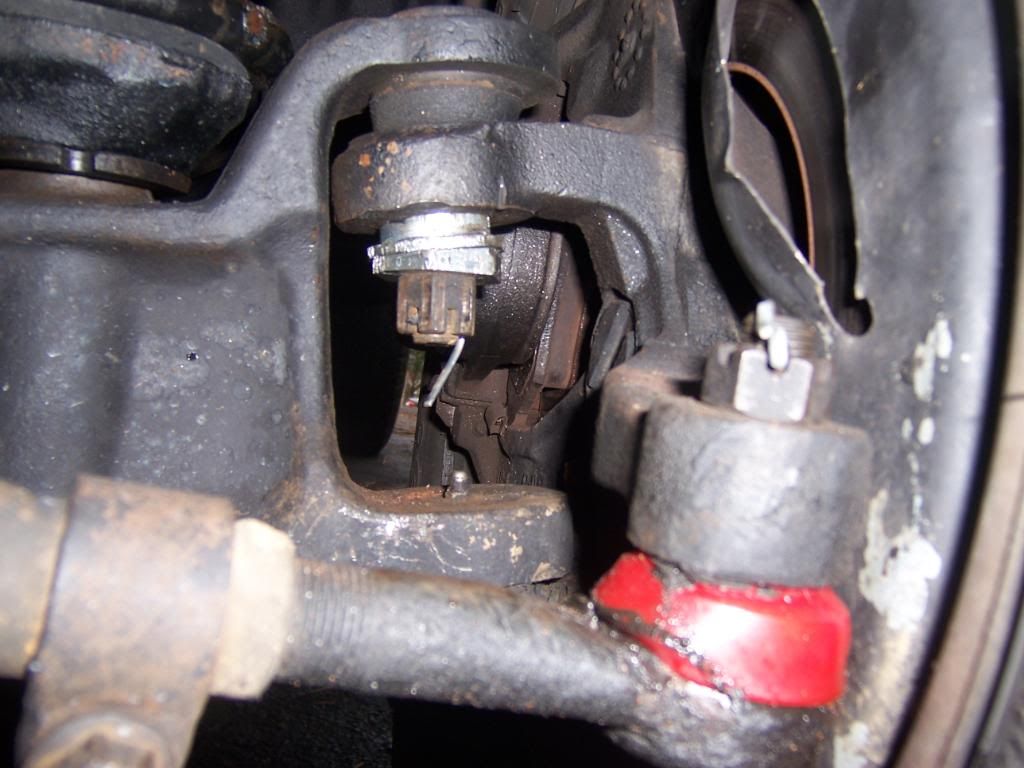
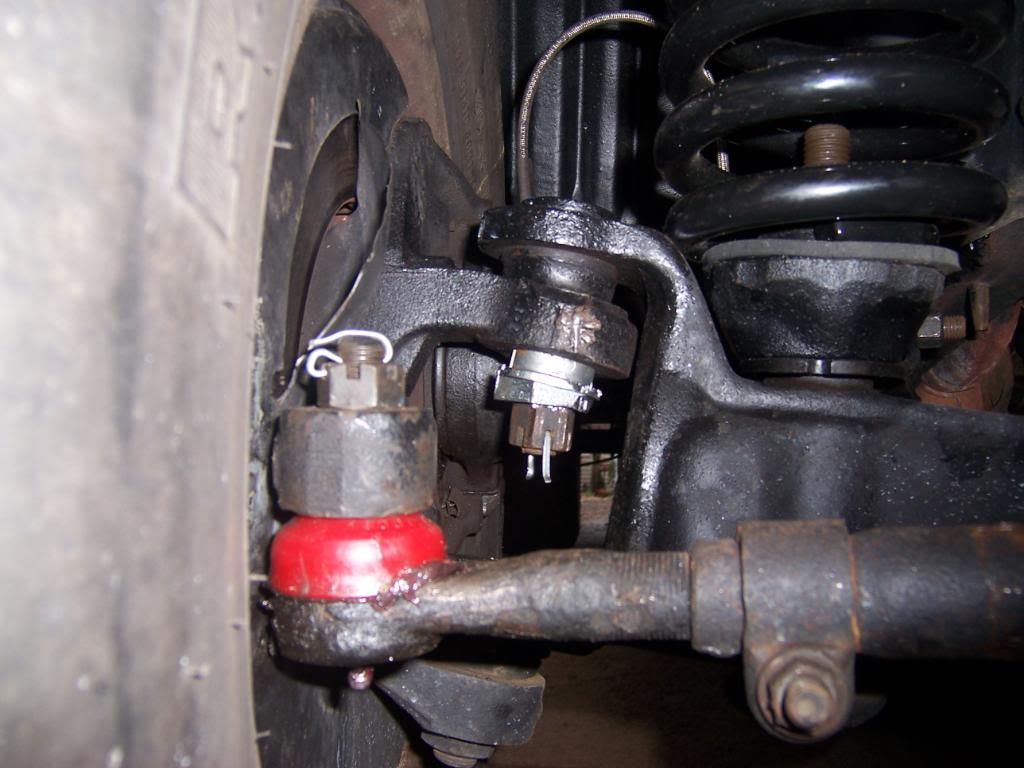
On another note, Here are my after alignment pictures. You can see the new adjustable bushings. I don't really know whether they are supposed to look like that or not. I'll take the alignment guys word for it, he's been doing them for 15 years (besides, I know his dad). The truck does drive better, but I haven't really taken it out that far yet. I am also posting the alignment printout for what it's worth. I don't really understand how to interpret all of the readings, yet.

#126
01-31-2012, 08:09 AM
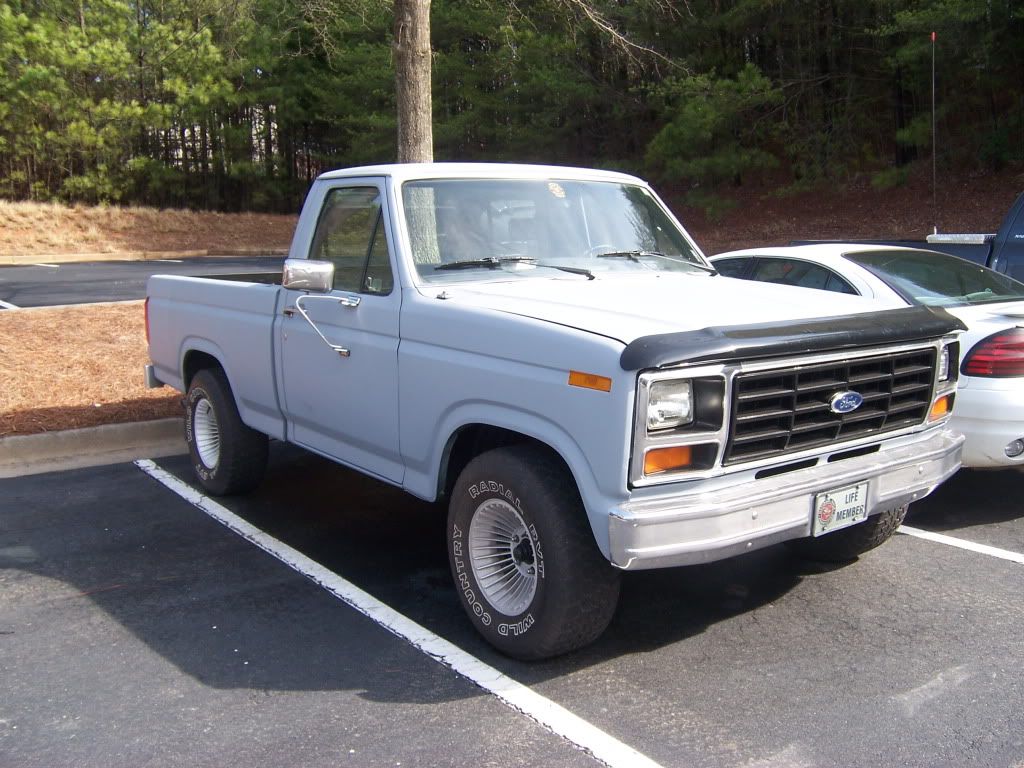
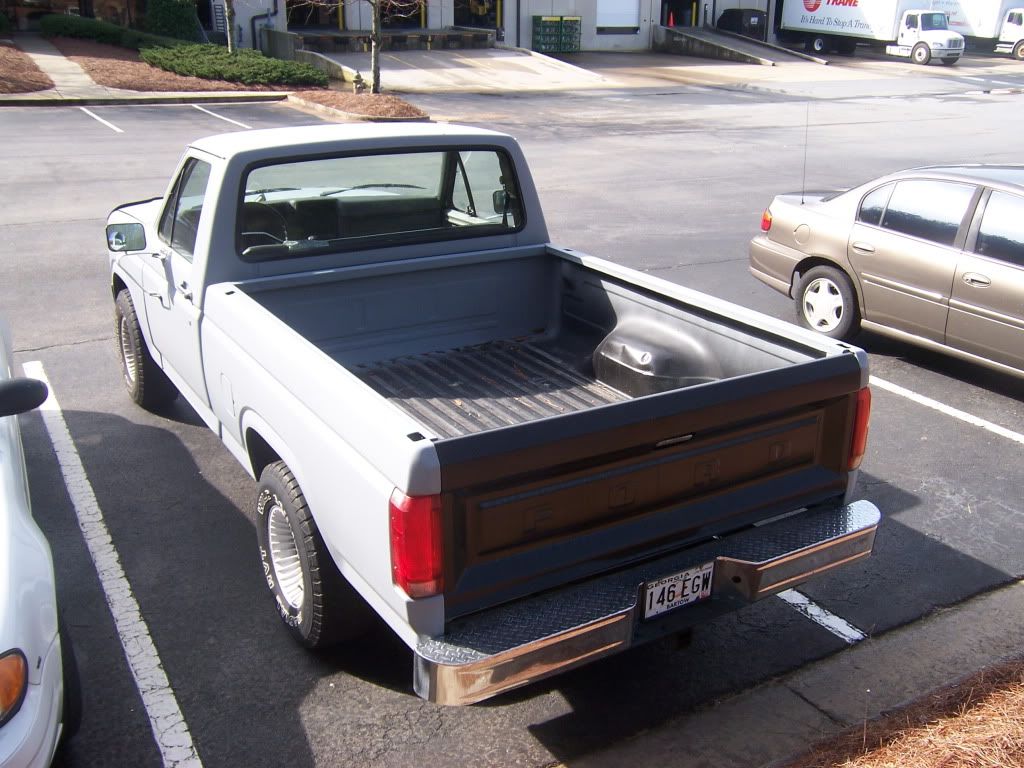
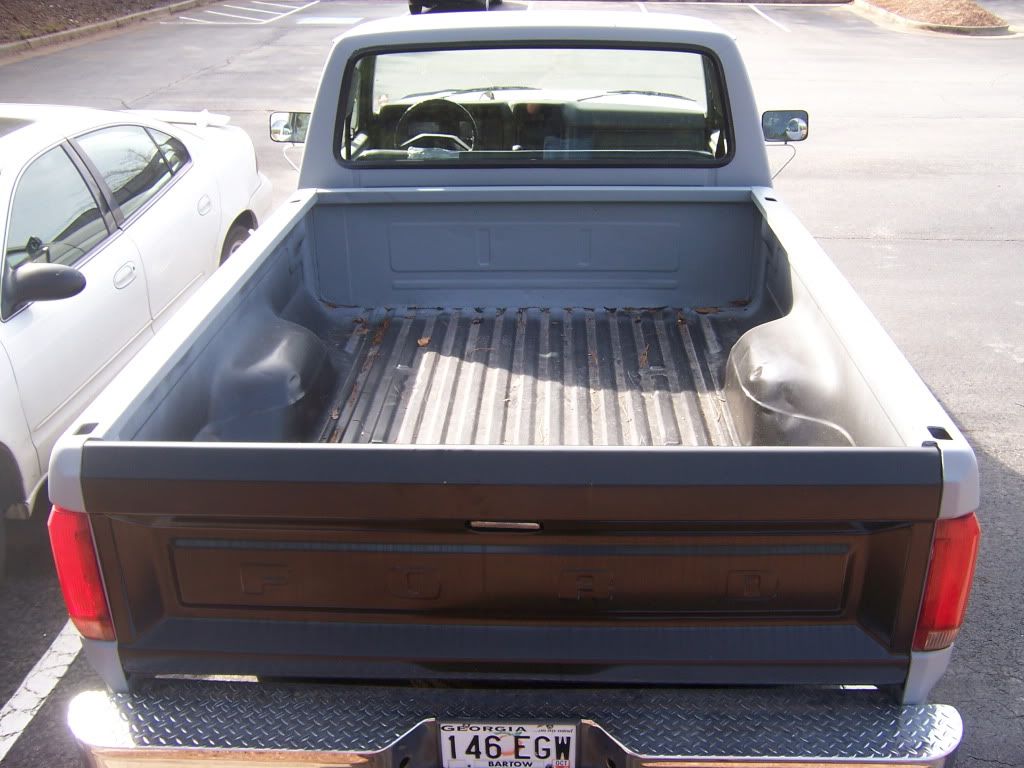
Last week I got my truck back from the alignment shop. Yesterday, I took a 250 mile round trip in it to check out the drive-ability, and get my new NOS tailgate. Other than the steering wheel being slightly off center to the right, it drives fantastic. Tailgate $250, tax $17.50, 2 tanks of gas $37, total for tailgate $304.50. I removed all of the hardware from my old tailgate, cleaned it all up and installed it on the new one. Awesome, no more dent, rust or coming apart. After I finished installing the new tailgate, I calculated my mileage and was very pleasantly surprised, 21 mpg. I'm stoked about the highway mileage now. I will post some pictures of the tailgate later.
I will post some pictures of the tailgate later.
#127
01-31-2012, 08:22 AM
Posting Legend
Last week I got my truck back from the alignment shop. Yesterday, I took a 250 mile round trip in it to check out the drive-ability, and get my new NOS tailgate. Other than the steering wheel being slightly off center to the right, it drives fantastic. Tailgate $250, tax $17.50, 2 tanks of gas $37, total for tailgate $304.50. I removed all of the hardware from my old tailgate, cleaned it all up and installed it on the new one. Awesome, no more dent, rust or coming apart. After I finished installing the new tailgate, I calculated my mileage and was very pleasantly surprised, 21 mpg. I'm stoked about the highway mileage now. I will post some pictures of the tailgate later.
I will post some pictures of the tailgate later.
#128
01-31-2012, 08:34 AM
#129
02-15-2012, 11:13 AM
#130
02-29-2012, 10:53 AM
I just cranked my truck up and it wouldn't stay idling. I knew where to look....At the vacuum lines. I found a couple of cracked caps and replaced them. The problem is fixed. So, what's up with these crappy vacuum caps? They all seem to wear out so much faster than the original ones. I do keep a little plastic assortment box of them in the under-hood toolbox just for this reason.
#131
02-29-2012, 01:59 PM
#132
02-29-2012, 02:11 PM
Looks like your doing a great job on your truck. And your getting great fuel mileage out of it to. Just wanted to ask, what setup are you running, motor/trans and rear gears. And have you recalibrated the speedo for the 31's? That's my goal to get 20+mpg at highway speeds.
#133
02-29-2012, 06:53 PM
#134
03-01-2012, 11:00 AM
#135
03-01-2012, 11:21 AM
Posting Legend