My '85 F150 4x2 project/build log.
#61
 09-19-2011, 01:20 PM


#62
09-19-2011, 01:30 PM
Dan,
Thanks, I really do not have the time nor the money. So, I am doing it a little at a time, when I can afford to give up my money or my time. Sometimes I will purchase tings when I have the extra money and save them. Then I work on the truck when I have the time. I have to pretty much keep it in running order for whenever we might need it. So, I am ending up doing what I believe is called a running restoration.
#63
09-26-2011, 07:53 AM
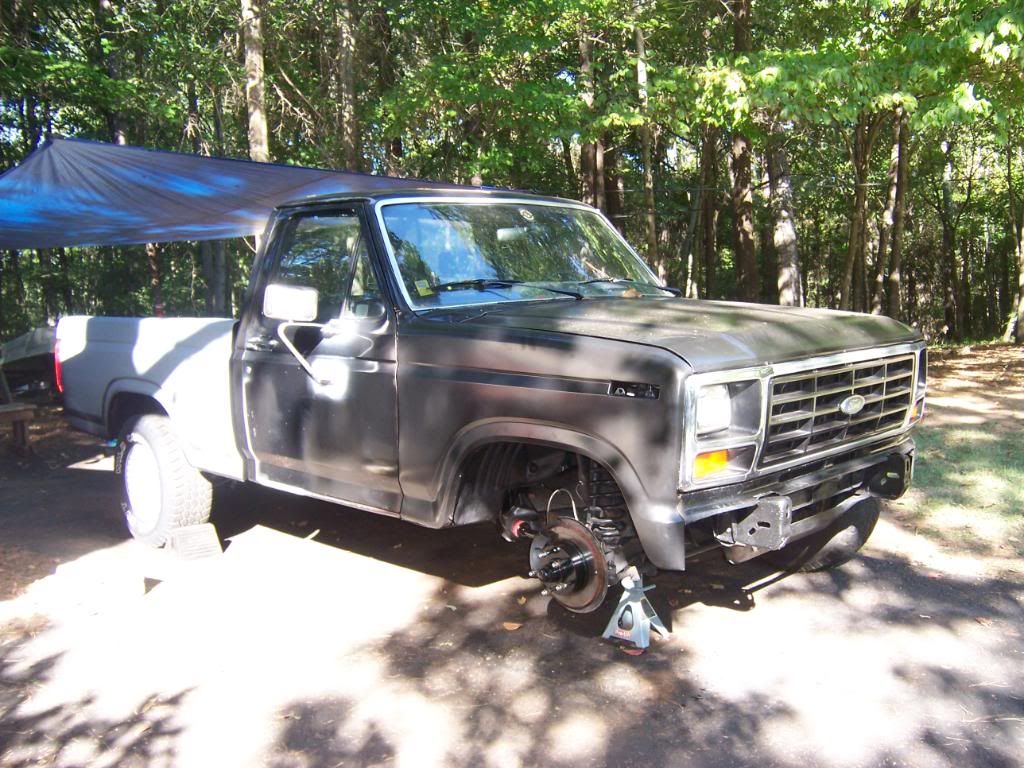
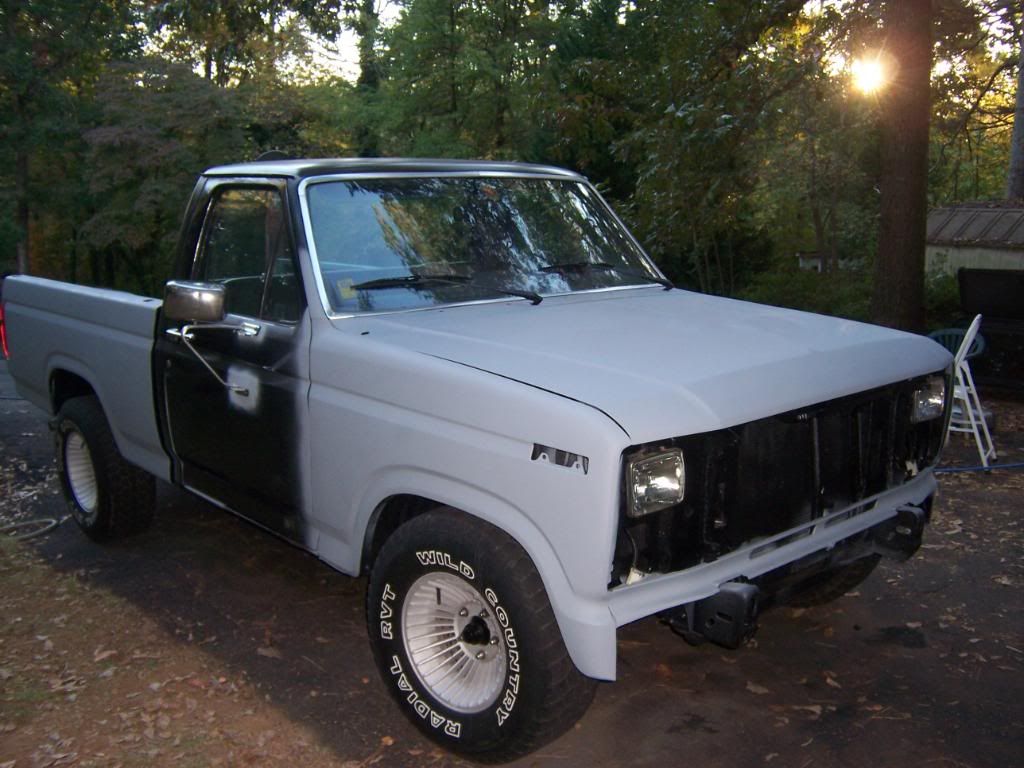
I accomplished a few things on the truck this weekend.
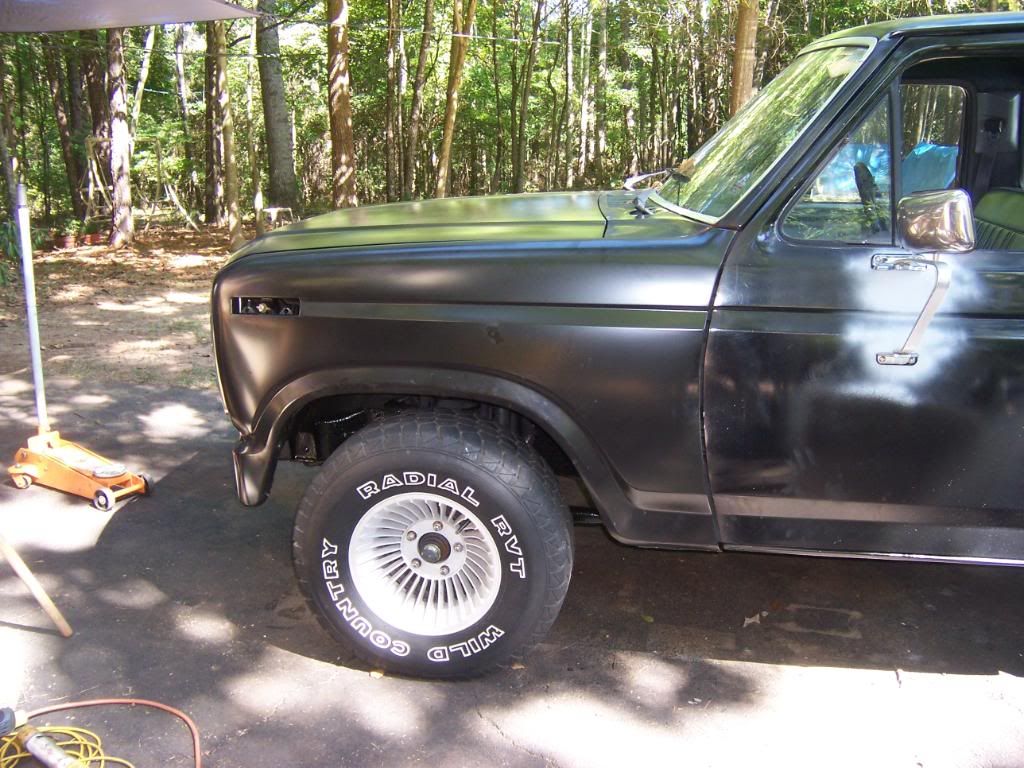
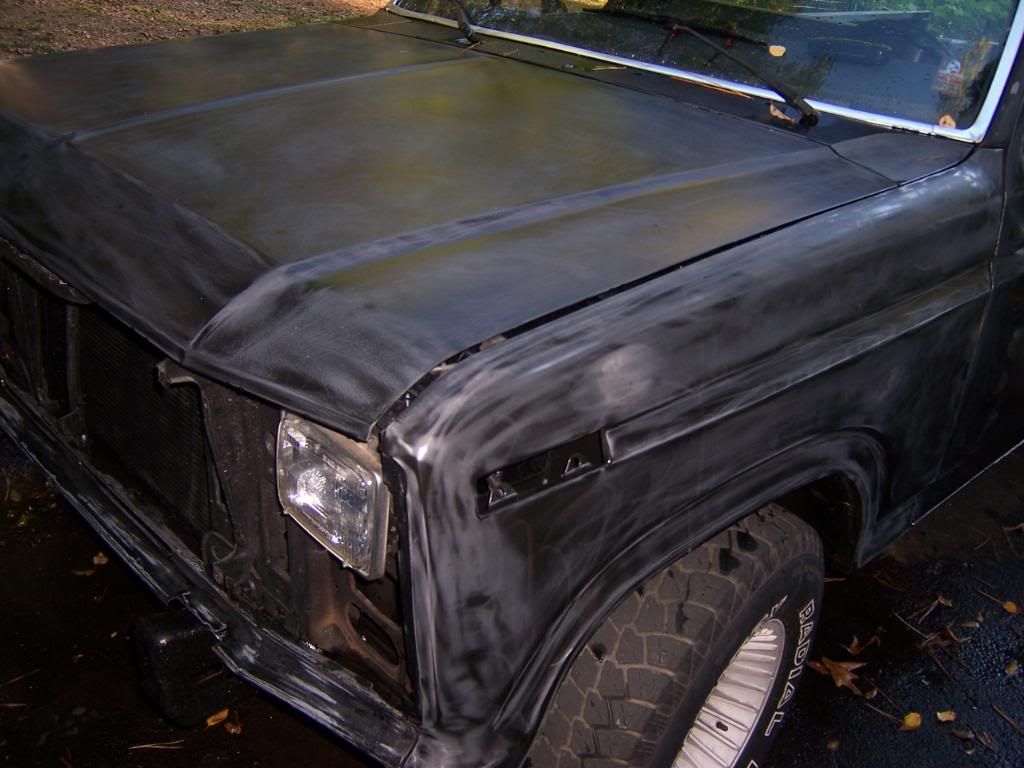
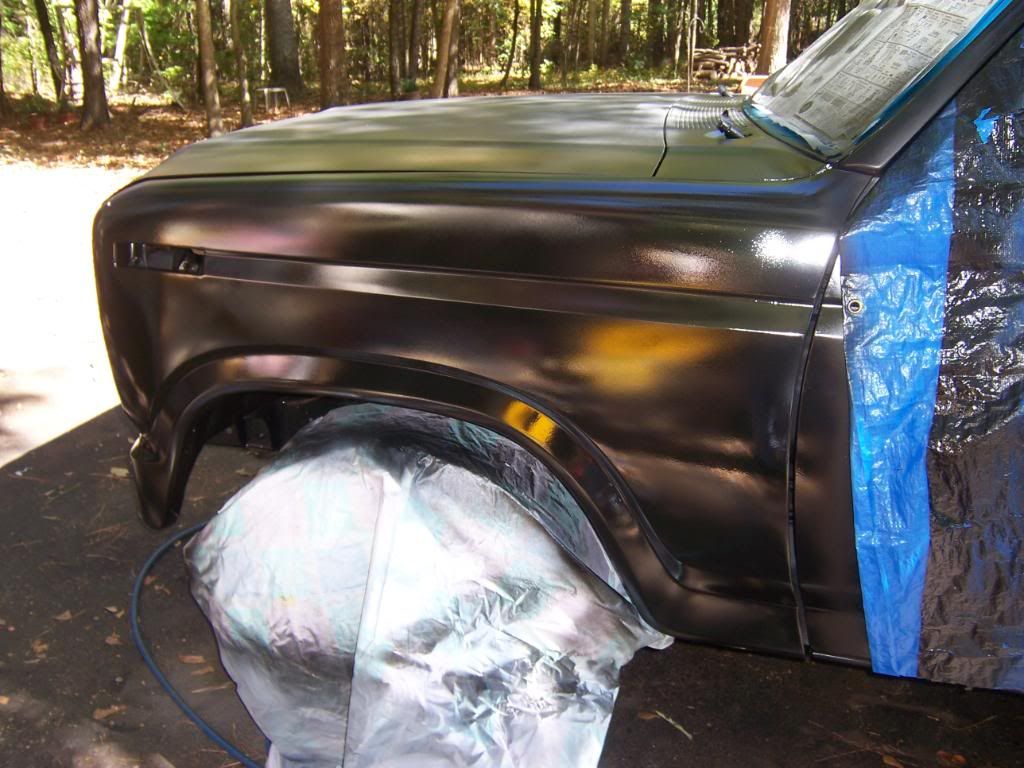
First off, I finished the painting that needed to be done before the fender went back on.
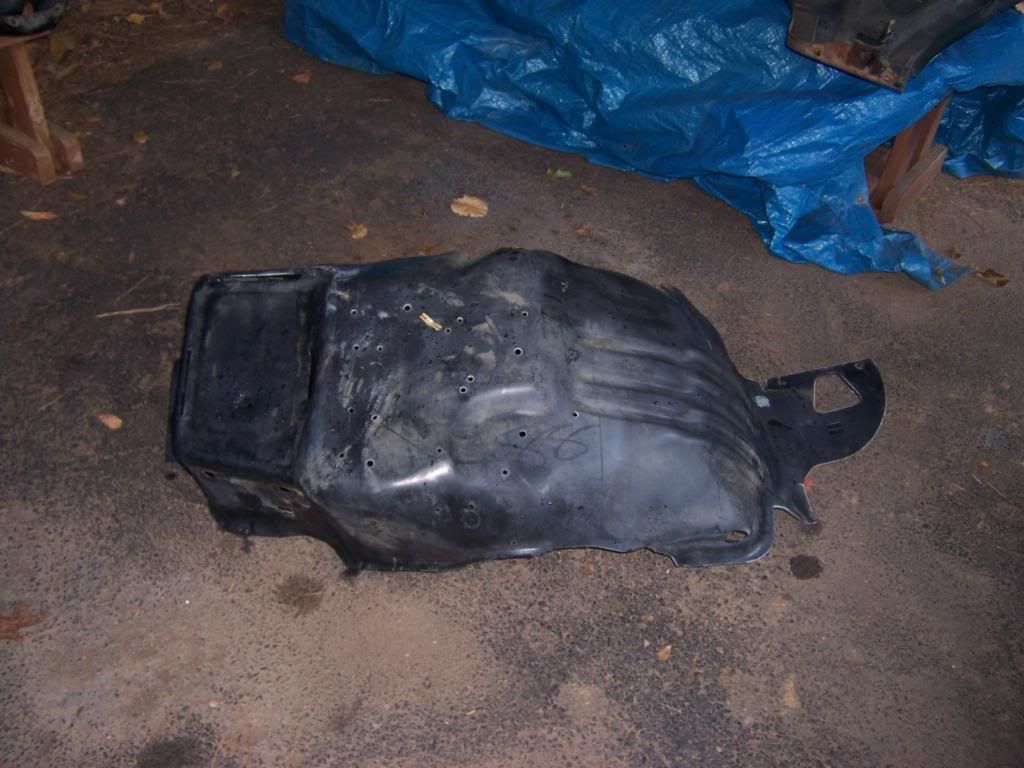
Then I put the inside fender cover back on, followed by the fender.
I broke one the nipples off of the side marker while trying to remove it from the old fender. I'll probably do the same to the other side as well. Oh well, looks like I might as well just replace them both.
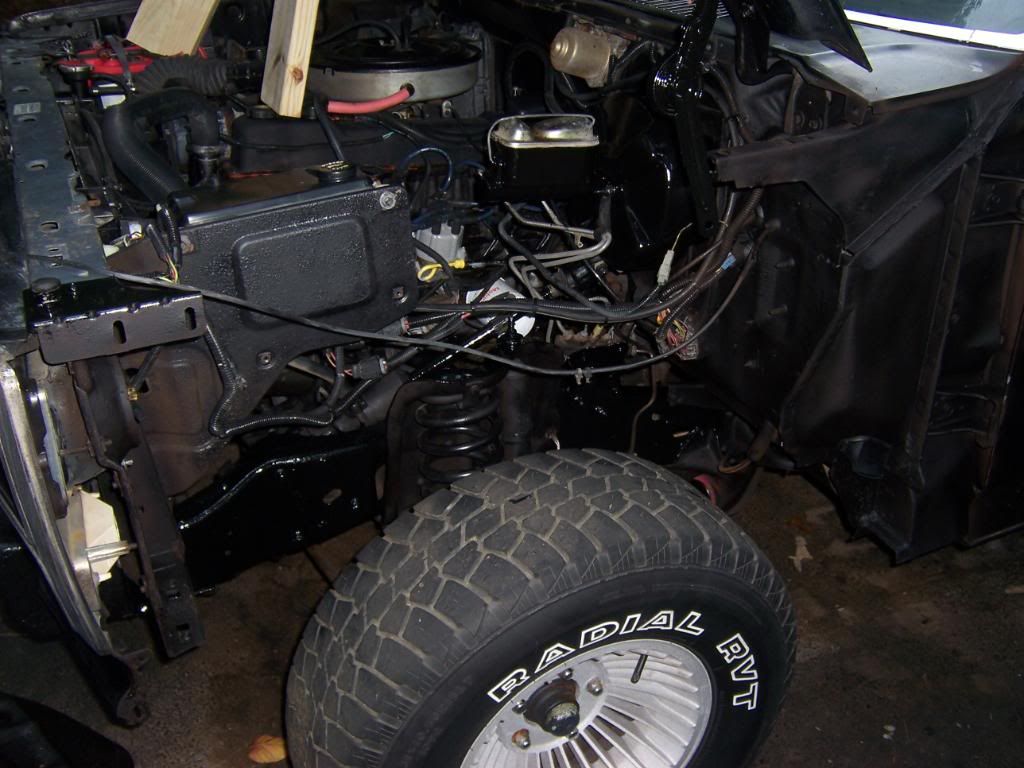
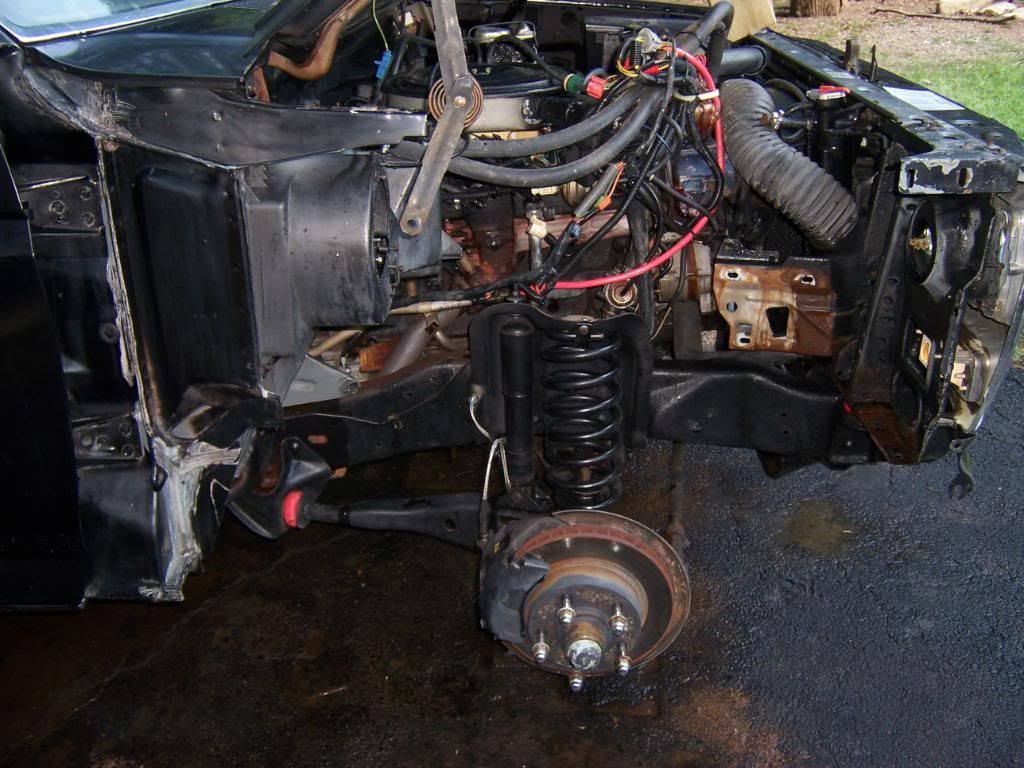
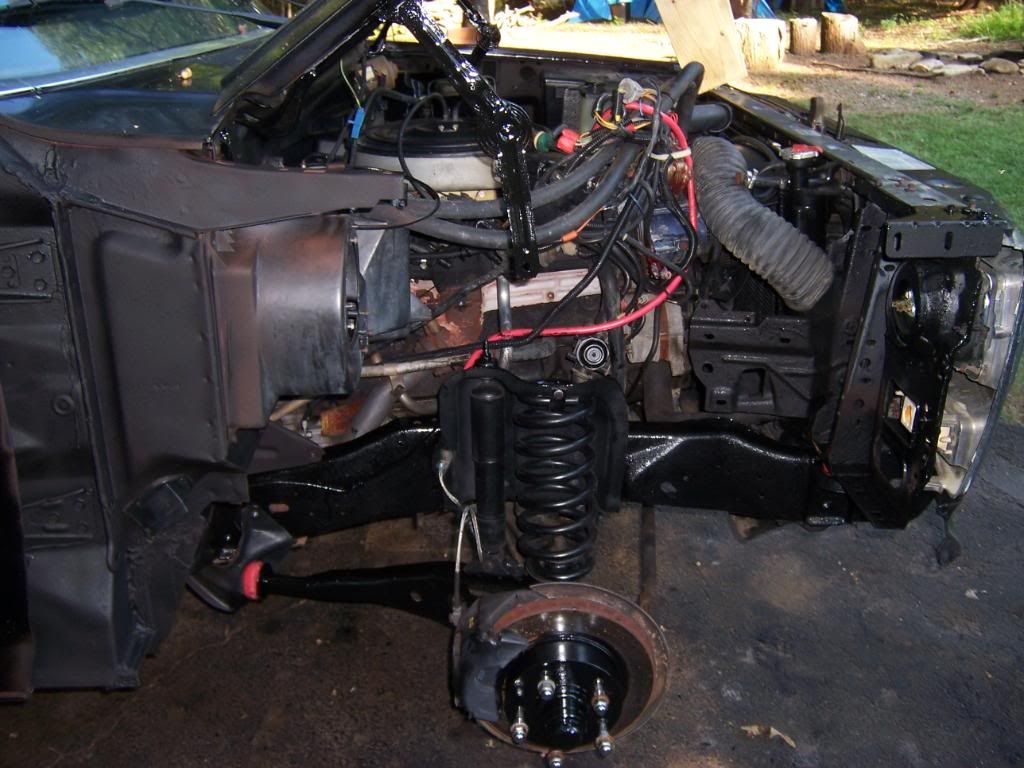
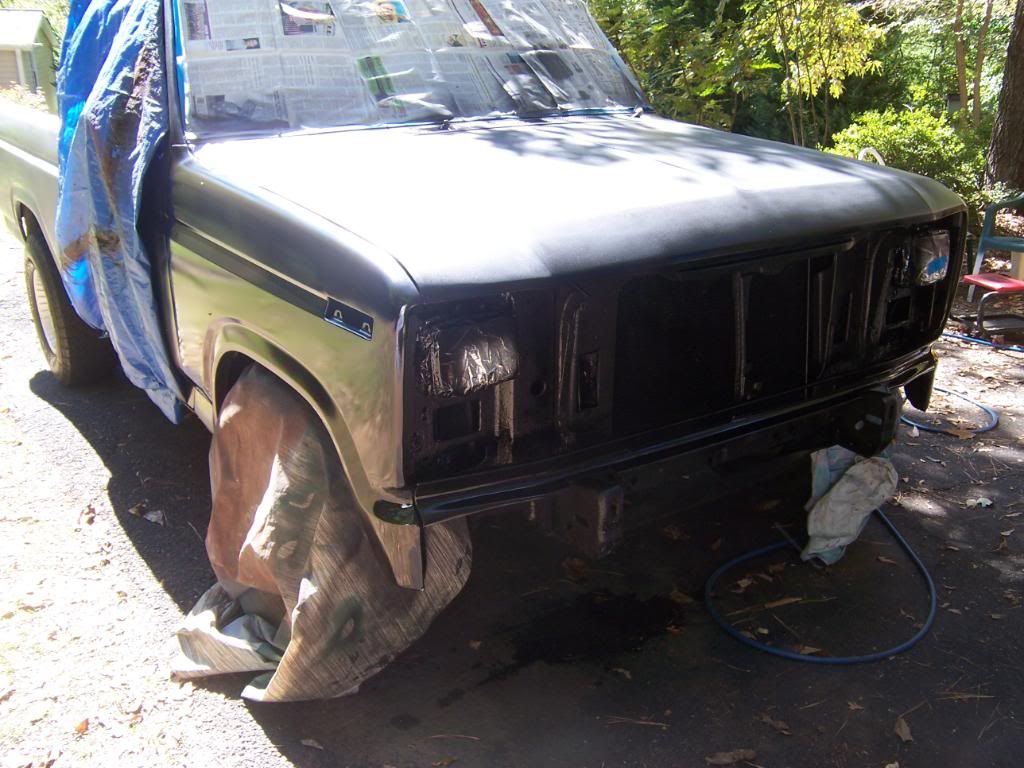
Next, I started on removing the passenger side fender and inside fender cover.

Then, I pressure washed and cleaned everything.
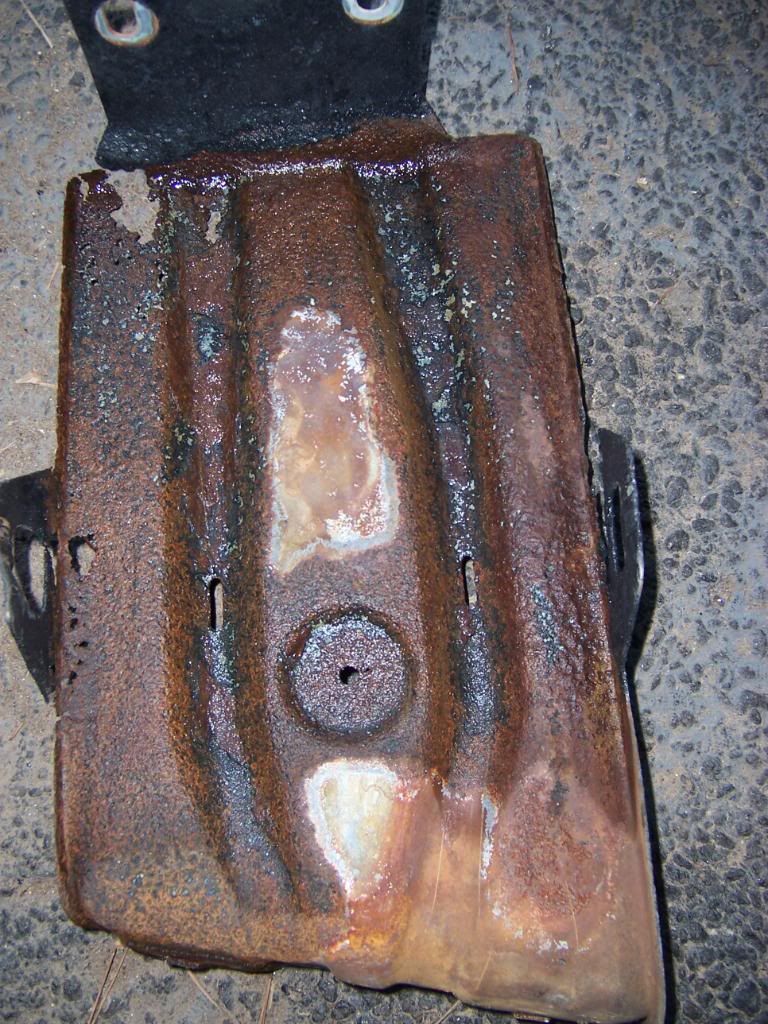
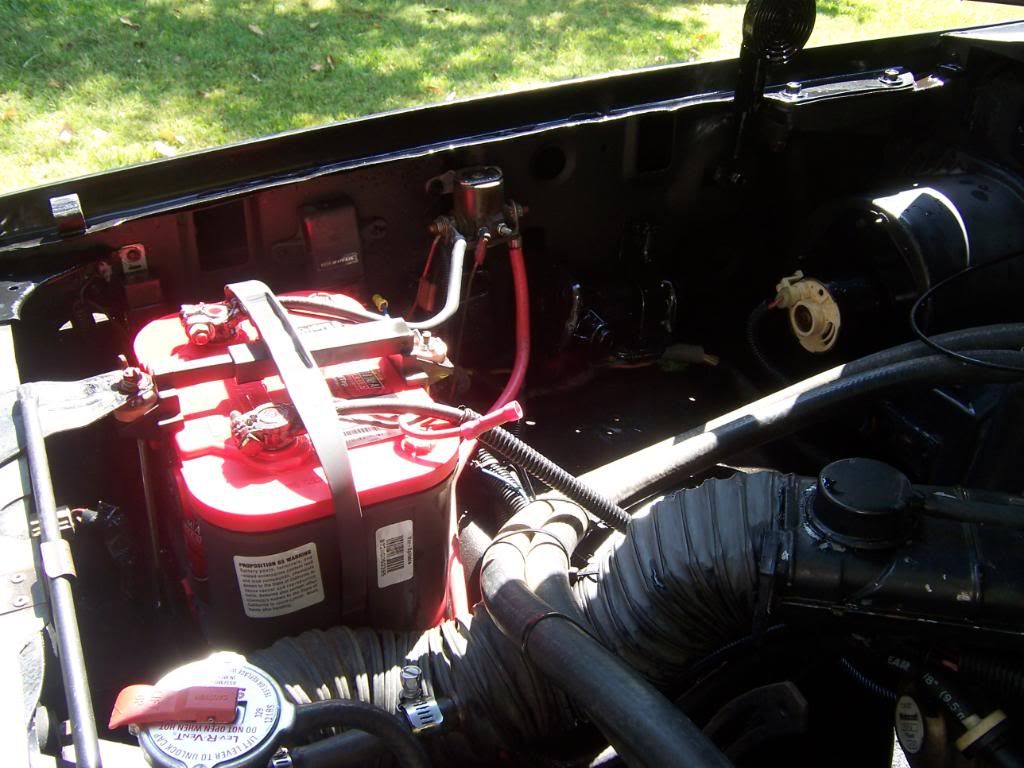
It looks like I will need a new battery tray, or at least one that is better than this one.
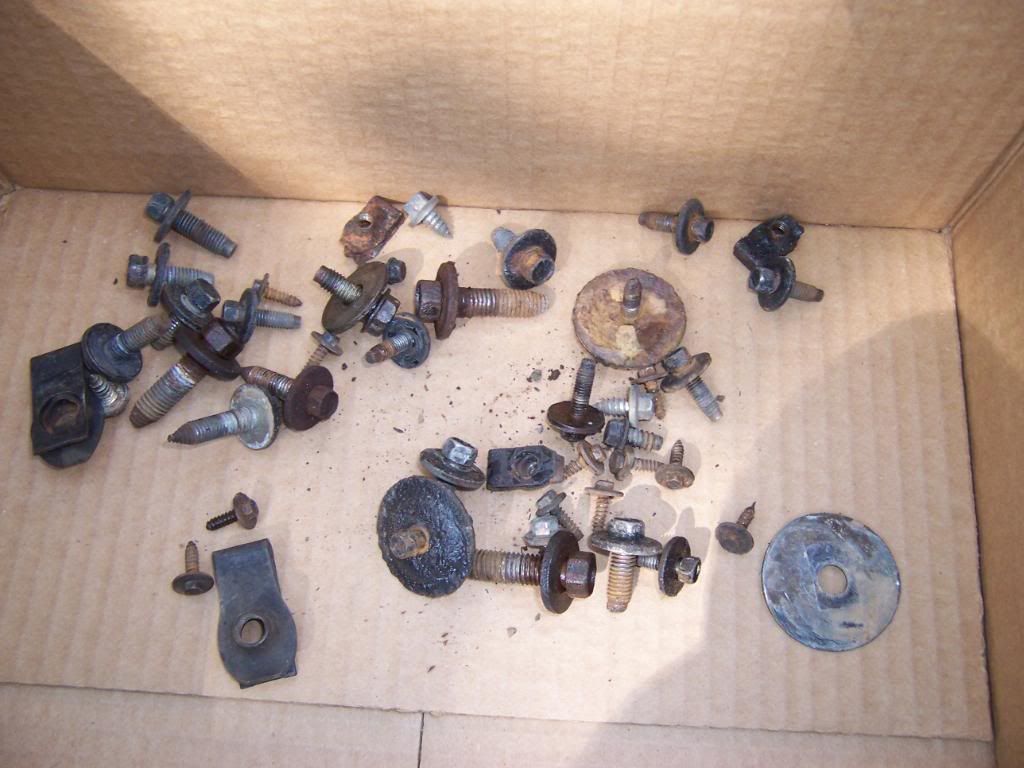
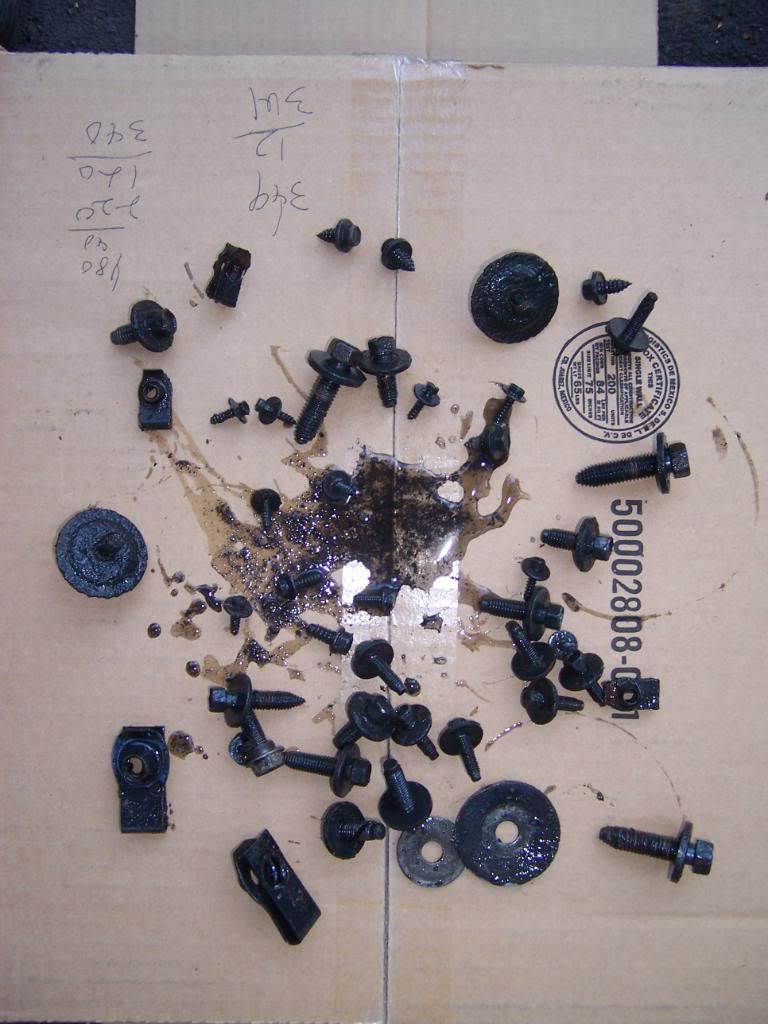
Recently, while working on the truck, I have been using vinegar to remove the rust from some of the smaller pieces (nuts, bolts, screws, washers, clips, etc.). I have had some pretty good luck with this, so I am going to document the process here.
This is the "before" shot of the assorted fittings from the passenger side fender removal.
My wife and I are going to the Braves and Phillies game on Monday night, so there will be nothing done to the truck till mid-week. I am going to attempt to have every thing cleaned, primed, painted, undercoated and the fender back on by Saturday (at the latest). I will be on vacation next week and the wife has already said that she really enjoyed going junkyarding, and that she wants to go again while I am off. Next week, I would like to get the cowl replaced. And everything underneath it primed, painted, and undercoated. If there is any time left, I am going to start on sanding and priming the body again. My goal is to have the final coat of primer sprayed on it before it gets too cold to paint. Oh well, good luck with that.
First off, I finished the painting that needed to be done before the fender went back on.
Then I put the inside fender cover back on, followed by the fender.
I broke one the nipples off of the side marker while trying to remove it from the old fender. I'll probably do the same to the other side as well. Oh well, looks like I might as well just replace them both.
Next, I started on removing the passenger side fender and inside fender cover.
Then, I pressure washed and cleaned everything.
It looks like I will need a new battery tray, or at least one that is better than this one.
Recently, while working on the truck, I have been using vinegar to remove the rust from some of the smaller pieces (nuts, bolts, screws, washers, clips, etc.). I have had some pretty good luck with this, so I am going to document the process here.
This is the "before" shot of the assorted fittings from the passenger side fender removal.
My wife and I are going to the Braves and Phillies game on Monday night, so there will be nothing done to the truck till mid-week. I am going to attempt to have every thing cleaned, primed, painted, undercoated and the fender back on by Saturday (at the latest). I will be on vacation next week and the wife has already said that she really enjoyed going junkyarding, and that she wants to go again while I am off. Next week, I would like to get the cowl replaced. And everything underneath it primed, painted, and undercoated. If there is any time left, I am going to start on sanding and priming the body again. My goal is to have the final coat of primer sprayed on it before it gets too cold to paint. Oh well, good luck with that.
#64
09-28-2011, 08:35 AM
Last night, I put some seam sealer on, primed some spots, put the first coat of Chassis Saver on some spots, and used a little undercoating in other spots. If I feel like it tonight I will do the second coat of Chassis Saver, paint some, and touch up with the undercoating. Maybe I will get the passenger side fender back on by this weekend after all. Maybe I'll even take some pictures of the progress tonight and post them tomorrow.
#65
09-30-2011, 07:24 AM
Wednesday night I finished with the Chassis Saver, painting, and undercoating. Now it's time to put the fender on.
I also wanted to tell anyone that will listen about this stuff, I use it to remove paint, undercoat, Chassis Saver, POR15, and anything else like that from my skin, even on the second and third day. I also use it for cleaning other things sometimes. It is absolutely awesome stuff.
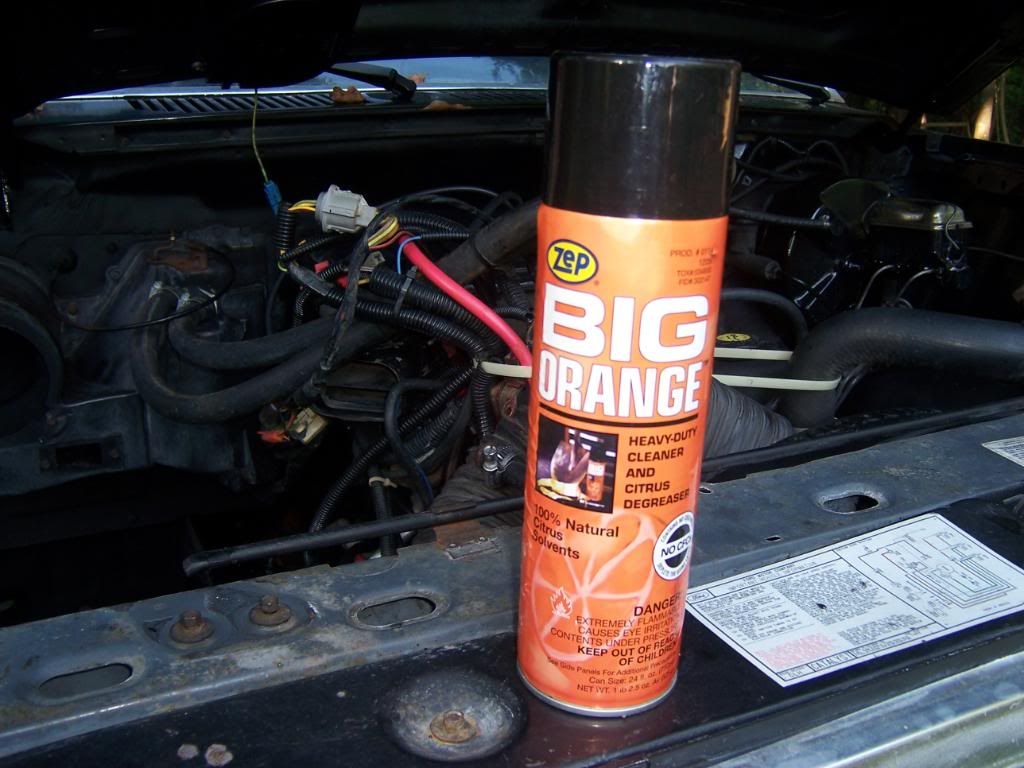
I also wanted to tell anyone that will listen about this stuff, I use it to remove paint, undercoat, Chassis Saver, POR15, and anything else like that from my skin, even on the second and third day. I also use it for cleaning other things sometimes. It is absolutely awesome stuff.
#66
09-30-2011, 07:36 AM
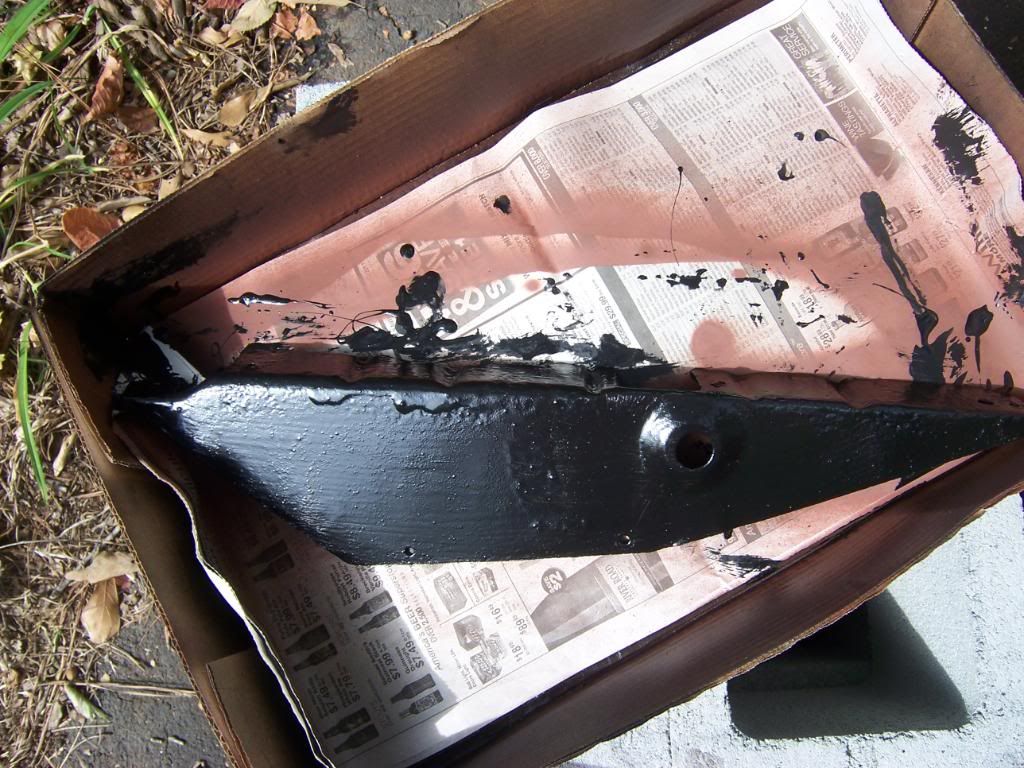
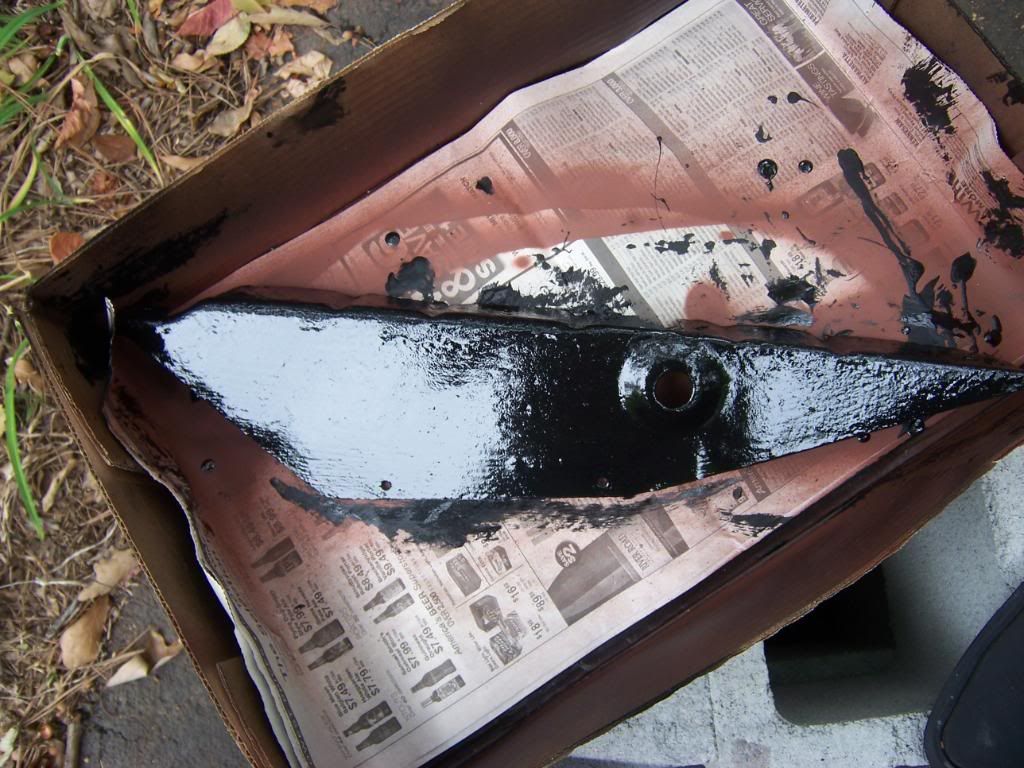
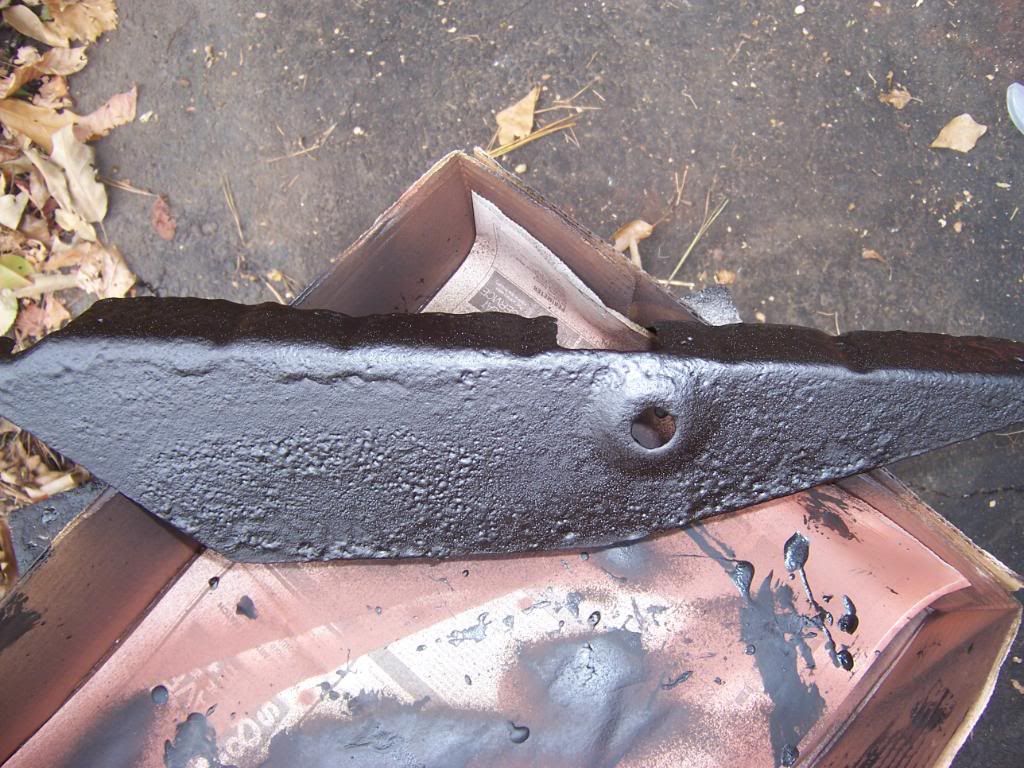
Now, I have to tell you about this vinegar rust removal. I read about this simple technique on here somewhere and thought I would give it a try.
Before:
After soaking in Vinegar for three days (you can see the rust flakes in the puddle):
After buffing with a wire wheel and washing in soapy water:
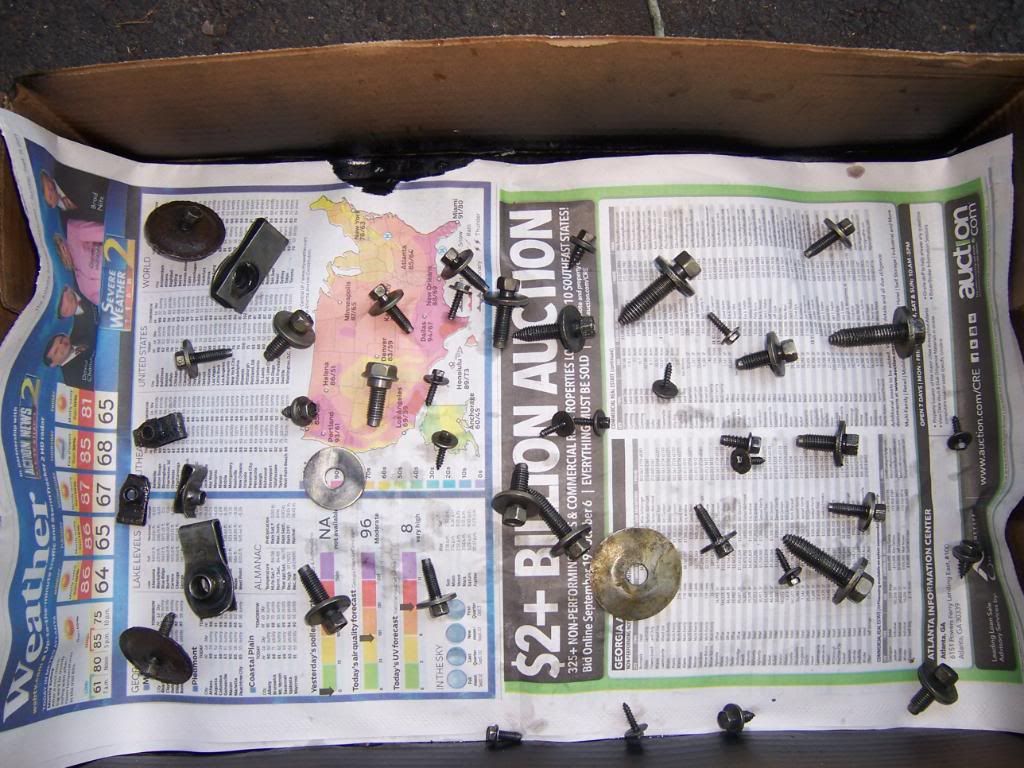
I will say that this is a simple and inexpensive way to remove the majority of rust from small parts. I also like to buff them with a wire wheel to get even more off, then wash them with Dawn and water. I use Dawn because it removes the oil and grease the best.
Now I will spray them with some rust converter, then primer, then black paint.
Before:
After soaking in Vinegar for three days (you can see the rust flakes in the puddle):
After buffing with a wire wheel and washing in soapy water:
I will say that this is a simple and inexpensive way to remove the majority of rust from small parts. I also like to buff them with a wire wheel to get even more off, then wash them with Dawn and water. I use Dawn because it removes the oil and grease the best.
Now I will spray them with some rust converter, then primer, then black paint.
#68
09-30-2011, 09:18 AM

#69
10-07-2011, 12:33 PM
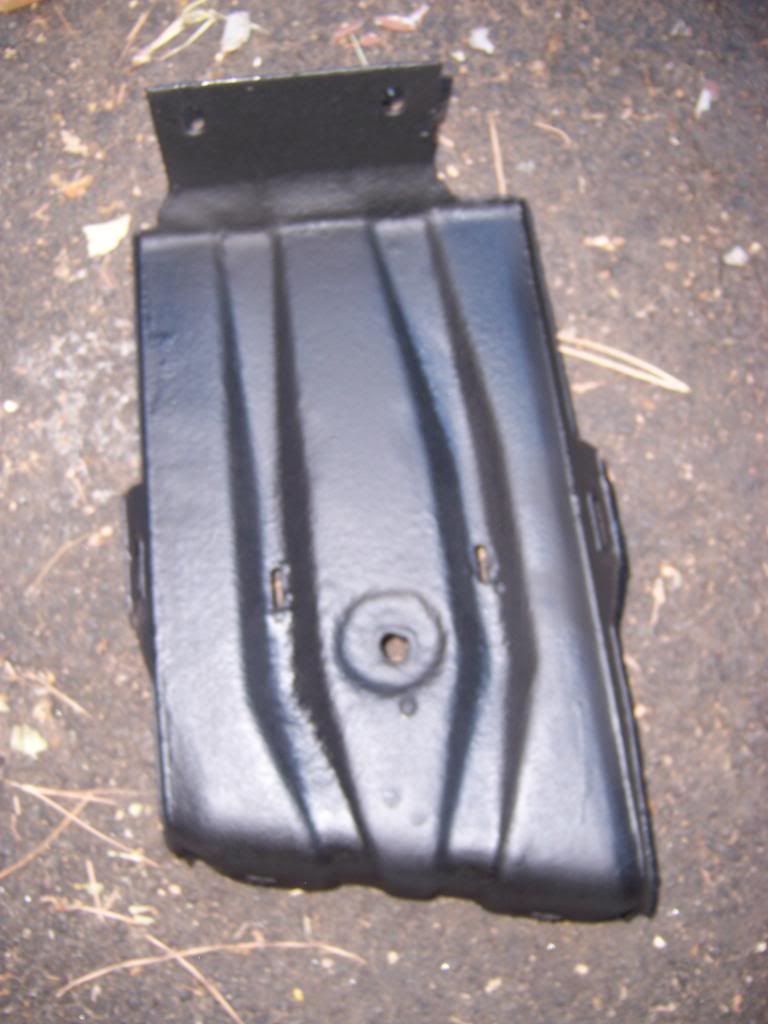
I worked on the passenger side fender and other assorted stuff all week. I had to go to the junkyard on Tuesday. I needed some bolts, clips, a better battery tray than the rusted one that I had, and a horn that actually works.
I had to clean the rust off, prime, paint, and undercoat the battery tray before installing it.
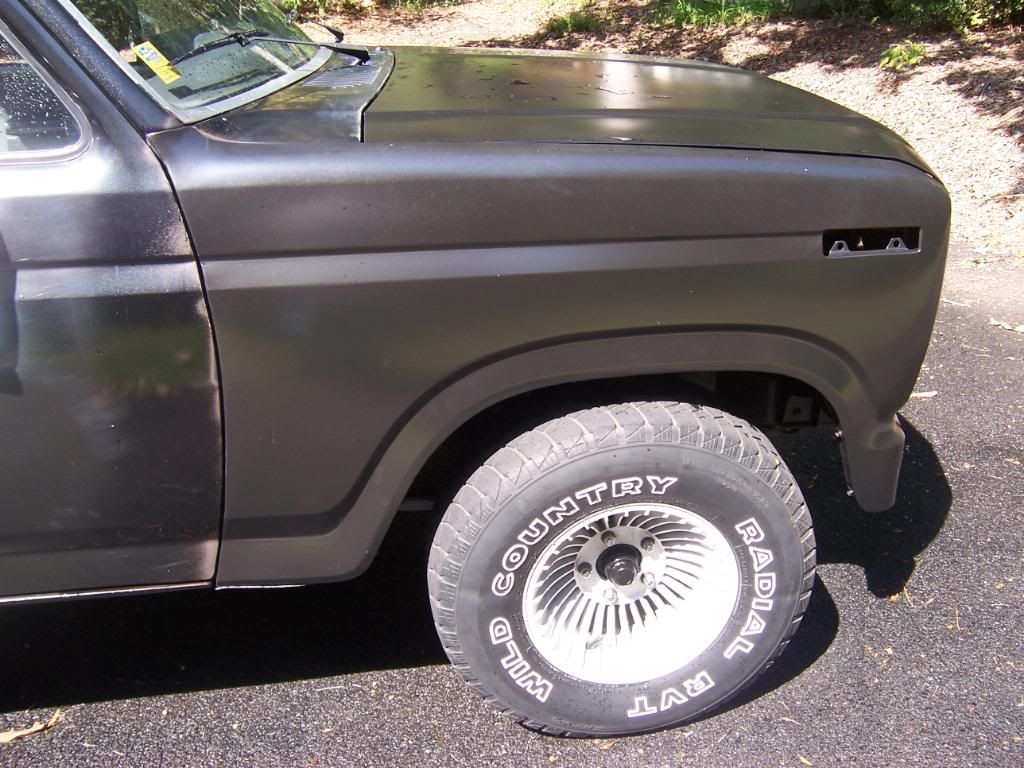
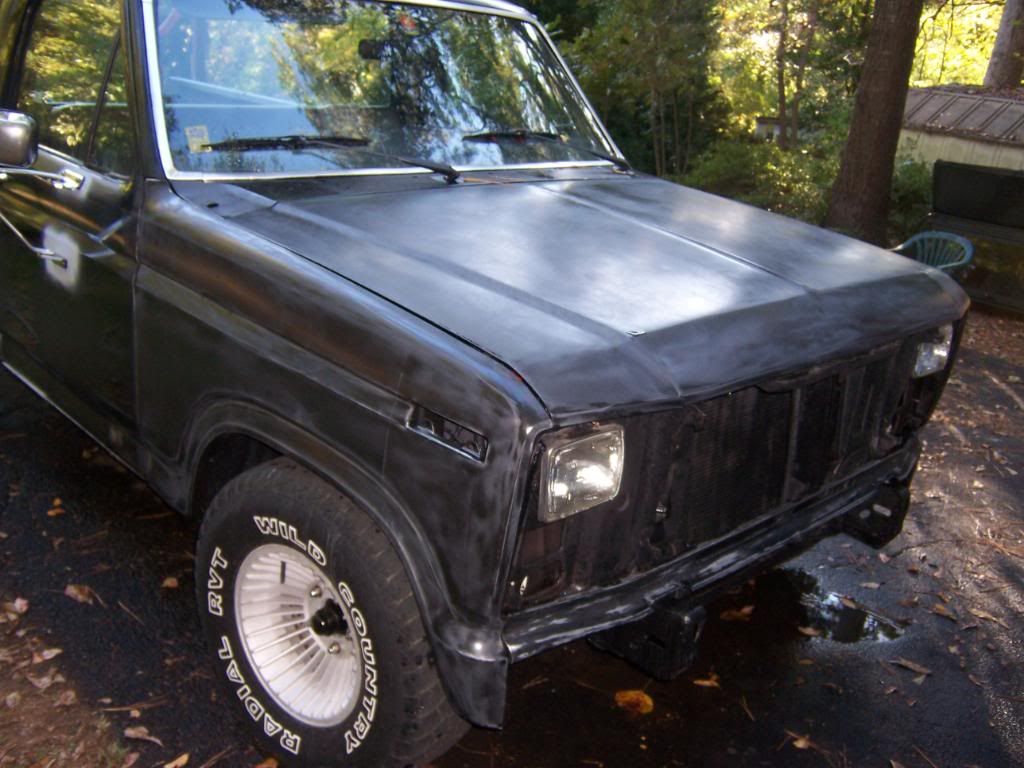
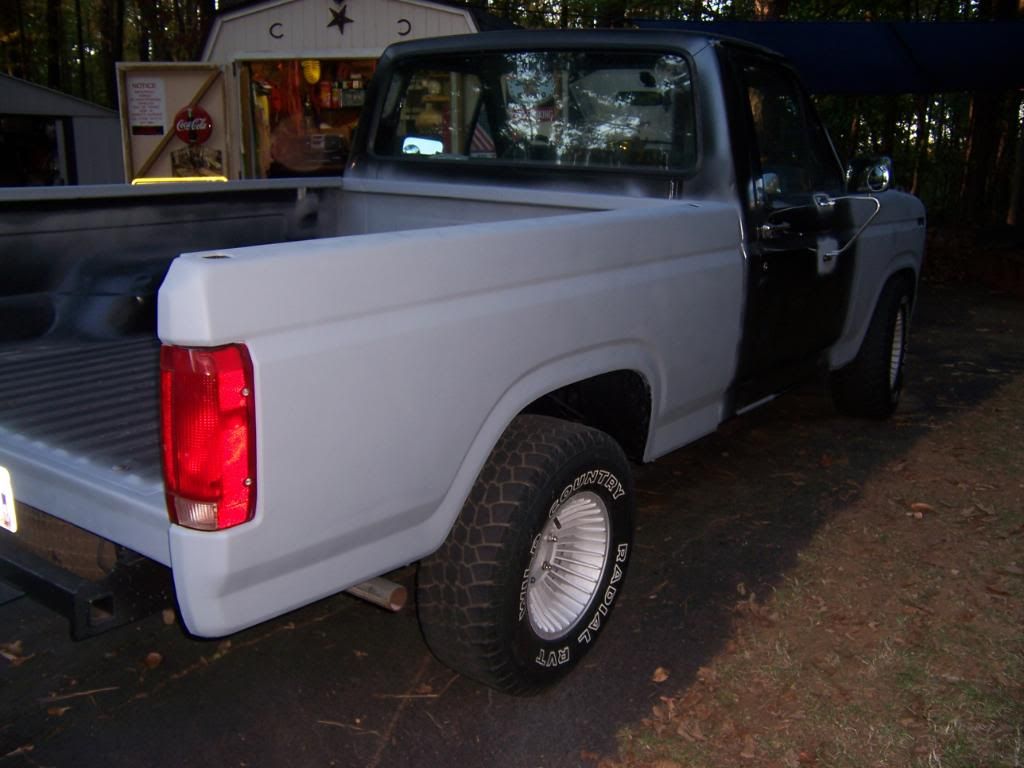
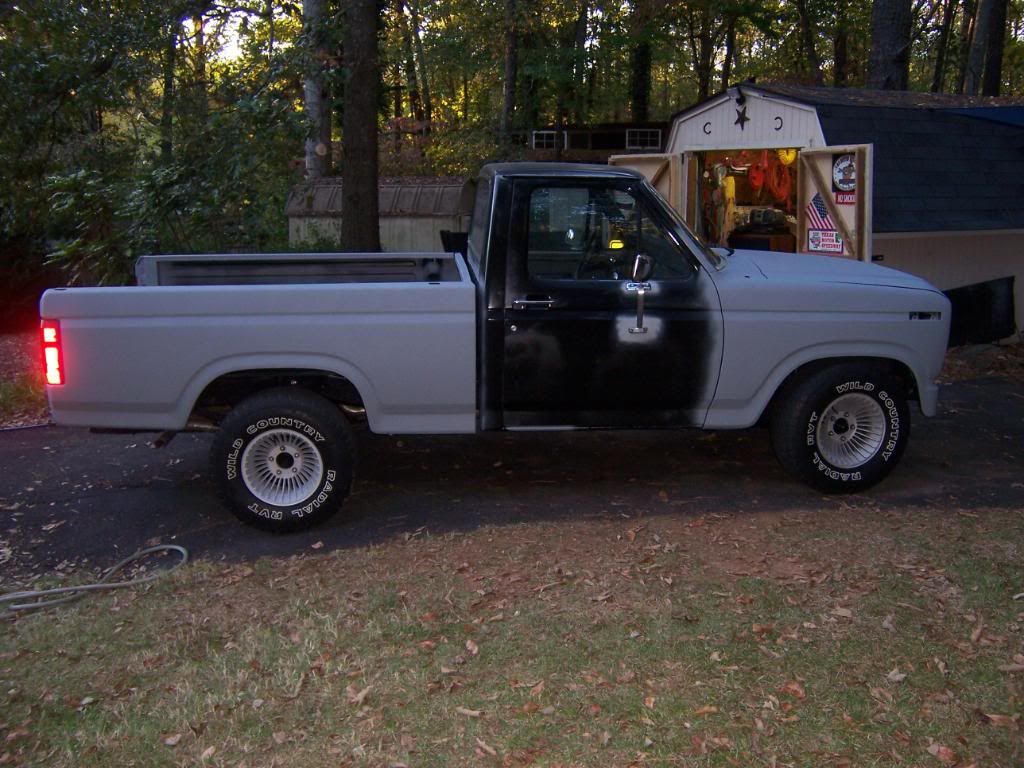
After several days of cleaning, priming, painting, and waiting on stuff to dry, I finally got the fender back on with all the assorted hardware and accessories.
I had to order two new side marker lights from LMC, which should be in next week. I also drilled some alignment holes in the hood mounting brackets. I'm hoping to get the hood taken off sometime next week, then I can start working on replacing the cowl.
I had to clean the rust off, prime, paint, and undercoat the battery tray before installing it.
After several days of cleaning, priming, painting, and waiting on stuff to dry, I finally got the fender back on with all the assorted hardware and accessories.
I had to order two new side marker lights from LMC, which should be in next week. I also drilled some alignment holes in the hood mounting brackets. I'm hoping to get the hood taken off sometime next week, then I can start working on replacing the cowl.
#70
10-09-2011, 06:13 PM
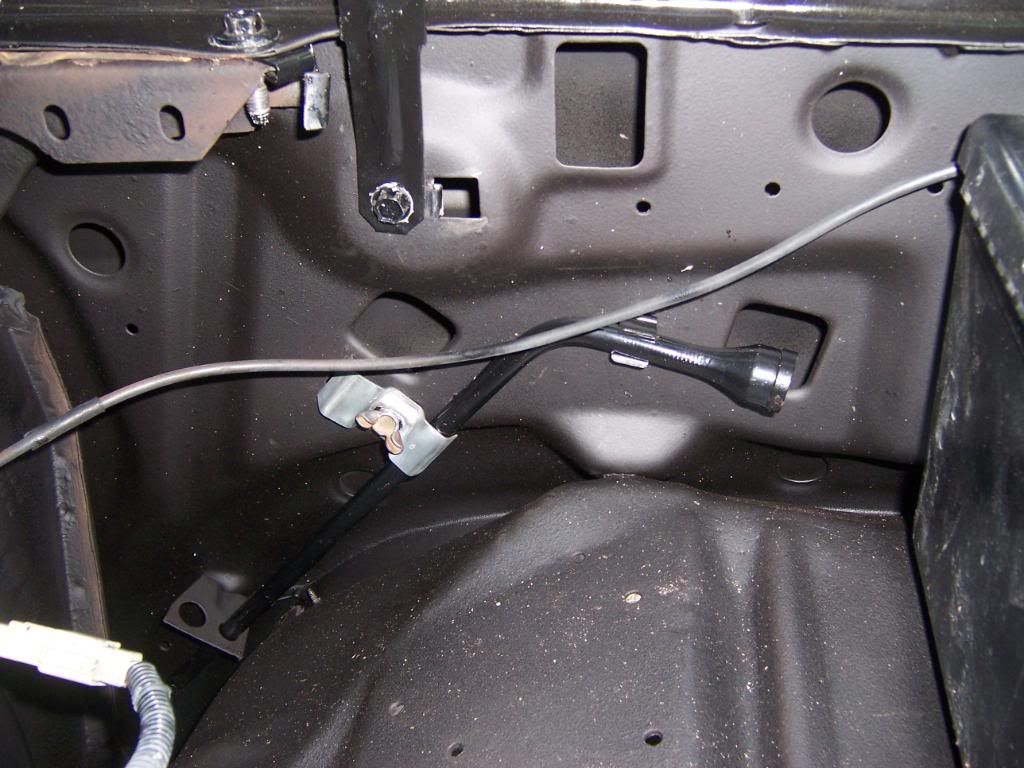
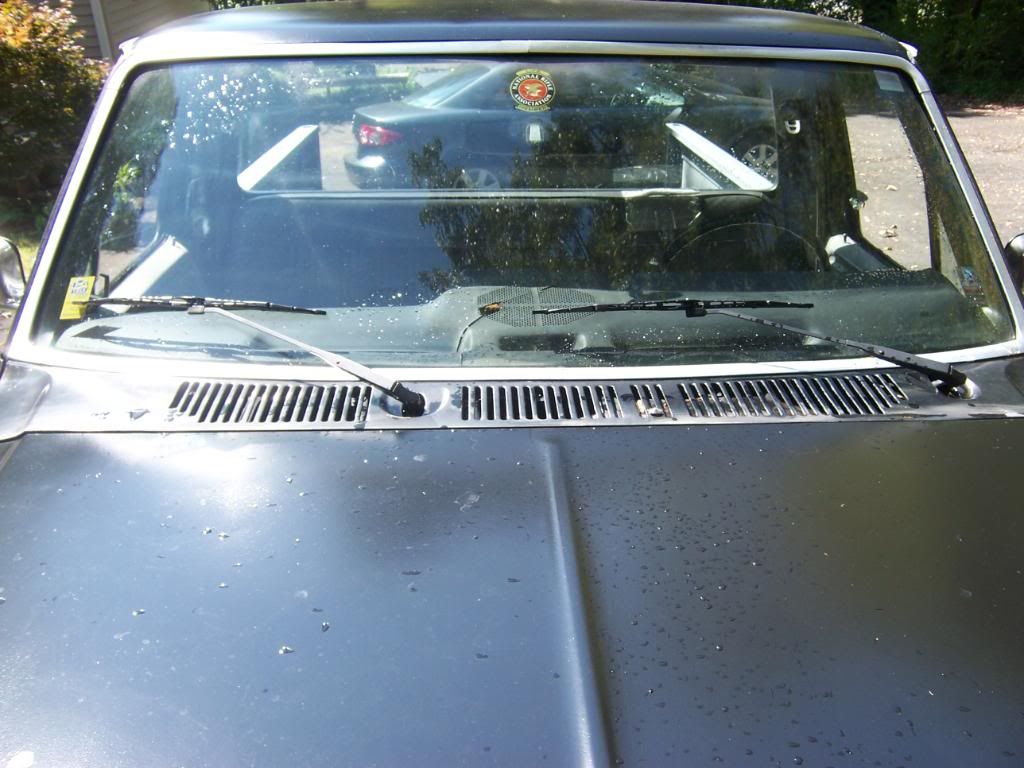
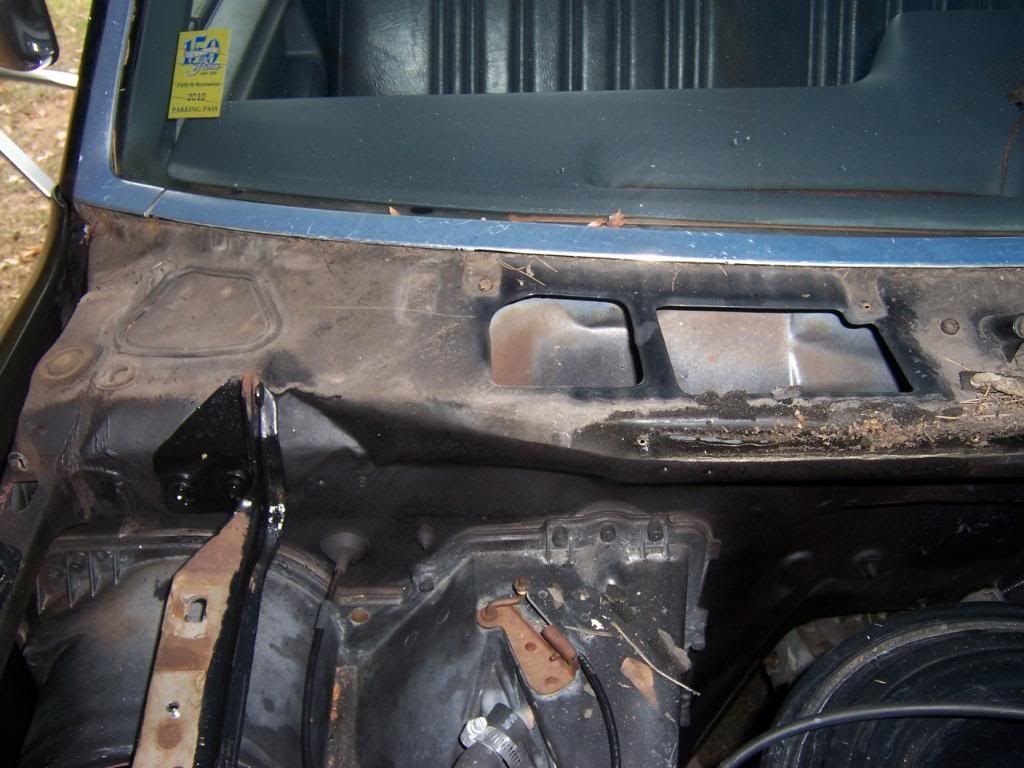
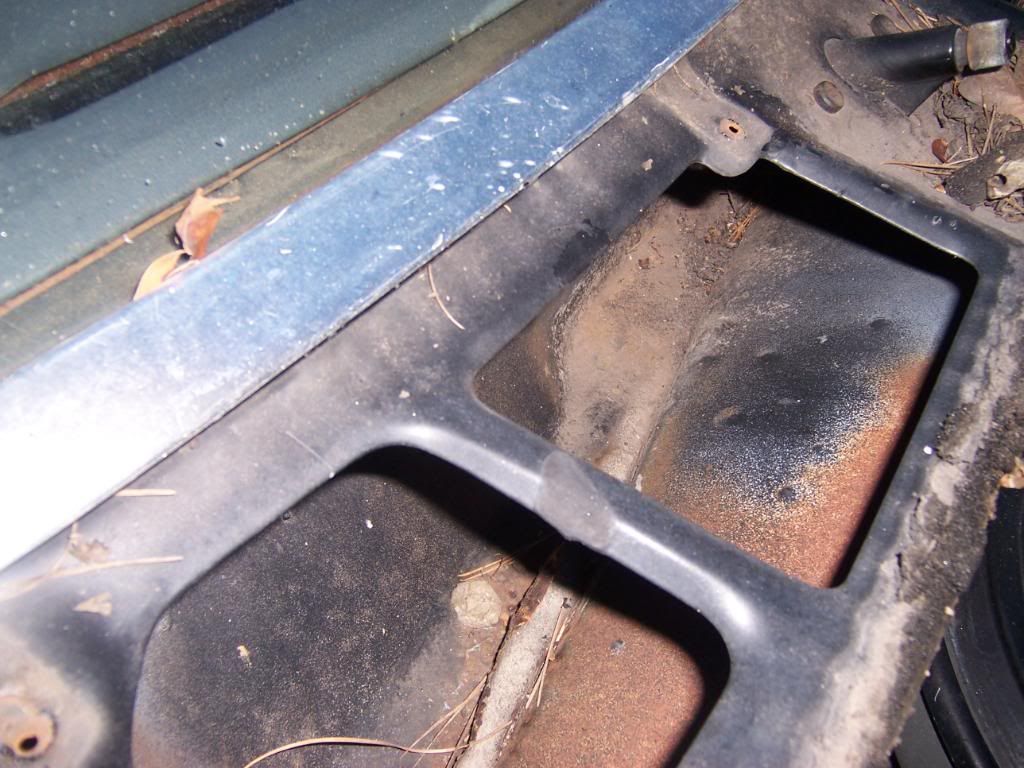
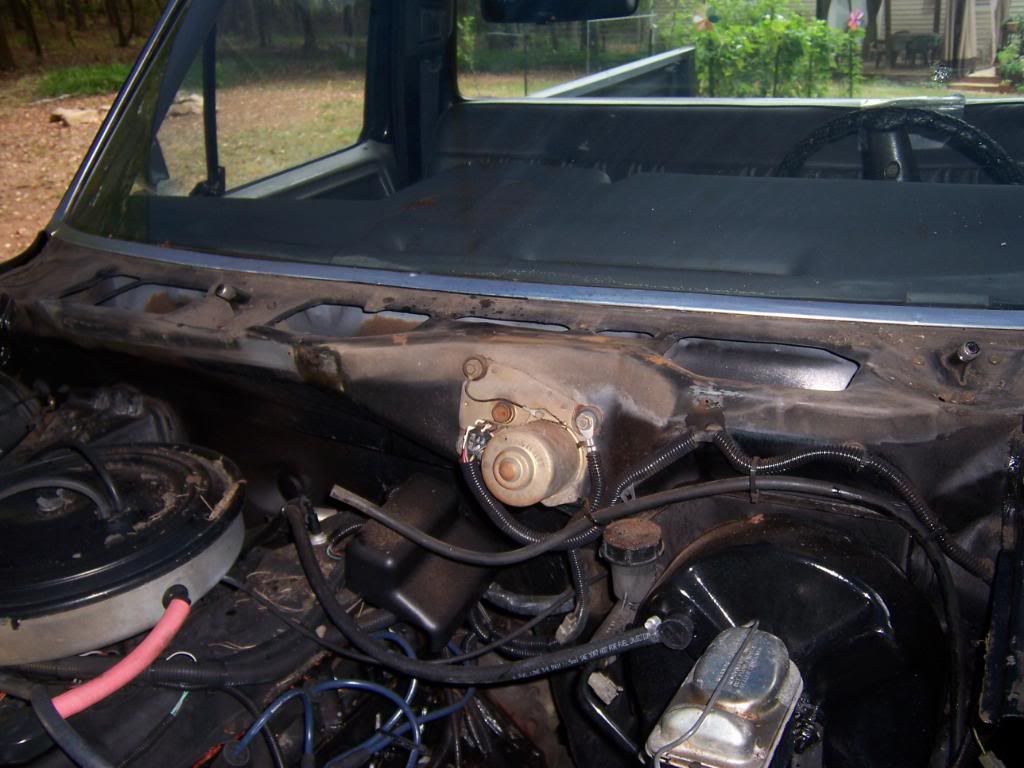
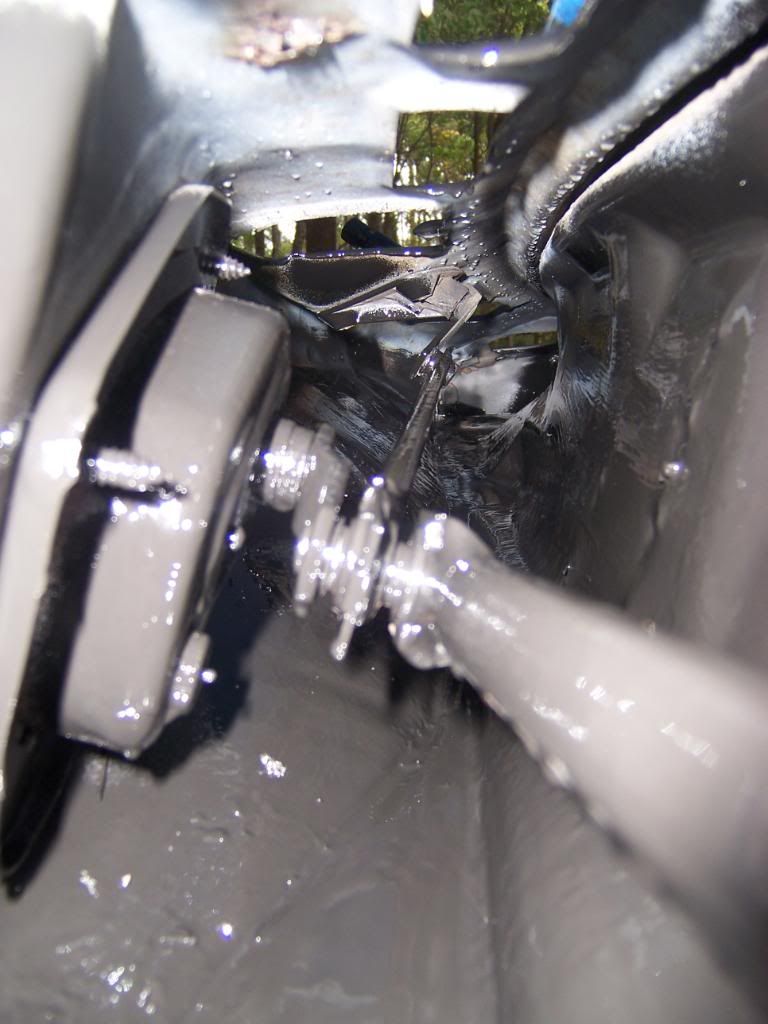
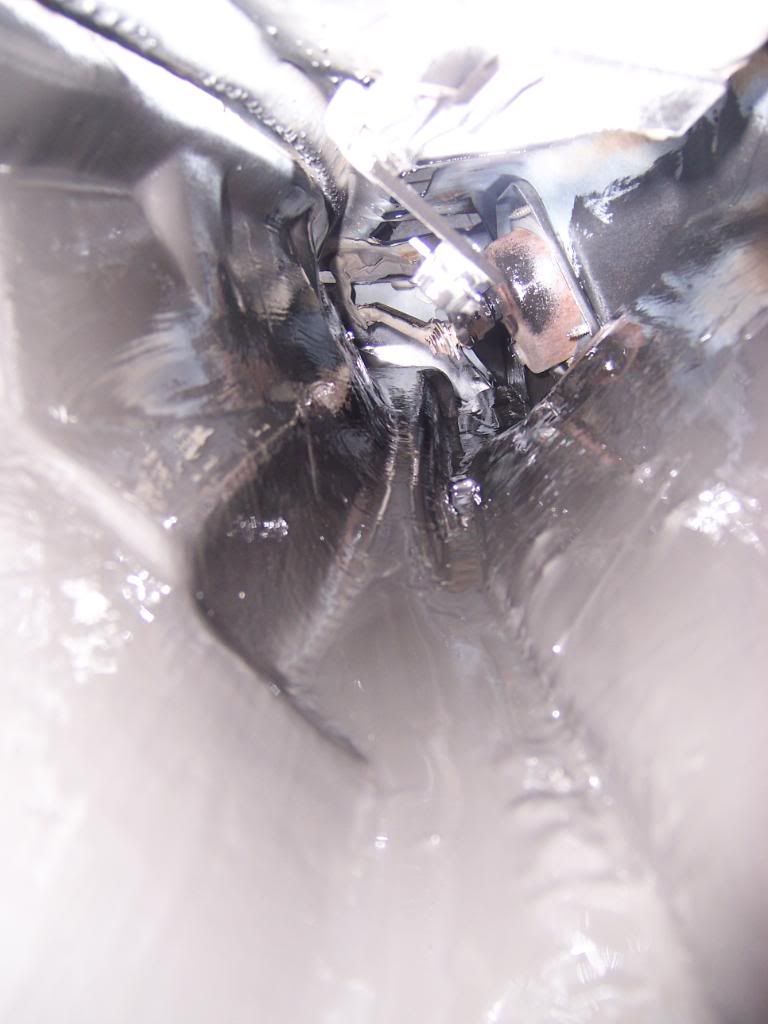
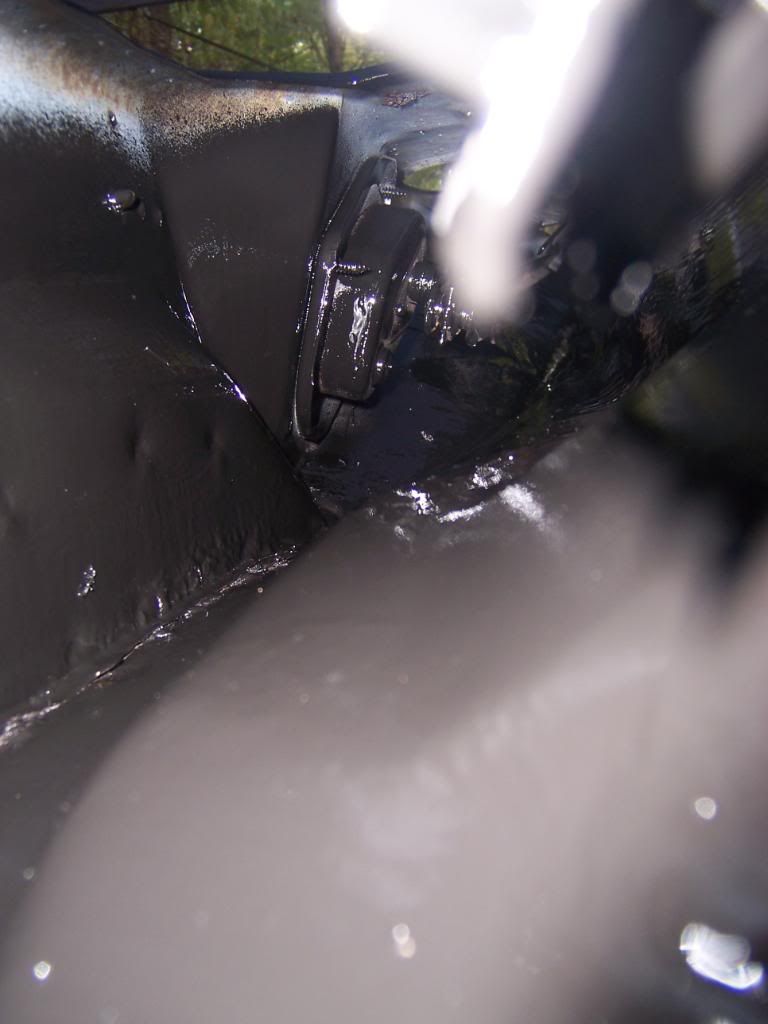
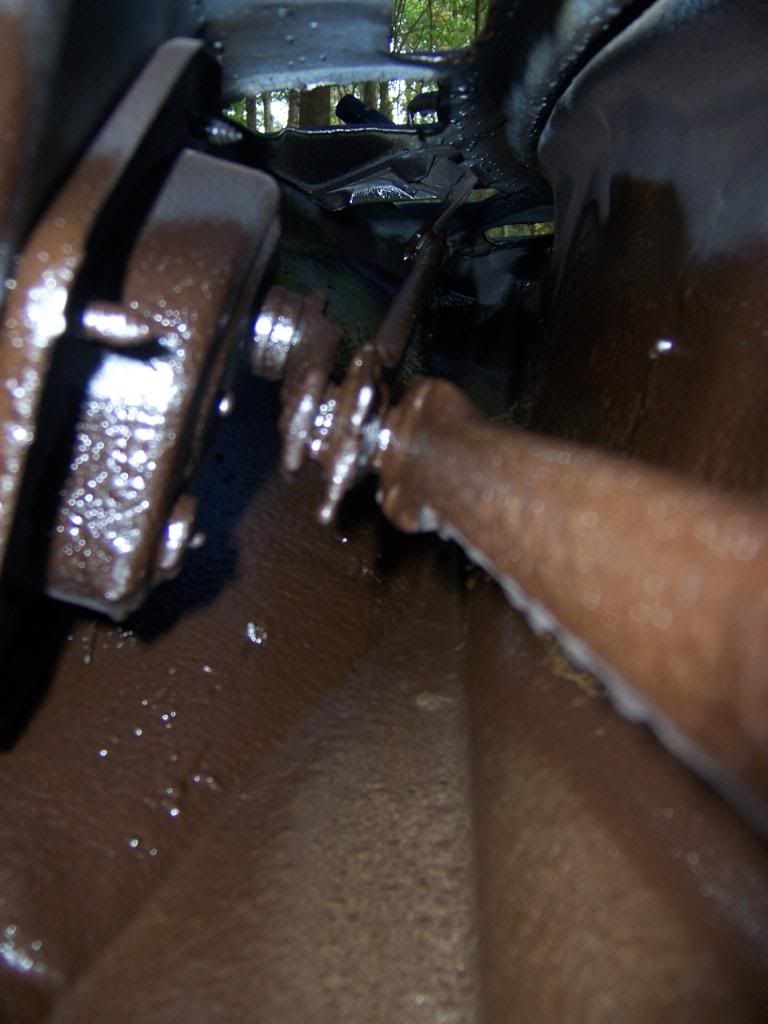
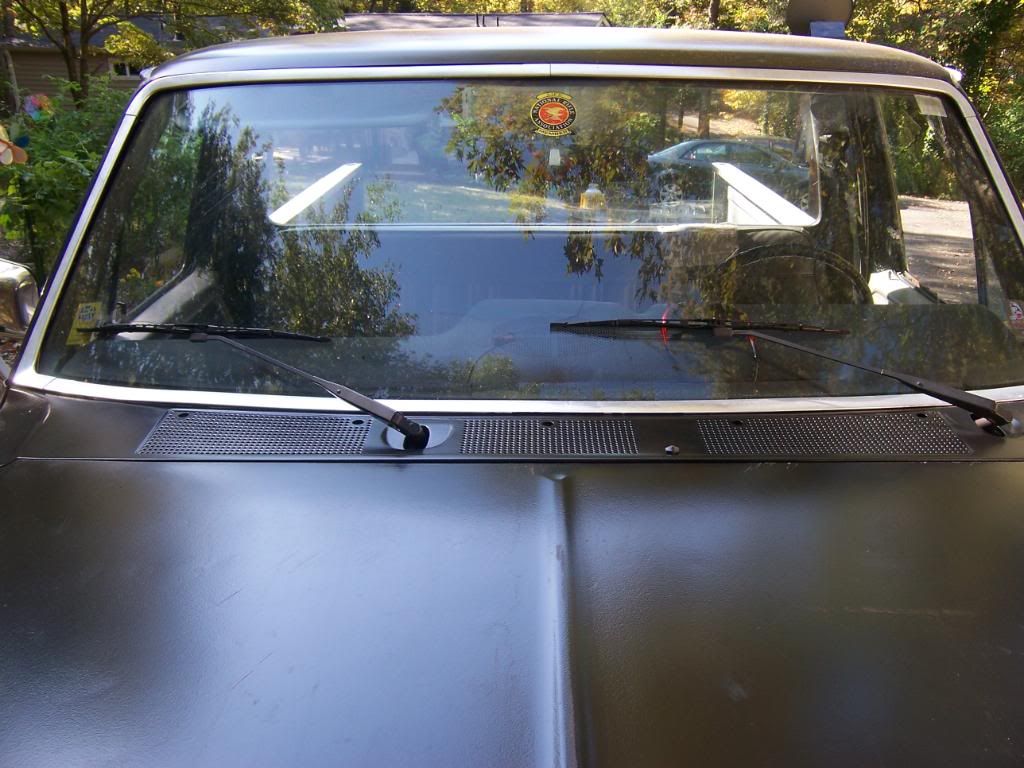
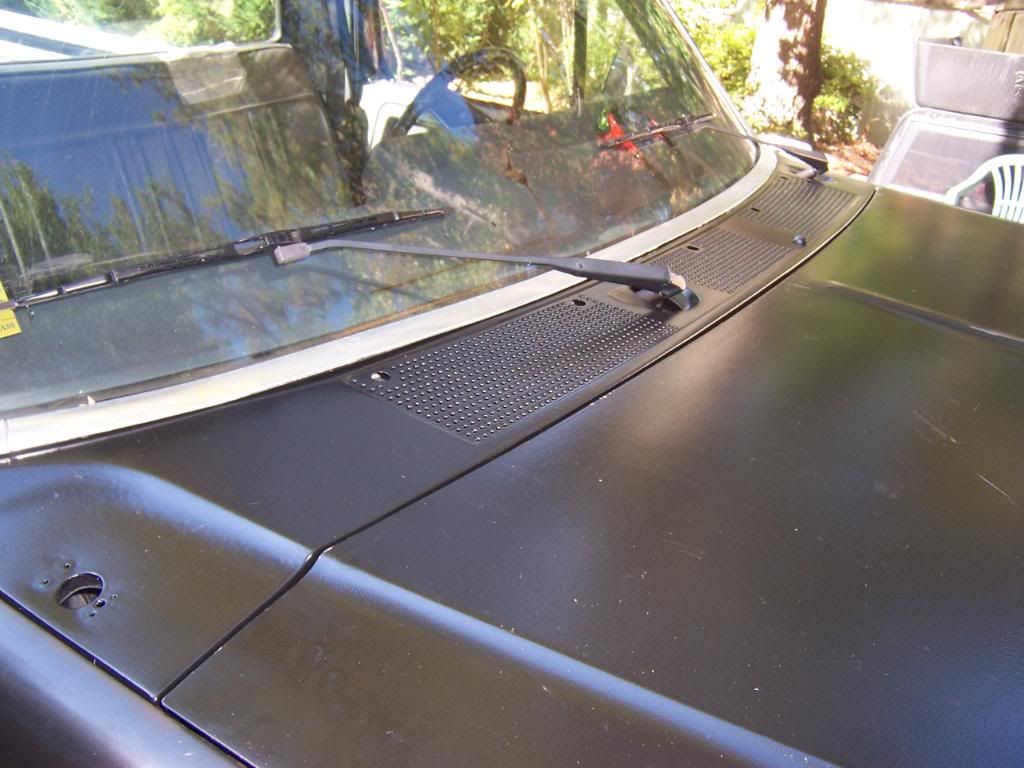
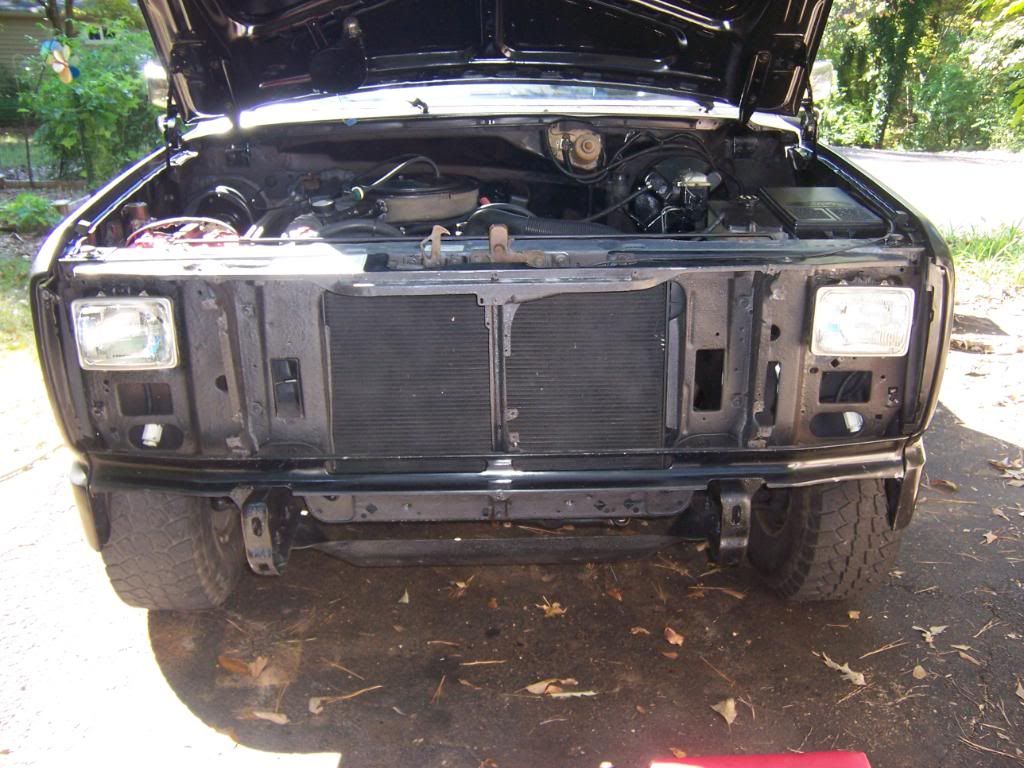
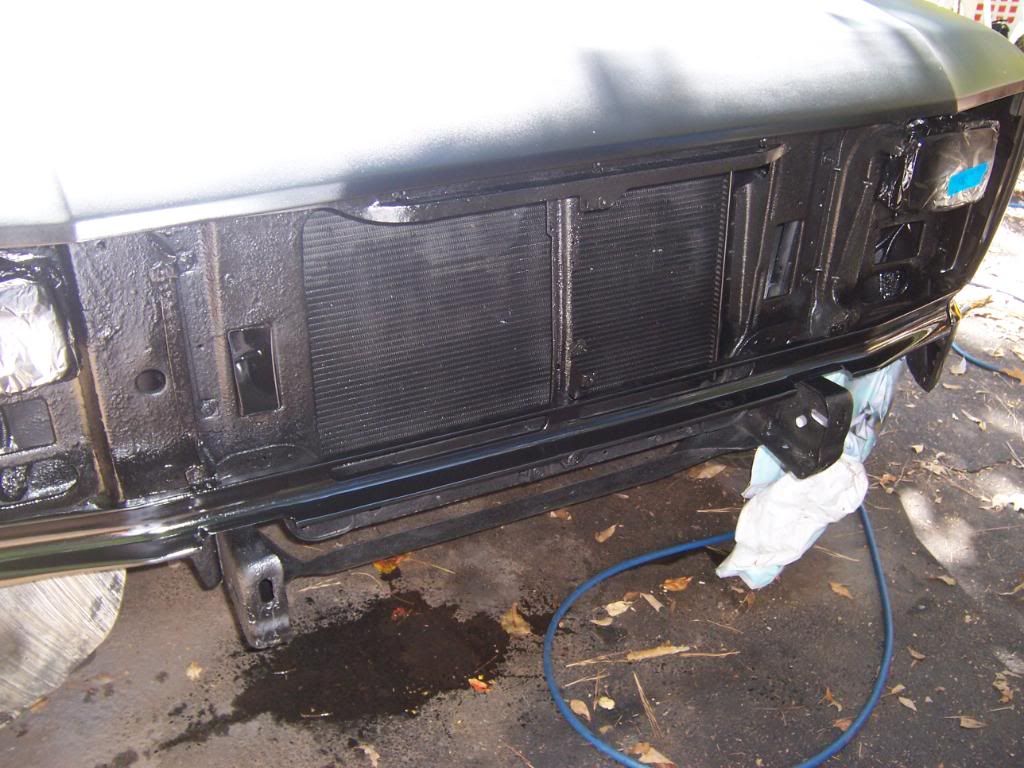
This weekend I worked on the inside of the cowl area and the underside of the hood.
Before.
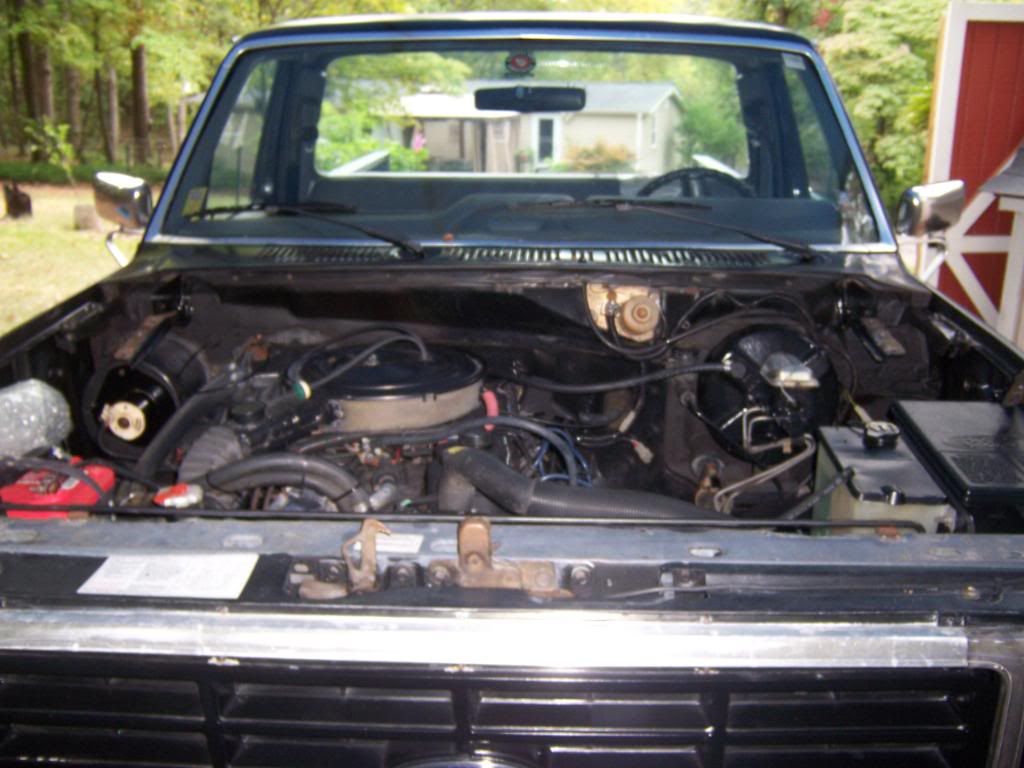
First, here is the hood.
Before.
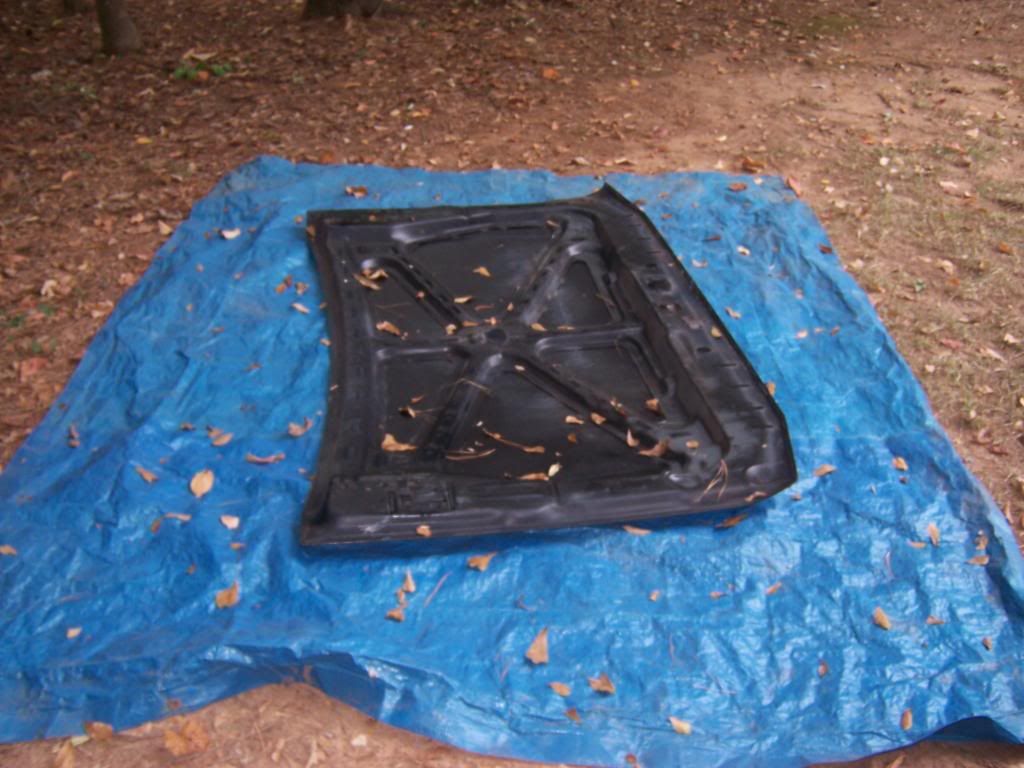
After cleaning.
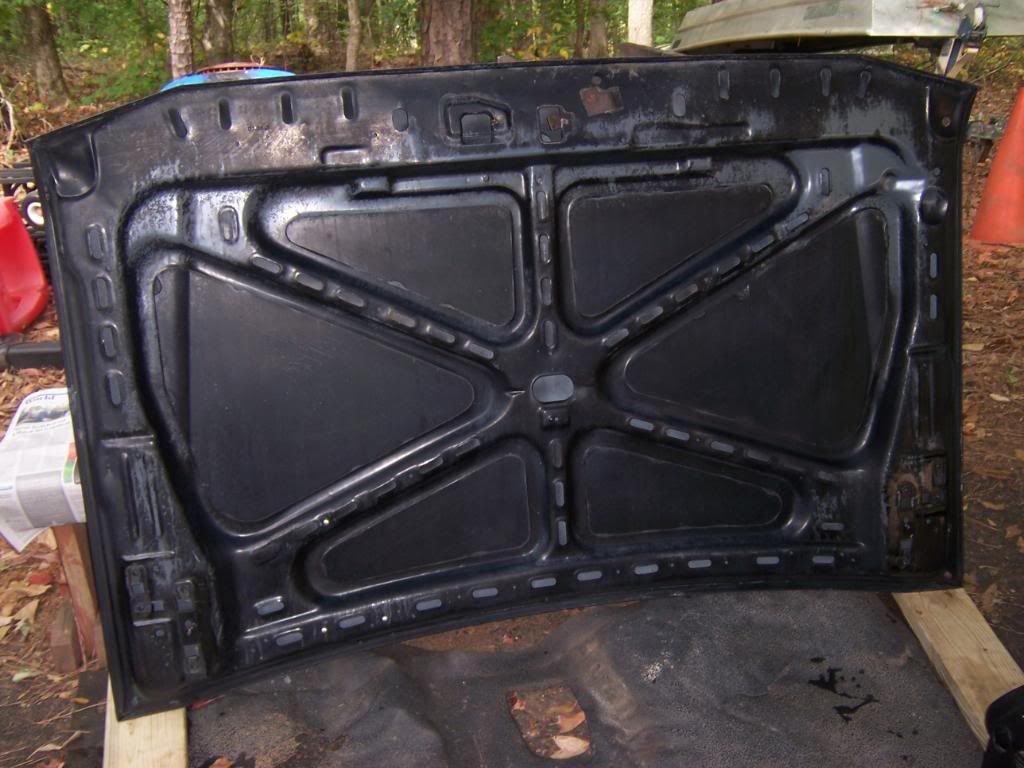
After 2 coats of epoxy primer.

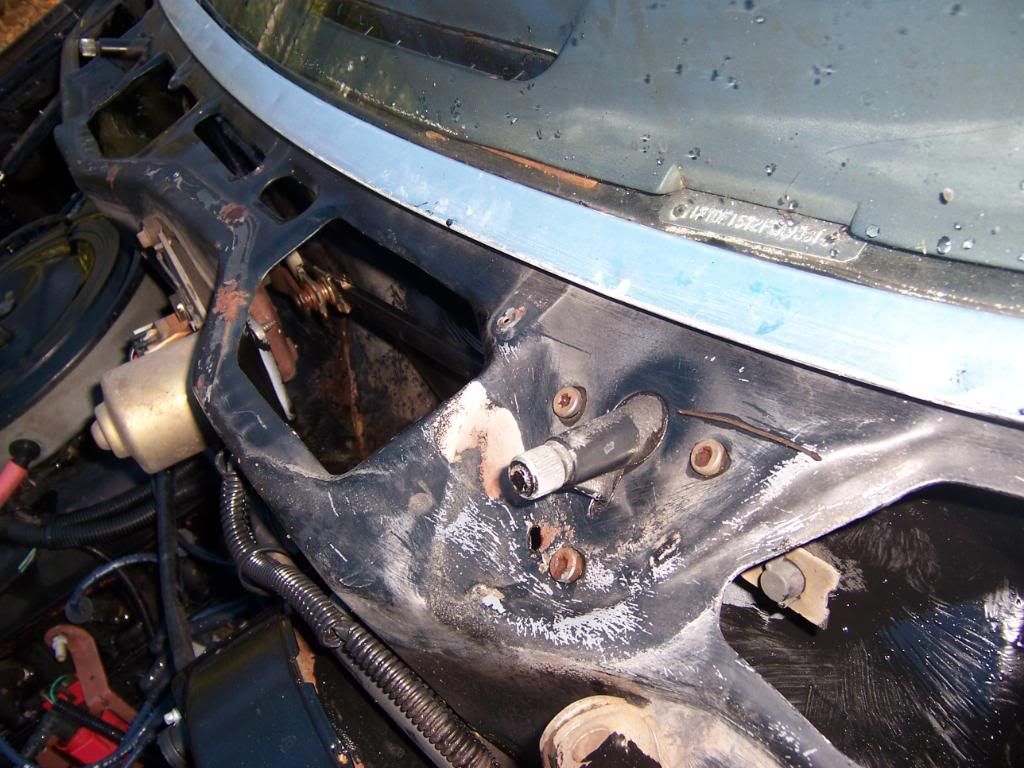
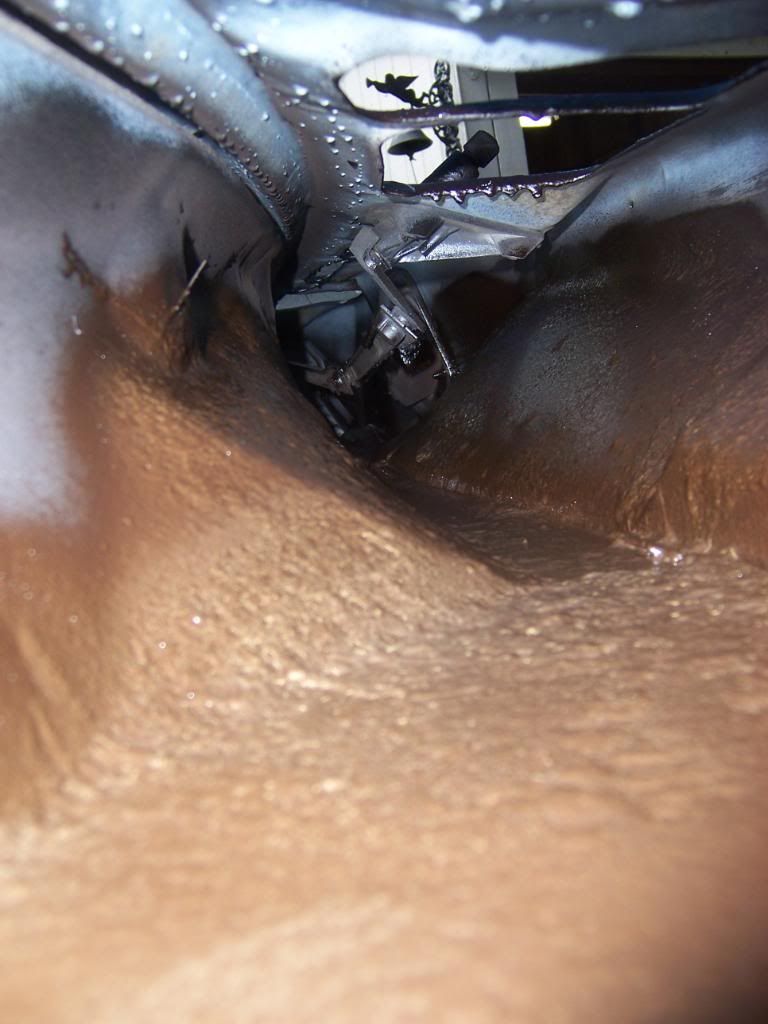
Here are some before shots of the cowl area.
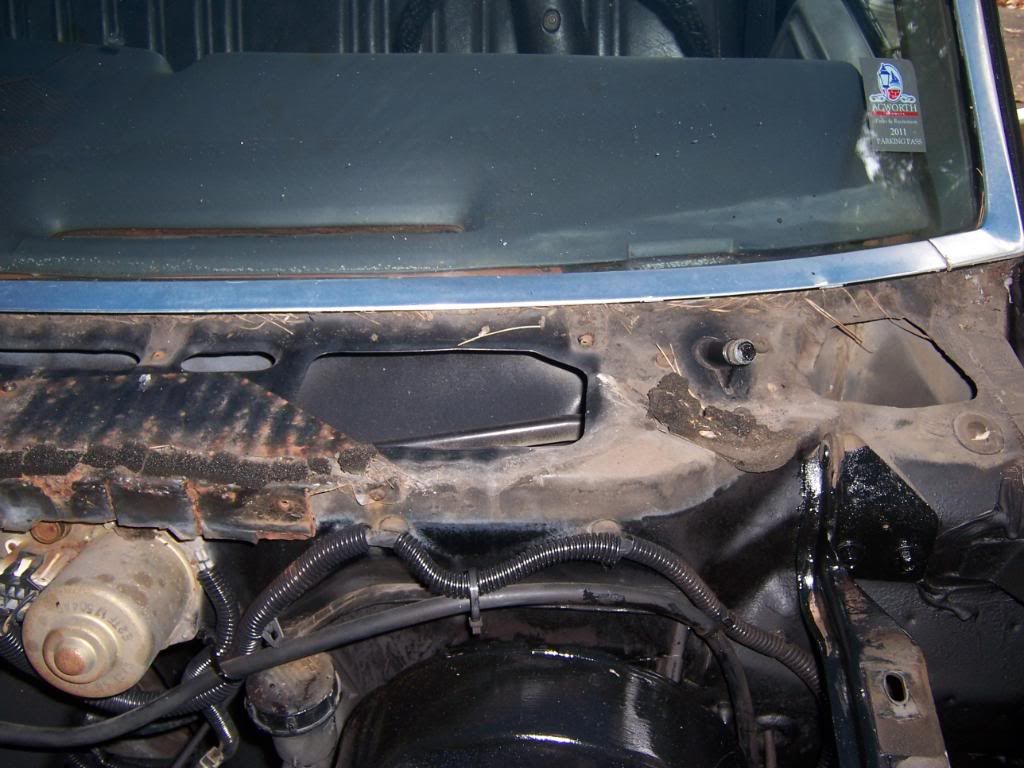
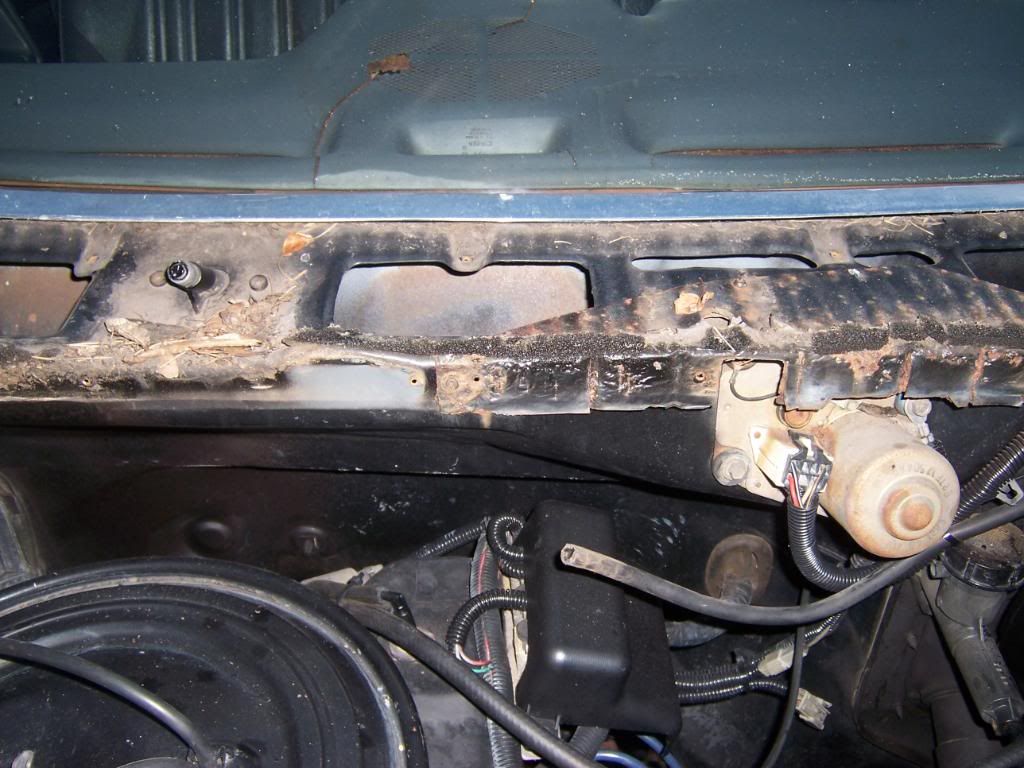
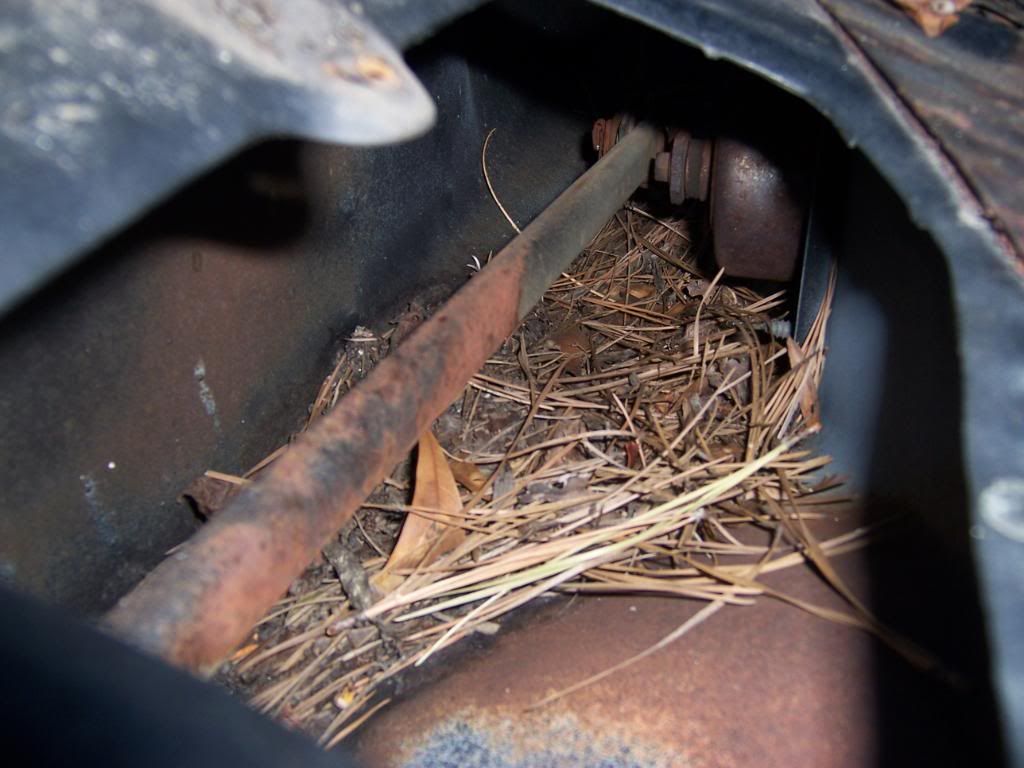
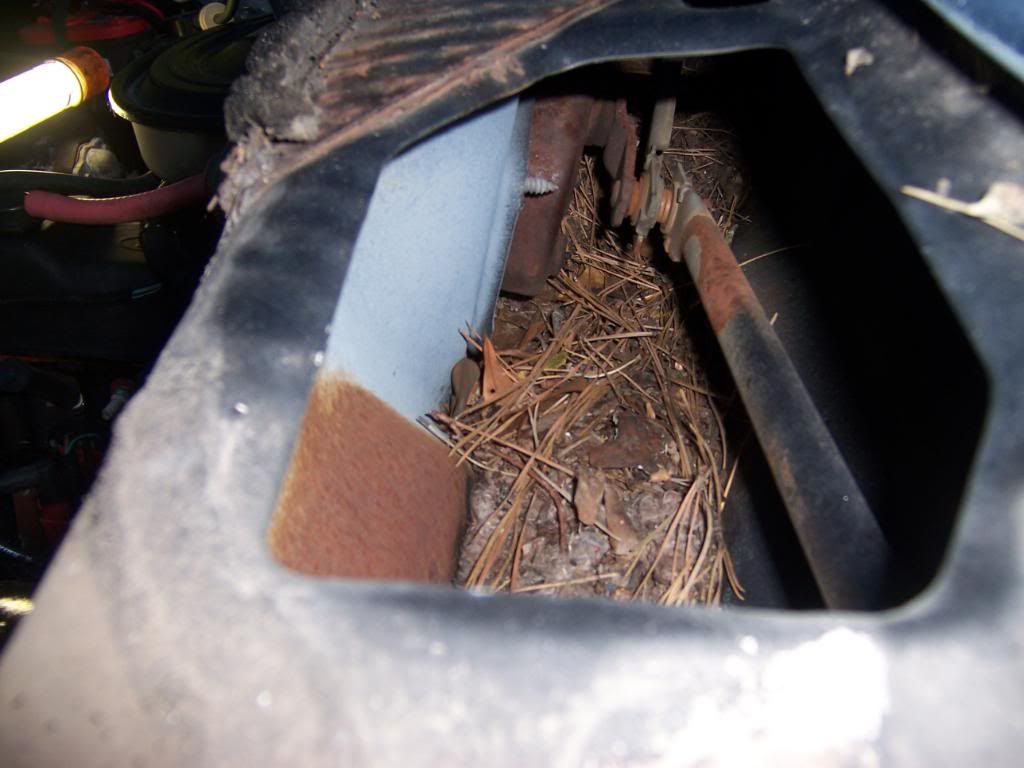
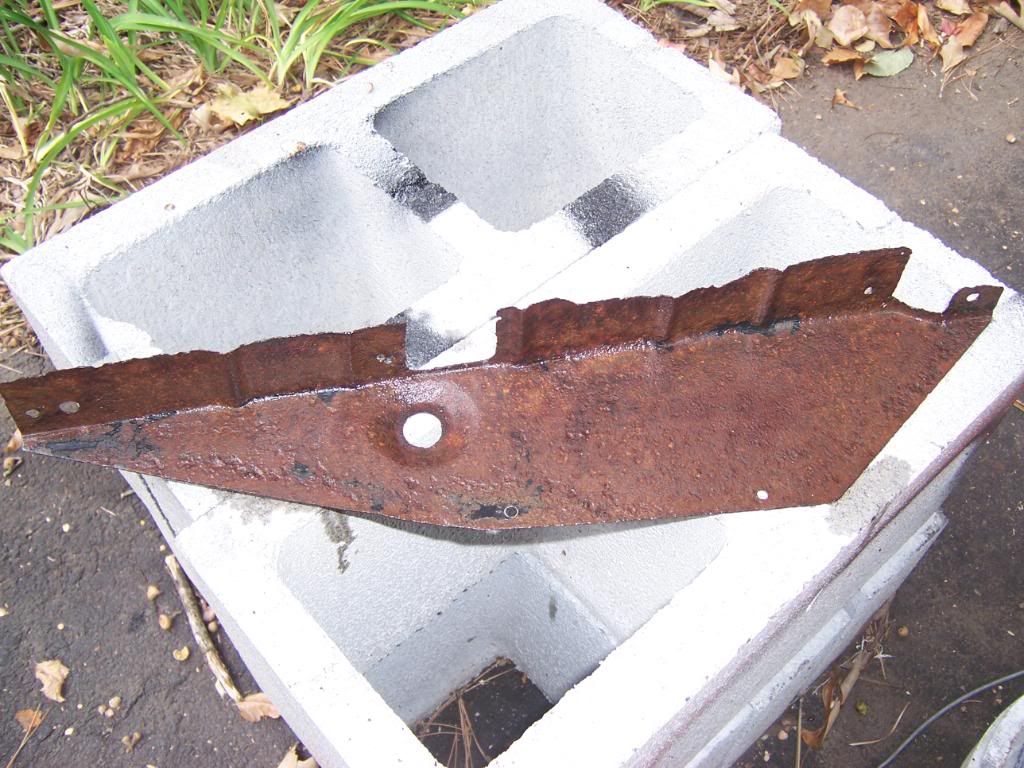
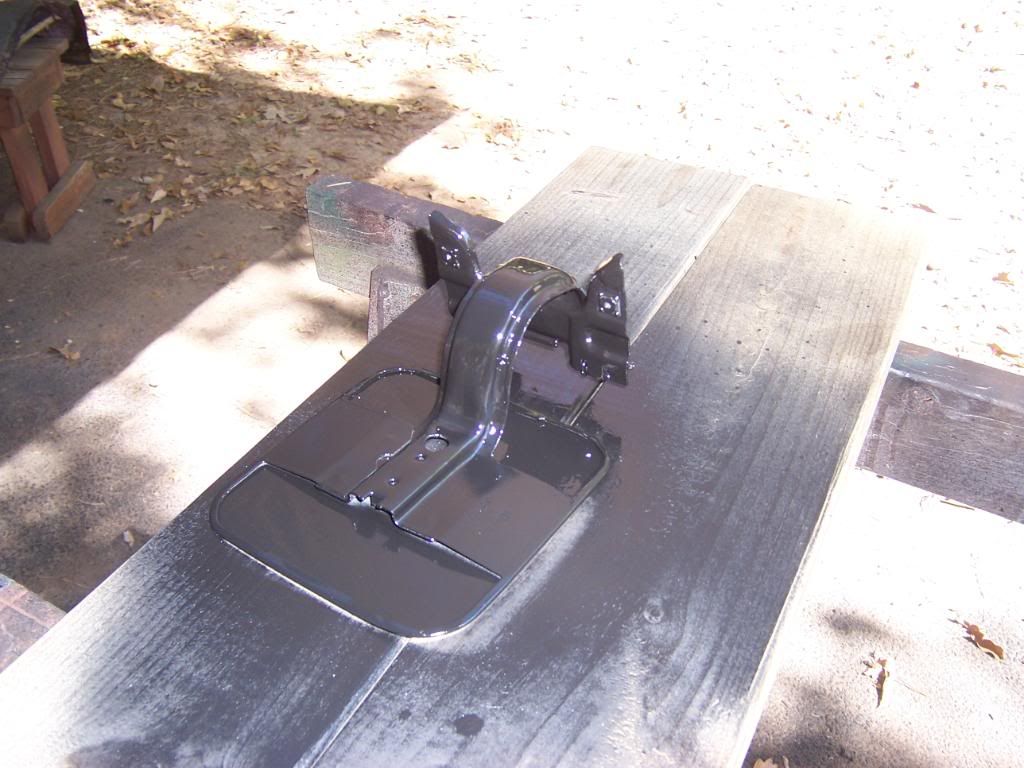
This is the piece that screws to the top of the cowl area and covers the windshield washer motor. It looks pretty rusty and thin with a few small holes. I think I will get a replacement from the junkyard at a later date and fix it up. But, for now I will just fix this one and use it.
Before.
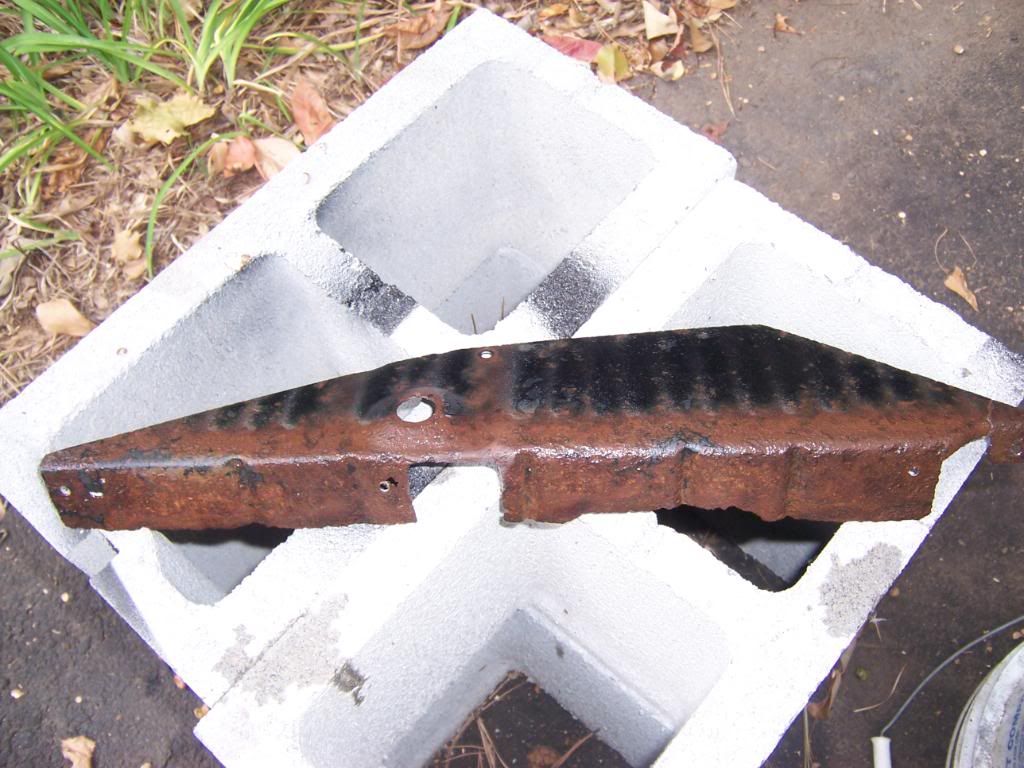
After applying Chassis Saver (2 coats).
After a coat of Rustoleum.
After a coat of Undercoating.
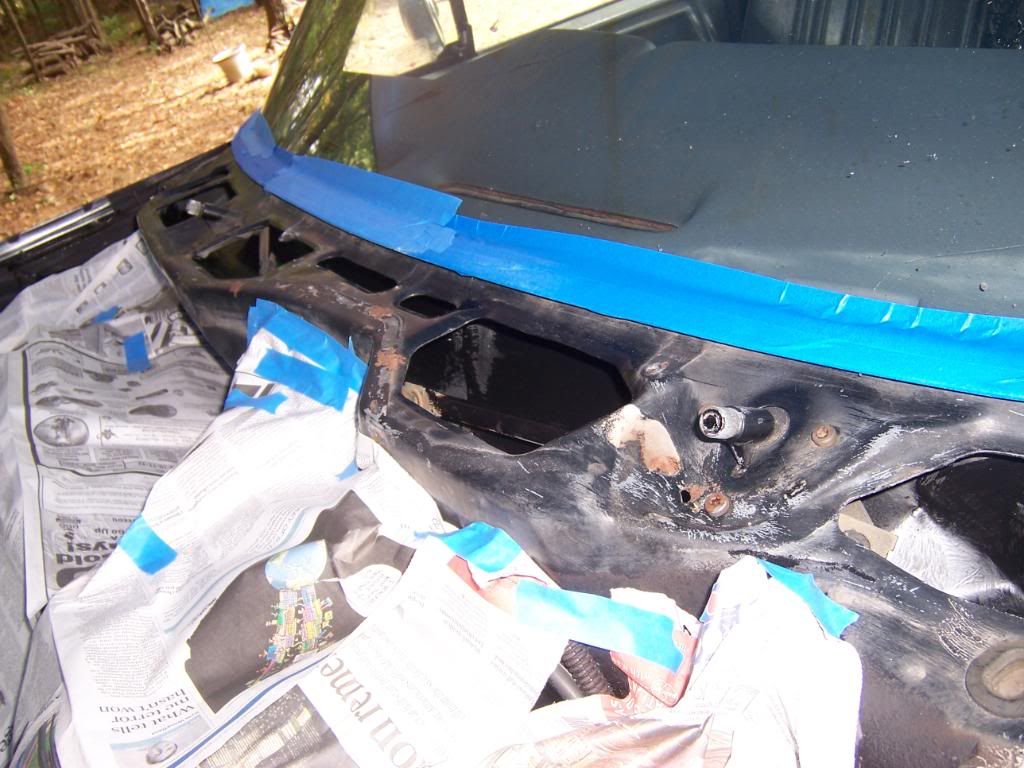
Cowl area cleaned up.
Taped up.
2 coats of epoxy primer.
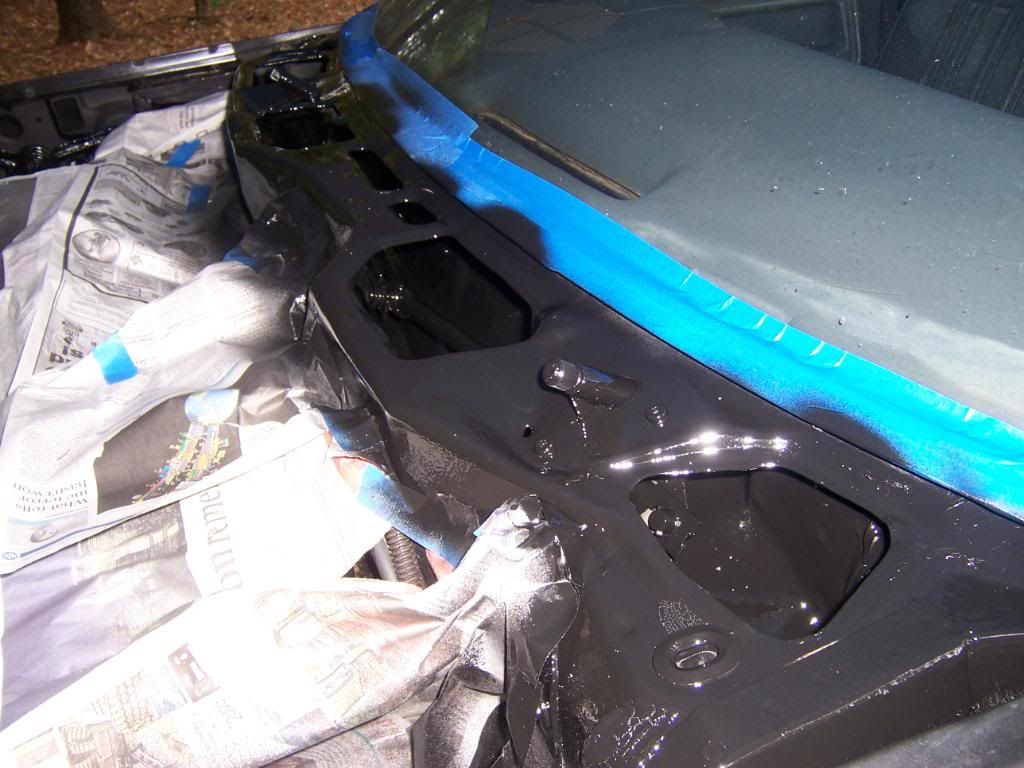
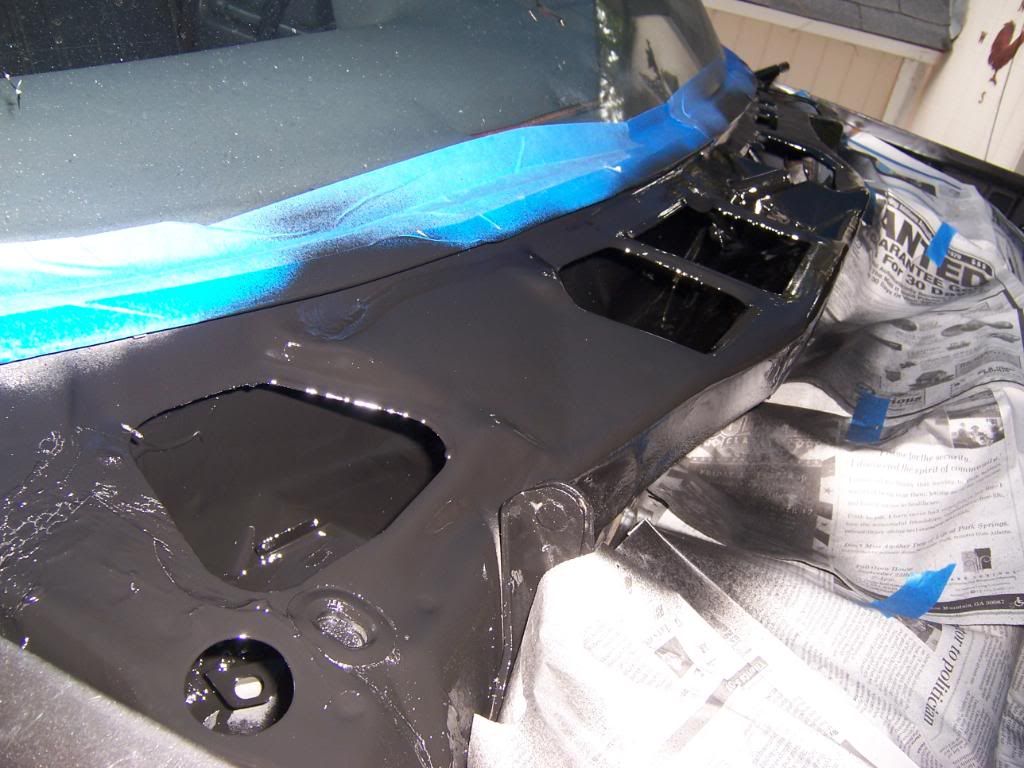

And a coat of undercoating.
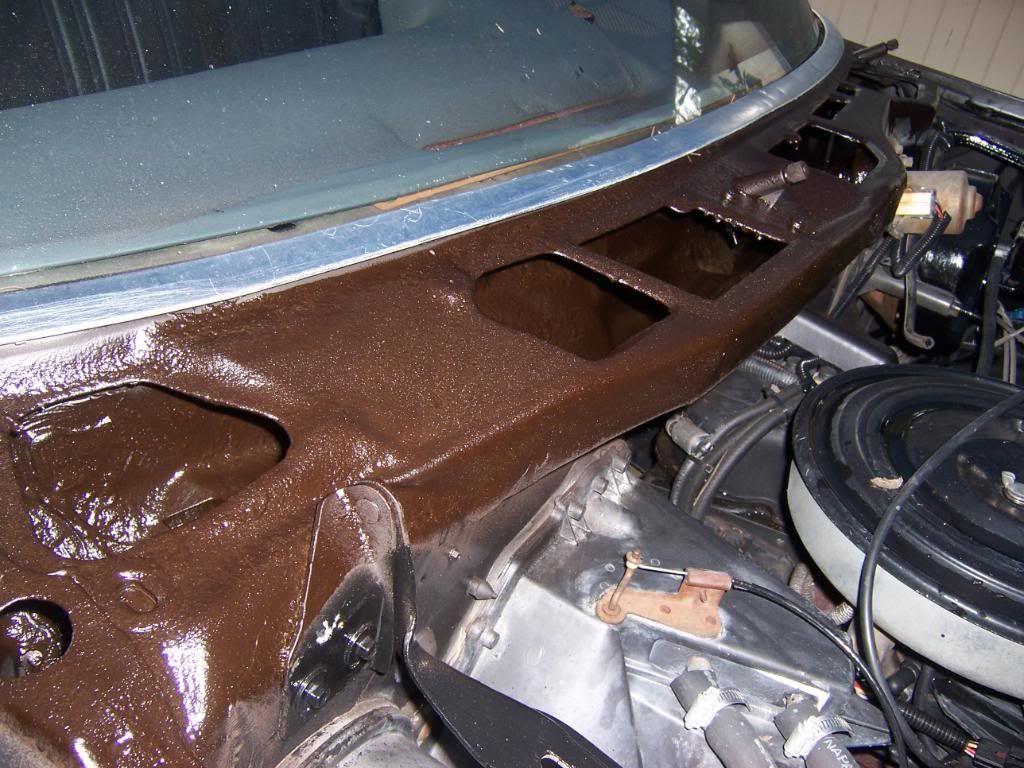
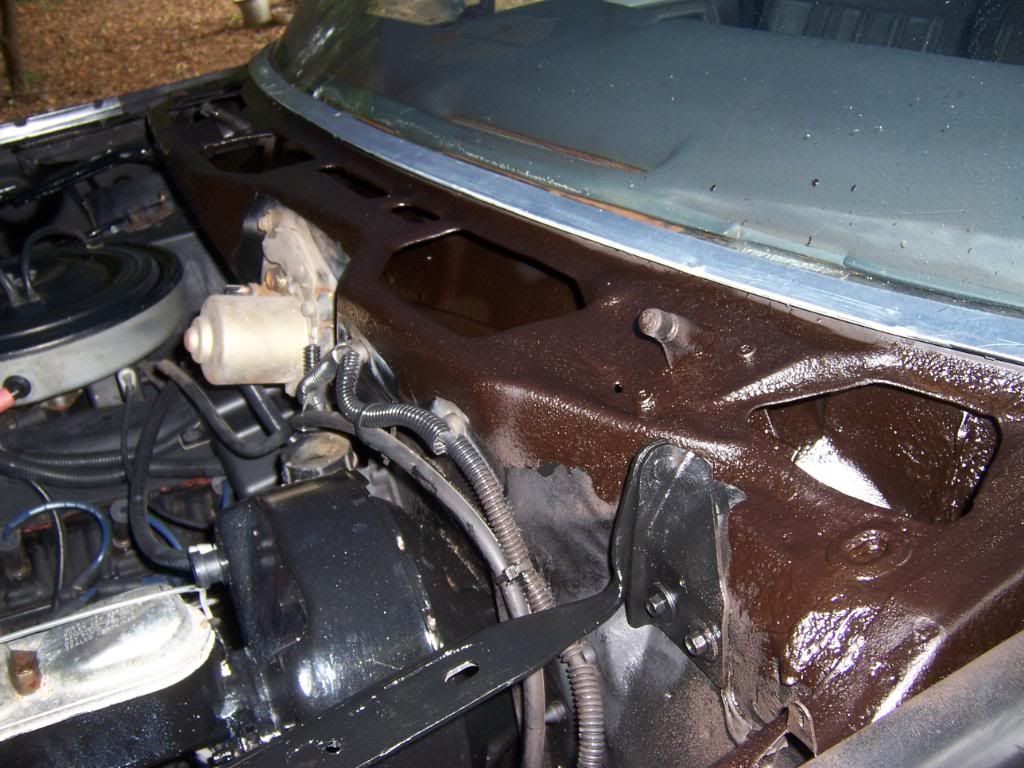
The undercoating goes on brown, but will eventually dry to a black color. Now, I just have to wait for everything to dry good before I can put it all back together.
Before.
First, here is the hood.
Before.
After cleaning.
After 2 coats of epoxy primer.
Here are some before shots of the cowl area.
This is the piece that screws to the top of the cowl area and covers the windshield washer motor. It looks pretty rusty and thin with a few small holes. I think I will get a replacement from the junkyard at a later date and fix it up. But, for now I will just fix this one and use it.
Before.
After applying Chassis Saver (2 coats).
After a coat of Rustoleum.
After a coat of Undercoating.
Cowl area cleaned up.
Taped up.
2 coats of epoxy primer.
And a coat of undercoating.
The undercoating goes on brown, but will eventually dry to a black color. Now, I just have to wait for everything to dry good before I can put it all back together.
#71
10-15-2011, 06:30 PM
#72
10-16-2011, 06:42 PM
Today I prepped and taped for primer. Then I put two coats of epoxy primer on the fenders, front piece that connects the fenders, and the backside of the fuel door.

Then I sprayed two coats of 2K High Build primer on the hood, cowl, front fenders, and bed sides.

Next comes wet sanding and putting the grille back on tomorrow.
Then I sprayed two coats of 2K High Build primer on the hood, cowl, front fenders, and bed sides.
Next comes wet sanding and putting the grille back on tomorrow.
#73
10-18-2011, 08:31 AM
Wow! That is looking awesome. I'm restoring an 86 F150, and I have learned to appreciate how extensive and time consuming some of these seemingly simple projects can be. And of course in the Georgia summer heat, it's even more fun. Keep up the good work and keep those pictures coming. Very cool.
Thanks guys, I really appreciate the votes of confidence. I just wish that I had a garage or carport to do some of the work in. It looks like it will take some extra time now that the temps are getting cooler (can't spray anything in cool temps outside). Oh well, at least I'll have a chance to save a little more money to buy some stuff for when I can do some more work.
#74
10-18-2011, 10:59 AM
Posting Guru
Join Date: Jan 2000
Location: colbert washington
Posts: 2,281
Likes: 0
Received 0 Likes
on
0 Posts

#75
10-18-2011, 04:59 PM
Senior User
Join Date: Apr 2008
Location: Cleveland,OH
Posts: 406
Likes: 0
Received 0 Likes
on
0 Posts